This week, I was thinking of making a guitar stand for myself, when it occurred to me I could make a guitar stand for my dorm (and therefore make a guitar stand for increased capacity and bigger is better this week). There are a couple problems with the current guitar stands/the way that people use them: people move them often, people fiddle with them so they have a tendency to break, and, most importantly, they're ugly.
Old Guitar Stand
So, for this week I decided I would make a triple decker guitar stand. Originally I had ideas for putting a bunch of Spotify codes etched into the stand, but upon learning that we were working with OSB, I realized that the codes would probably not be visible enough for the camera to pick up, so I had to abandon the idea.
Modeling the Guitar Stand
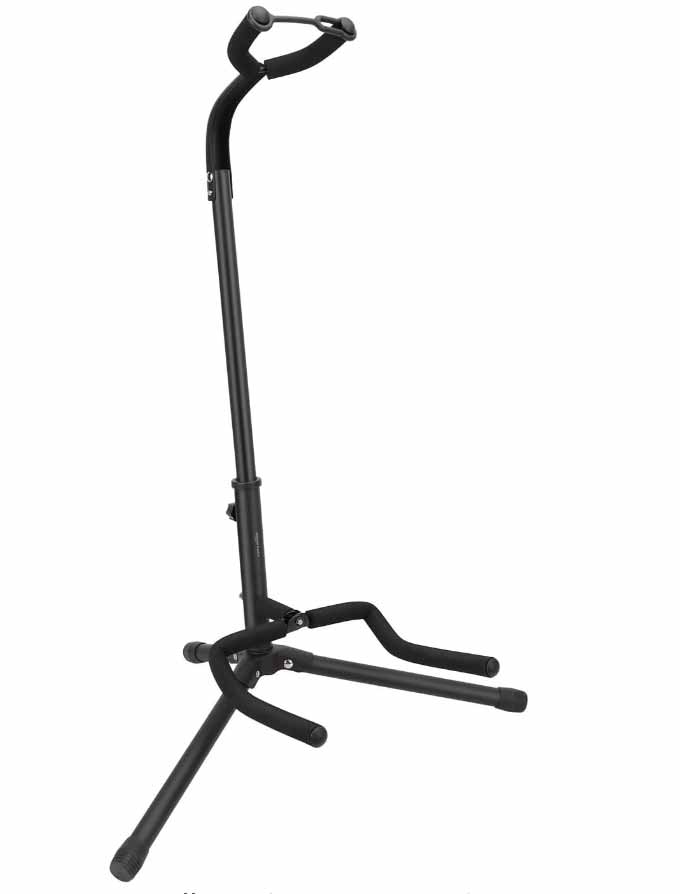
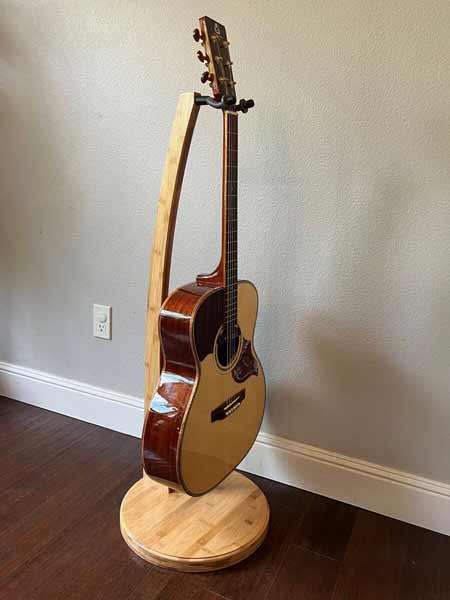
To model the guitar stand, I began by first finding a reference shape to look at to figure out what kind of stand I wanted to make. I ended up finding out that there were about three common types that people would use: some kind of hanging apparatus, a shelf-kind of stack of stands, and stands that consist of two rods and a head rest (if that makes sense).
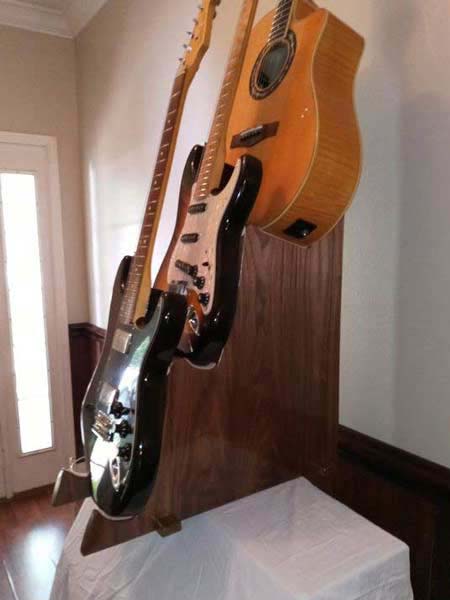
Hanging Guitar Stand
Leaning Guitar Stand
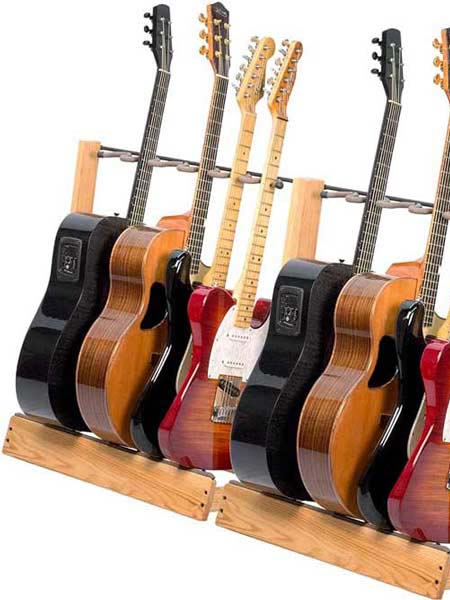
Shelf-like Stand
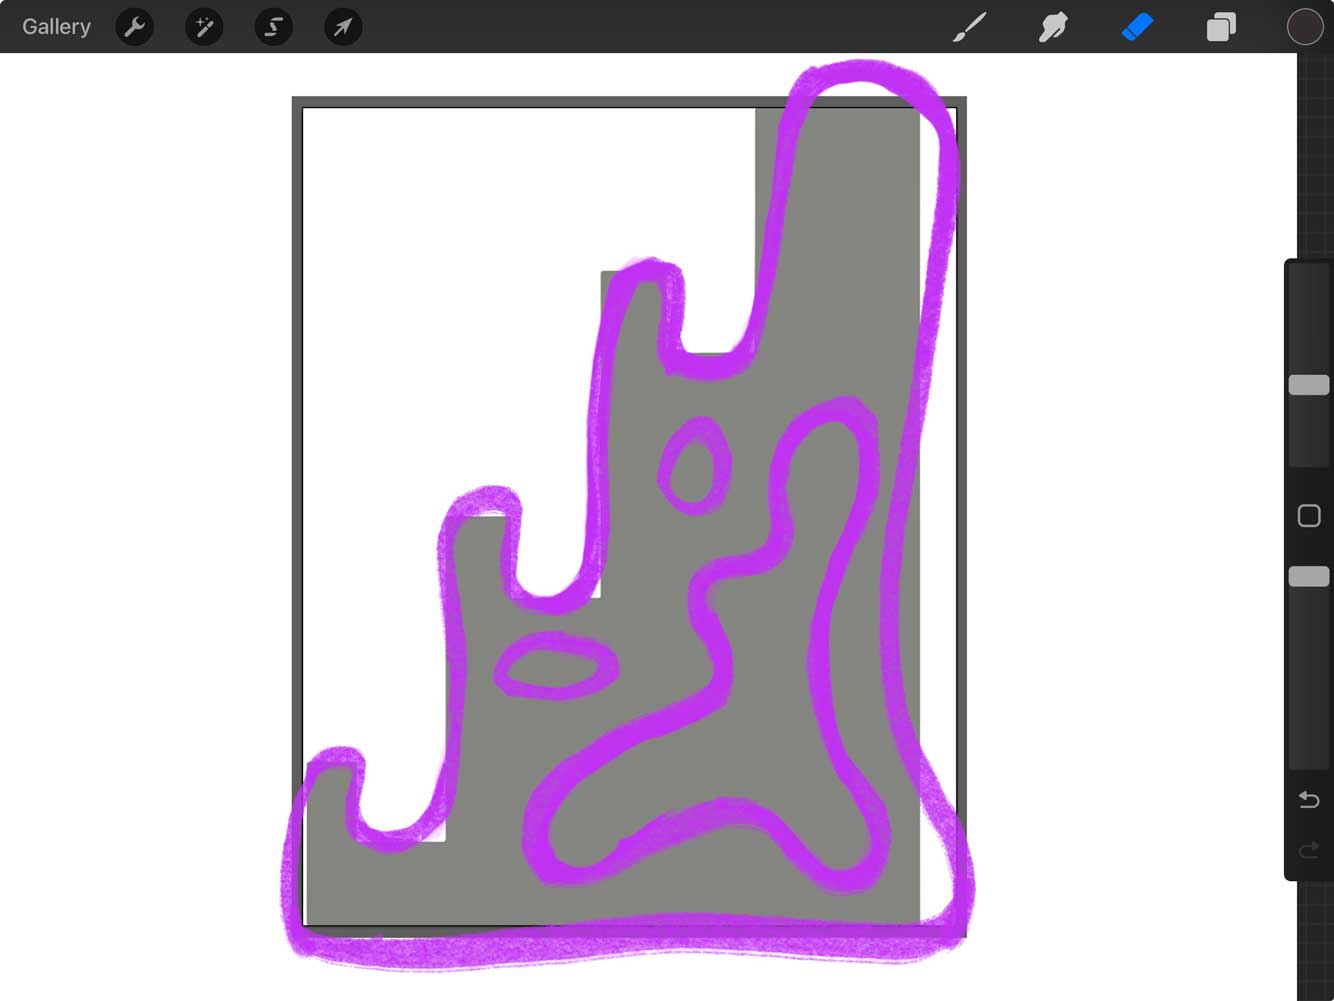
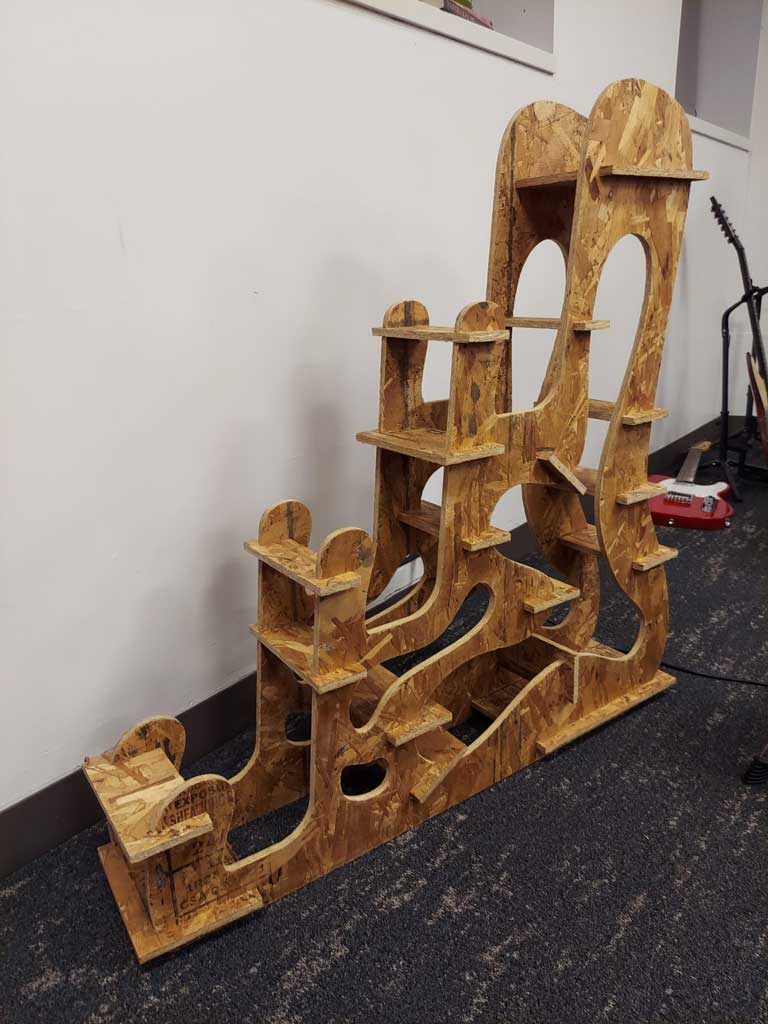
Ultimately I decided to make the shelf-like version because I felt that it would be bigger, and it would give me more surface area to make it look cool. In order to design it, I made a rough estimate for what the sides should look like, and then made a sketch over top of it to find a pattern that I liked better.
iPad Sketch for the Guitar Stand
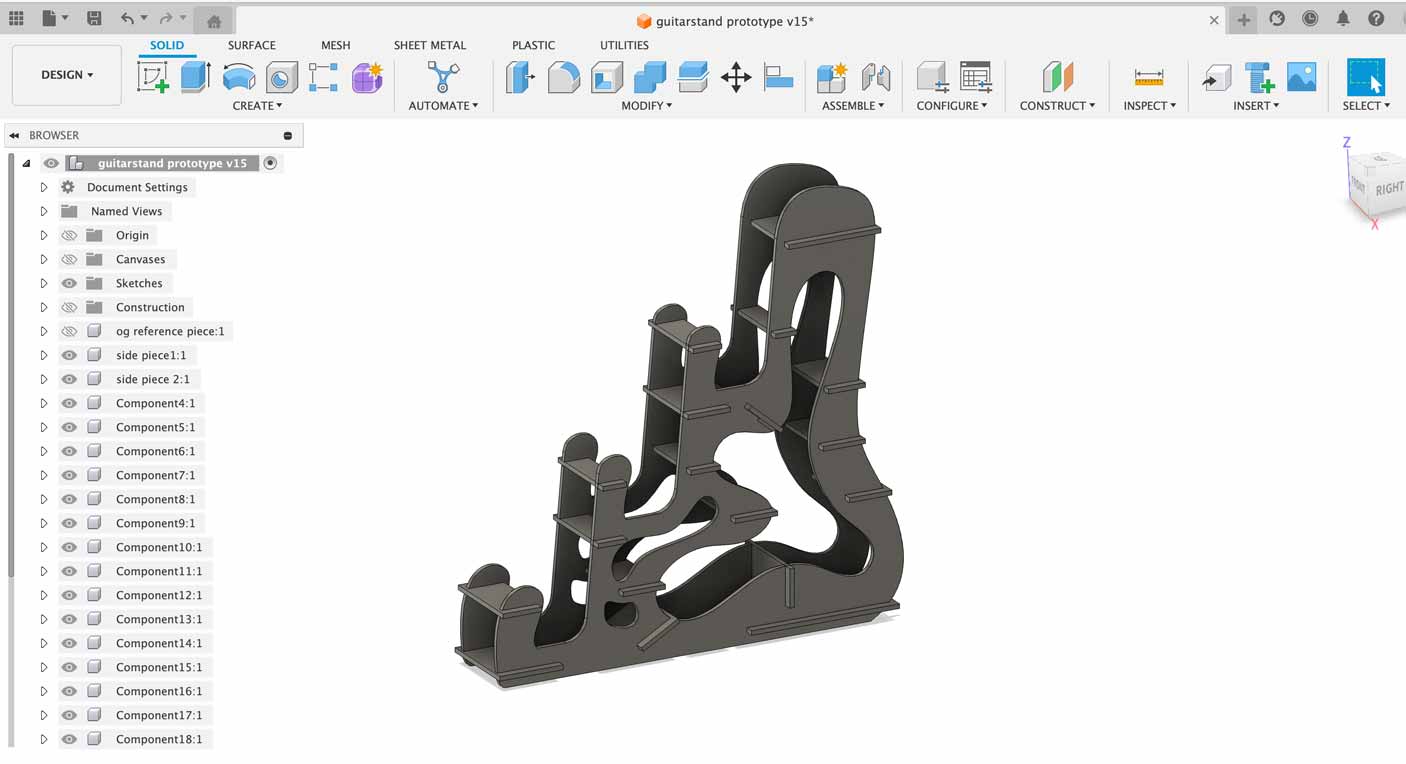
After coming up with a sketch, I made the sketch in Fusion360 keeping the ideas similar and incorporating some straight lines to so that the guitars would have a more surface to balance/lean on. I then made the solids sides and kept everything parametrized so that I could easily change the width of the sheet for when I actually get the OSB. After that, I just worked with making a bunch of cube primitives and placed them where I wanted the little joining pieces to go, and then manually added tabs using a convoluted process of sketching and mapping intersections and then cutting them out, and then taking out the negative on the other piece. As I had around 20 tabs, it was kind of intensive, and I am curious in the future whether there is a better way to go about this process, but I am truly not sure.
CAD of Guitar Stand
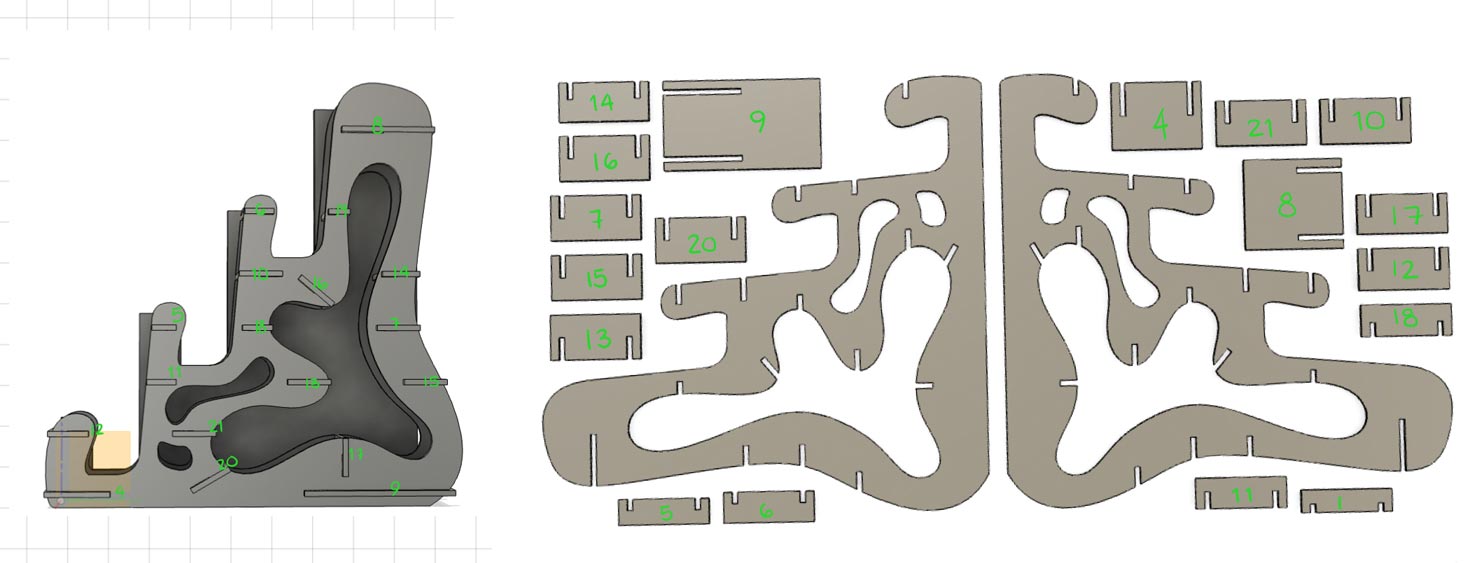
After designing all of the joint pieces I realized that I should have made them all the same size and just edited the tabs on the big pieces so that I wouldn't have to keep track of, but alas I was not willing to start putting in all the joints again, so after using Fusion360 to make an arrangement that would fit properly on the board, I labeled all of the pieces on the arrangement to make a little map.
Piece Arrangement Map
Something I really want to work on and get better at is making my workflow in CAD more readable and less dense assemblies. I feel like the past couple weeks I've been making simply massive files that are really hard to navigate. Also it may soon be approaching time to get a desktop computer for this kind of thing because my laptop is starting to revolt :(
Group Assignment
I did a test to figure out what the tolerances were for fitting all of the pieces together! Jen had a little test dxf for us to cut out, and it was cool to see the Onsrud in action for the first time. A shop monitor helped me create create the tool paths in Mastercam (I tried to pay a lot of attention as he worked, but I didn't have enough time this week to commit to learning how to make my own toolpaths (new goal unlocked!)). Looking at the test dxf allowed me to get a better sense of what to expect for the fit based on the size of the slots.
Group Assignment Fit Test
Machining with the All-Mighty Onsrud
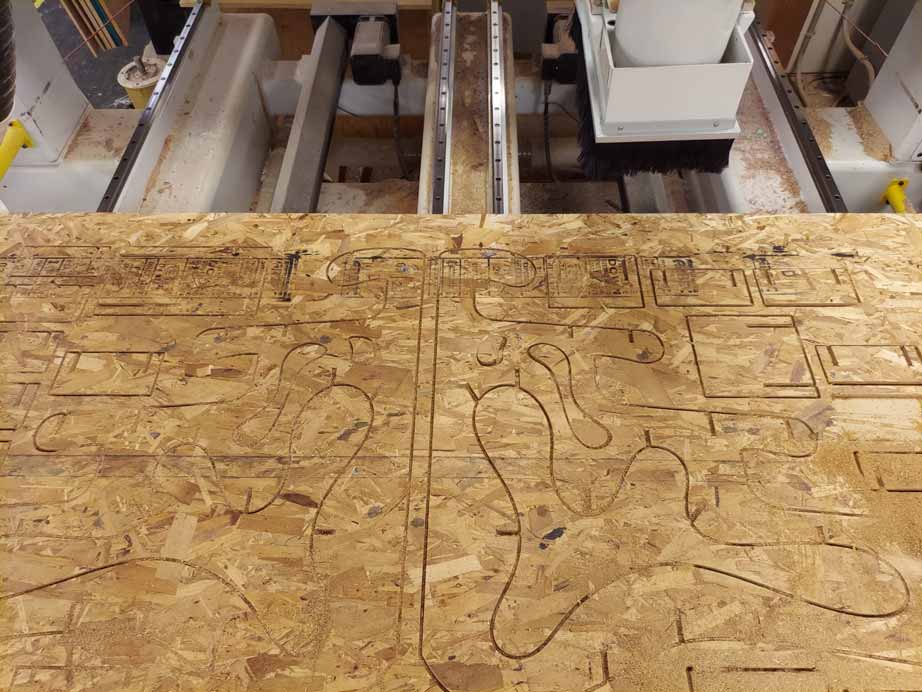
I sent my files to Chris and Jen for machining and then quickly realized that I had needlessly added kerf to make space for the tool however that's the neat thing with CNC Machining !! no kerf!! And the nice thing is because I parametrized the kerf so that was an easy fix :D. I was a little nervous about the small pieces getting disconnected from the table as it was cutting (which did happen a bit, so I had to recut one piece). A small thing that was a bit annoying about setting up the Onsrud is that we needed to make sure that in the CAM it would place the cut so that the kerf would cut away from the extra pieces of the OSB rather than the part that is included in the final creation.
Onsrud cutting
I also realized that I had some tabs missing when I finished cutting the side profiles, and luckily those big pieces didn't move, so I quickly made a dxf to recut the missing profiles. Below is all of the finished cutting.
All the pieces cut out
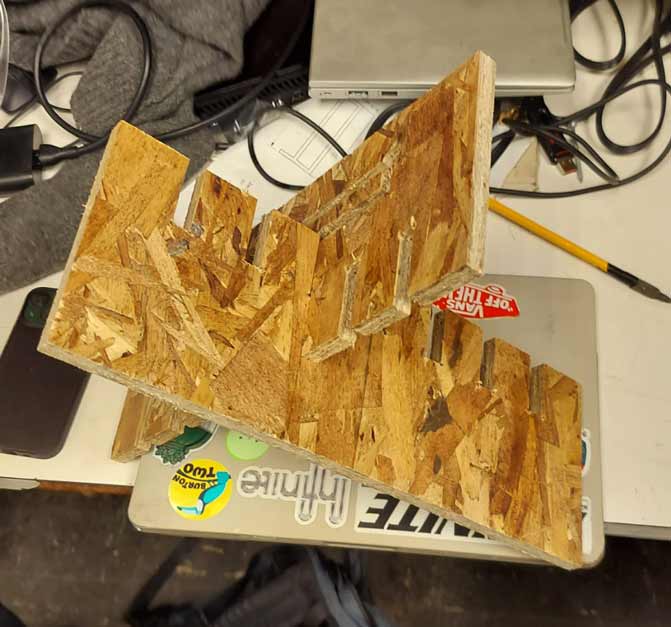
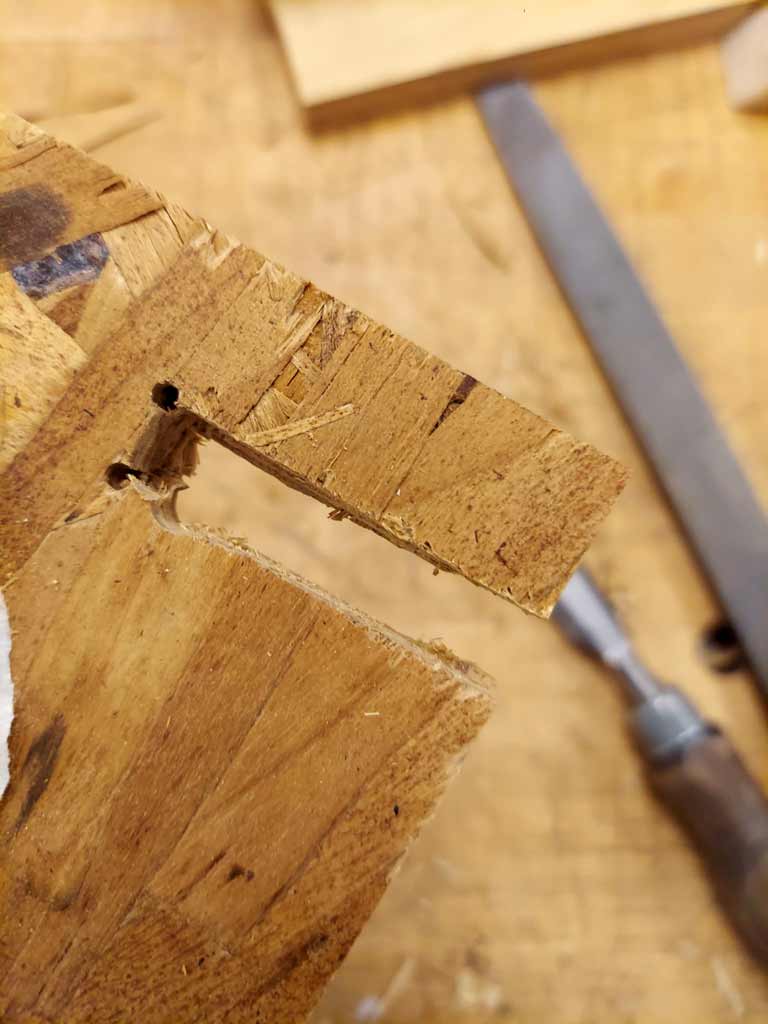
I made sure to label all of the pieces before removing them from the board so that they would be easily put together, and then got straight into post-processing. I filed off all of the onion skin-y offcuts and then sanded the edges down so that it would be easier to carry. I started assembling and realized some of the tolerances were very tight, so I decided to file/sand some of the tabs so that they could slide together easier.
Close-up of the notches - I needed to file them a bit to make them fit
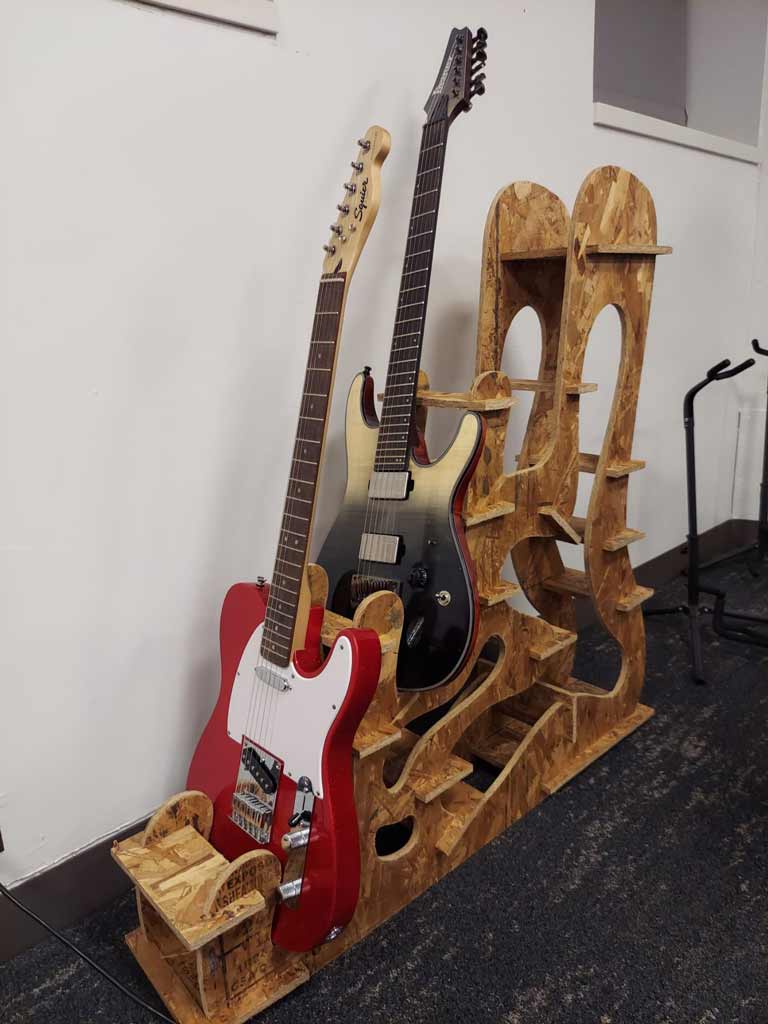
After finishing assembling I trekked back to my dorm with the help of fellow HTMAA student Yohan (check out his site he's really on the grind making cool things), I put all of the guitars on it. I realized some of the gaps for the guitars were probably a little bigger than they needed to be, but ultimately it functions! Onto the next week !!