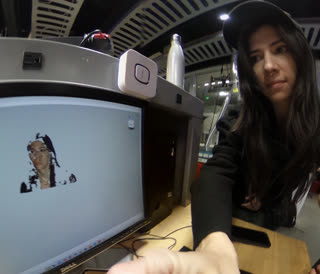
go home
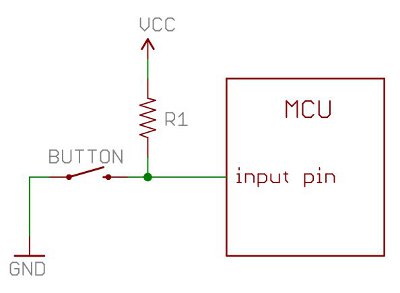
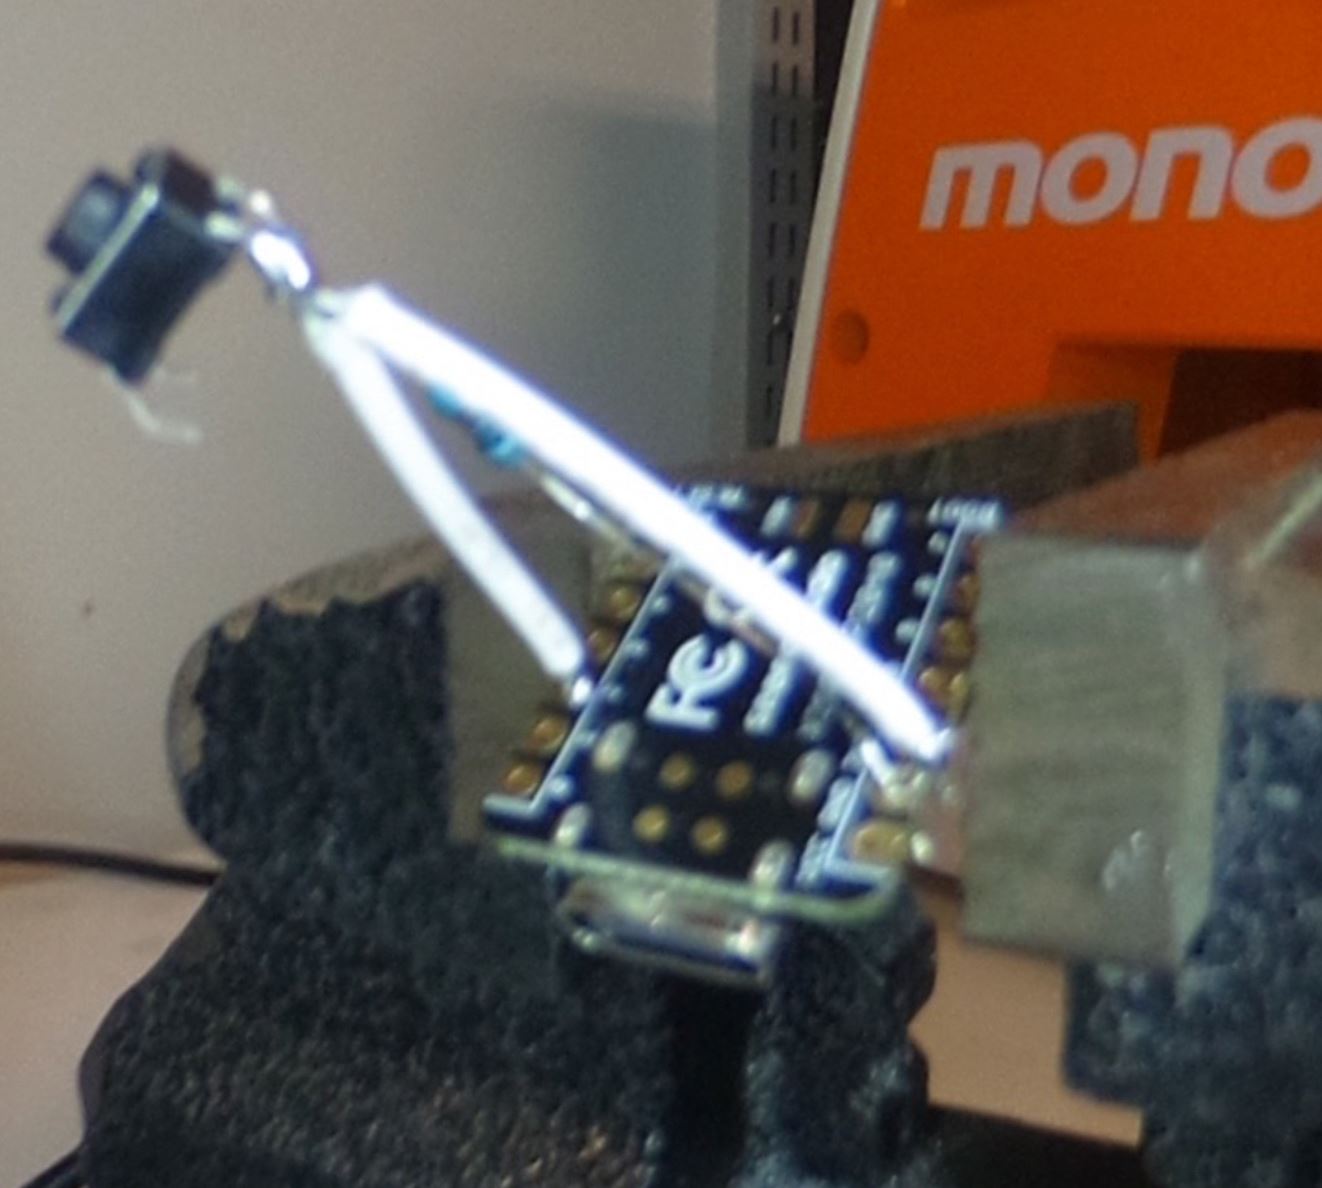 I soldered a RP2040 to a button that comes with the arduino kit, as many before me have done and many after me will do.
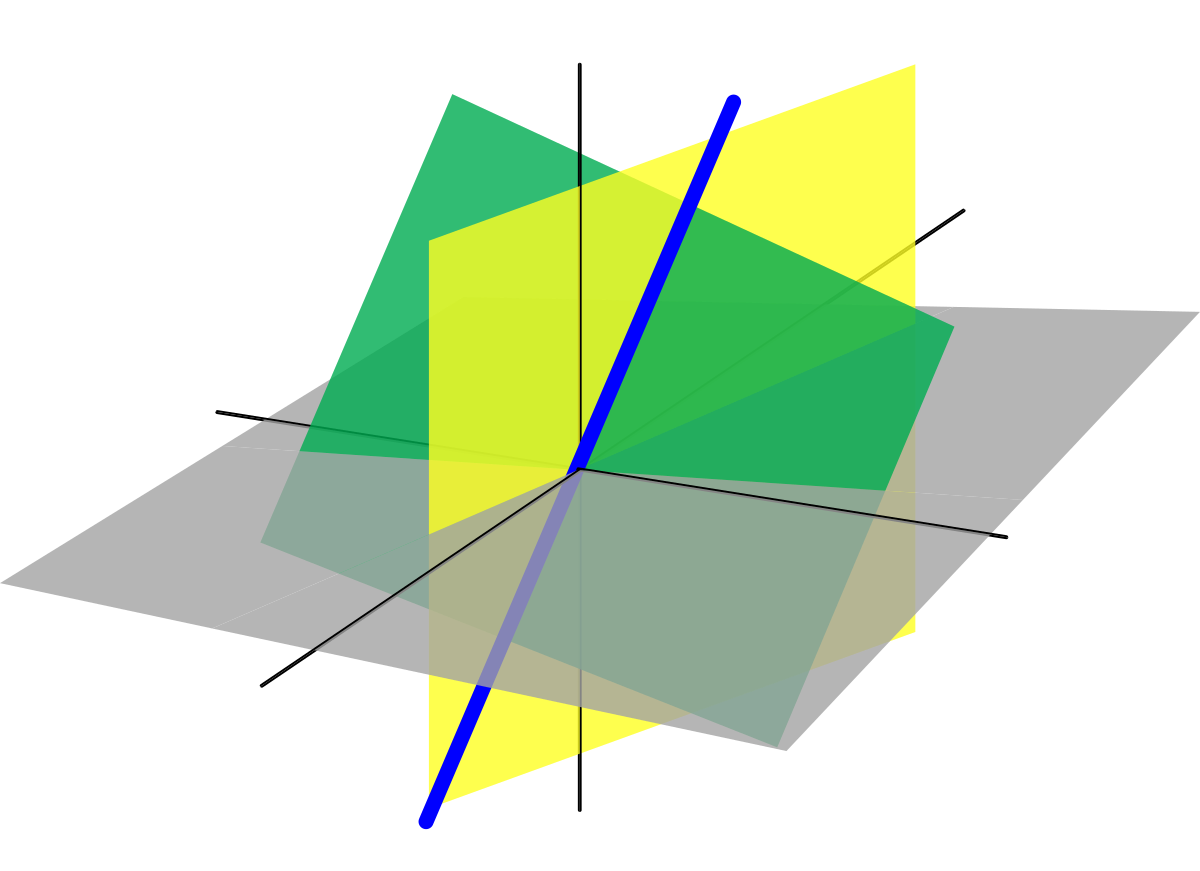
The diagram is very simple:
I soldered a RP2040 to a button that comes with the arduino kit, as many before me have done and many after me will do.
The diagram is very simple:
    //
    // hello.RP204-XIAO.blink-echo.ino
    //
    // Seeed XIAO RP2040 blink and echo hello-world
    //
    // Neil Gershenfeld 2/12/23
    //
    // This work may be reproduced, modified, distributed,
    // performed, and displayed for any purpose, but must
    // acknowledge this project. Copyright is retained and
    // must be preserved. The work is provided as is; no
    // warranty is provided, and users accept all liability.
    //
    #include
    #include
    #include
    #include

    // USB MIDI object
    Adafruit_USBD_MIDI usb_midi;

    //
    // globals
    //
    #define numpixels 1
    #define pixelpower 11
    #define pixelpin 12
    #define bufsize 25
    const int ledPin = 12;    // the number of the LED pin
    const int buttonPin = 28;  // the number of the pushbutton pin

    // variables will change:
    int buttonState = 0;  // variable for reading the pushbutton status


    char buf[bufsize];
    int count=0;
    //
    // setup
    //
    MIDI_CREATE_INSTANCE(Adafruit_USBD_MIDI, usb_midi, MIDI);

    Adafruit_NeoPixel pixel(numpixels,pixelpin,NEO_GRB+NEO_KHZ800);
    void setup() {
      //  Serial.begin();
      Serial.begin(115200);
       pixel.begin();
      //  pinMode(pixelpower,OUTPUT);
       pinMode(pixelpower,OUTPUT);
       pinMode(buttonPin, INPUT);
       digitalWrite(pixelpower,HIGH);

      //set up midi
      #if defined(ARDUINO_ARCH_MBED) && defined(ARDUINO_ARCH_RP2040)
      // Manual begin() is required on core without built-in support for TinyUSB such as mbed rp2040
      TinyUSB_Device_Init(0);
    #endif

      // Initialize MIDI, and listen to all MIDI channels
      // This will also call usb_midi's begin()
      MIDI.begin(MIDI_CHANNEL_OMNI);

      // Attach the handleNoteOn function to the MIDI Library. It will
      // be called whenever the Bluefruit receives MIDI Note On messages.
      MIDI.setHandleNoteOn(handleNoteOn);

      // Do the same for MIDI Note Off messages.
      MIDI.setHandleNoteOff(handleNoteOff);

      //Serial.begin(31250);

      // wait until device mounted
      while( !TinyUSBDevice.mounted() ) delay(1);

       }
    //
    // main loop
    //
    void loop() {


      buttonState = digitalRead(buttonPin);
      Serial.println(buttonState);
      // Serial.println(buttonState);
      // check if the pushbutton is pressed. If it is, the buttonState is HIGH:
      if (buttonState == HIGH) {
        // turn LED on:
         MIDI.sendNoteOn(74, 127, 1);
        // digitalWrite(ledPin, HIGH);

        pixel.setPixelColor(0,pixel.Color(0,255,0));
        pixel.show();
        delay(100);
      }
      else{
        MIDI.sendNoteOff(74, 0, 1);
      }
        // MIDI.read();
      }

    void handleNoteOn(byte channel, byte pitch, byte velocity)
    {
      // Log when a note is pressed.
      Serial.print("Note on: channel = ");
      Serial.print(channel);

      Serial.print(" pitch = ");
      Serial.print(pitch);

      Serial.print(" velocity = ");
      Serial.println(velocity);
    }

    void handleNoteOff(byte channel, byte pitch, byte velocity)
    {
      // Log when a note is released.
      Serial.print("Note off: channel = ");
      Serial.print(channel);

      Serial.print(" pitch = ");
      Serial.print(pitch);

      Serial.print(" velocity = ");
      Serial.println(velocity);
    }