←Index
09/13/2023
## Week 1: Computer Controlled Cutting
# Assignments
- [Group Assignment](https://fab.cba.mit.edu/classes/863.23/CBA/group/week1_group.html): test kerf, joint type
- Make a parametric construction kit
- cut something on the vinylcutter
# Training
- John trained us on the GCC CO2 lasercutter and Roland Vinylcutter.
- Ozgun showed her Vinyl asssigment as an inspiration and introduced us to the Cricut.
# Parametric Construction Kit
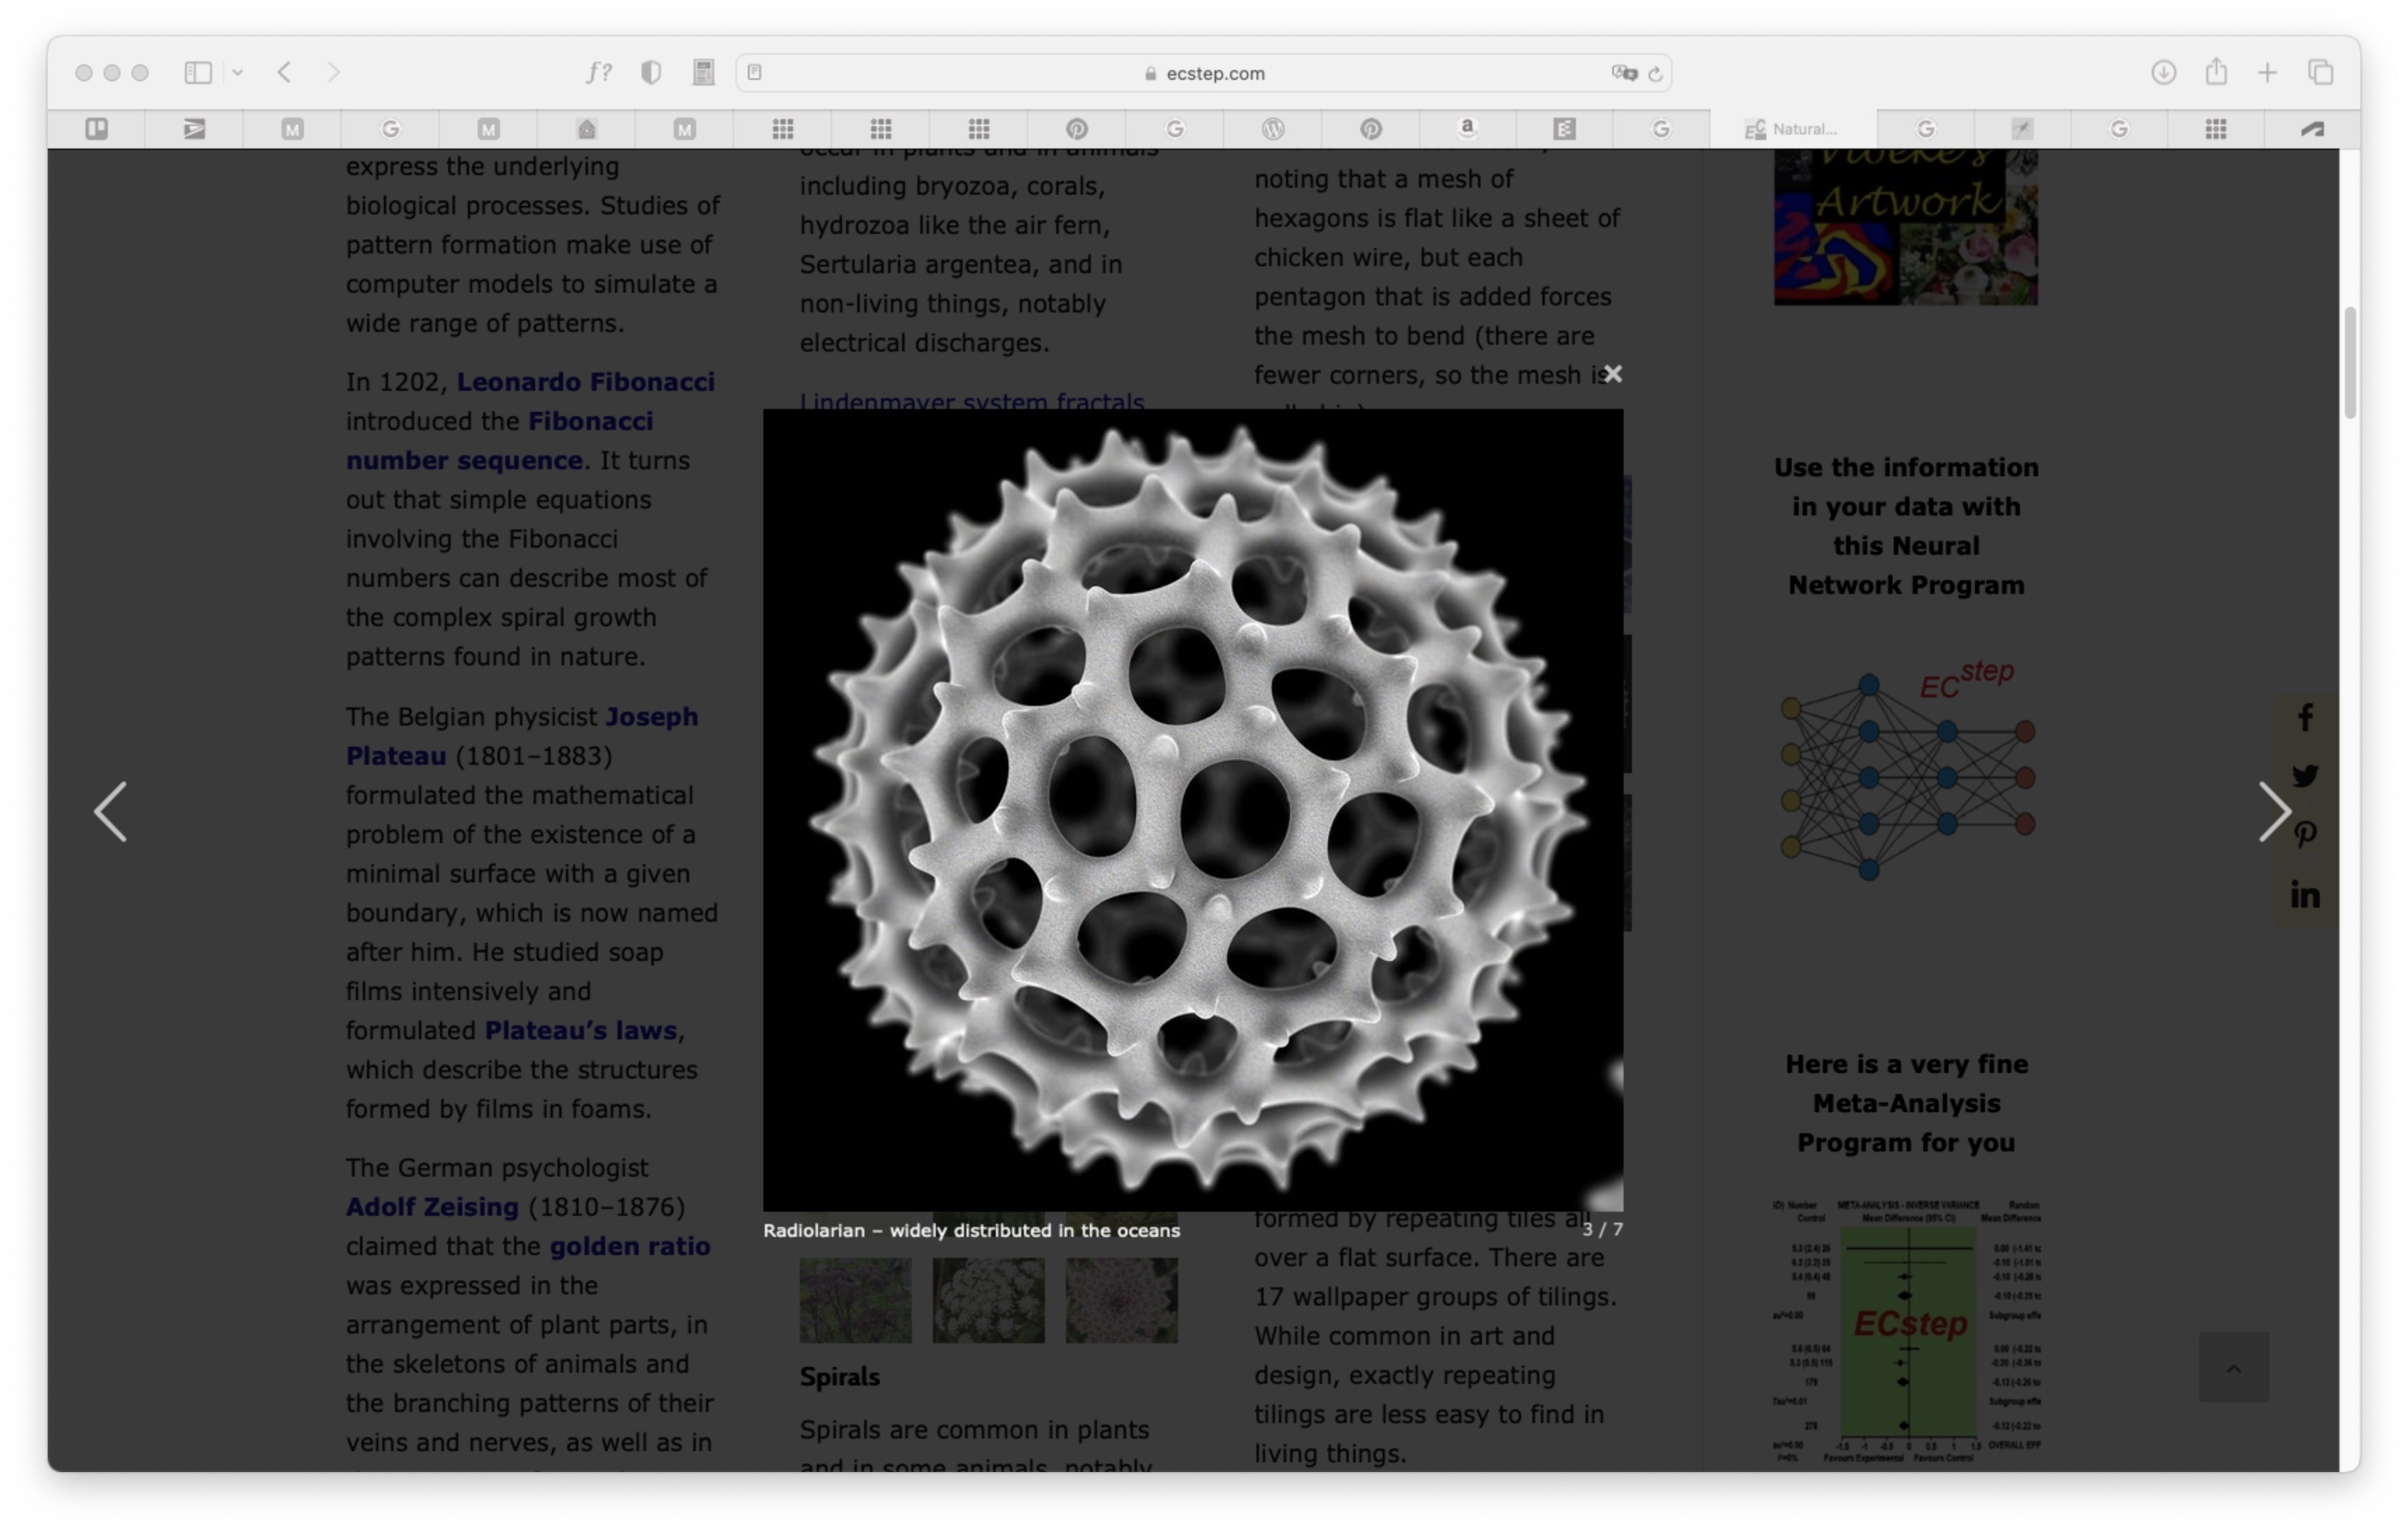
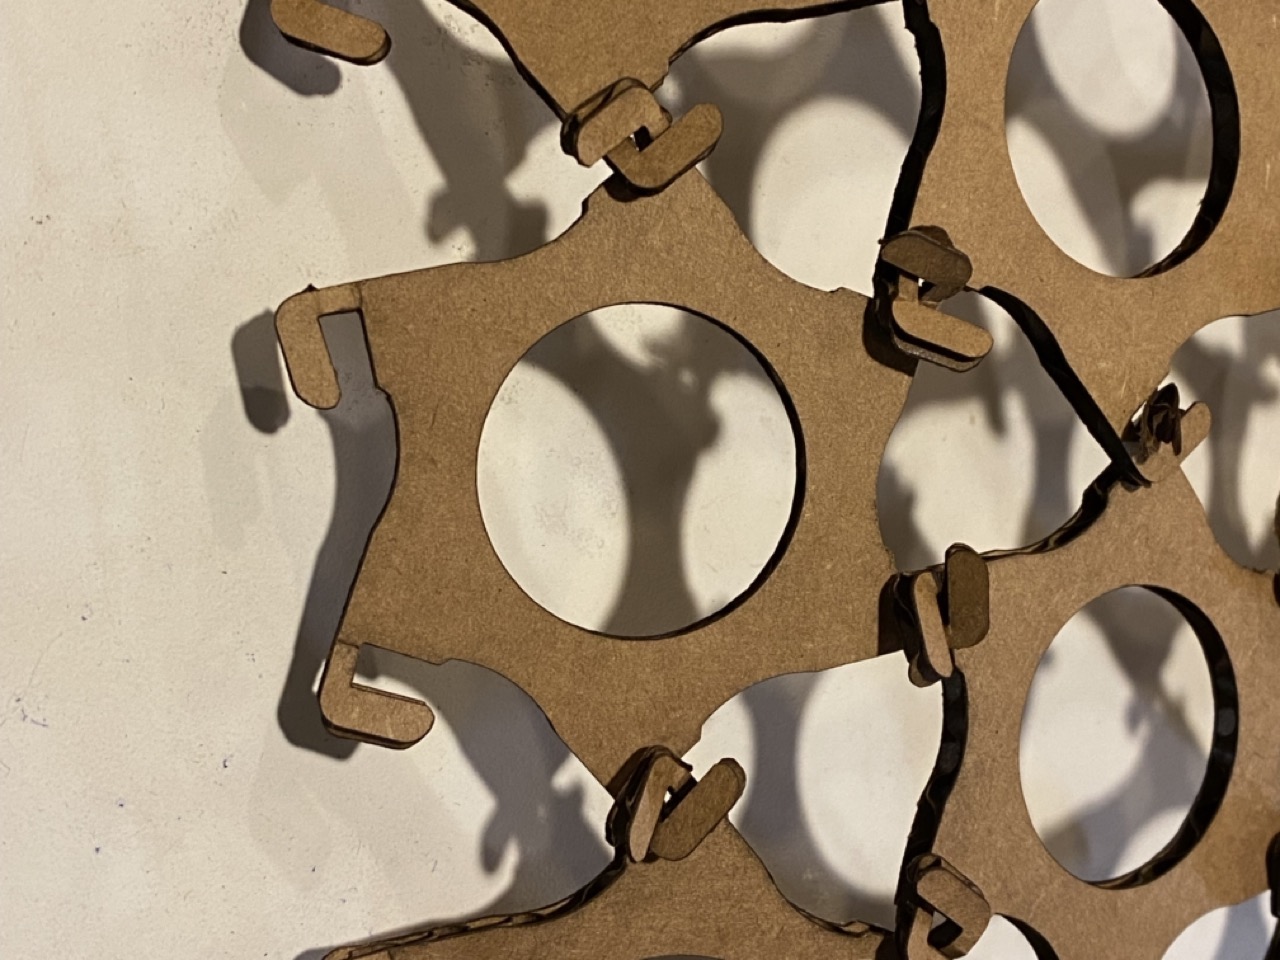
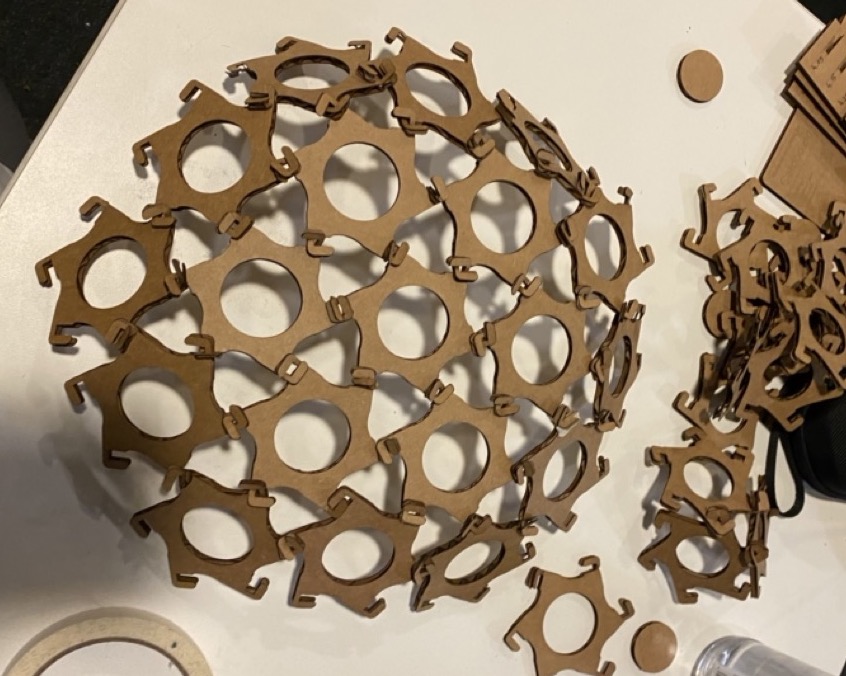
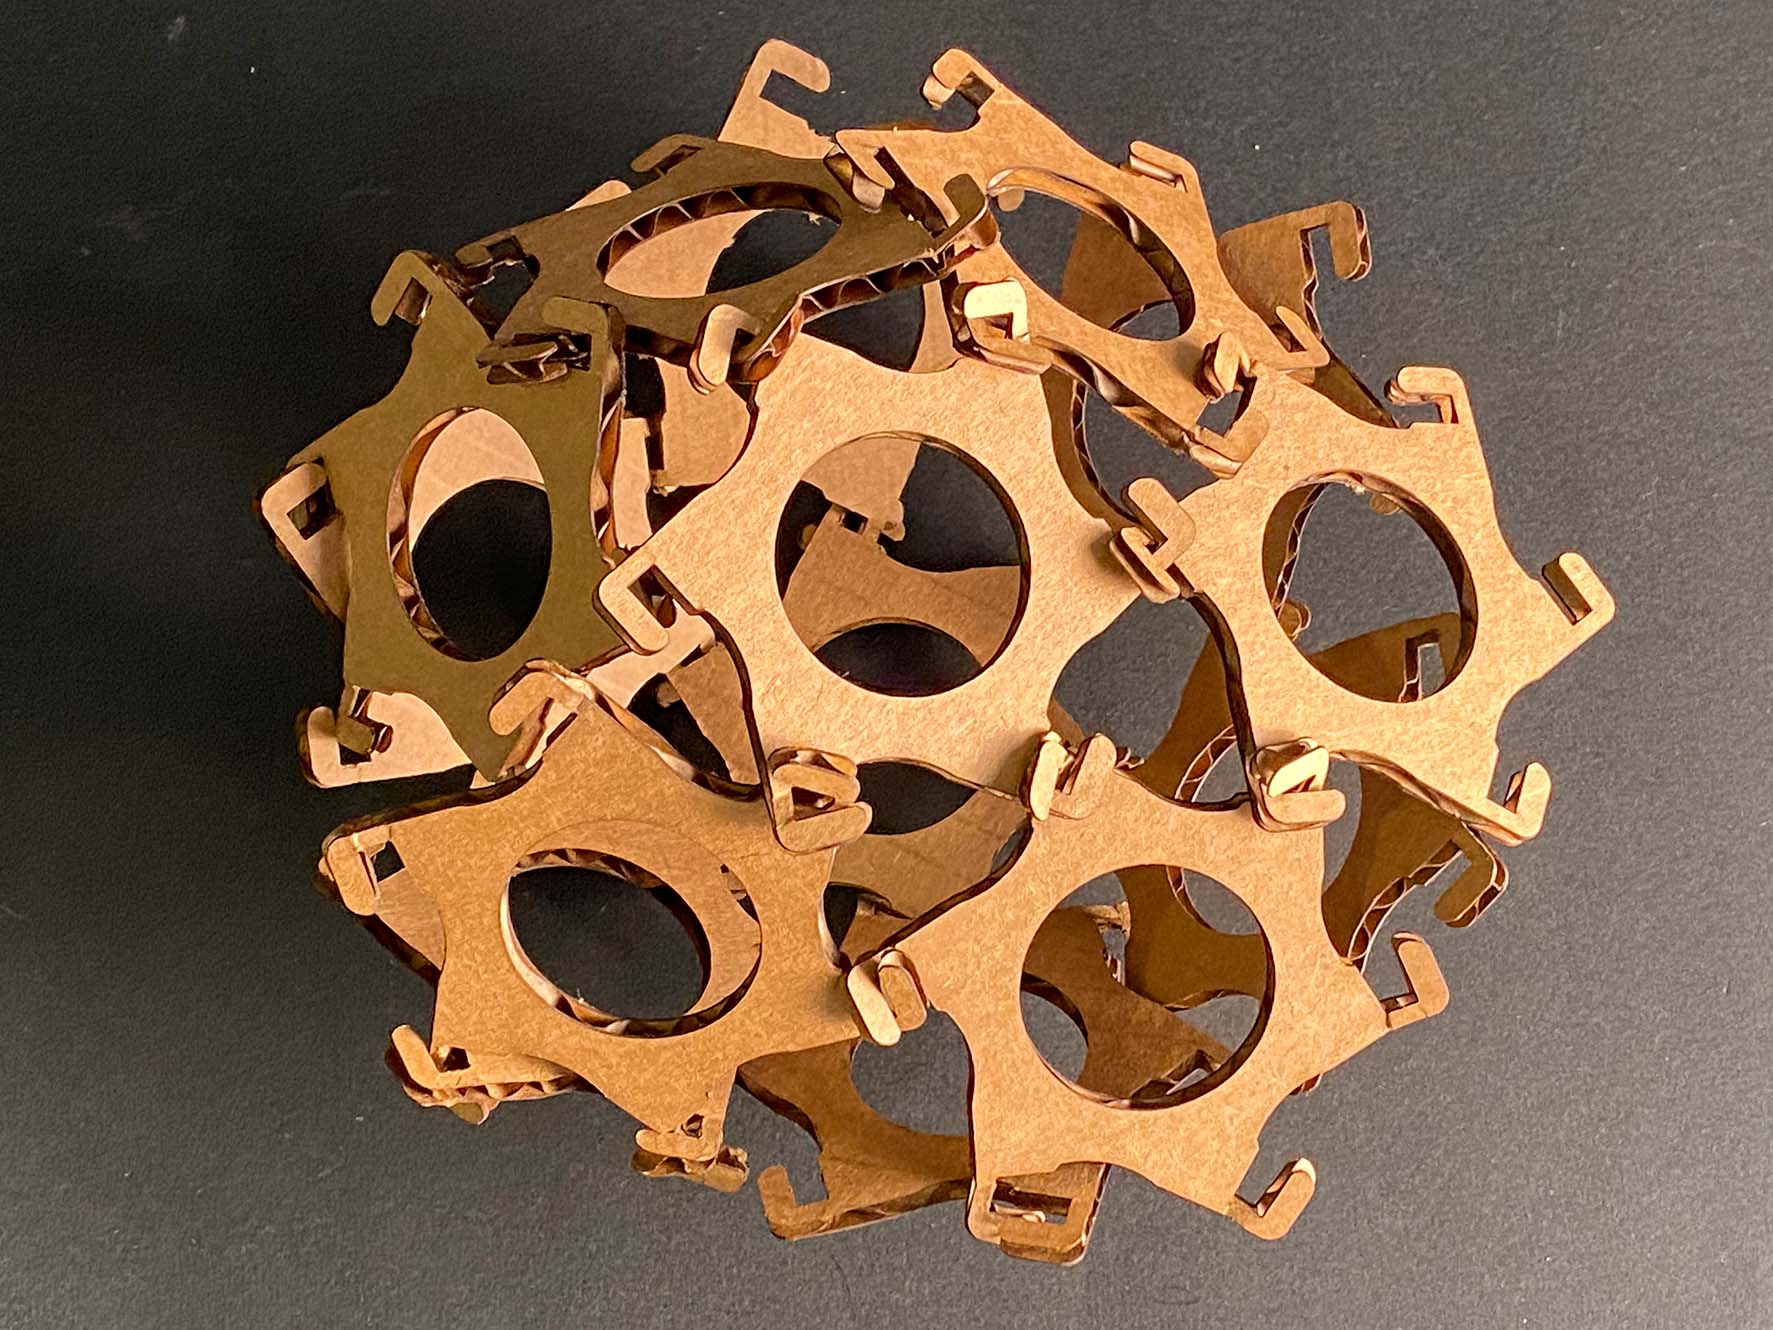
I was inspired by the Radiolarian, a zooplankton, made out of Hexagons and Pentagons. I used that as a base to create a construction kit that can be assembled to three dimensional shapes.
# Vinylcutter
I first tried out a laptop vinyl sticker to get used to the machine. The 2nd piece I cut, was a Kiragami piece. First I cut it out of paper and let the machine creased the mountain and valley folds.
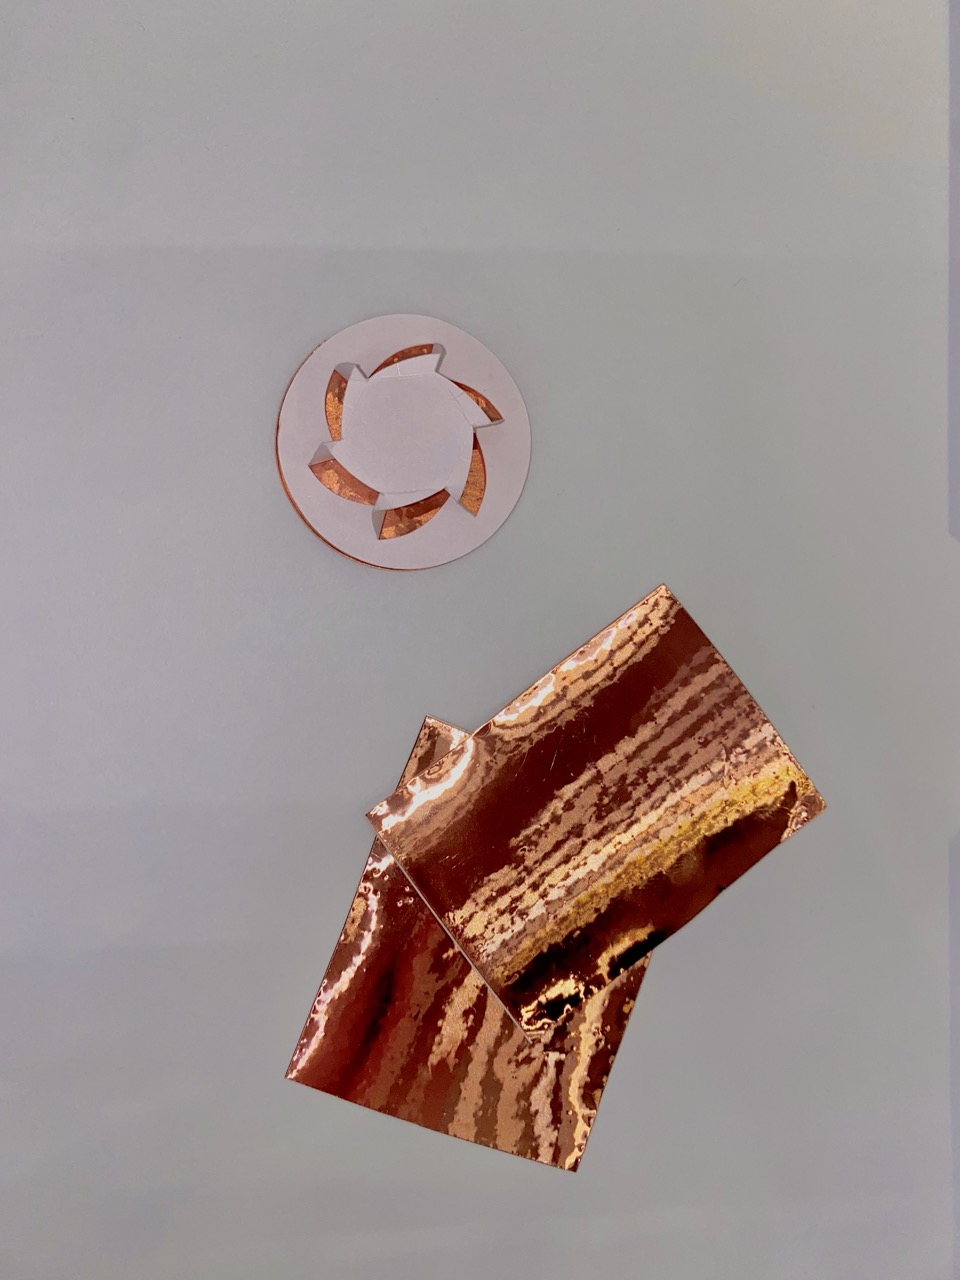
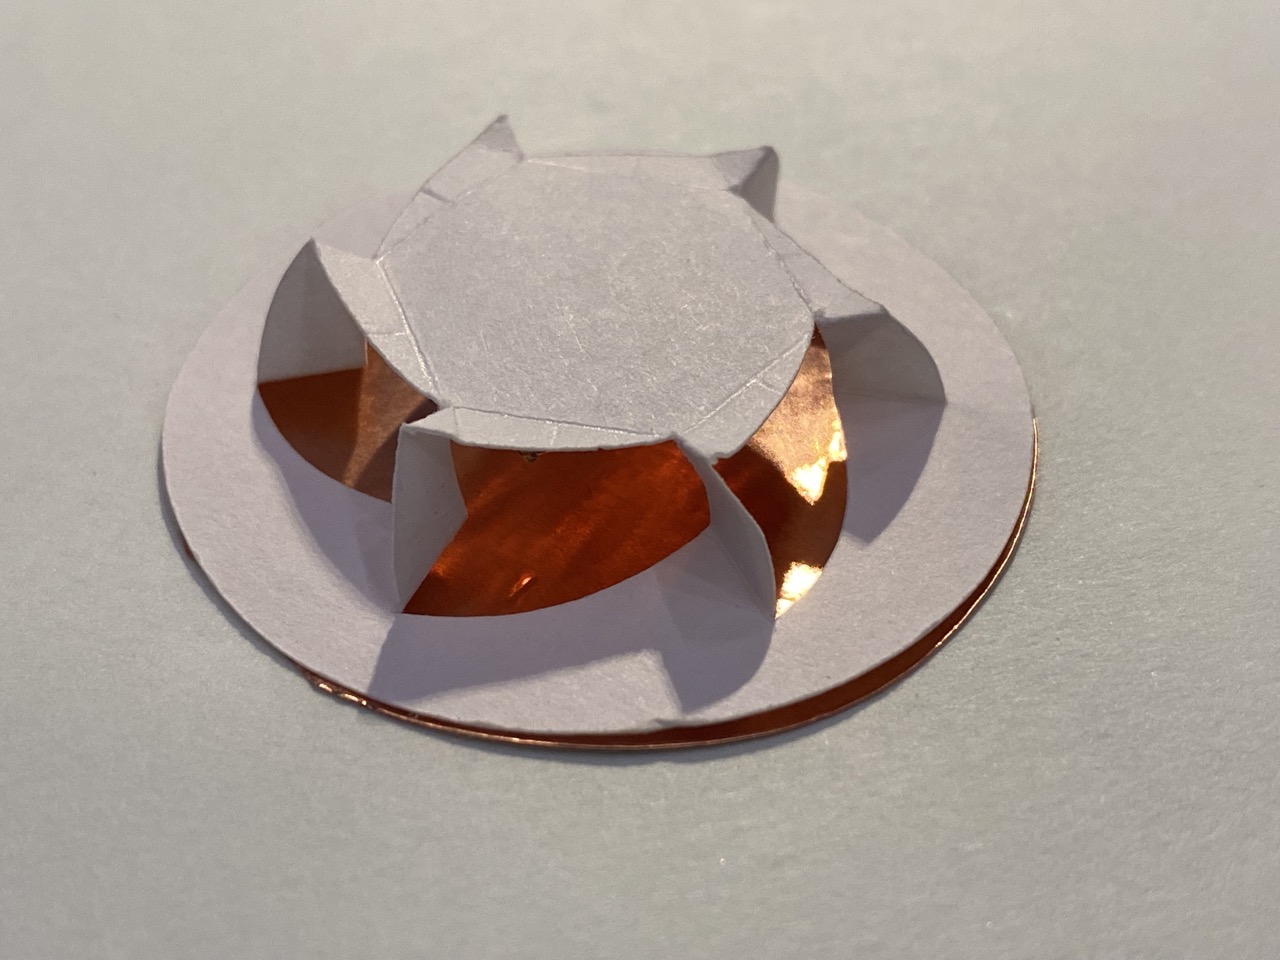
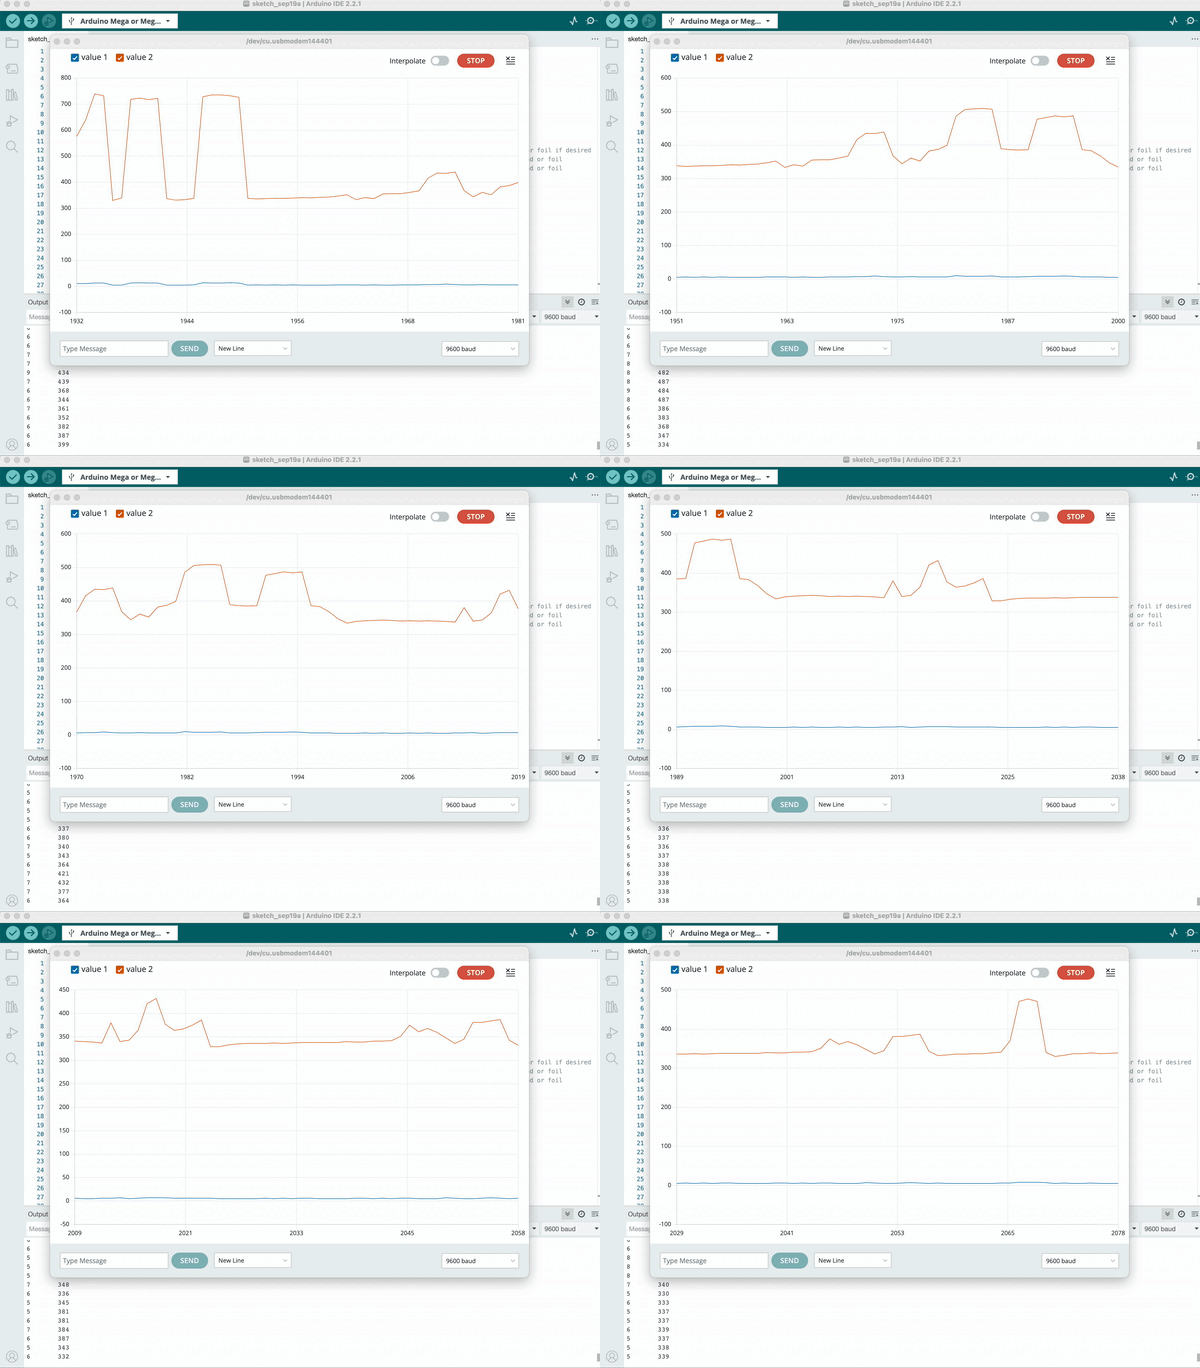
This structure reminded me of a button and with some copper tape, also cut by the Circut, I was able to make a simple Kirigami sensor.
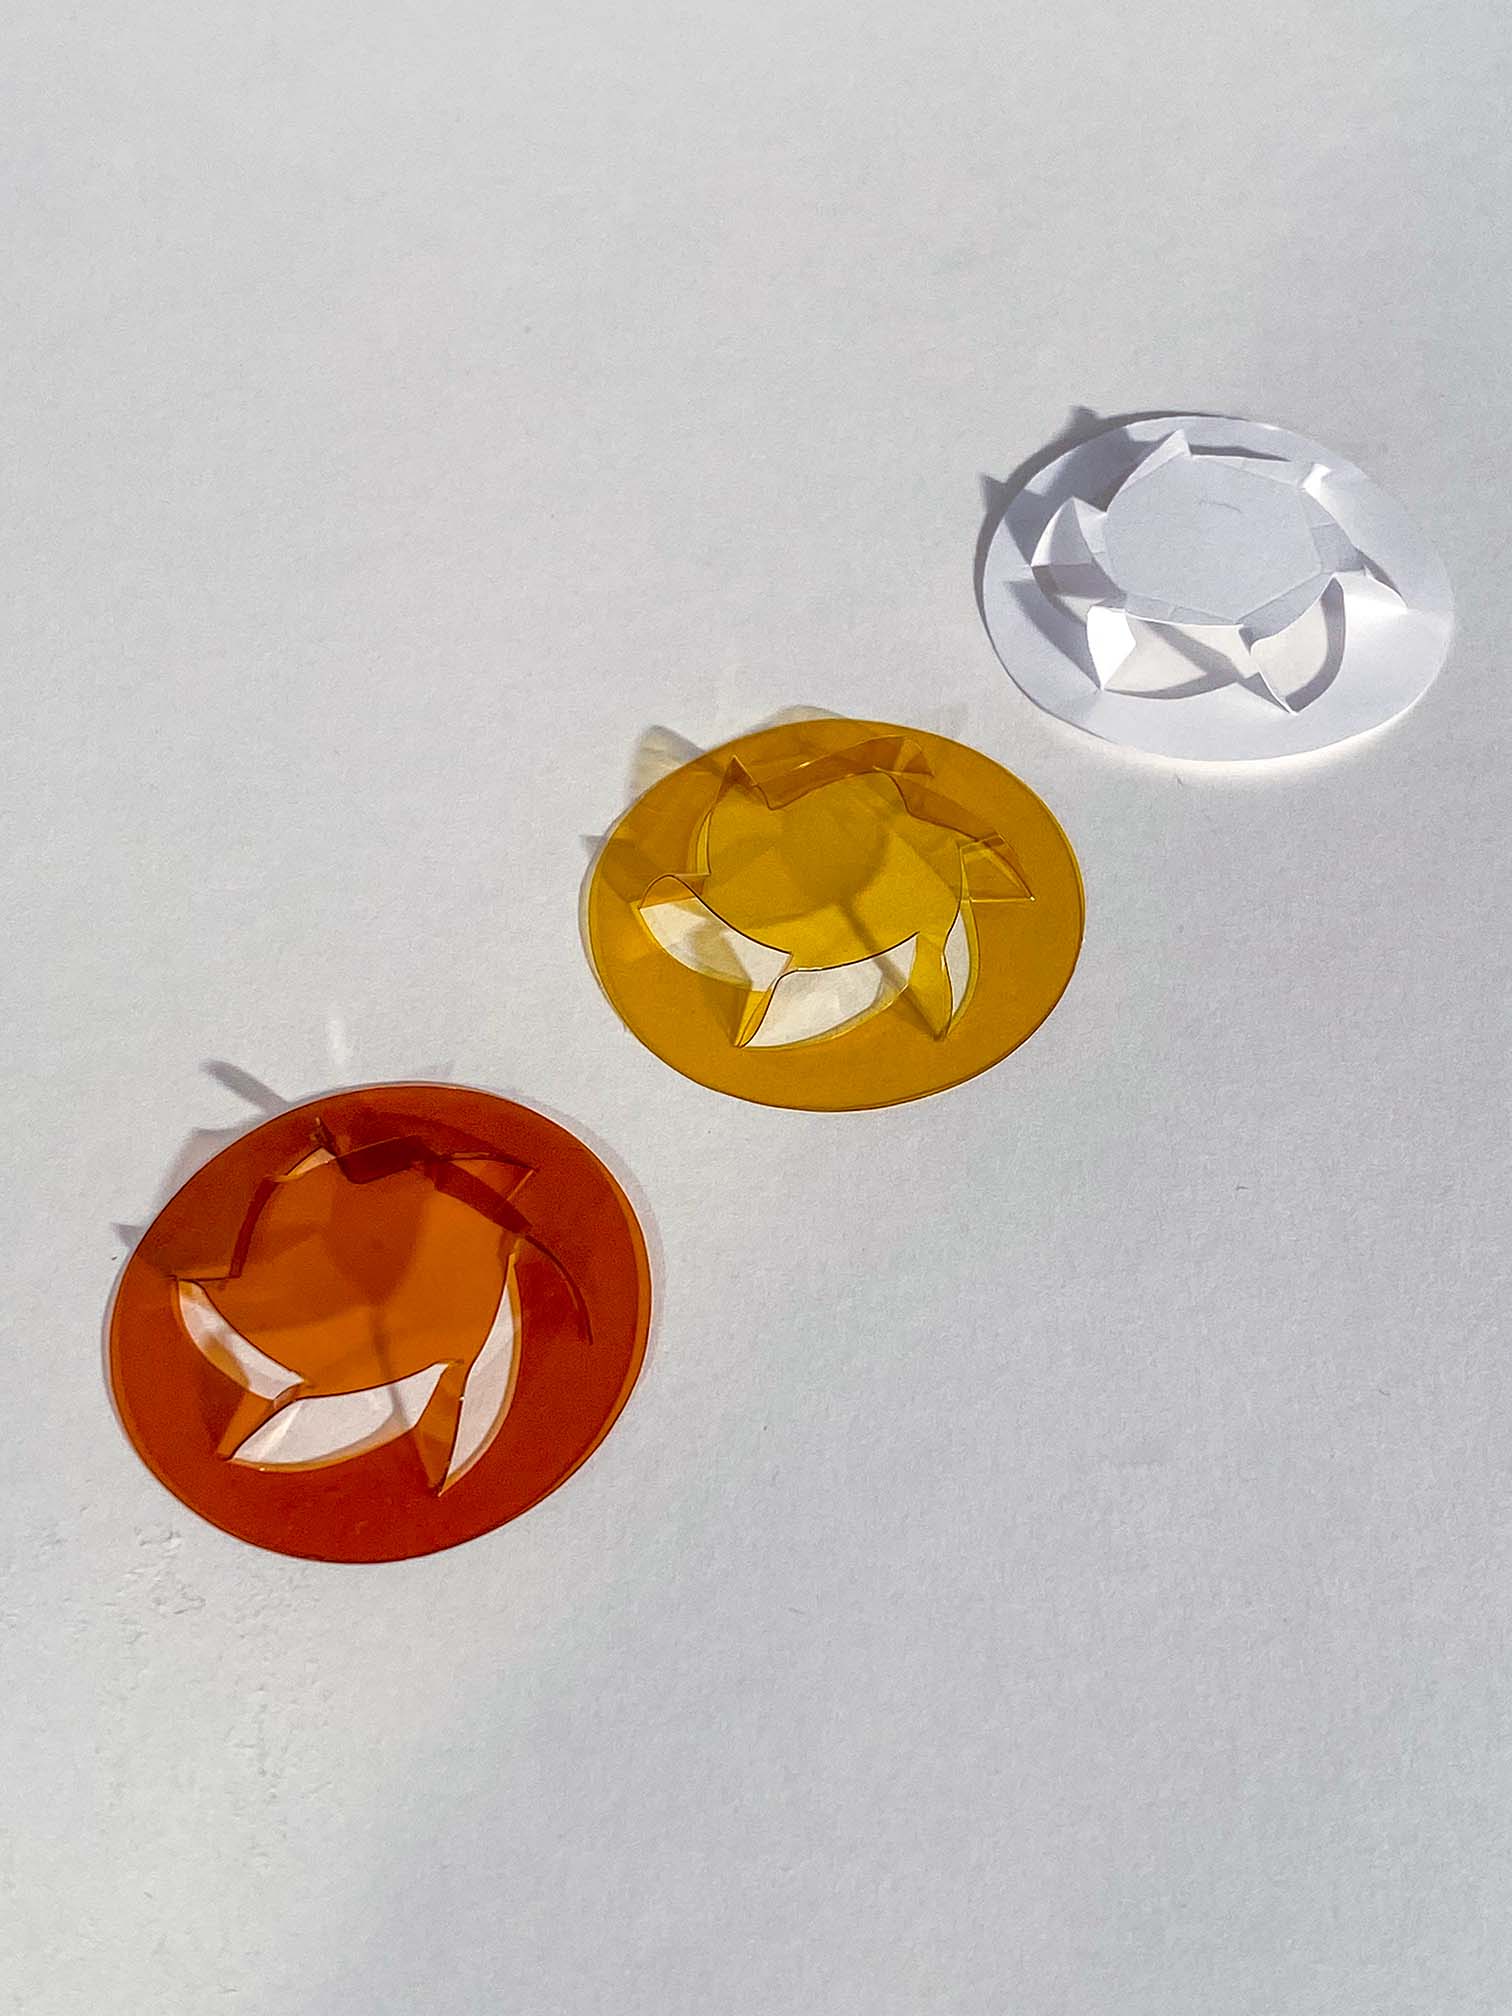
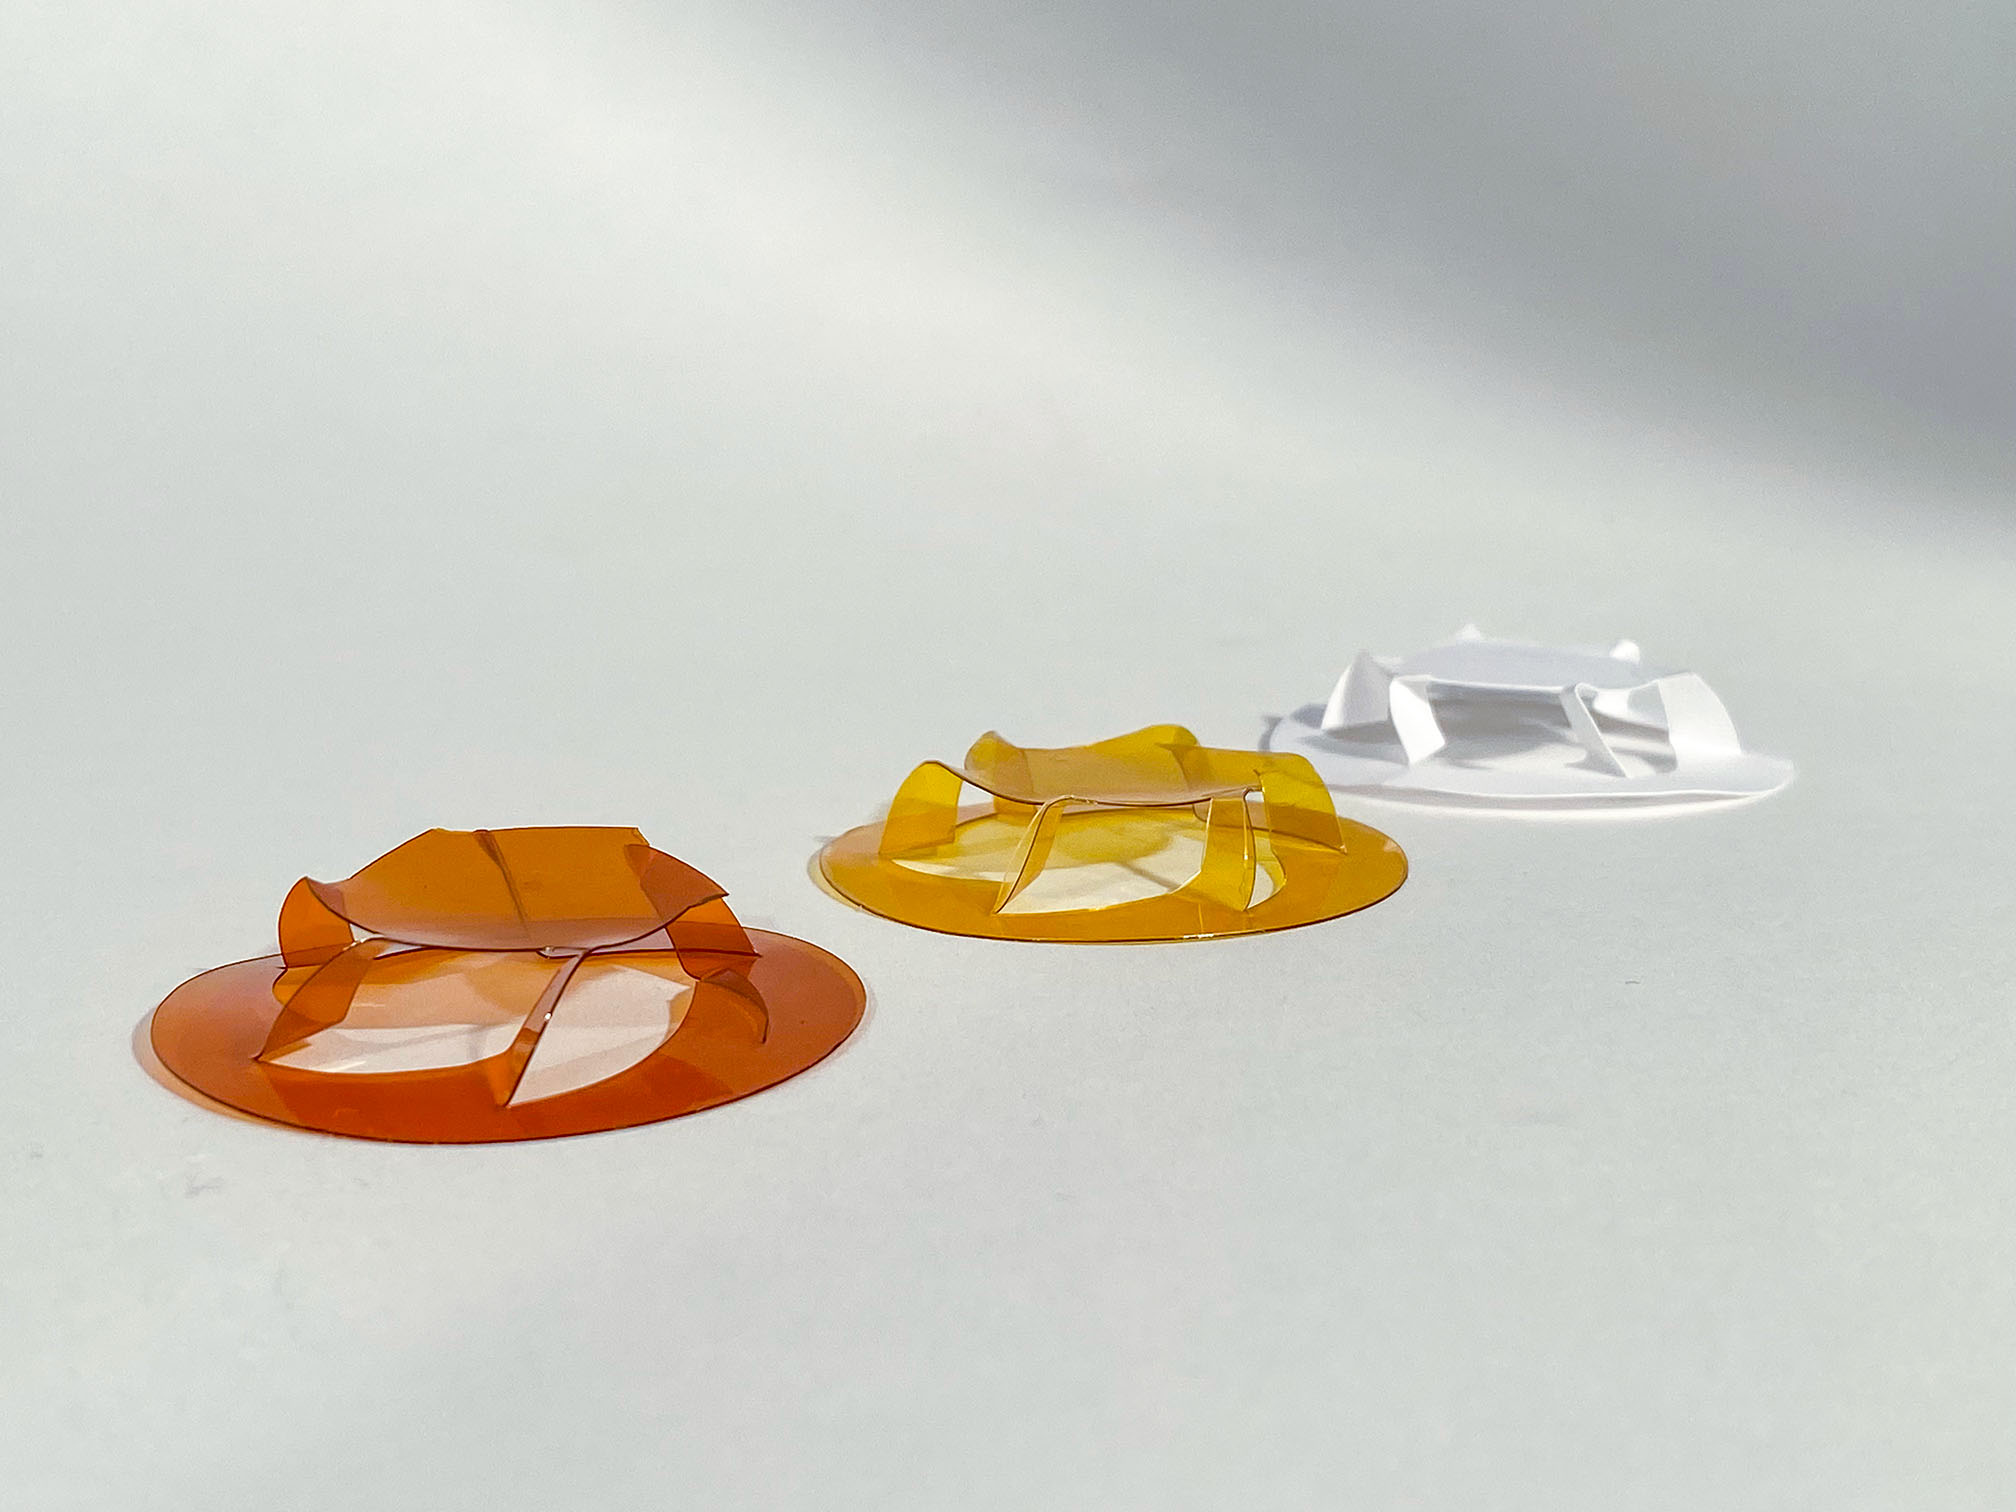
With that in mind, I tried out different materials to test the haptic feedback. The ideal material turned out to be 0.15 polyamide film (yellow). The 0.25 polyamide (orange) was to thick to be creased properly on a small scale and easily becomes brittle when bended.


# Next steps
In the future I could imagine exploring different geometries, as this paper describes.
[Kirigami Haptic Swatches](https://dl.acm.org/doi/10.1145/3313831.3376655)
# Show and Tell
///
## Resources
- design files
- [Radiolarian kit](https://a360.co/3NBg8GT)
- [Kirigami button](../week-1/files/kirigami_btn.svg)
- [Capacitive Touch / Step Response Ino](../week-1/files/capacitive_touch.ino)
- Lasercutter GCC
- make the cutter position each piece as your layout [guide](http://product.corel.com/help/CorelDRAW/540227992/Main/EN/Documentation/wwhelp/wwhimpl/common/html/wwhelp.htm#href=CorelDRAW-Laying-out-print-jobs.html&single=true)
- cardboard basic settings: 2.5speed, 100power, 200ppi
- Cricut design space
- Use svg
- 12x12 inches ground plate
- use **attach** to connect all pieces in cricut software
- if the crease to fold is not strong enough, you can copy and paste the line over the original line to make the cricut go twice.
- Talk to Ozgun (TMG), she is super helpful and knows a lot about the Vinylcutter!