←Index
10/18 Electronics Production
## Week 5:
In this week, we learned how to mill a pcb and how to solder components.
# Class notes
Show and Tell
- Fork final project
- map sub-pages in final
- Answer questions
- Does it make sense to be stuck at the interpretation stage? What is flashy and what is substance?
- How does routed pcbs look, play around with visual routing
- put svg to grasshopper
- fire with wind by [kae nagano](https://fabacademy.org/2019/labs/kamakura/students/kae-nagano/projects/final-project/)
- JLCPCB does 3D printing now!
- Etching, transfer printer toner as an etch mask, is an industry production Method
- Machining, do clamp or glue the board before milling
- z: the depth of the milling, key! set z to 0.
- layers
- 1 layer
- 1.5 layer: use 0ohm resistor as a bridge
- 2 layer: rivits give you clean connections between the top and the bottom
- layers: drill layer, solder mask, silkscreen
- CAM: gerber format, in-house we use printing
---
## Idea
- self-flapping crane - self moving nudibranch
- Vinyl cut boards
# 1) KiCad to PNG to G-Code
For my first PCB I chose to make a firefly - a pcb shaped like an insect with a blinking Neopixel at the back. First I used the Attiny48, because of its size but Quentin suggested to use SAMD11C14A, because
- It is more modern
- It has pins that can communicate with USB A D+ and D-
Remeber:
- check the line thickness when routing, it should be 0.4mm.
- Connect RST, SWDIO and SWCLK to something, so you can flash the microcontroller
I chose the 90degrees Headers to make it look like insect feet.
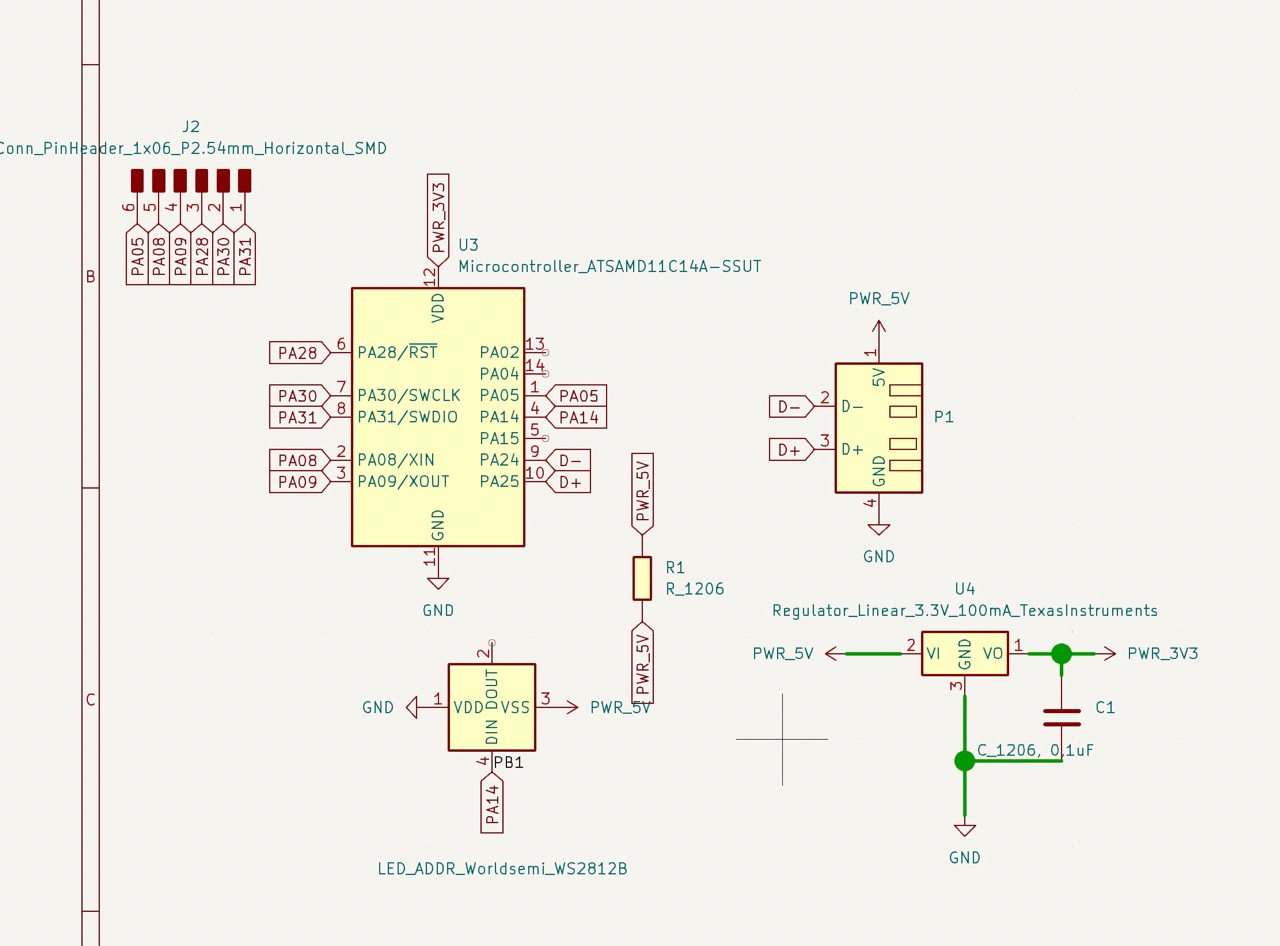

Then I used [gerber2img](https://quentinbolsee.pages.cba.mit.edu/gerber2img/) and [mods'](https://modsproject.org) G-code mill 2D PCB function to get the G-code.
**TIP:** When you have funky pcb shapes and want to make sure gerber2img takes the same origin for both milling and edge cut, make a copy of the edge cut line to wiring. In that way, the canvas size of the wiring and cut line are the same, with the extra cost that the CNC machine will mill the cut line.
# 2) Milling
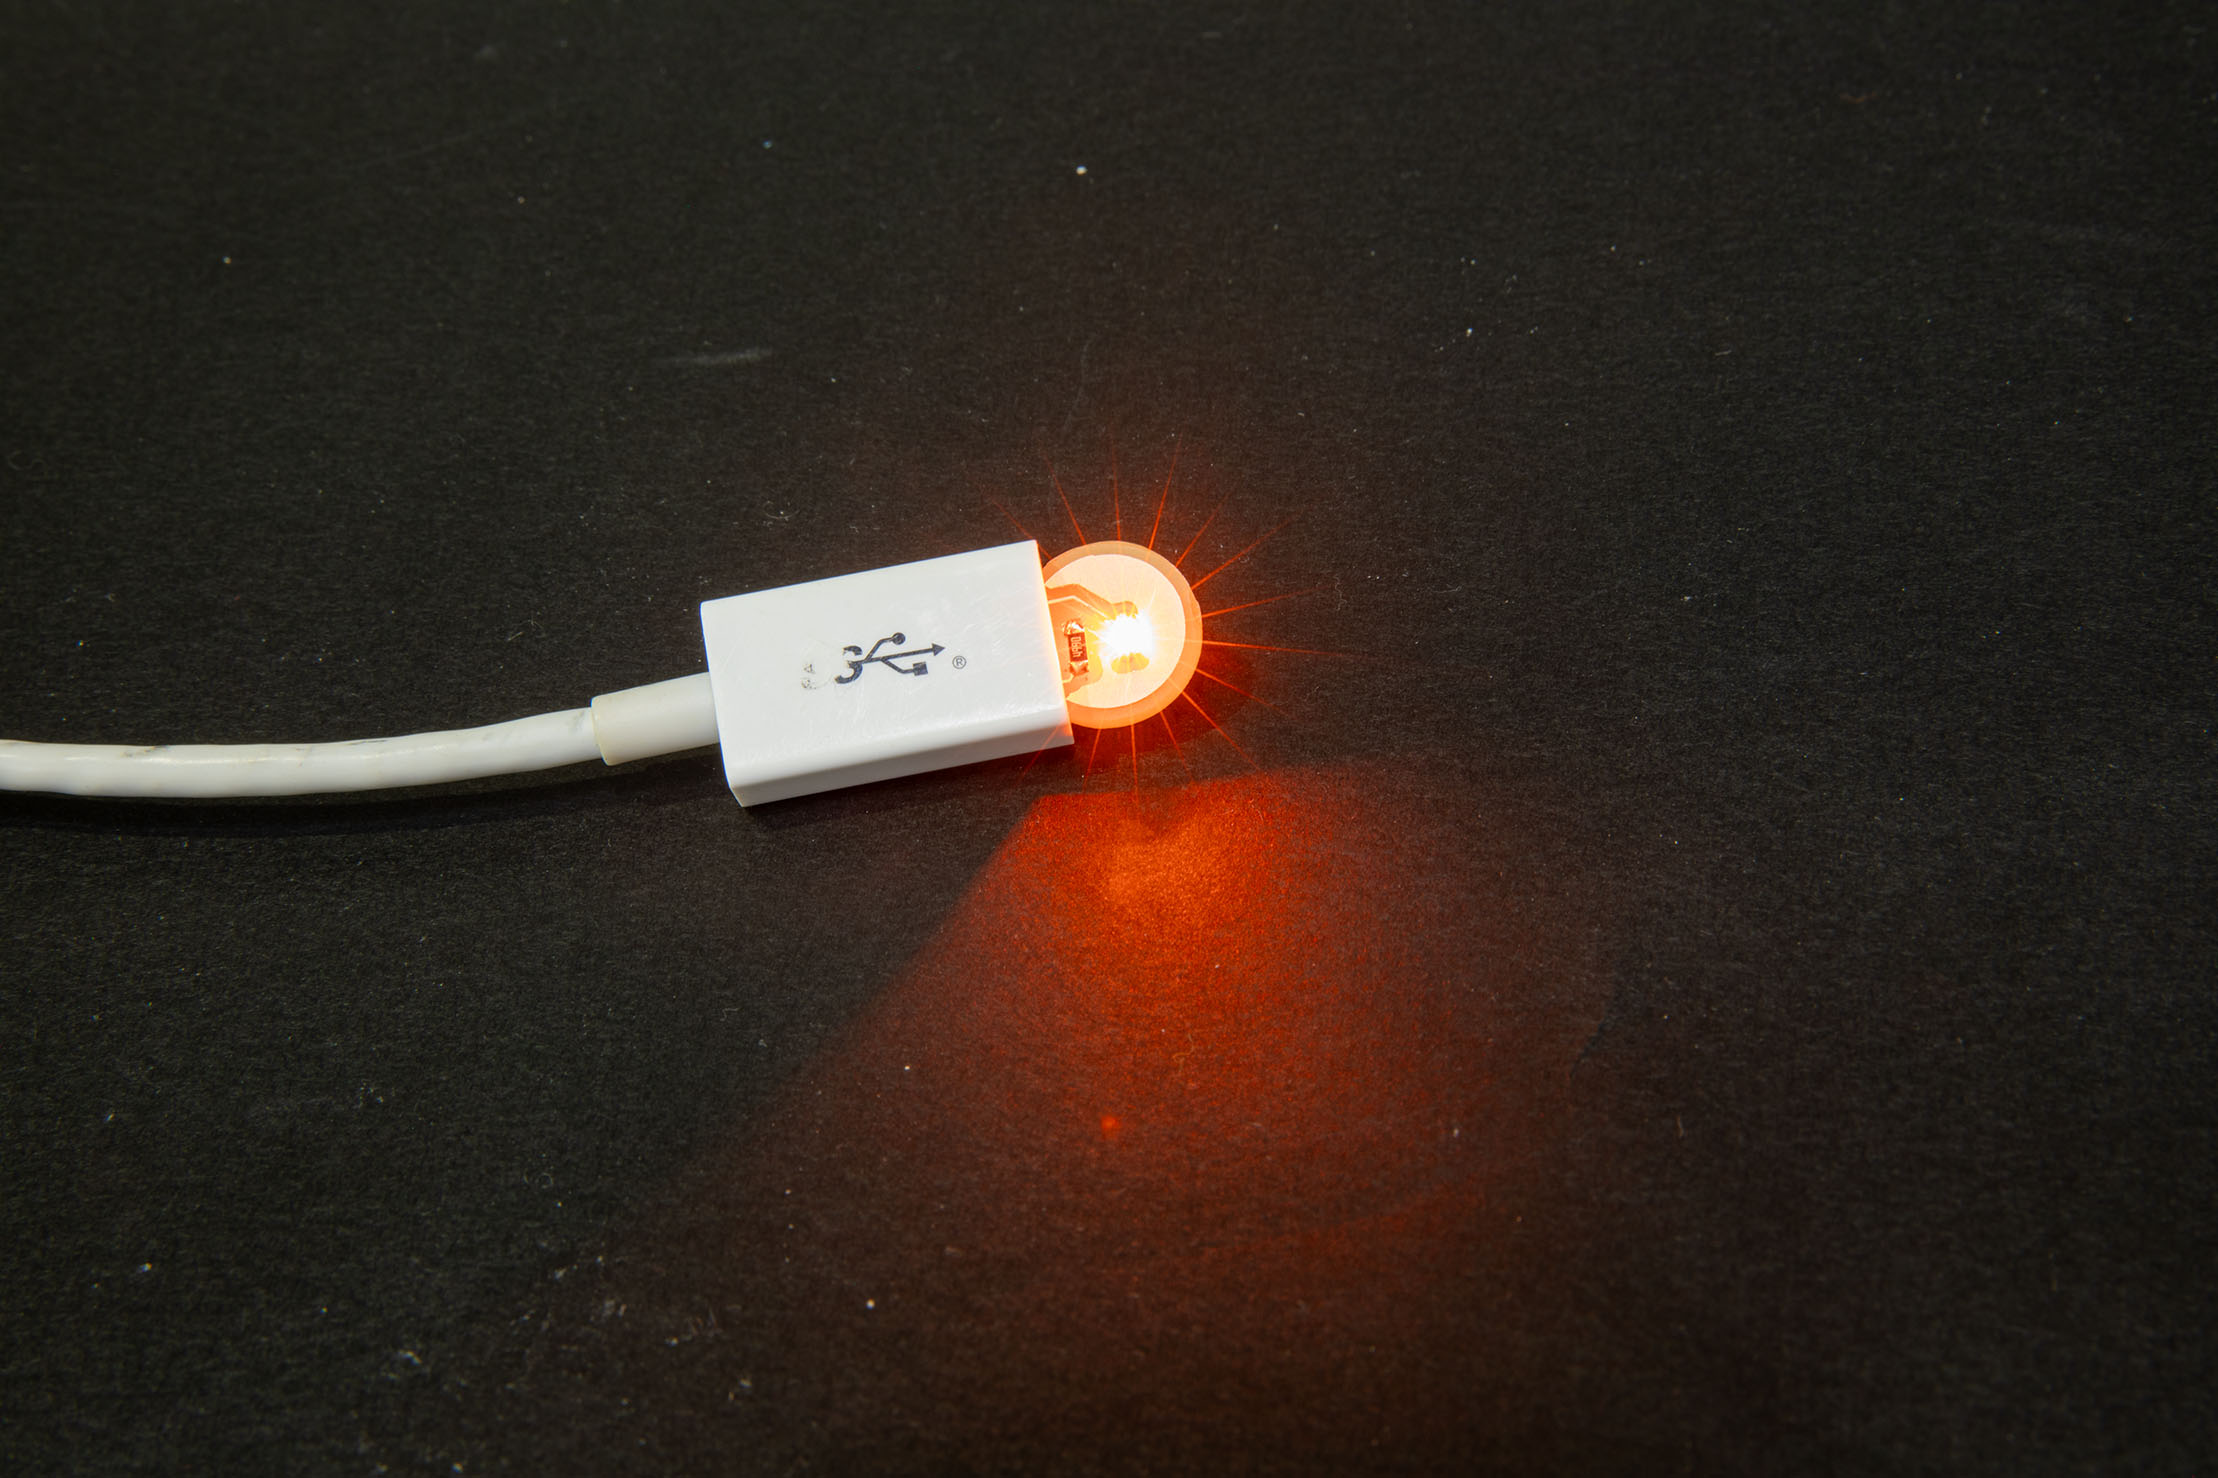
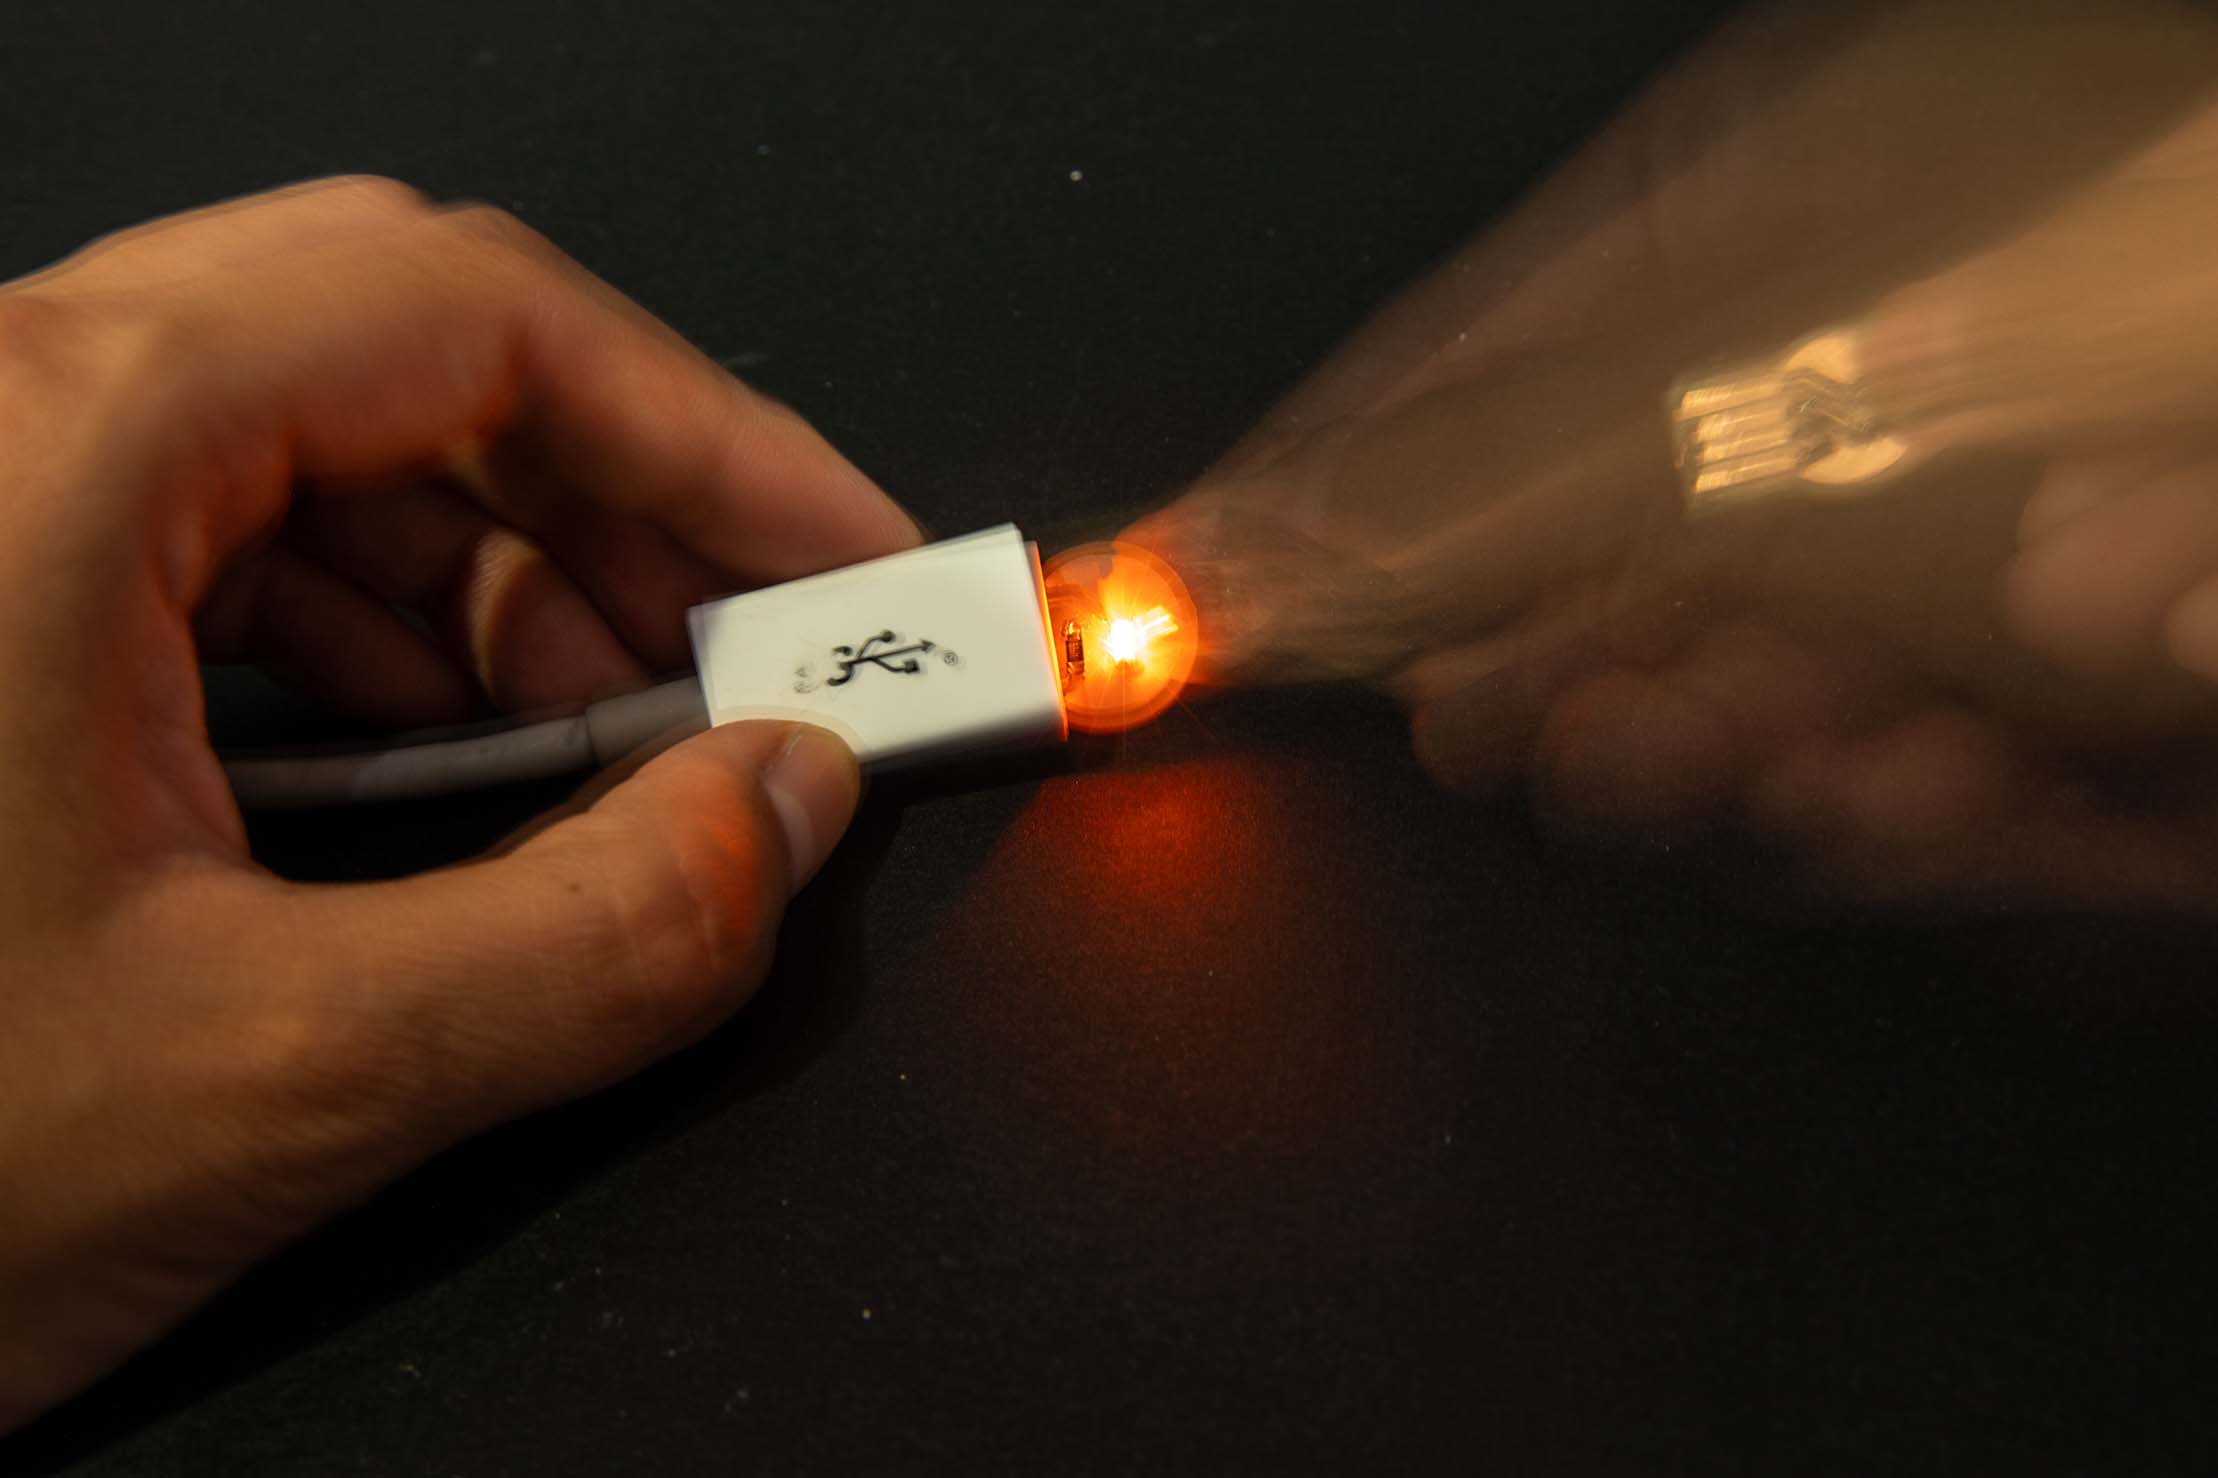
To learn about milling, I made a smaller, simpler pcb to save time. It's a light bulb.
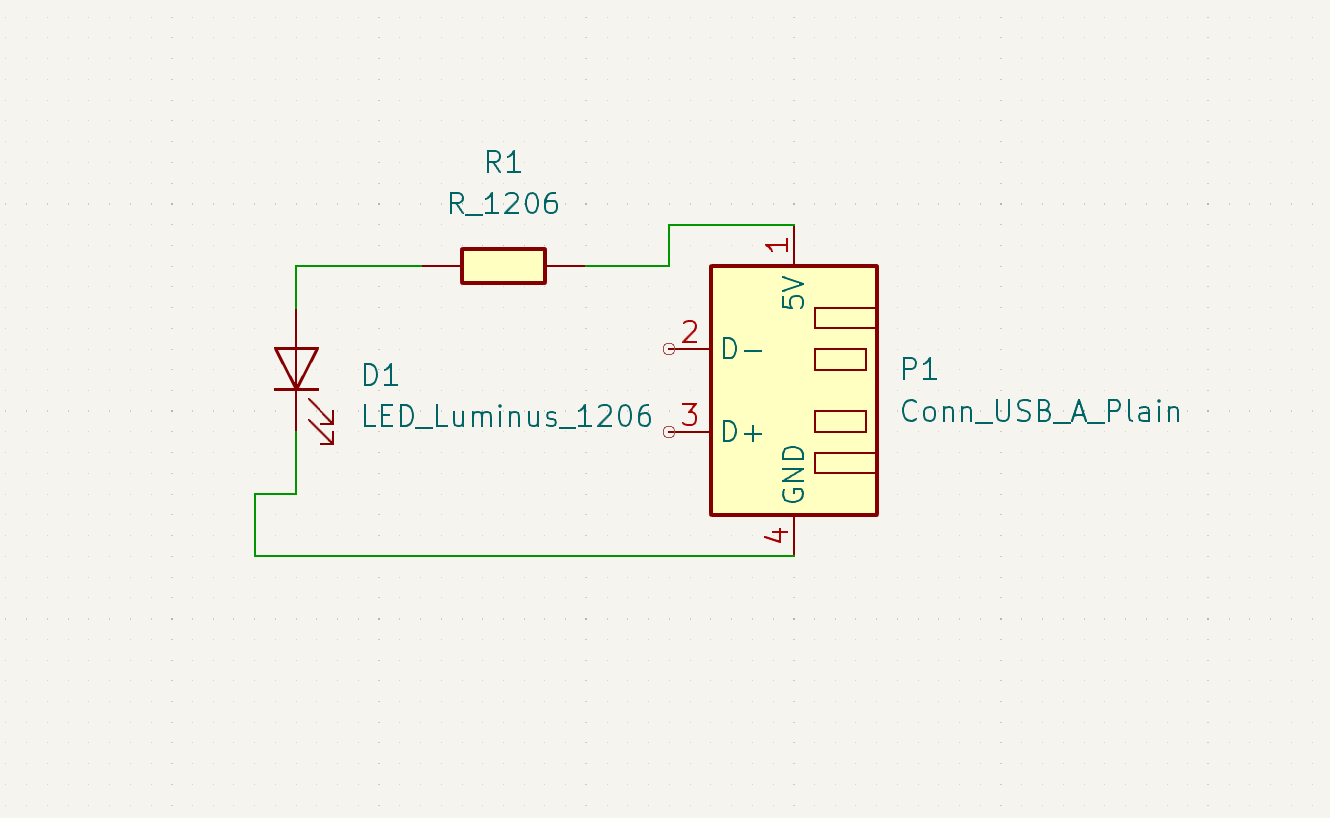
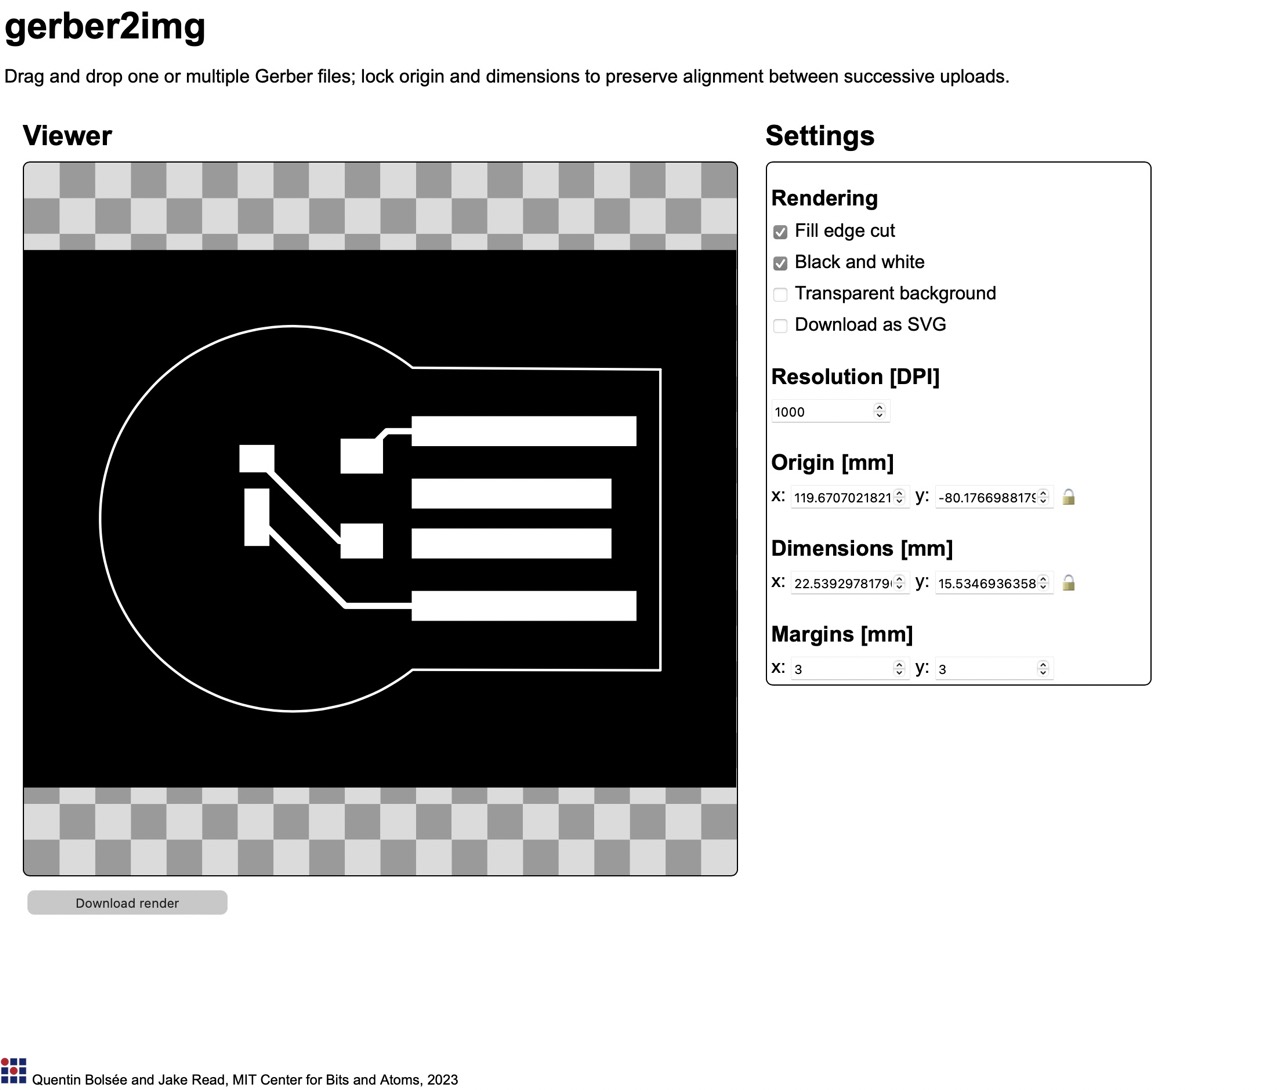
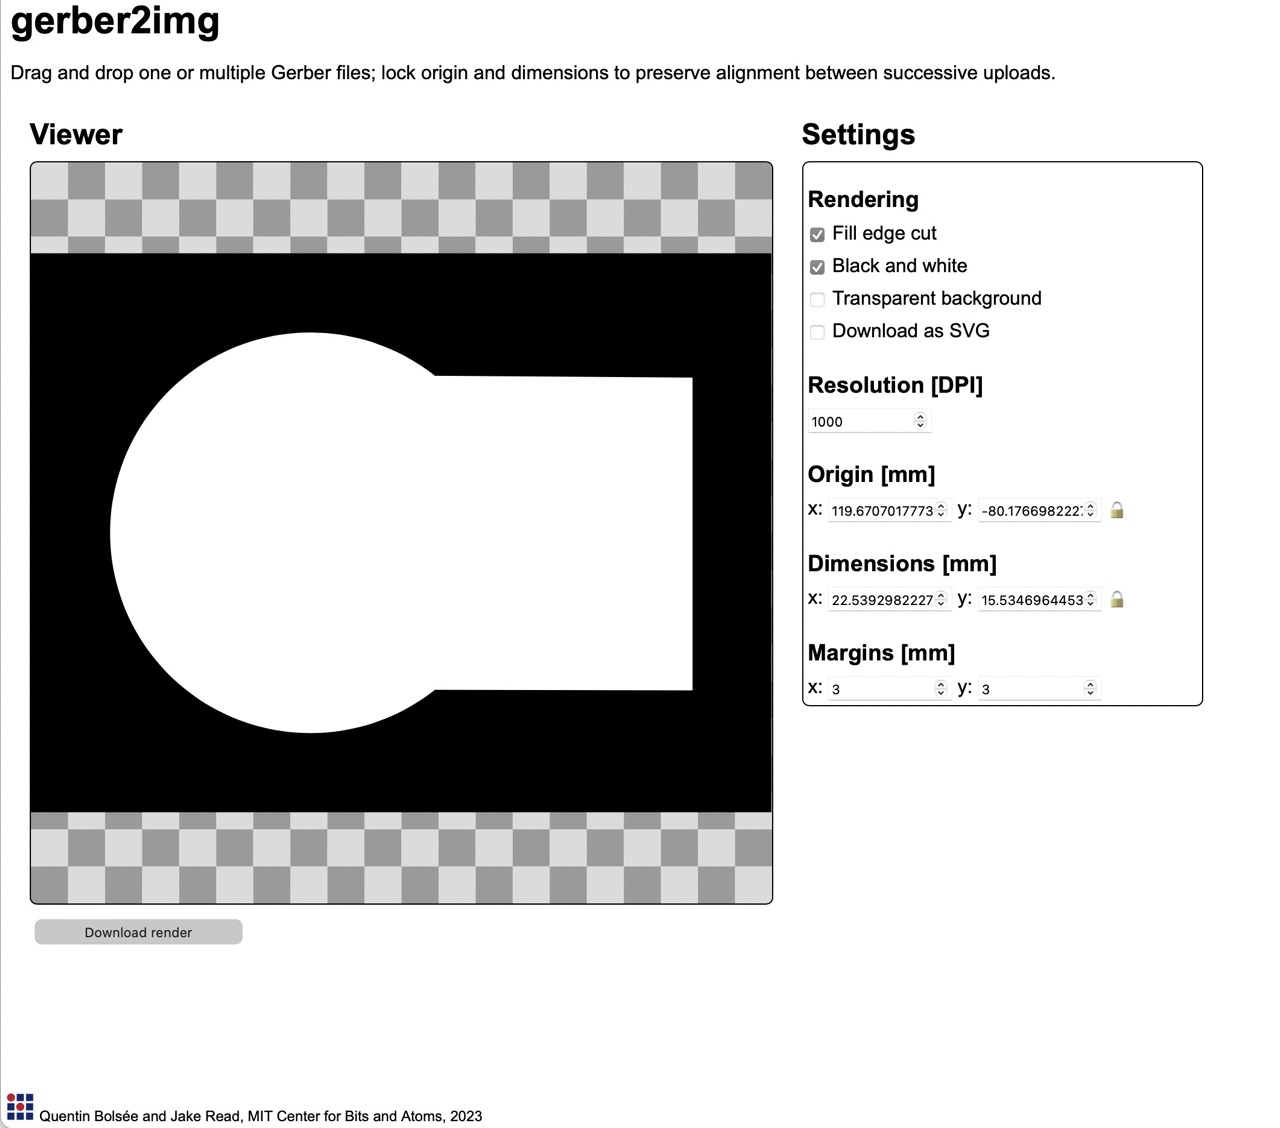
The leveling of the bed was uneven. I had to mill 3times going 0.01 mm deeper and then 0.1mm deeper before the path was clean.
**Tip:** you can modify the mods to max depth 0.008 and offset number to 3 to make it mill more efficiently.
# 3) Kirigami + PCB
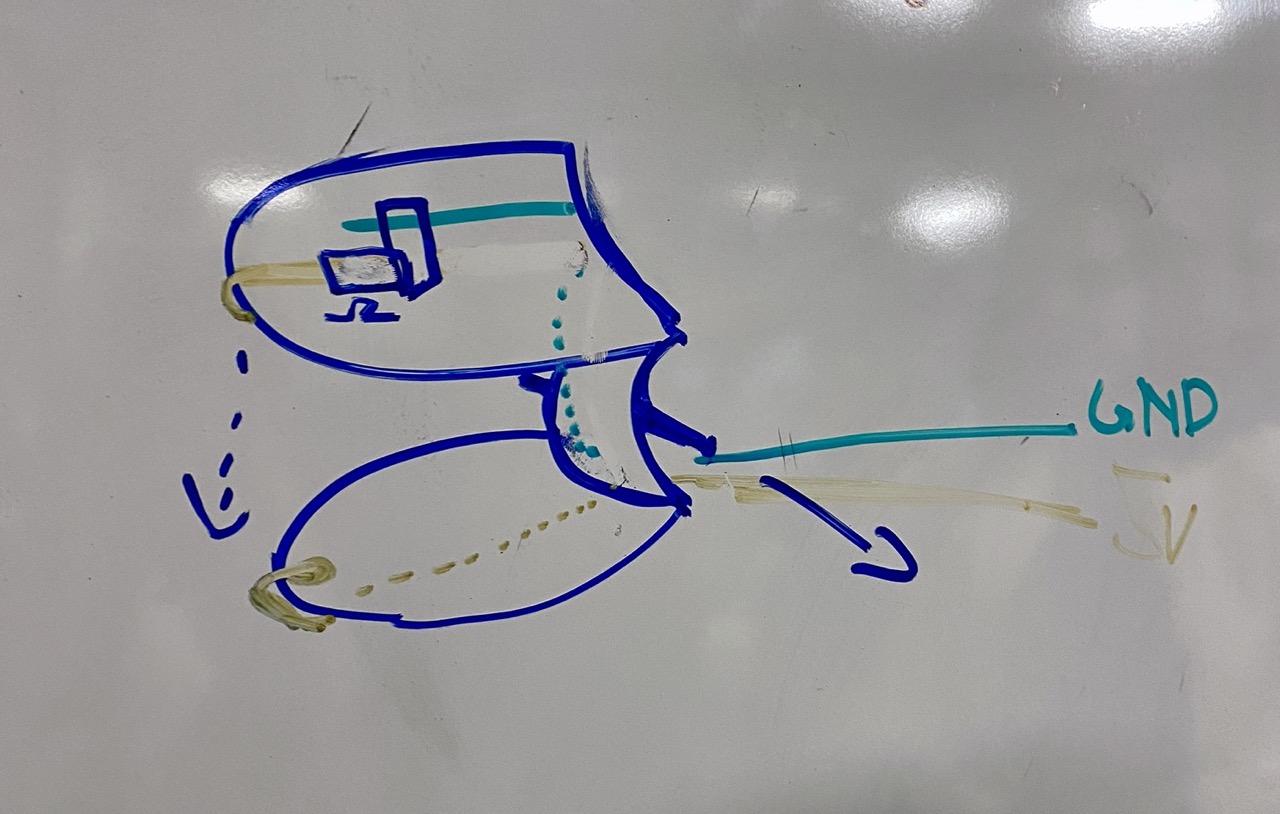
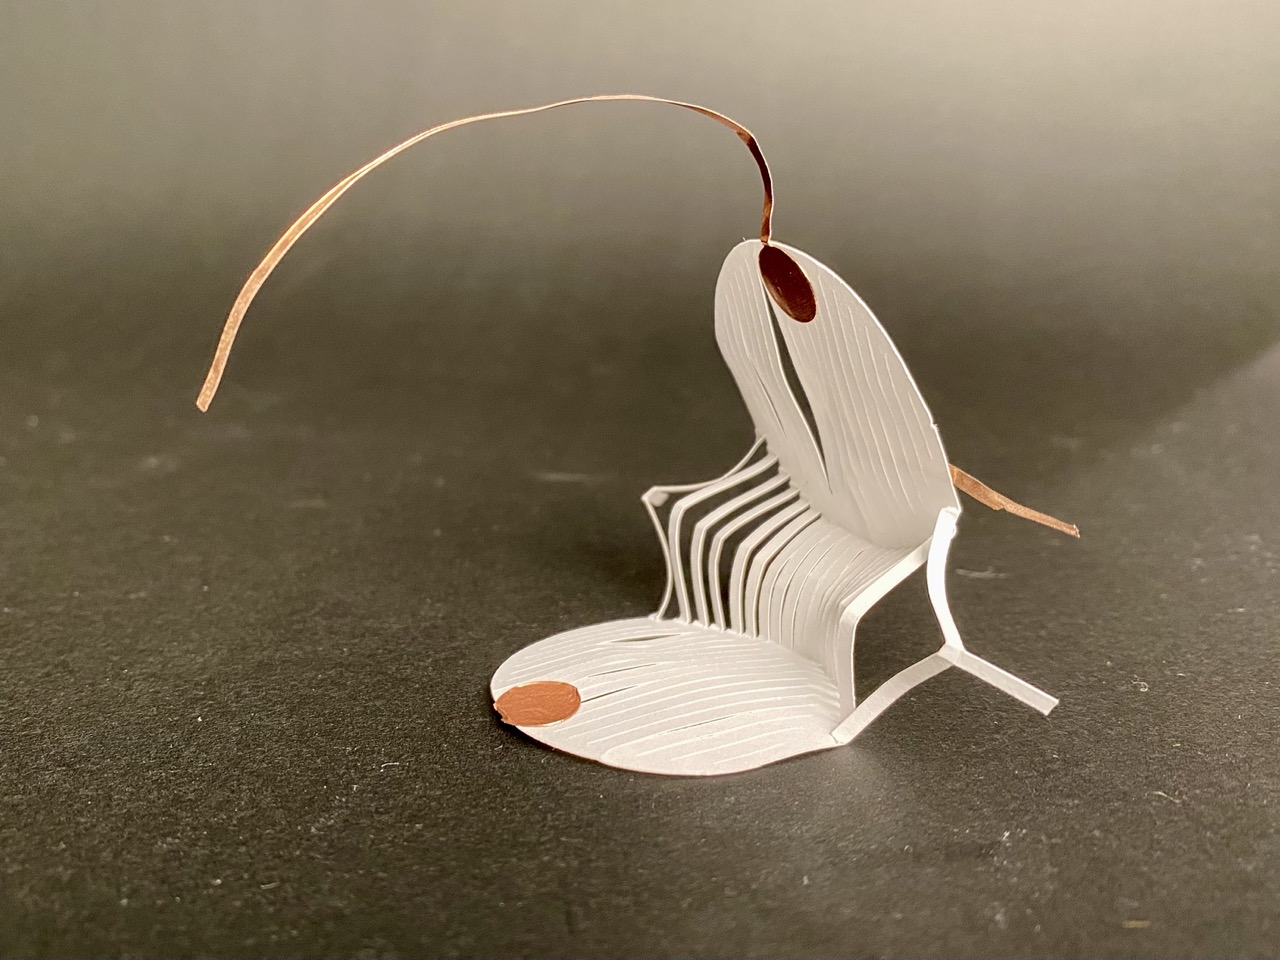
Since I had a lot fun with the Cricuit vinyl cutter, I decided to try out FlexPCB. I wanted to make use of the flexibility and do a circuit that isn't flat. With Kirigami, the geometry of the incuts and the perimeter of shapes can controll the motion. This shape specifically can be acutated by pulling on latches on the sides and translate a horizontal movement to a vertical movement.
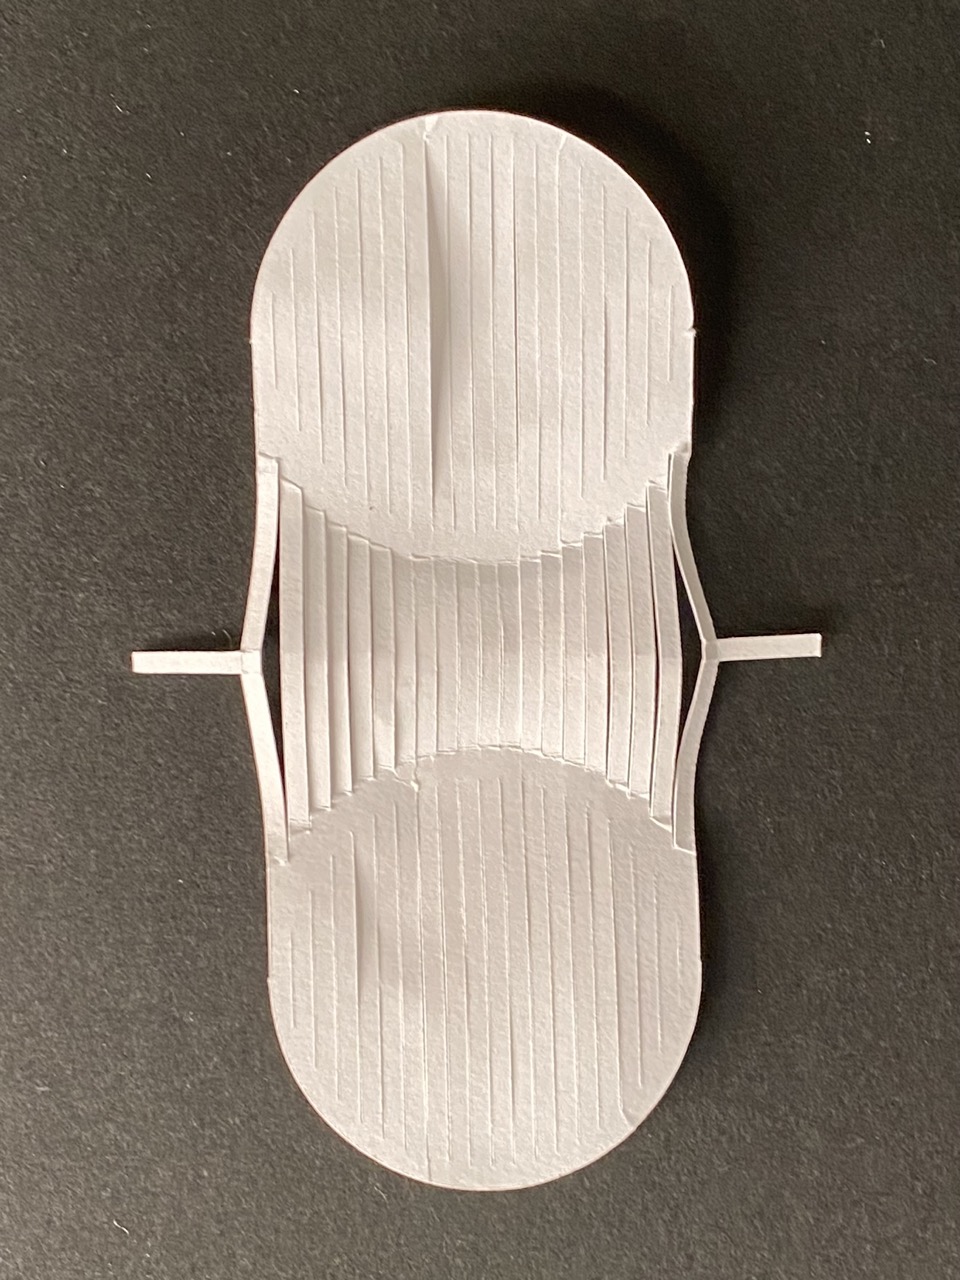
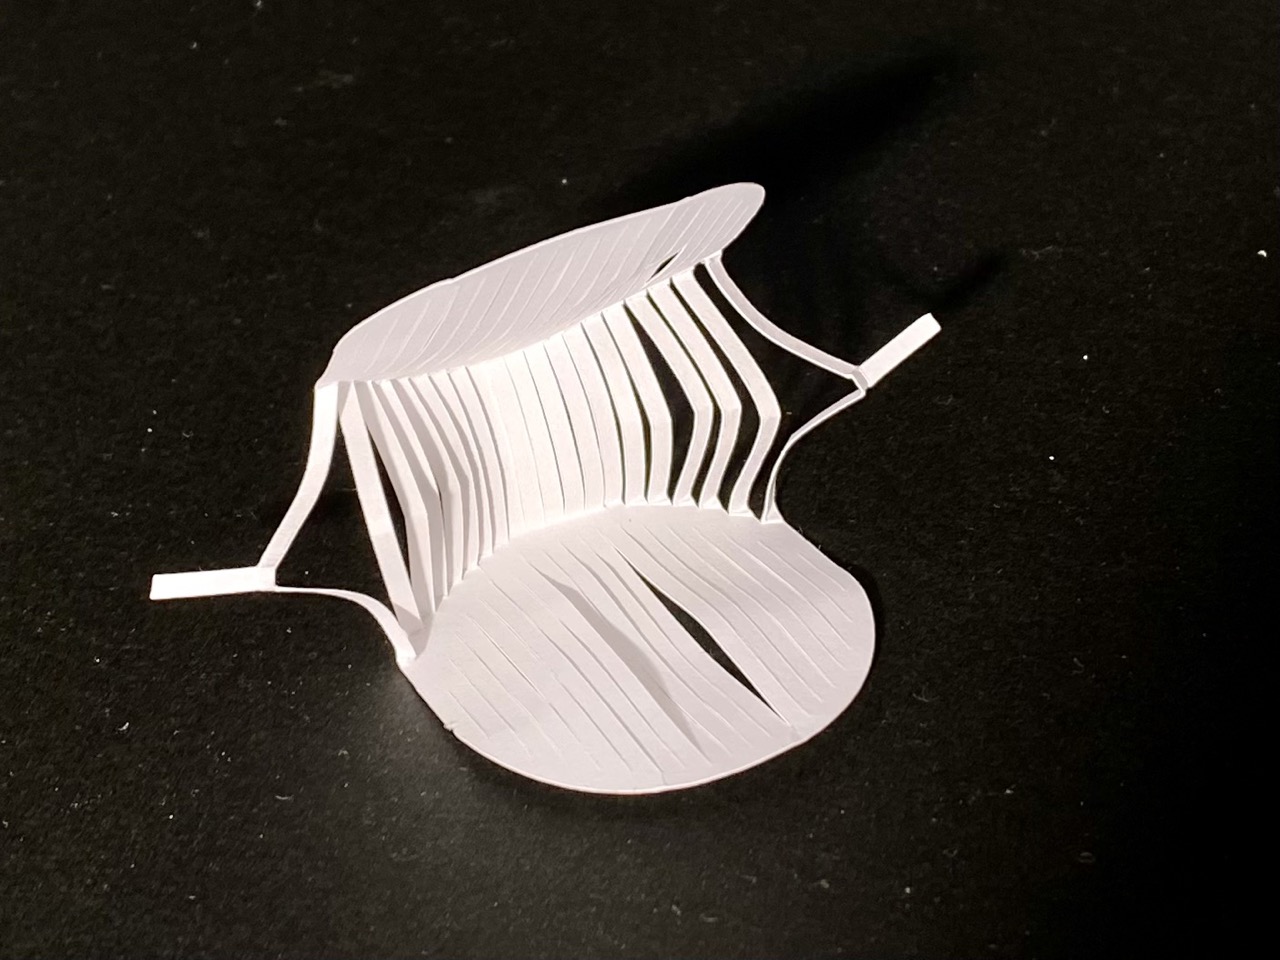
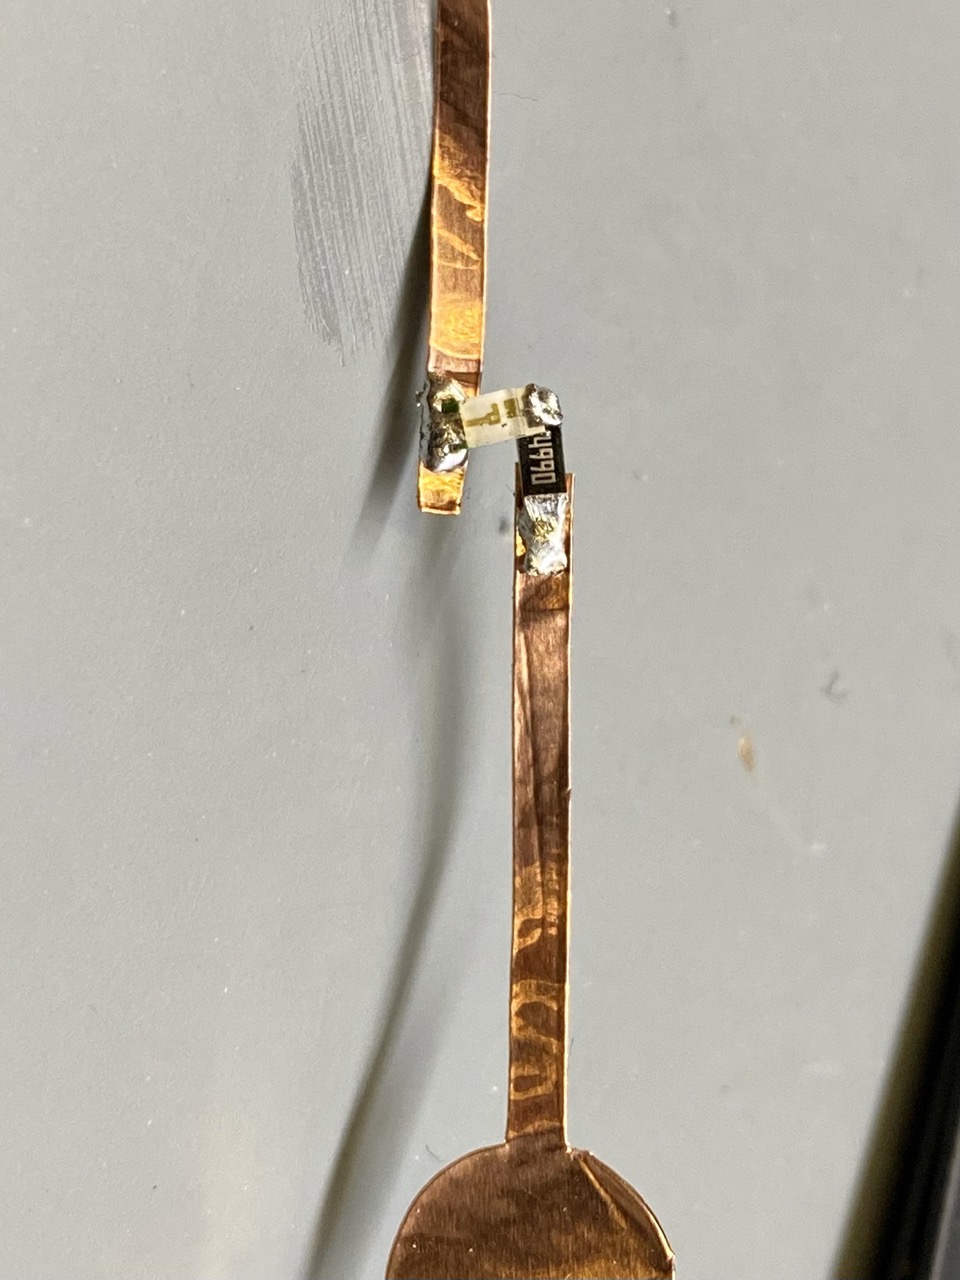
Alan and Gauri helped me to quickly draw out the schematic. Since it was not flat, that was a bit of a challenge. I then cut a copper sheet and soldered the components.

# Next Steps
- mill the firefly and boot load the microcontroller
---
# Resources
- files
- (paper gripper)[files/rbobgrip_small.svg]
- (flex pcb)[files/flex_grip_pcb.svg]
- [superbrightleds](https://www.superbrightleds.com)
- Book: The Art of Electronics
- [Falstad](https://www.falstad.com/circuit/) simulator
- [SVG PCB](https://pcb.fabcloud.io/#/home) edit PCB from code description
- [Inspiring origami pcb](https://hackaday.com/2022/03/09/bringing-the-art-of-origami-and-kirigami-to-robotics-and-medical-technology/)
---
↳About