←Index
11/15 Output Devices
## Week 9:
In this week, we learned how to ...
# Class notes
- make signal stronger
- listen to other radio stations
- OSME: community of people who do Origami
# Output Devices
## Power
USB Power Supply
Electric chemical Capacitor in Farad: trivial to charge and discharge
Wireless Power Transfer
## PWM
varying the duration of pulses of on and off, also called duty cycle.
Idea: try out Charlie Plexing
## MOSFET
Switch big amounts of current with milliamps. Rds is in the orders of mOhms. The load is on the high side. N-mosfet is a sink and P-mosfet is a source.
## OLED displays
Bit map display uses I2C (SDA and SCL). When you are not using it, it is on high load/pulled up. If you are using I2C your device pulls it down. It is used for multiple devices sharing the same pins.
## DC Motor
A DC Motor is a coil. H-bridge: 2 n-mosfets and 2 p-mosfets. TB67H451AFNG is the favourite H-bridge.
* In arduino PWM is called analoginput
## Solenoid
You can make your own by winding wire.
## Speaker
Motors are coils. So are speakers. The length of the pwm pulses sets the volume. You need to continously vary
## Motors
Servo Motor controll angles. BLDC motor (brushless) are used for high speed and torc. Stepper Motors make steps and are used to control motors that need specific position.
Show and Tell
---
## Idea
# Assignment
# 1) LIG x LCE
Inspired by Jack's Artificial muscle talk and Ozgun's work on Liquid Crystal Elastomers, I wanted to explore this material in combination with Laser Induced Graphene as a heating element to actuate LCE. This [paper](https://onlinelibrary.wiley.com/doi/full/10.1002/adma.201908475) showed promising use of LIG as a heater.
After inducing an U-shape graphene, I tested how I can use its resistive properties as a place-specific heating element. At first, it would not heat up at all. Even at 20v, the circuit would only draw 0.001amp. Only at 30v was it able to draw 0.01 amp. I shortened the length of the resistor manually (by moving the probes closer to each other) and got the result of 12v with 0.02 amp. This heated nicely to above 60 celsius. The resistance of the 4mm x 7.4mm LIG rectangle was 0.5ohms, (probes placed across the 4mm side).

LIG resistive characterisation
With yesterday's test, we decided to do a characterisation to find out at which width and length LIG would result in around 50ohms of resistance. Rectangles of 100mm length and 3, 4, 5, 6, 7, 8, 9mm width were induced on a 125nm sheet of Polyamide. Then we probed each width at 20mm, 40mm, 60mm, 80mm length by moving the probe along the length of the rectangle.

The 3mm width rectangle had the most resistance, whereas 5,6,7,8,9mm did not differ much at 4mm-6mm width. We also noticed that a few micrometers would change the resistance a lot e.g. from 50ohms to 70ohms.
Considering this result, I designed several versions of Kirigami shapes and cuts.

The workflow was CAD Kirigami Shapes → Cricut cut the Polyamide → Laser induce graphene on precut Polyamide → Print LCE over LIG → actuate using electricity. The laser induced graphene part was a bit tricky, since the Kirigami shapes naturally wanted to pop out of the 2D surface. After many flacky tries, we decided to tape the backside of the Kirigami cuts and even glue it down to the Lasercutter bed. This worked.
LIG x LCE
We printed LCE over the LIG patch. Several learnings
- LCE adheres very well to LIG, yeah!
- LCE does not adhere to Polyamide.
- LIG with LCE does not increase resistance drastically. 50ohms to 70ohms. LIG is often coated with PDMS and the PDMS usually increases the LIG by a lot. It is good to know that printed LCE over LIG does not increase the resistance by a lot.
- 125nm Polyamide is a bit stiff for LCE to lift
- The larger the area of LIG, the easier the actuation with LCE becomes.
So, I decided to laserinduce more bigger patch of LIG on the Kirigiami Patterns. The cuts in the pattern make LIG a bit more unstable and easier to flake off. The one side actuation is easier (making it open and close rather than opening both flaps)

Adding a copper boundary evens out the heated area which makes the actuation smoother.

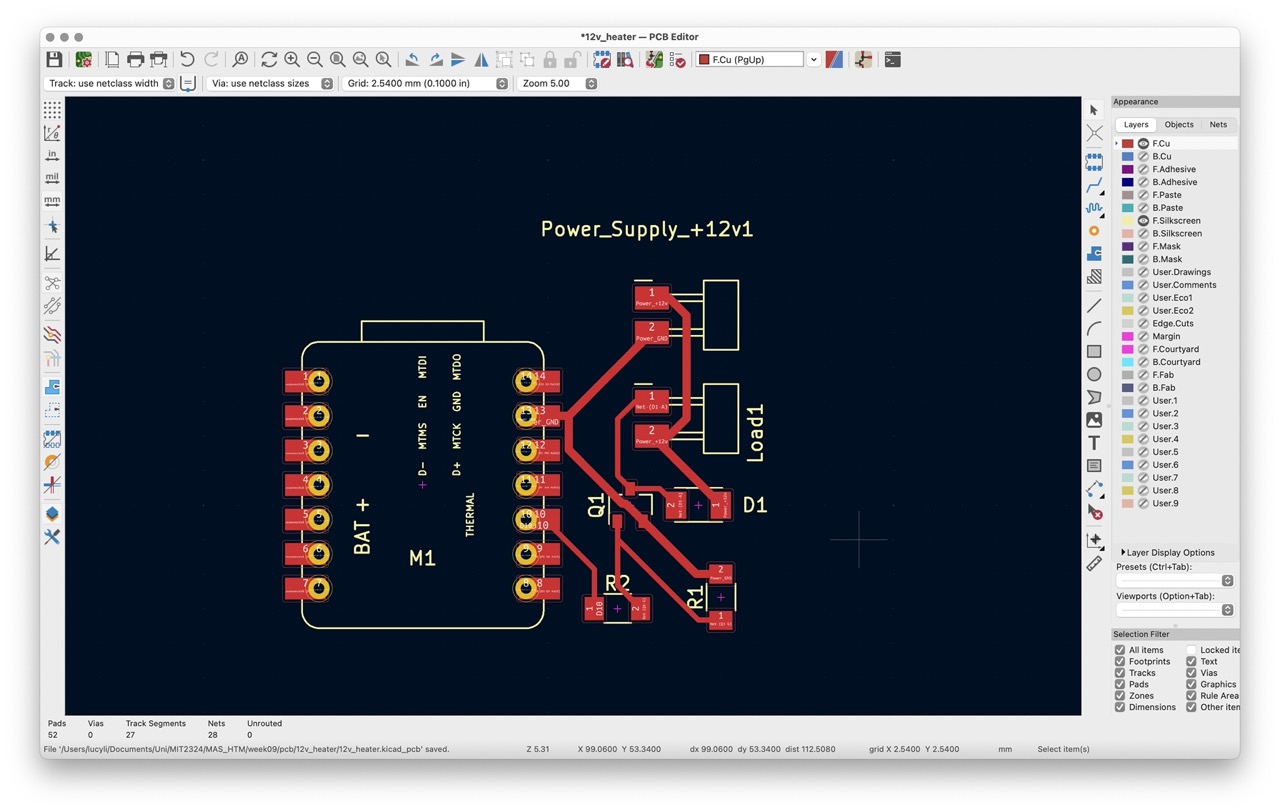
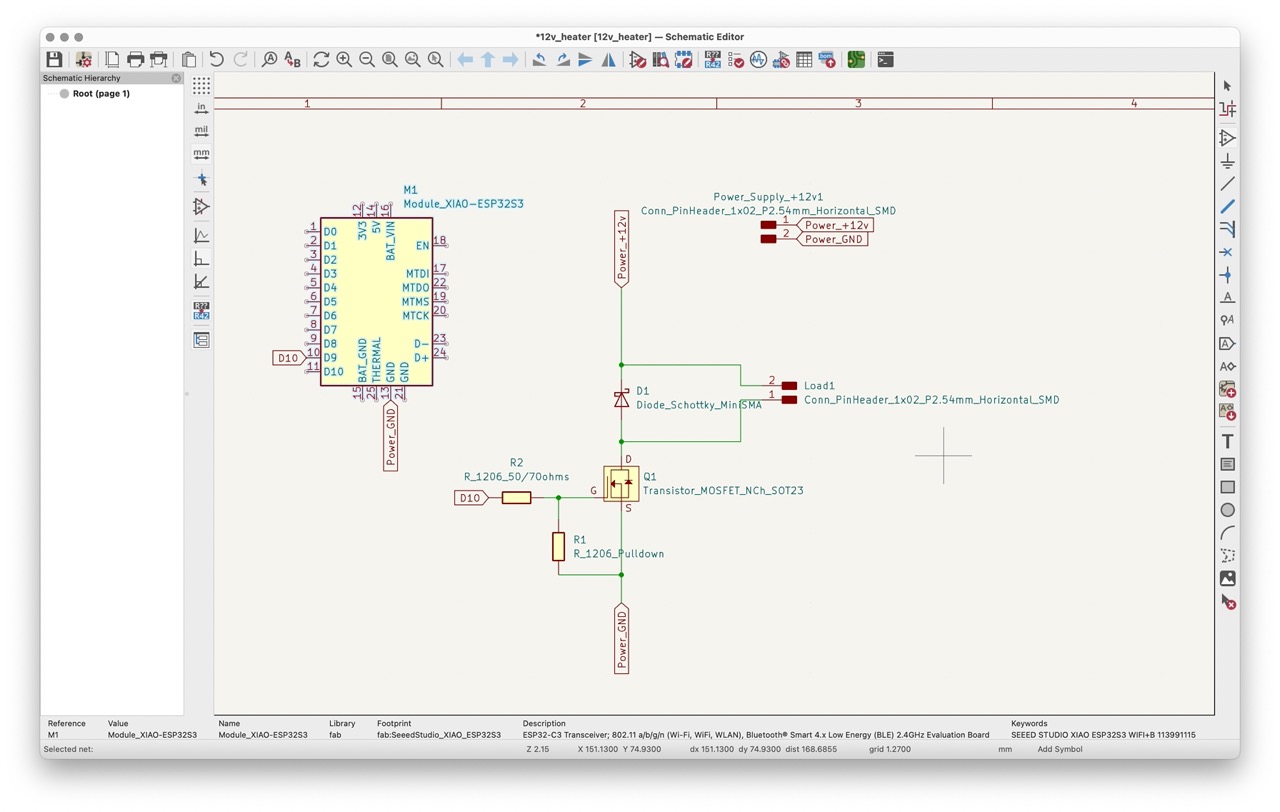
# 2) PCB
Now that the output device is working. I need to controll the output using a microcontroller board.


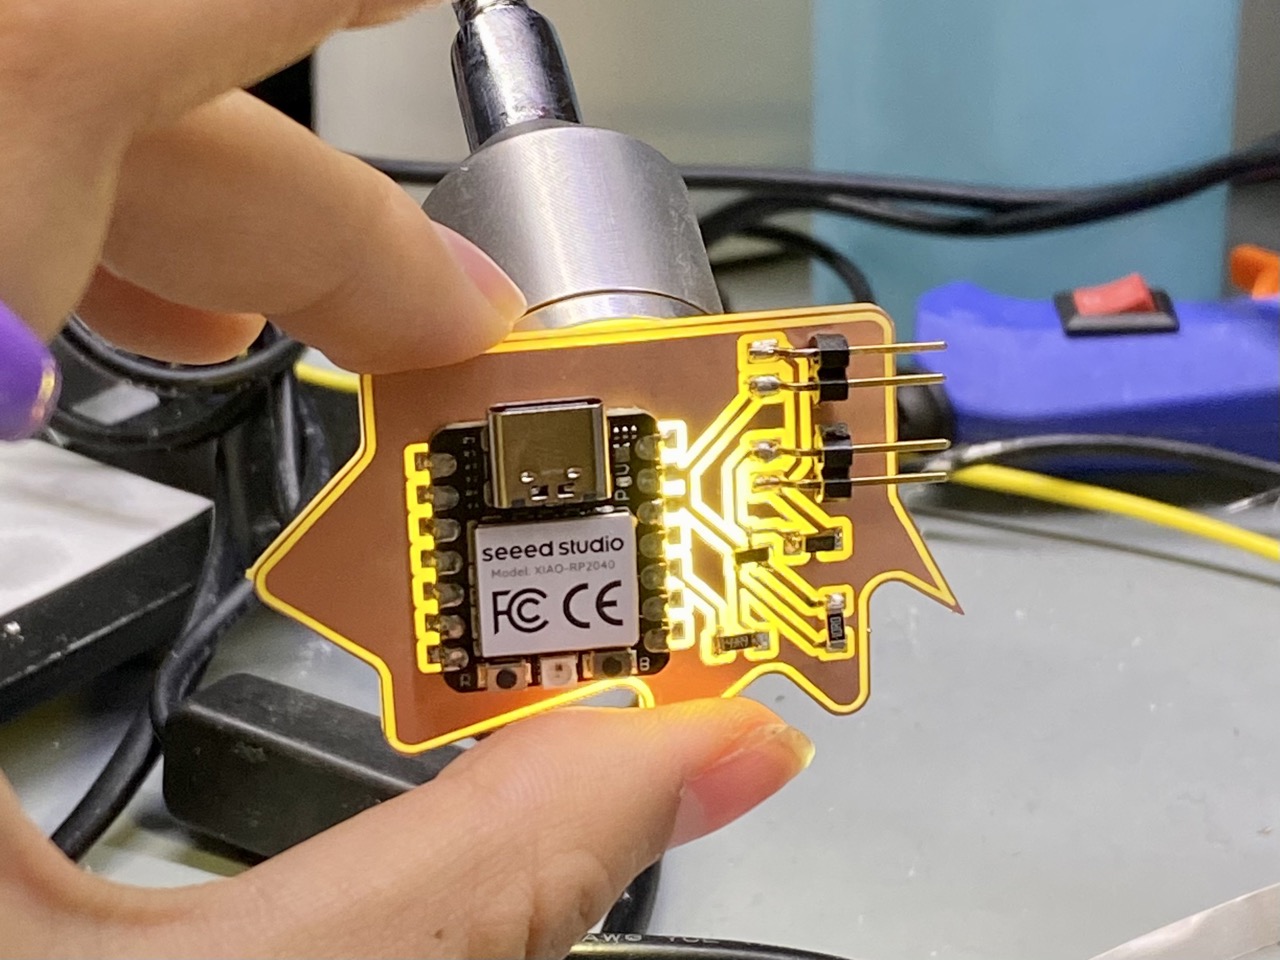
I soldered everything and checked the connections. The output voltage is switching, but from 12v to 10v instead of 0v. There might be some connection problem to ground.
## Next Steps
- make the mosfet switch from 12v to 0v!
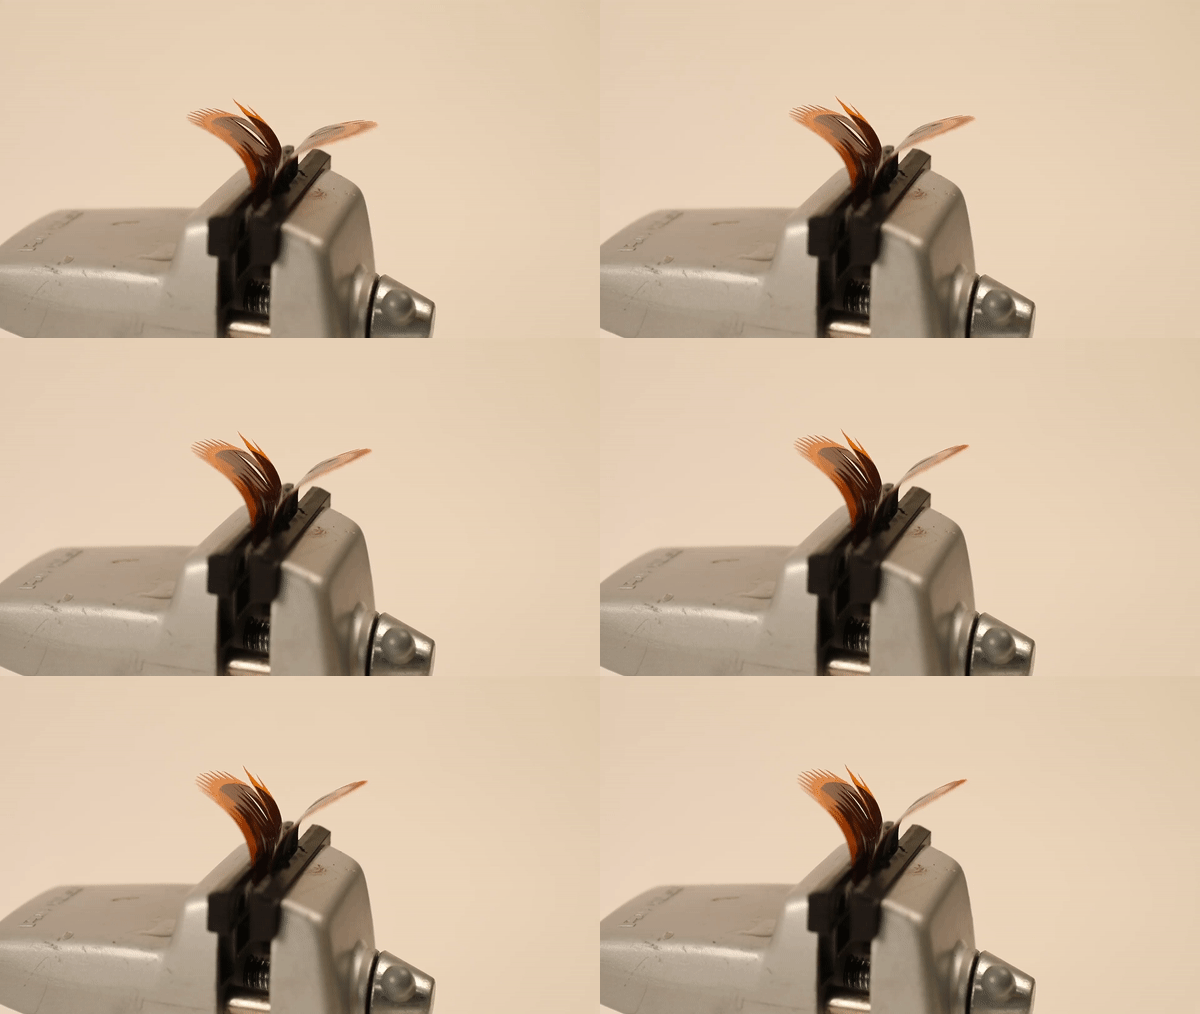
- make this movement:

---
# Resources
- files
- [gripper](files/gripper.svg)
---
↳About