Tutorial: P rototyping interface with acrylic
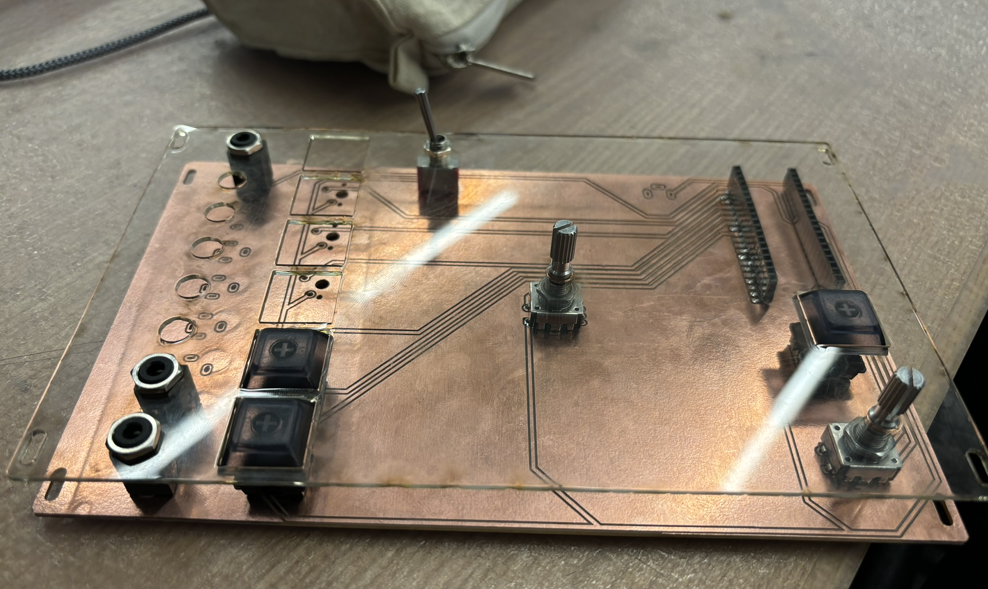
Making rapid prototypes with acrylic was one of my favorite lessons from the class and here I’m sharing a quick dedicated tutorial on my procedure.

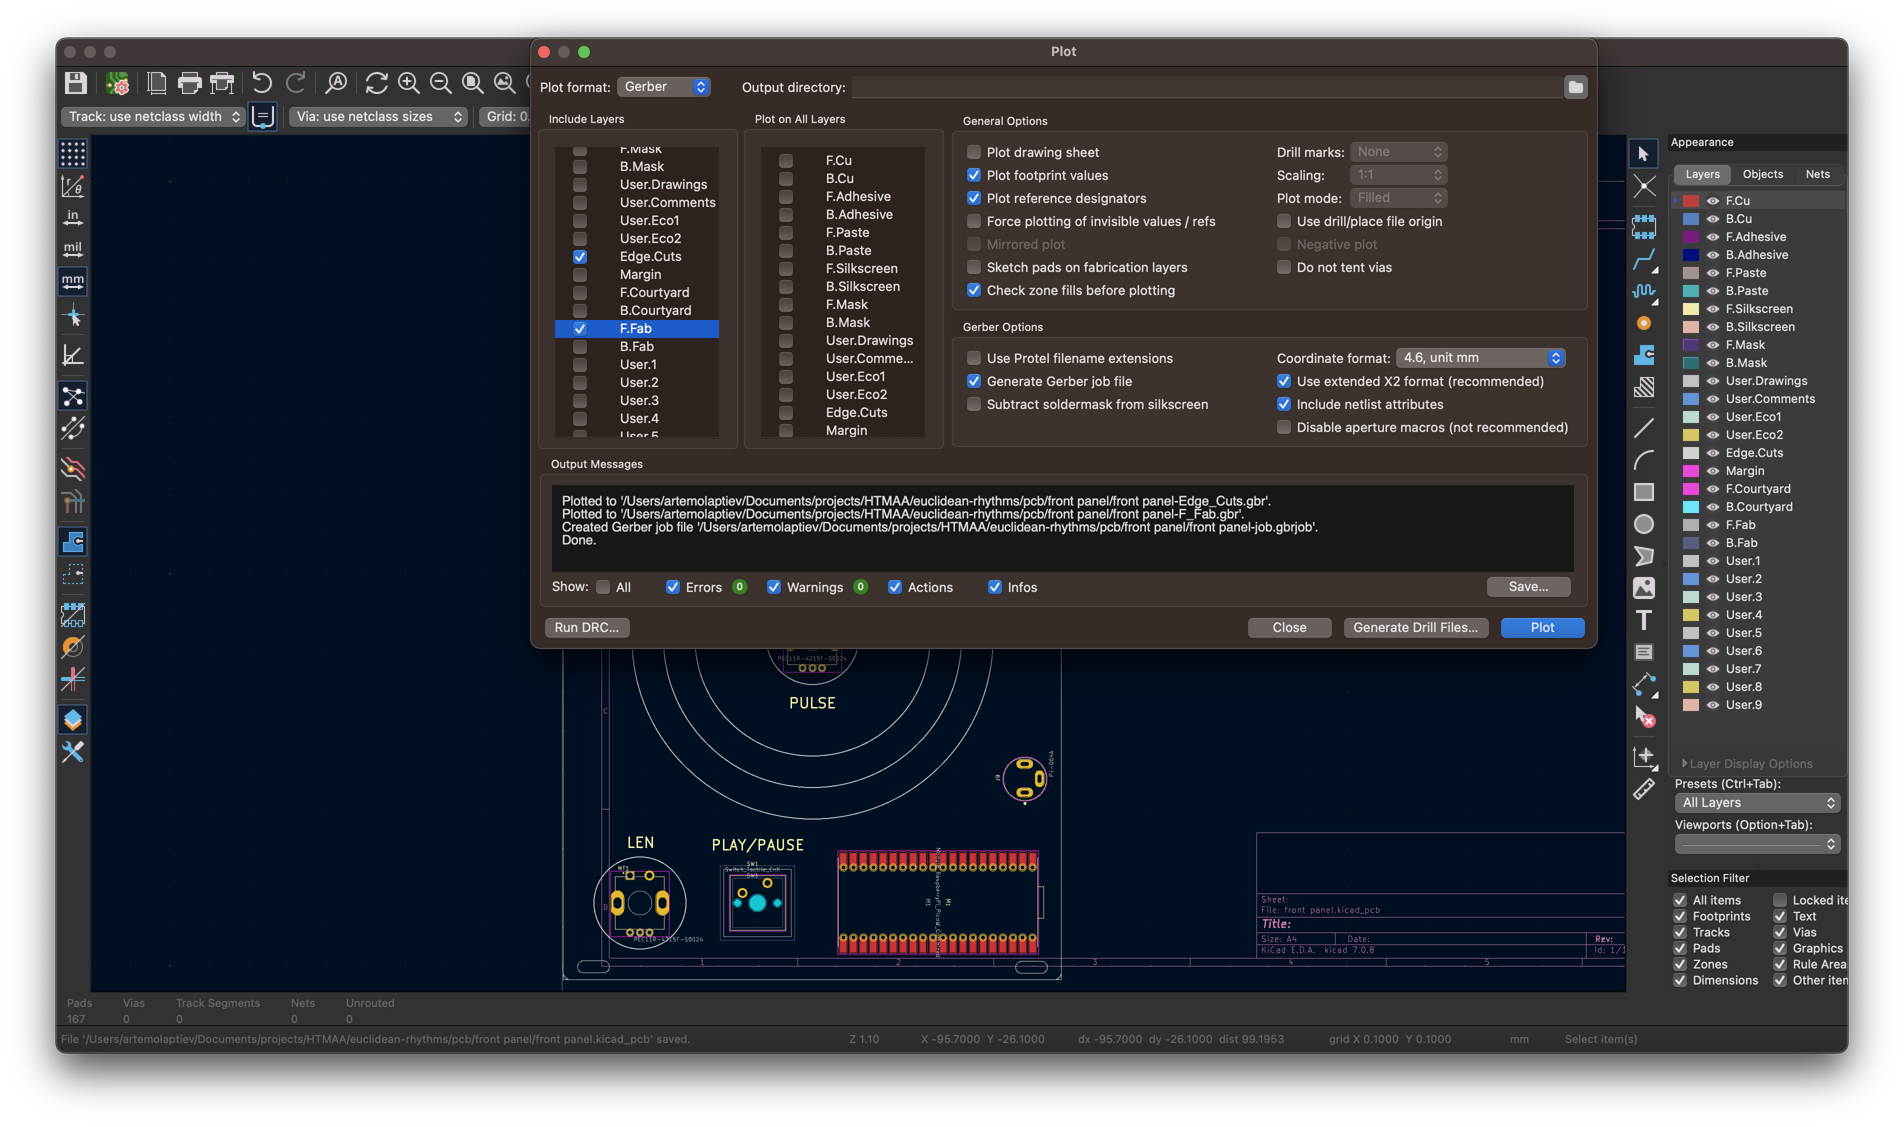
Add all components that need to be cut to Edge Cuts layer.
Export Edge Cuts:
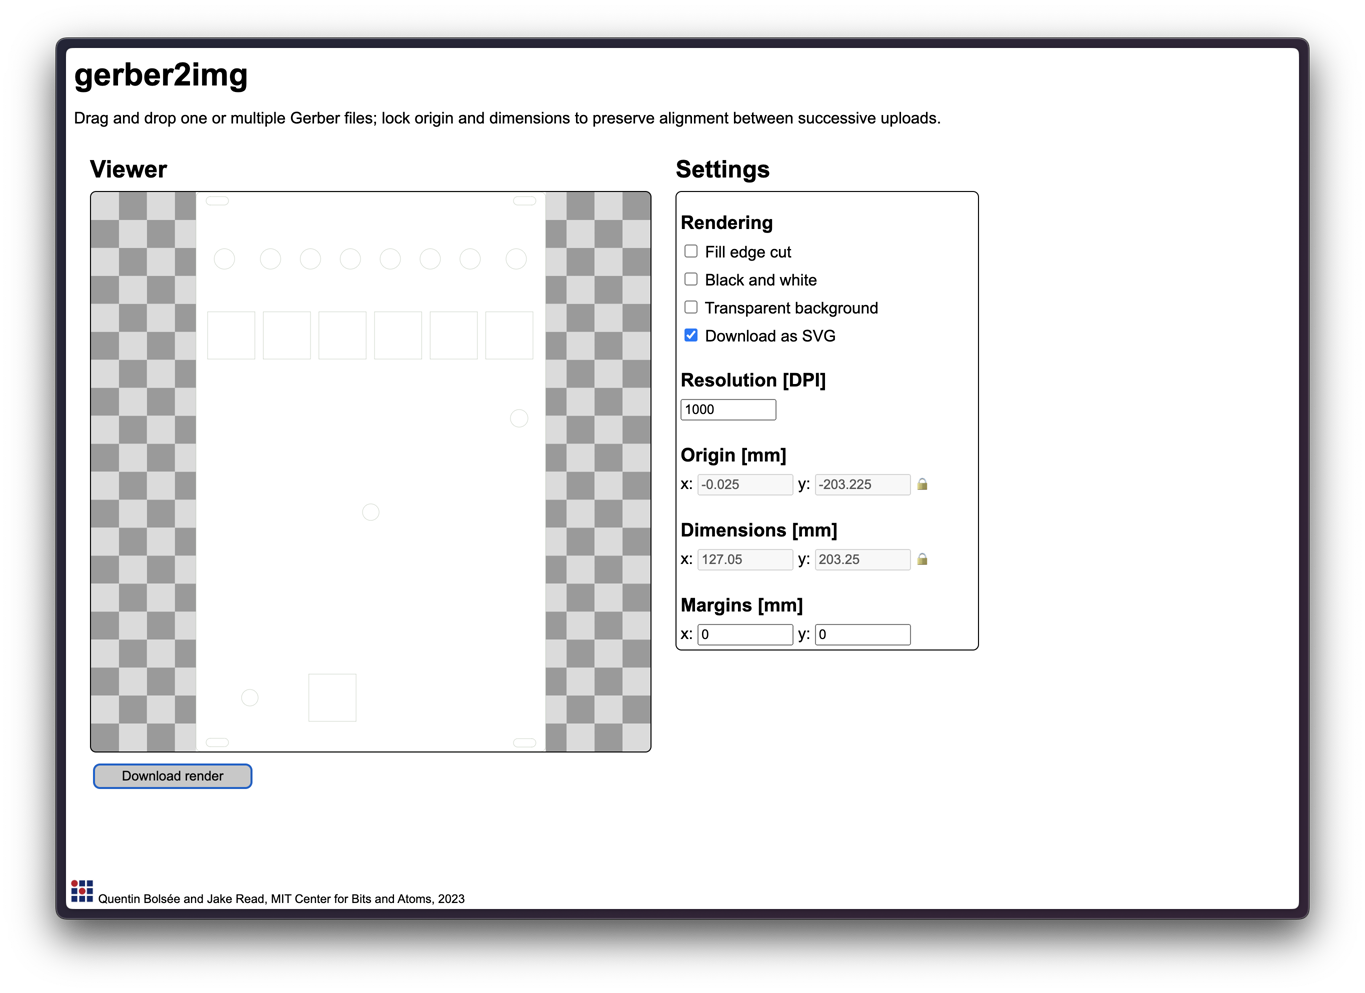
Use https://quentinbolsee.pages.cba.mit.edu/gerber2img/ . Convert to png:
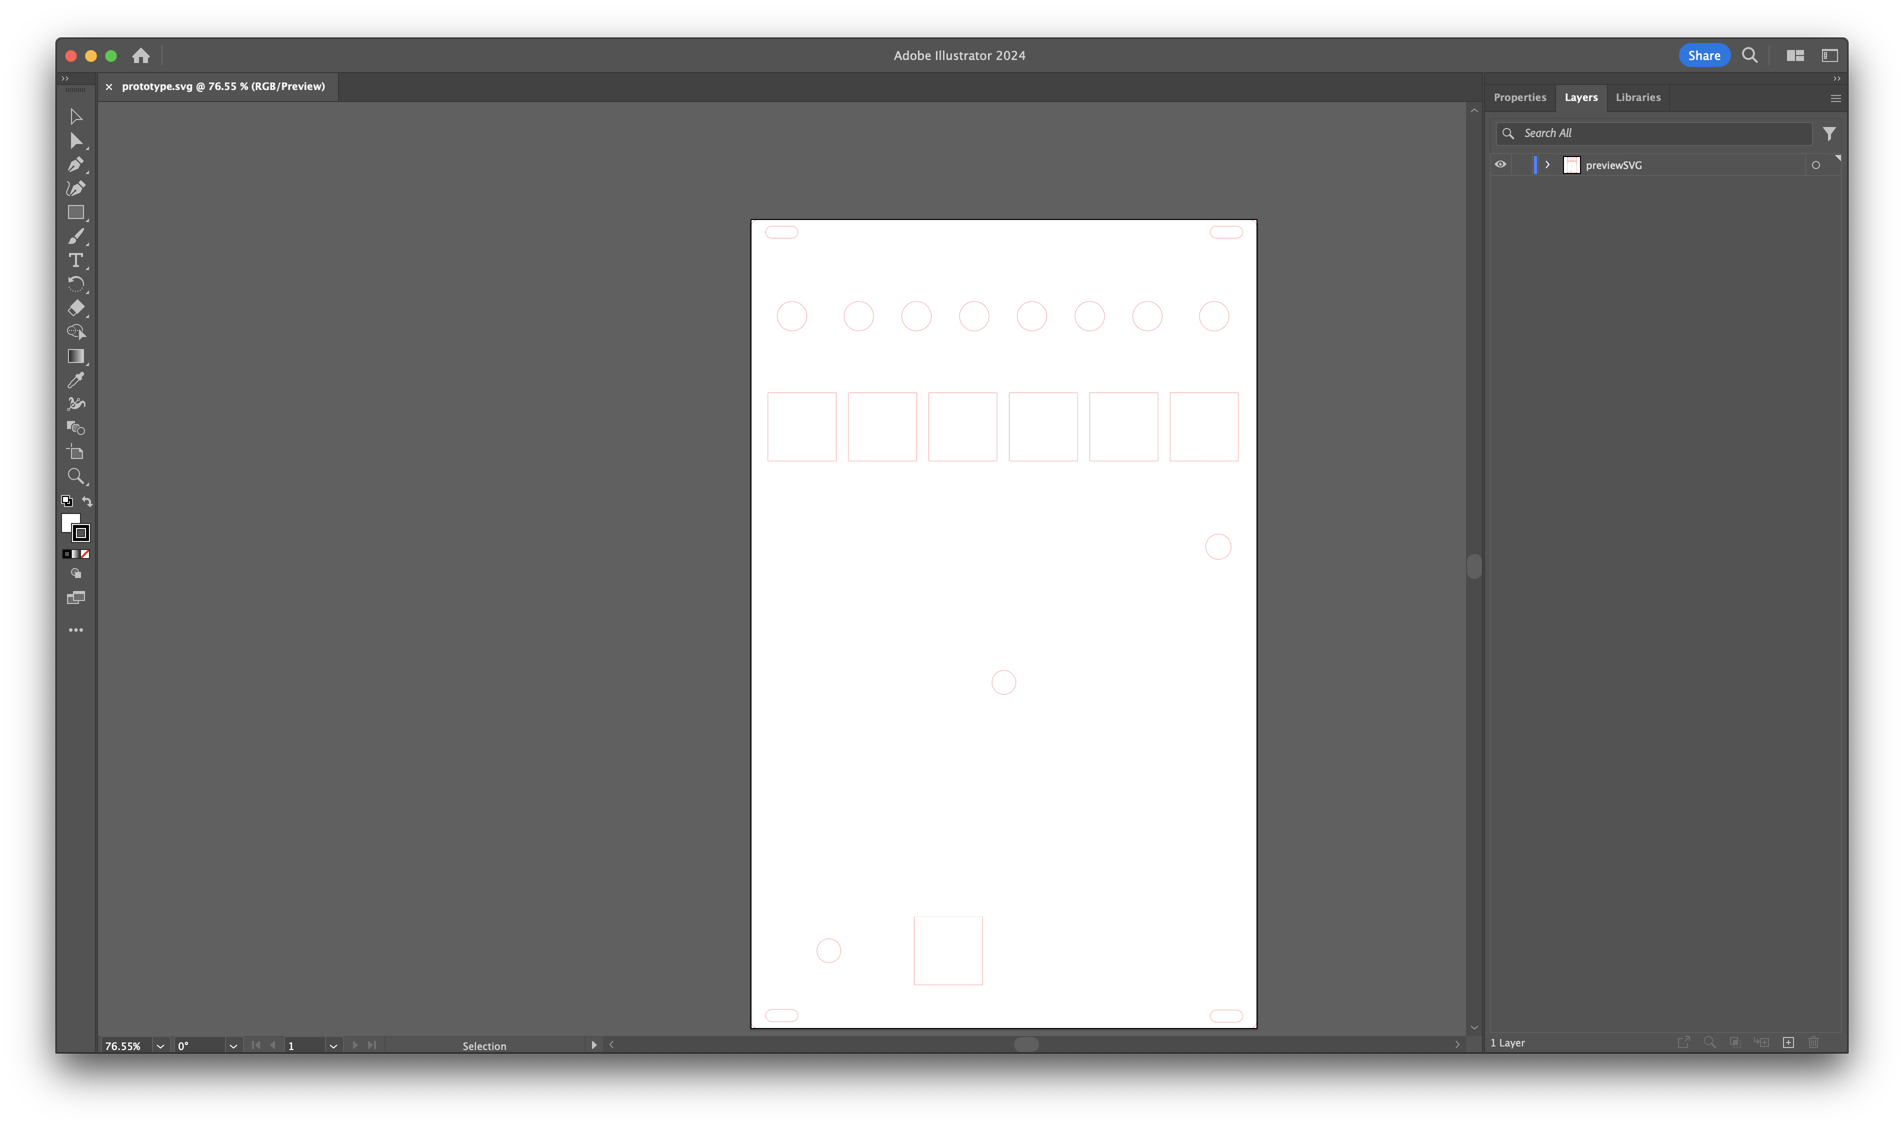
Change color to red in Illustrator:
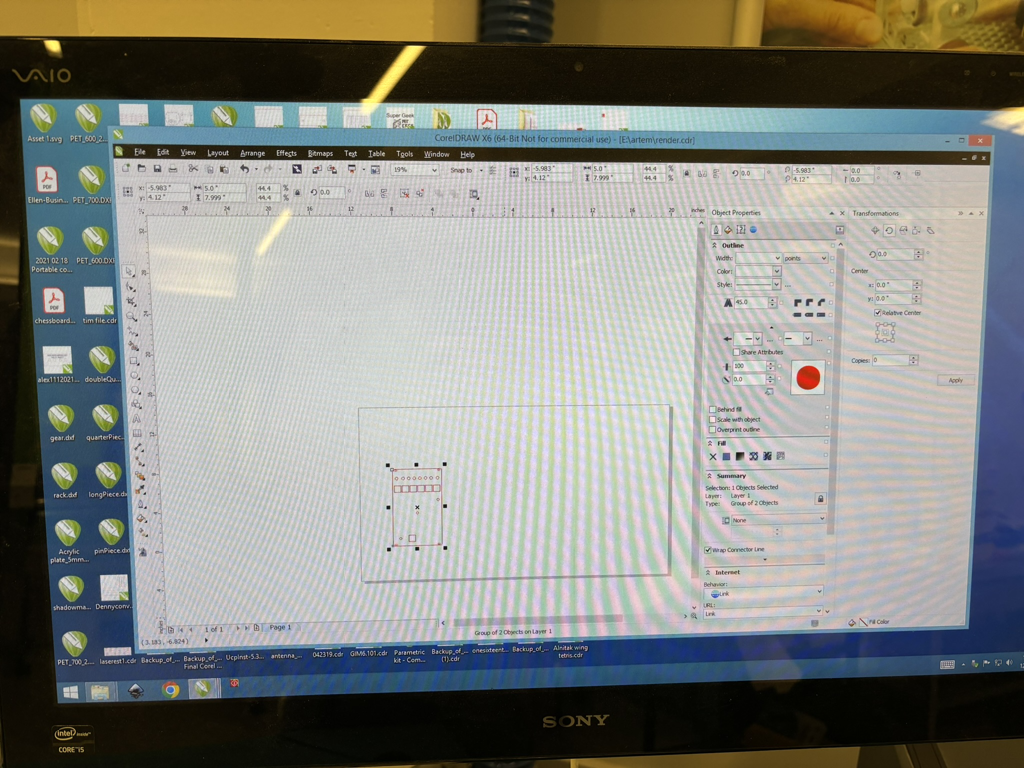
Open in Corel Draw, adjust the dimensions to correct ones.
Hit print to open in Laser Cutter app.
Select material, change material thickness!

Re-home and re-z.
Place where you want it to be and run.