Week 7 Assignment: Design a Mold around the Stock and Tooling that you'll be Using, Mill it (Rough Cut + Three-Axis Finish Cut), and Use it to Cast Parts
I'm very happy to be returning to the realm of mechanical engineering this week. Though I have no experience with molding and casting, I'm quite comfortable with milling and toolpathing, which is the most time-consuming if not the most difficult part of this assignment.
I thought it'd be fun to mold something fun to put on my desk, something refreshingly decorative and purposeless as I've spent the past few weeks worrying about how I'm going to design the electronic components of my final project. I first searched for models of planes online, but quickly moved away from that idea as I'd be heavily constrained by the relatively square footprint of a plane model (assuming the wings are about as wide as the chassis is long, I'd be wasting space in a rectangular block of wax and I wanted this to be a fairly large cast). Also, the model would have tons of undercuts. Moving on to the next idea.
I found a model of a car on GrabCAD that I really liked and decided to move on with it. The only file associated with the model was a Solidworks part, so I quickly opened it in Solidworks and exported it as a STEP file to be opened in Fusion 360, where Anthony was adamant that we do all of our toolpathing. For reasons I'm still not sure of, it opened in Fusion as a series of surfaces that needed to be stitched together, but that was very quick, and after I had the model as a solid body I extruded the model of the wax block (dimensions: 7" W, 3" D, 1.5" H) from which I was going to mill the model. After cutting out a space and scaling and moving the car so it fit nicely into the block, I had this:

I then got to toolpathing. Setting up the adaptive clearing operations with the 1/4" and 1/8" flat endmills I knew we had in the lab was quite straightforward. These would be the most time-consuming operations (projected to total about 40 minutes!) that removed the most wax.
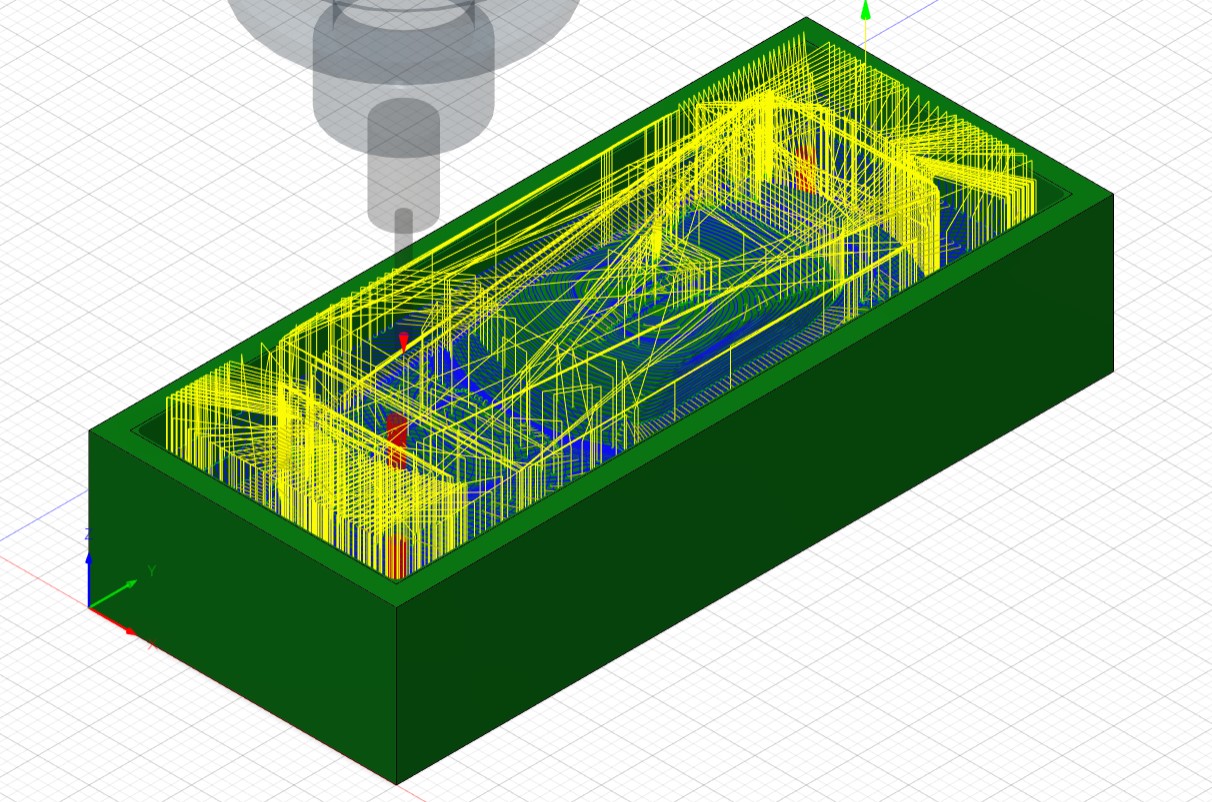
Anthony told me we had a 1/8" ball endmill I could use for my finishing operations, so I set up parallel, scallop, and contour operations to finish my part. Frankly, I hadn't had as much experience toolpathing for a part with so many curves, so I think I overdid the finishing operations a bit, but they only totaled about 10 minutes of estimated machining time so I was ok with it to guarantee I had smooth curves on my car.
Next, I just had to export the gcode of my toolpath and set up the router for use. I homed the X, Y, and Z axes, set the Z zero for the first endmill I was using (the 1/4" flat) and (carefully) glued down my wax block with the lab's industrial strength hot glue. After a quick sanity check to make sure my coordinate system was correctly set up and everything on the router looked right, I began the program.
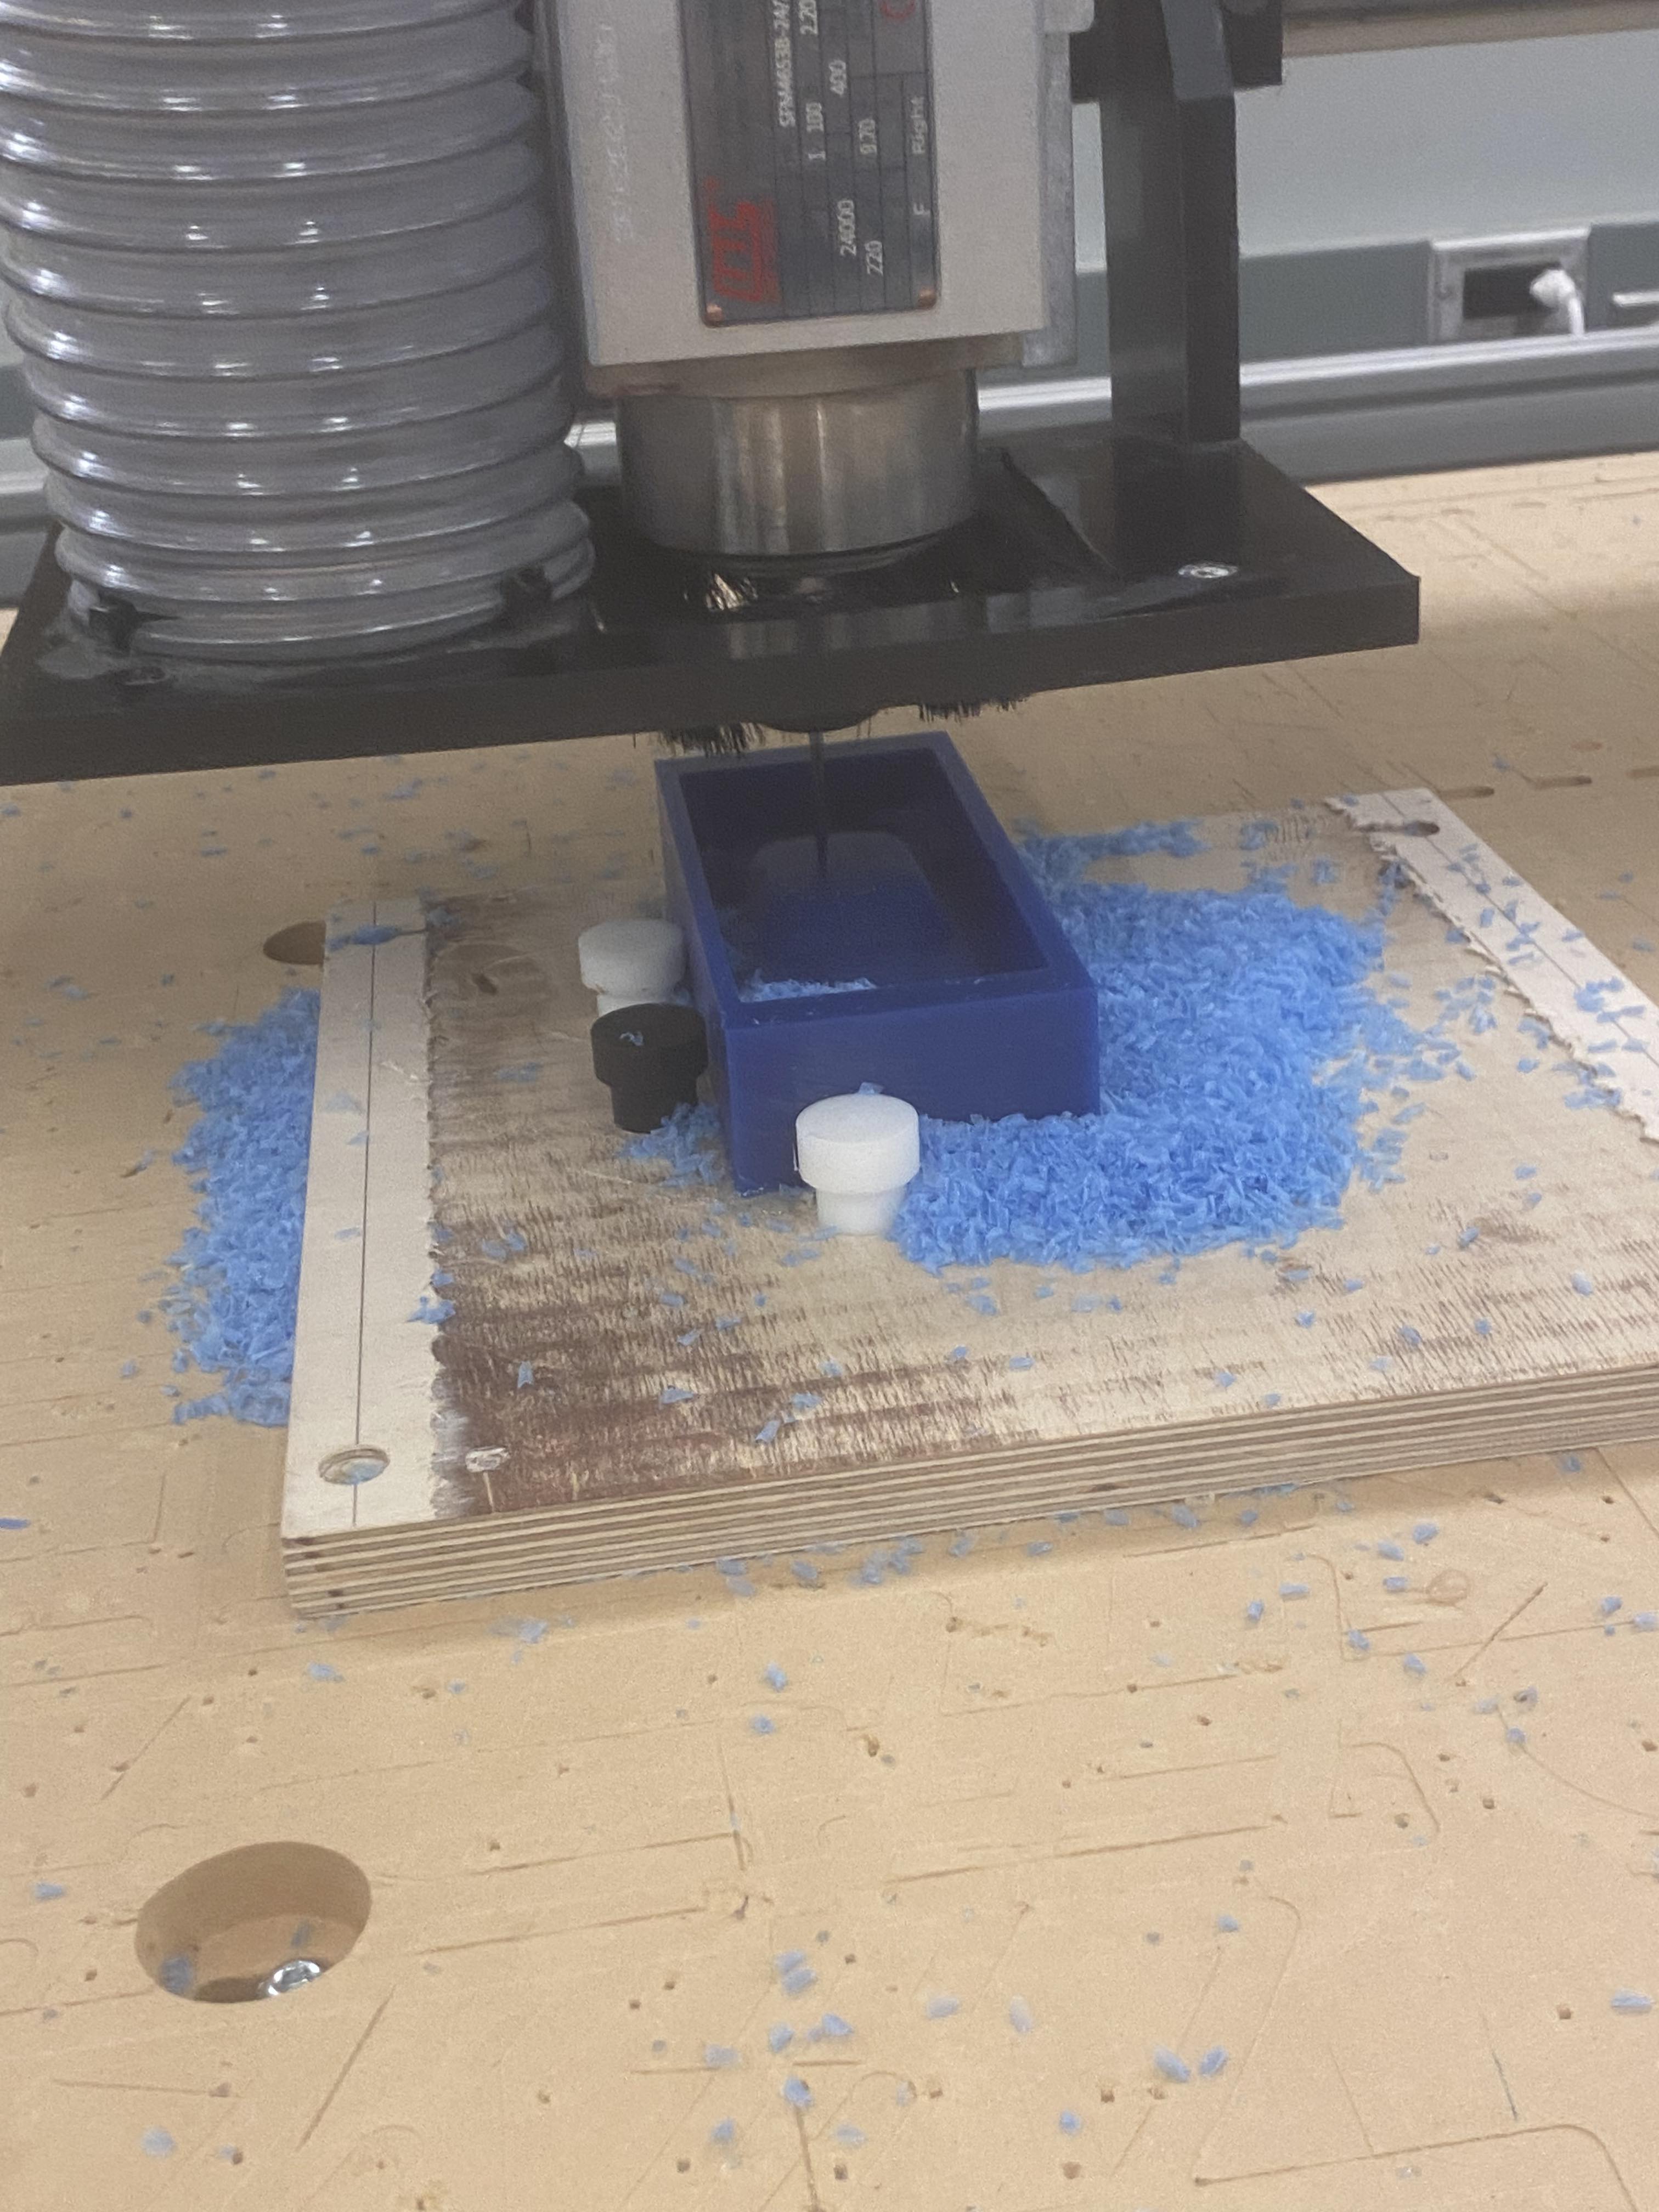
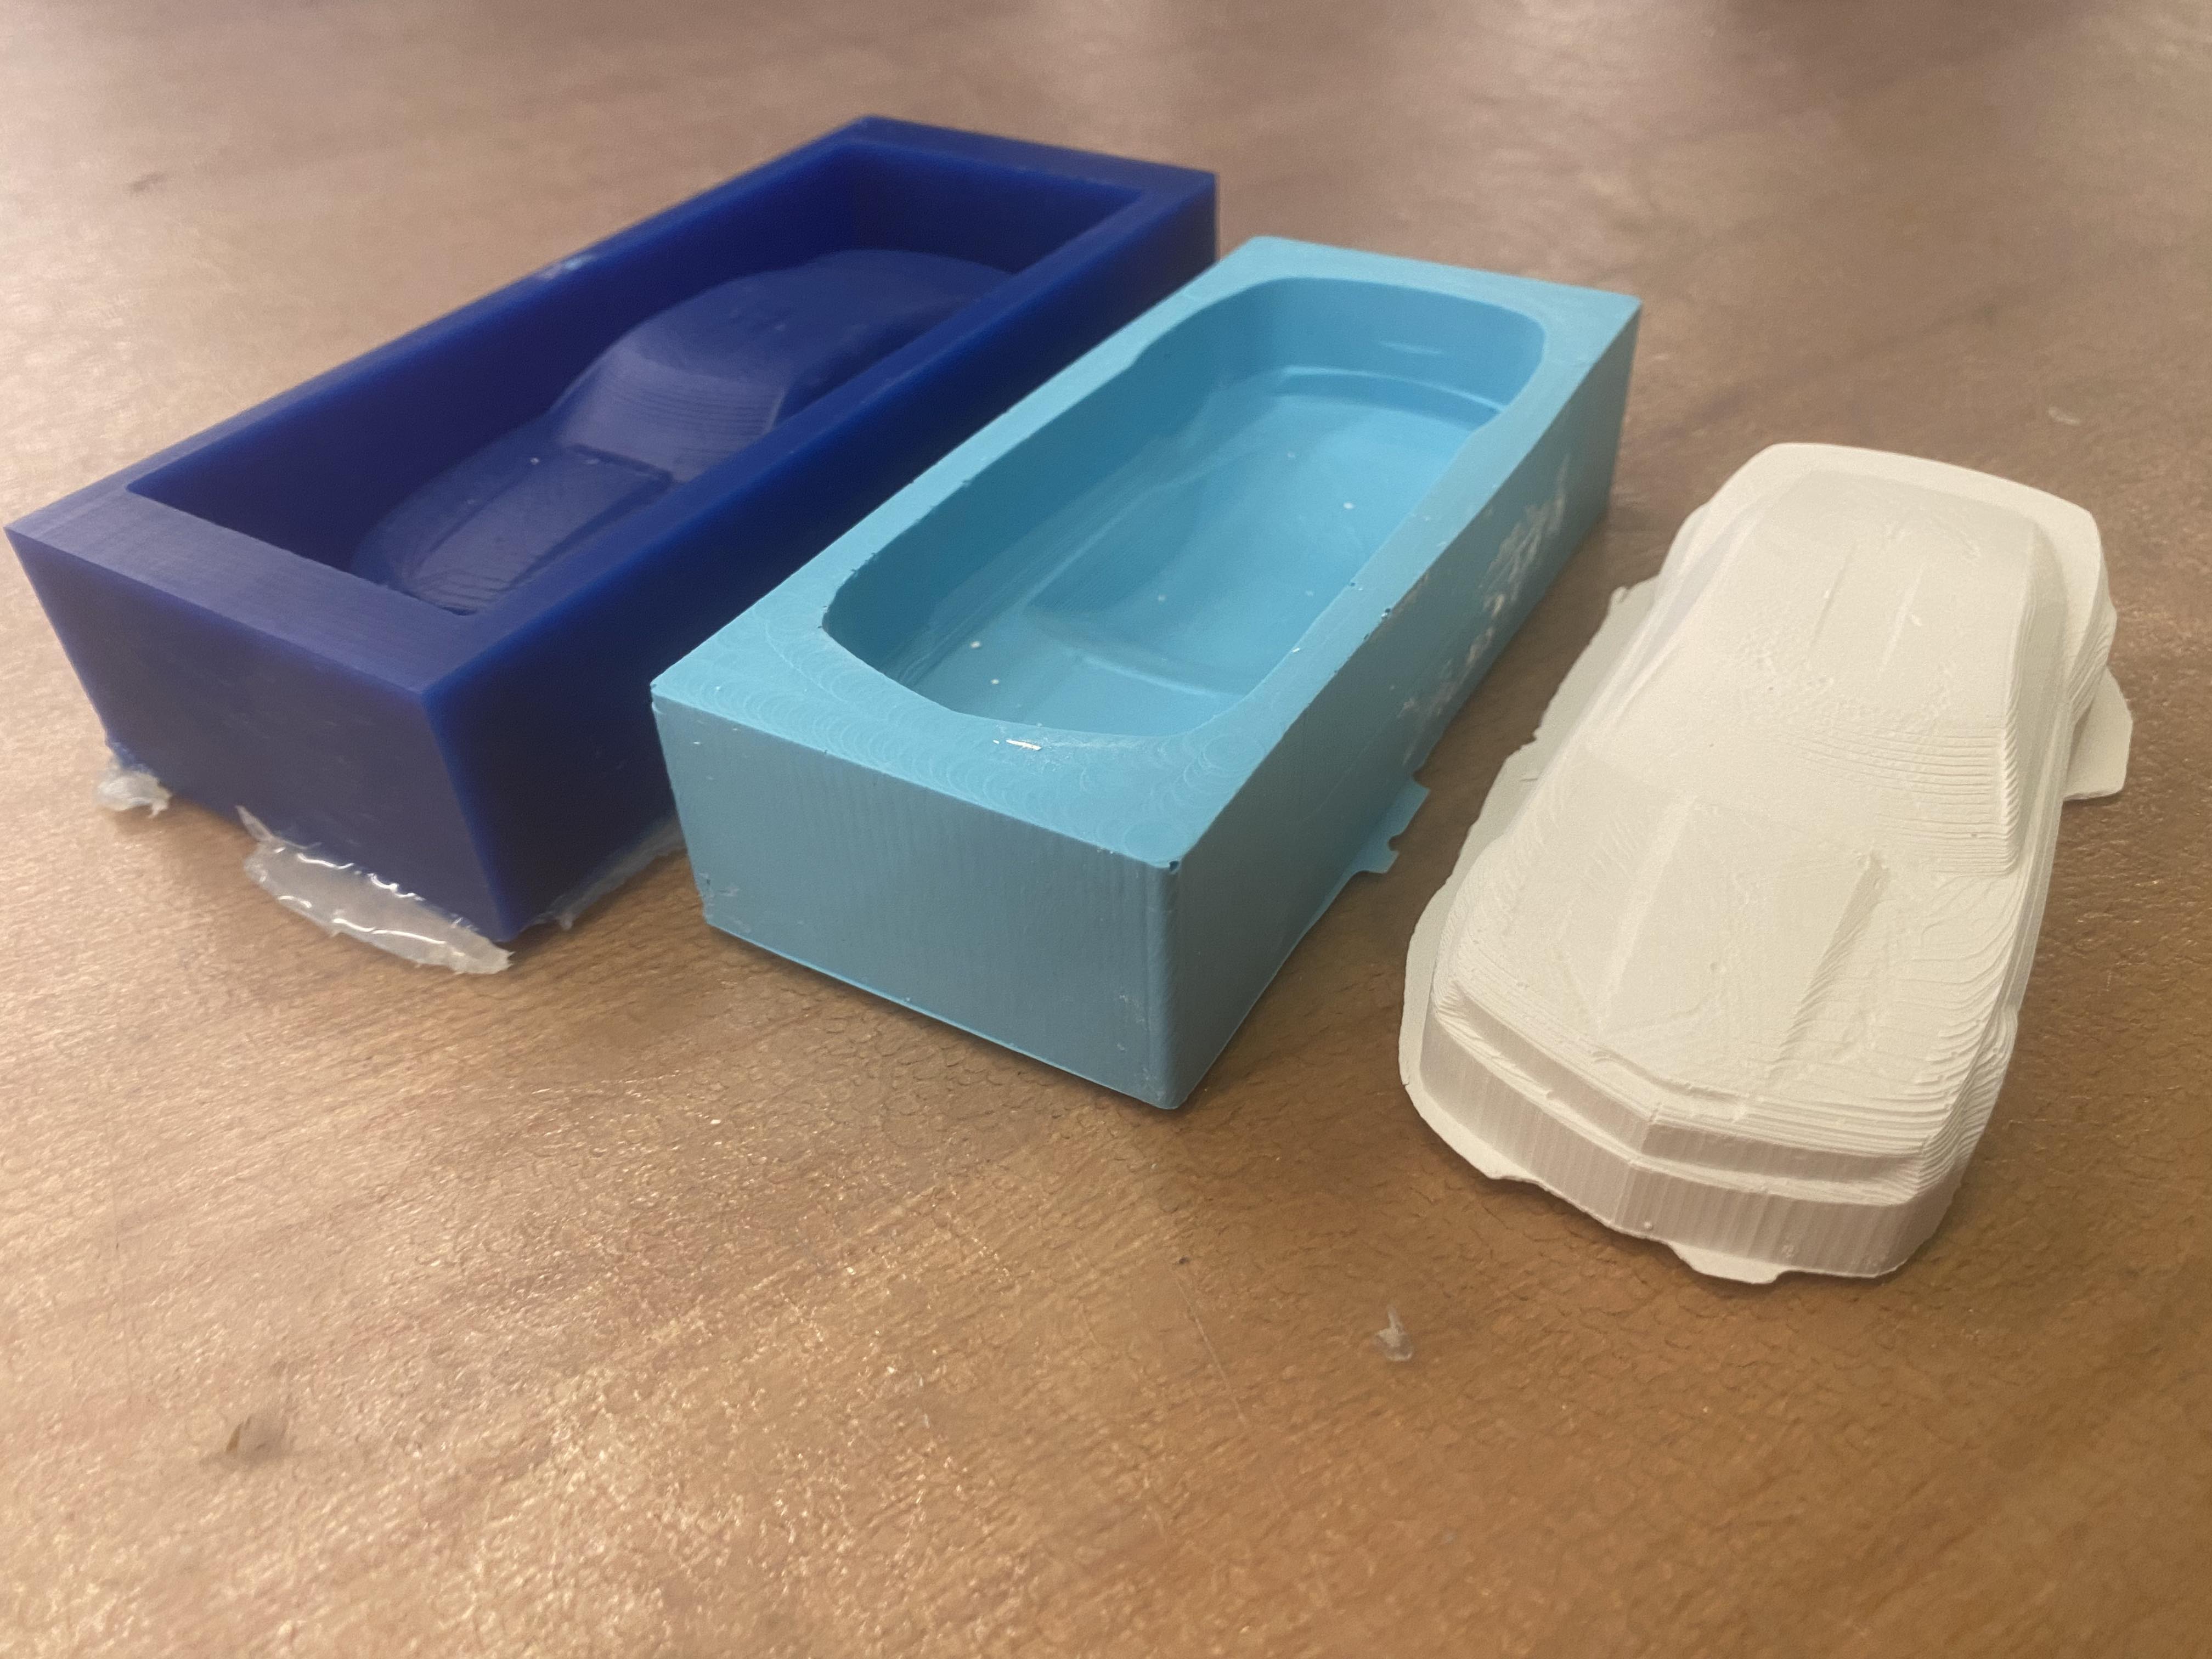
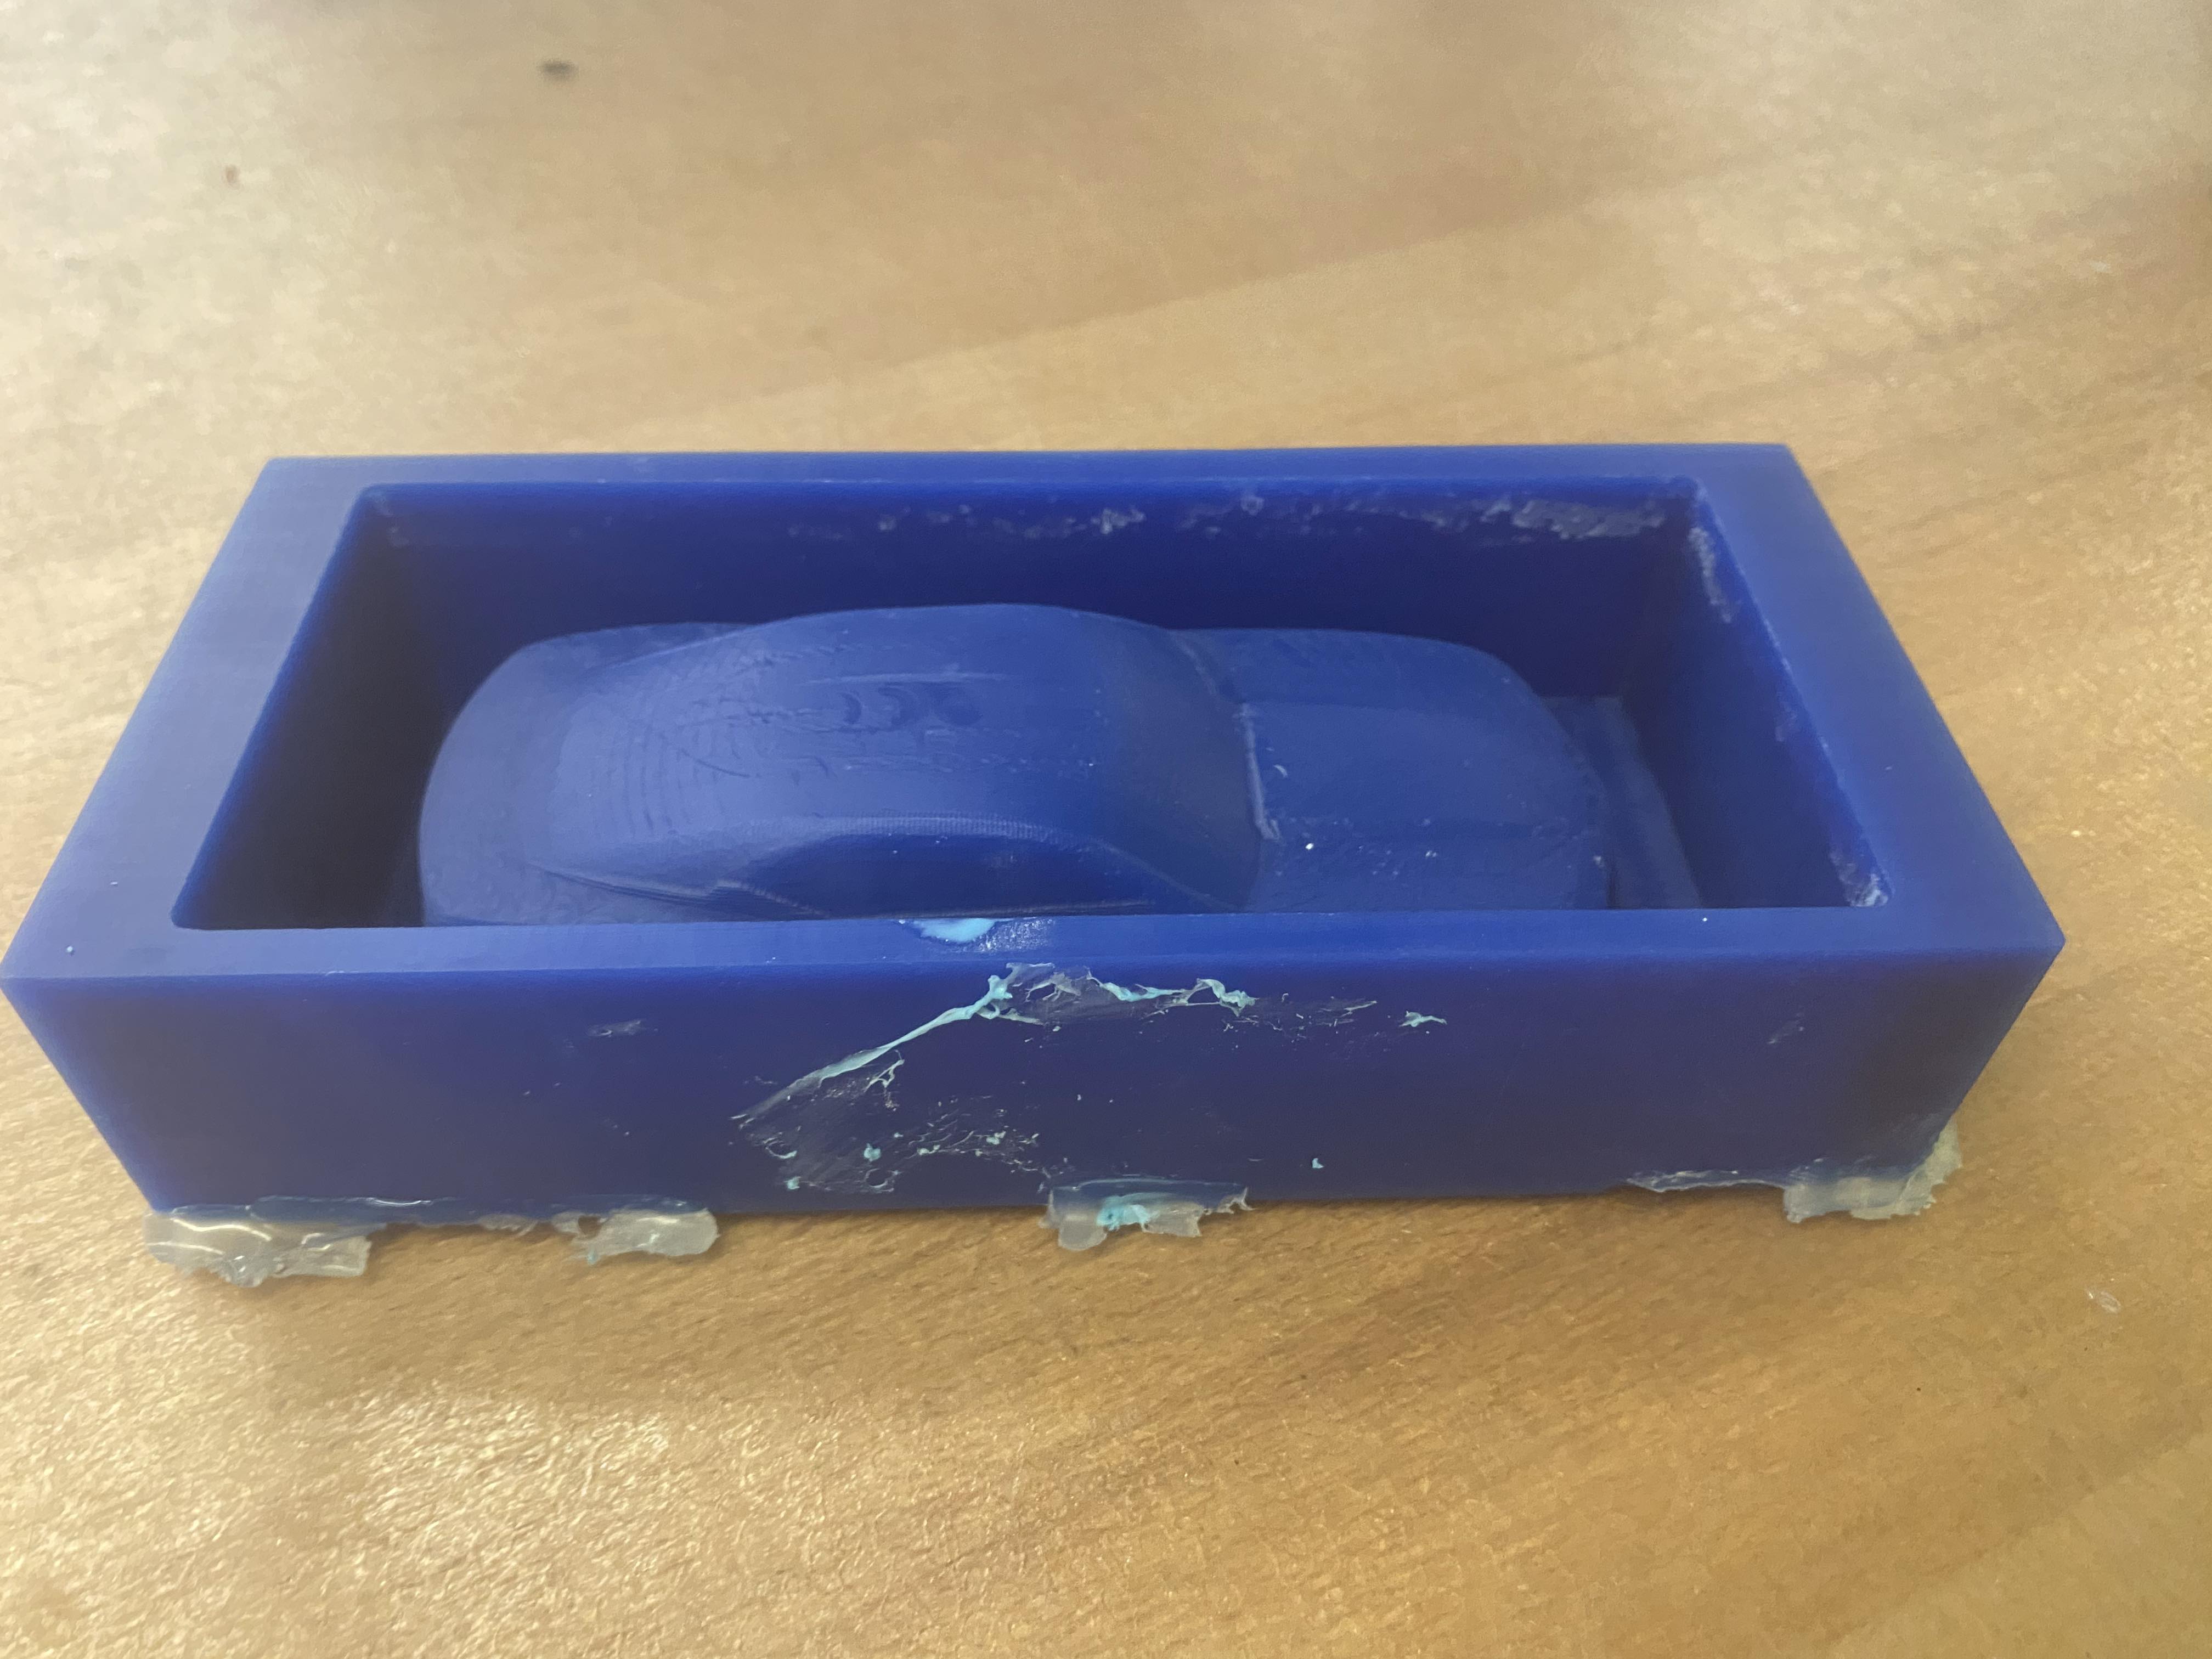
Soon (about an hour later), I had a positive of my model car milled into wax! I'll ask that you disregard the silicone remnants on it and pretend I remembered to take this picture before I finished casting.
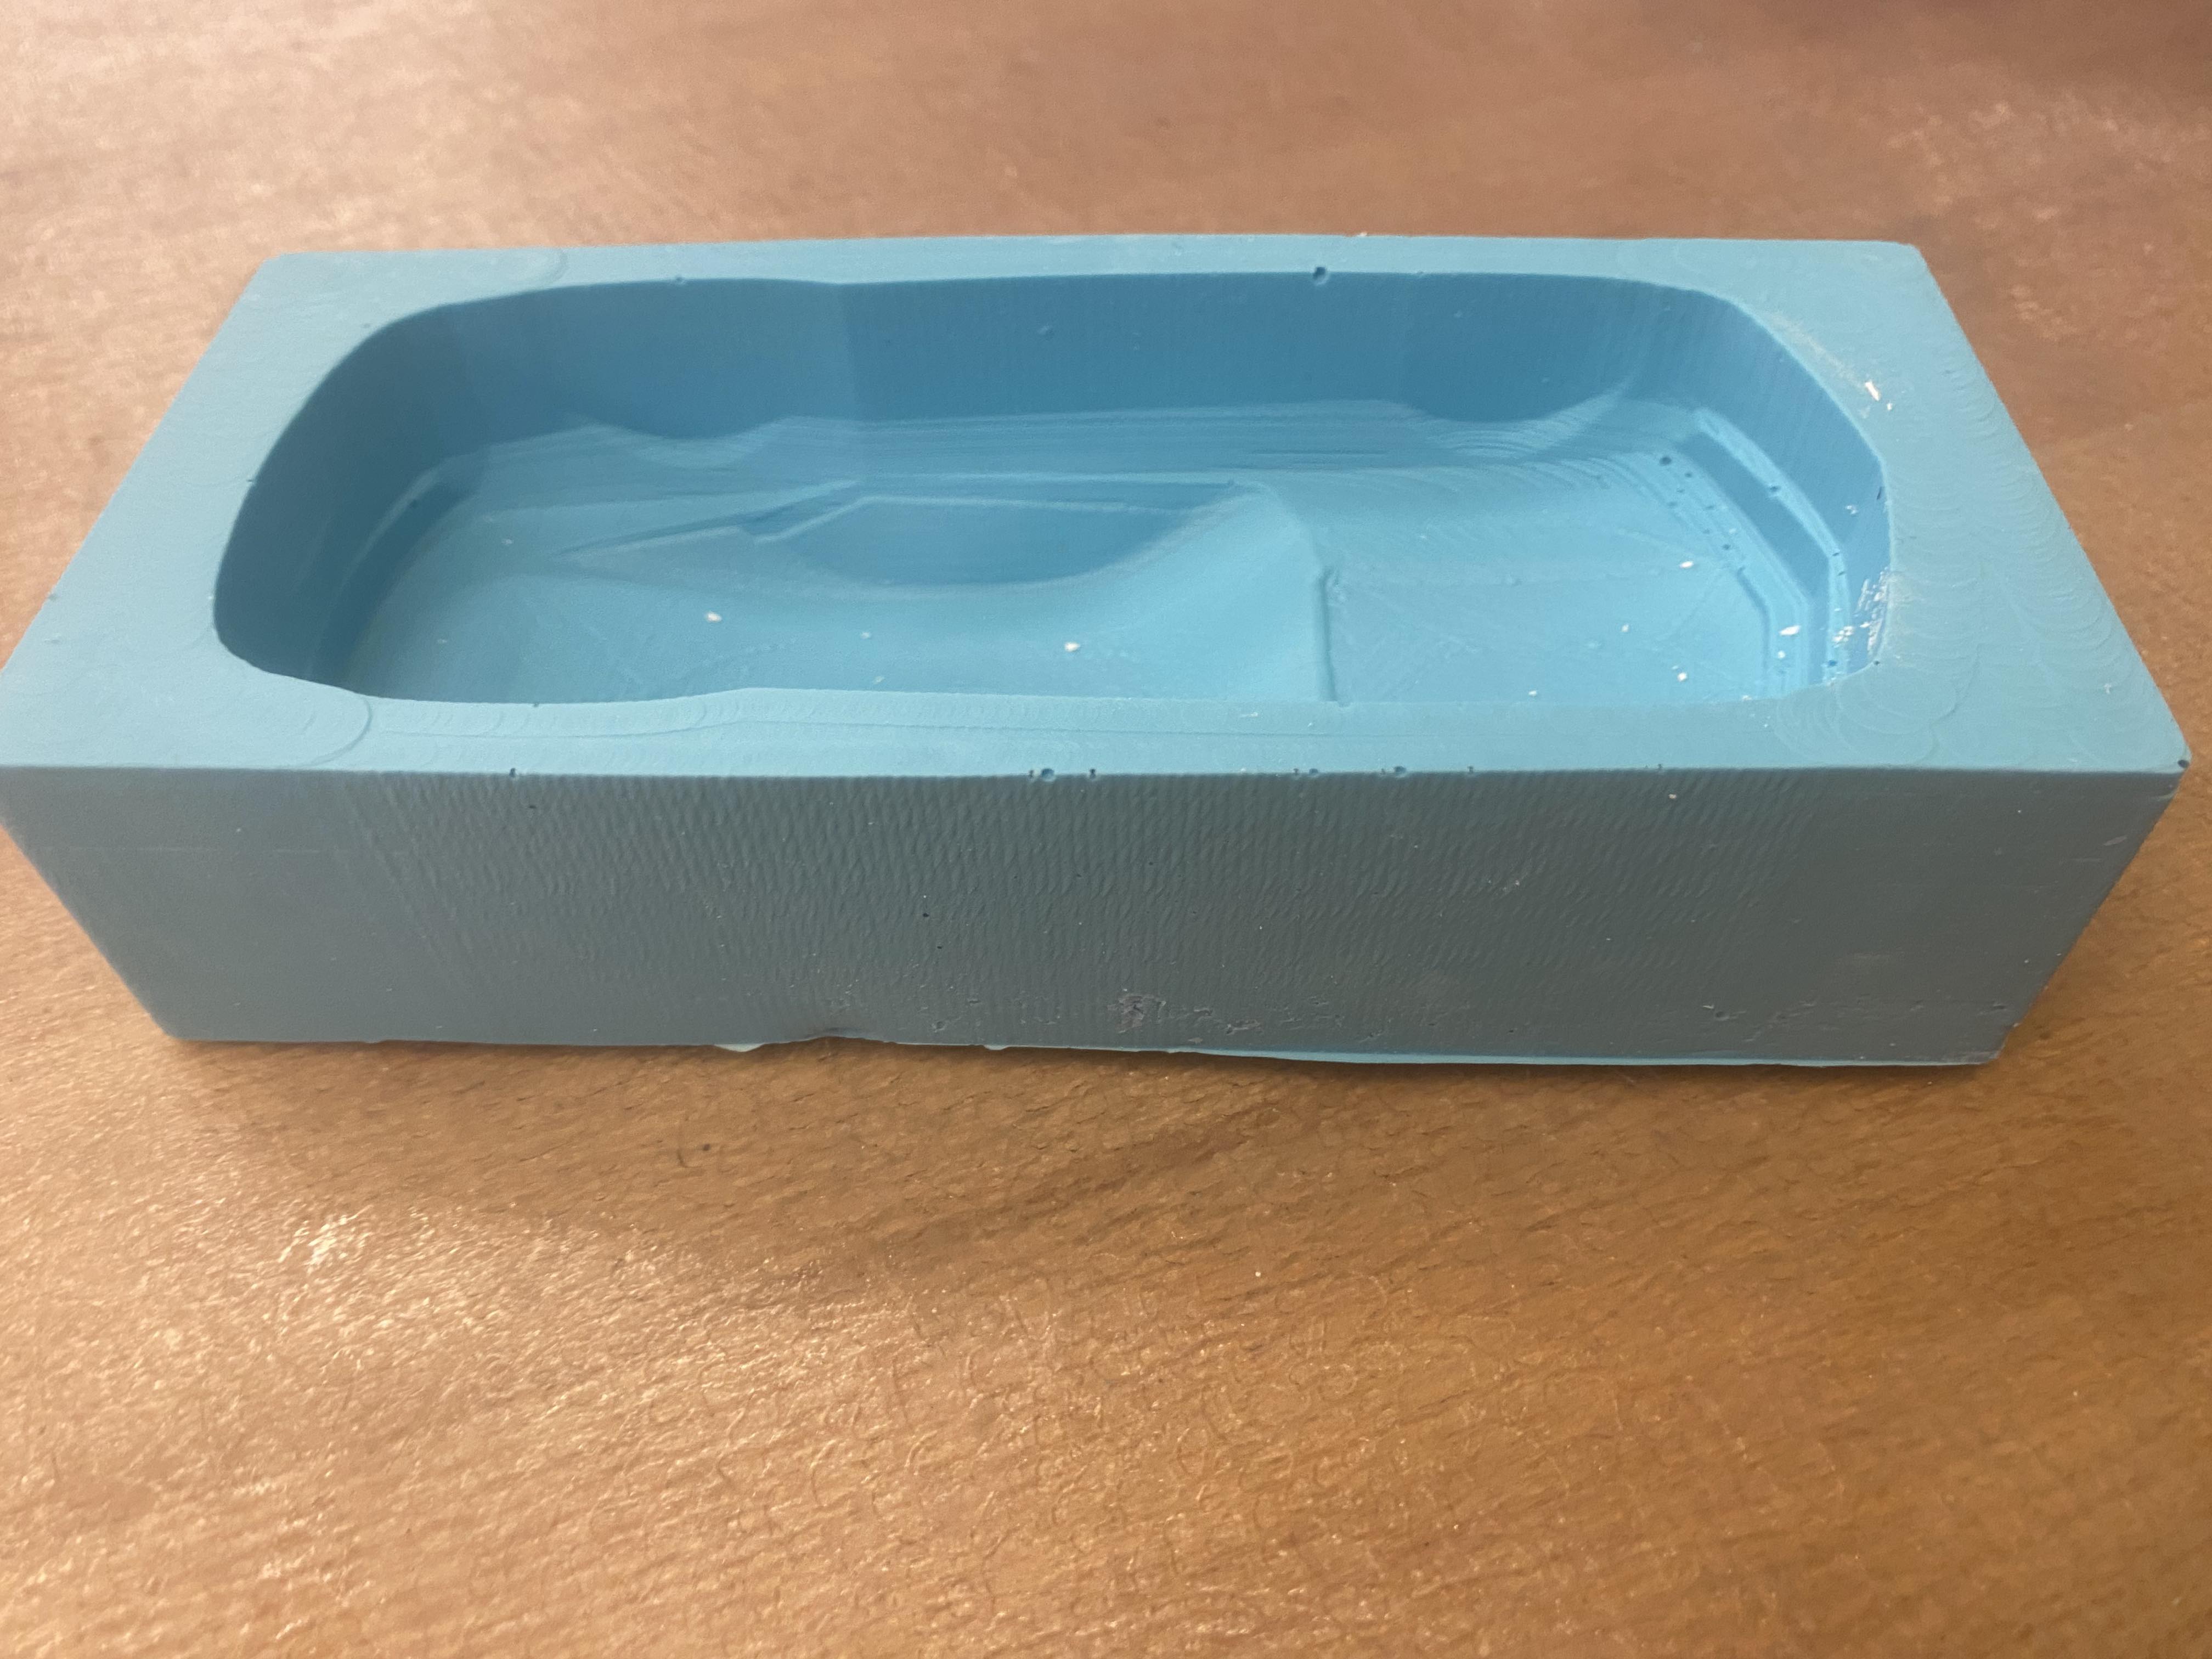
The next step was making the silicone mold for my car. This part was fairly easy: apron up, measure the volume of the inside of my milled wax block using water, and mix a 1:1 ratio of Oomoo Part A and Part B to pour over it. It took a good few minutes to mix the silicone completely, but after I did I simply poured it into my wax, making sure to fill every nook and cranny. A couple of hours later, I had a flexible mold ready to use!
I then mixed the drystone mix with some water until I had a consistency that Anthony confirmed would work for casting. I carefully poured it into my mold, again making sure to fill every gap completely. In under an hour, I had a model of a car!