this week the assignment was to interface between two systems. because i've been working on this lamp design from the the molding and casting week,
i wanted to use this week and next week to build an internal support structure to hold some electronics, interface with my computer and allow
the user to control the light from their computer. i want to have the control to turn it both on and off, and color it, and ideally i want to
do both of those things from any wifi connection. i knew i had my work cut out for me because i also need to make some small changes to the mold to
get everything to fit together perfectly.
again, i started with the xiao esp32-s3 because its the wifi enabled board that we have in stock !

to test out the network code, and because we have precious few esp32s in stock, i started by setting one up on a breadboard.
arduino code is here and html code is here but truth be told
it's almost entirely ripped off from neil's code with very few changes.
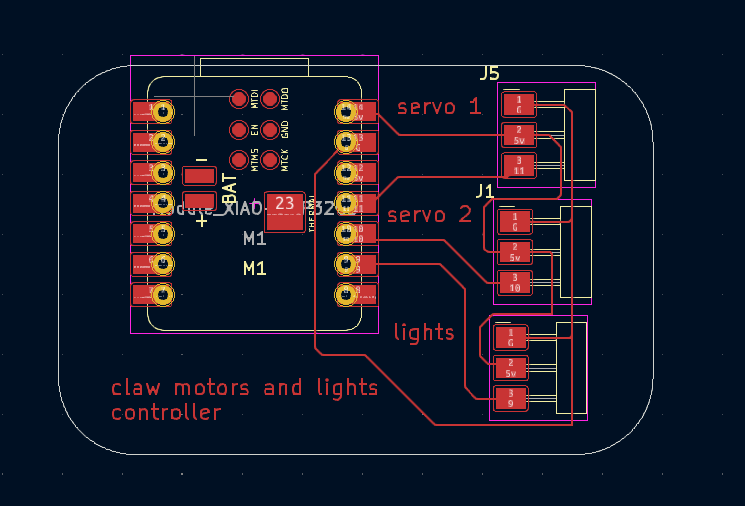
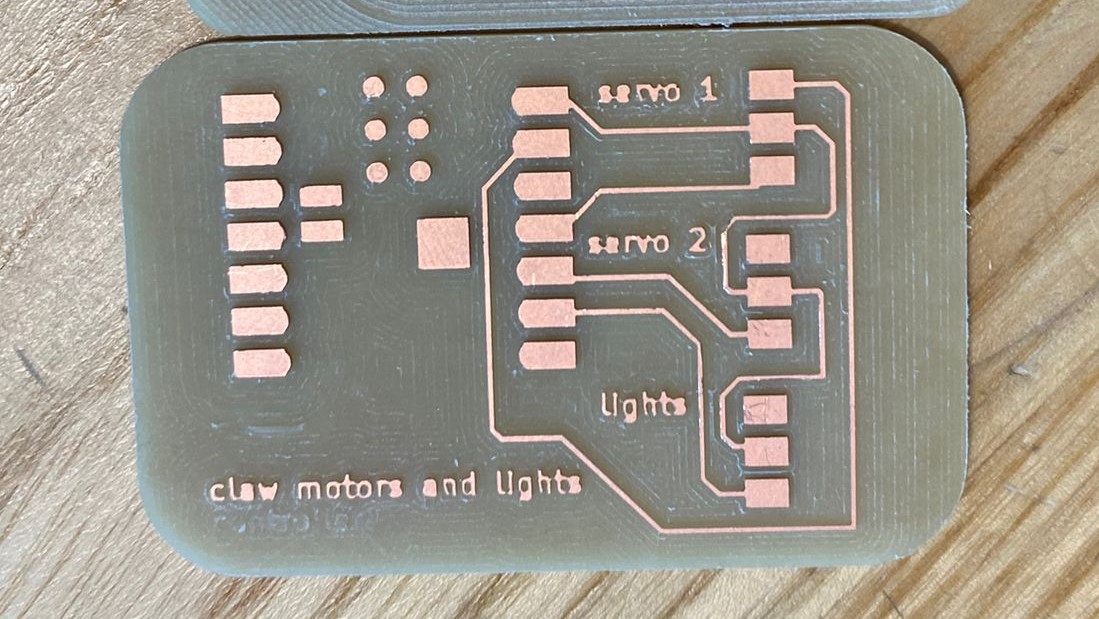
i designed a board for my final project to control an adafruit neopixel strip attached to one xiao esp32-c3 from another xiao esp32-c3.

i used the roland to mill the pcb and it turned out pretty beautifully.

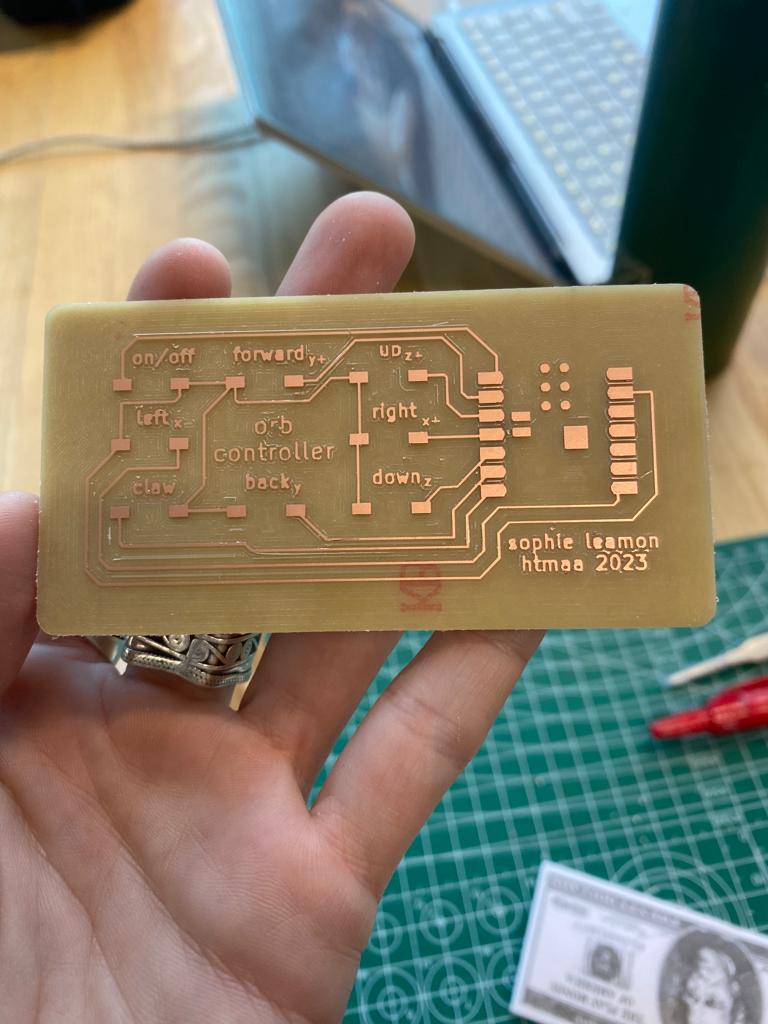
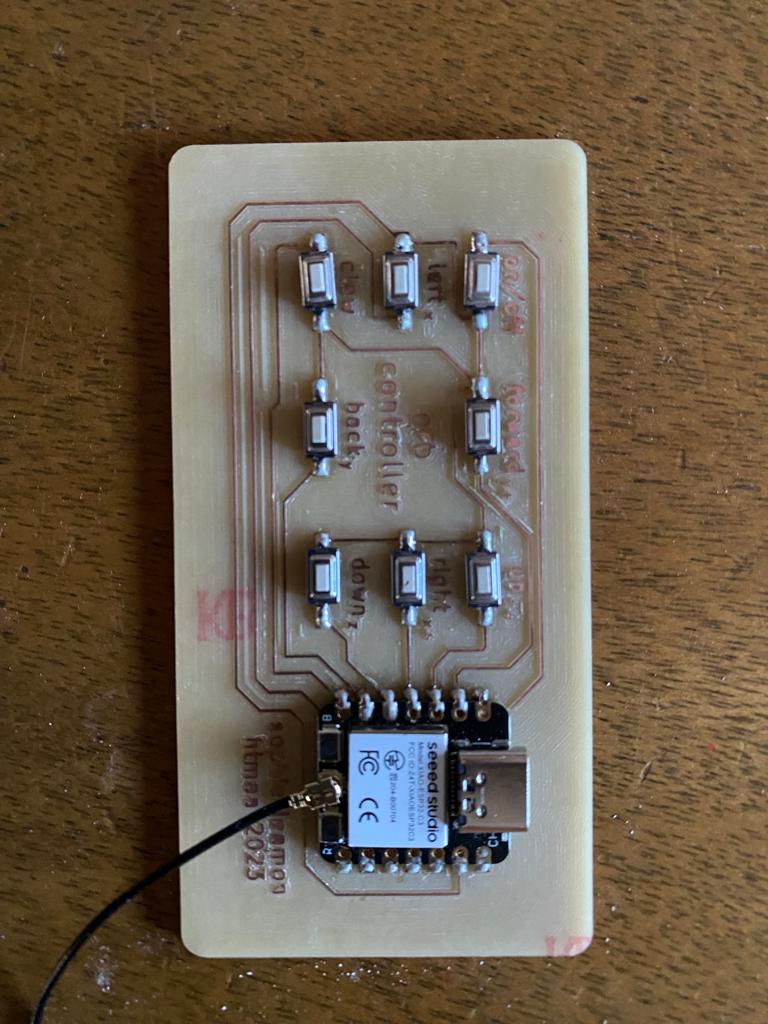
then i designed a controller board that would control the lights, the claw, and the movement of the machine, and similarly, milled that on the roland, before soldering components on. i put an xiao esp32-c3 on both boards so that they could connect wirelessly.


i connected both controllers via painless mesh so that i could turn on the lights inside the orb and the servo, using the controller!! the code that runs the controller board and the code that runs the servo and lights
board is here and here!
then i tested it out with the controller! there it is!