# MNIST Chip
## Overview
I wanted to build a more complicated chip/pcb to learn as much of the fundamentals as I could. Inspired by etched and the AI era, I originally wanted to make a transformer chip out of simple microcontrollers. After consulting with Neil, I realized this would be quite complicated and instead I opted for solving the [MNIST](https://en.wikipedia.org/wiki/MNIST_database) dataset.

### Schematic
I decided to have an ESP32 connnected to a camera which will compress the image into 28x28 grayscale values, and pass it to the first layer of micrcontrollers. After consulting with Anthony and the internet, I settled on using I2C for communication since it was the lowest complexity both in terms of wiring and software.
I2C is super simple. All devices just have to have two pins fully interconnected with each other. I also added an LED so that we can visualize the output of each neuron as the network continues. I found a model online that solves MNIST with 98% accuracy with only 25 neurons, which is good enough for this use case! I am going to try training my own to see if I can further reduce that number.
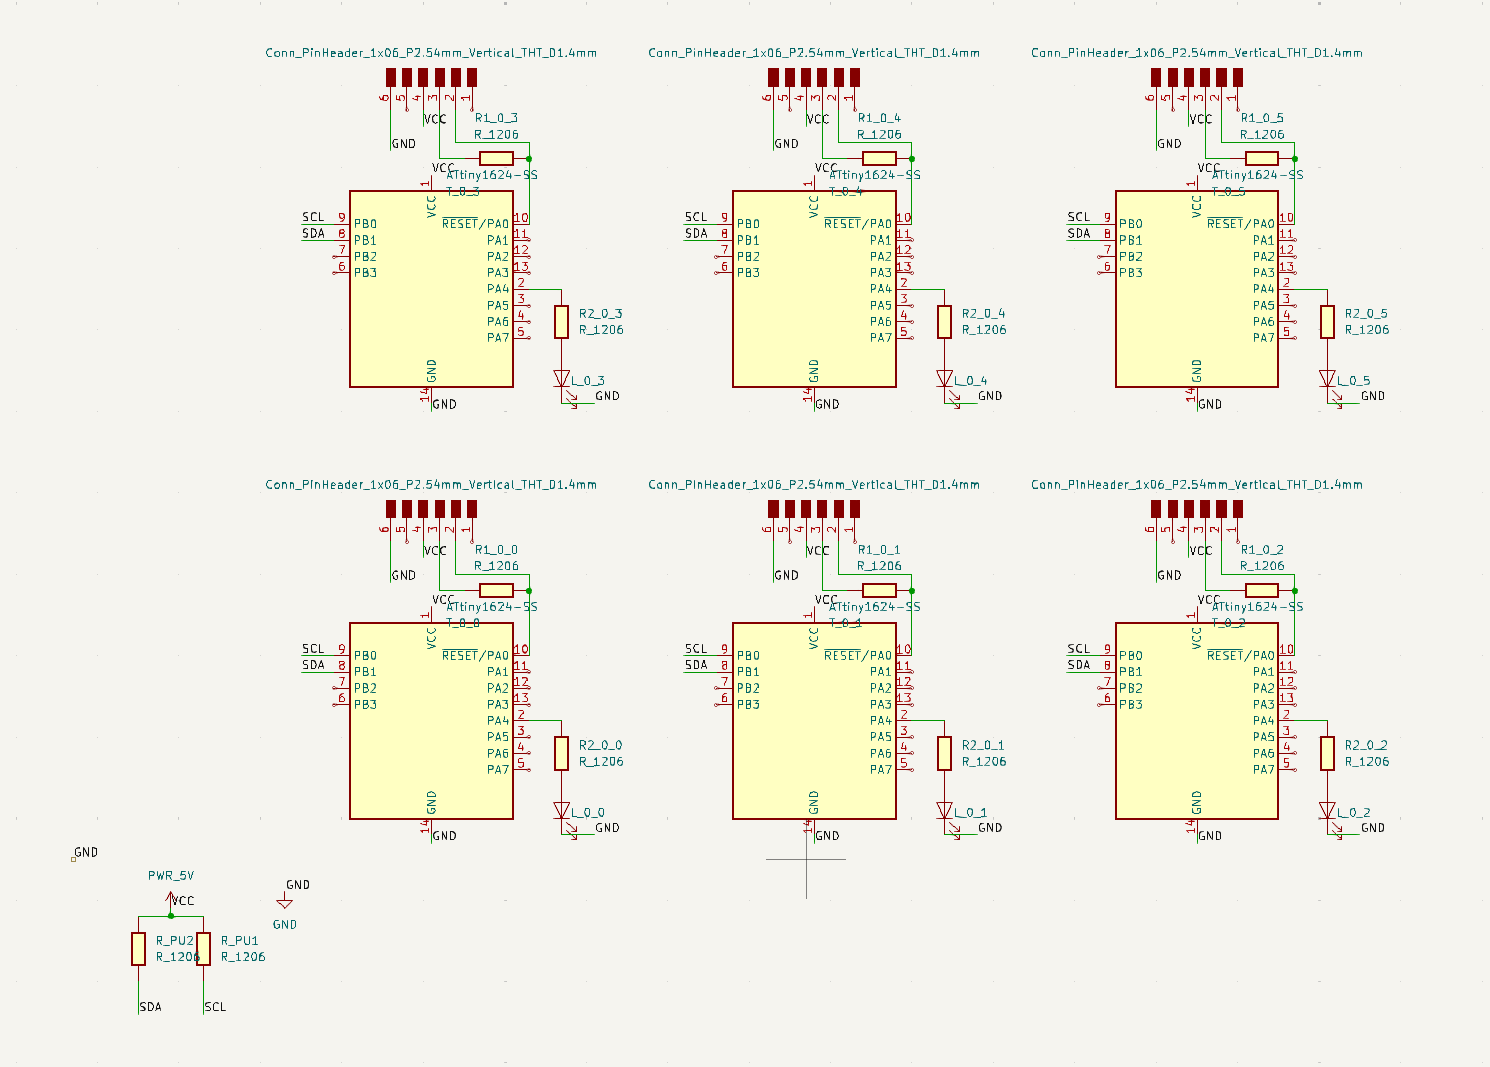
I ended up using the Tiny1624 because the tiny412 only has 256 bytes of ram which is not enough to fit the 784 byte image. I made the schematic which is essentially a bunch of Tiny1624 all connected to 5V/GND and SDA/SCL all with eachother. The design is well tiled so that when production time comes I can make PCBs with any amount/structure of neurons.

### PCB
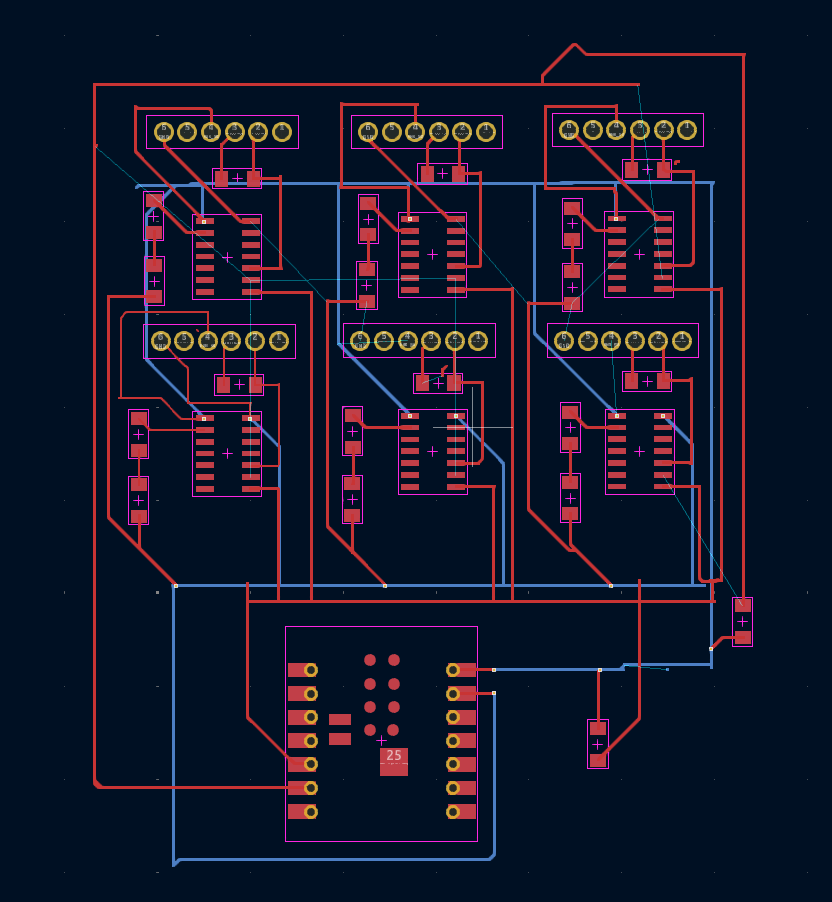
I dumped everything into the PCB viewer. For the test version i'm going to only have 6 neurons so that I can test the communication between them and ensure the board works before I spend hours soldering 30 microcontrollers together. The PCB is pretty straightforward. The 5V/GND is on one side and everything else is on the other side.
