The Chariot - Computer Controlled Machining
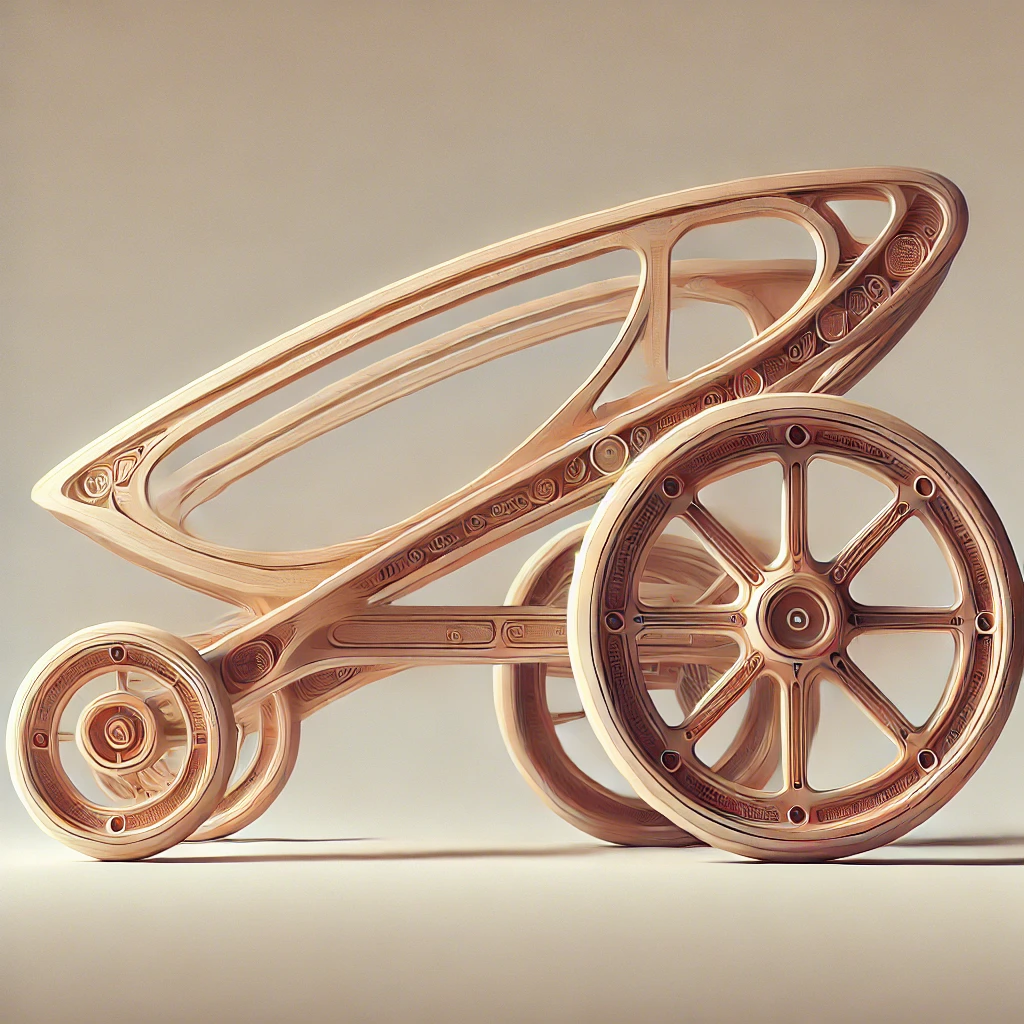
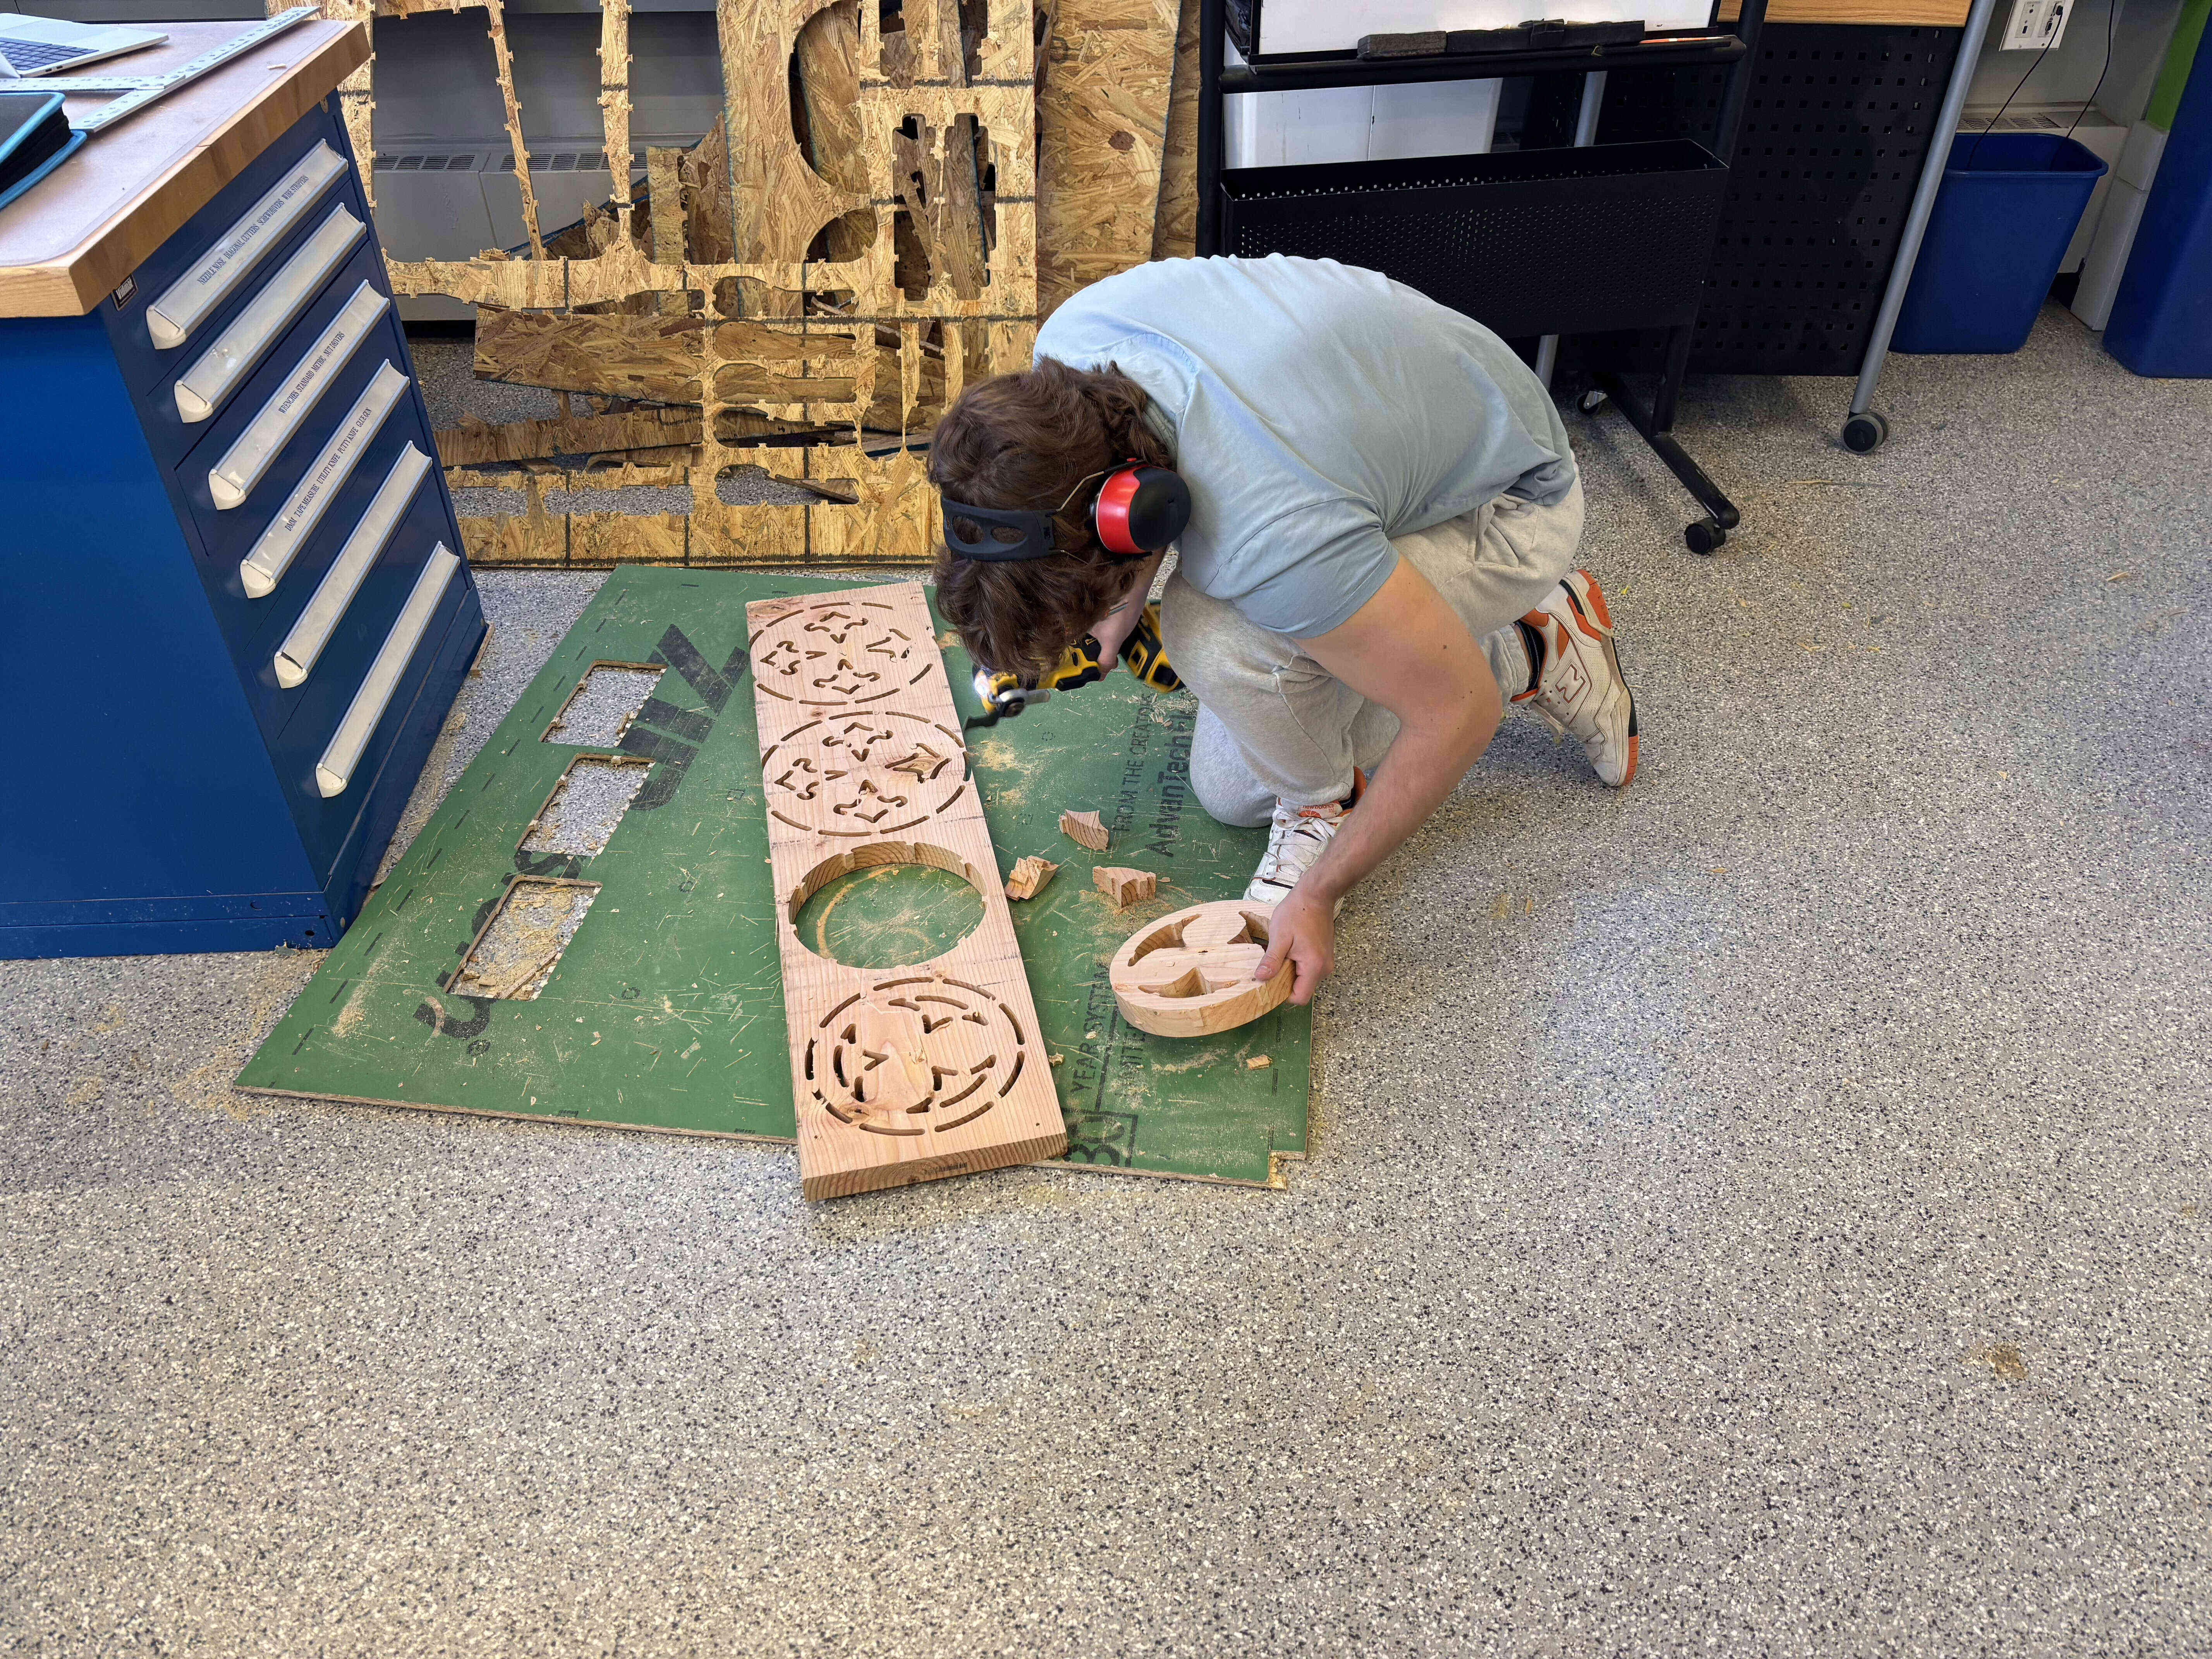
Last week, I failed to create my plane. My original idea for this week was to try to machine plane wings out of foam. But I ultimately realized this was a terrible idea as I had spent the previous week trying to learn aerodynamics so that I can create my own airfoil and this did not work out.I thus decided to pivot to creating a large car that I could sit in. I wanted to make something large and impressive, so I decided to go all out this week. Here is Neil enjoying my creation - now lets get into how I made it. I spent 10h each day for 5 days making this happen. It was a lot of work, but also a lot of fun! I started by creating some inspiration photos in ChatGPT. I am not really an artist so this was a very helpful step for me to start to think about how I should shape the chariot. The car had to have relatively low dimensionality and so it took a bit of prompting to get GPT to show me something useful.
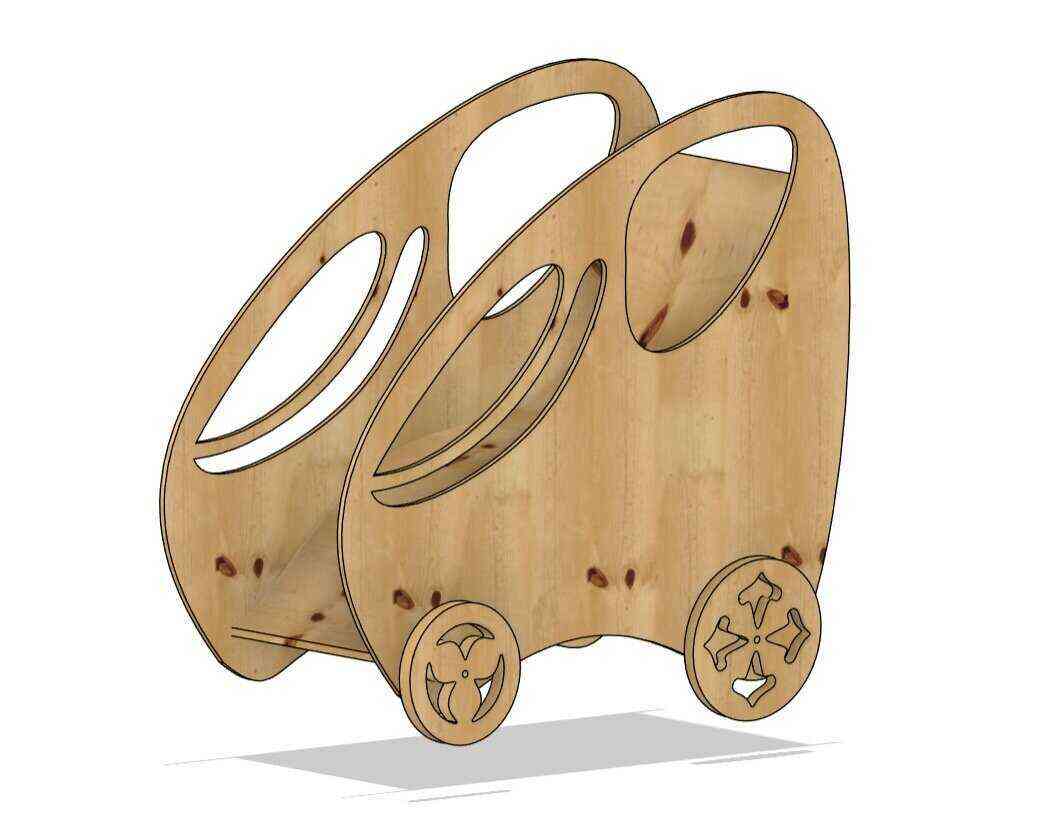
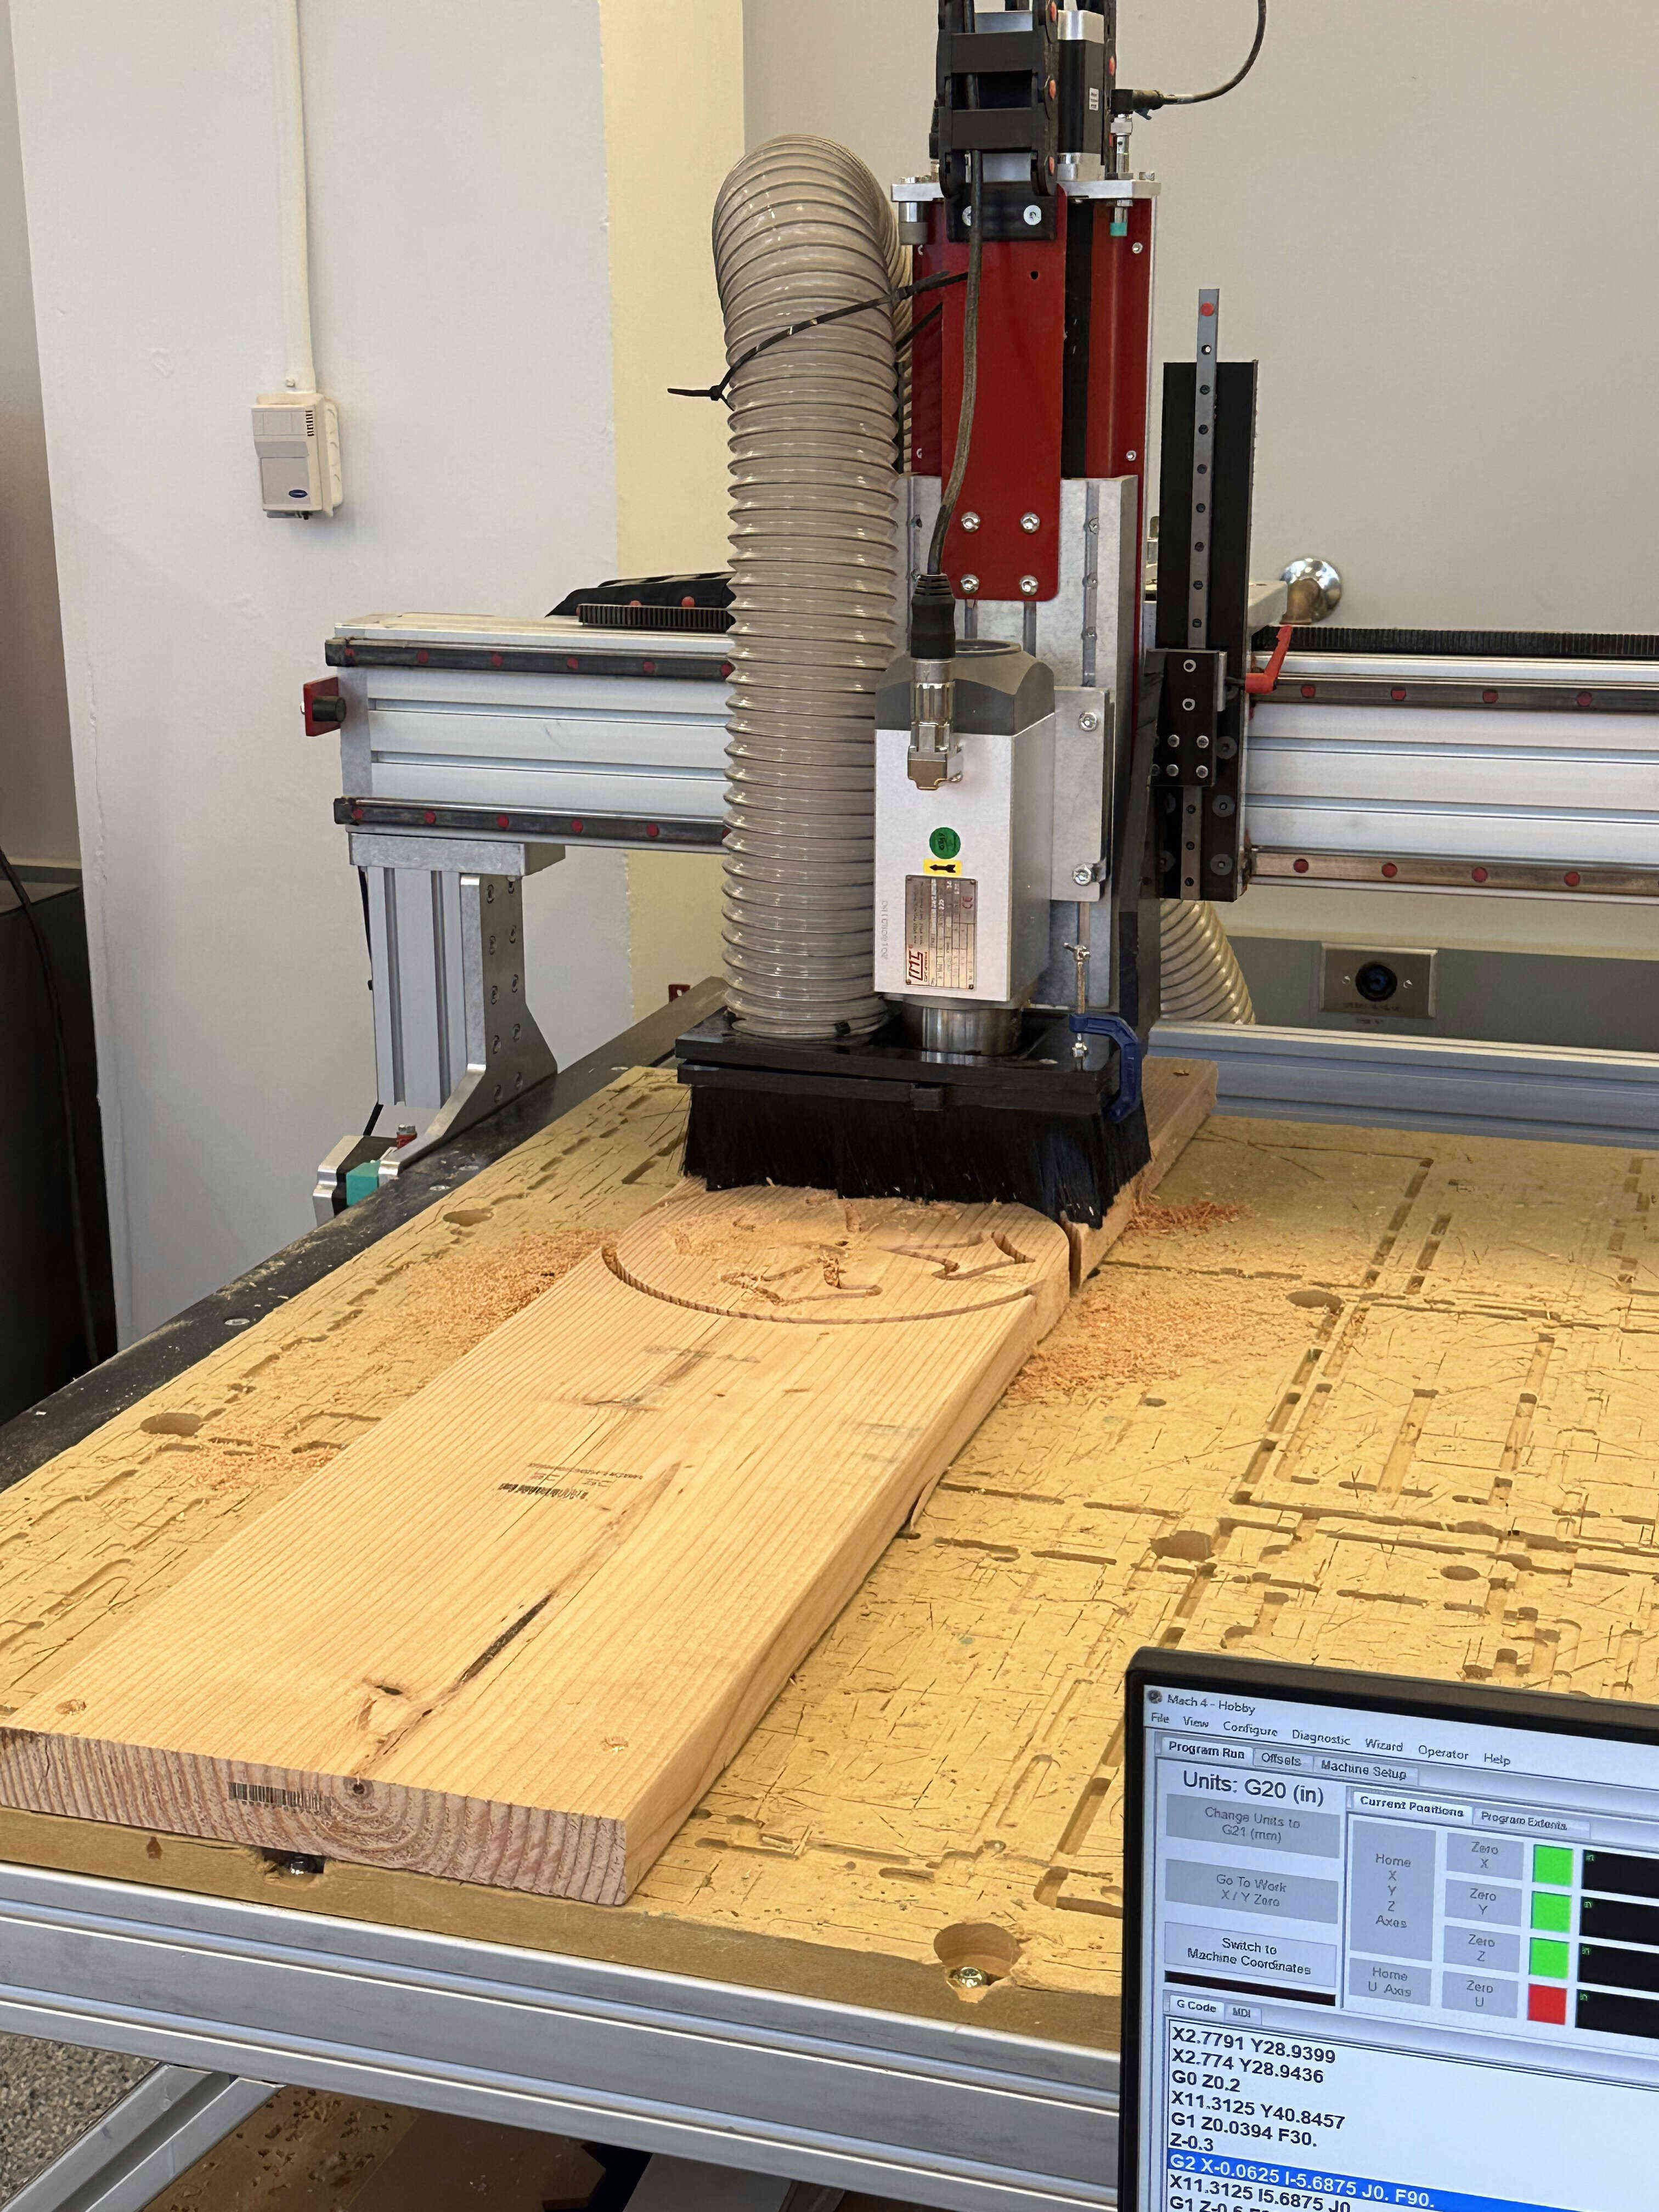
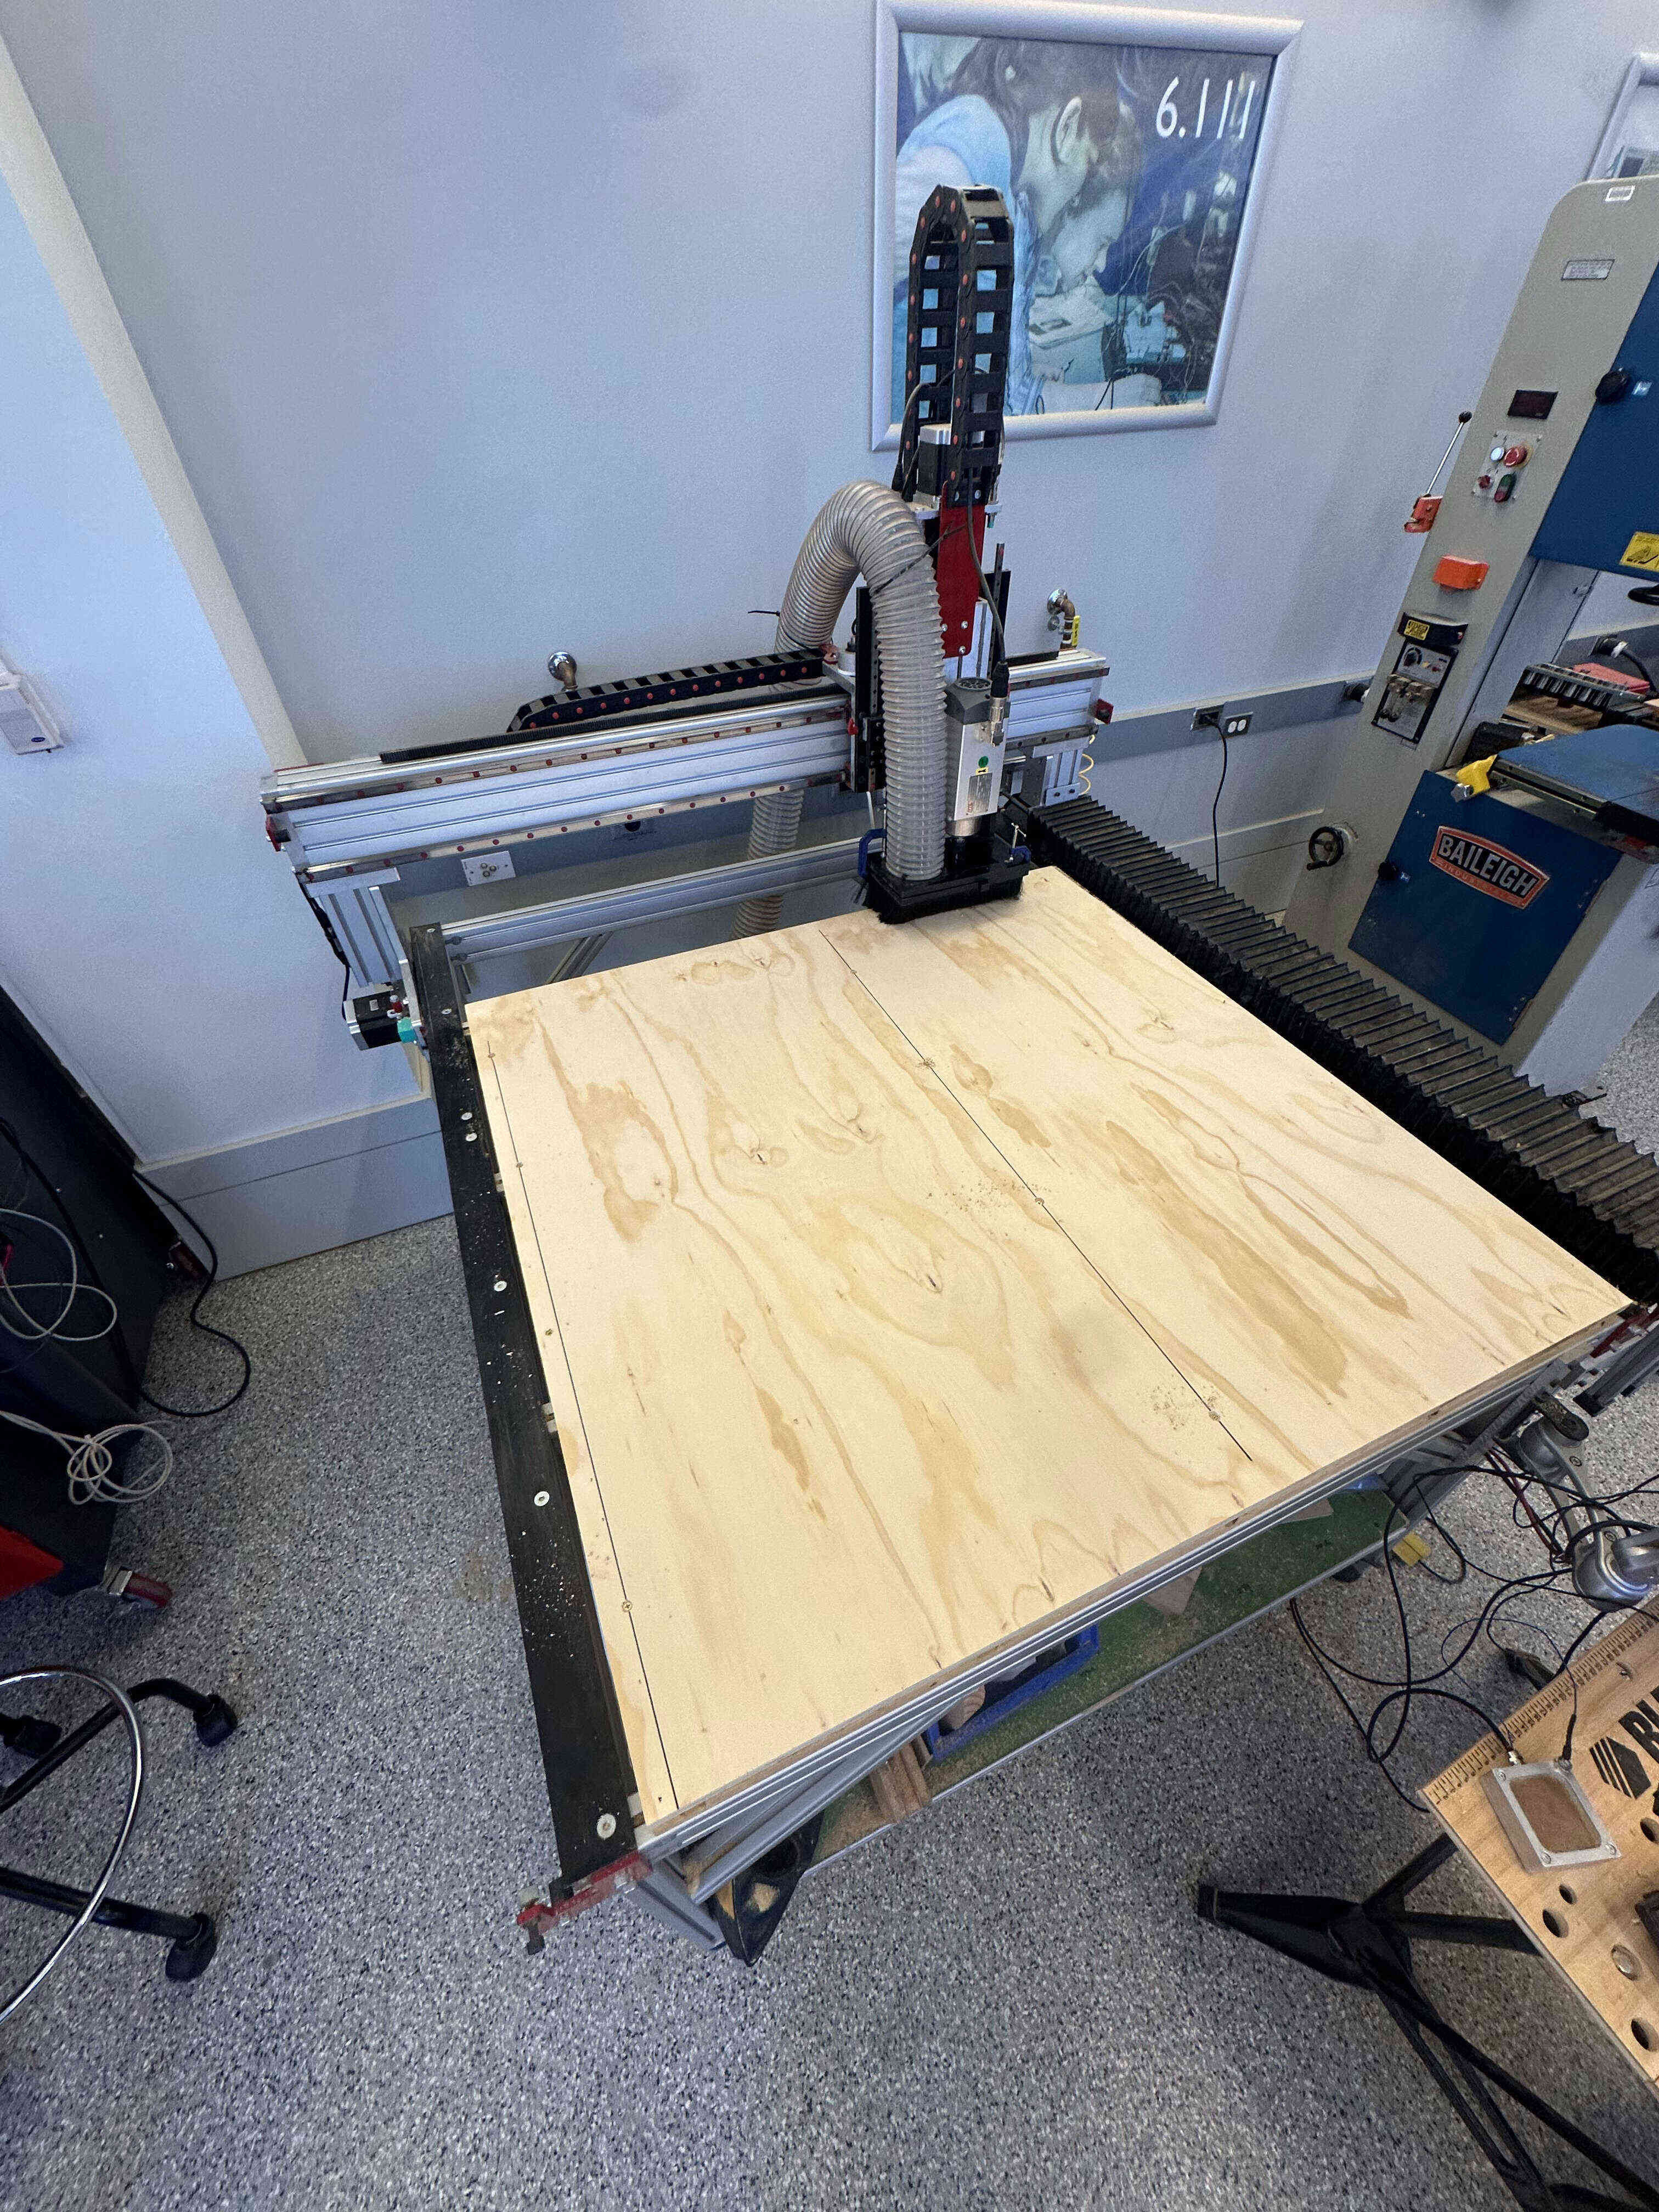
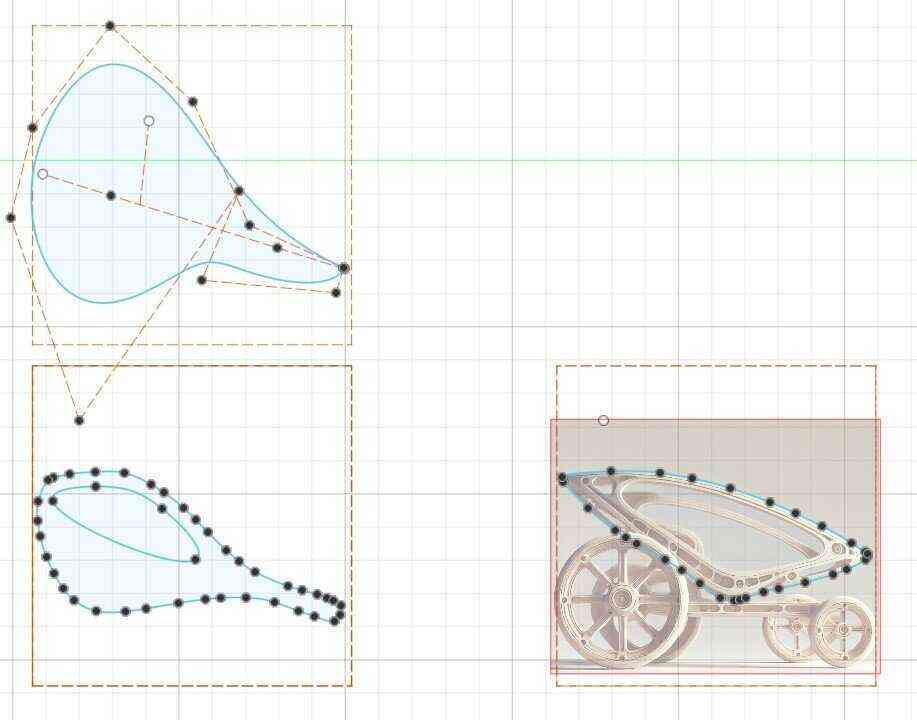
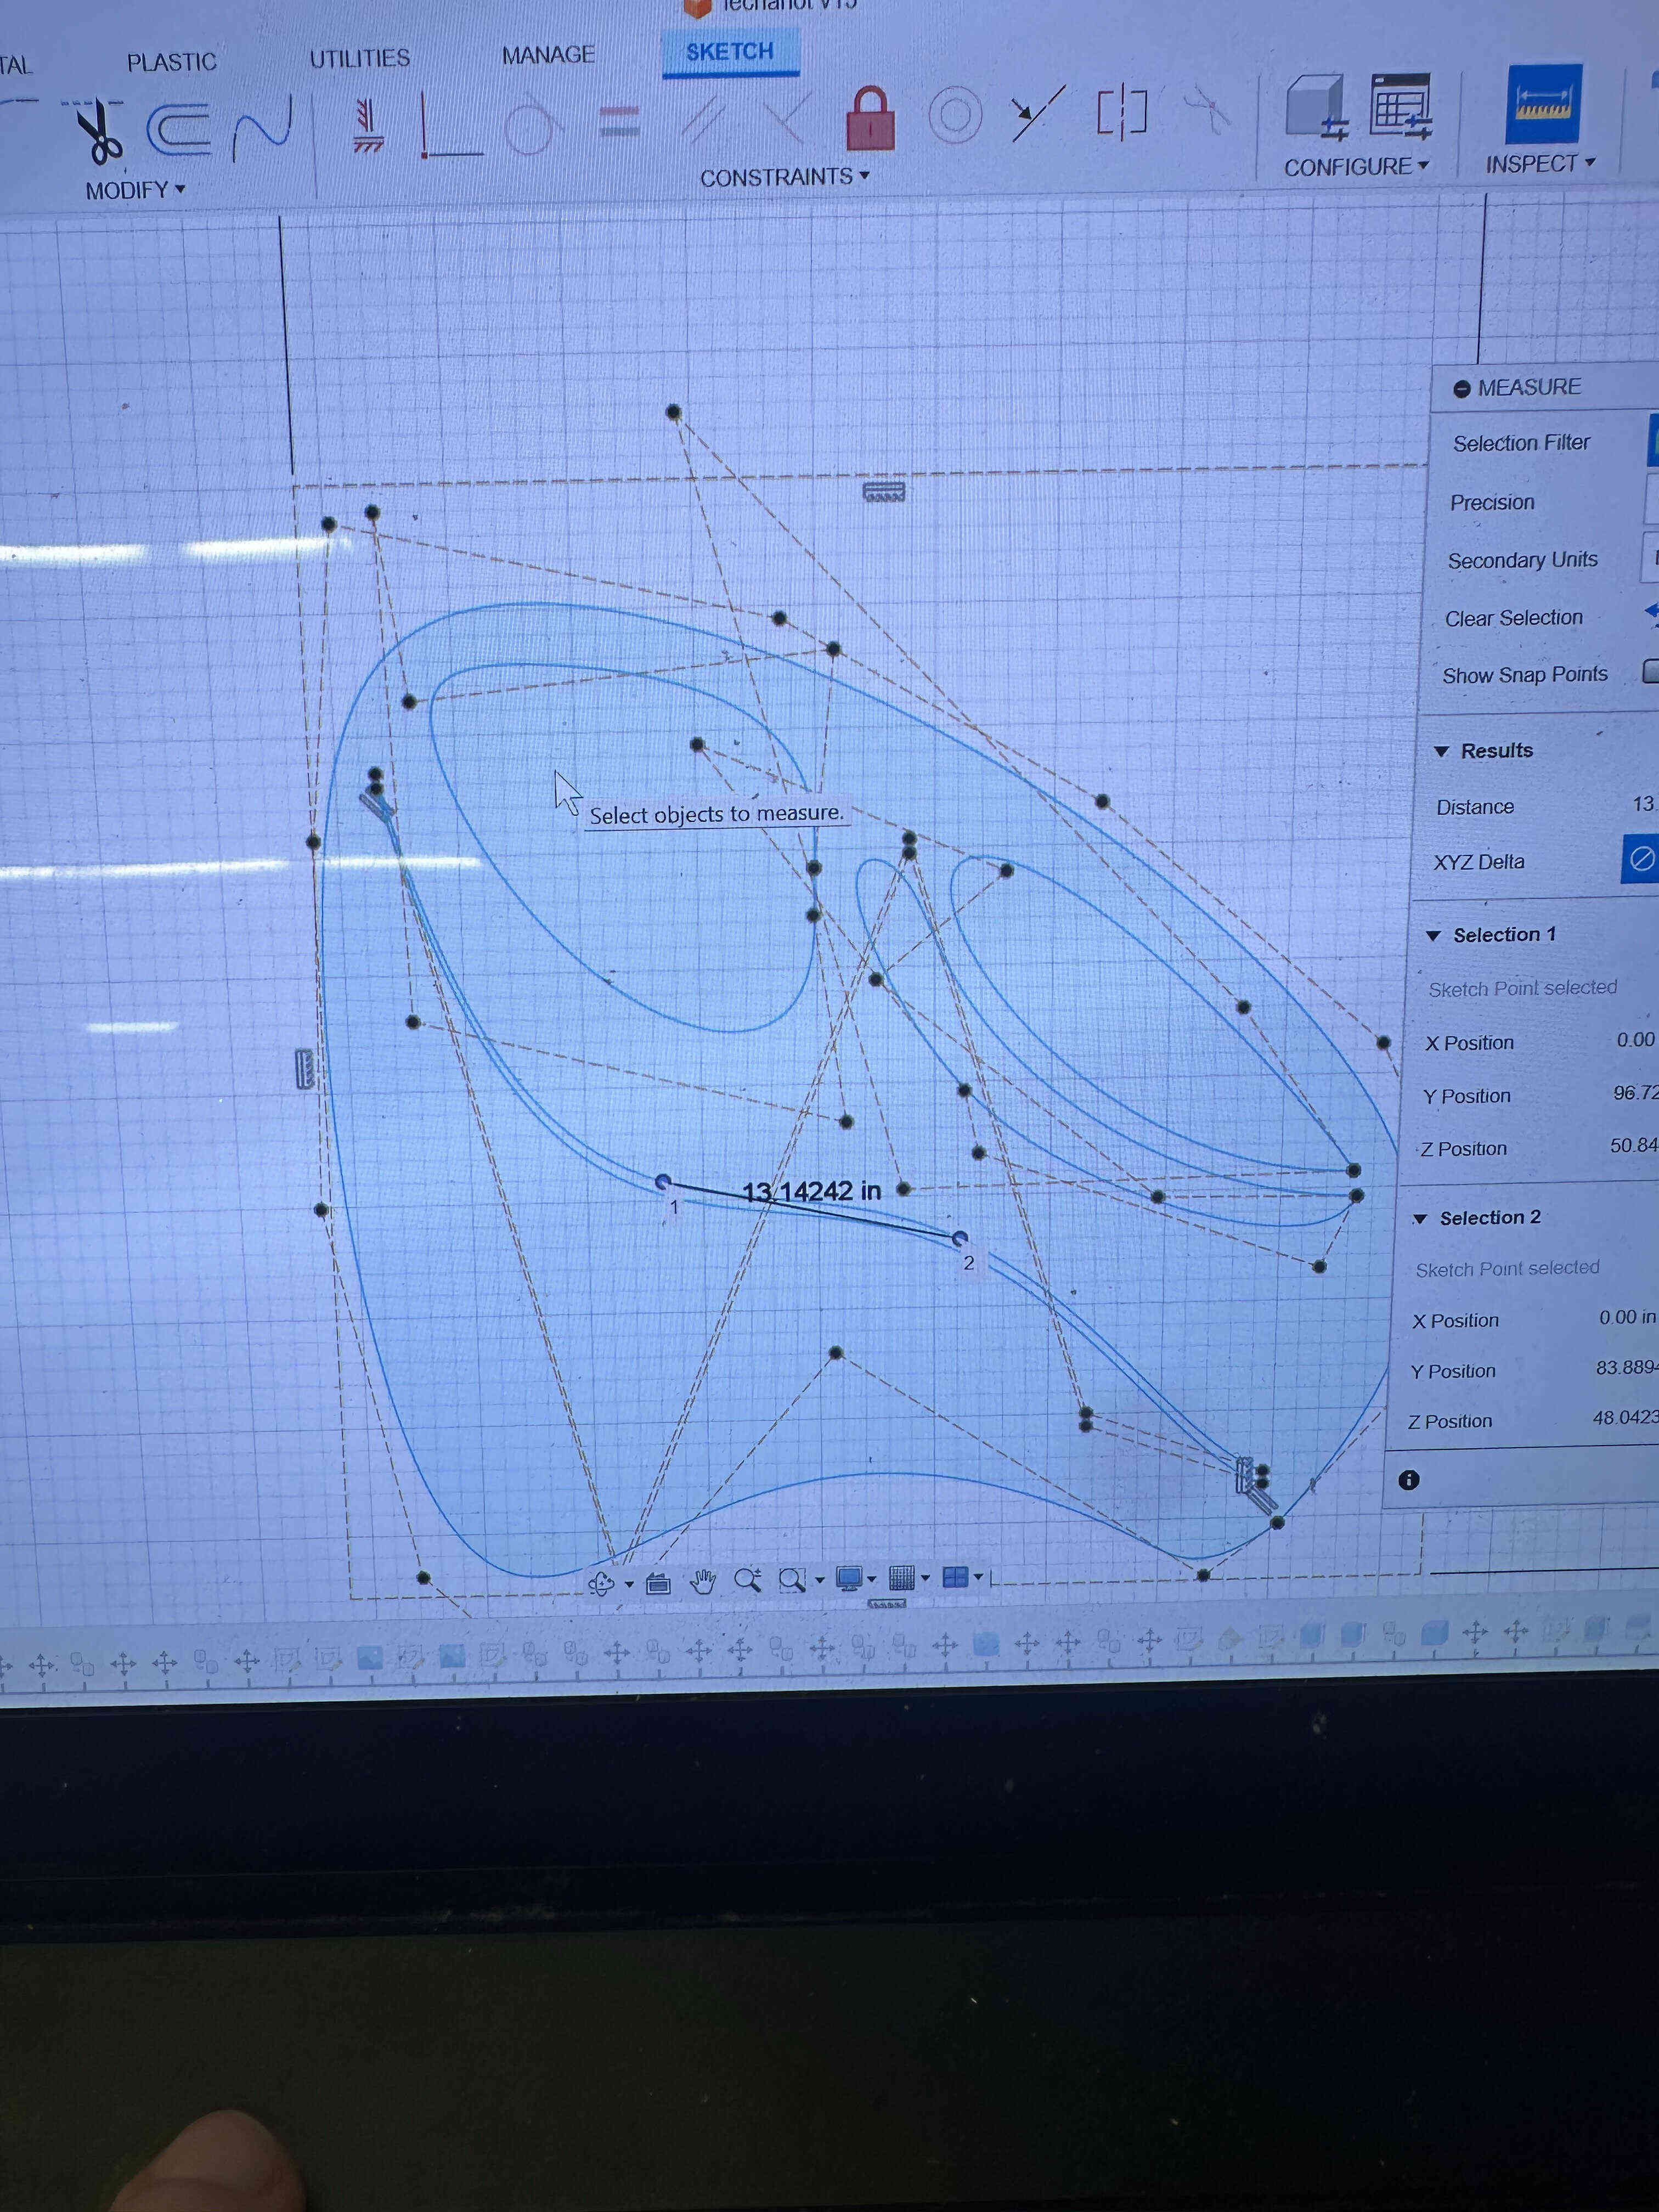
 I whipped something up in CAD so I could figure out what materials I should get.
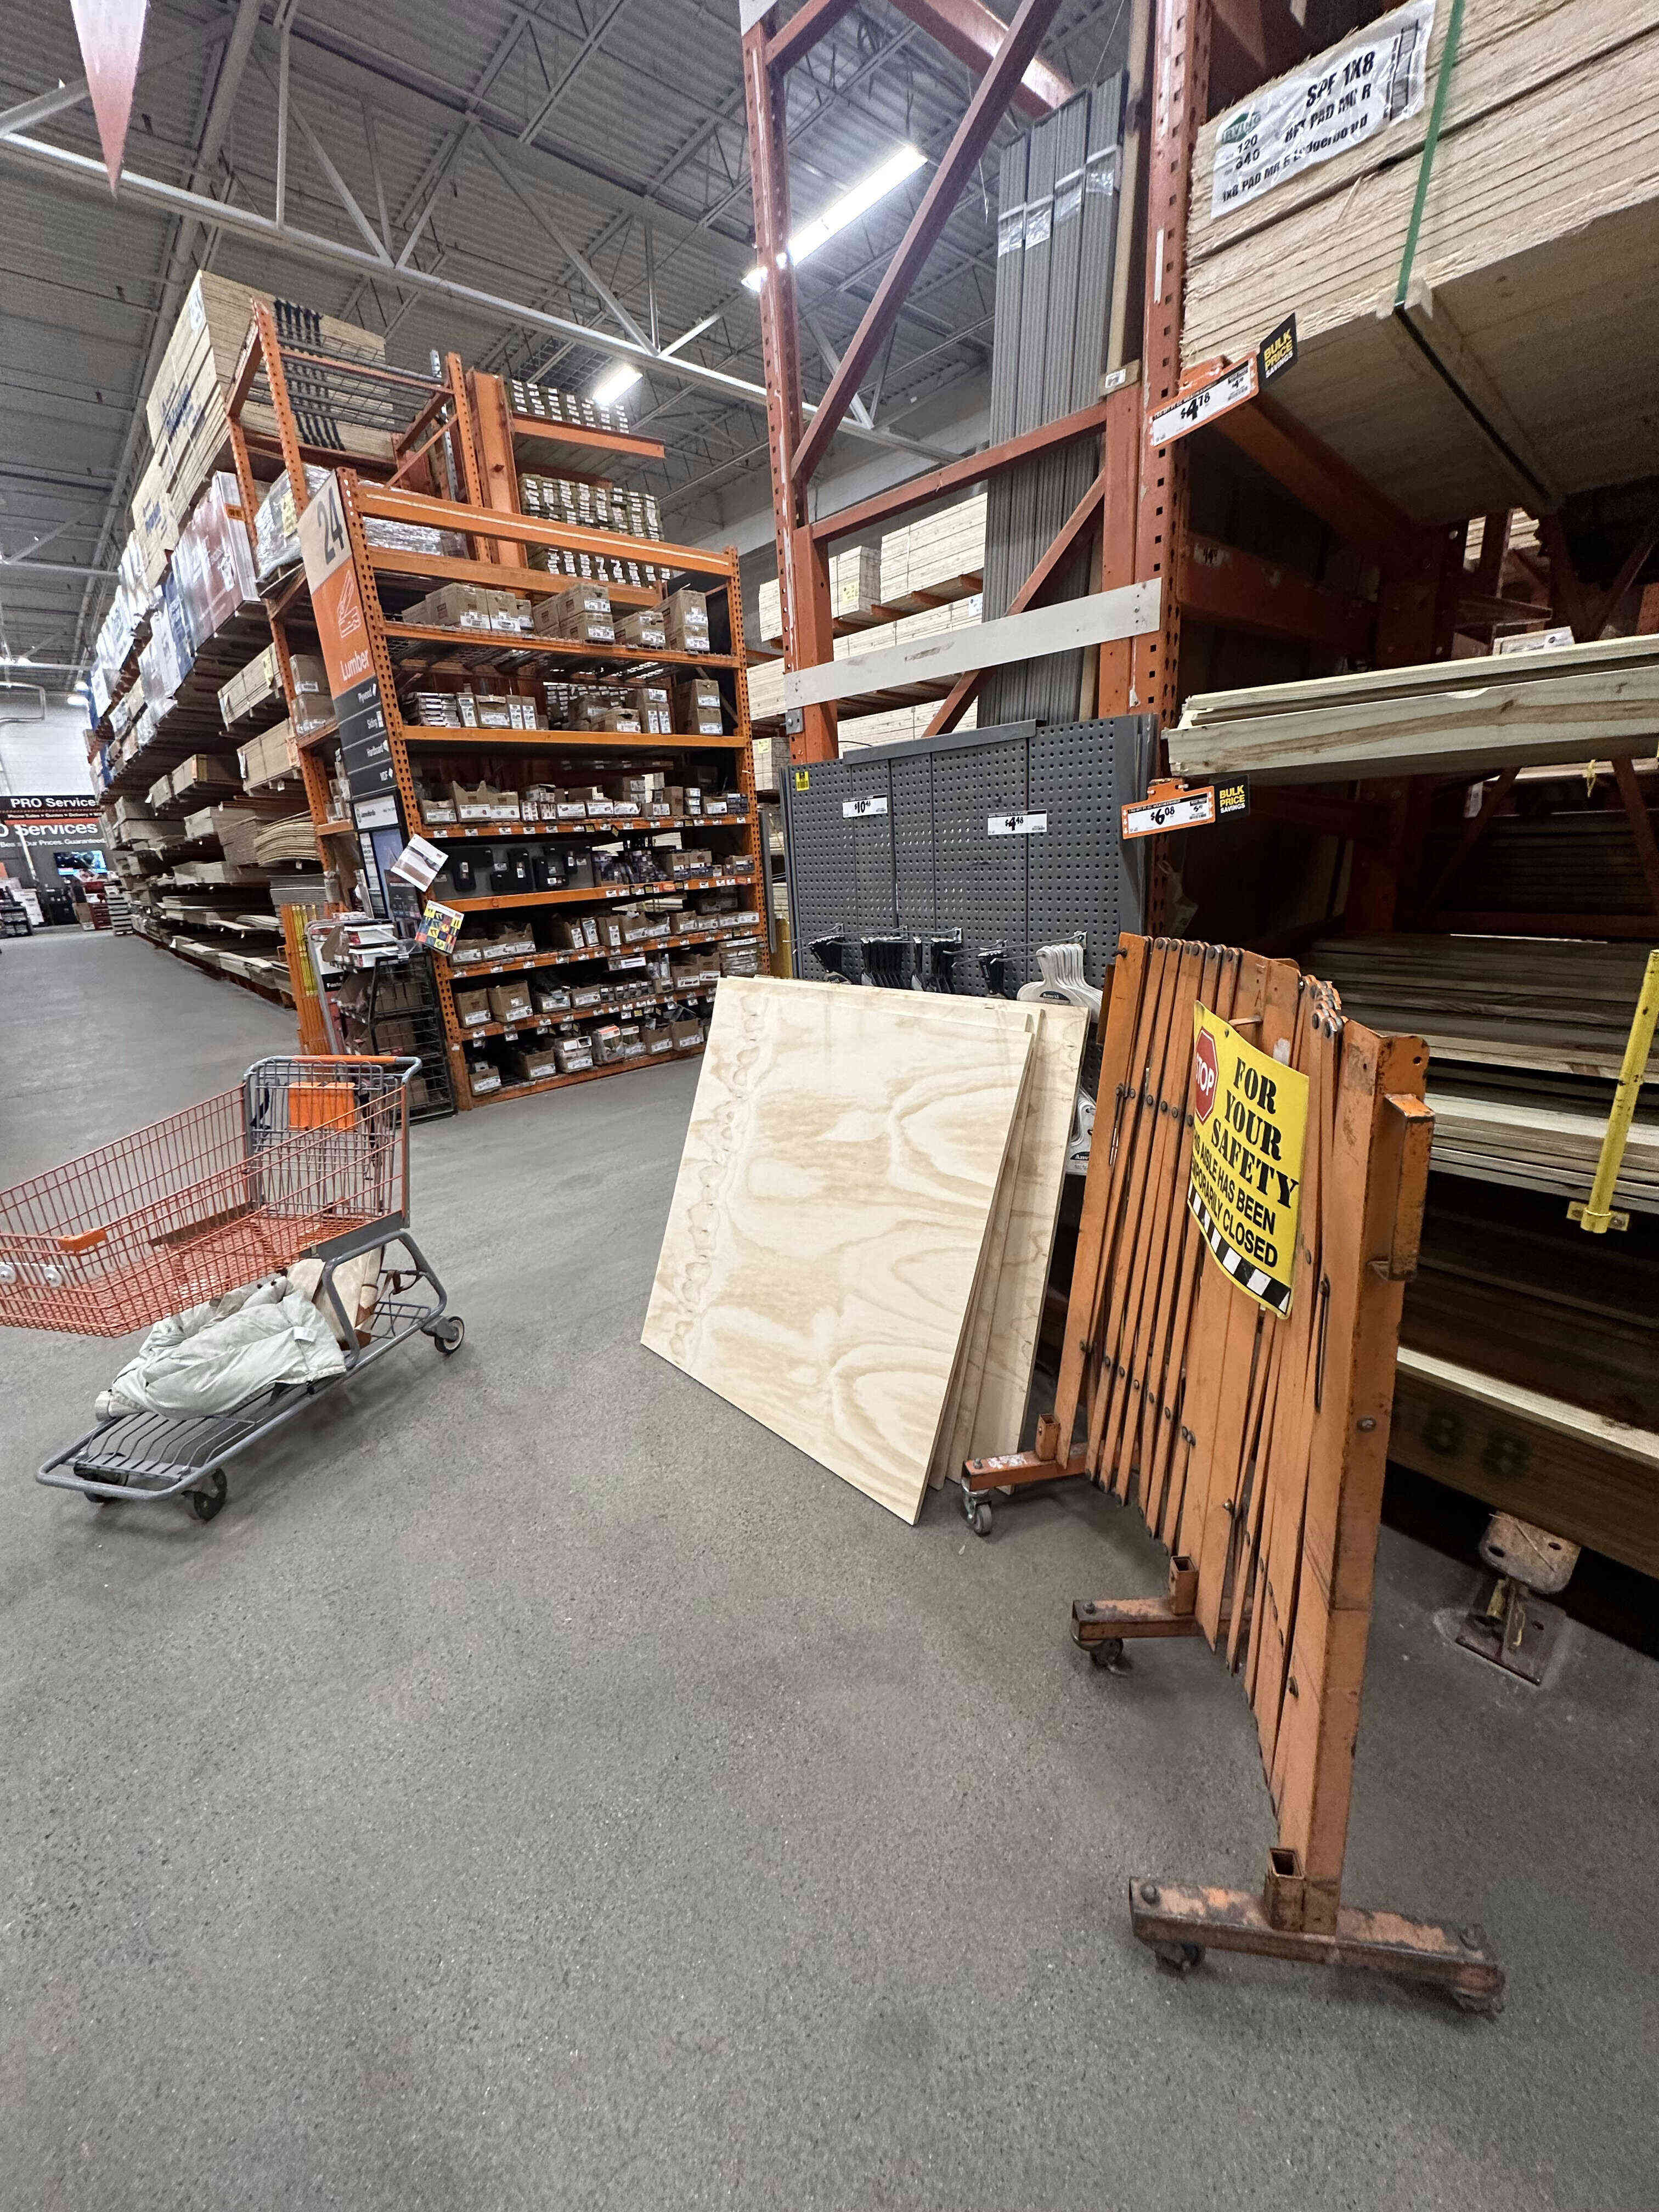
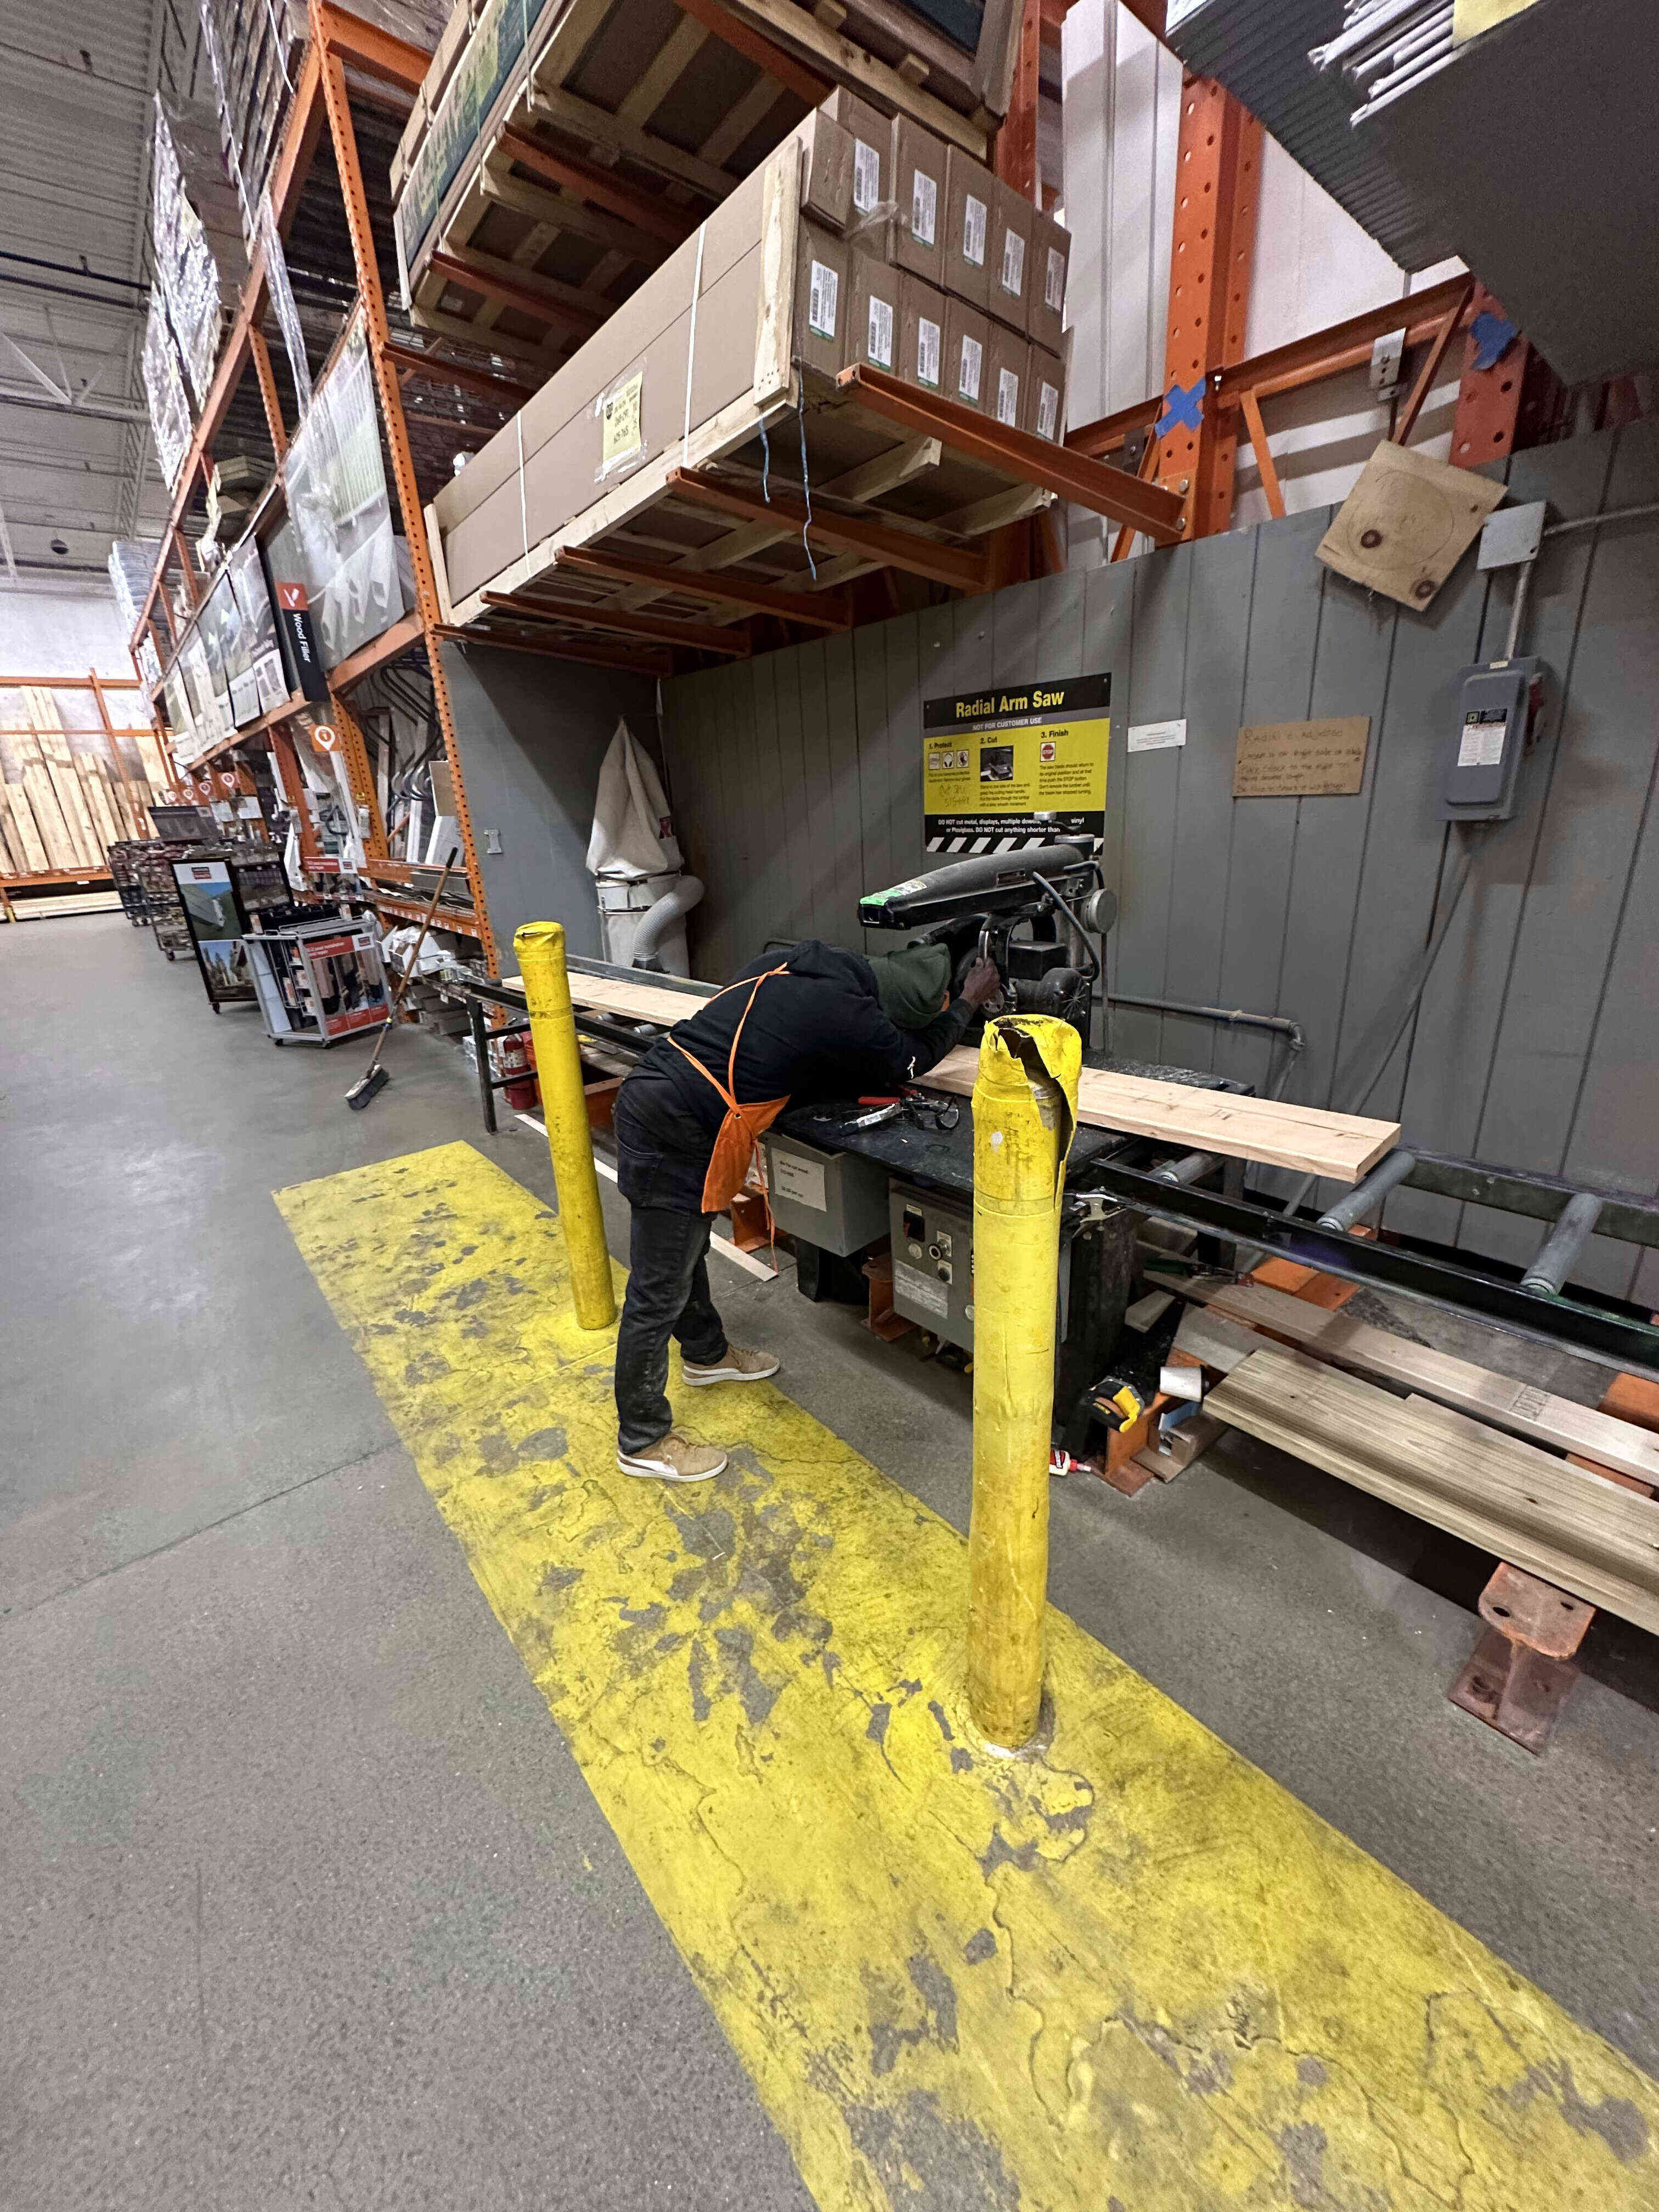
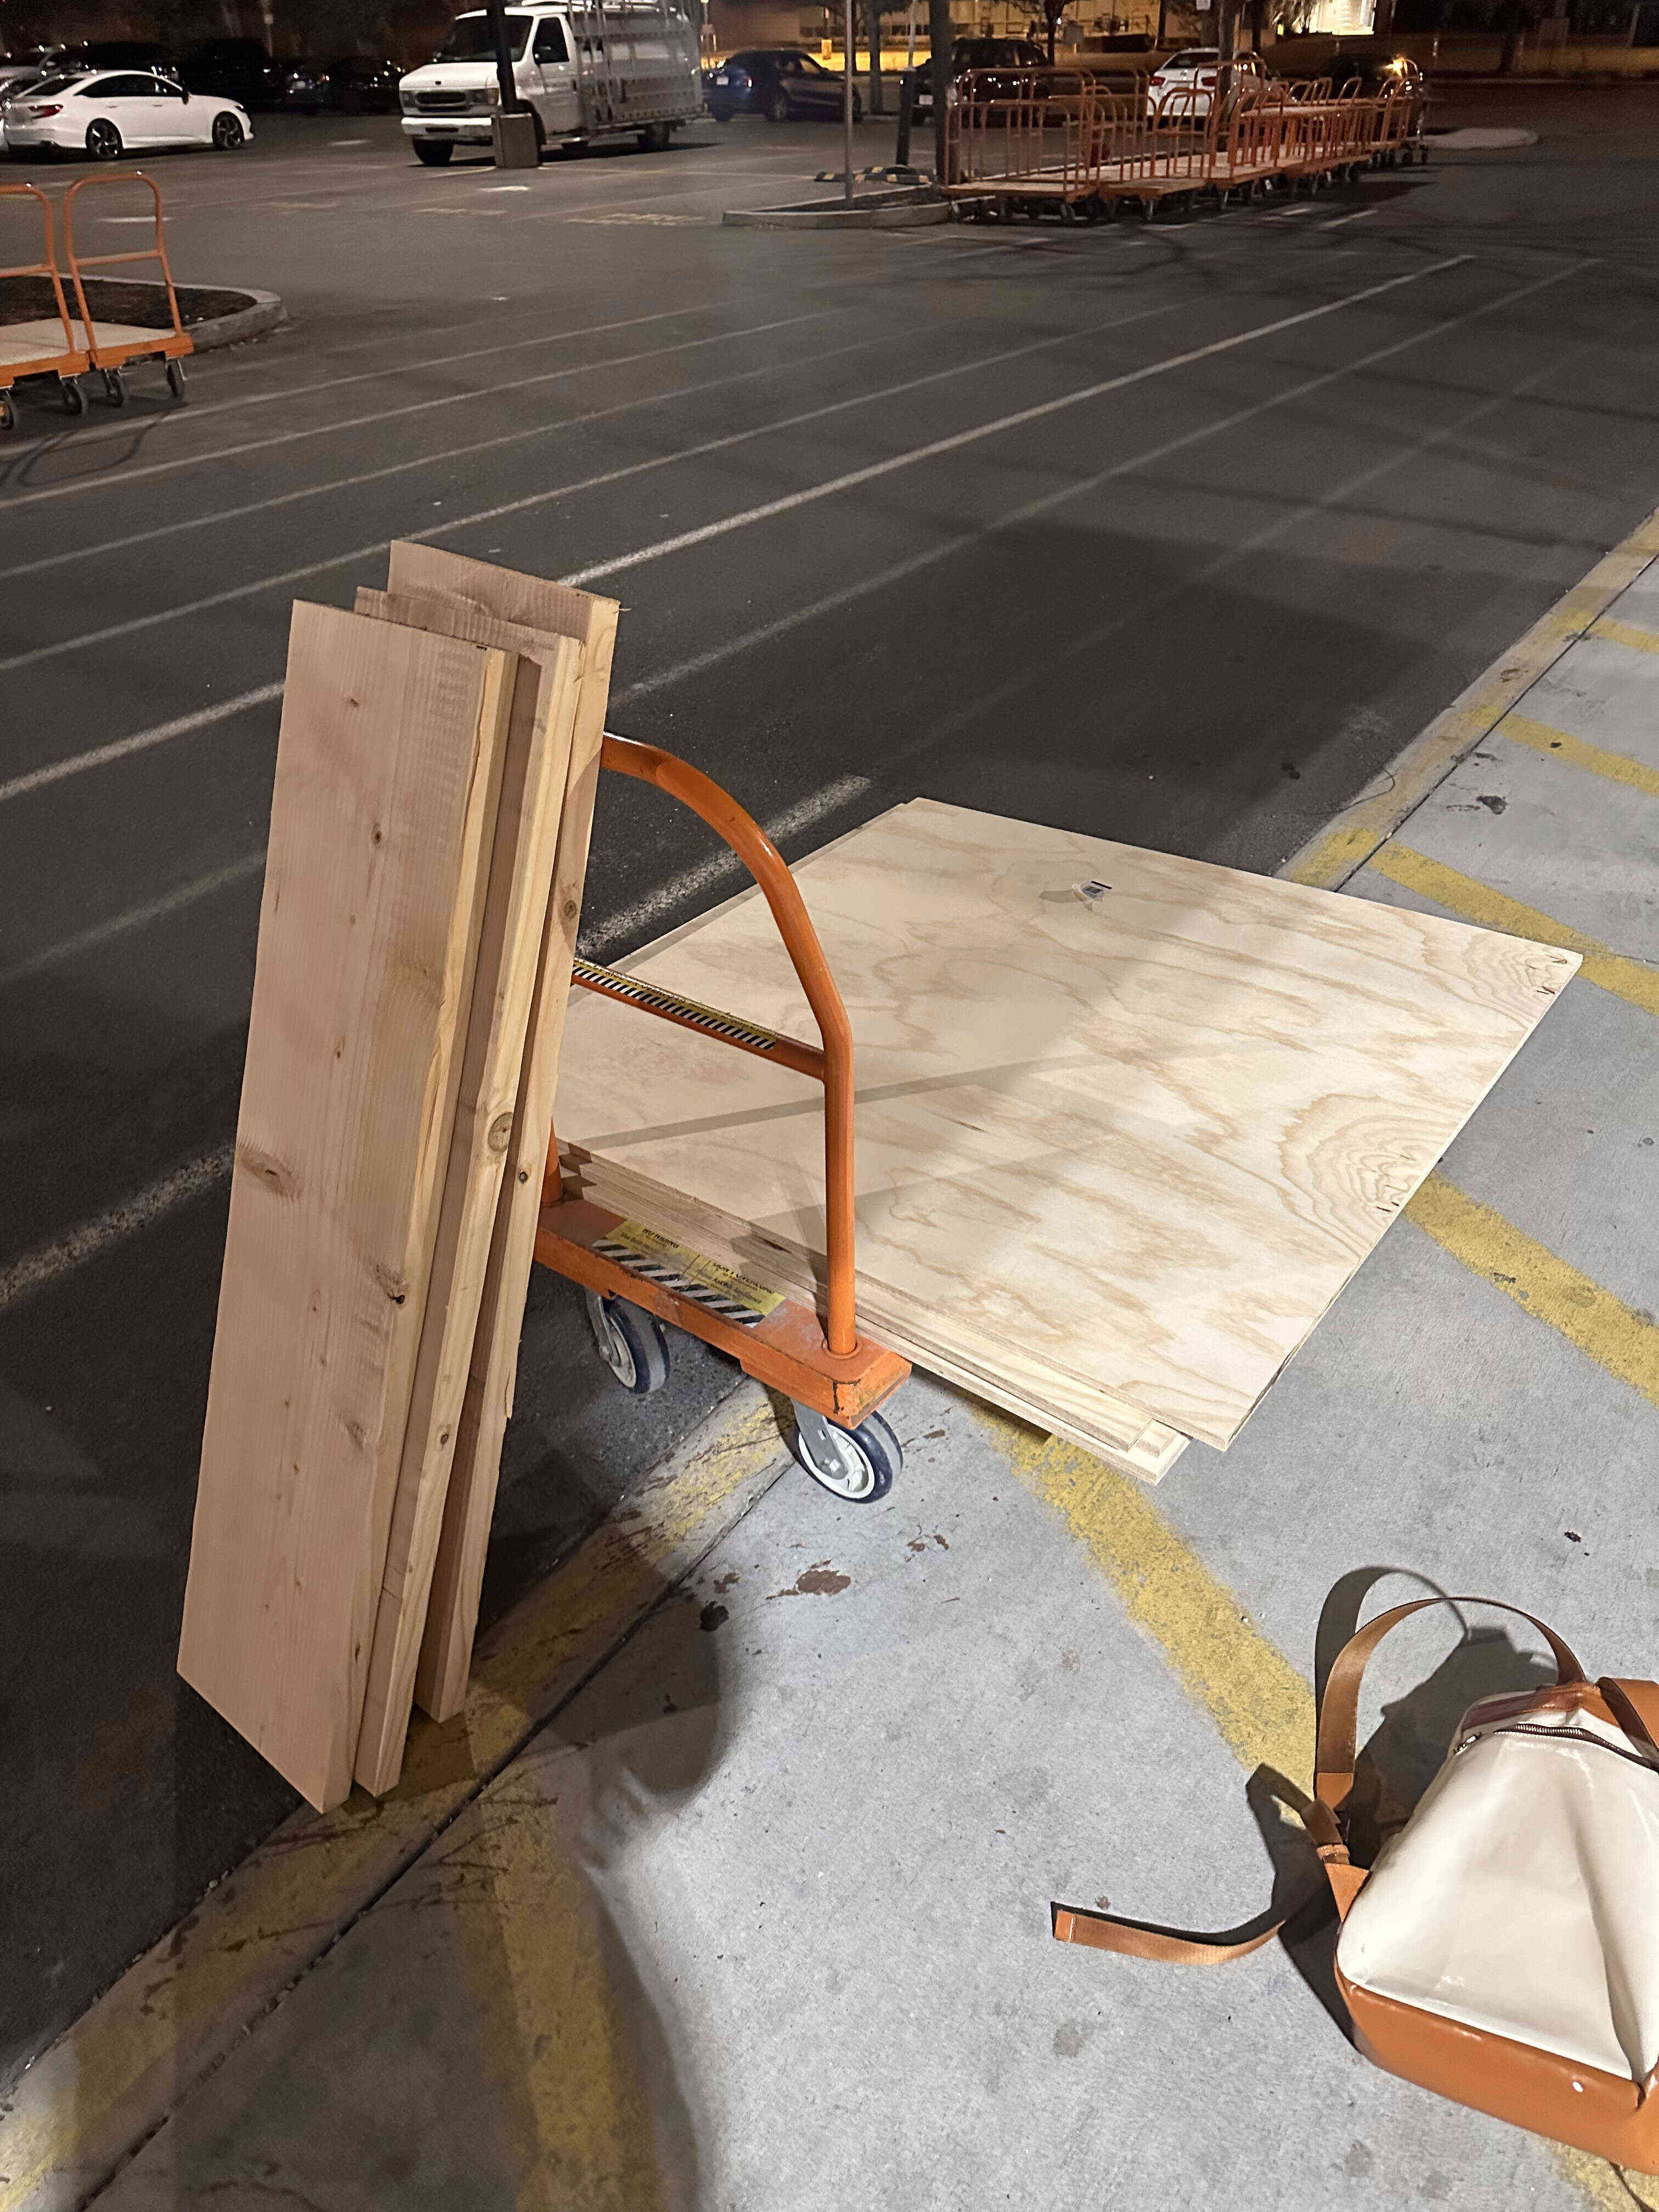
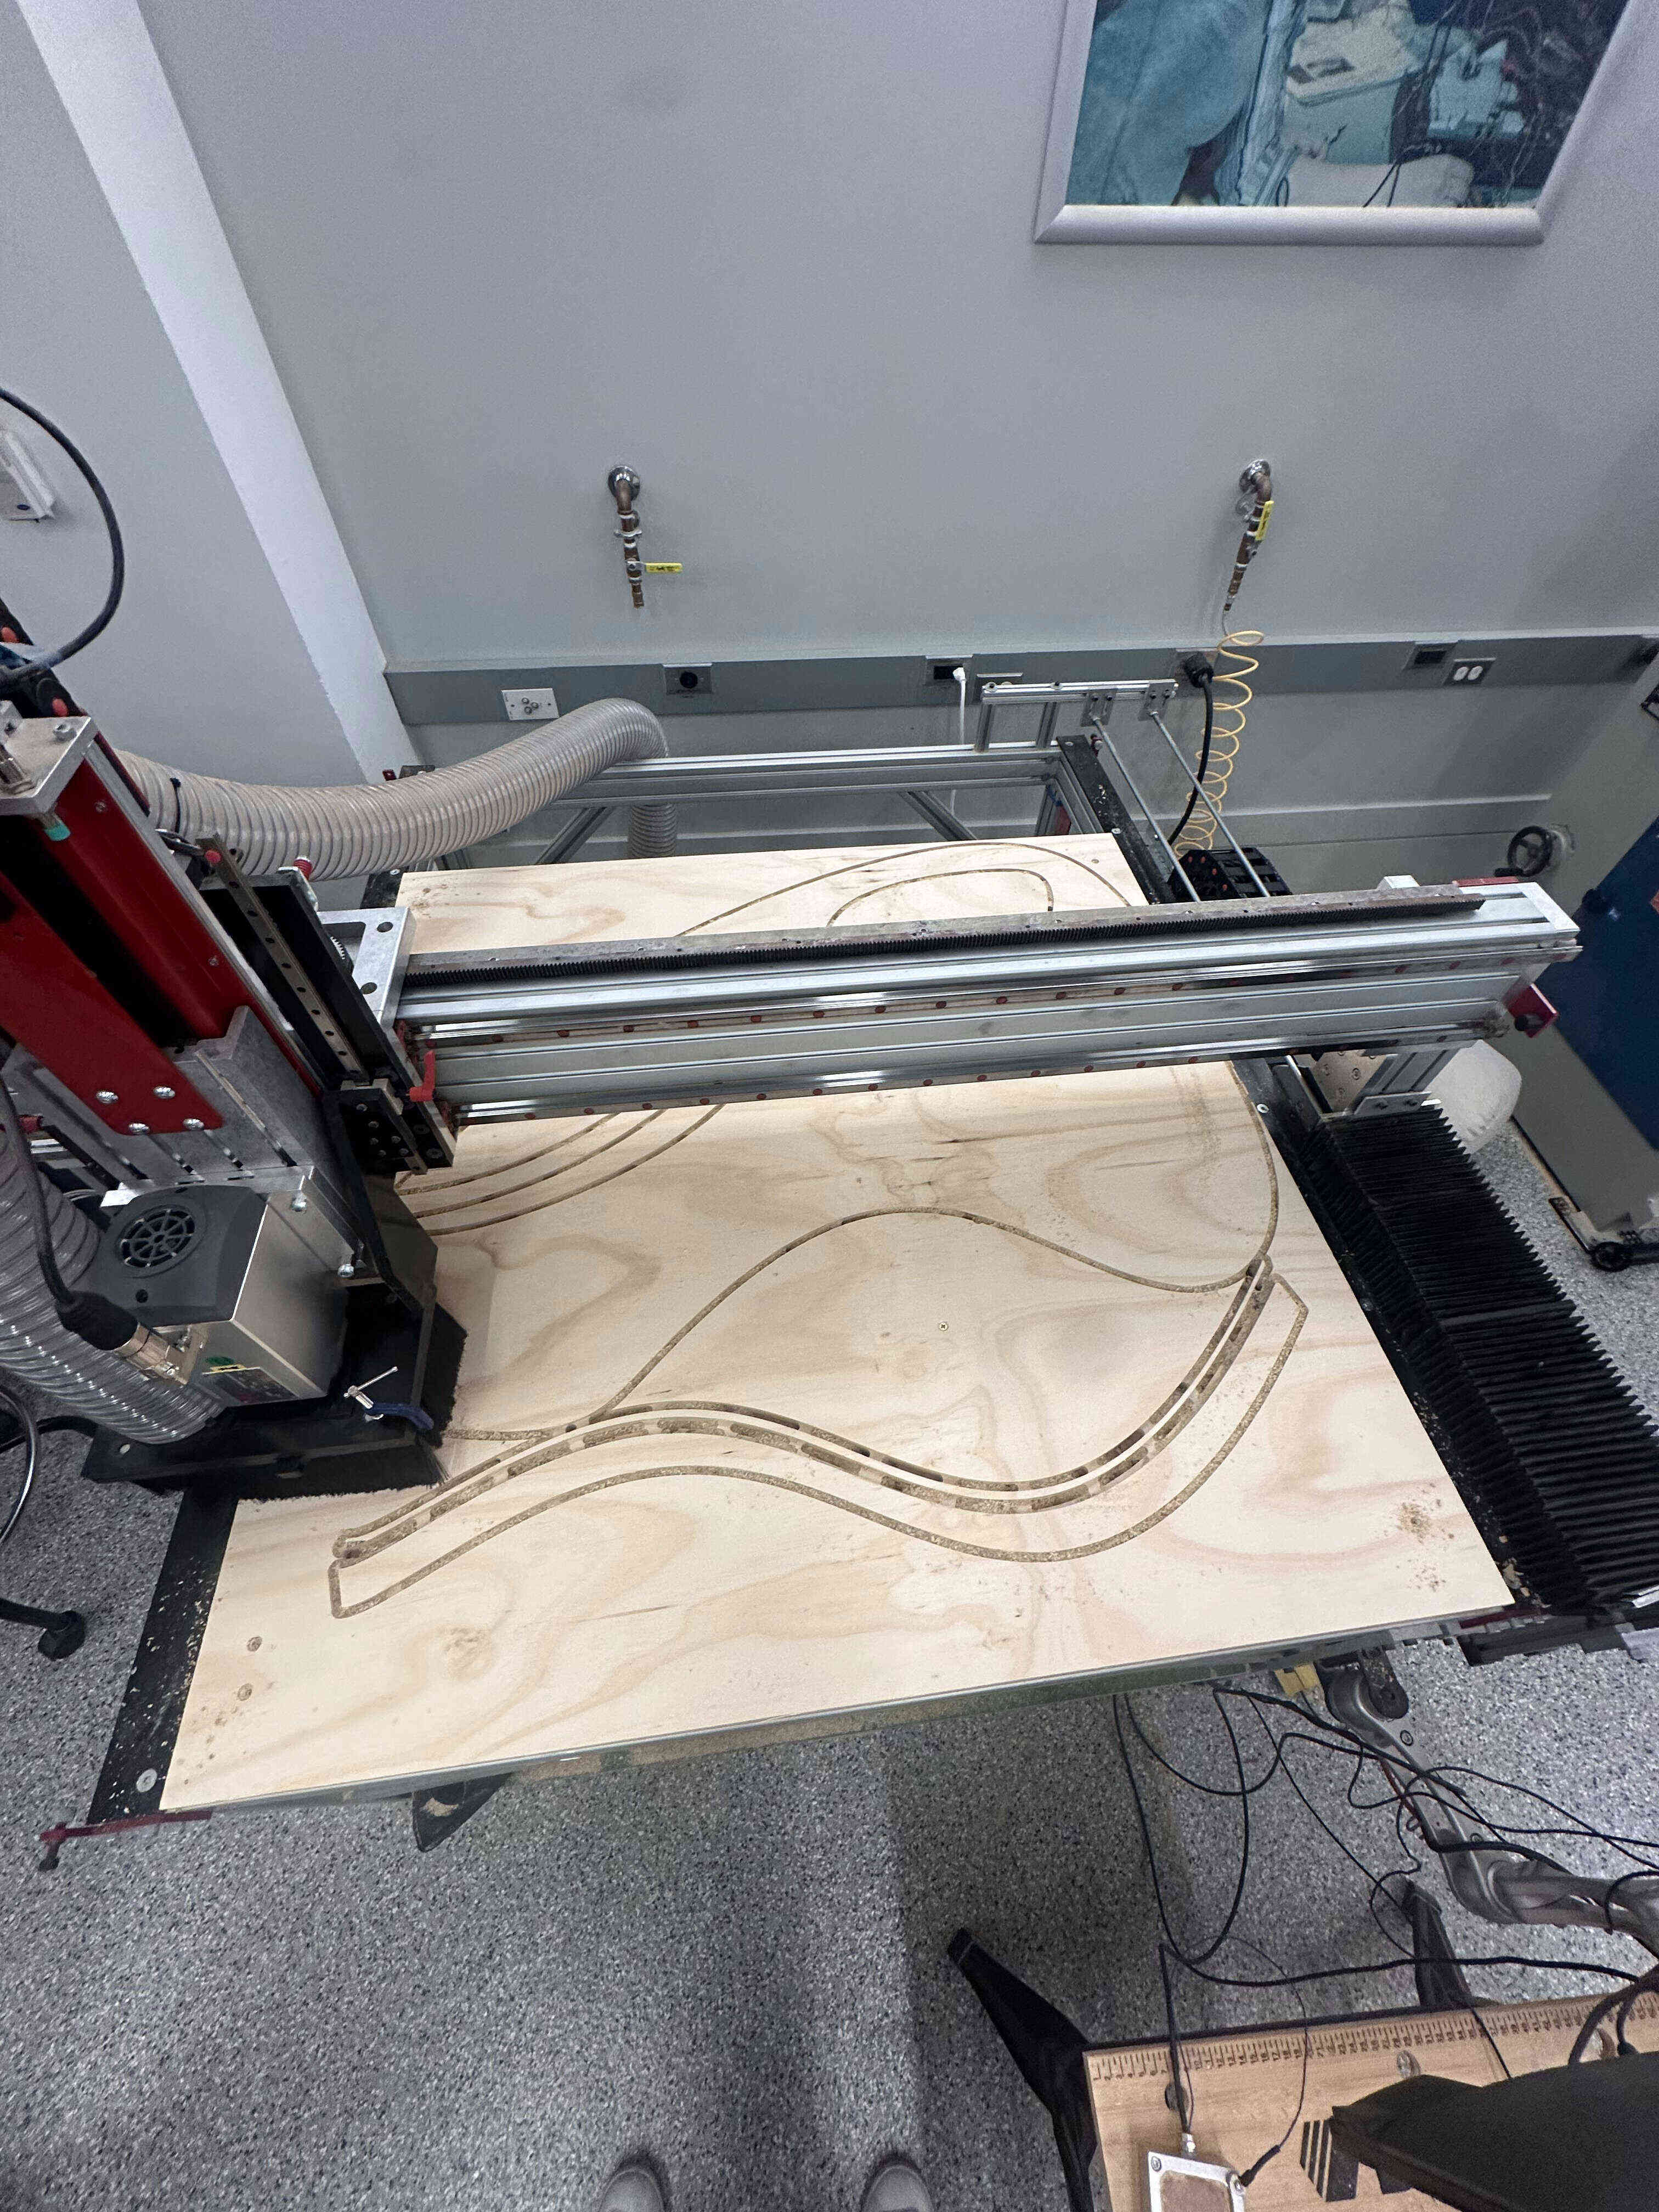
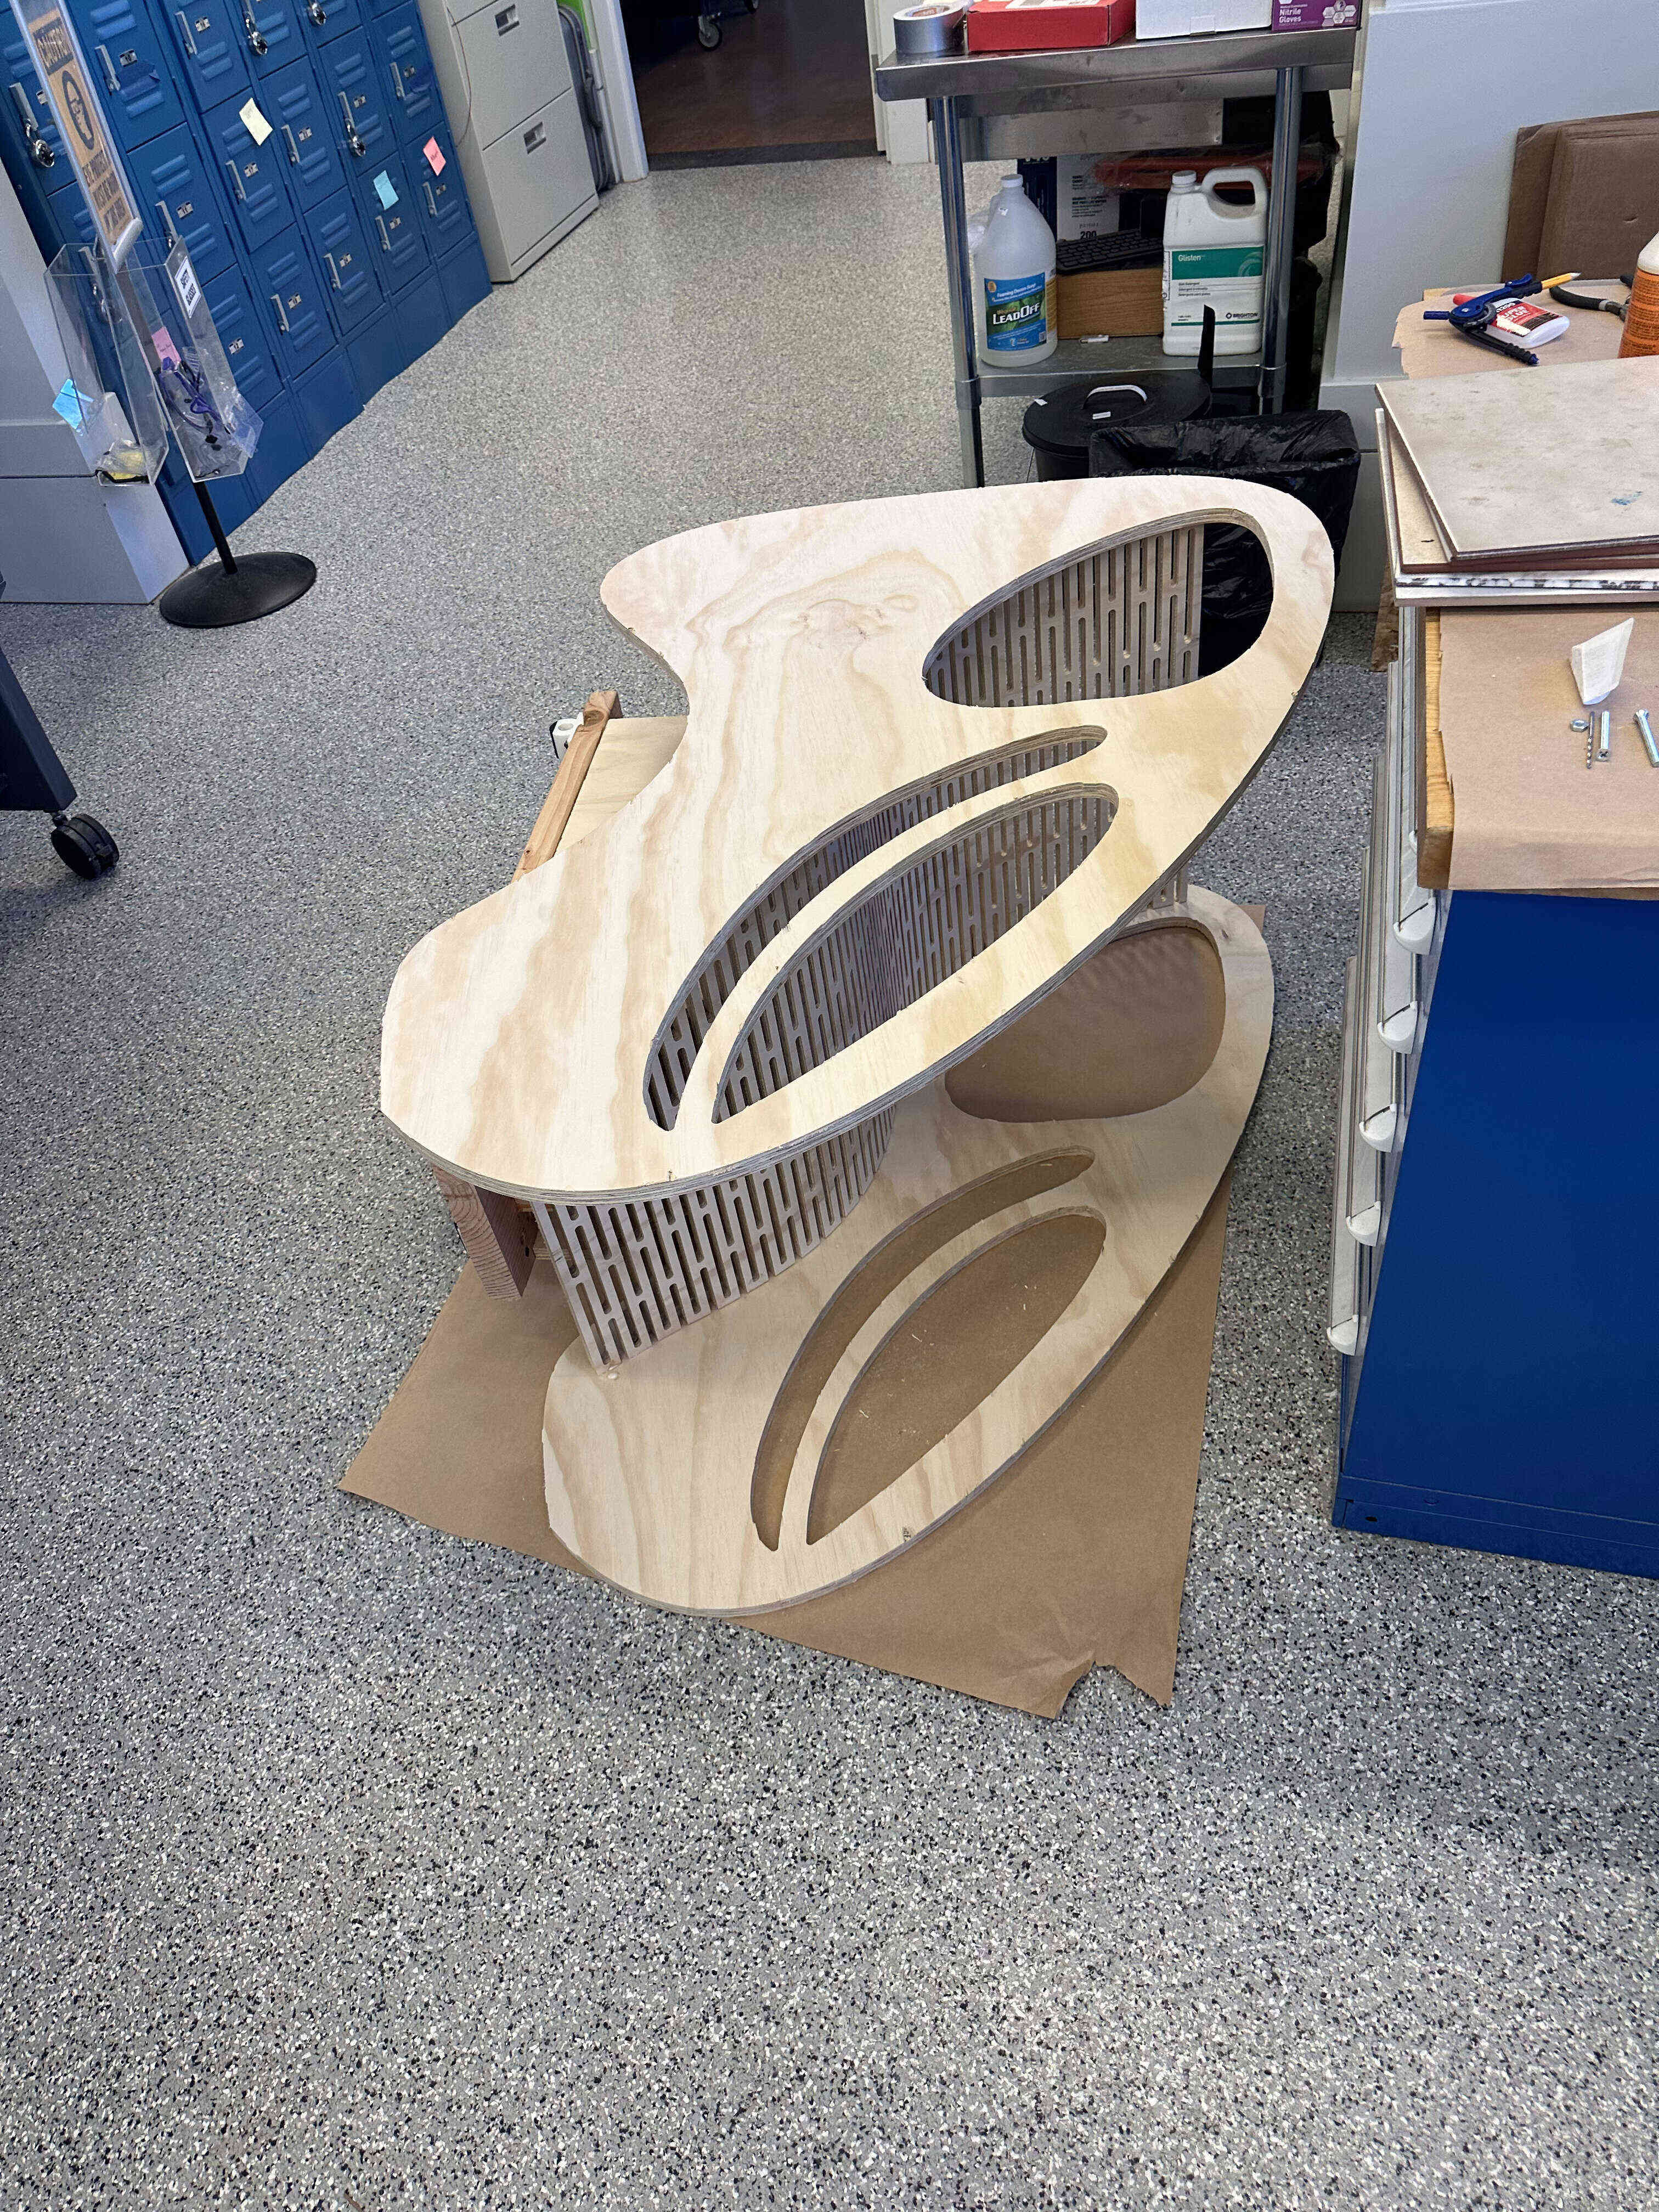
 I then went to Home Depot where I bought 2 4'x8' pieces of plywood and one 12"x12' lumber bar. The lovely gentleman helped me cut it so I could fit it onto the machining table and into the Uber. After waiting for 2 Ubers to get one that could fit the would, I made it to EDS so I could begin my work.
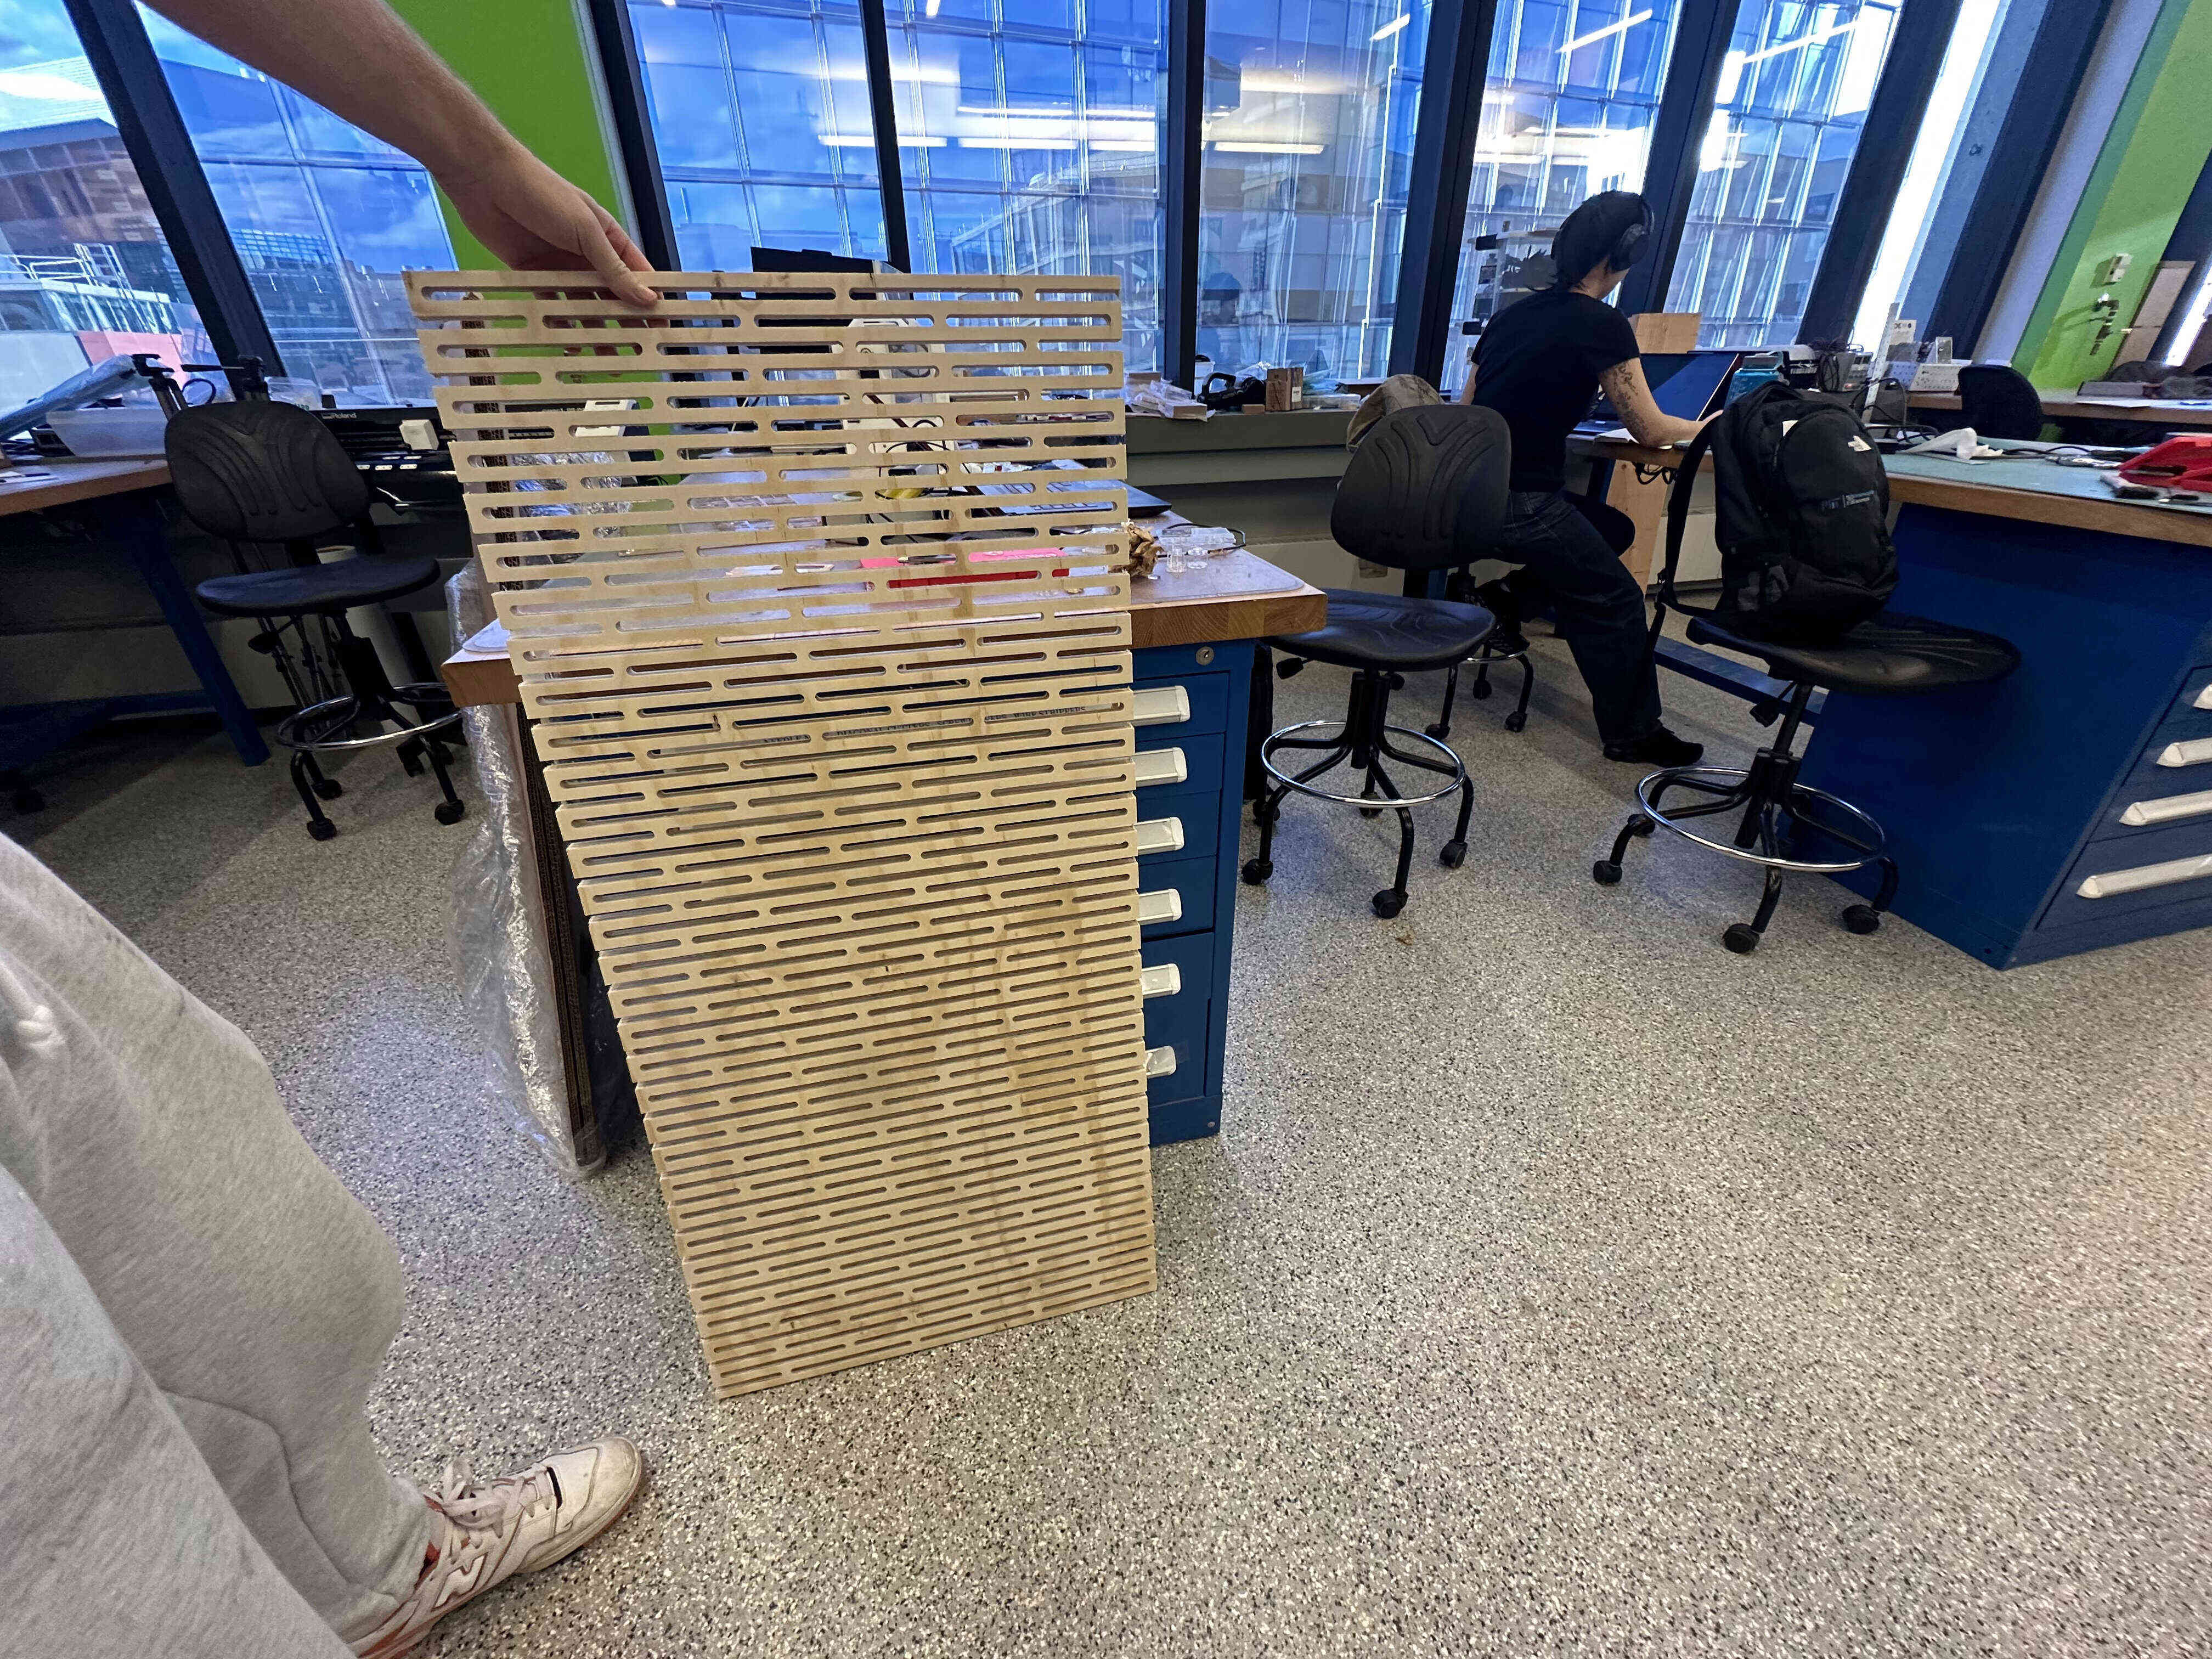
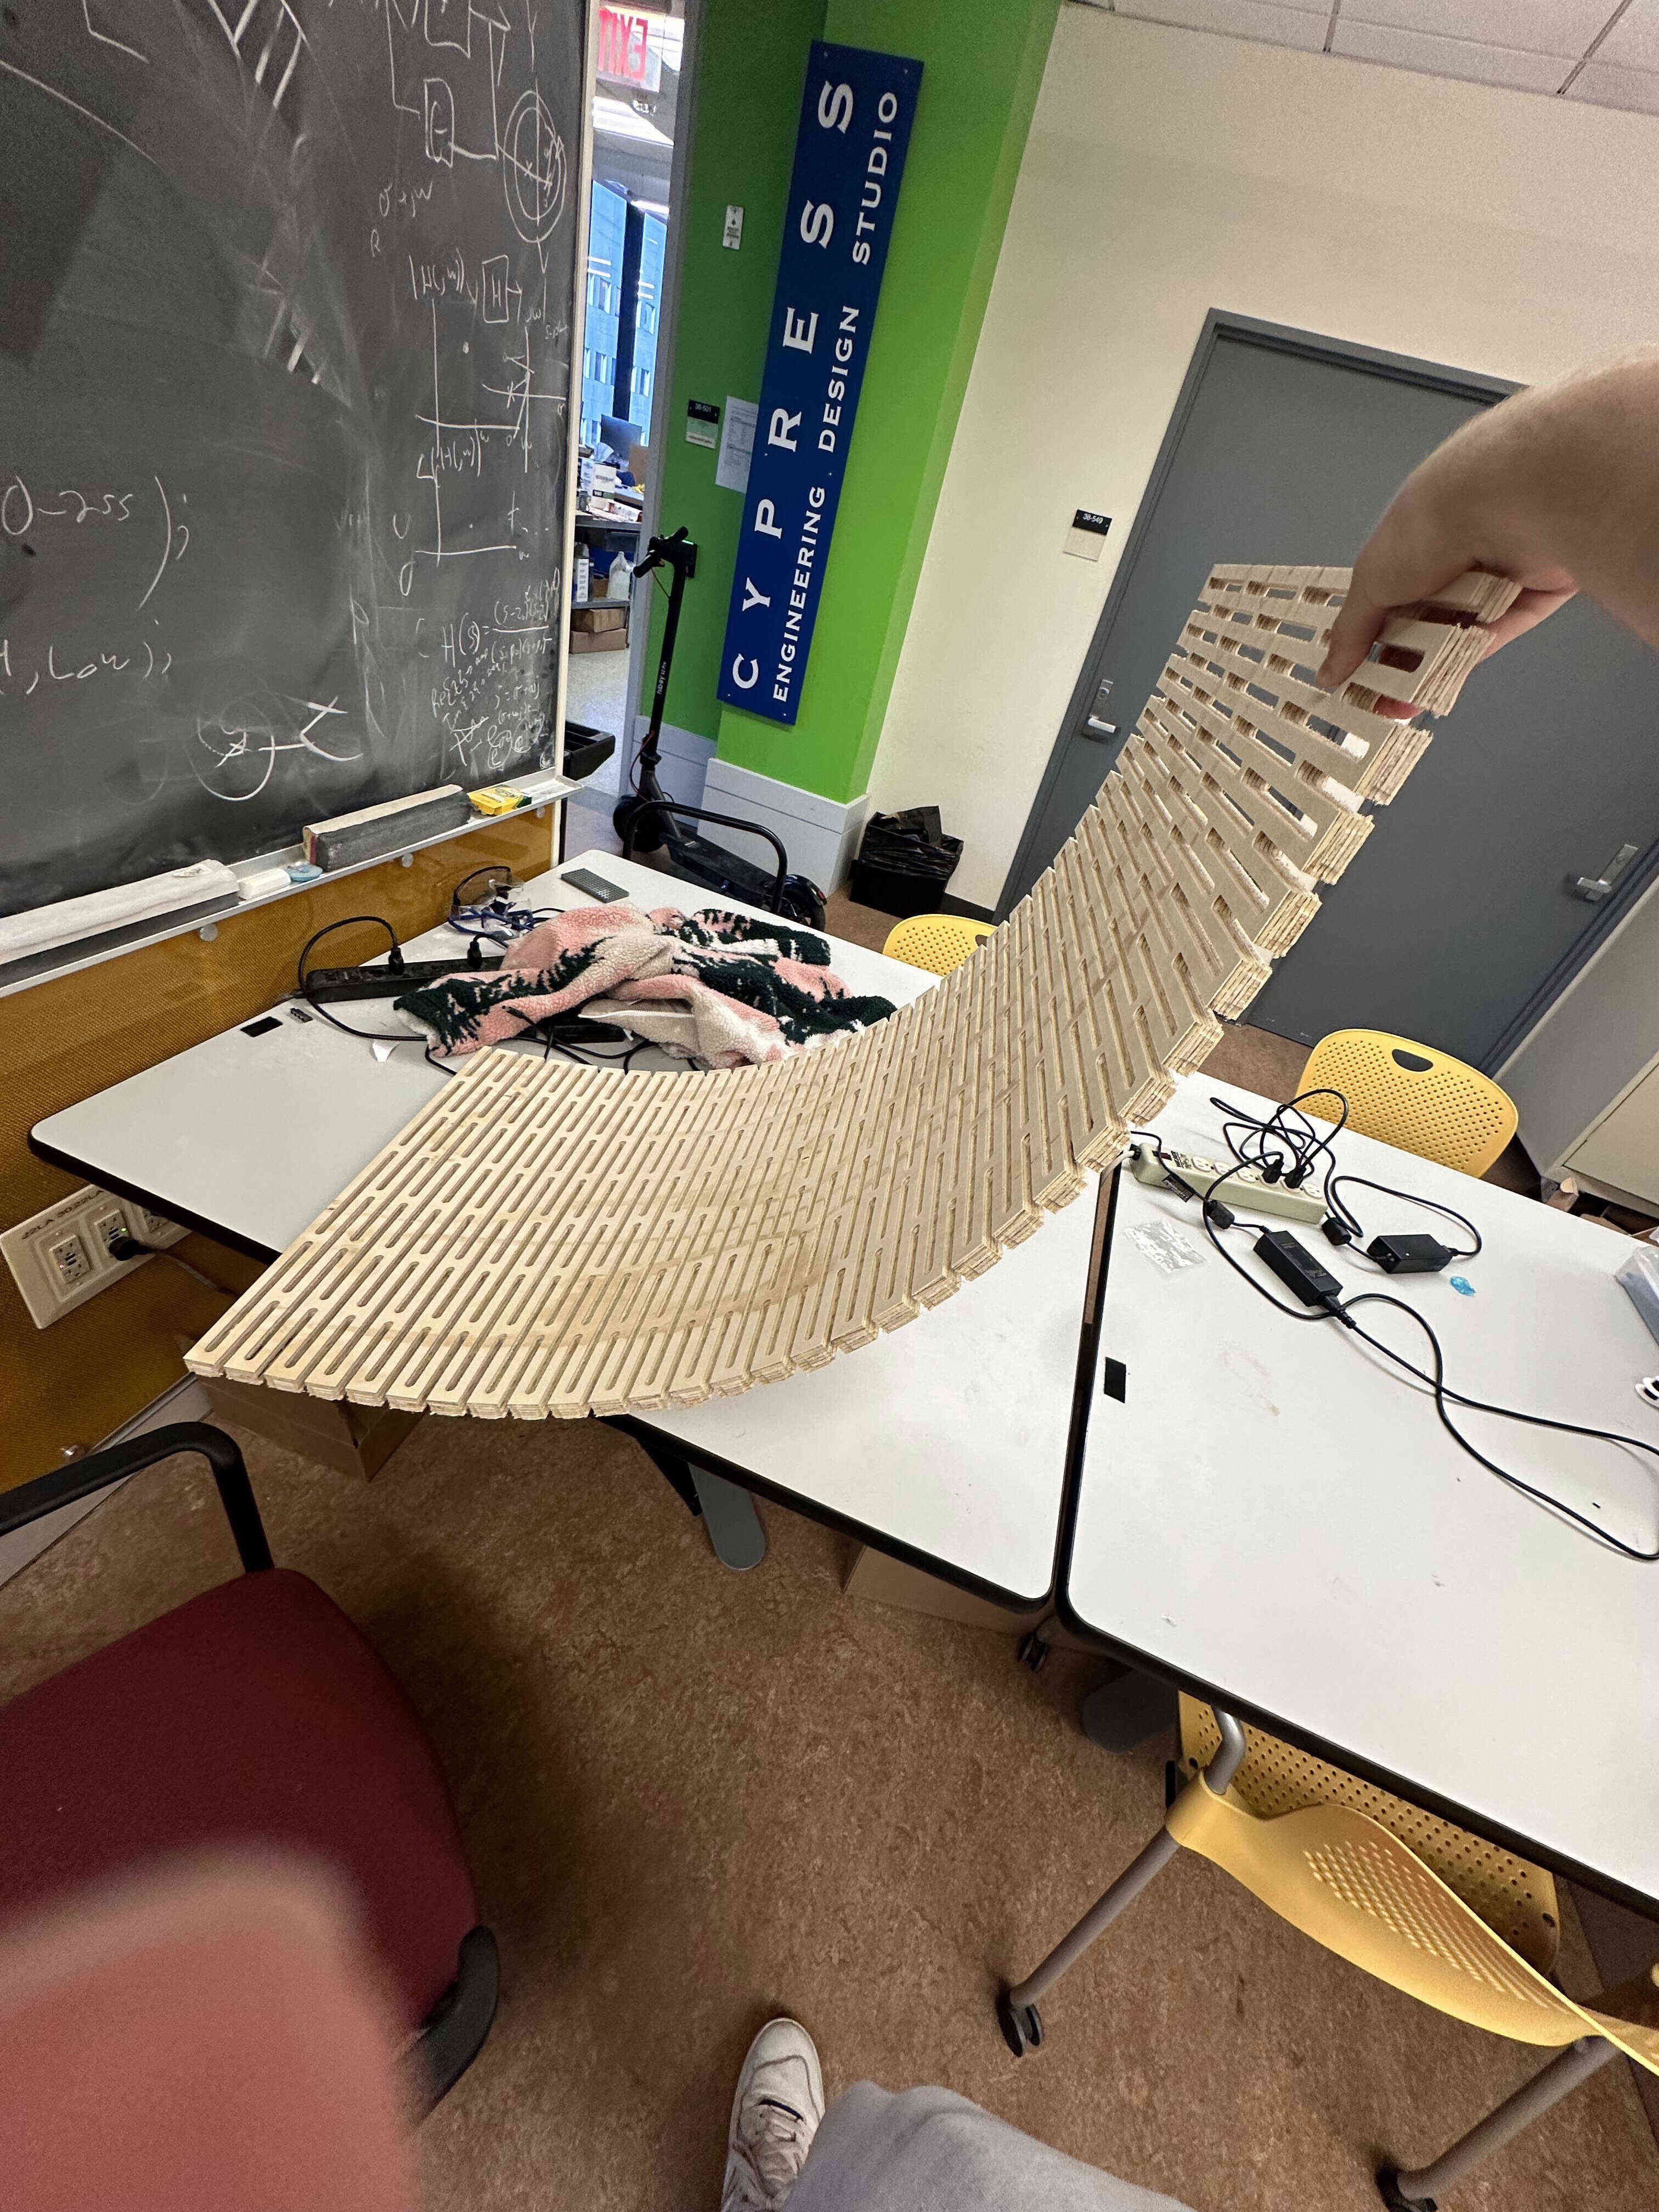
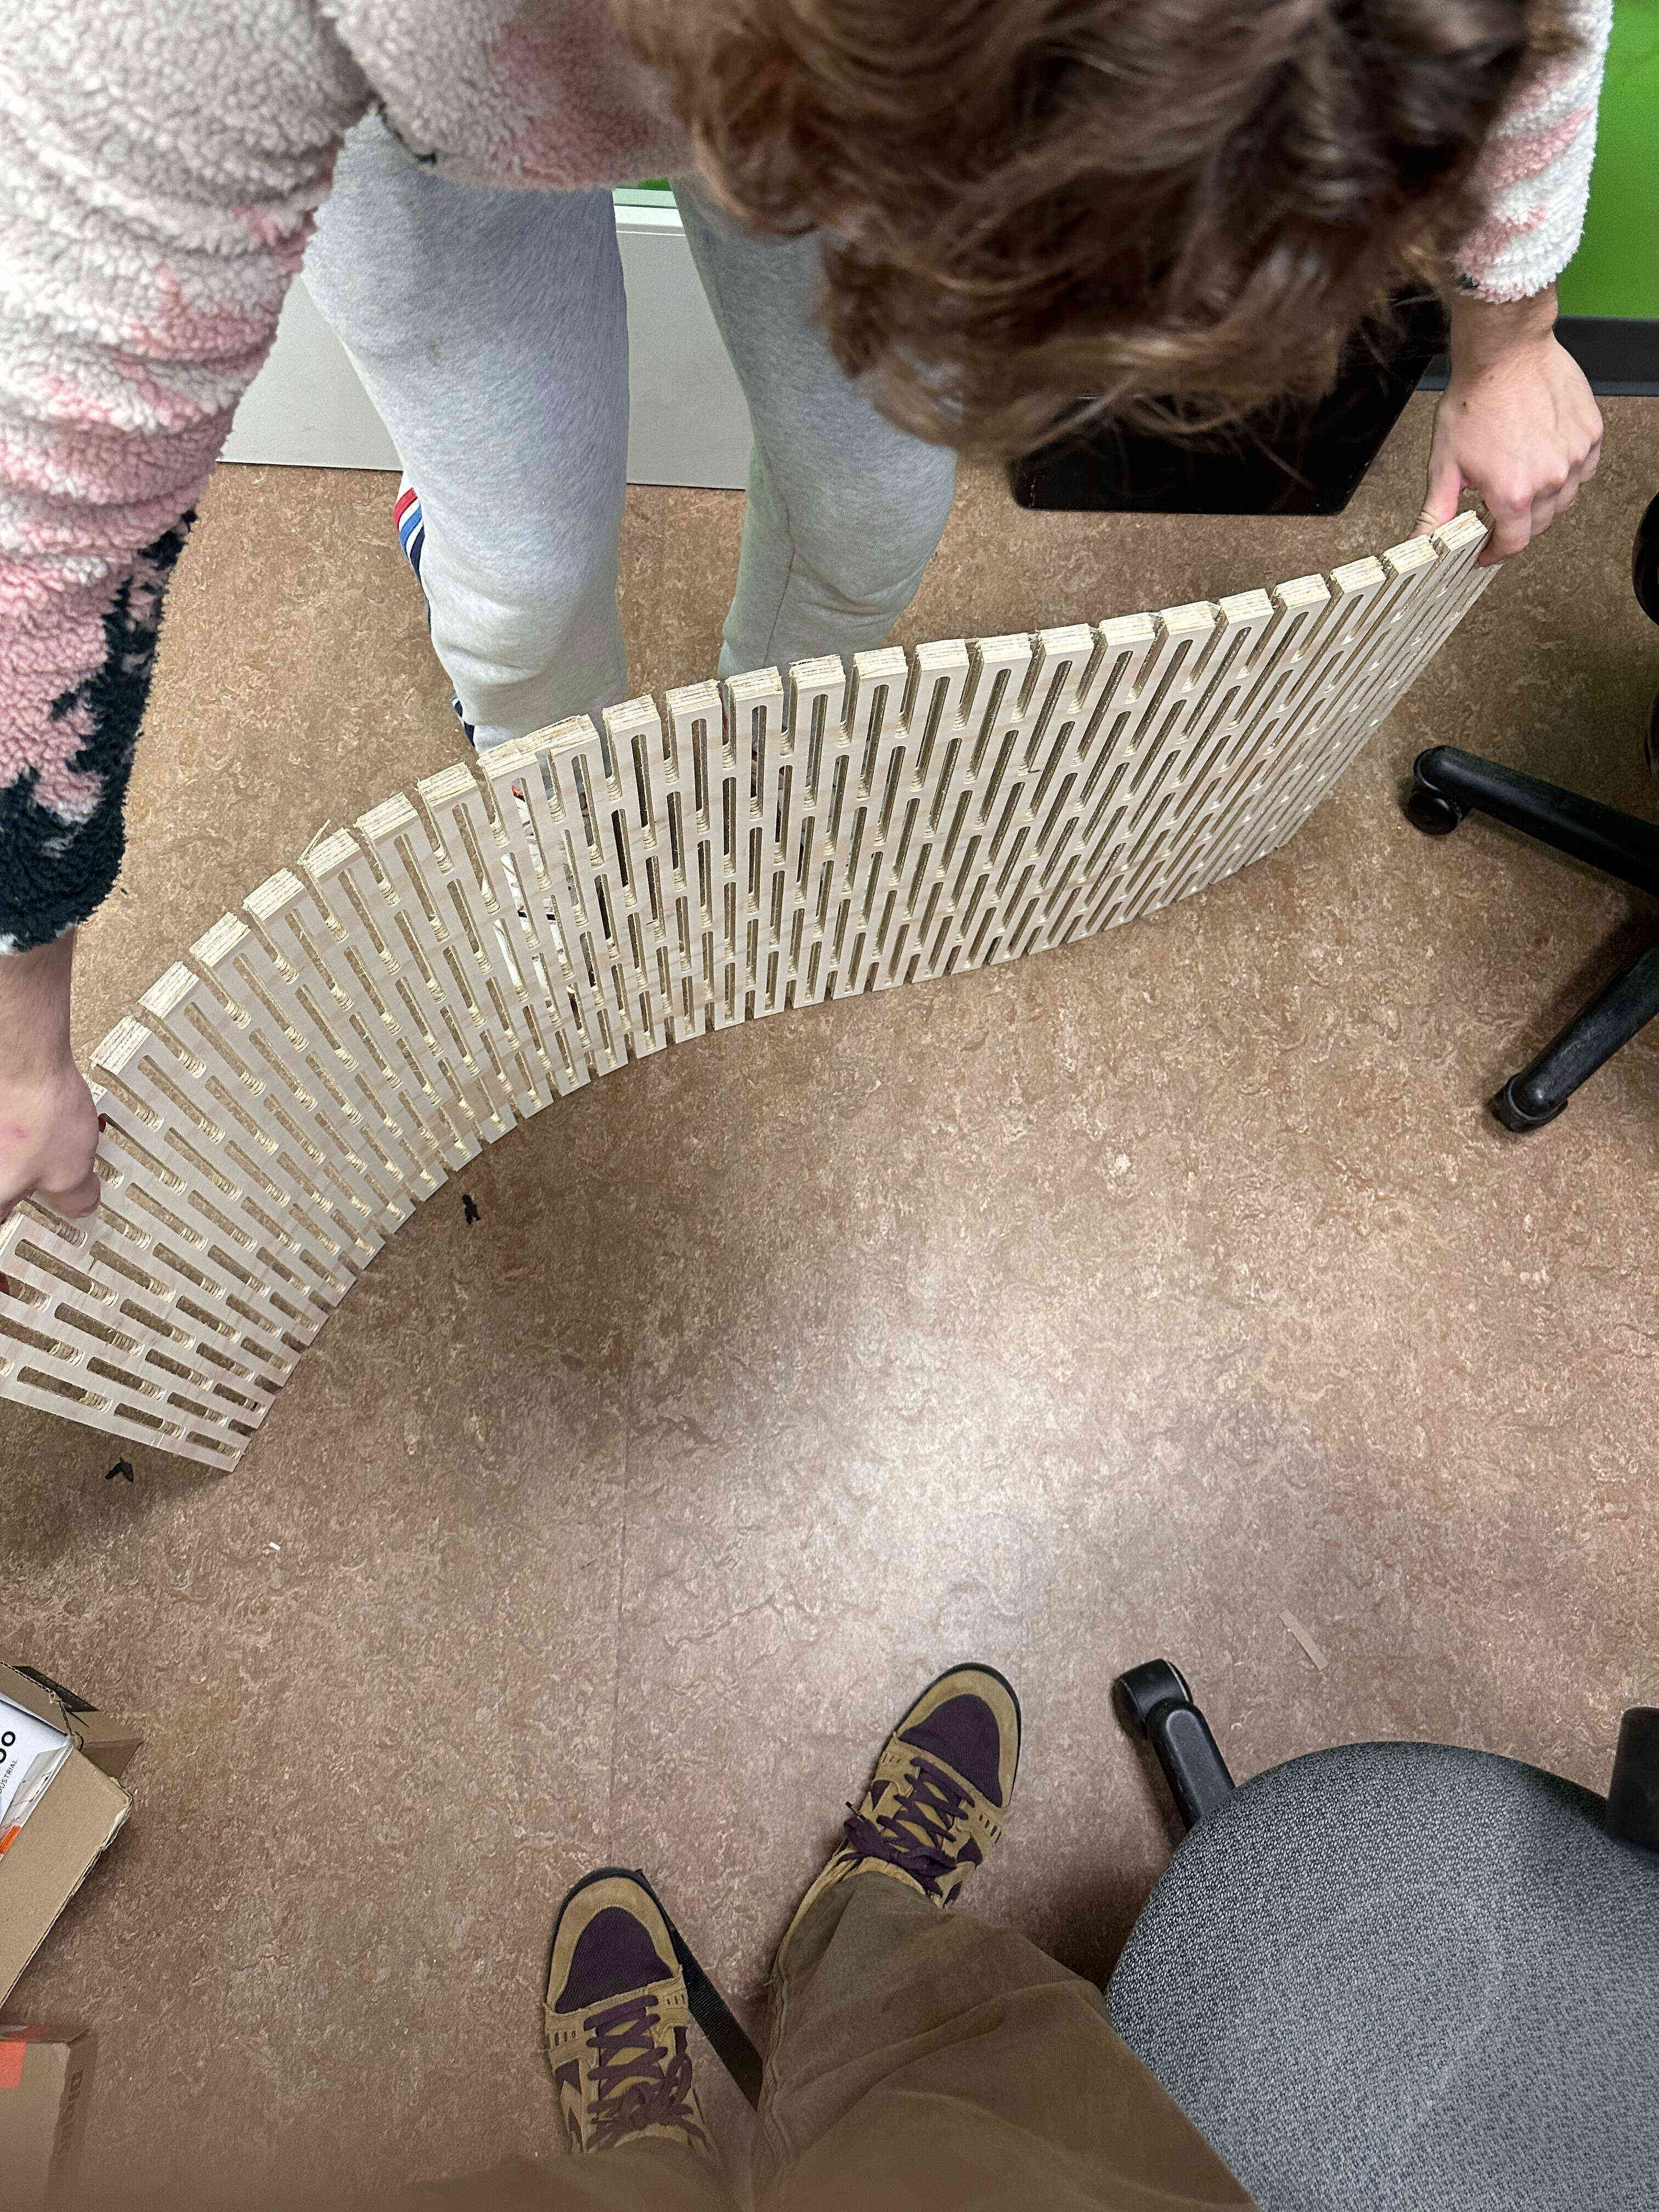
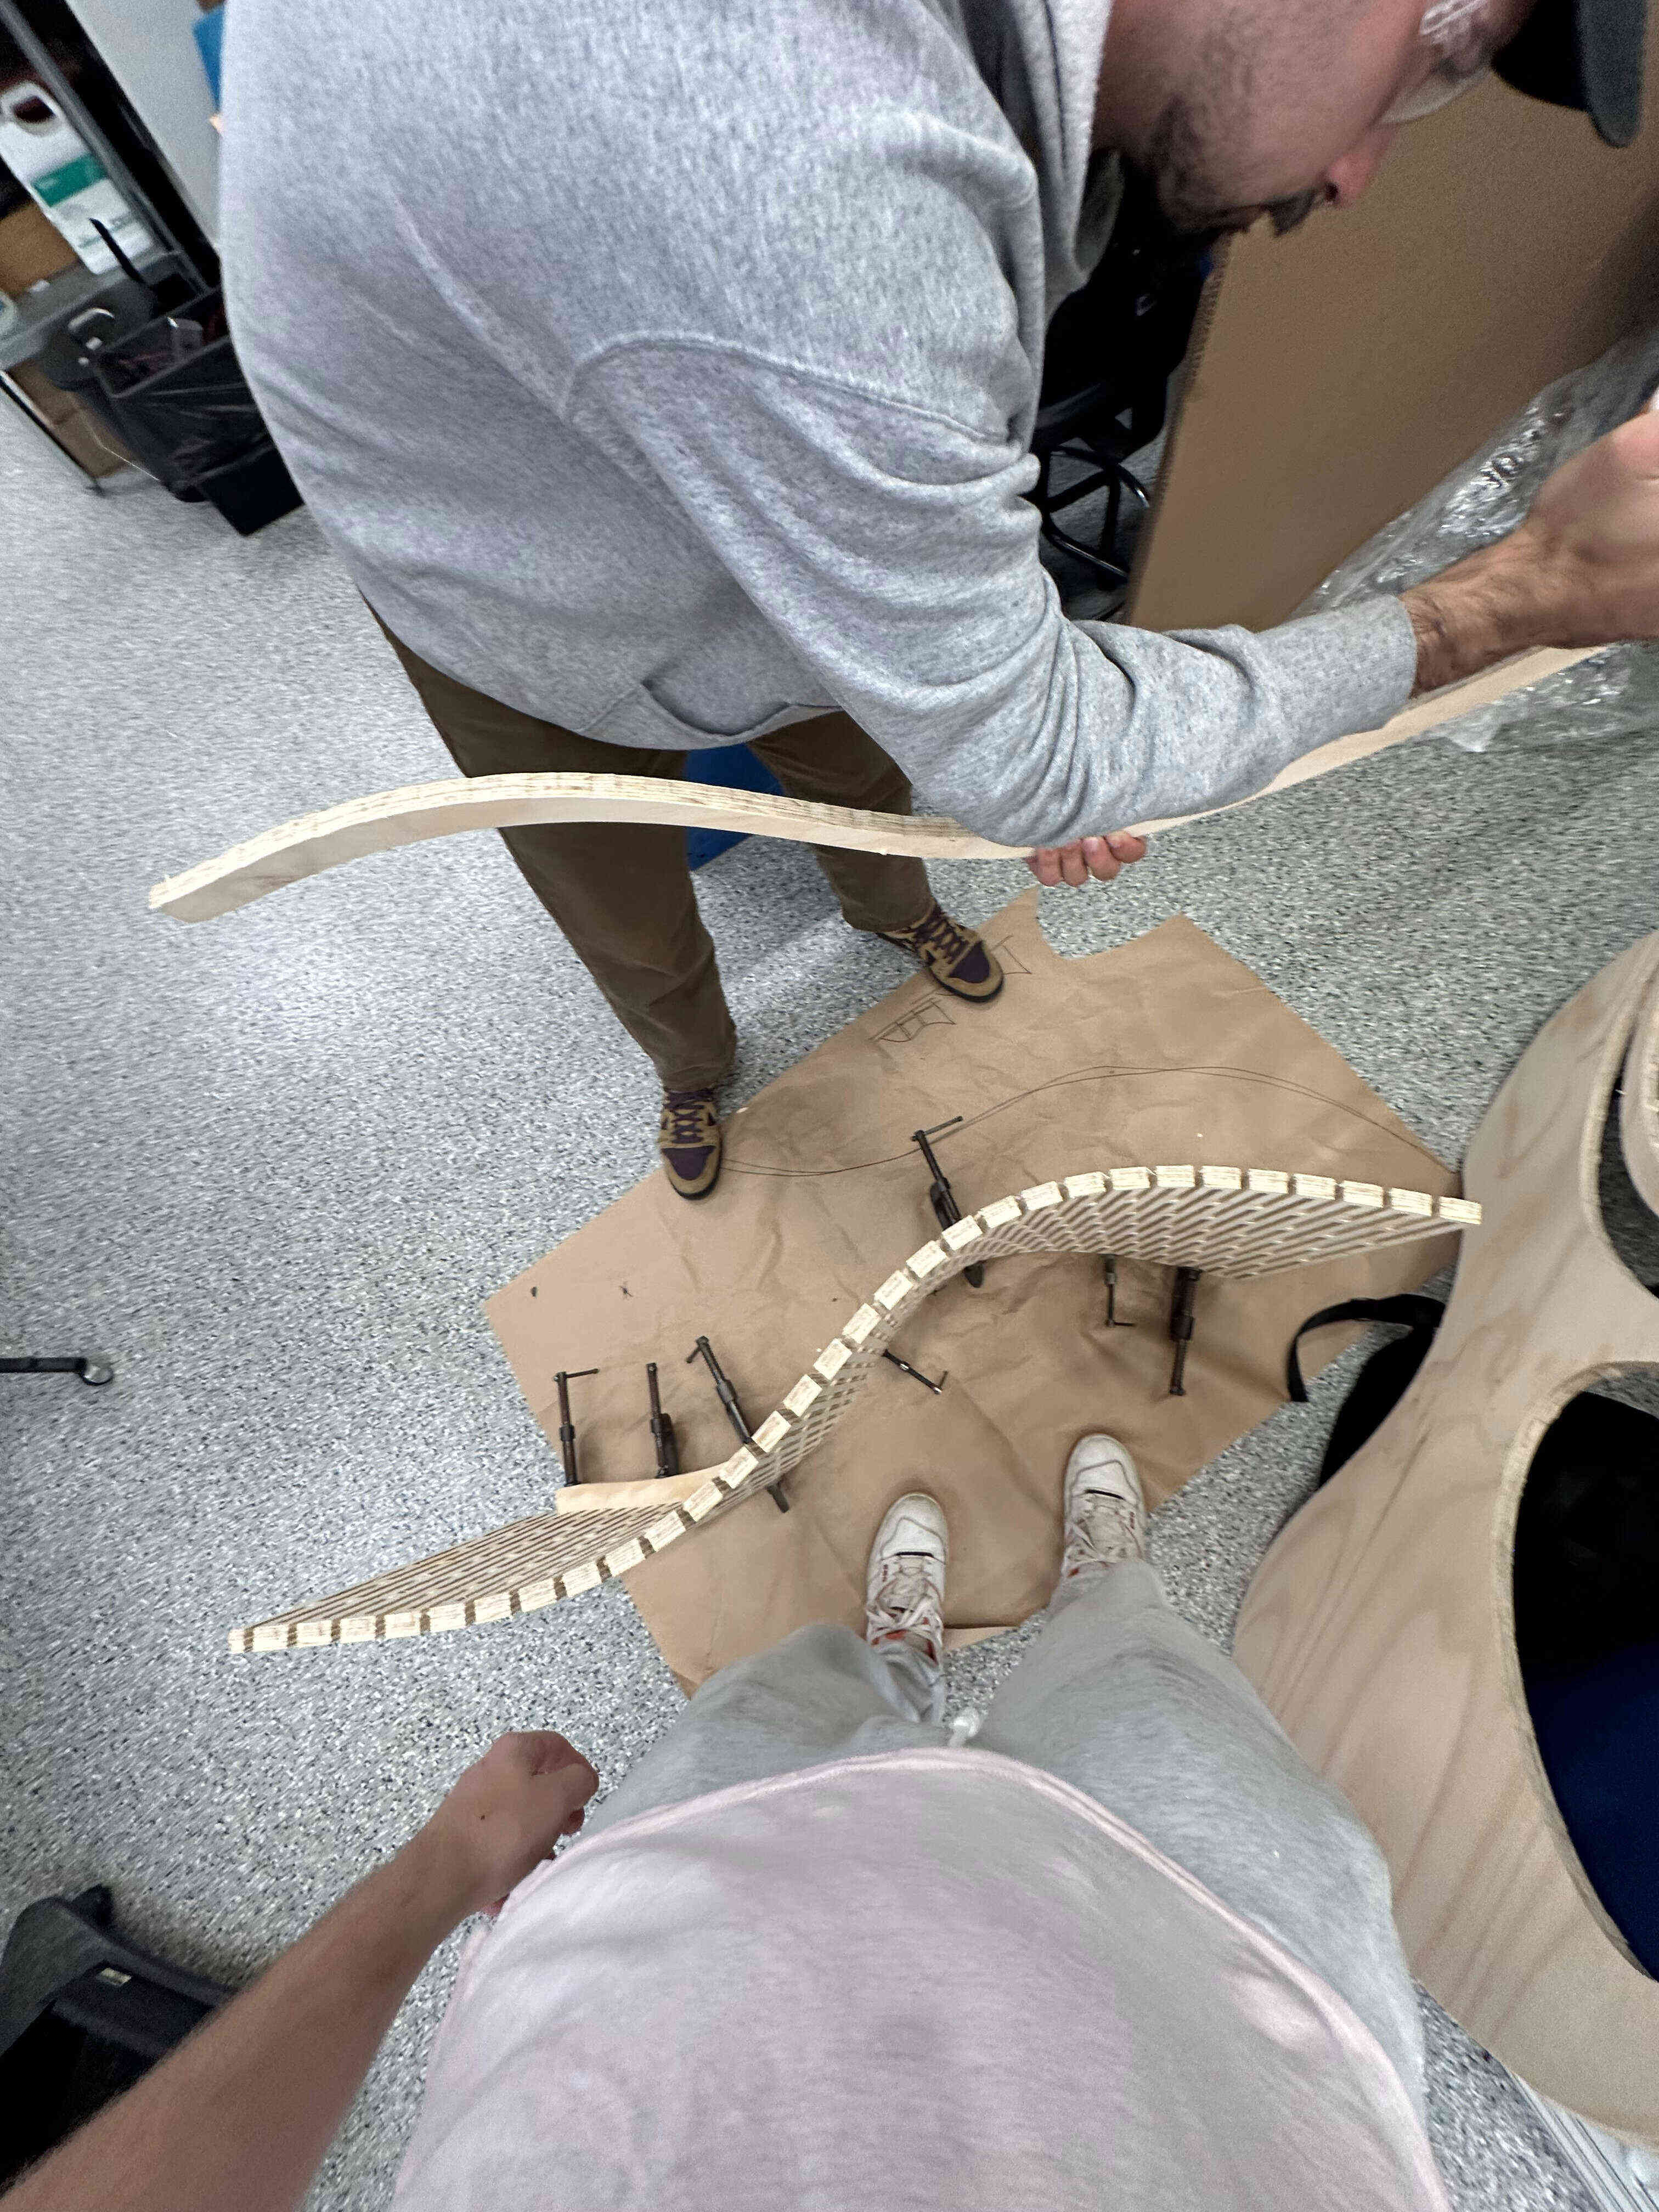
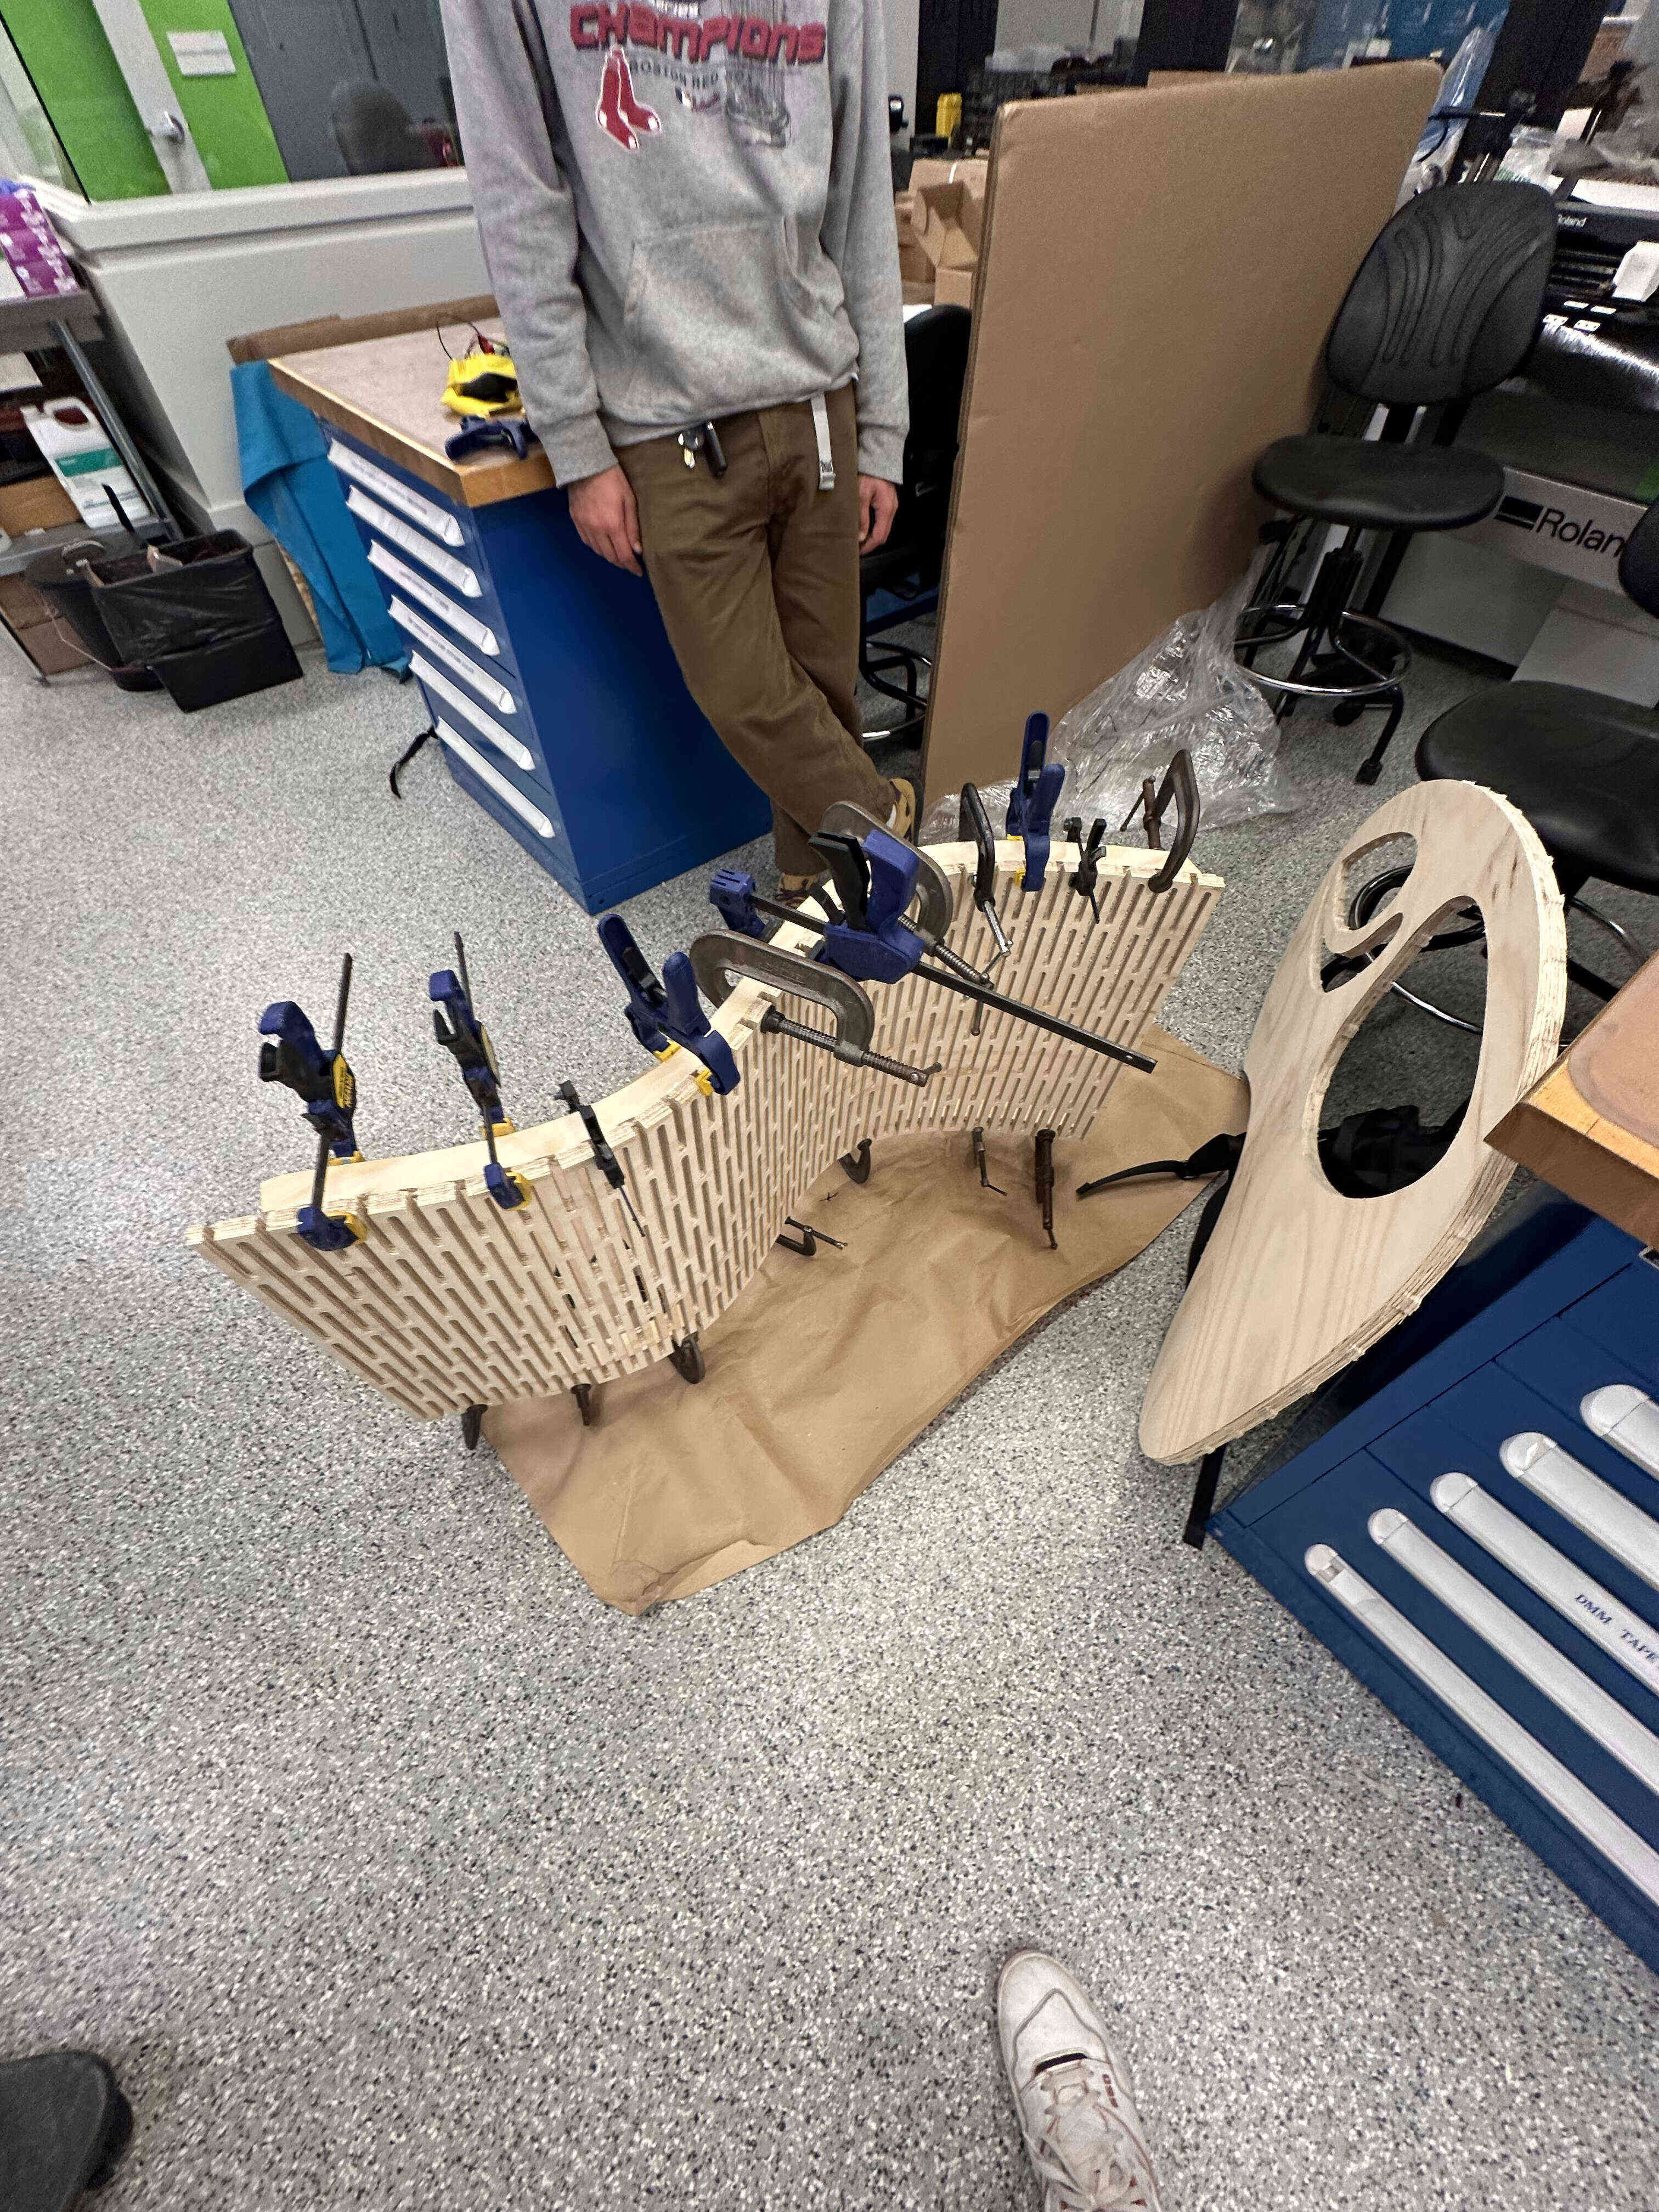


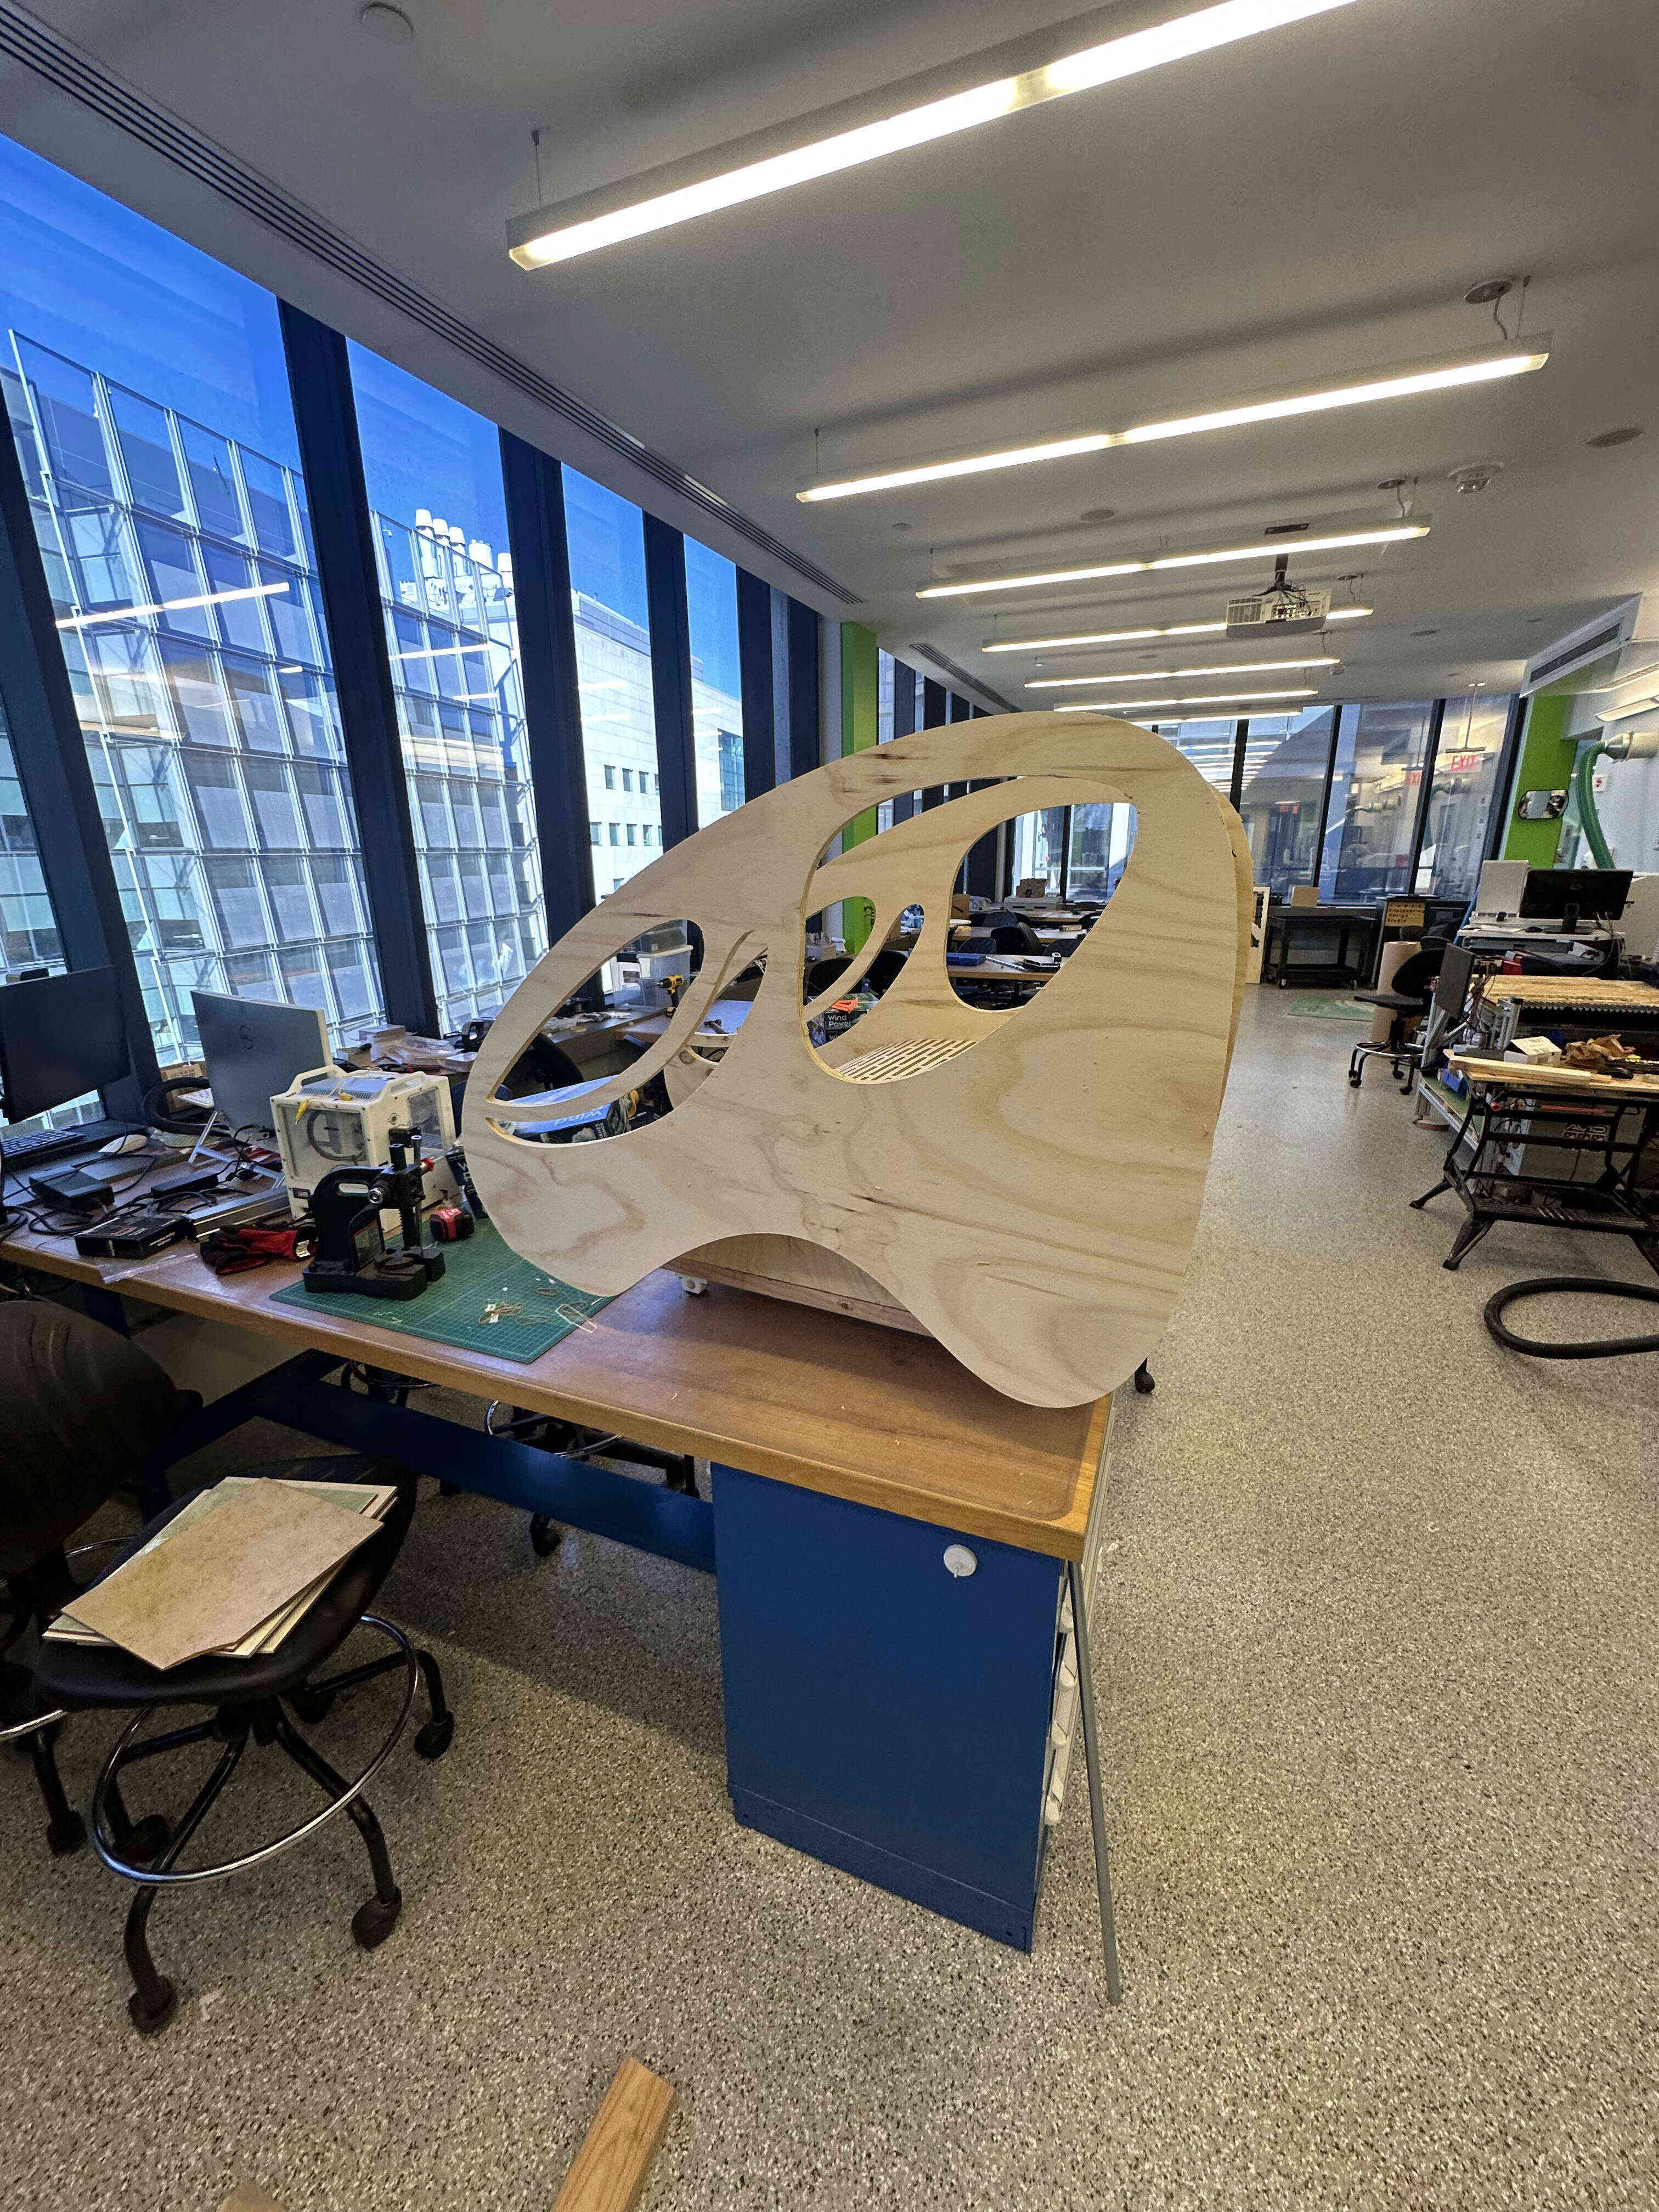
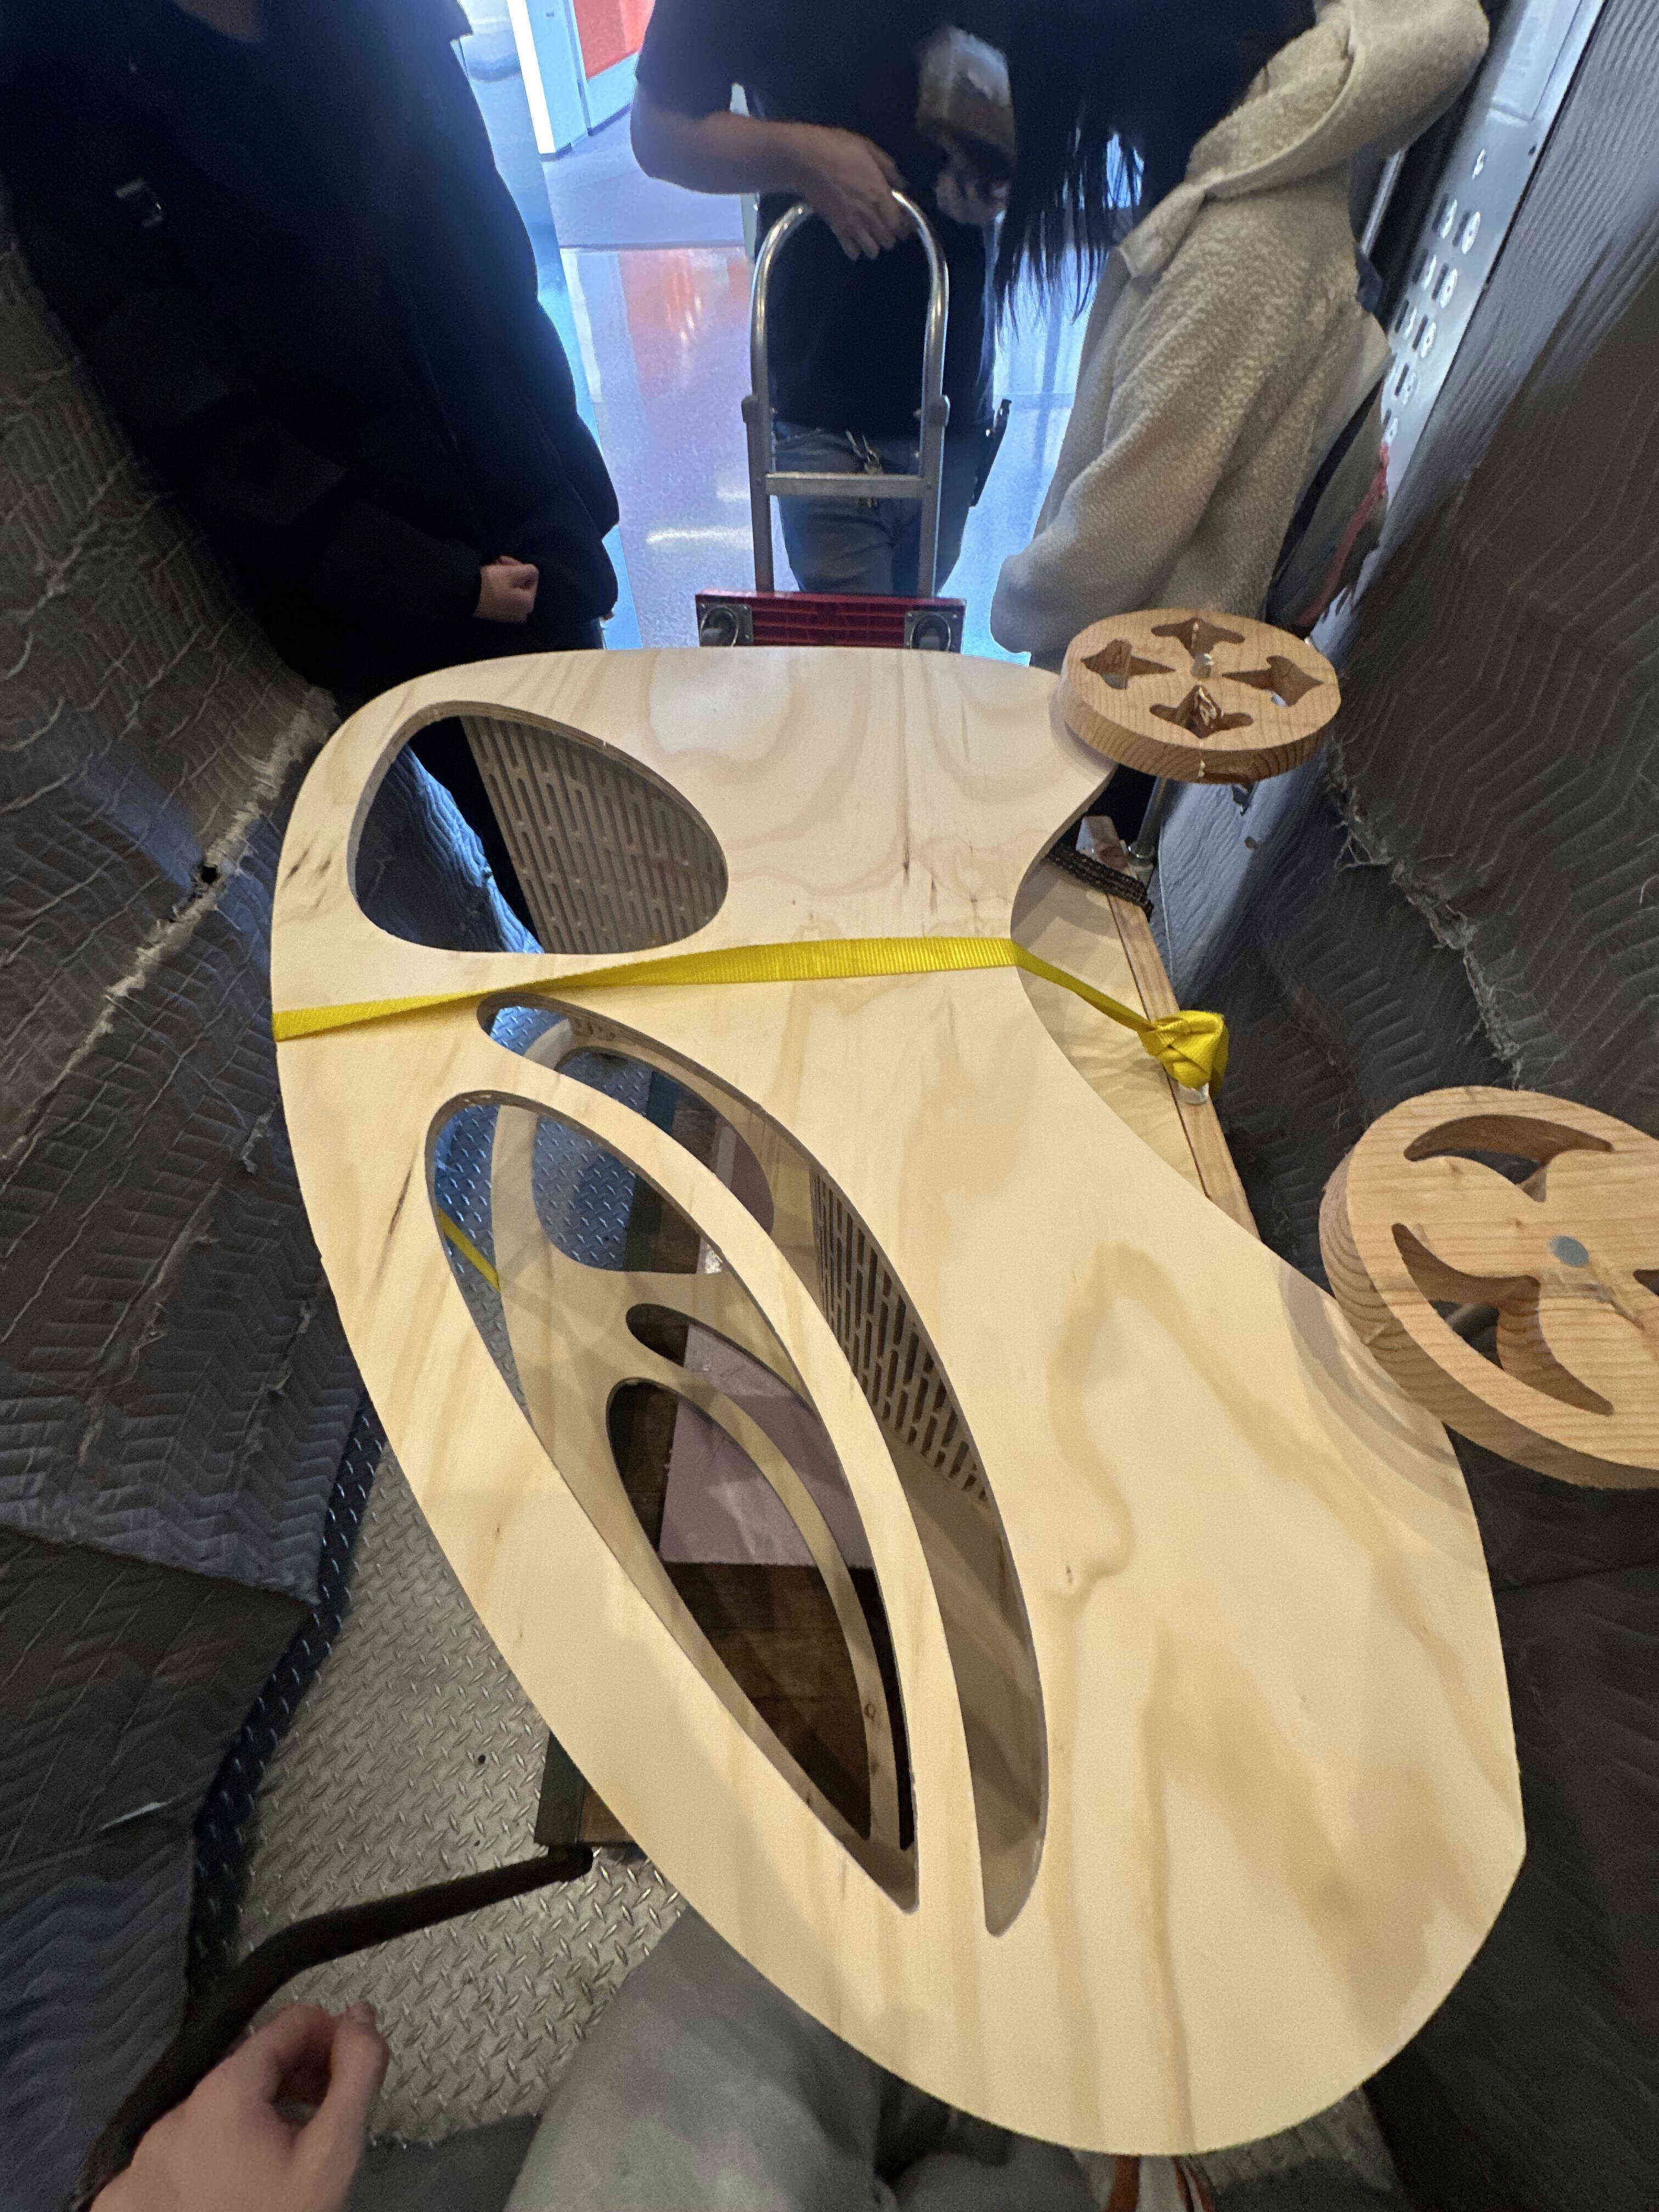
 I then glued the whole thing together!
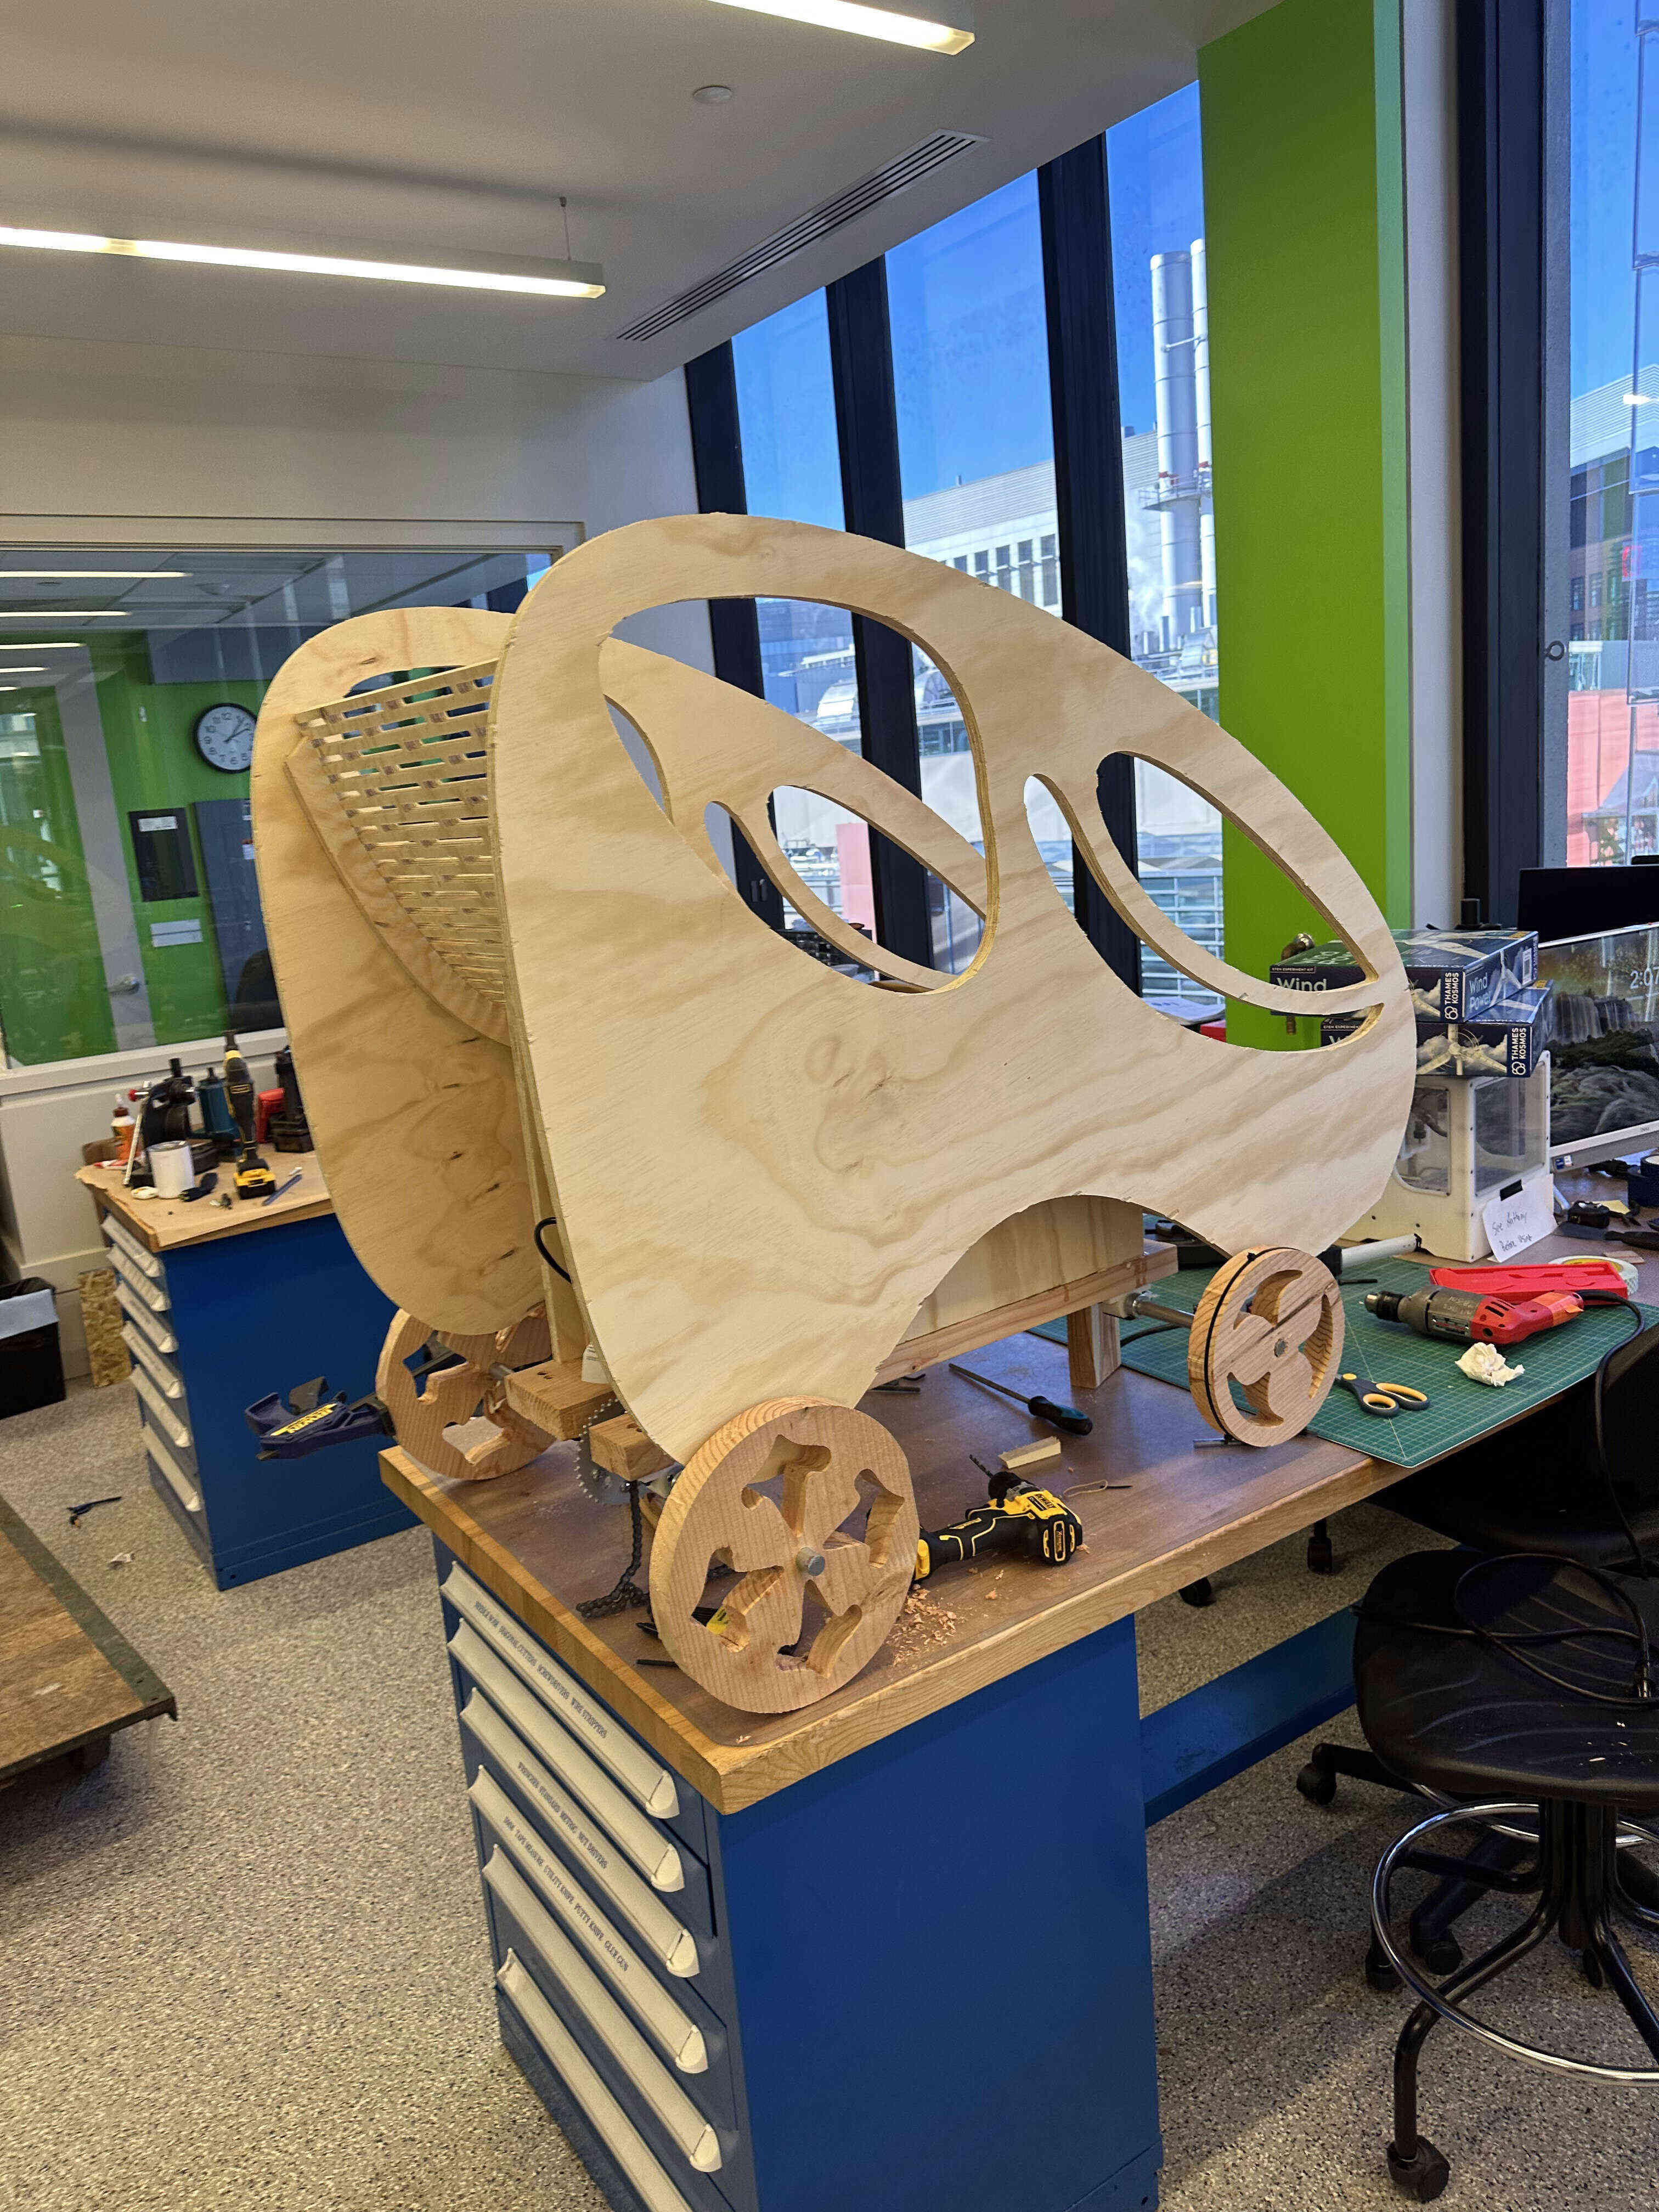
 The final product. Woot woot! You can see the gear chain and sprocket for the motor setup.
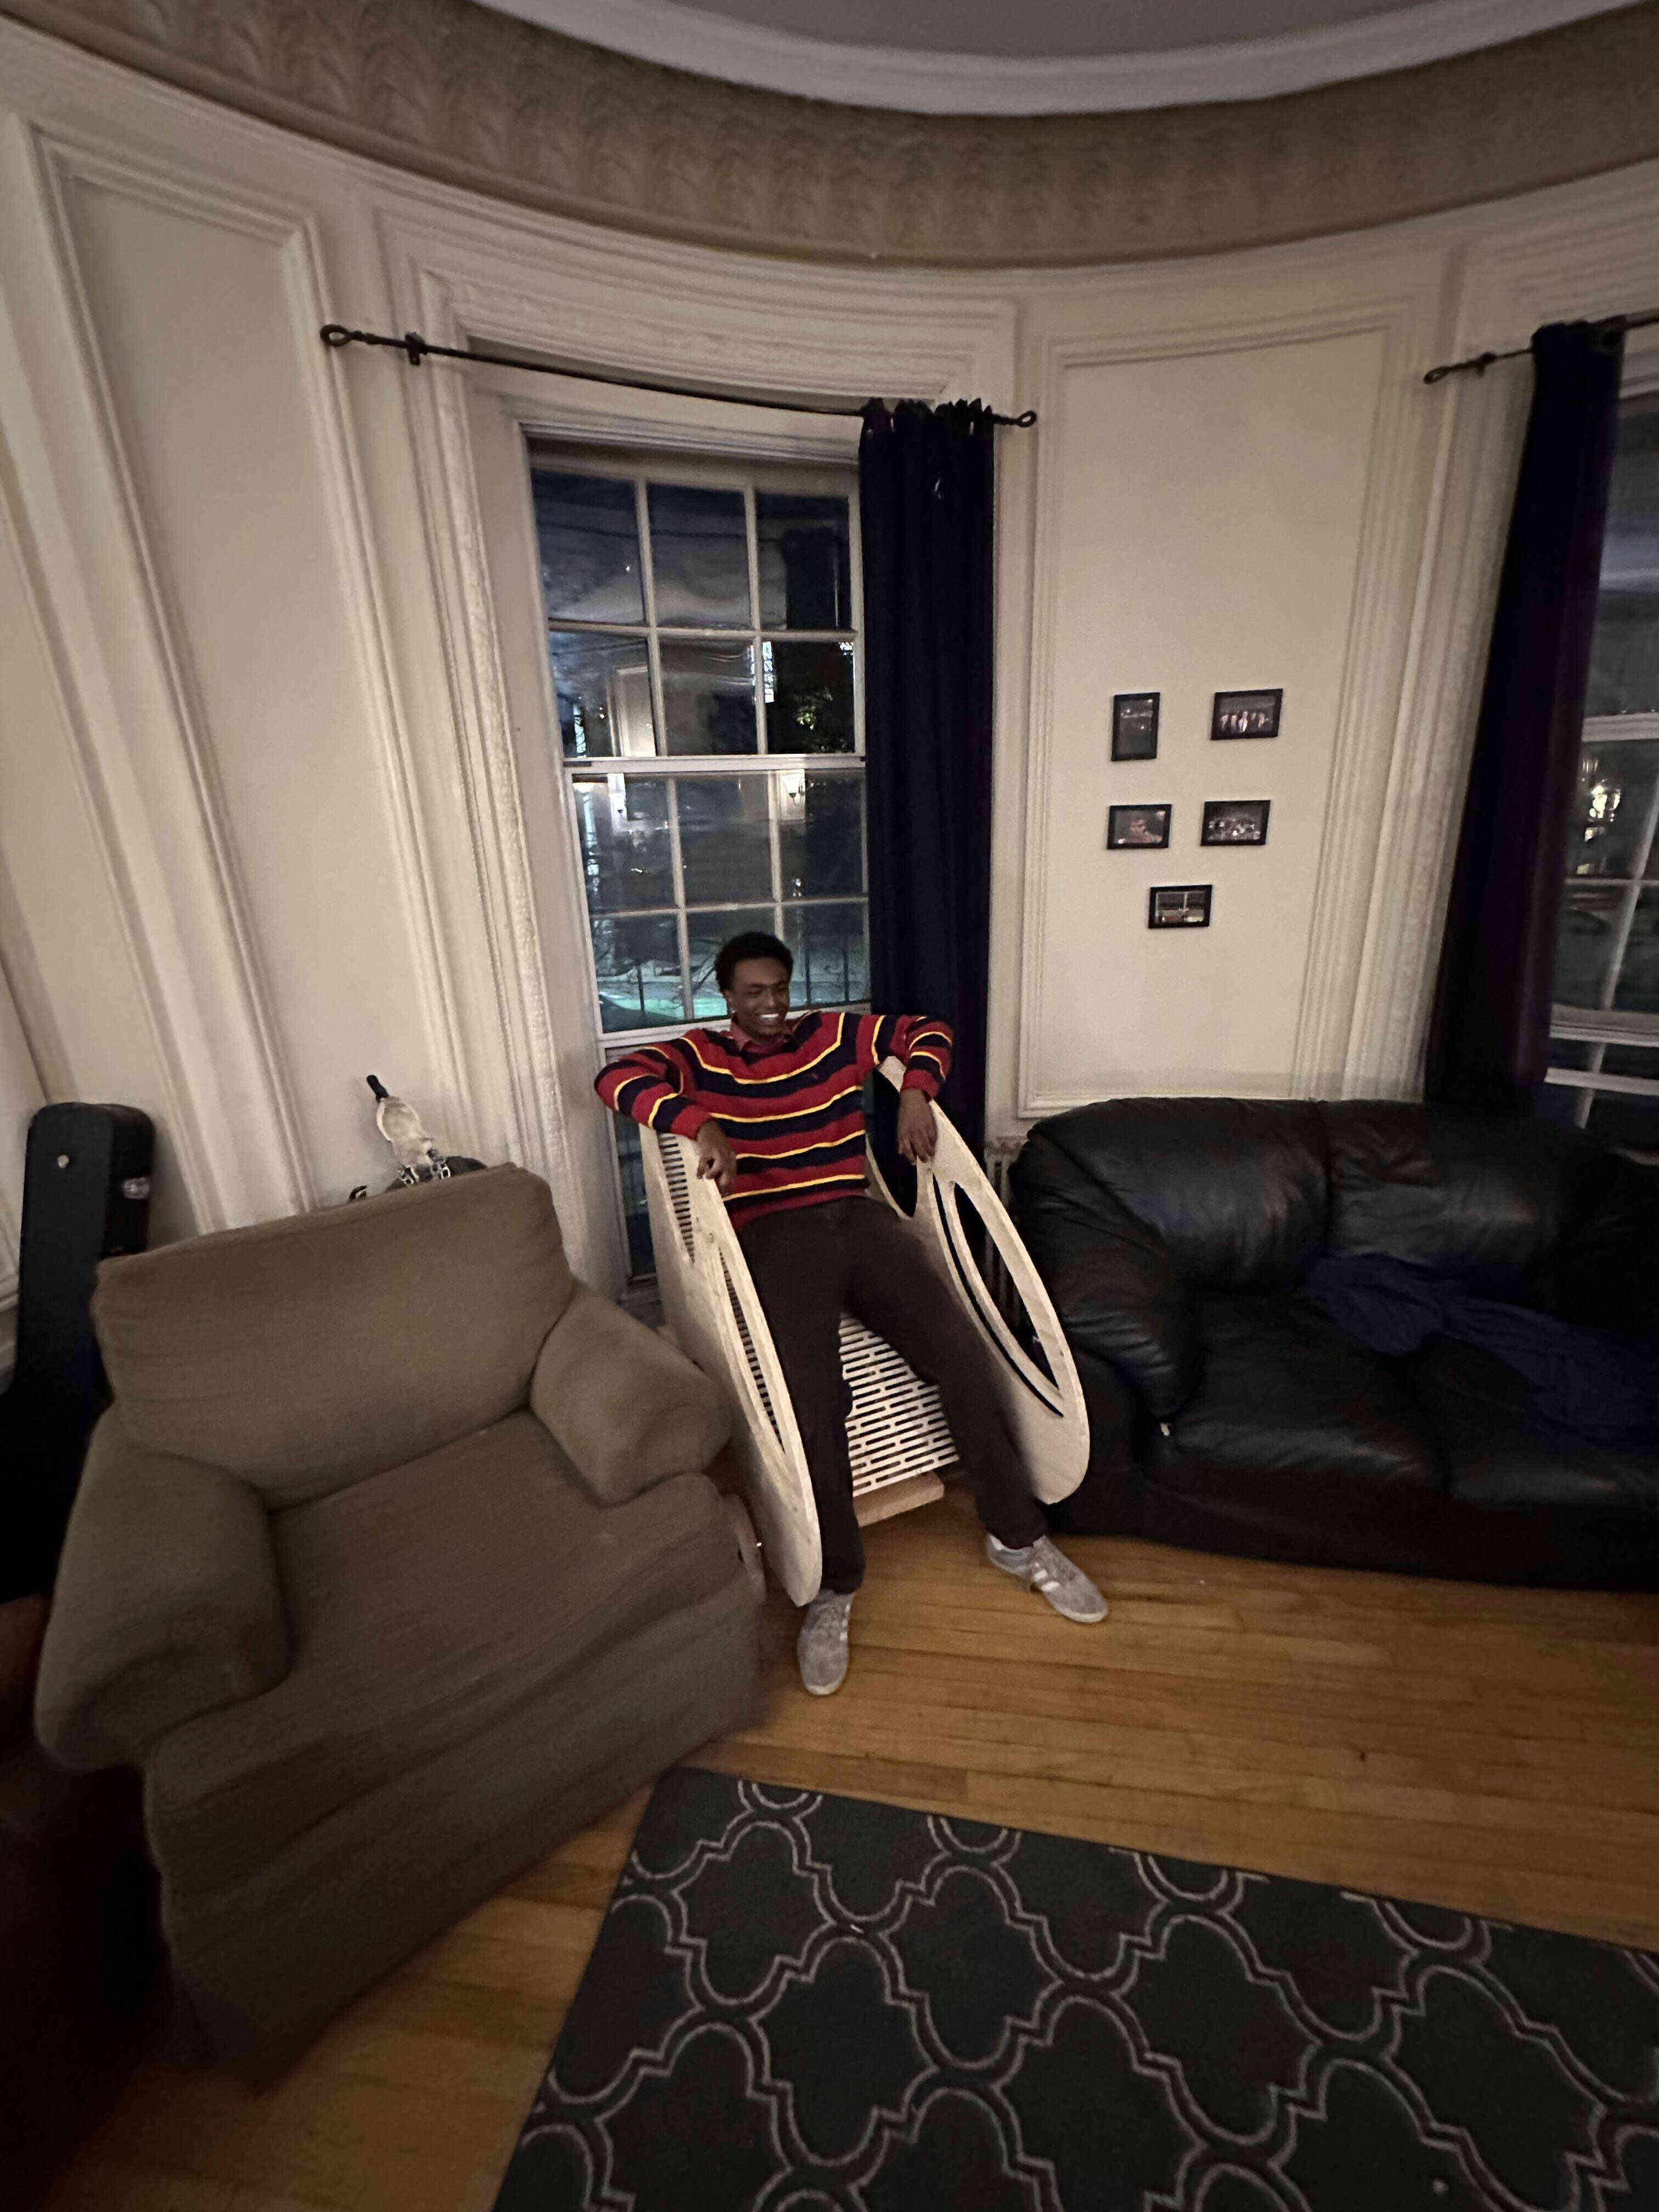
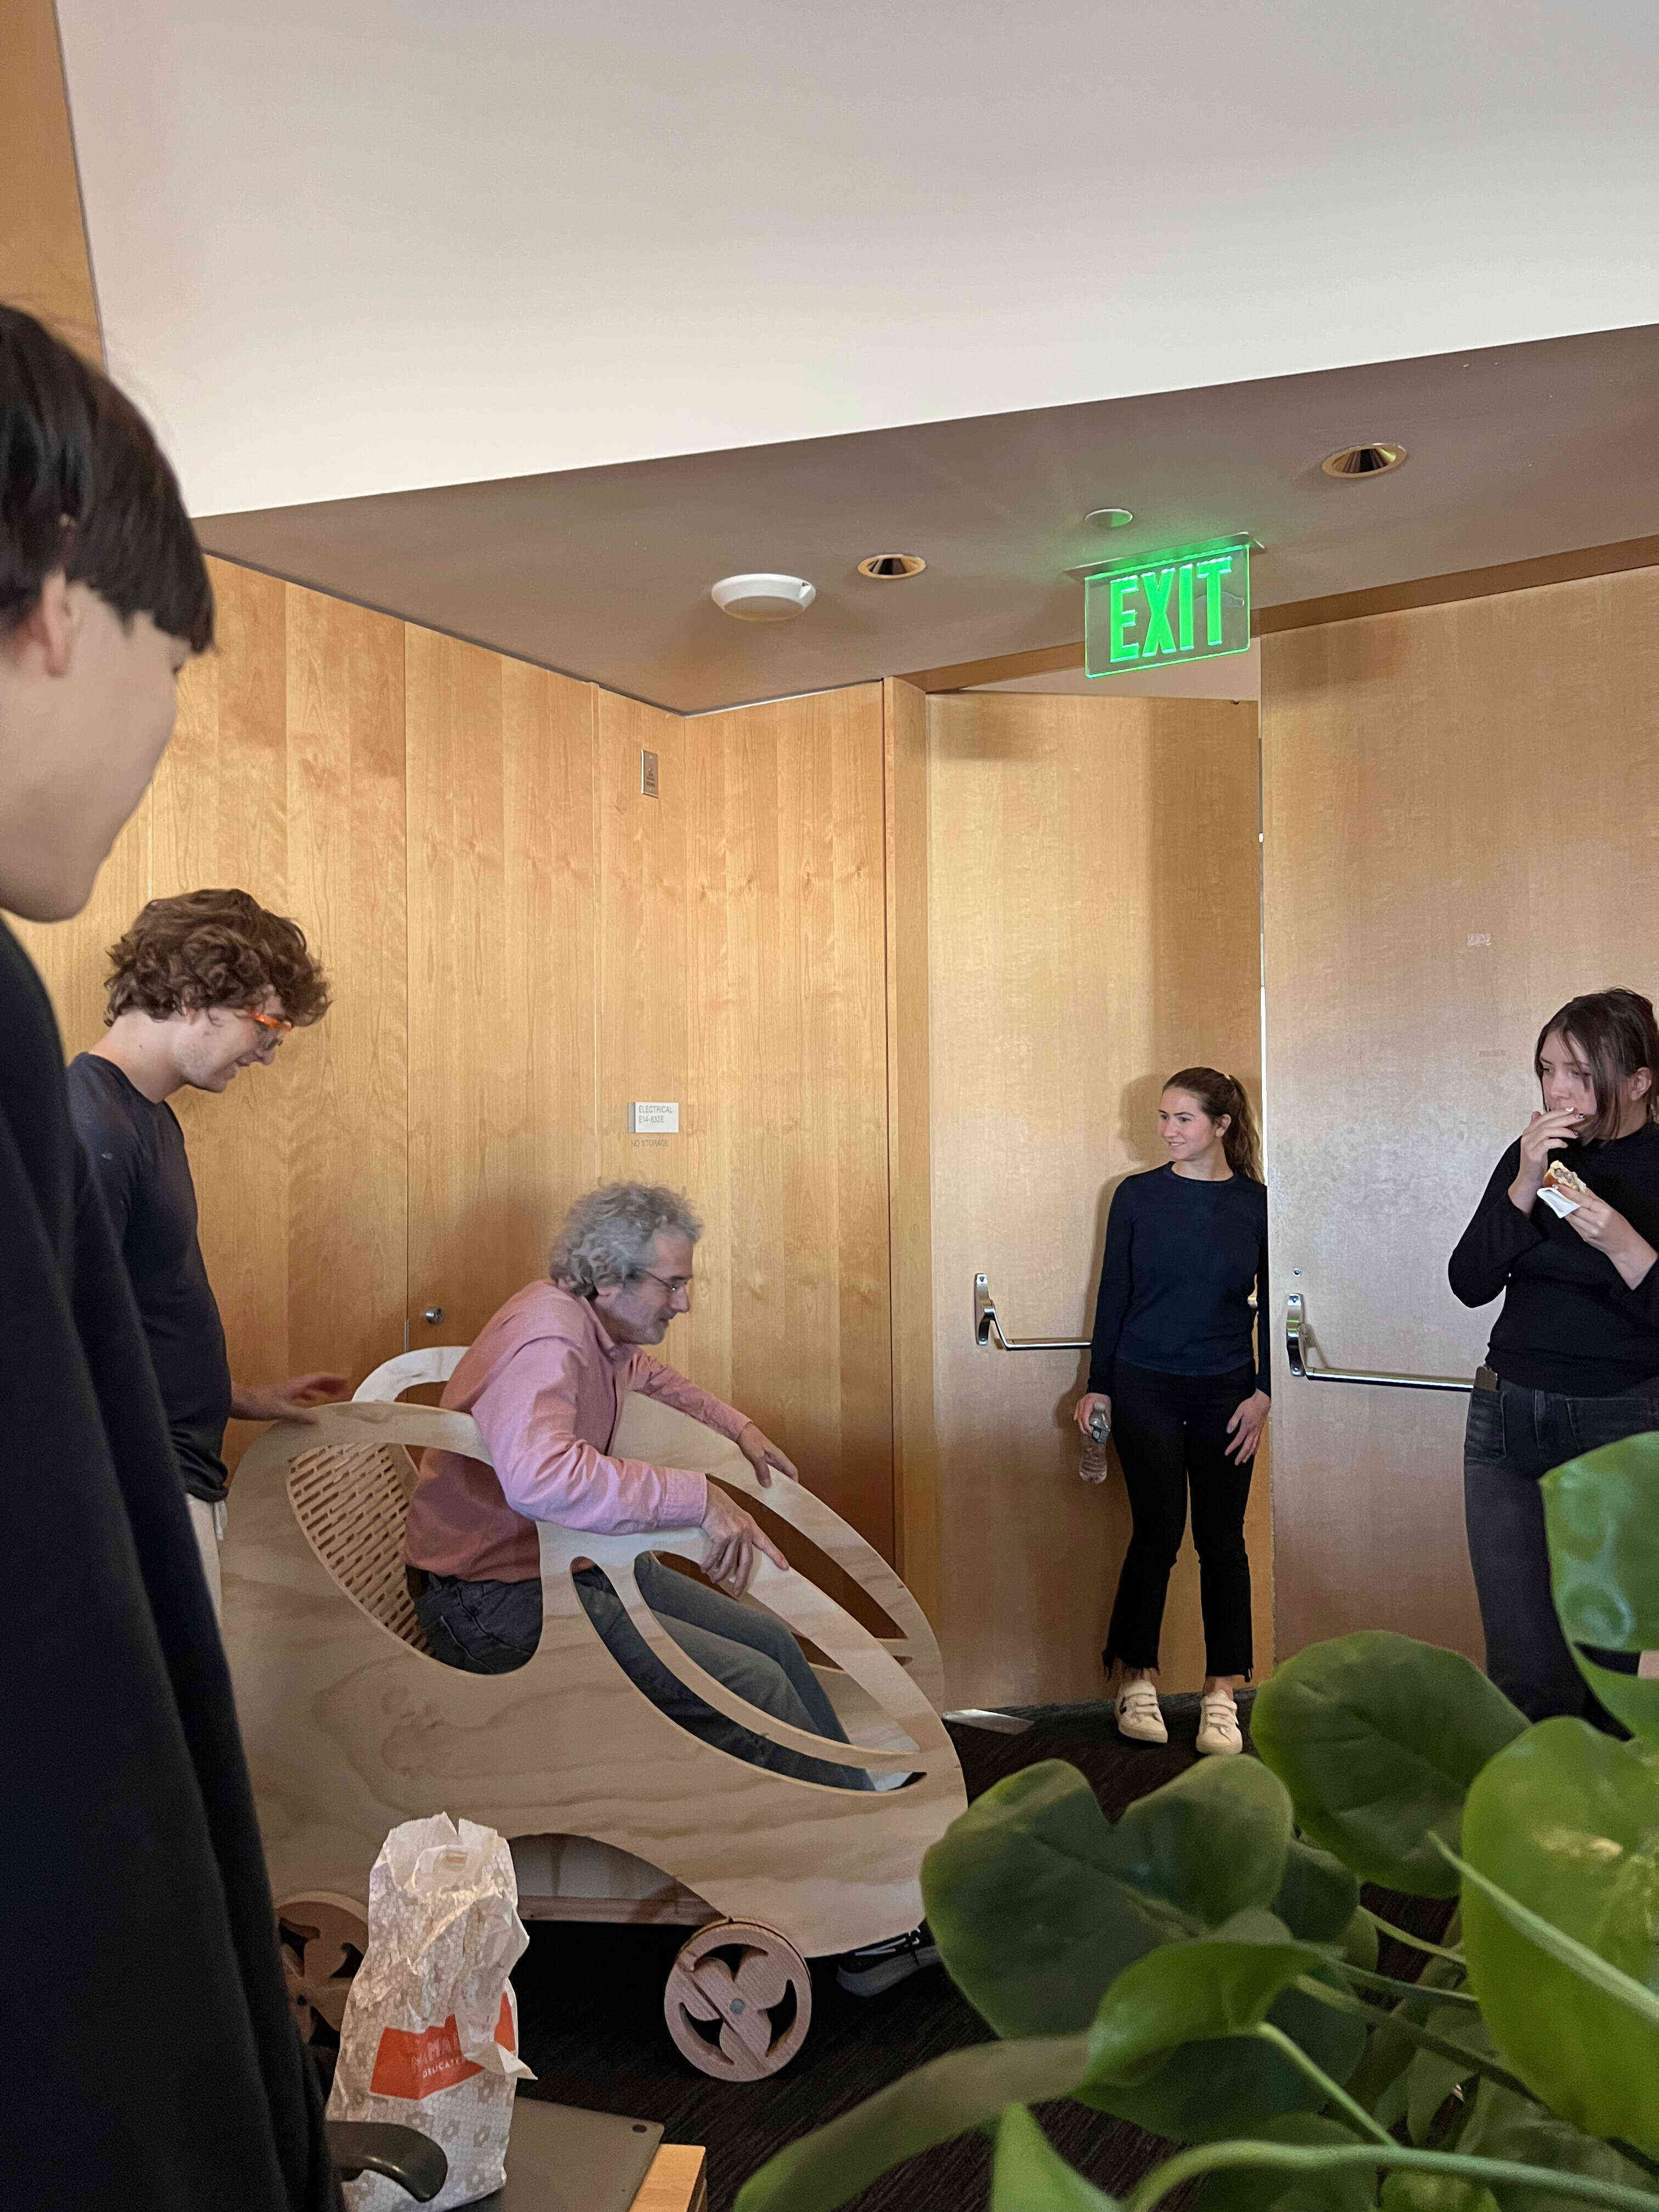
 Neil enjoying the car.
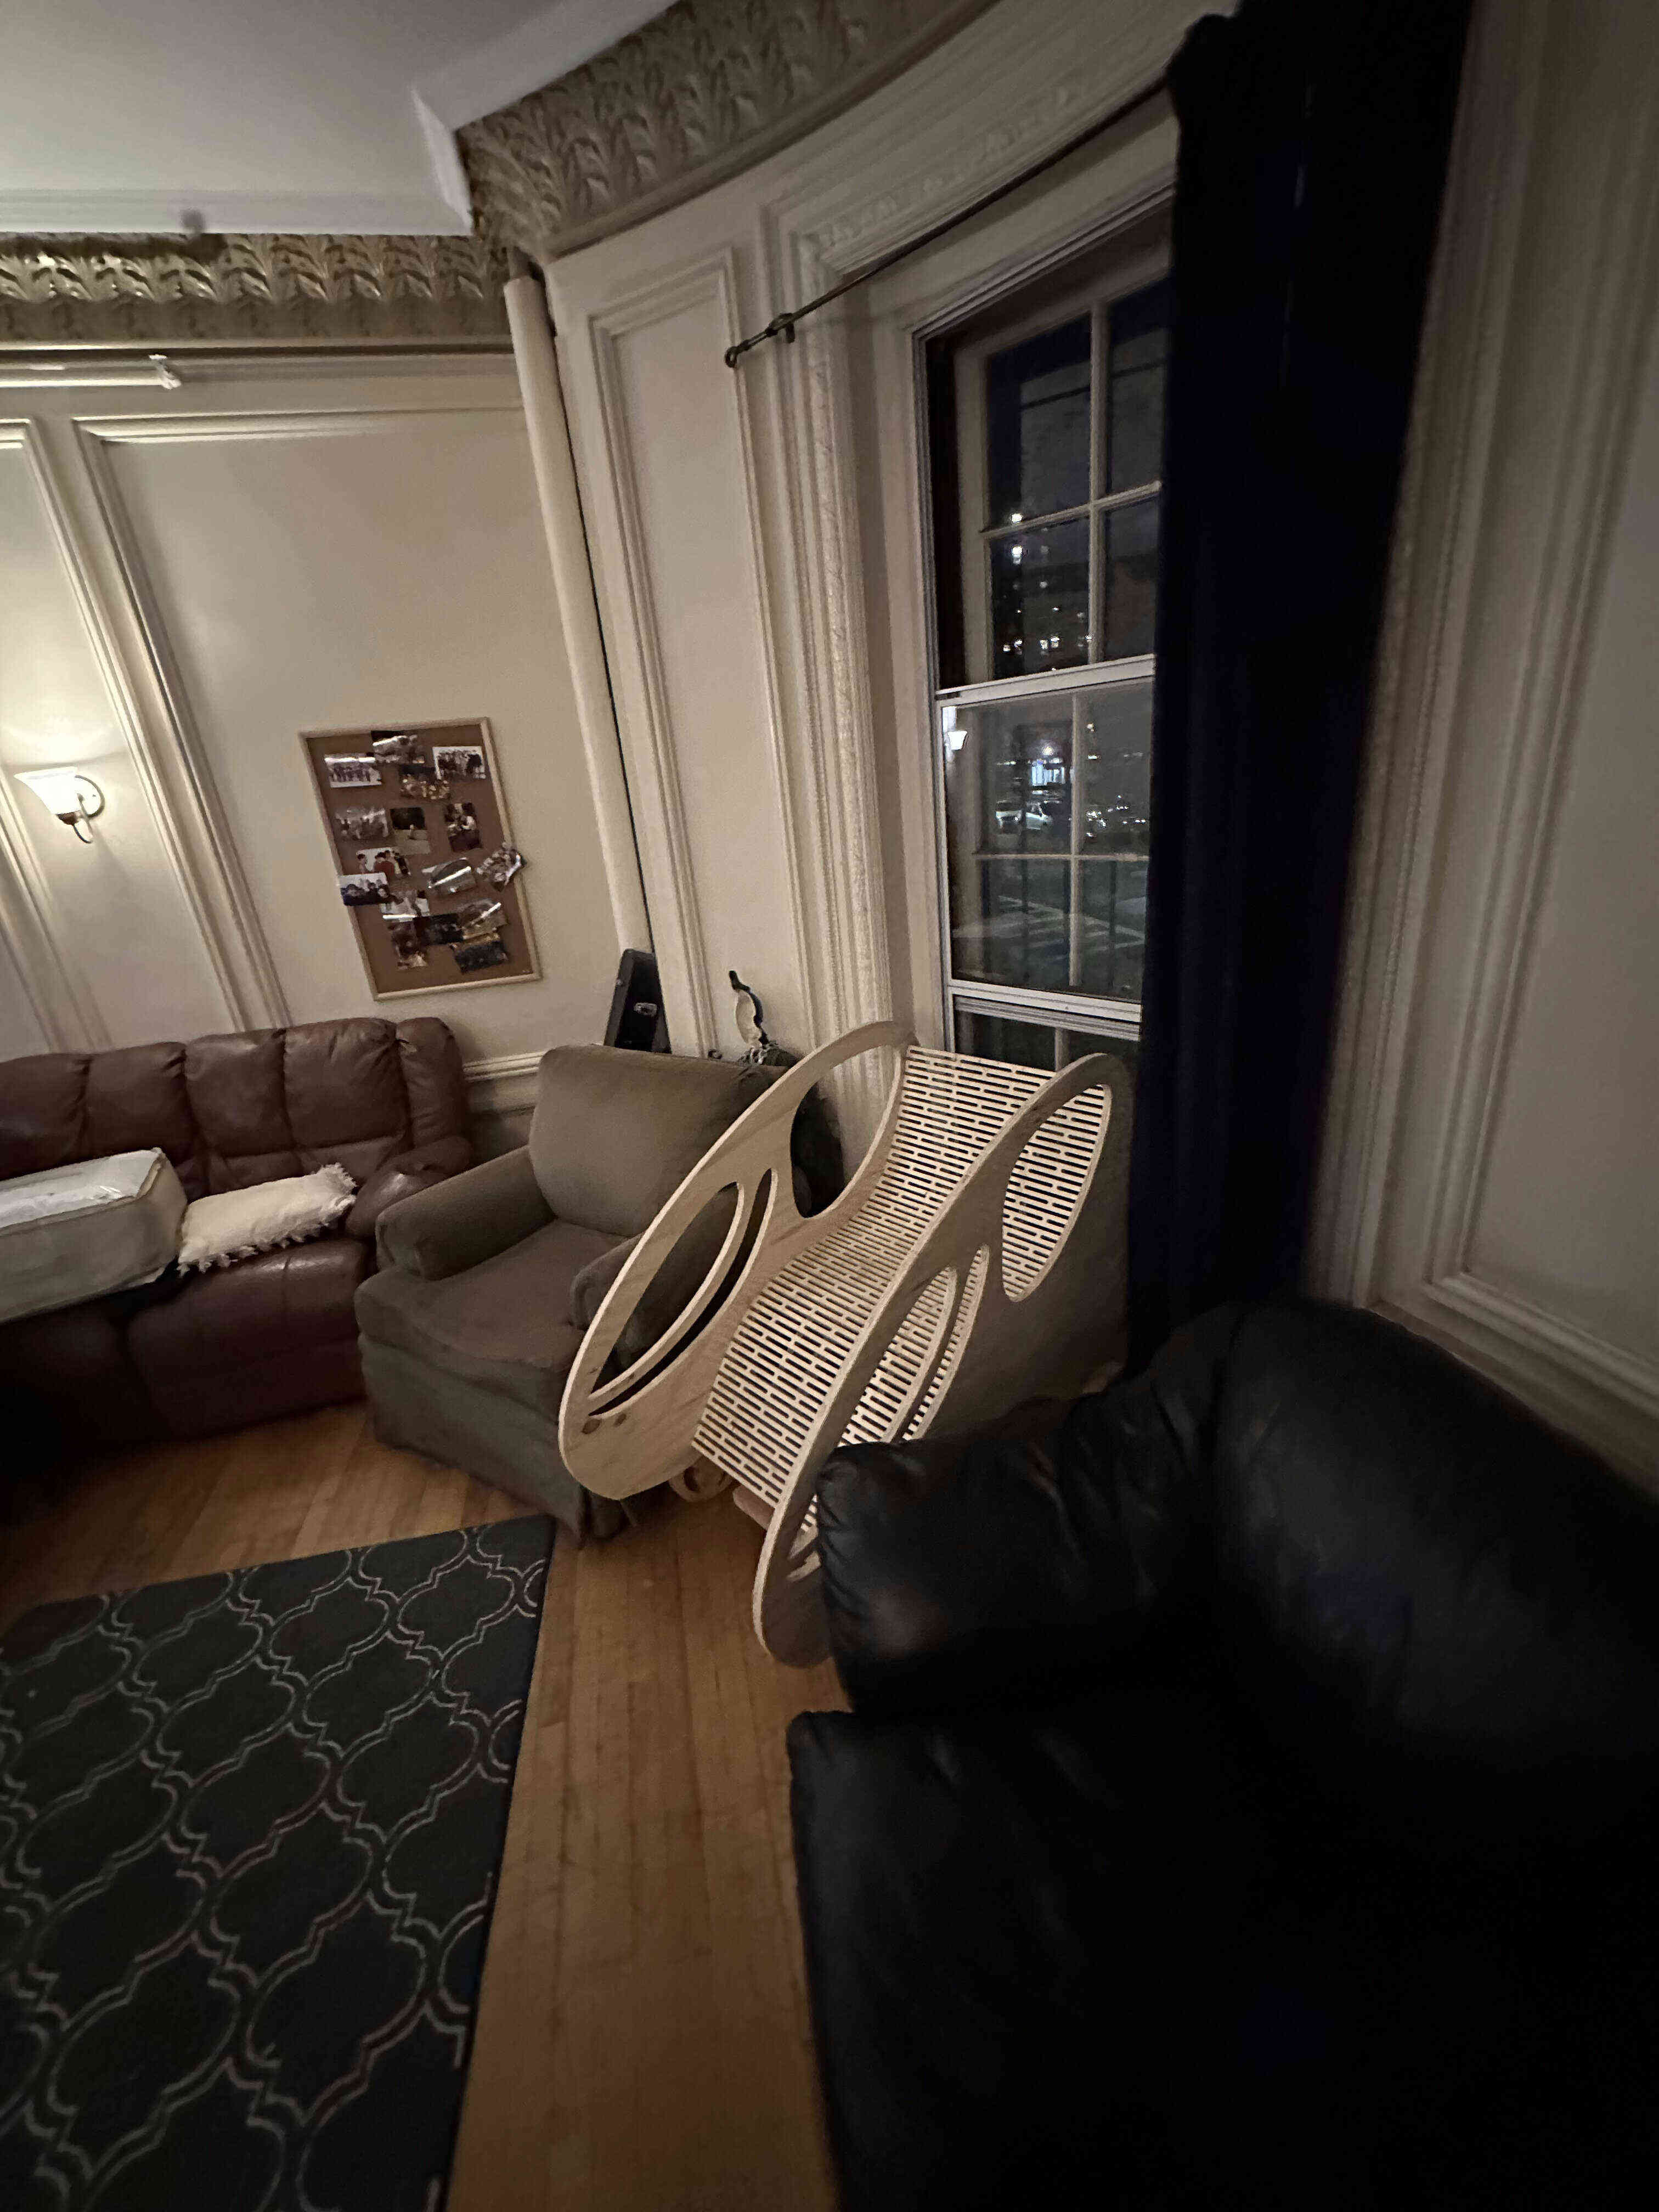
 Now, the Chariot sits in our fraternity chapter room as a treasure. I sit in it each Sunday that we have chapter!