Embroidery

Setting the File
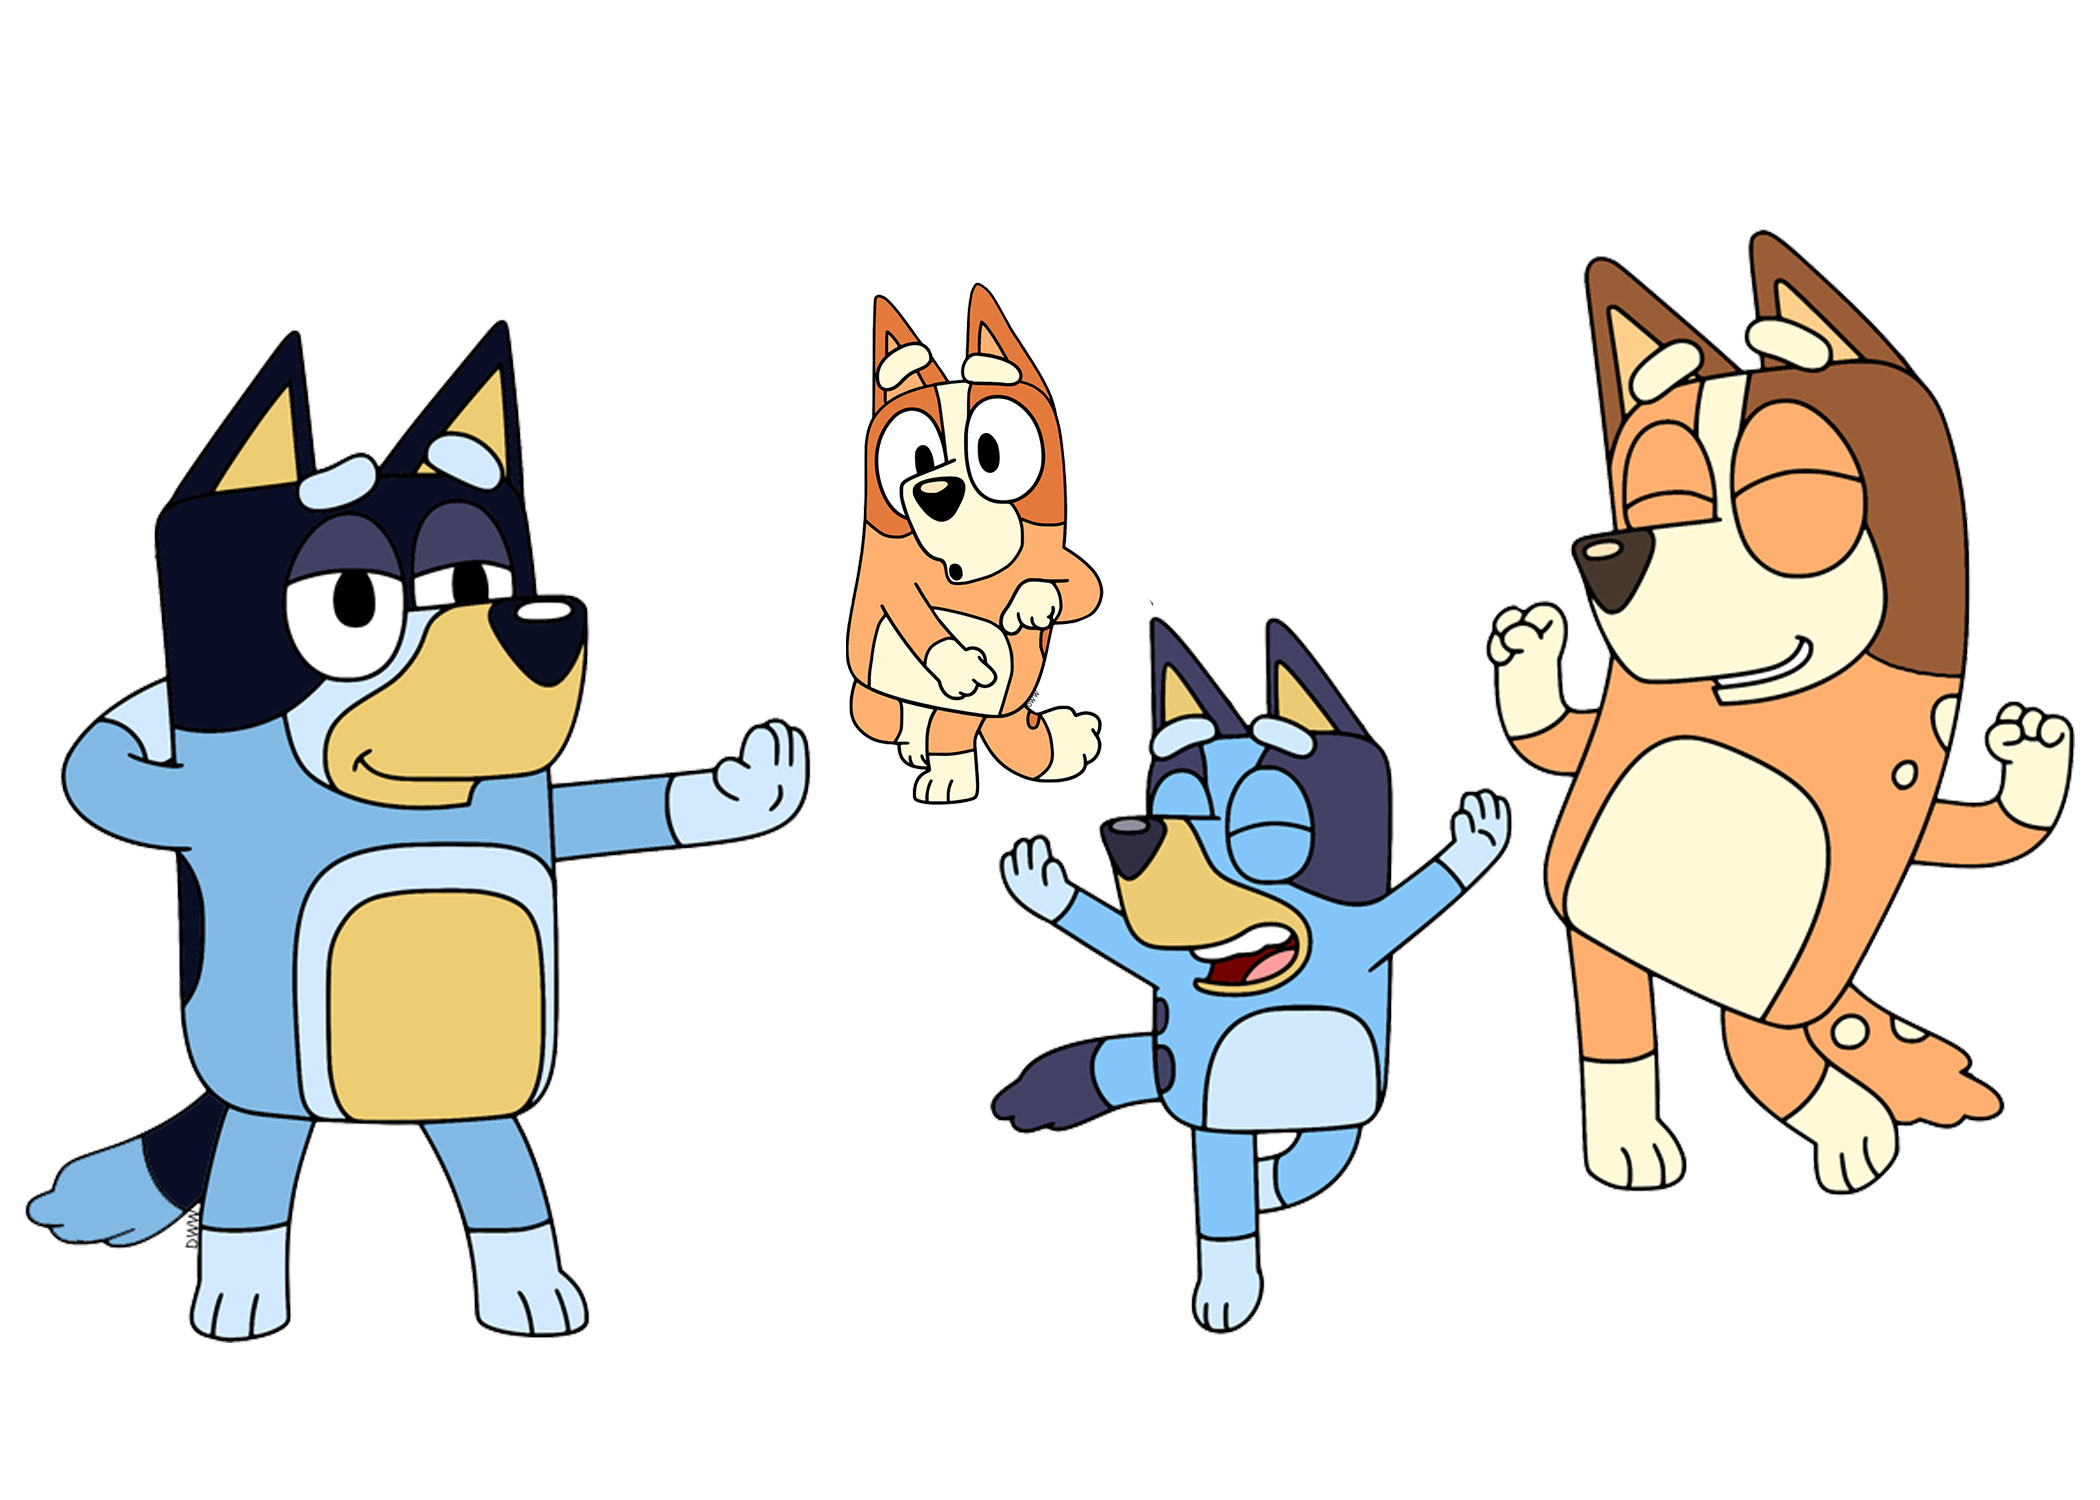
I wanted to make something for our family. We really like Bluey, and really hate to do laundry. Here's Bluey, if you don't know the Disney show.
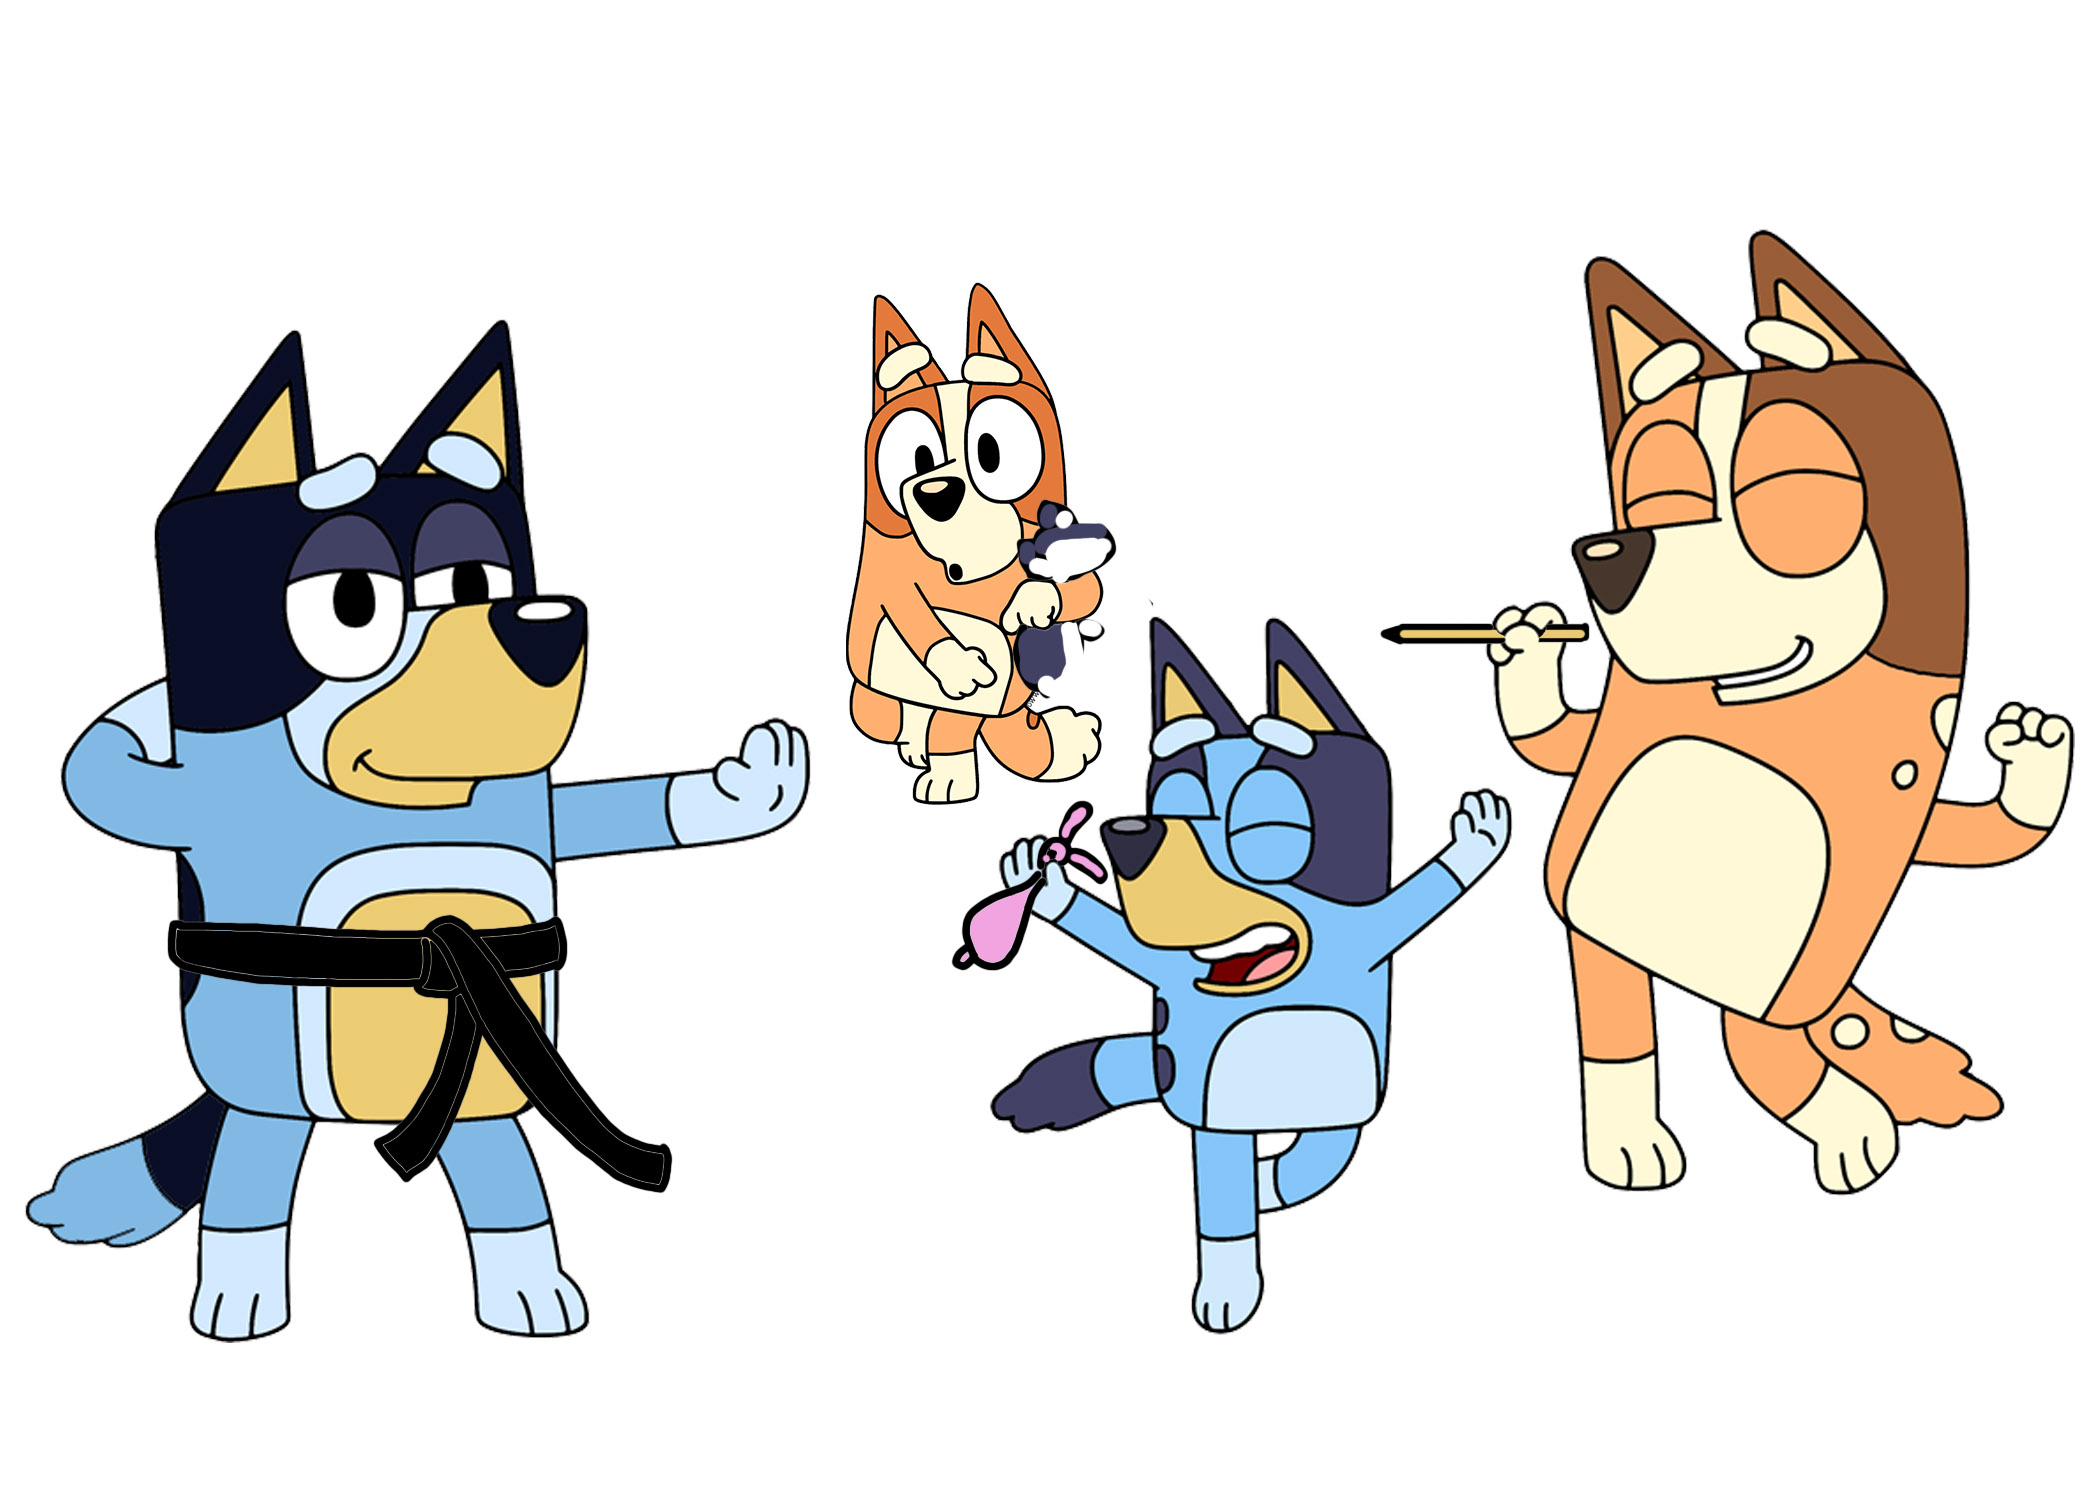
So I downloaded a png of the Bluey family, and added some of our favorite things to it in Photoshop. I'm going to embroider it on the duffle bag we use to do laundry.
Then, I downloaded Inkspace and Inkstitch like Alec suggested on the class website, and found an online tutorial for convering images to stitch patterns.
I tried image tracing in Inkspace to make the file vectoric but it got stuck multiple times and was a nightmare. So I switched to doing the tracing in Illustrator. Here's the Illustrator (SVG) file. For tracing I used the preset of 16 colors, which was sufficient, and I marked ignore background, the rest of the generic definitions worked well.
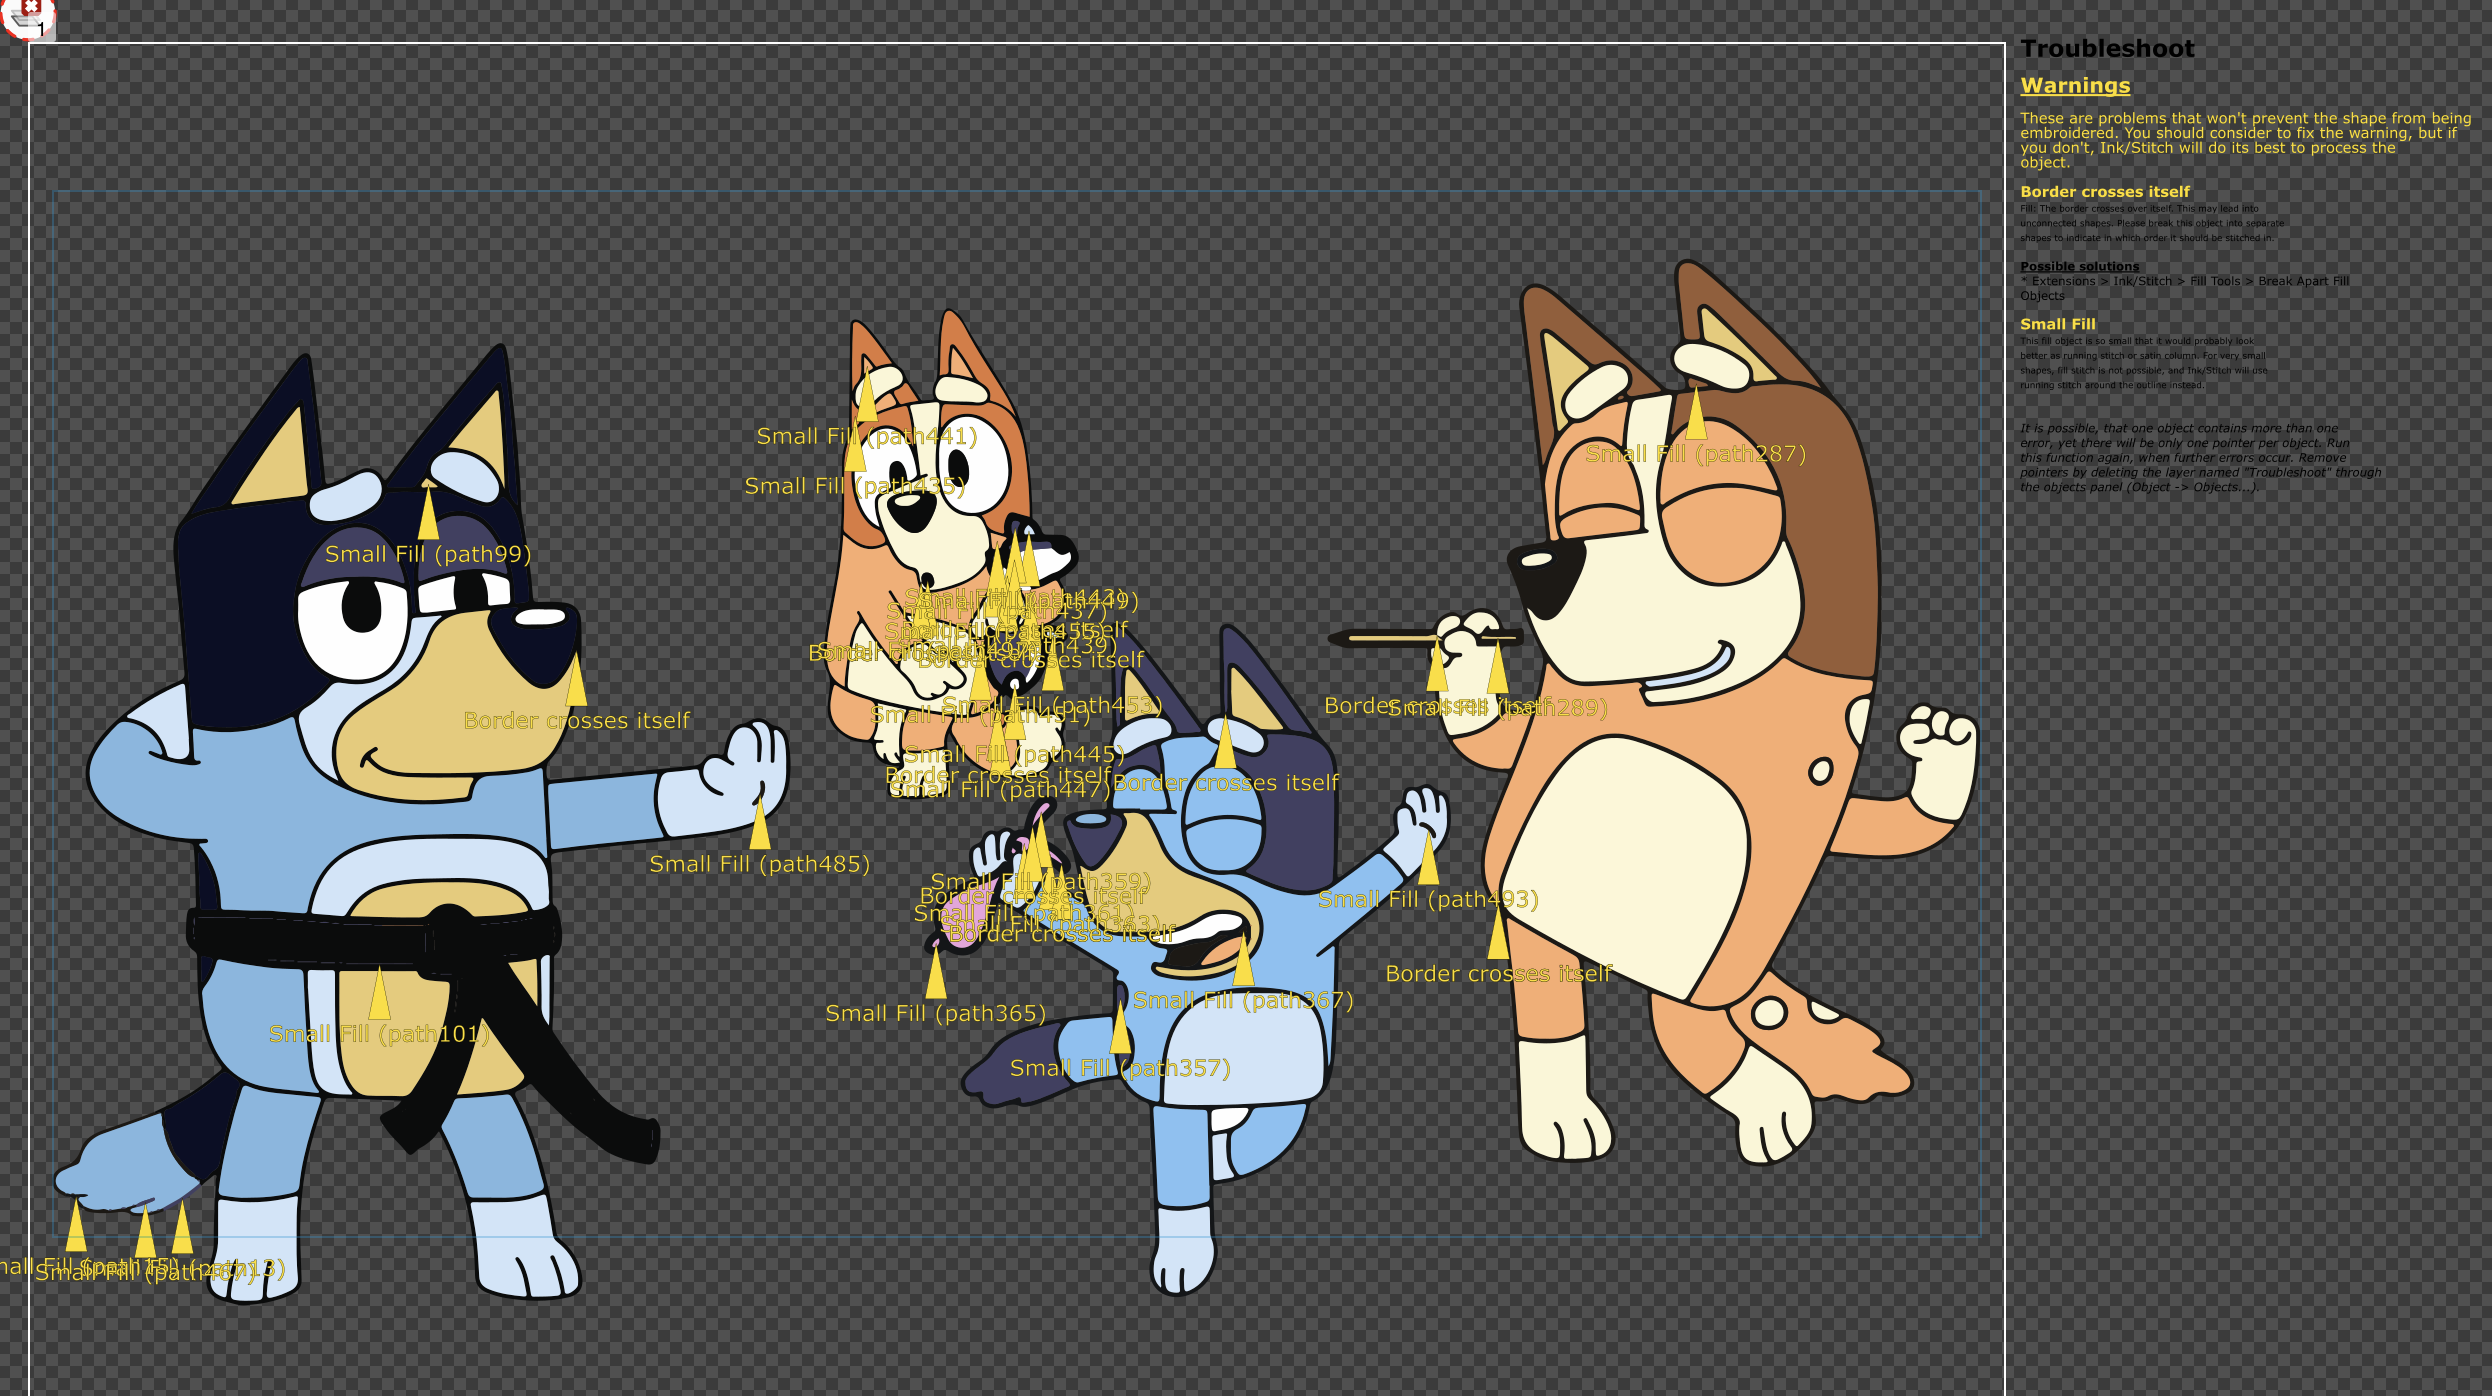
Then, I input the file again into Inkstitch, did troubleshooting like shown on the tutorial, there were some minor warnings (that the machine can try and do, but the accuracy and quality aren't garanteed), I decided to ignore them and see how well the machine will deal with these details:
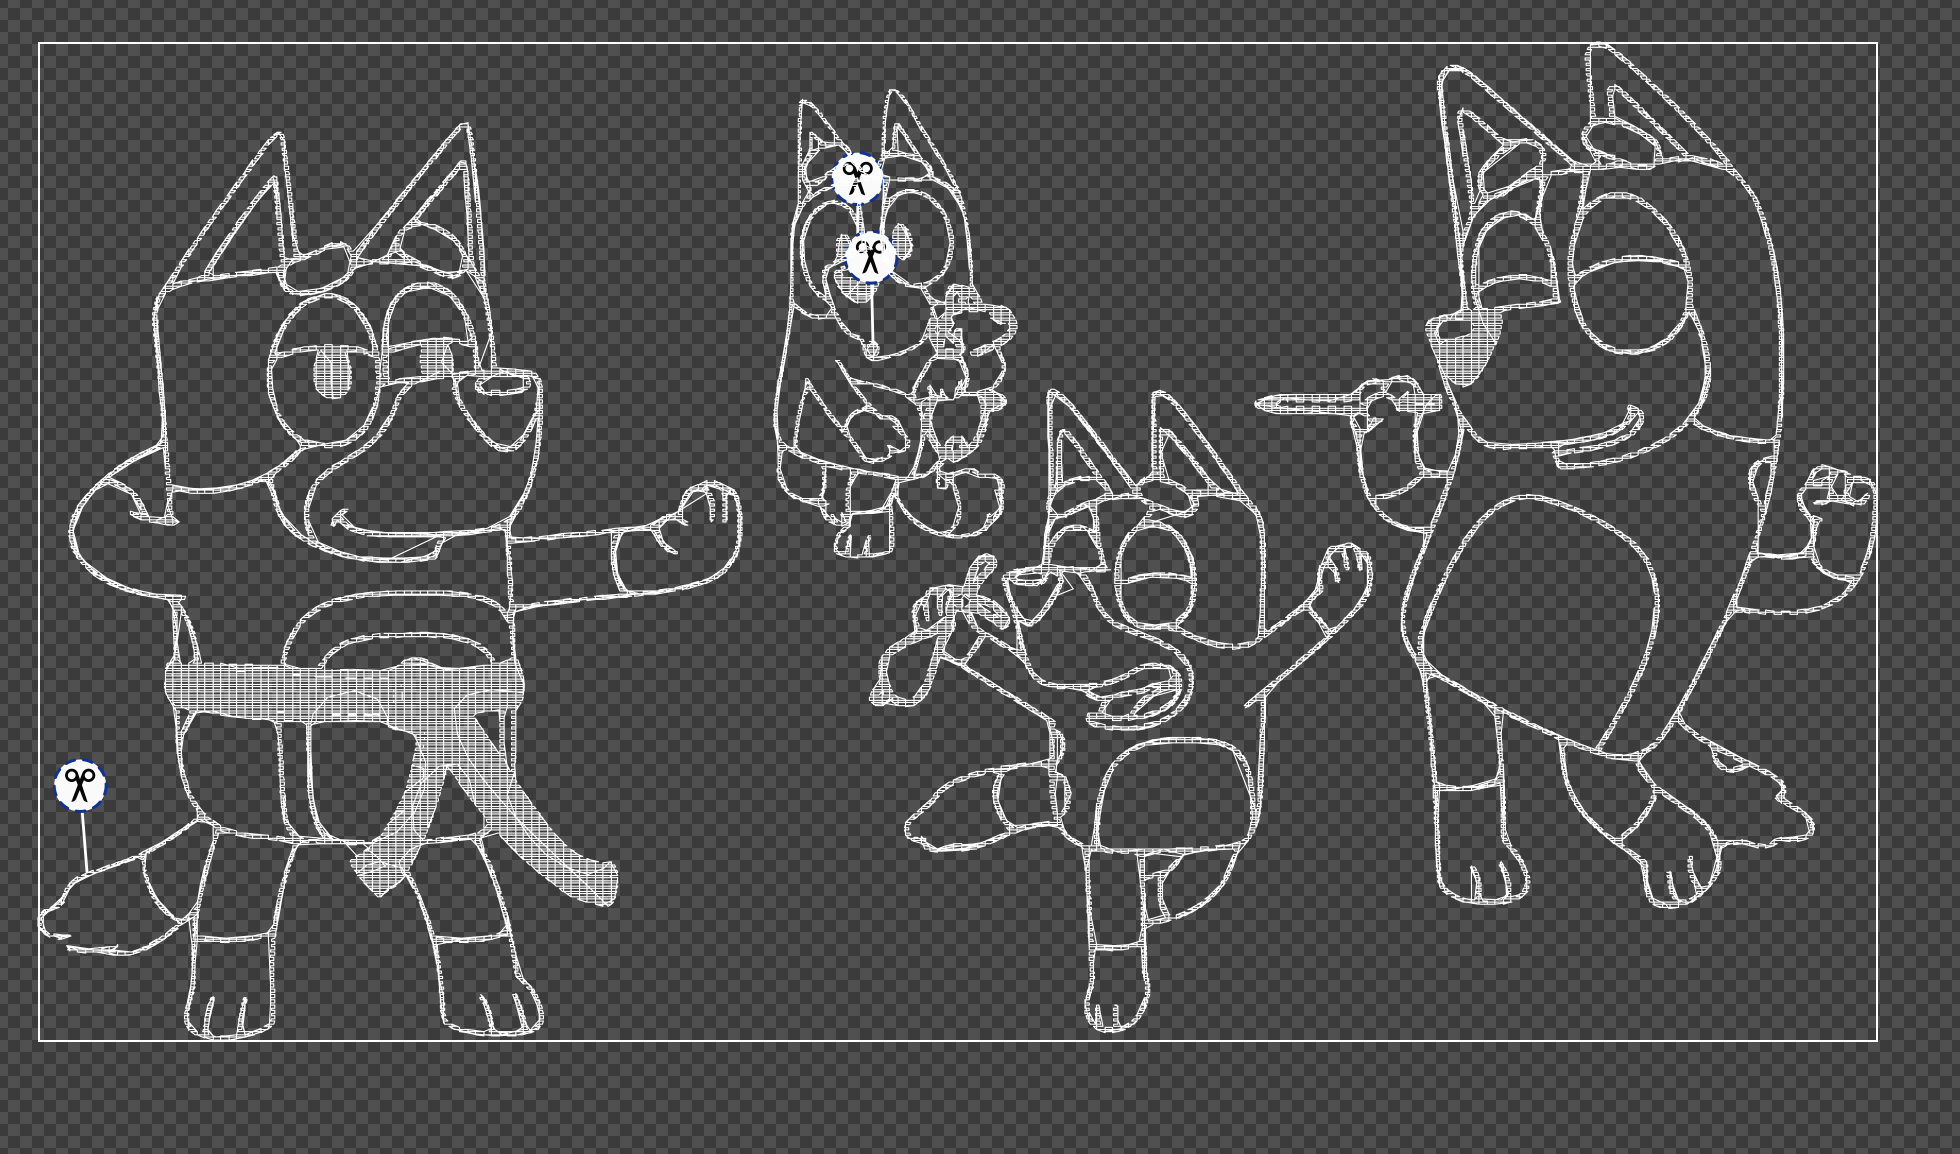
Then, I simulated the emroidery machine process and notices the colors will be done after the black contour. I found the relevant layers and placed them at the top because I didn't want the colors to accidentally go over the contour. I simulated again and it looked great:
So I exported it to EPS
Fabrication
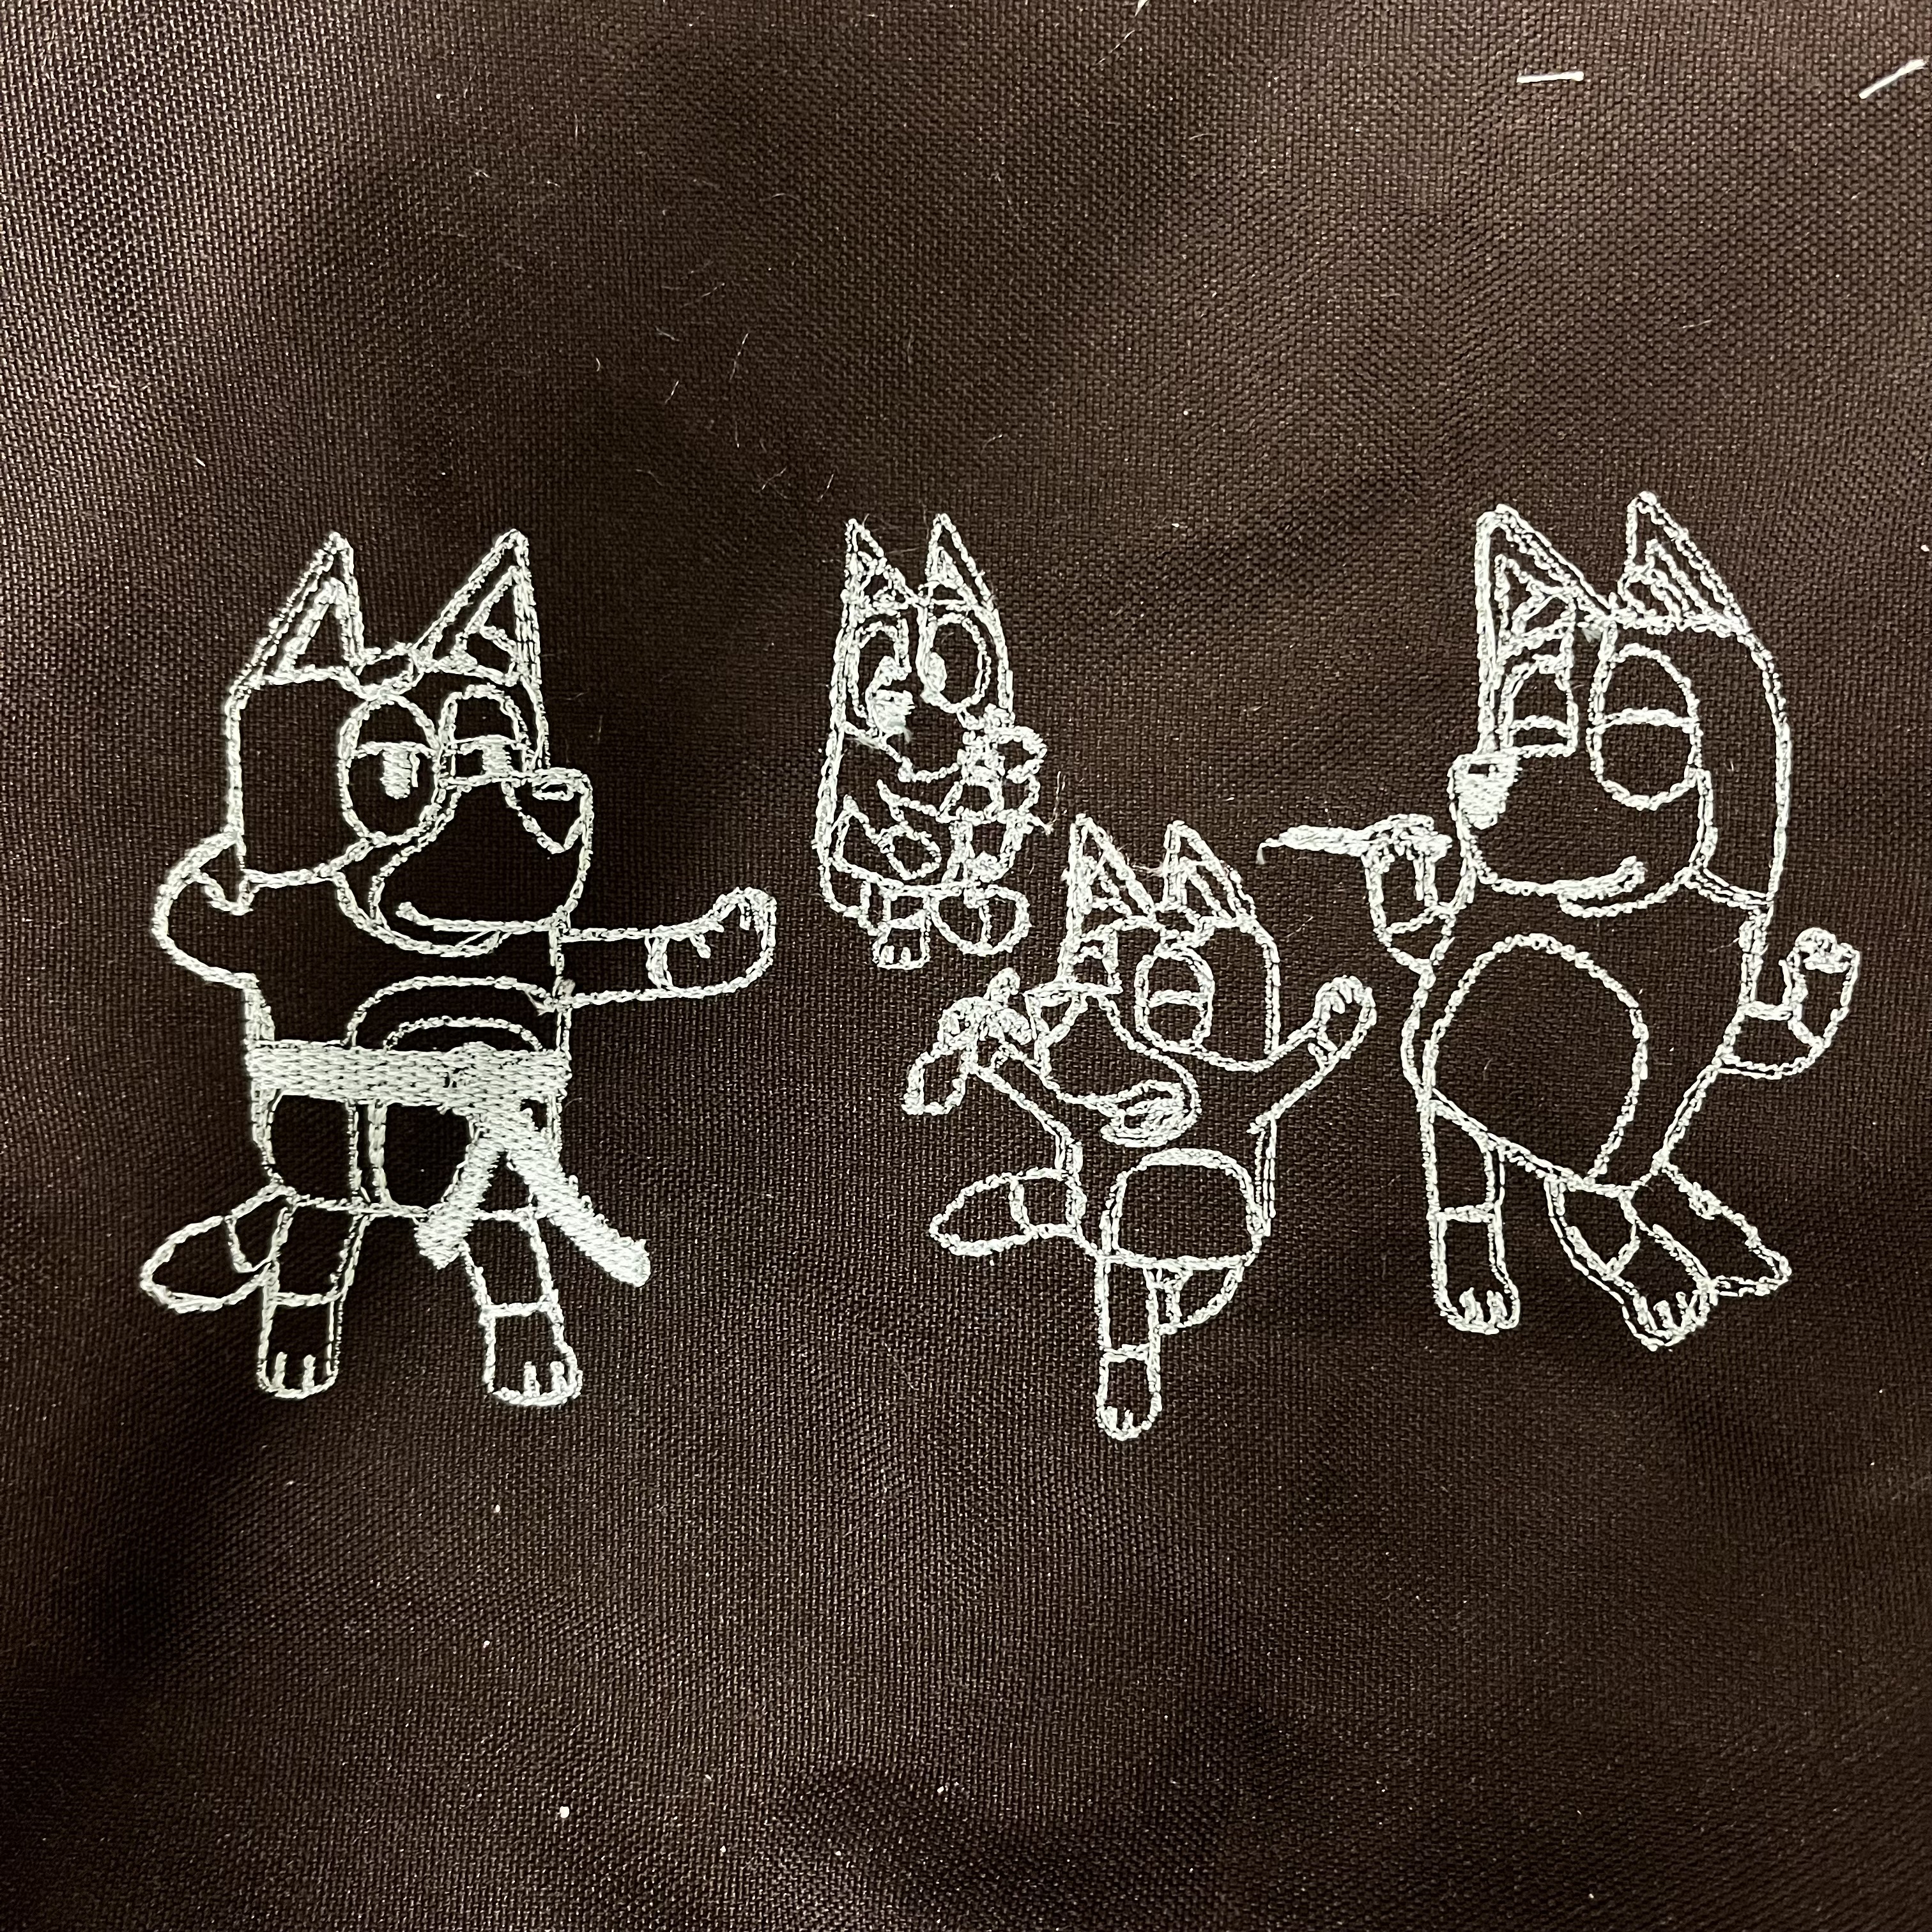
I came to the EECS shop to embroider, and realized with Alec's help that doing a colored pattern with so much detail will take a few long hours. So I resorted to a more humble variation of it, with only the contours:
First, I locked the duffle bag in the embroidering frame, where I wanted the pattern to be.
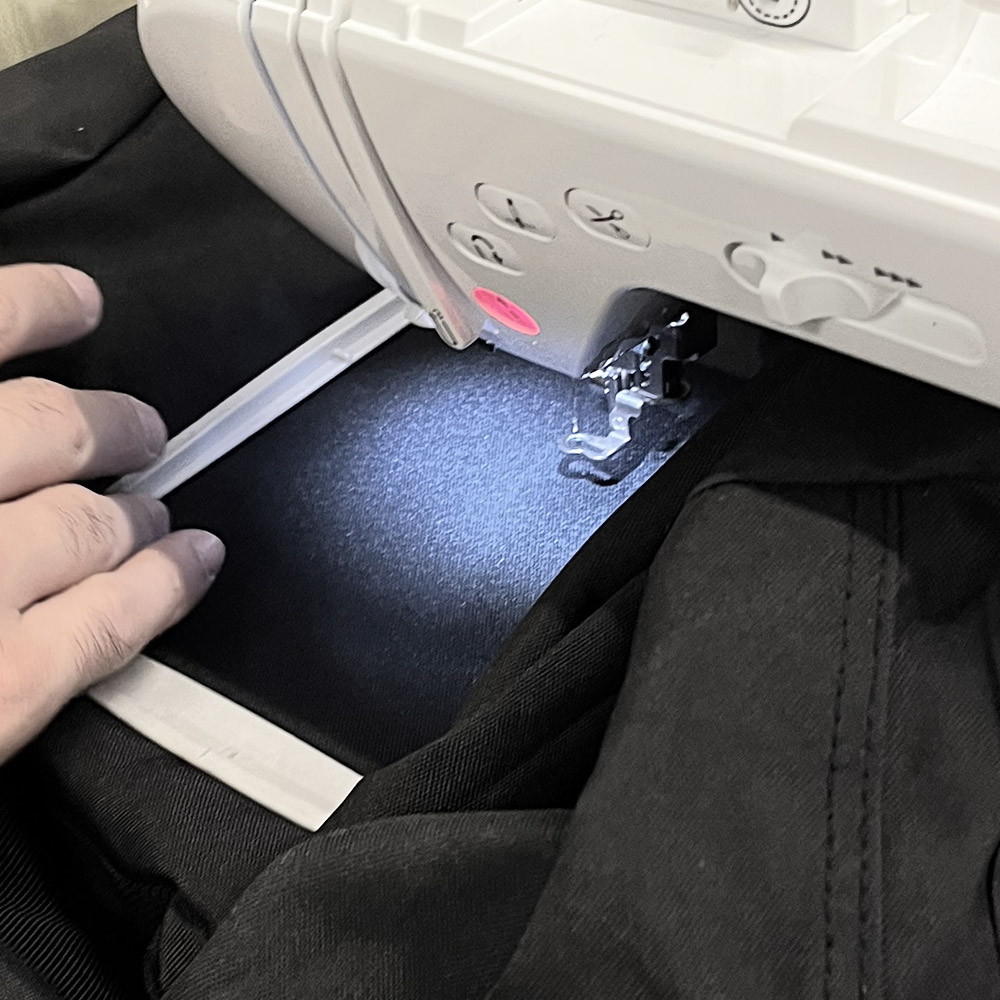
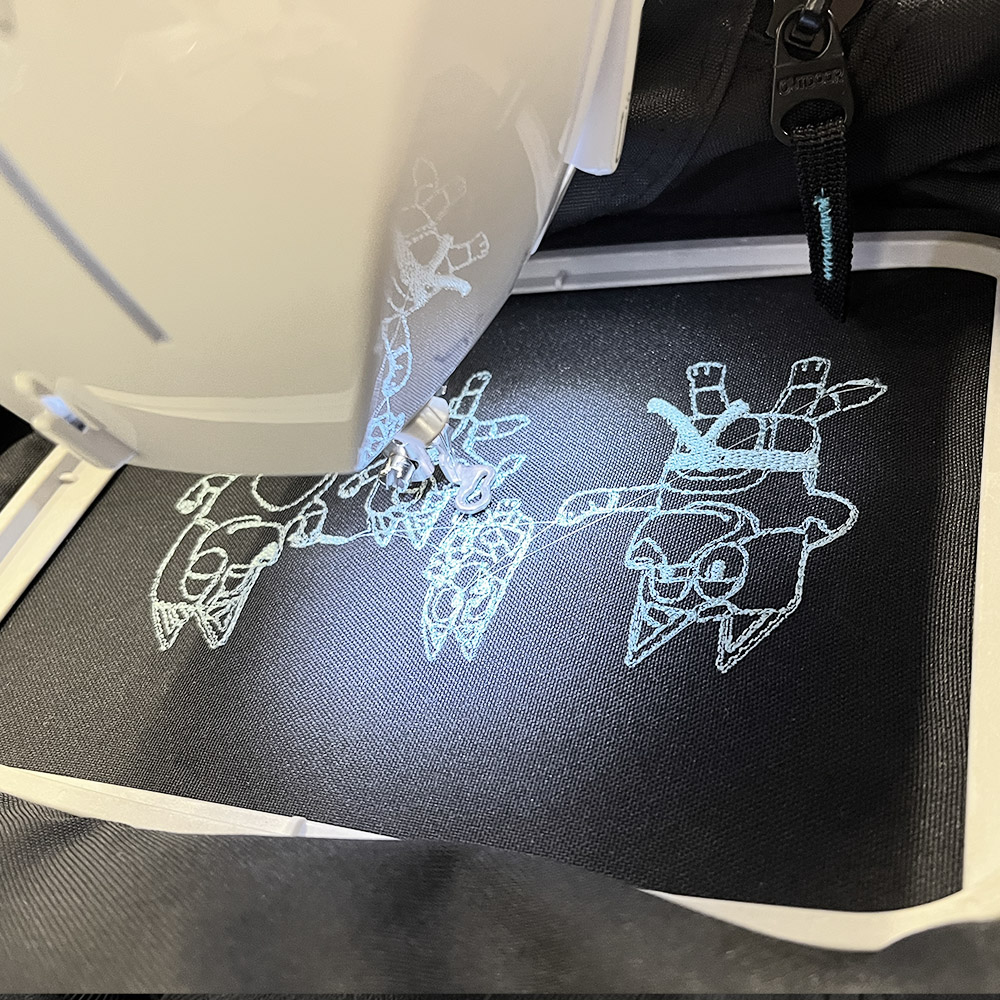
And then hooked the frame to its place on the Brother sewing machine with the embroidery add-on, loaded the thread, lowered the "leg" of the machine, loaded the final .pes file with a usb stick, and started the machine.
After the machine was done, I moved up the leg, hooked it off, and used a seam ripper to manually remove access thread that was drawn by the machine between seperated parts in the pattern.
And this is the final result! Kinda looks like mom is smoking and not drawing but that's ok...
