Molding & Casting
Group Assignment
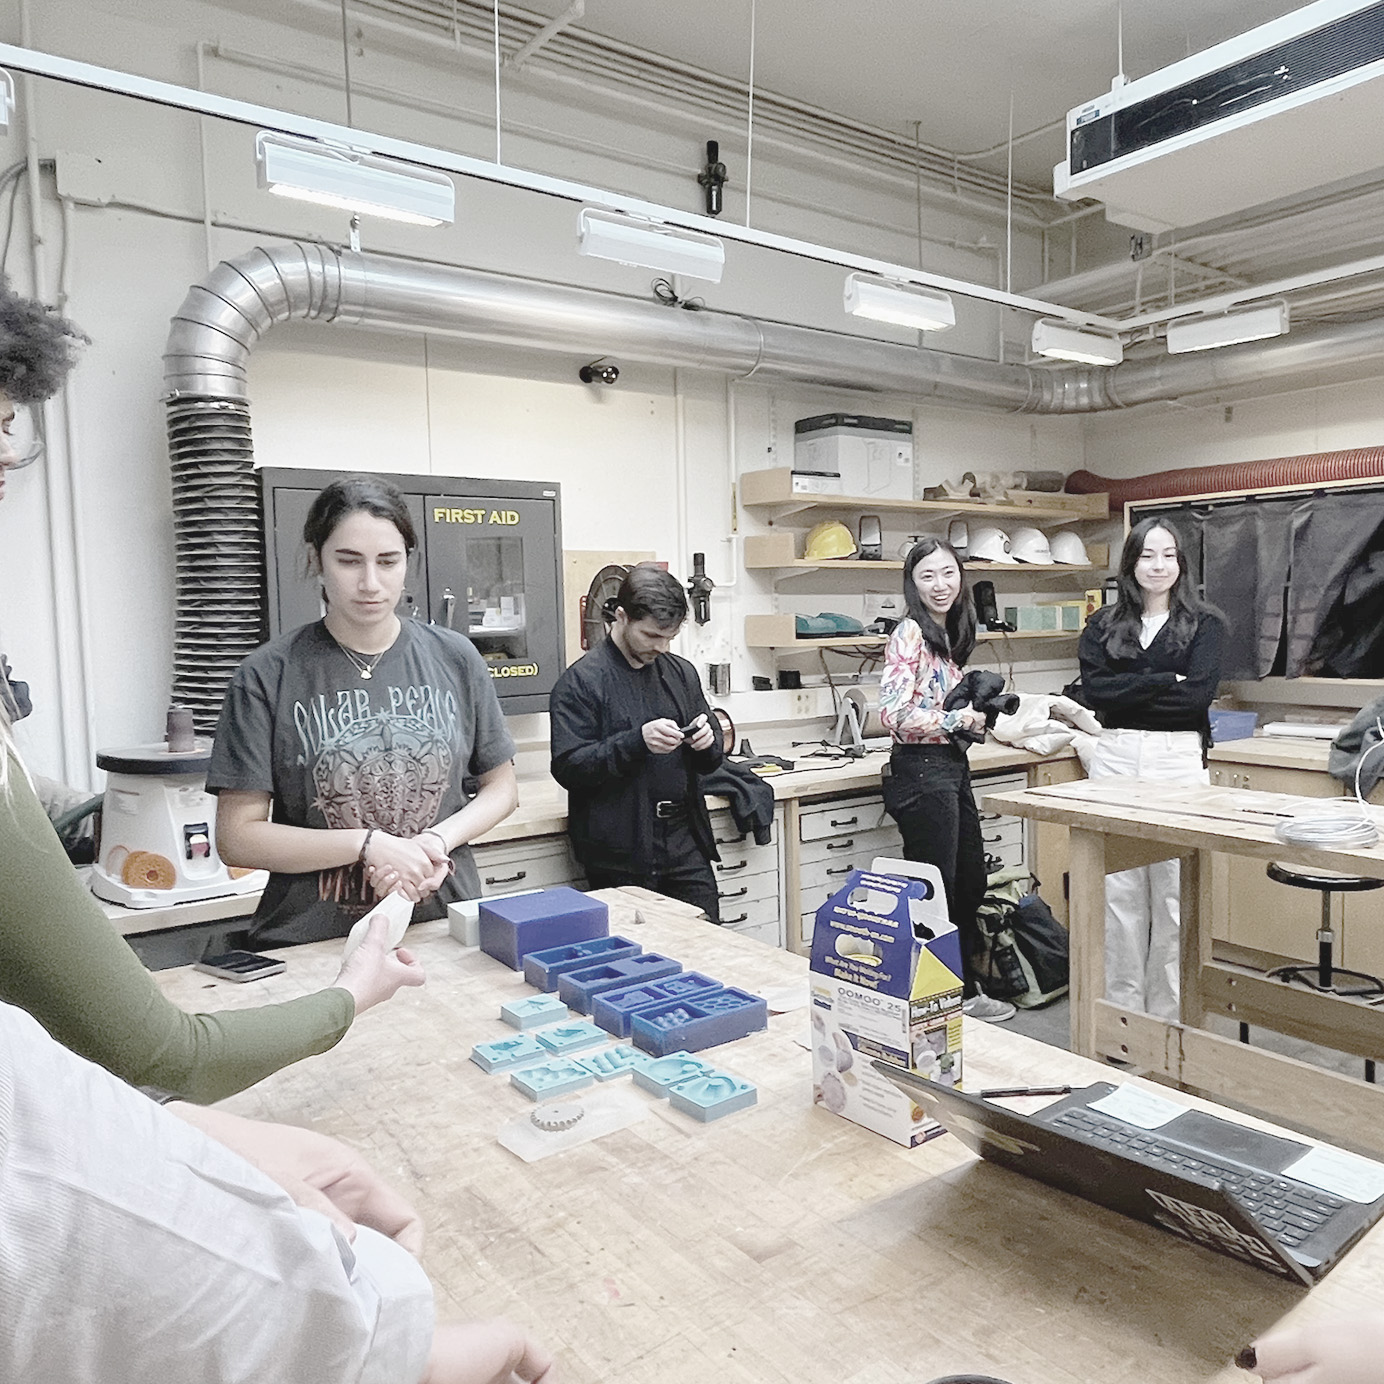
We looked at some samples from previous years, of both milled molds and printed ones.
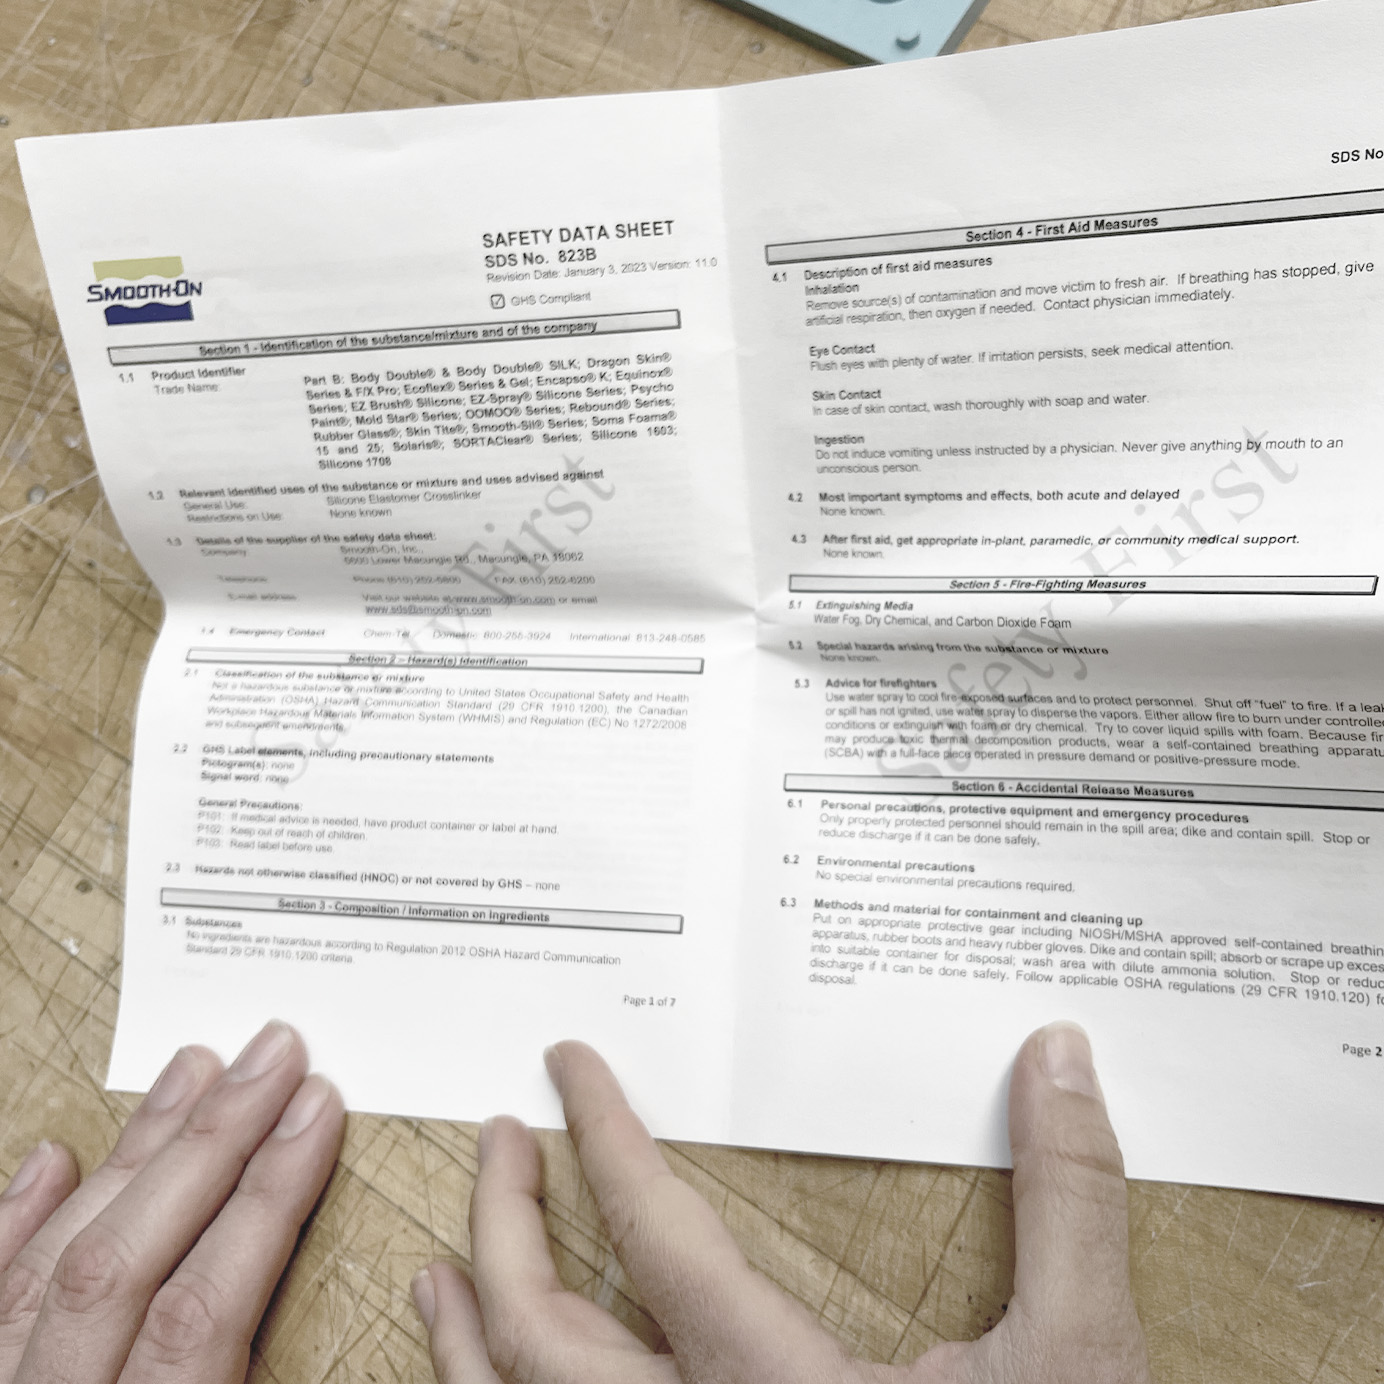
Then we also went over the safety sheet.
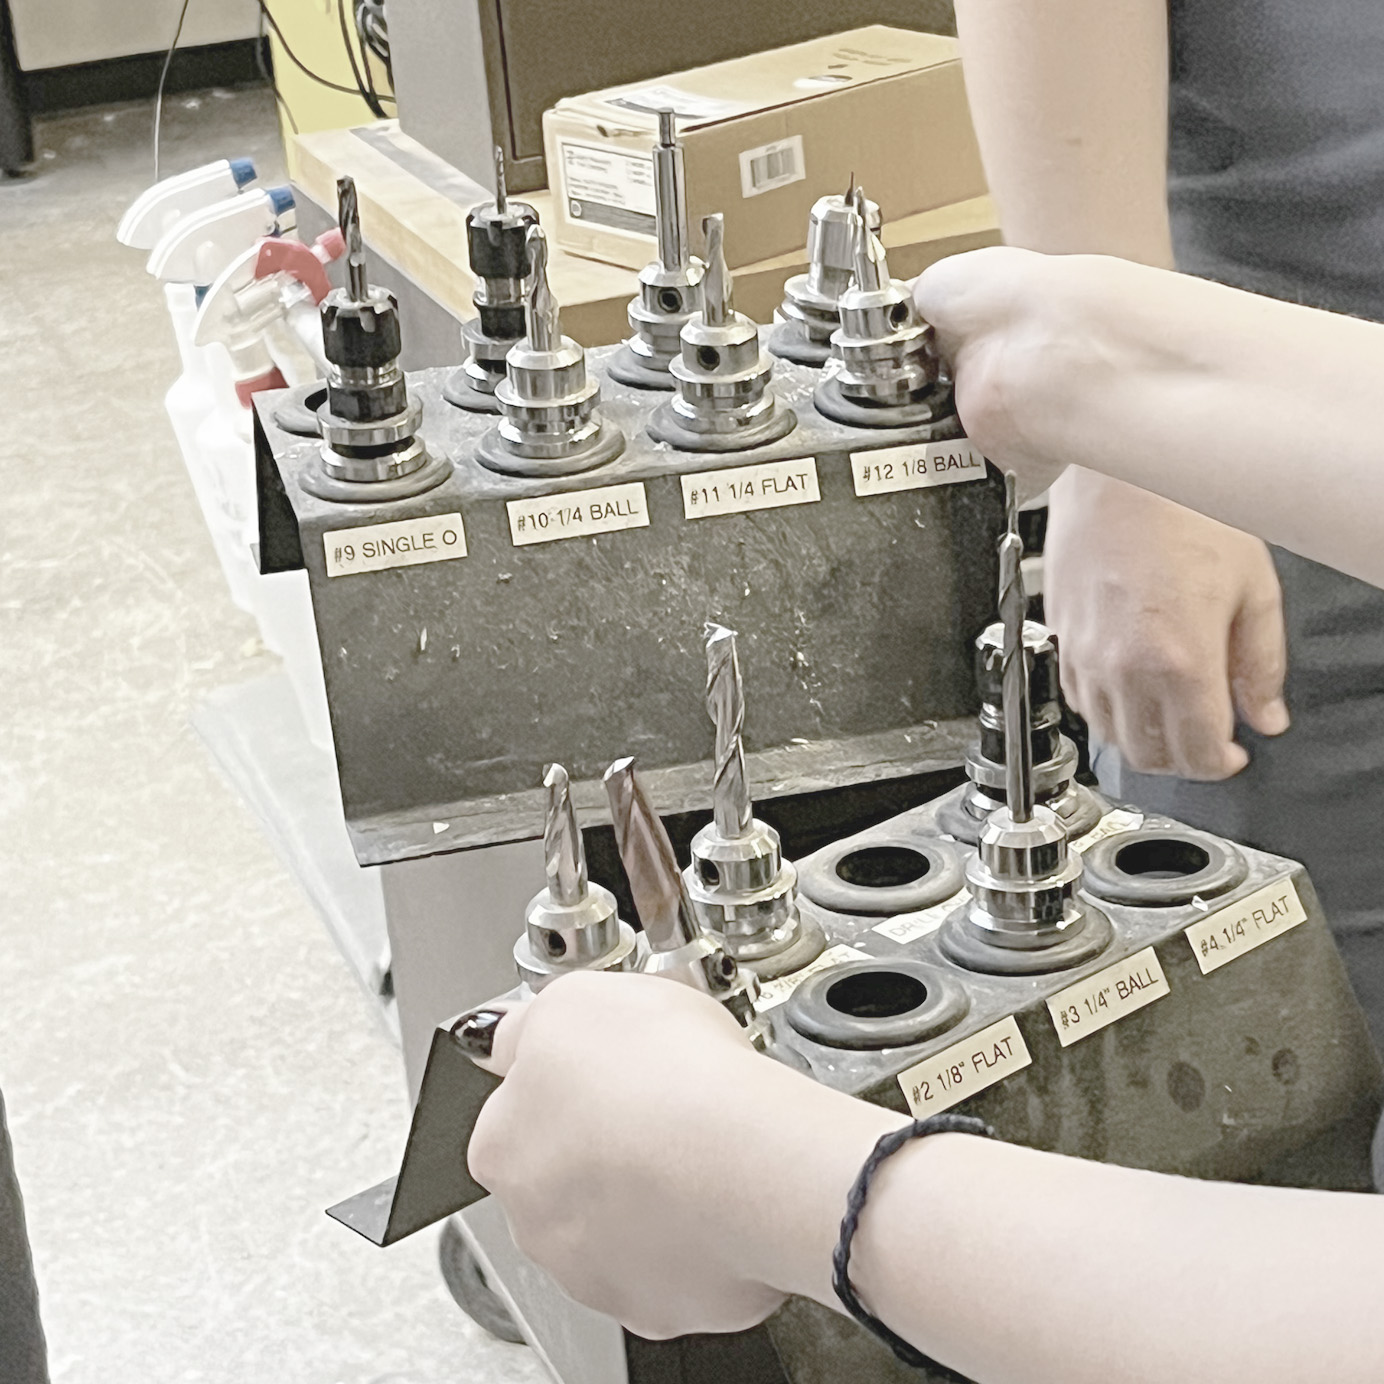
And learned a little about the basics of CNC milling.
Deisgning the Mold
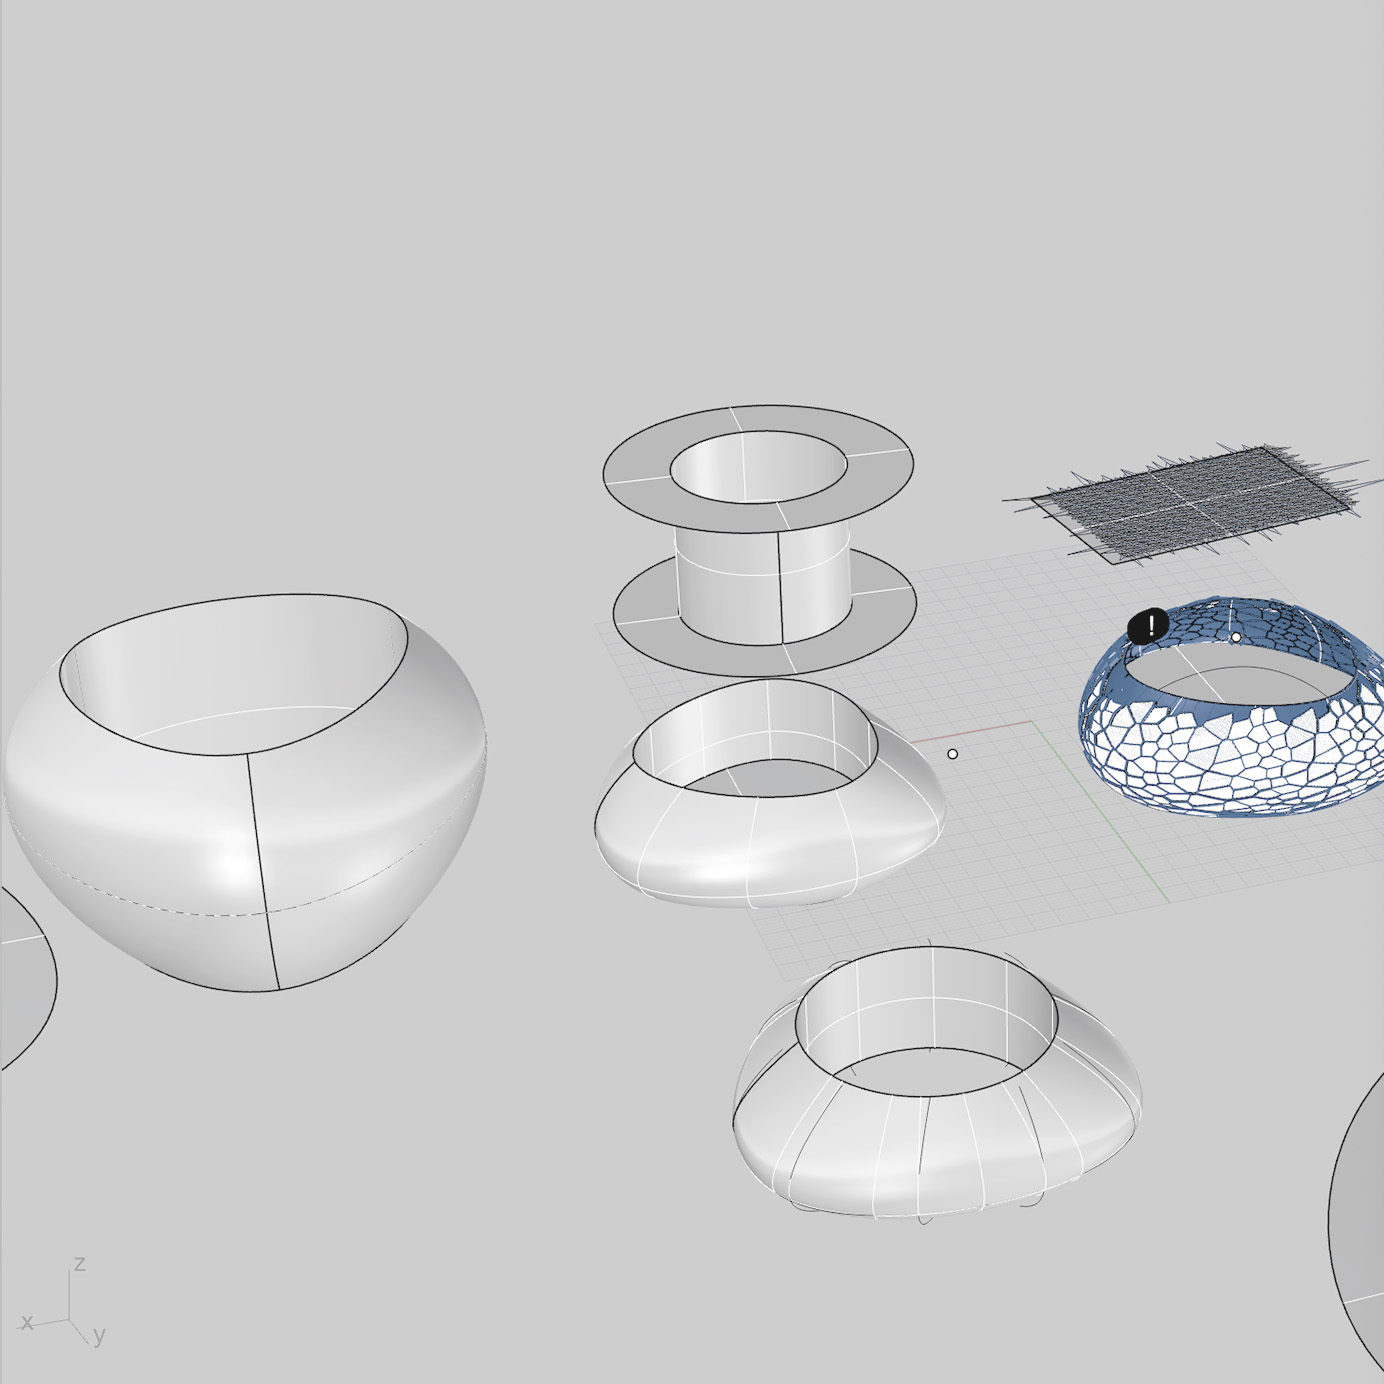
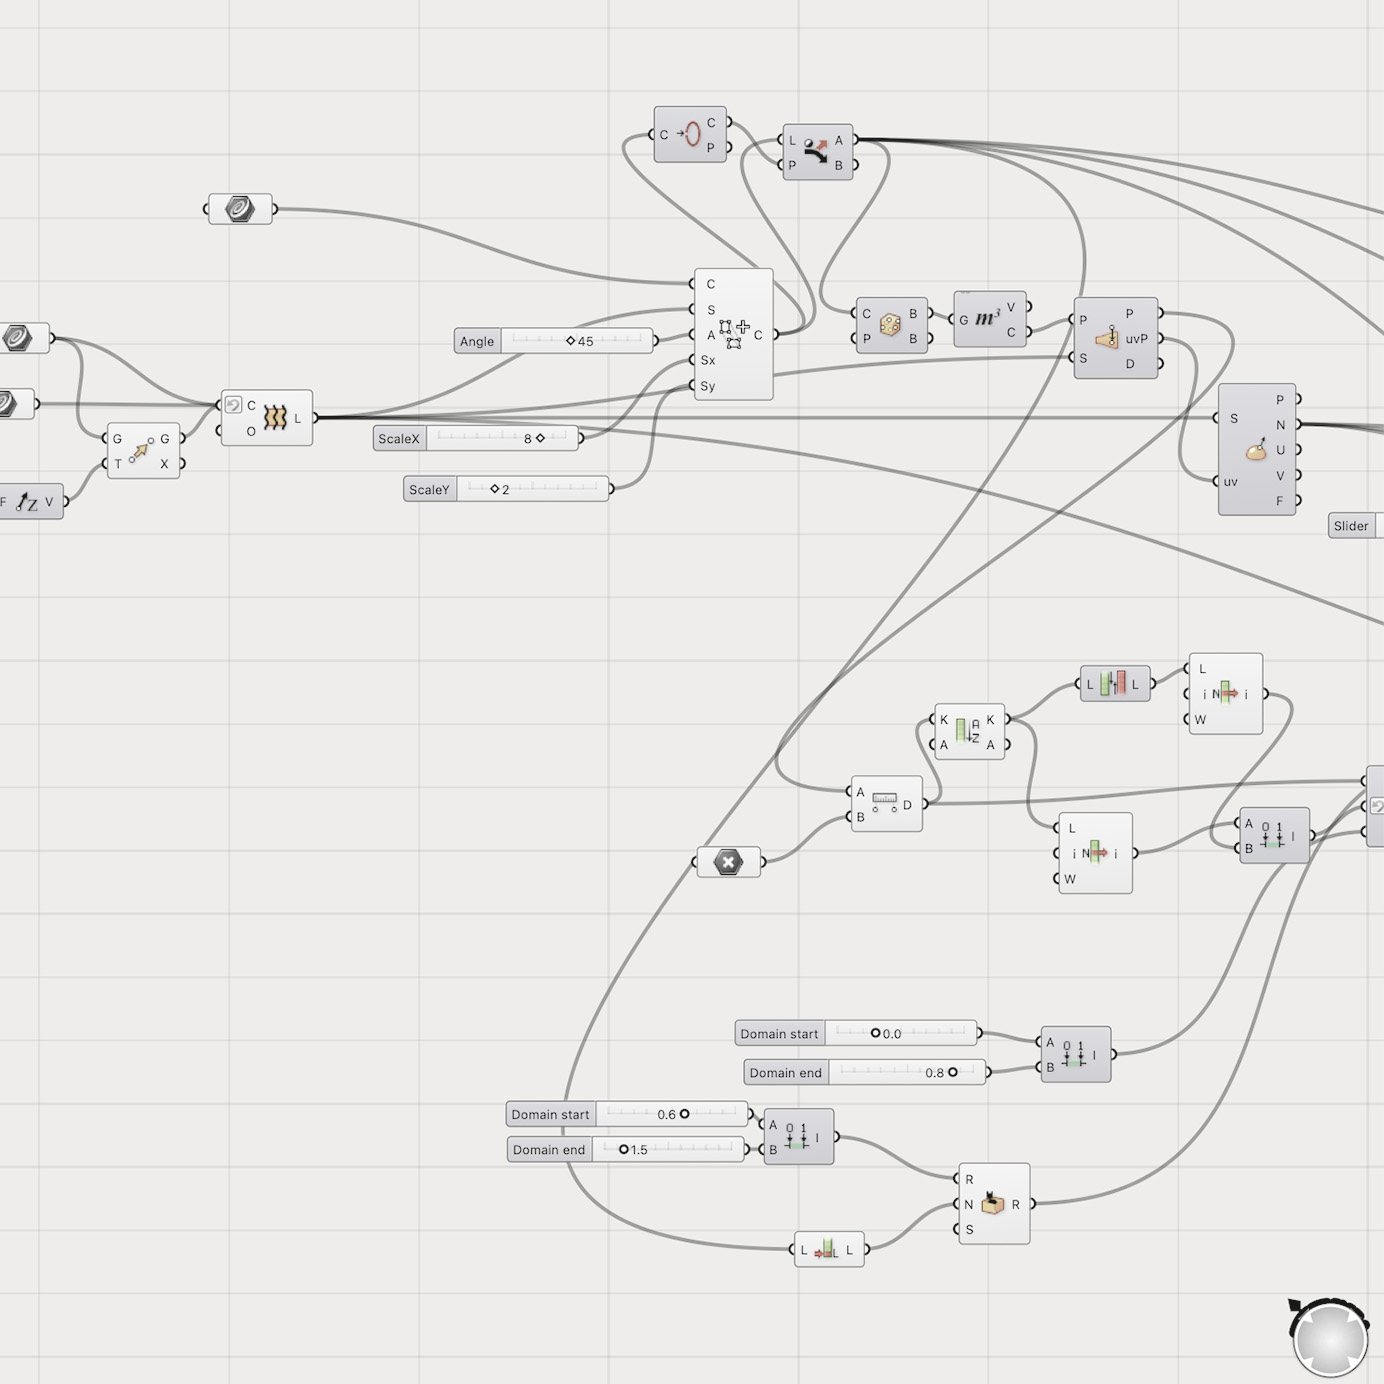
I designed the holders on Rhino, iterating with GH. Eventually I landed on a pretty simple deisgn, feering some of the patterns might not come out well in casting. The mold design was trickier than the deisgn of the candle holder itself, especially since I tried nesting one mold in the other - so that was a fun little challenge. Here is the Rhino final model, and here are some screenshots:

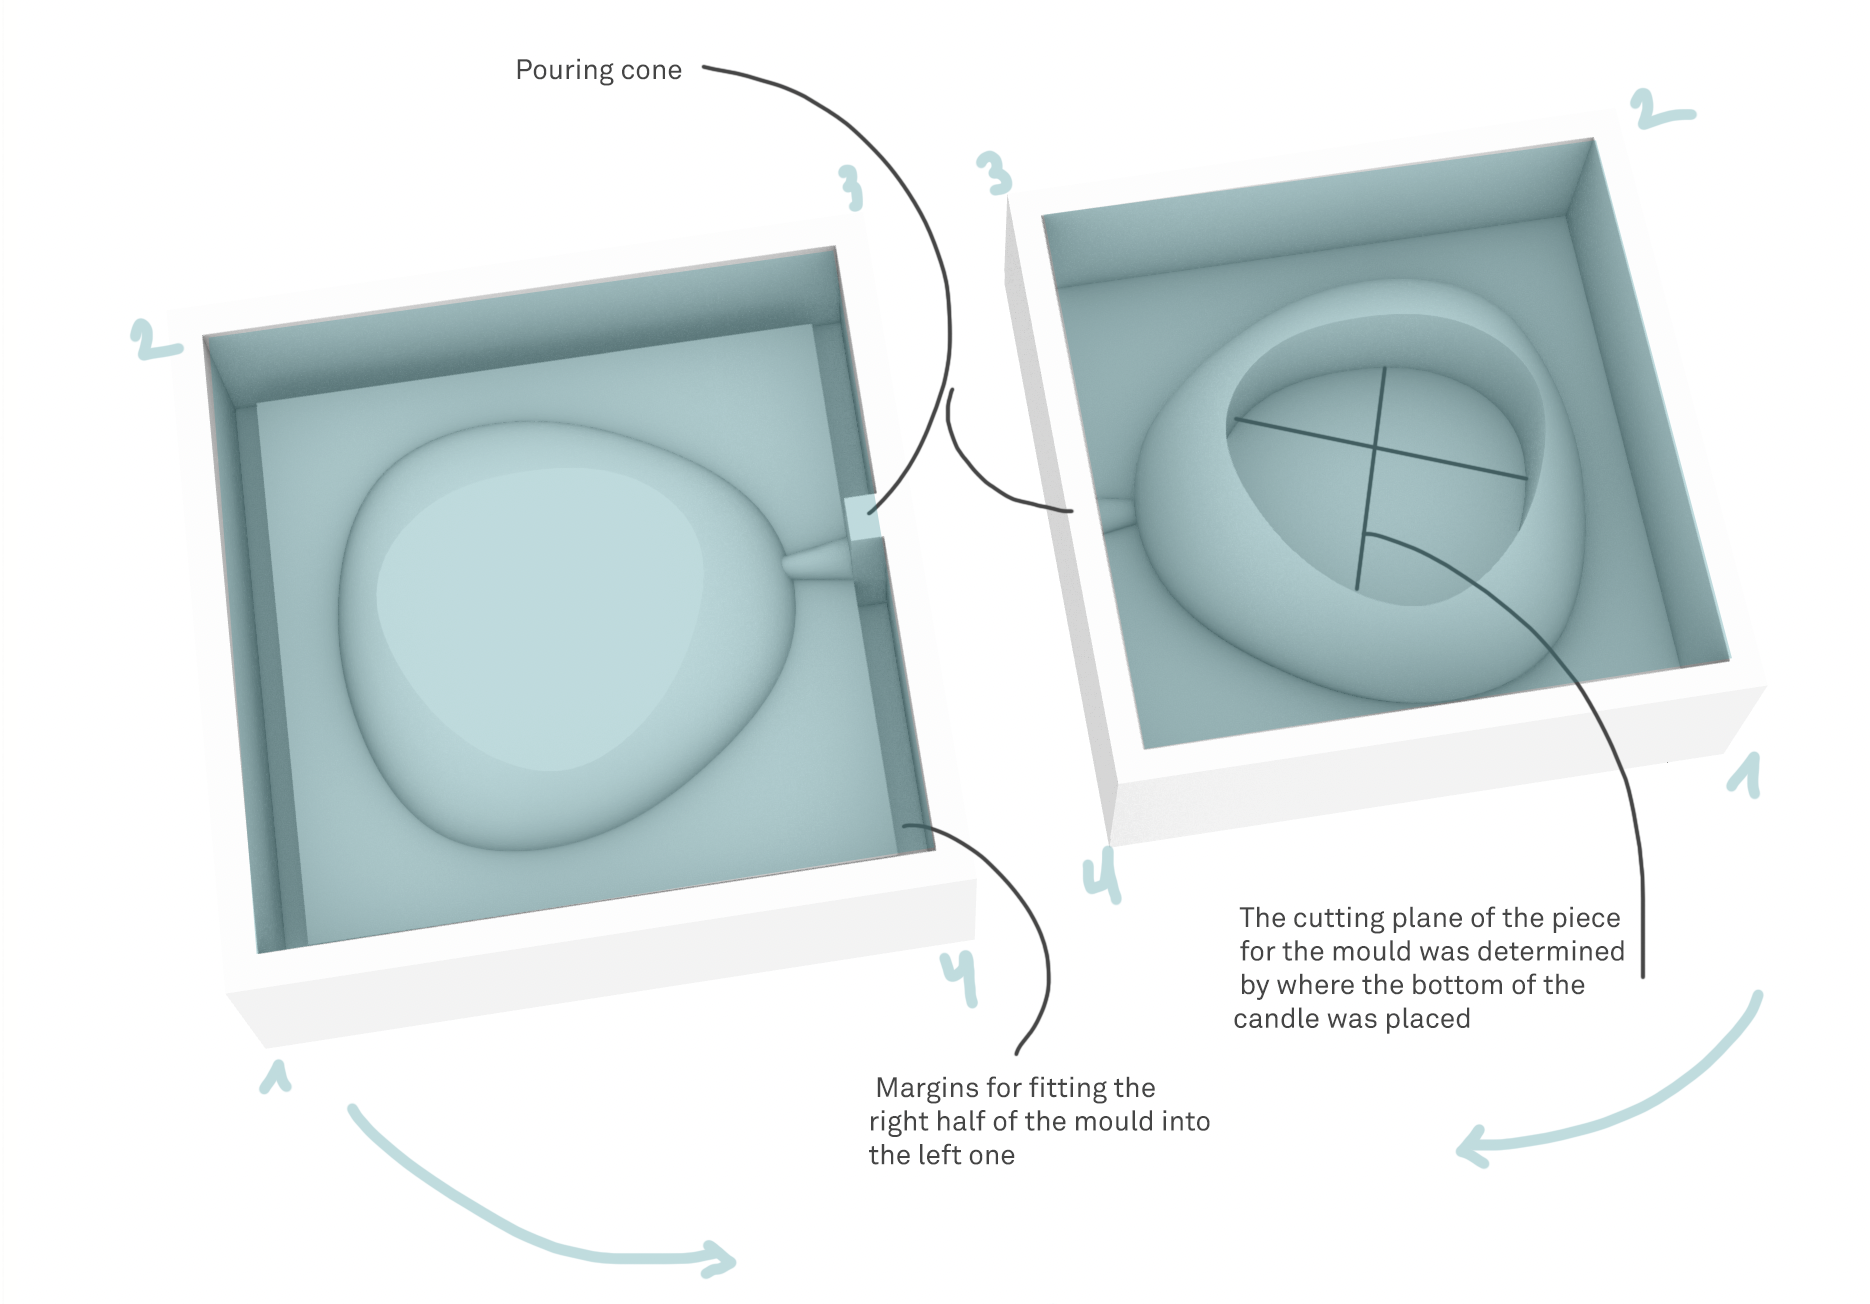
And a summary of the main considerations I've taken into account when designing the 3d print mold for the Oomoo mold to be casted into it. In torquise are the Oomoo mold after they'll be poured, and the white render is the 3d print to cast it into:
Then I designed the mold for it, 3d printed it and poured in the Oomoo.
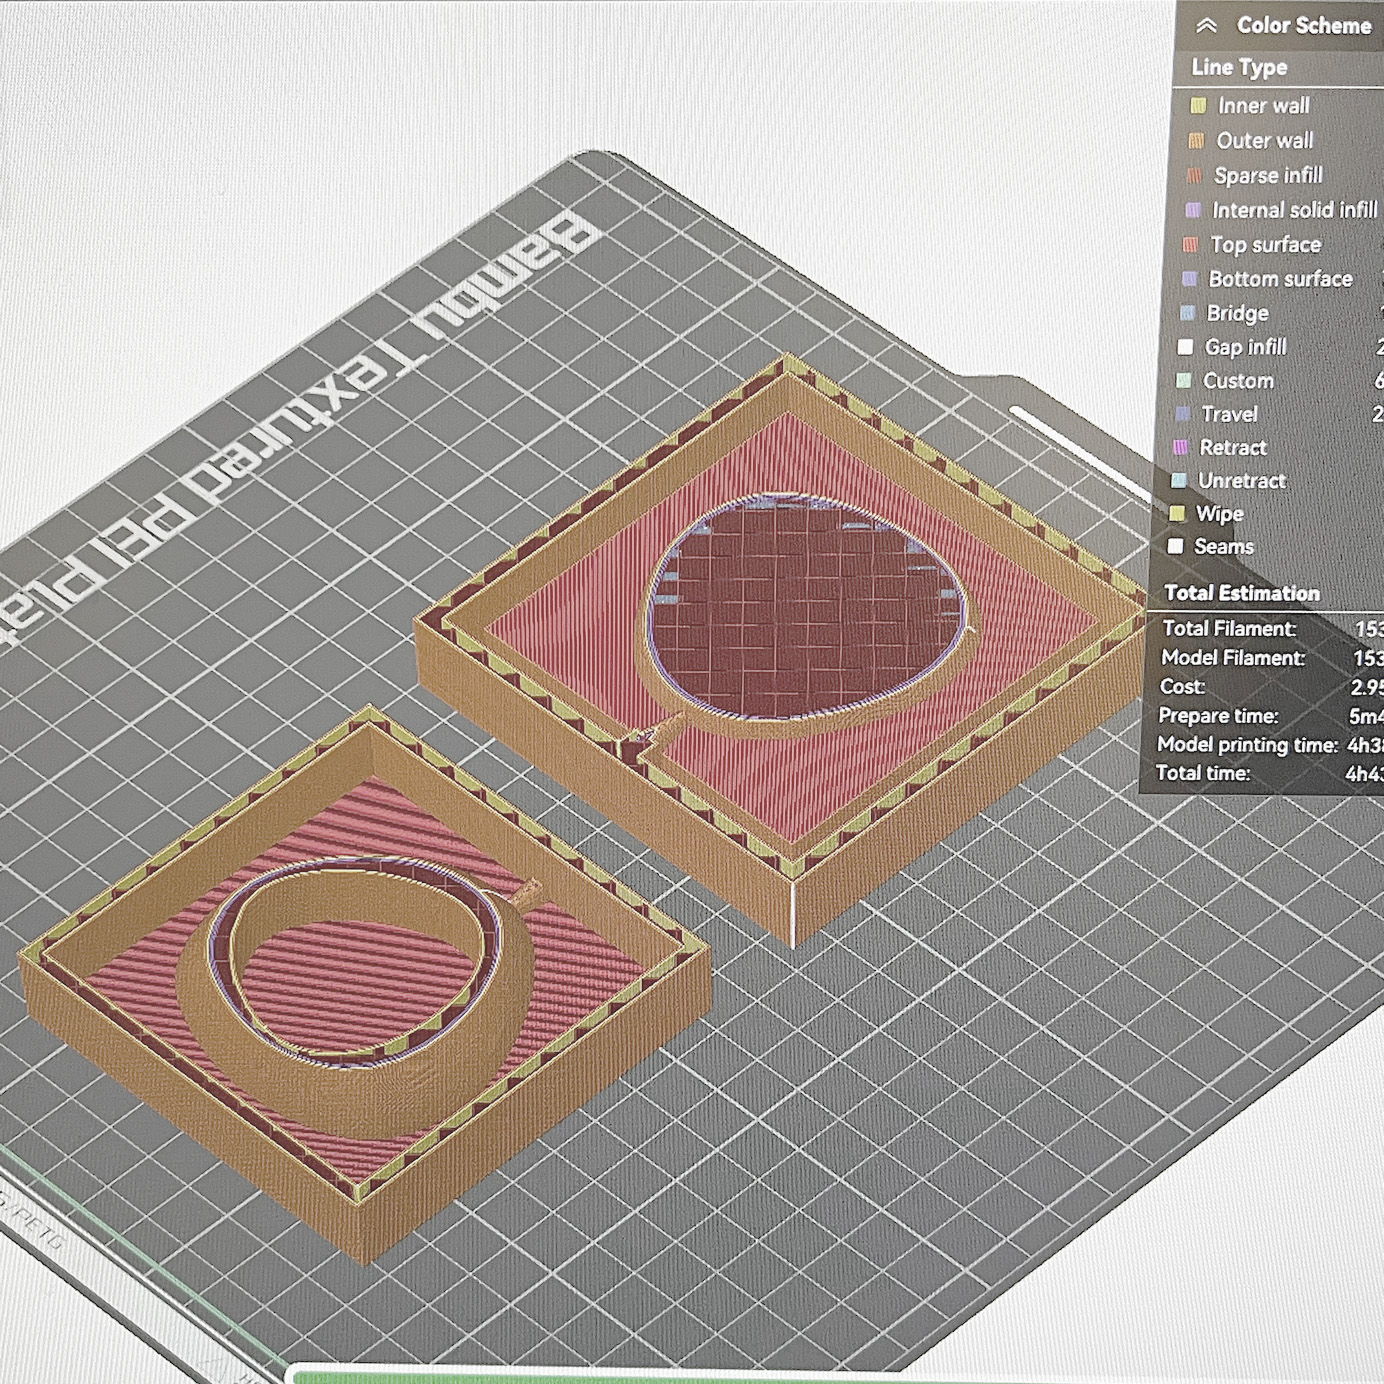
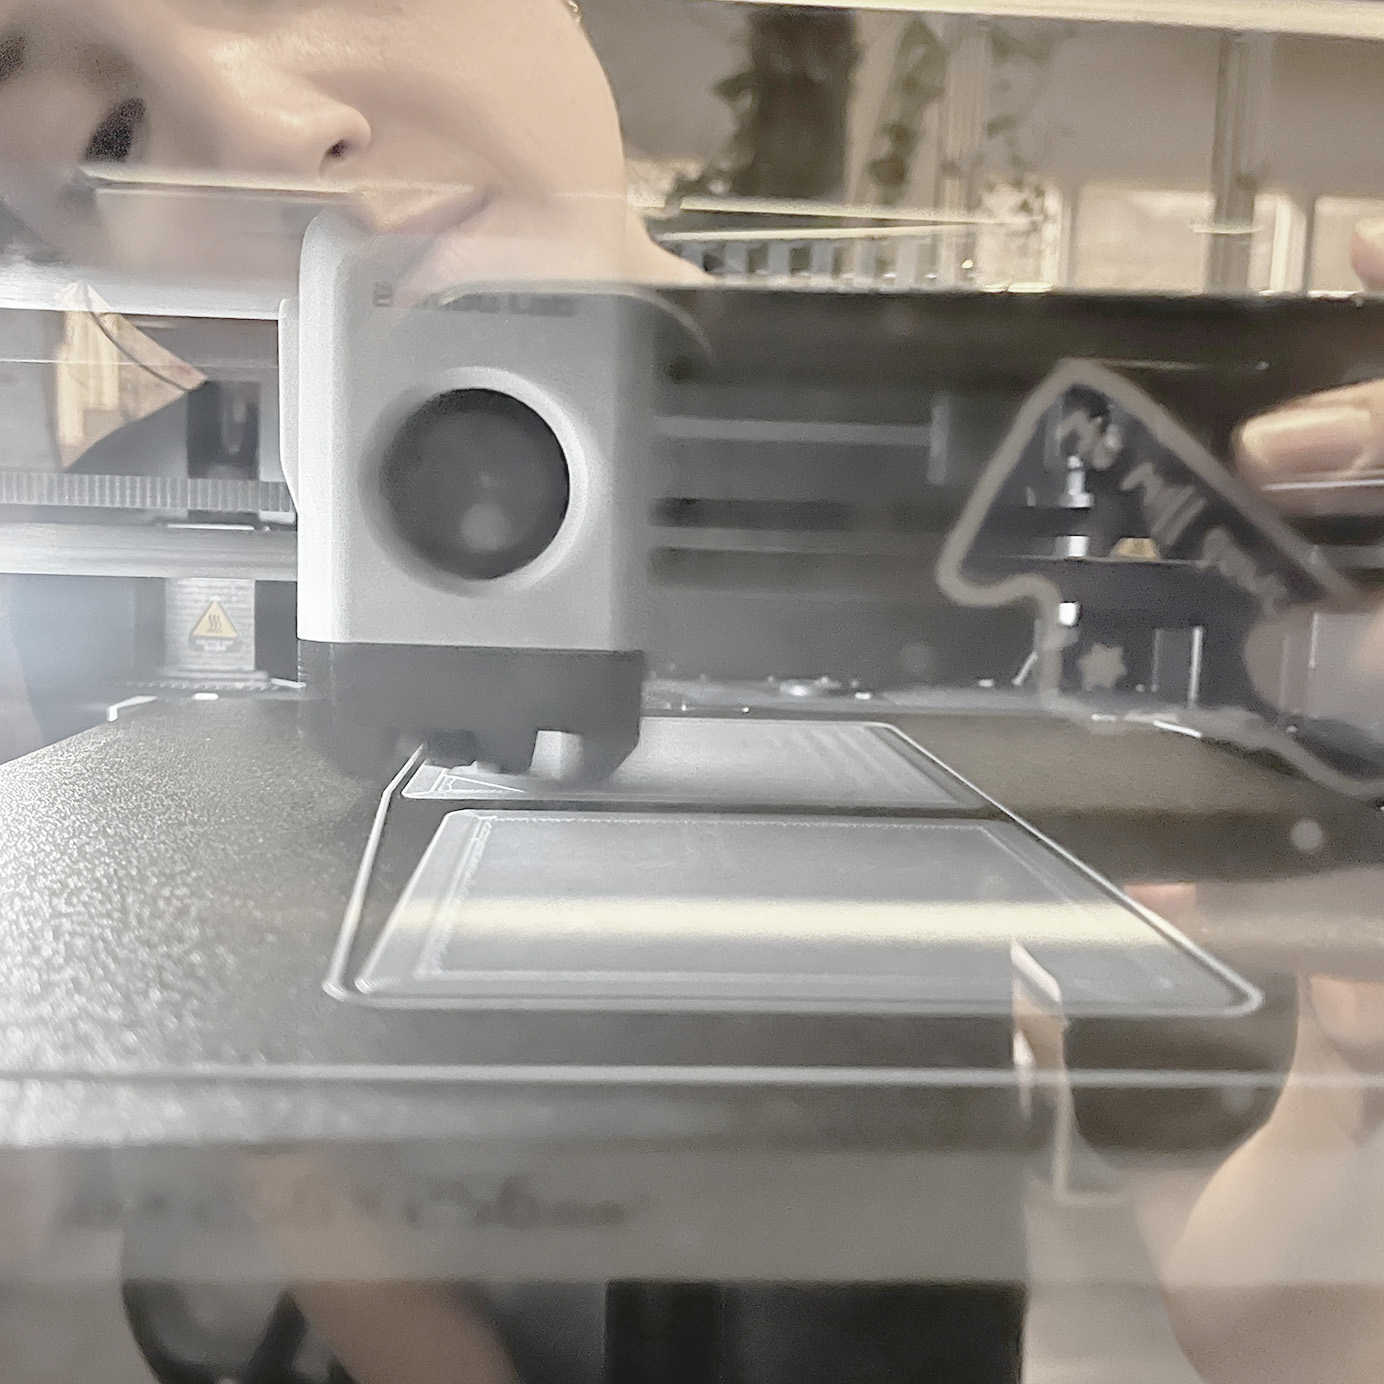
I used the architecture workshop's Bambu printers and their native software ("Bambu Studio") to fine-tune the slicing definitions and add a brim.
And left it to work its magic.
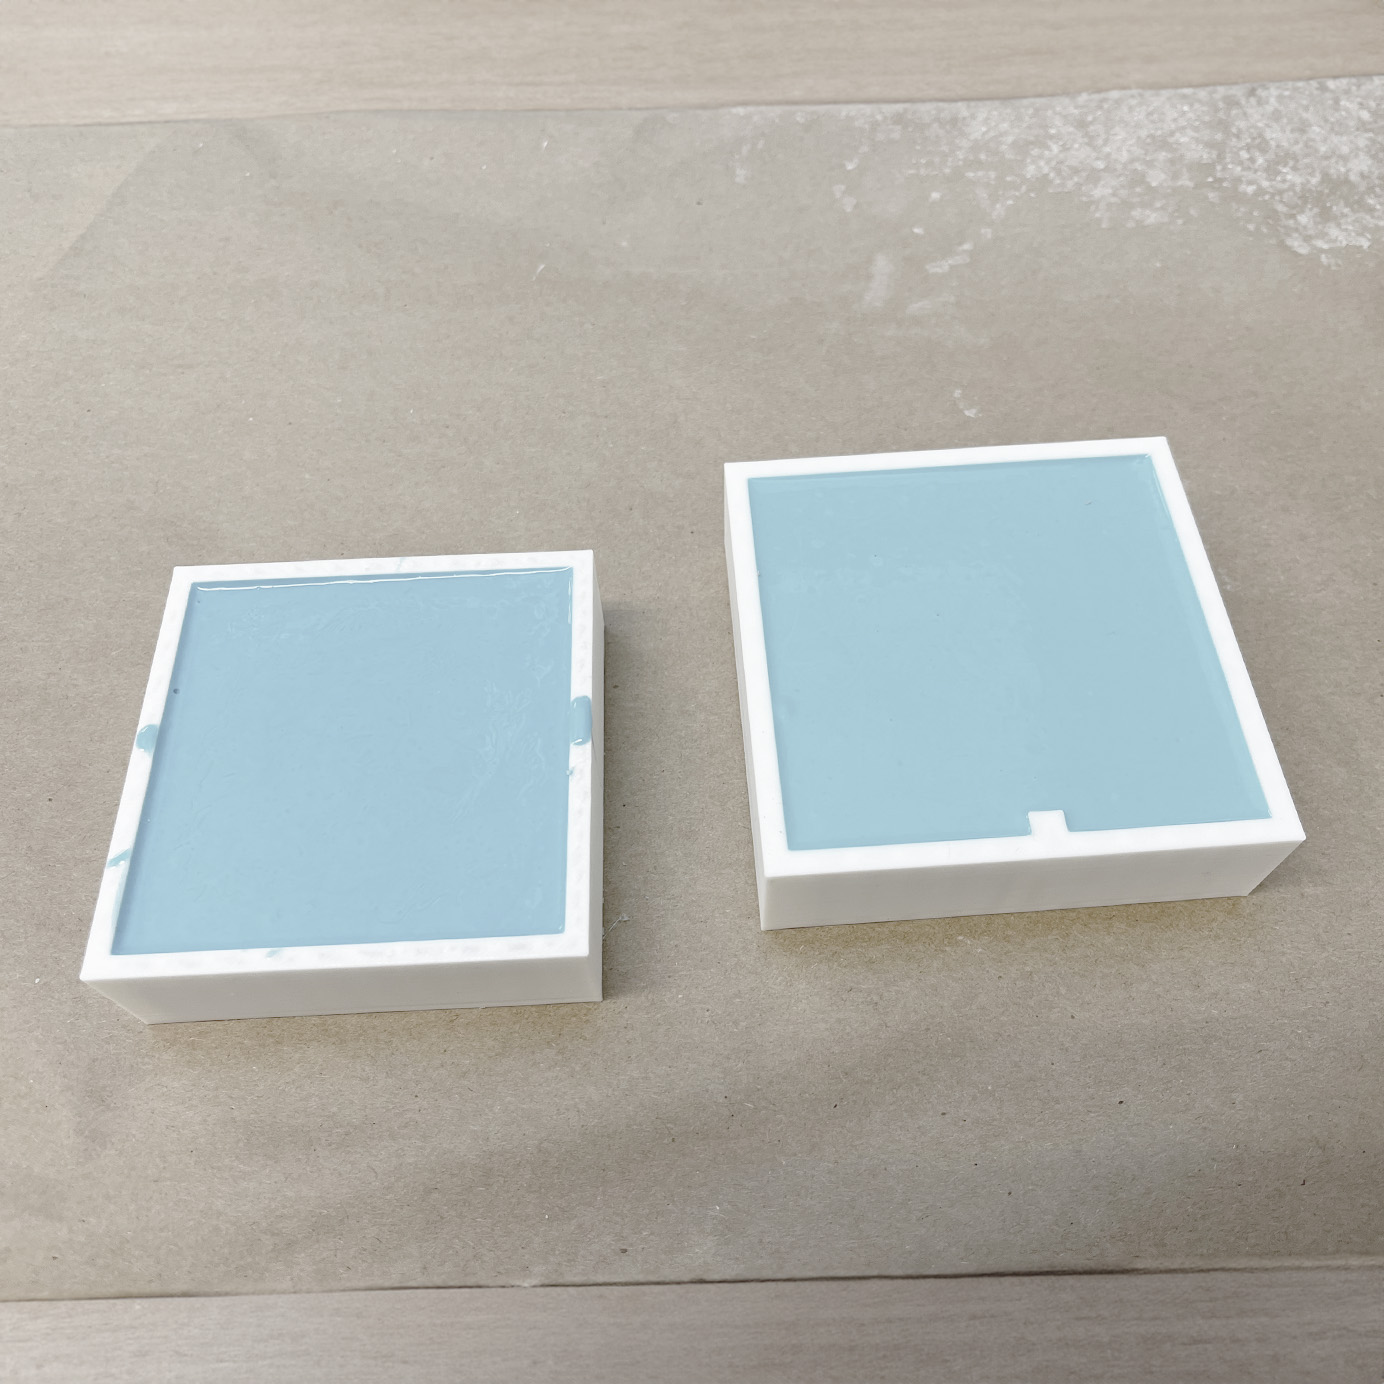
Lastly, when it was ready, I mixed the Oomoo 1:1 and poured.
After it was dry and out of the 3dprint mold, I made a little slit in the Oomoo for air to come out (see next pictures from after casting)
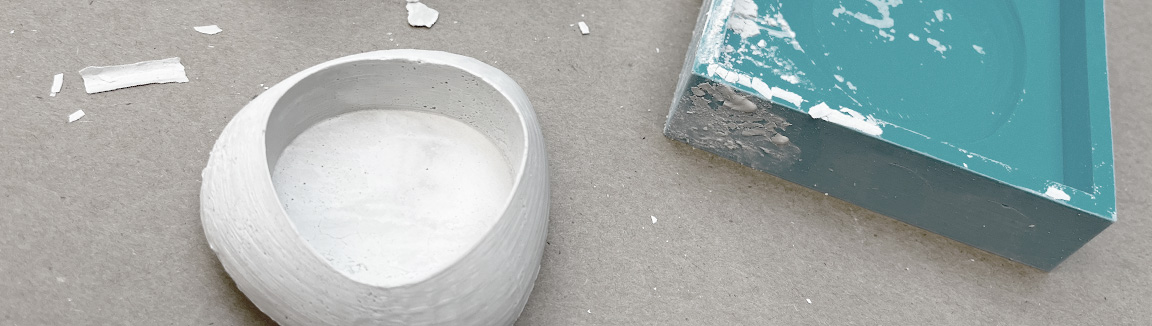
Pouring
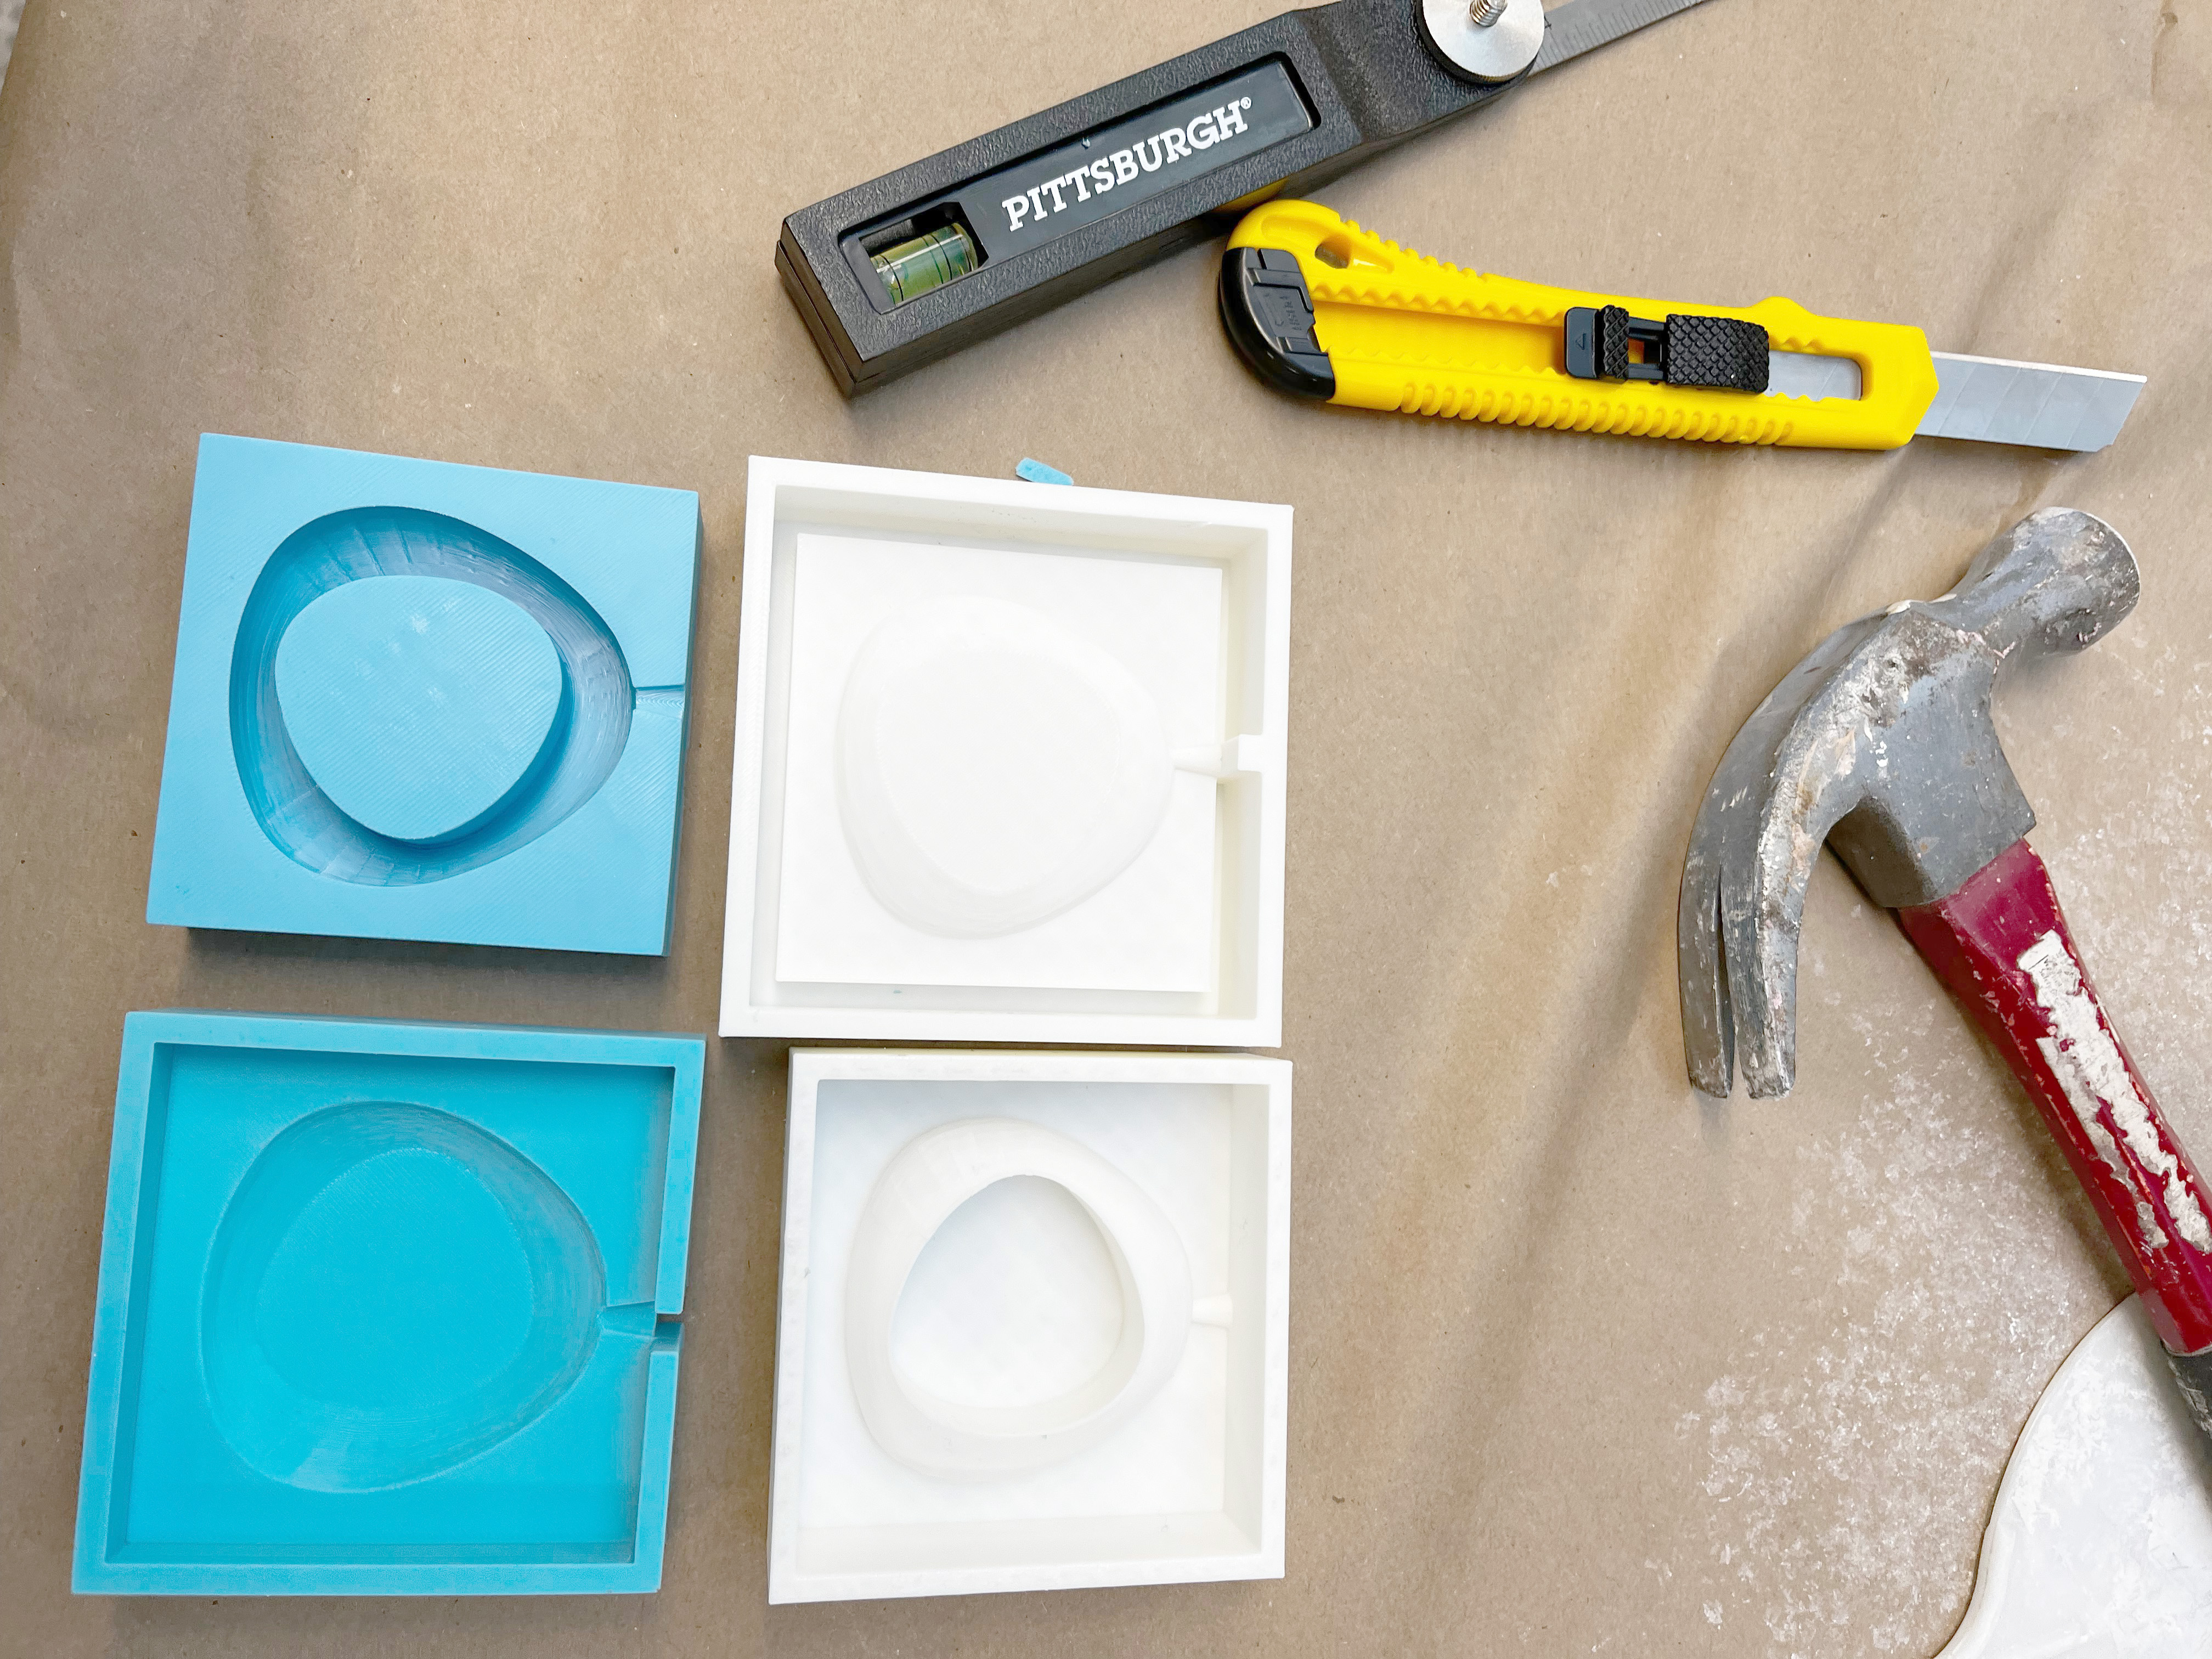
Pouring the Drystone was tricky because even though I made a thin slit for air to come out, it wasn't enough and I had to hammer the wooden plates holding the mold, and press the flexible mold to make air out of the pouring hole while pouring. I also had to make the mixture very watery.
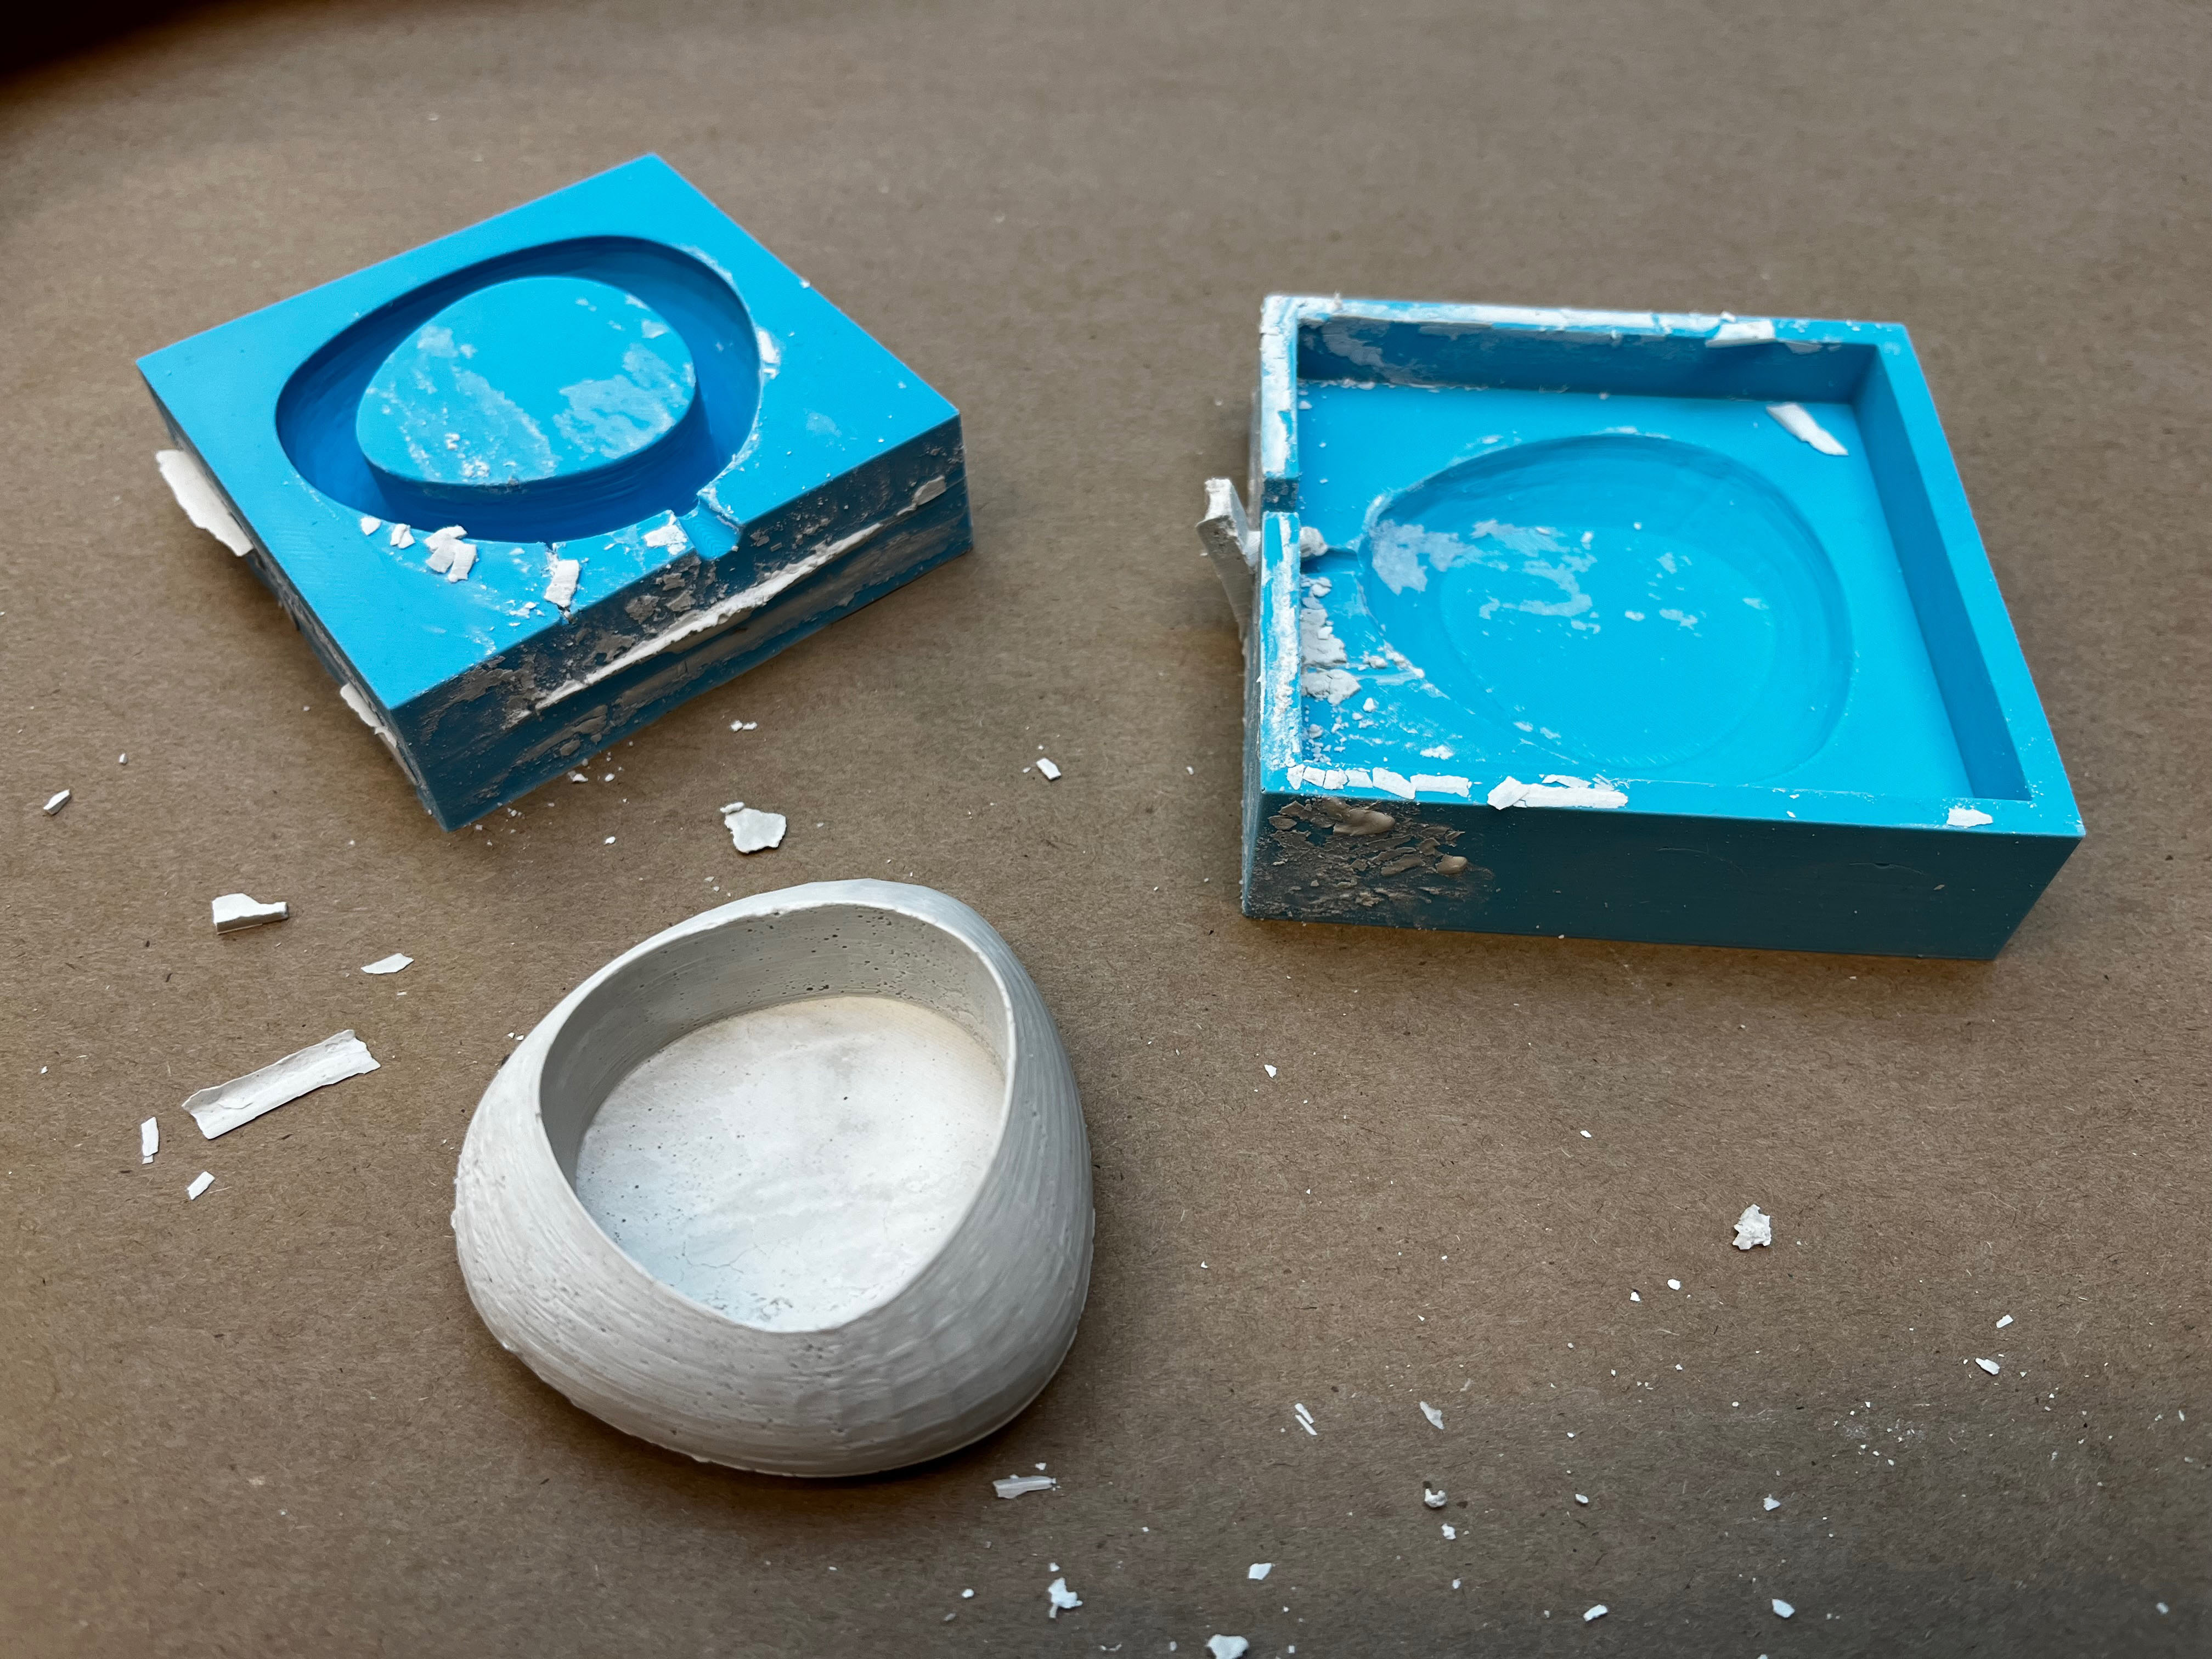
Eventually it turned out nicely and we use it all the time, just took a long time to fully cure. I sanded them a little after they were finished to smooth any remaining 3dprinting lines:
