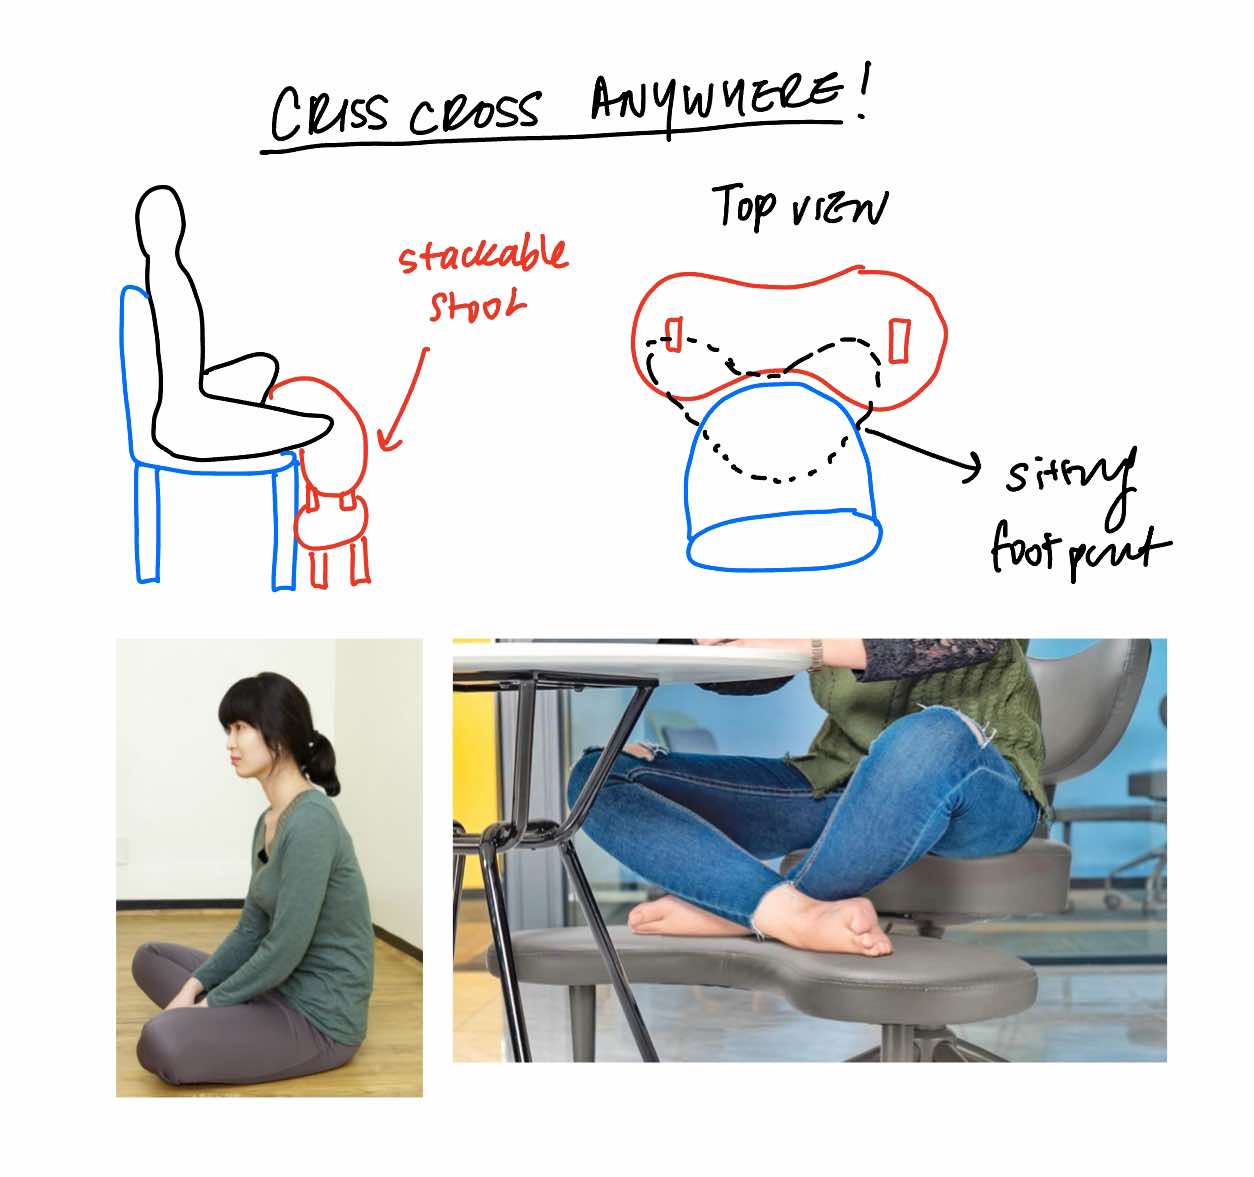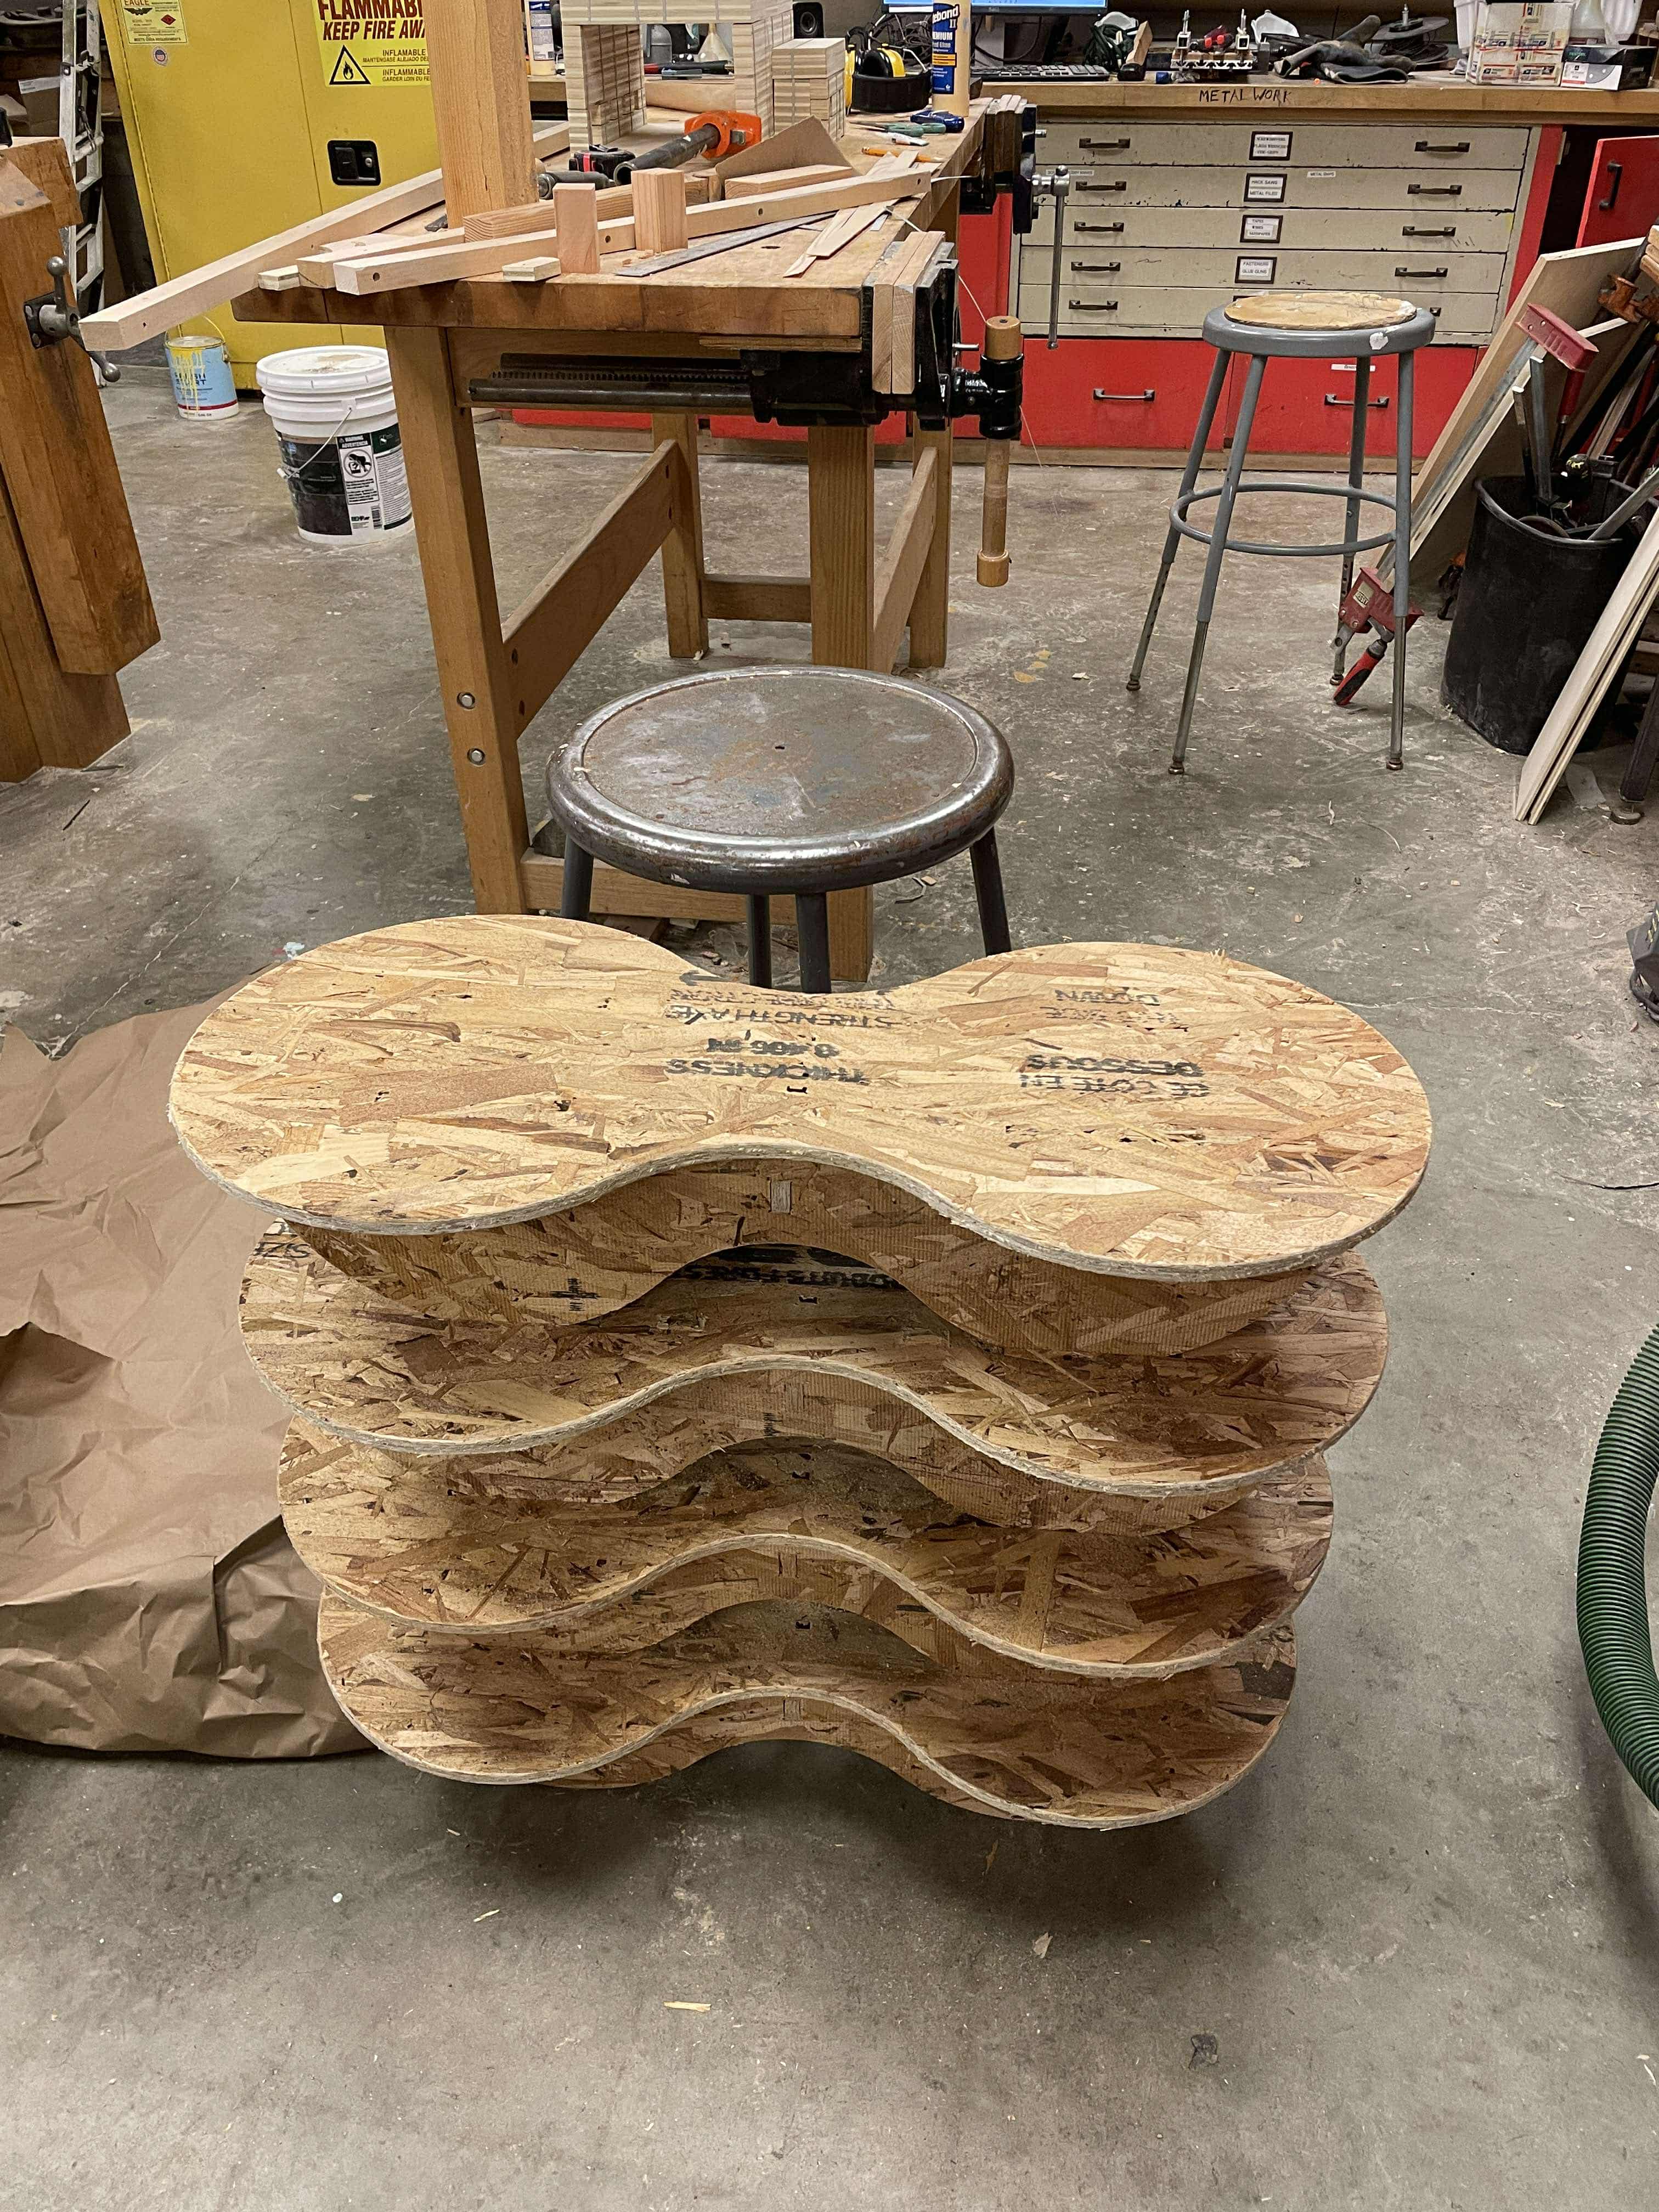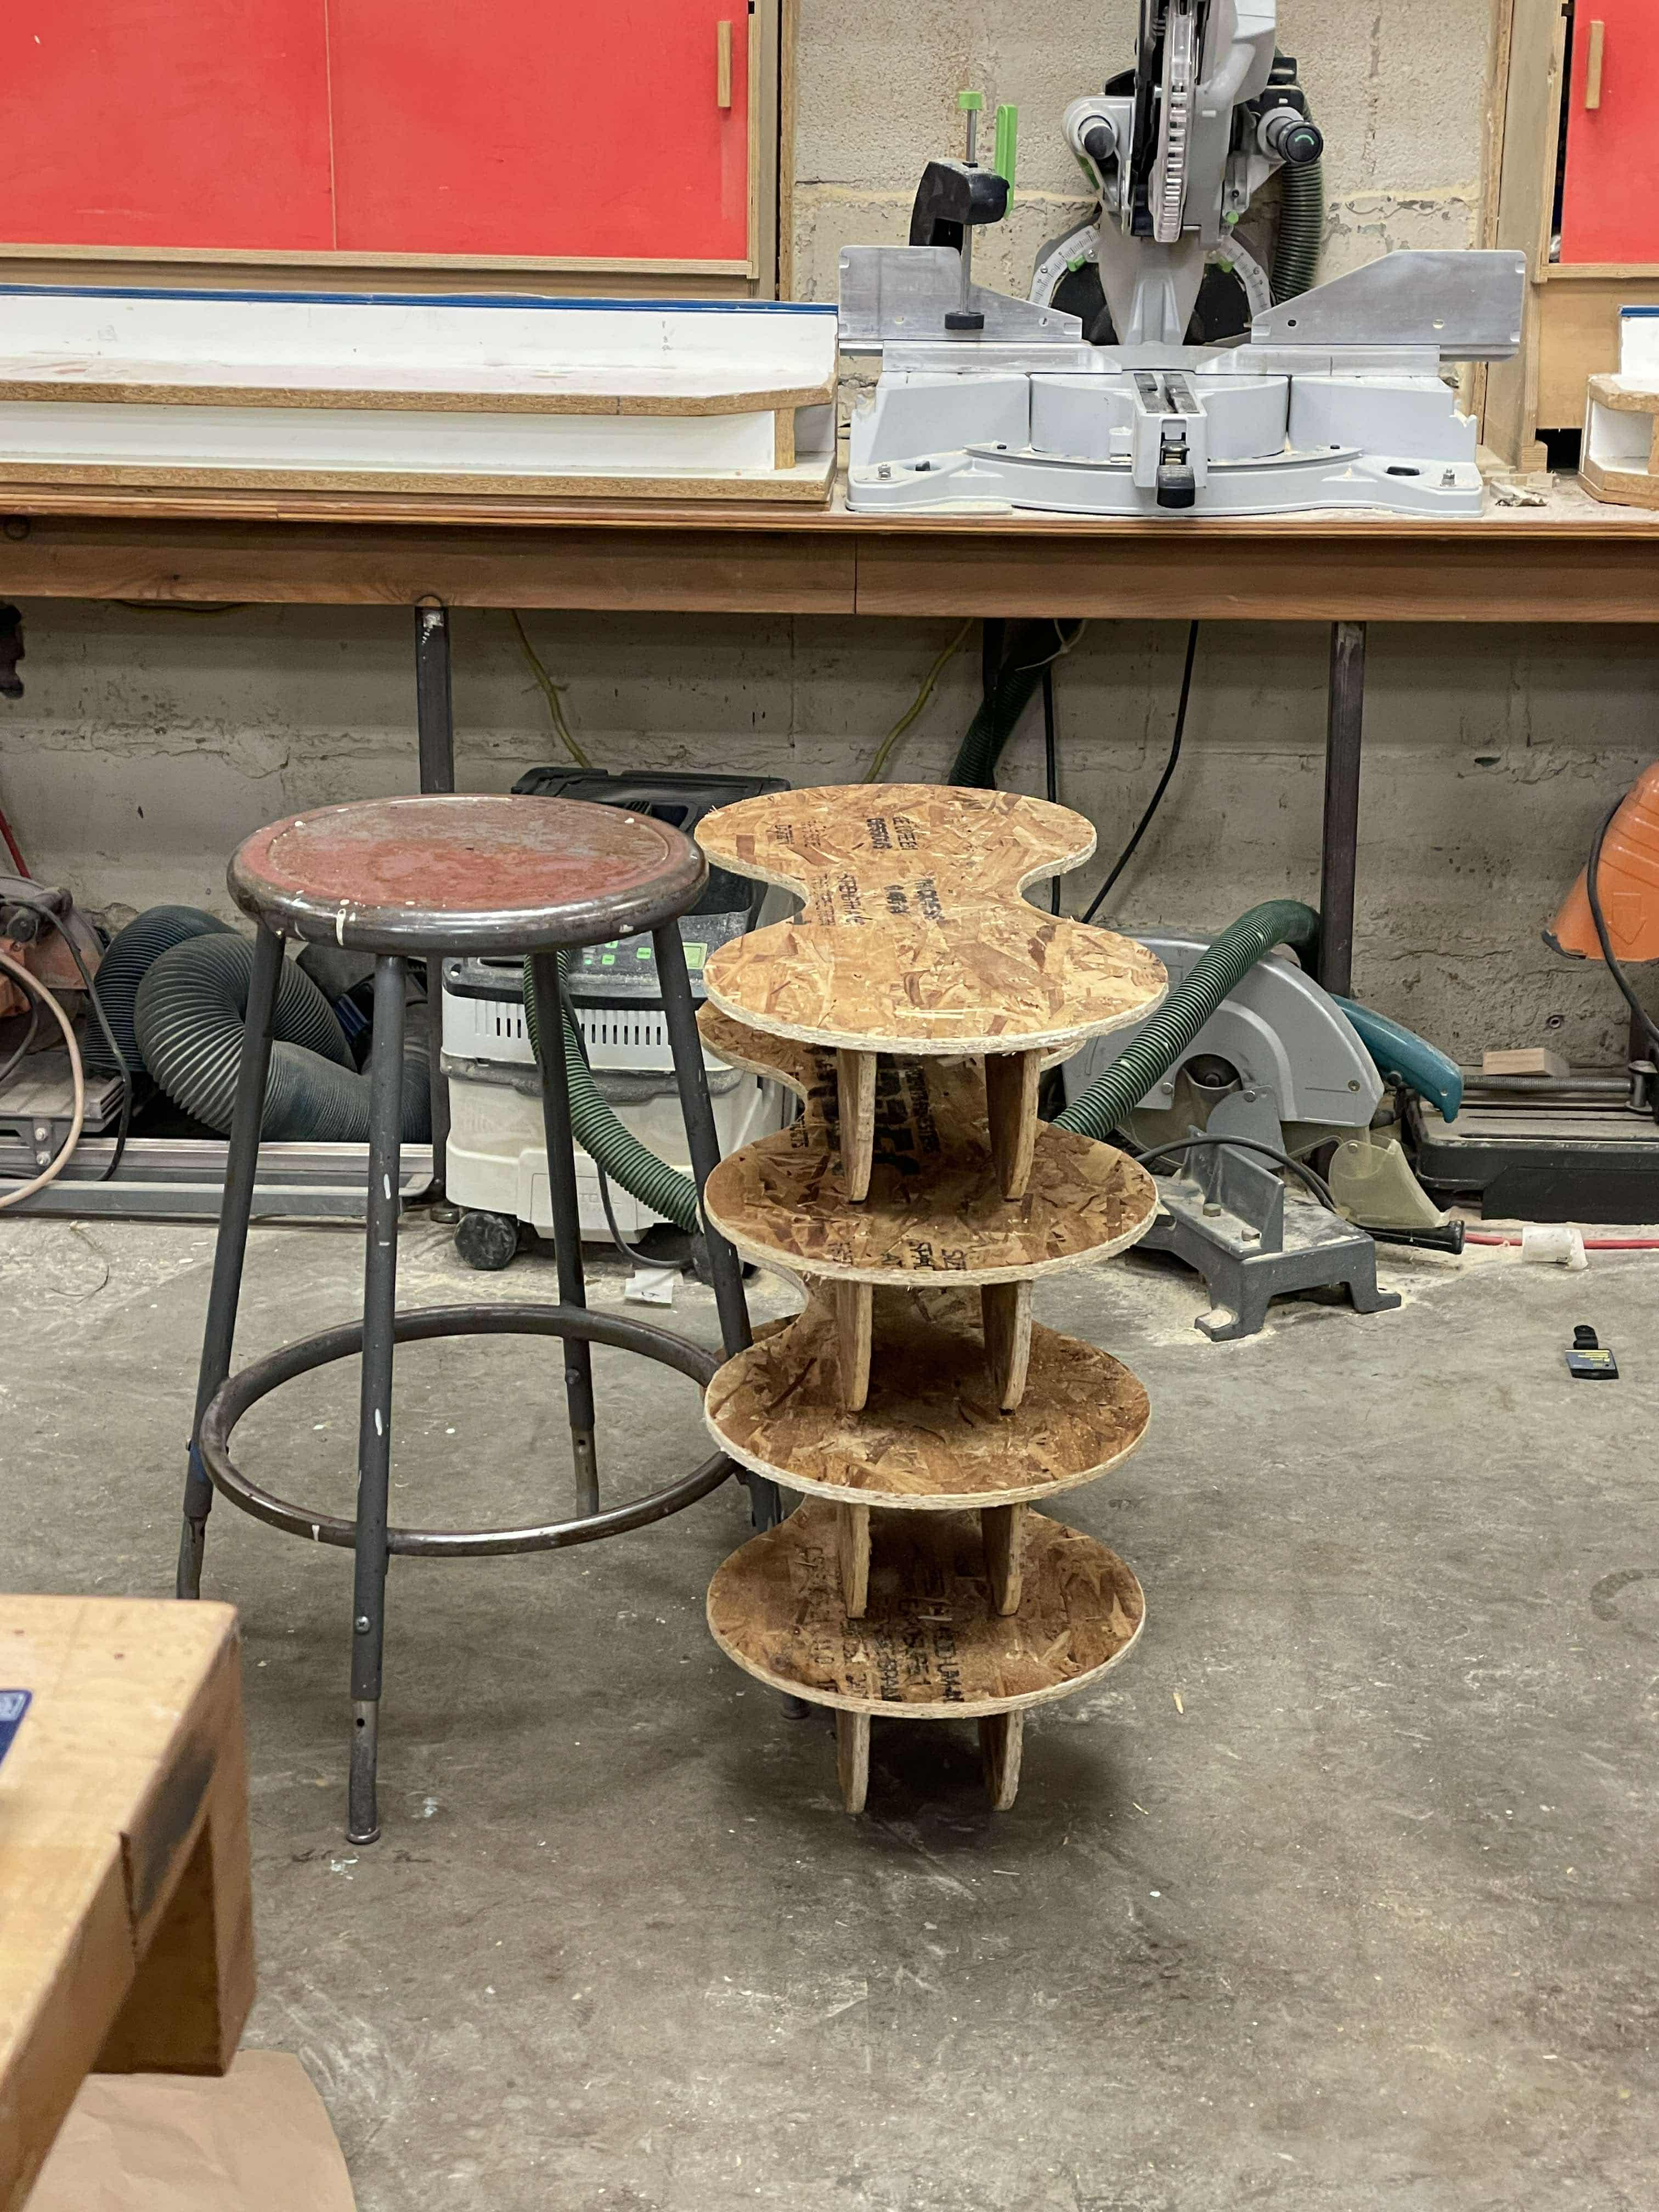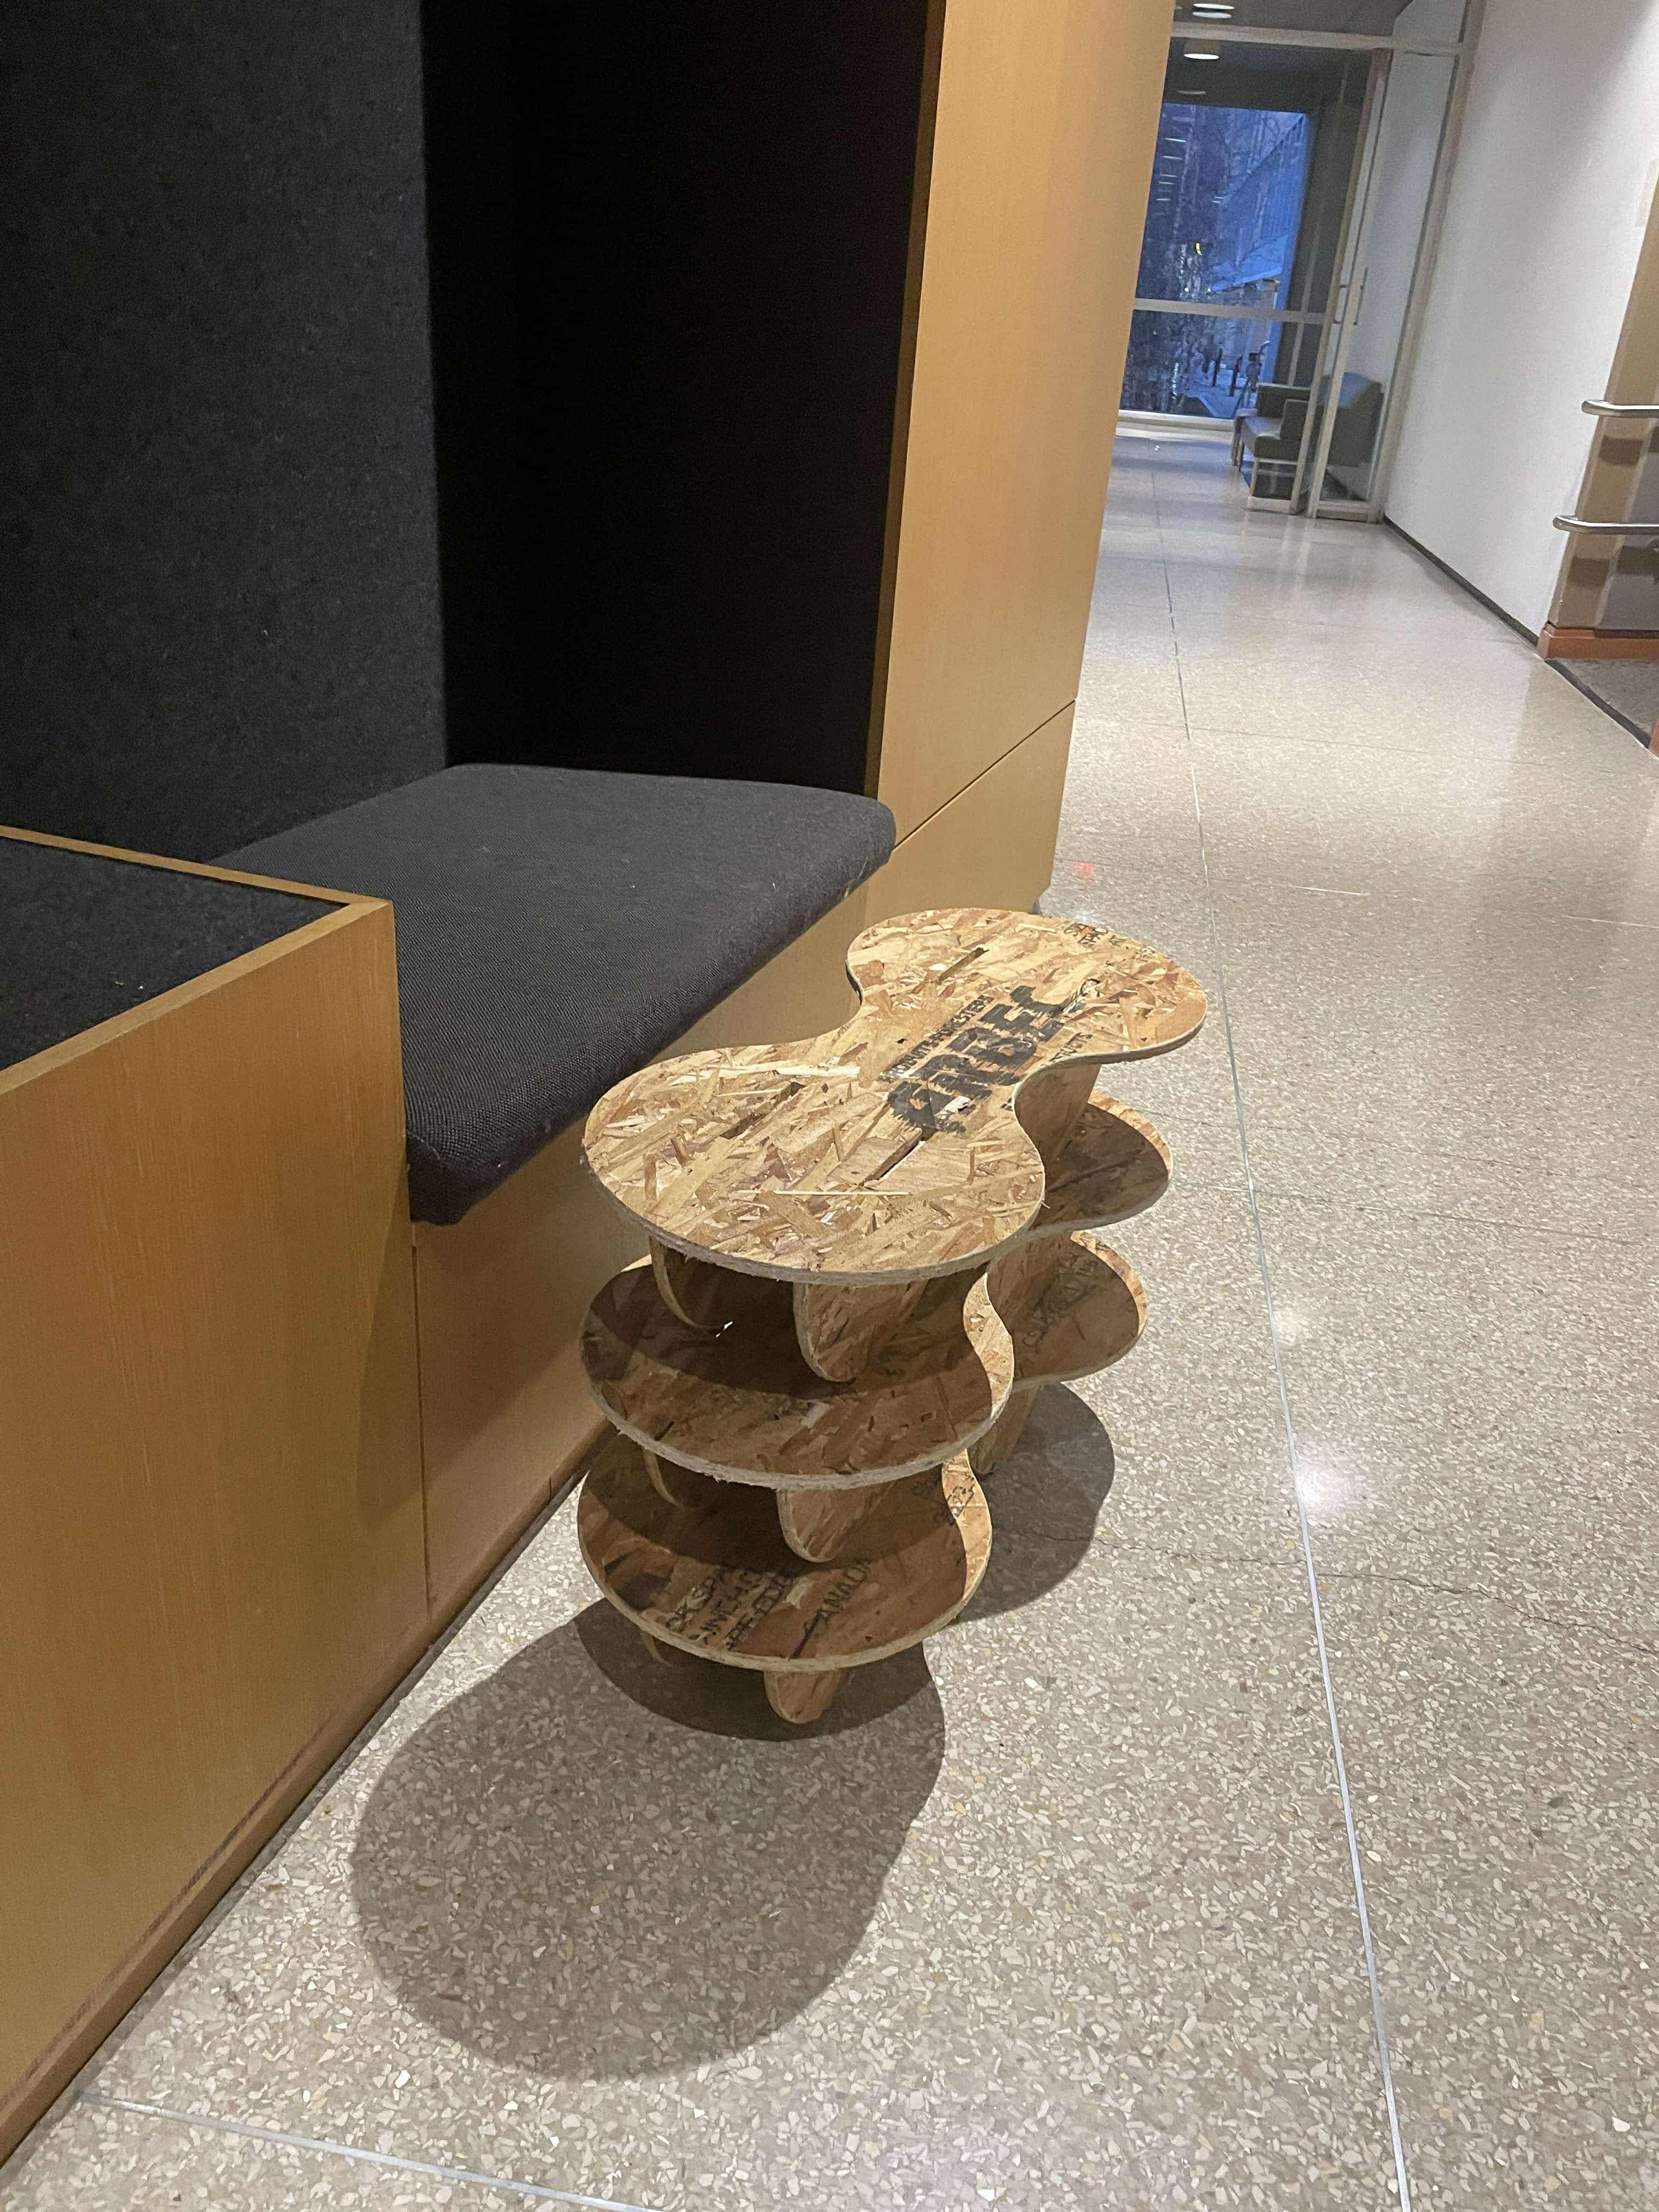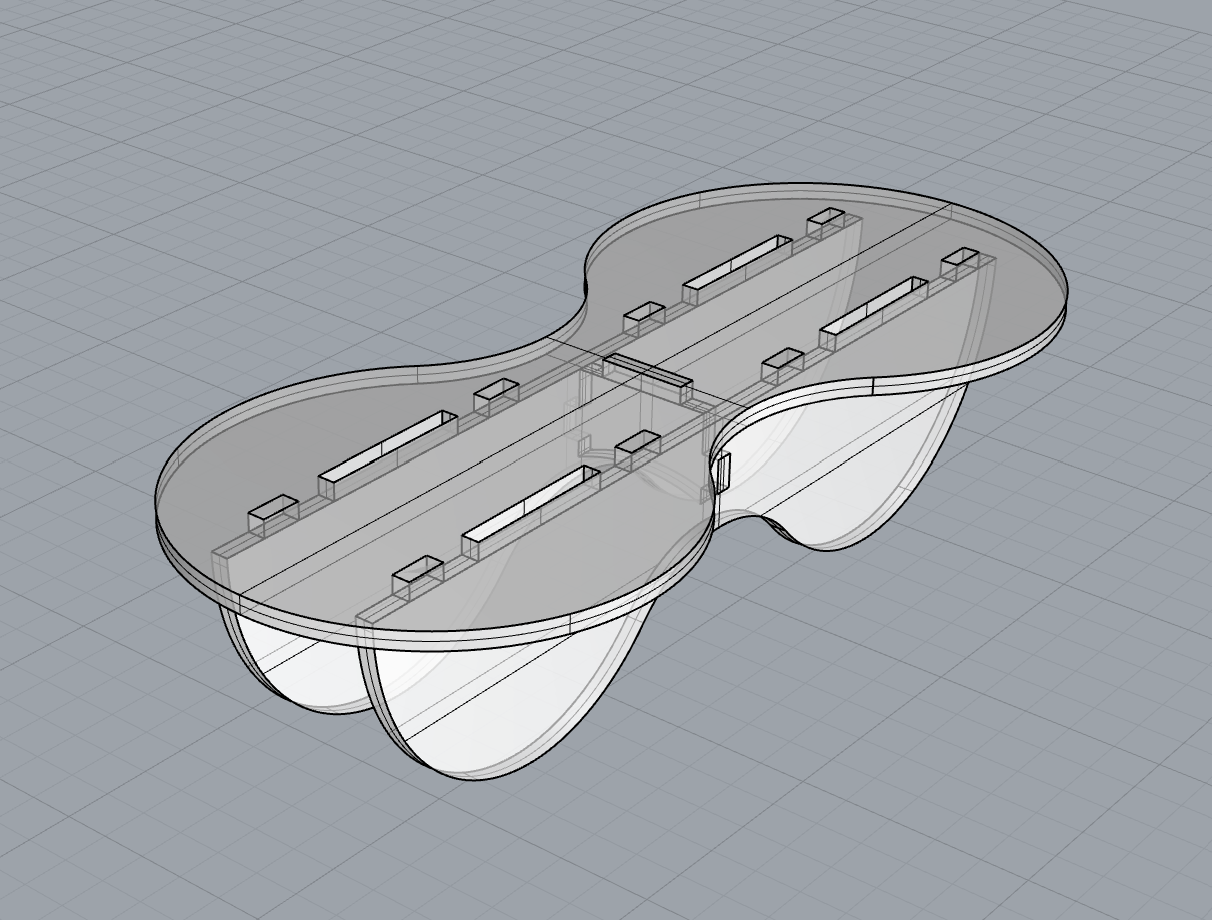
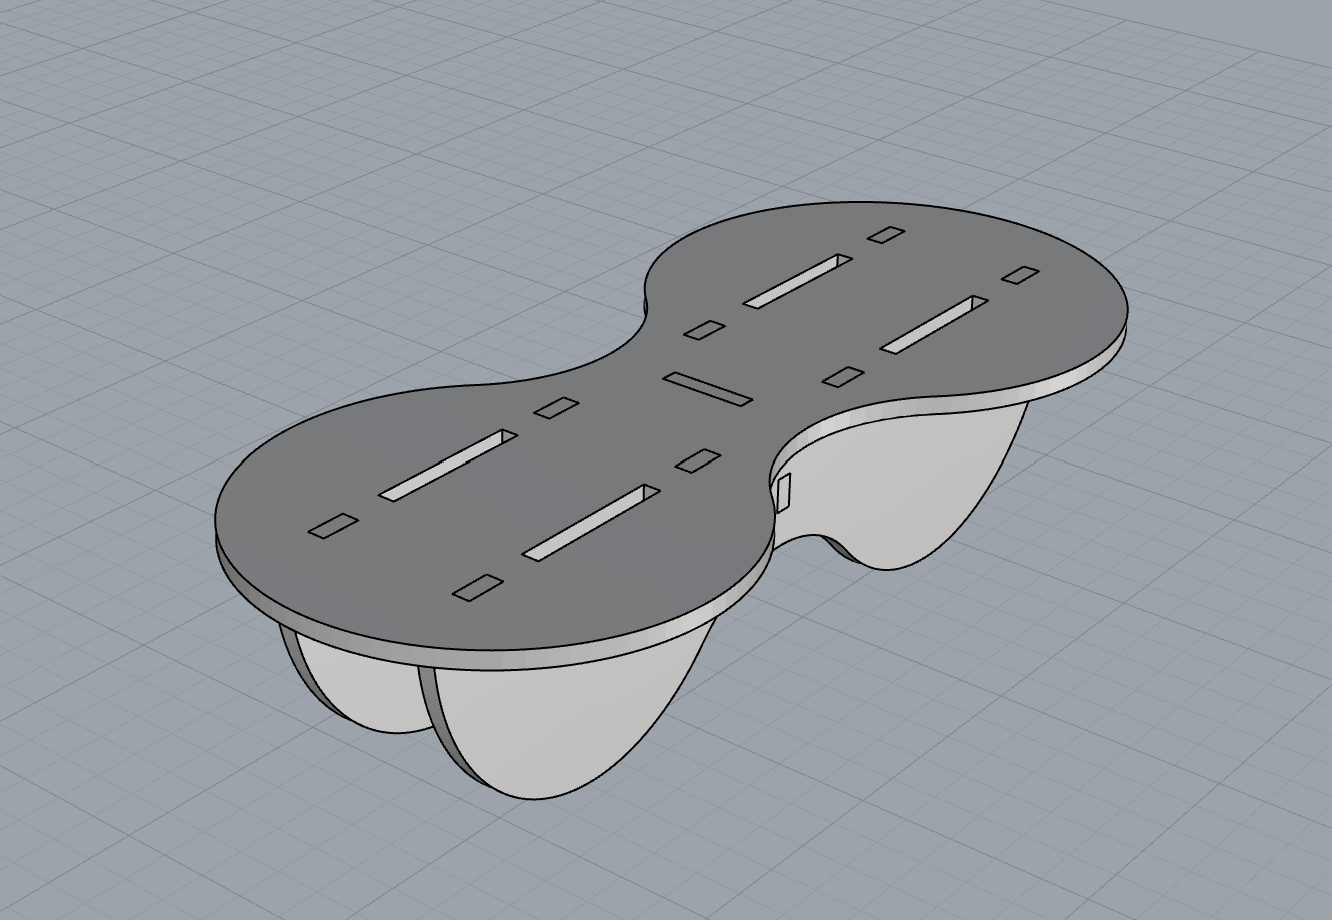
Similarly to the first week's assignment, I modelled parts that can be assembled into modules through slots and be stacked on top of each ohter.
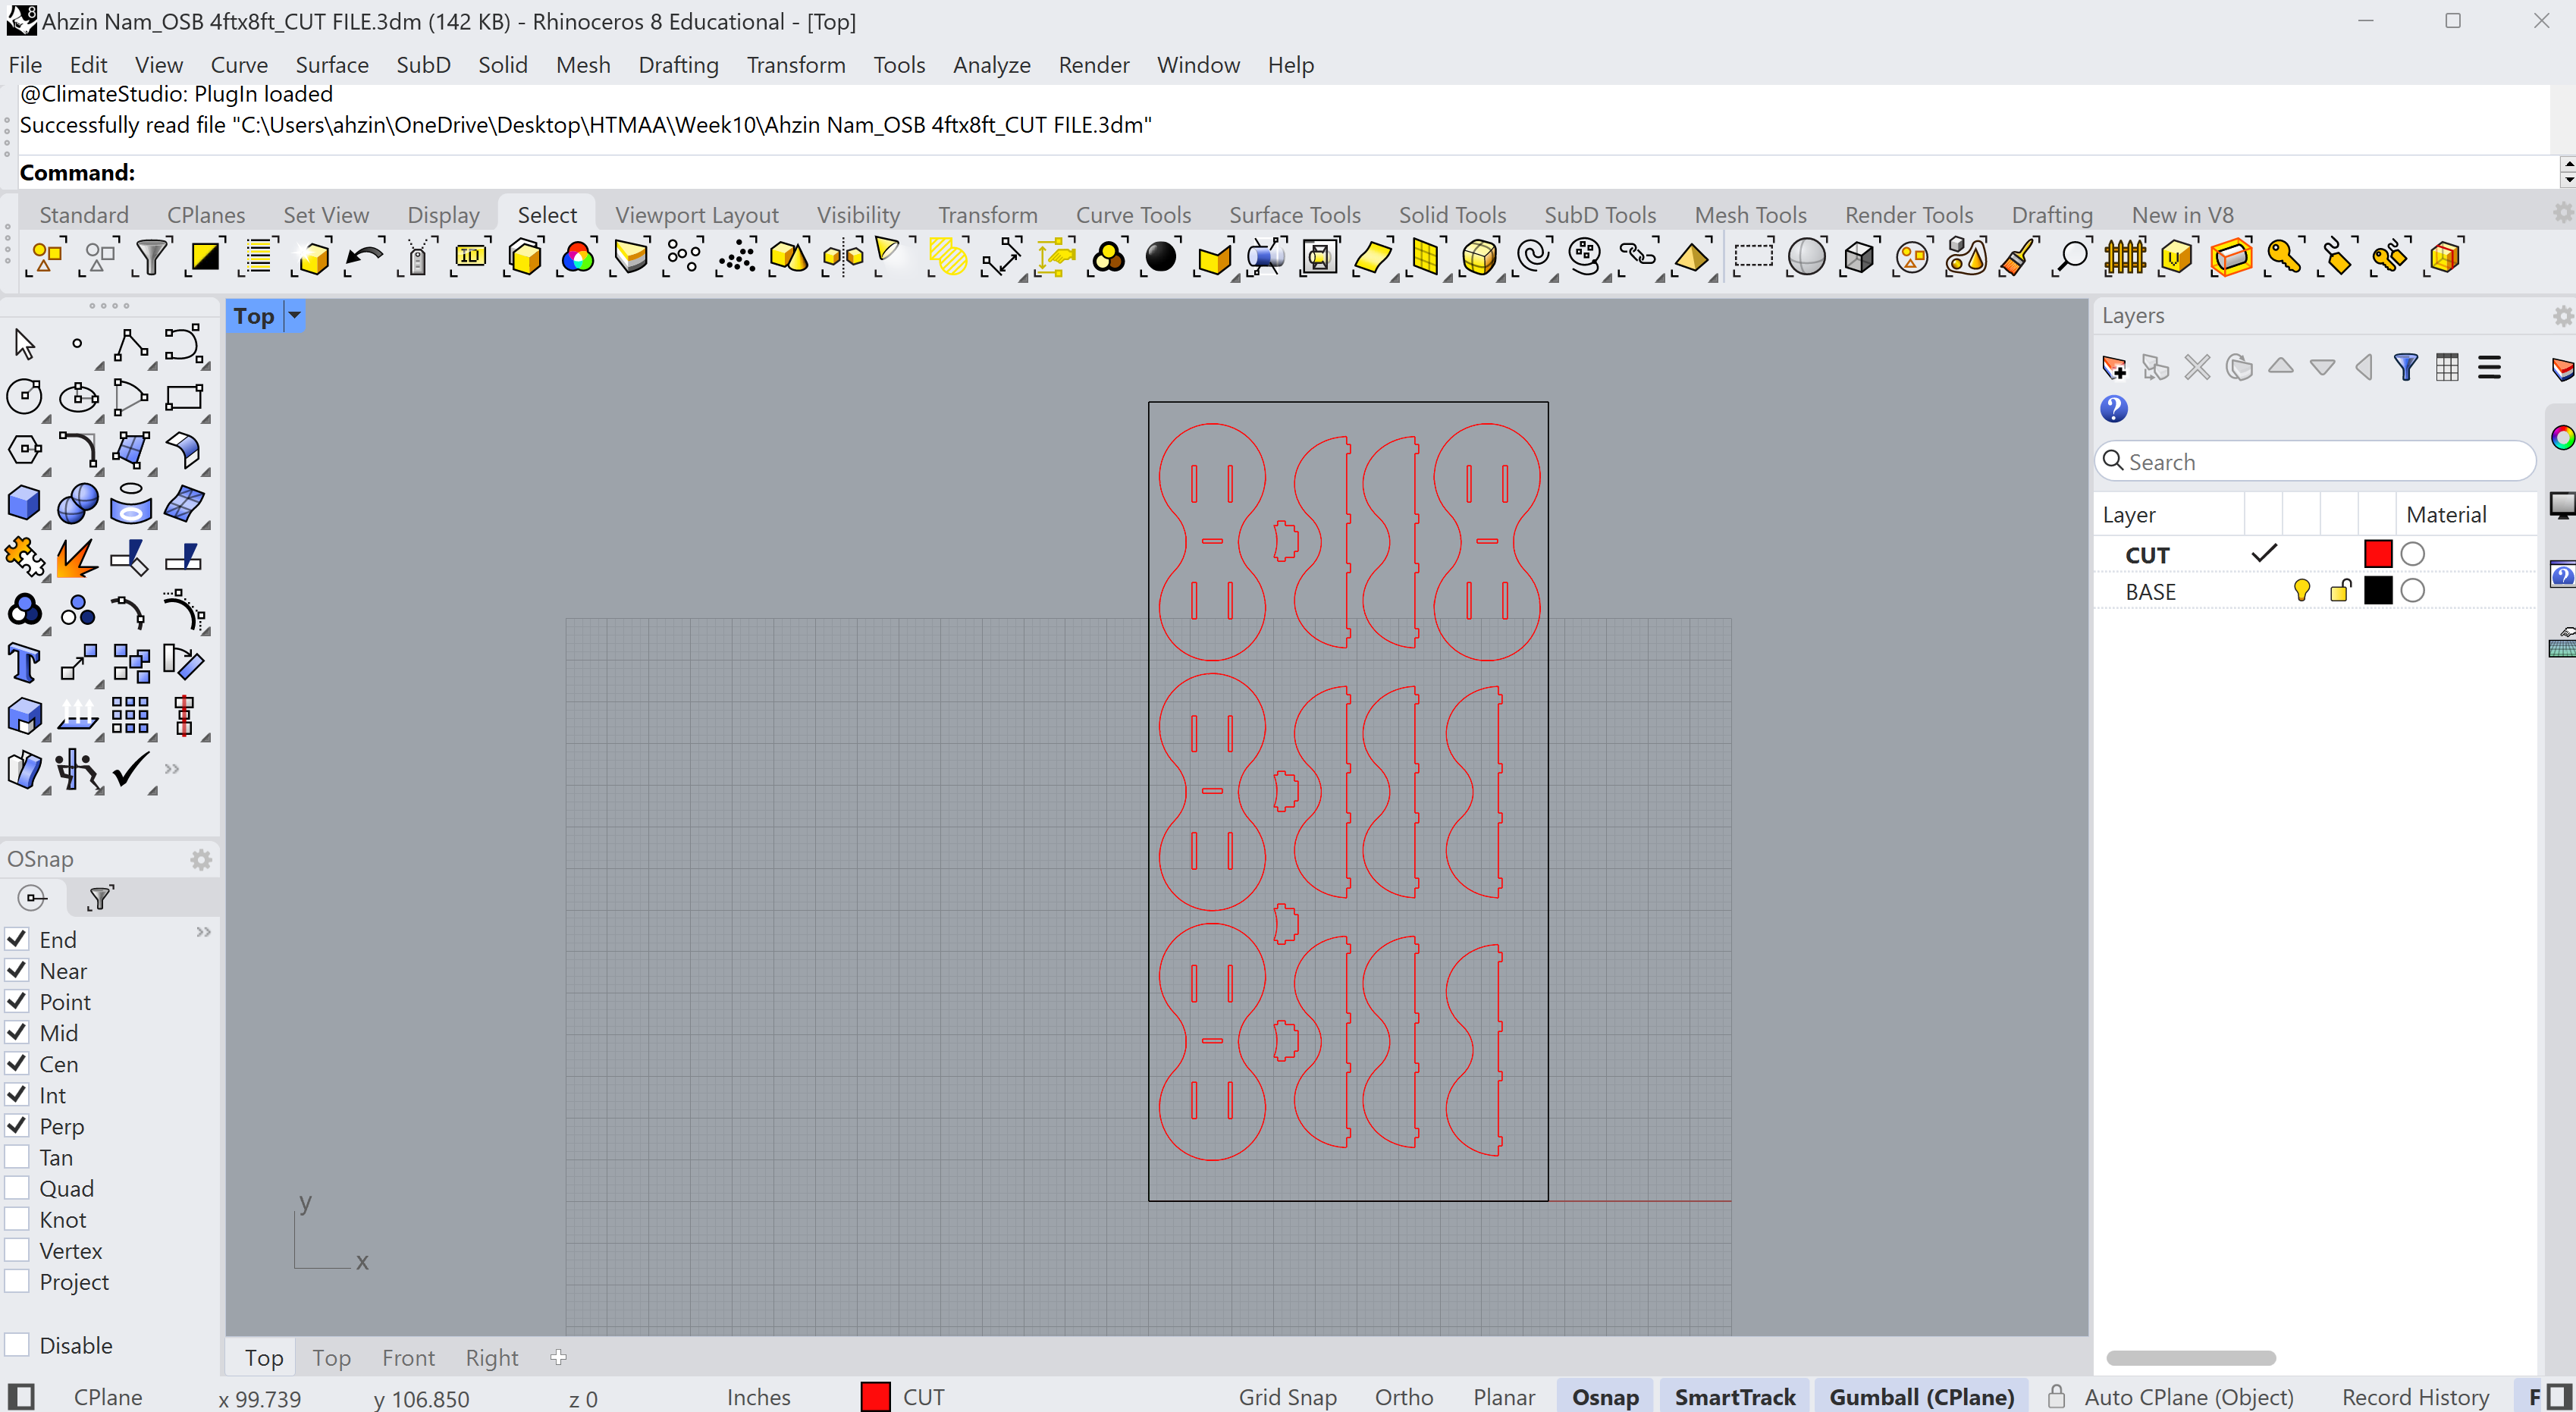
This is how the cutting file looked like.

This is how the cutting file looked like. (It was updated later)
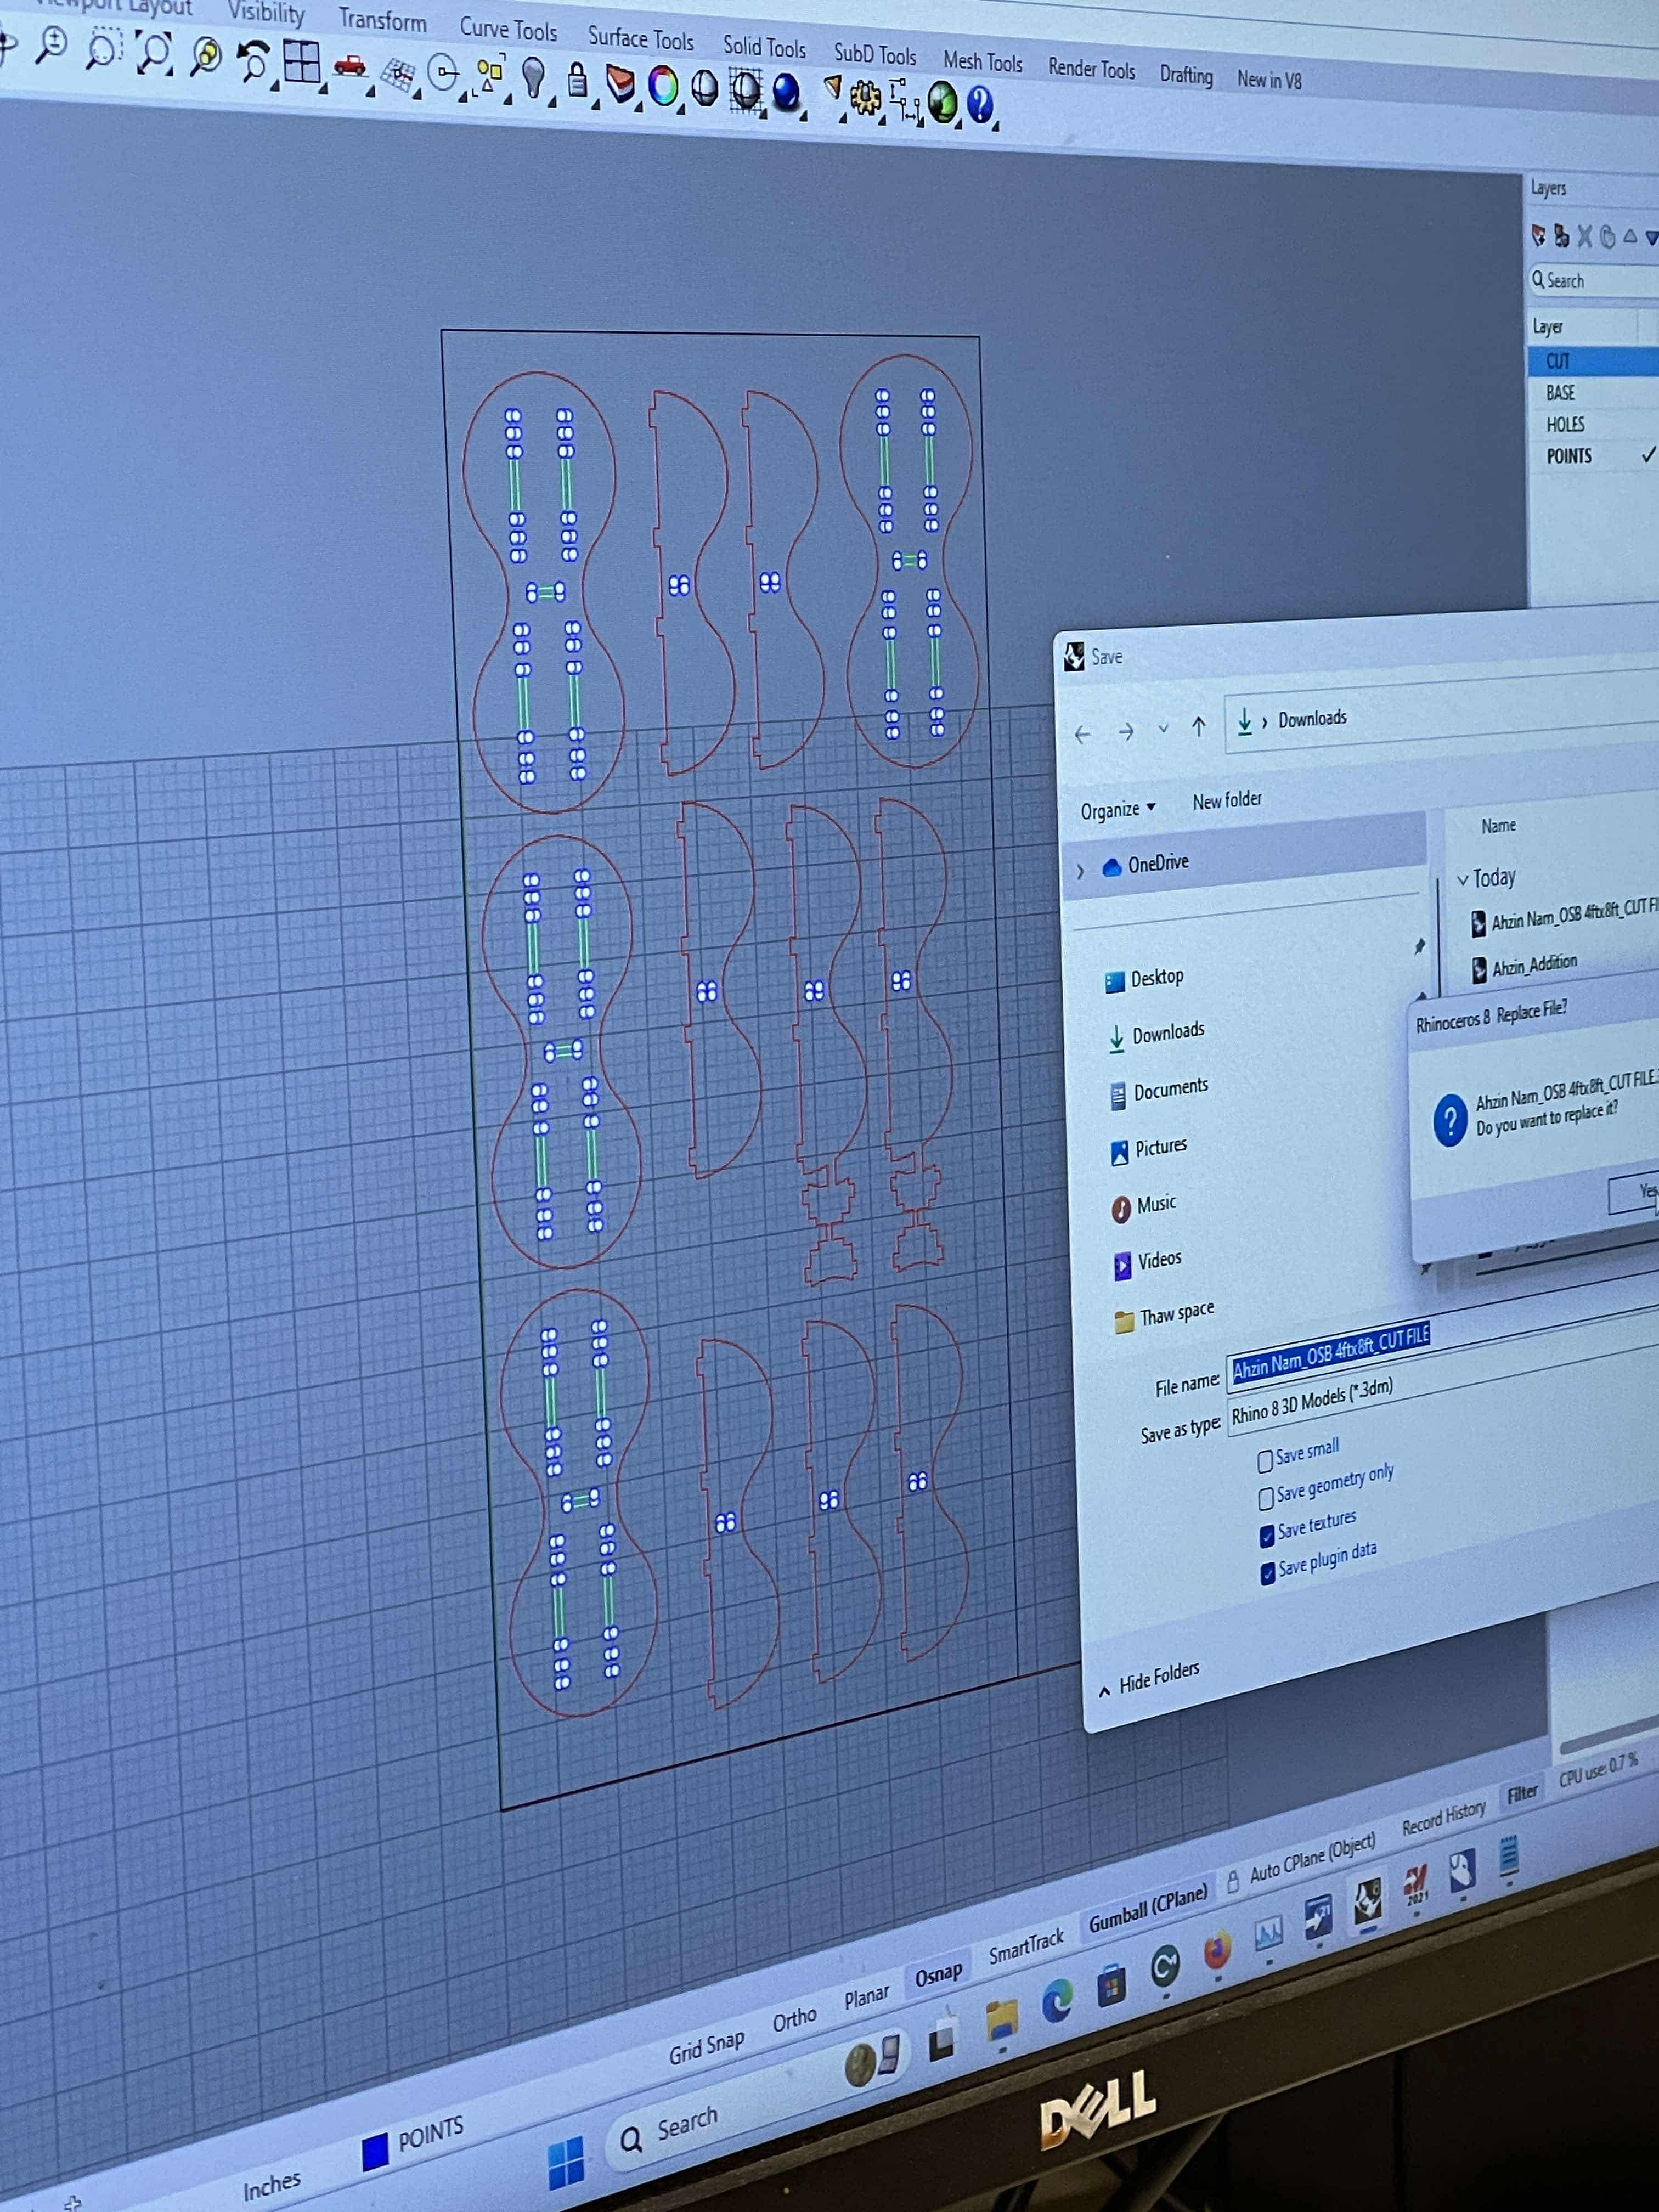
The points were added to make sure the corners are cut without being rounded by the shape of the bits.
I found out I missed out on some booleaning, so added a few shapes to the file.
Chris and I used Rhino CAM to set up the cutting file.
We made sure all the cutting passes will happen counter clock-wise.
There were a few overlapping lines in the cutting file, so we back and forth between Rhino and CAM.
I somehow completely forgot to document the setting up process, but here is the image of the updated Rhino file where points, inner holes, and outlines are saved at different layers.
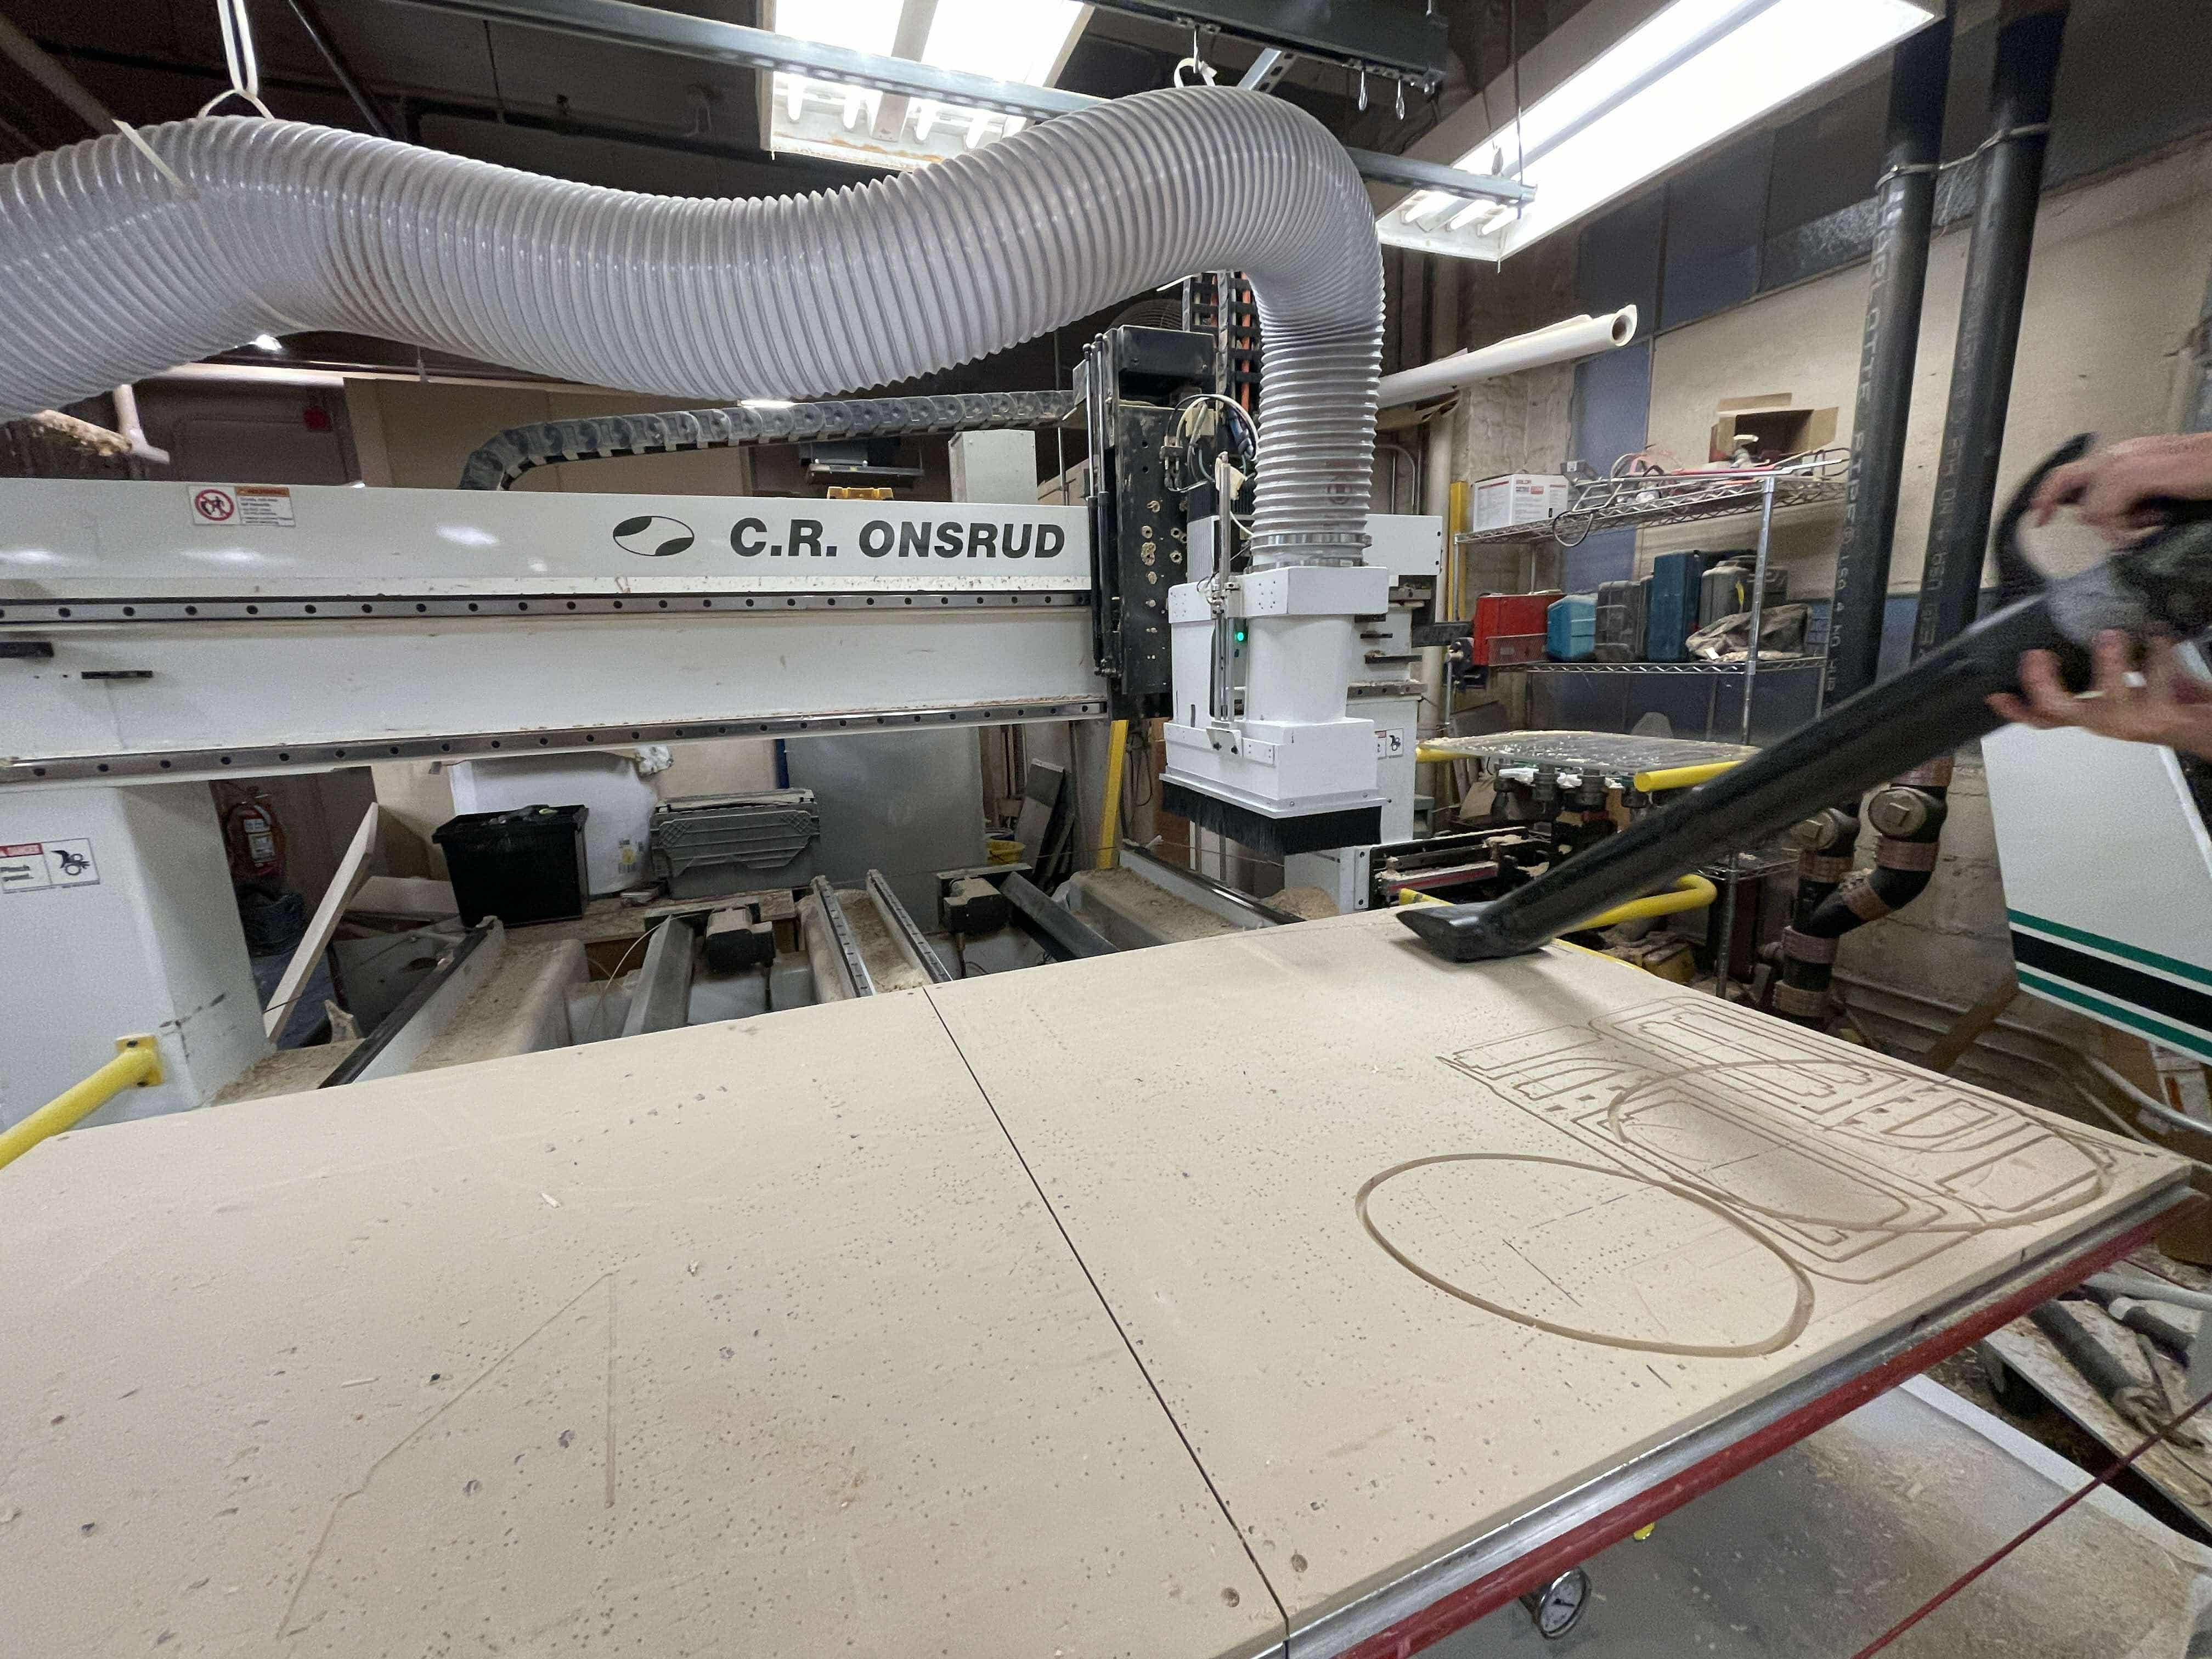
To prep the surface, we vacuumed the bed and loaded the OSB board on the ONSRUD bed. We put tapes around some of the edges to help vacuuming process.
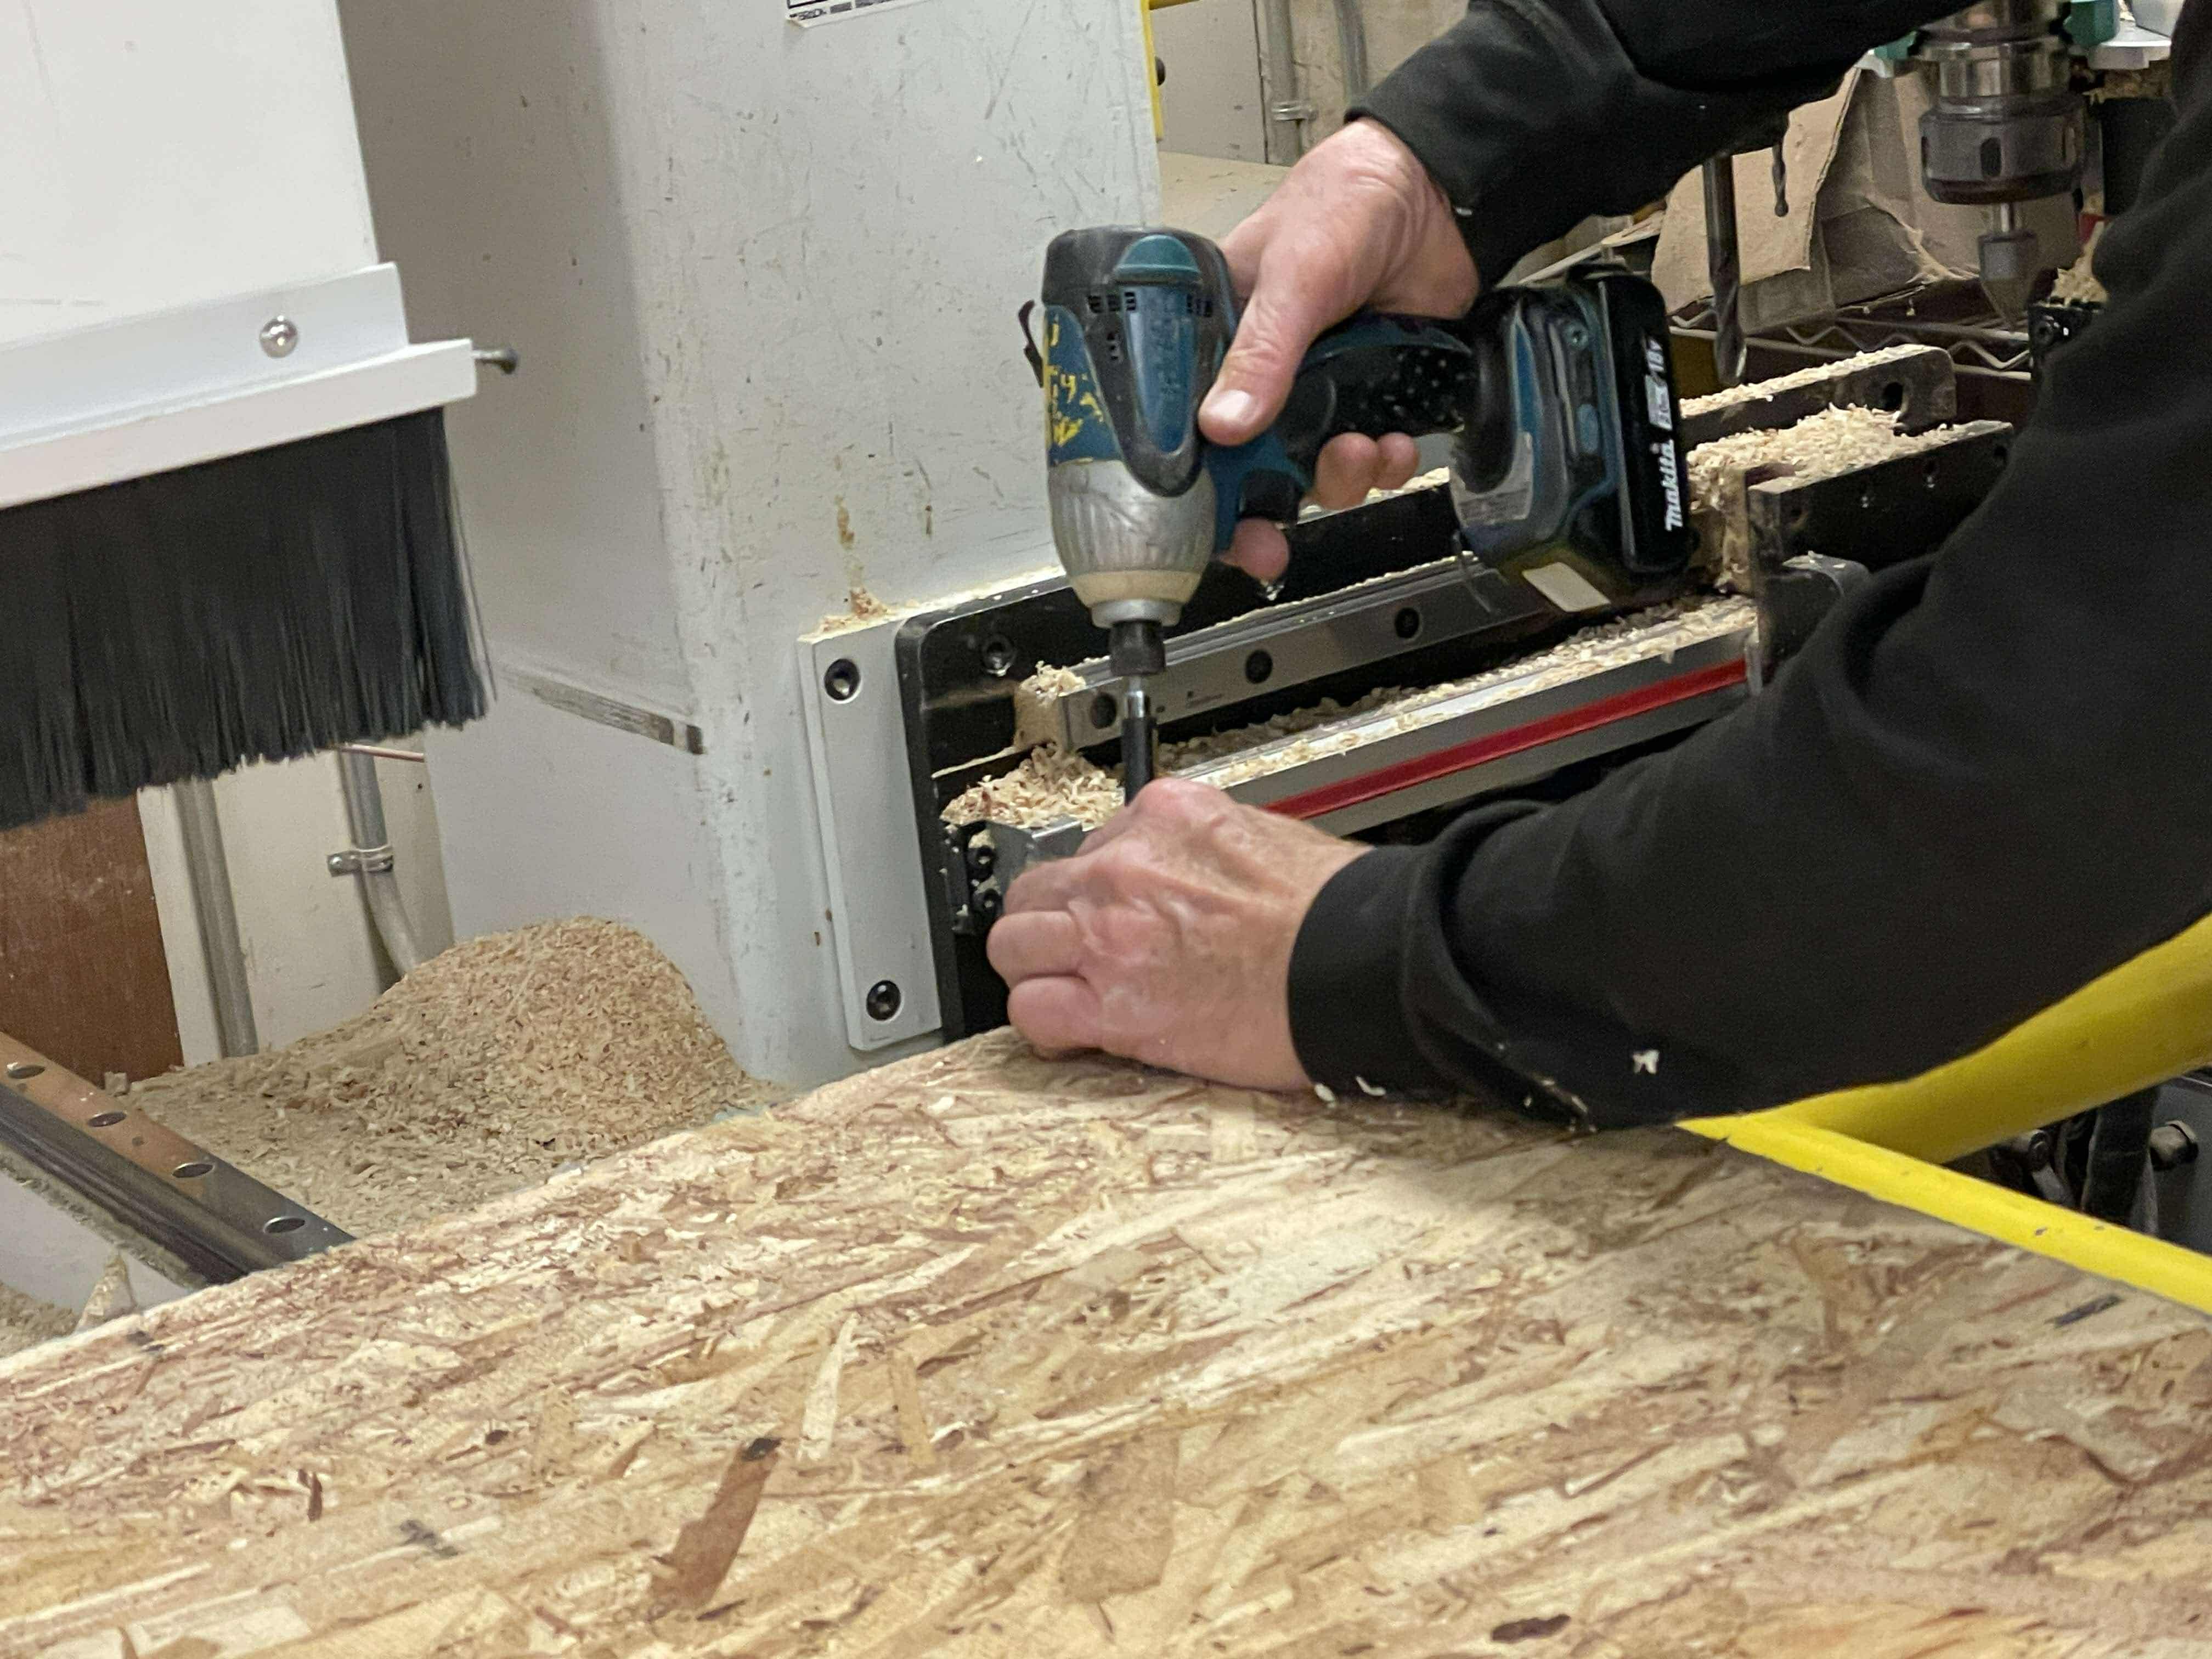
We also fixed the board to the bed with a screw.

The first pass was making holes (point layer)
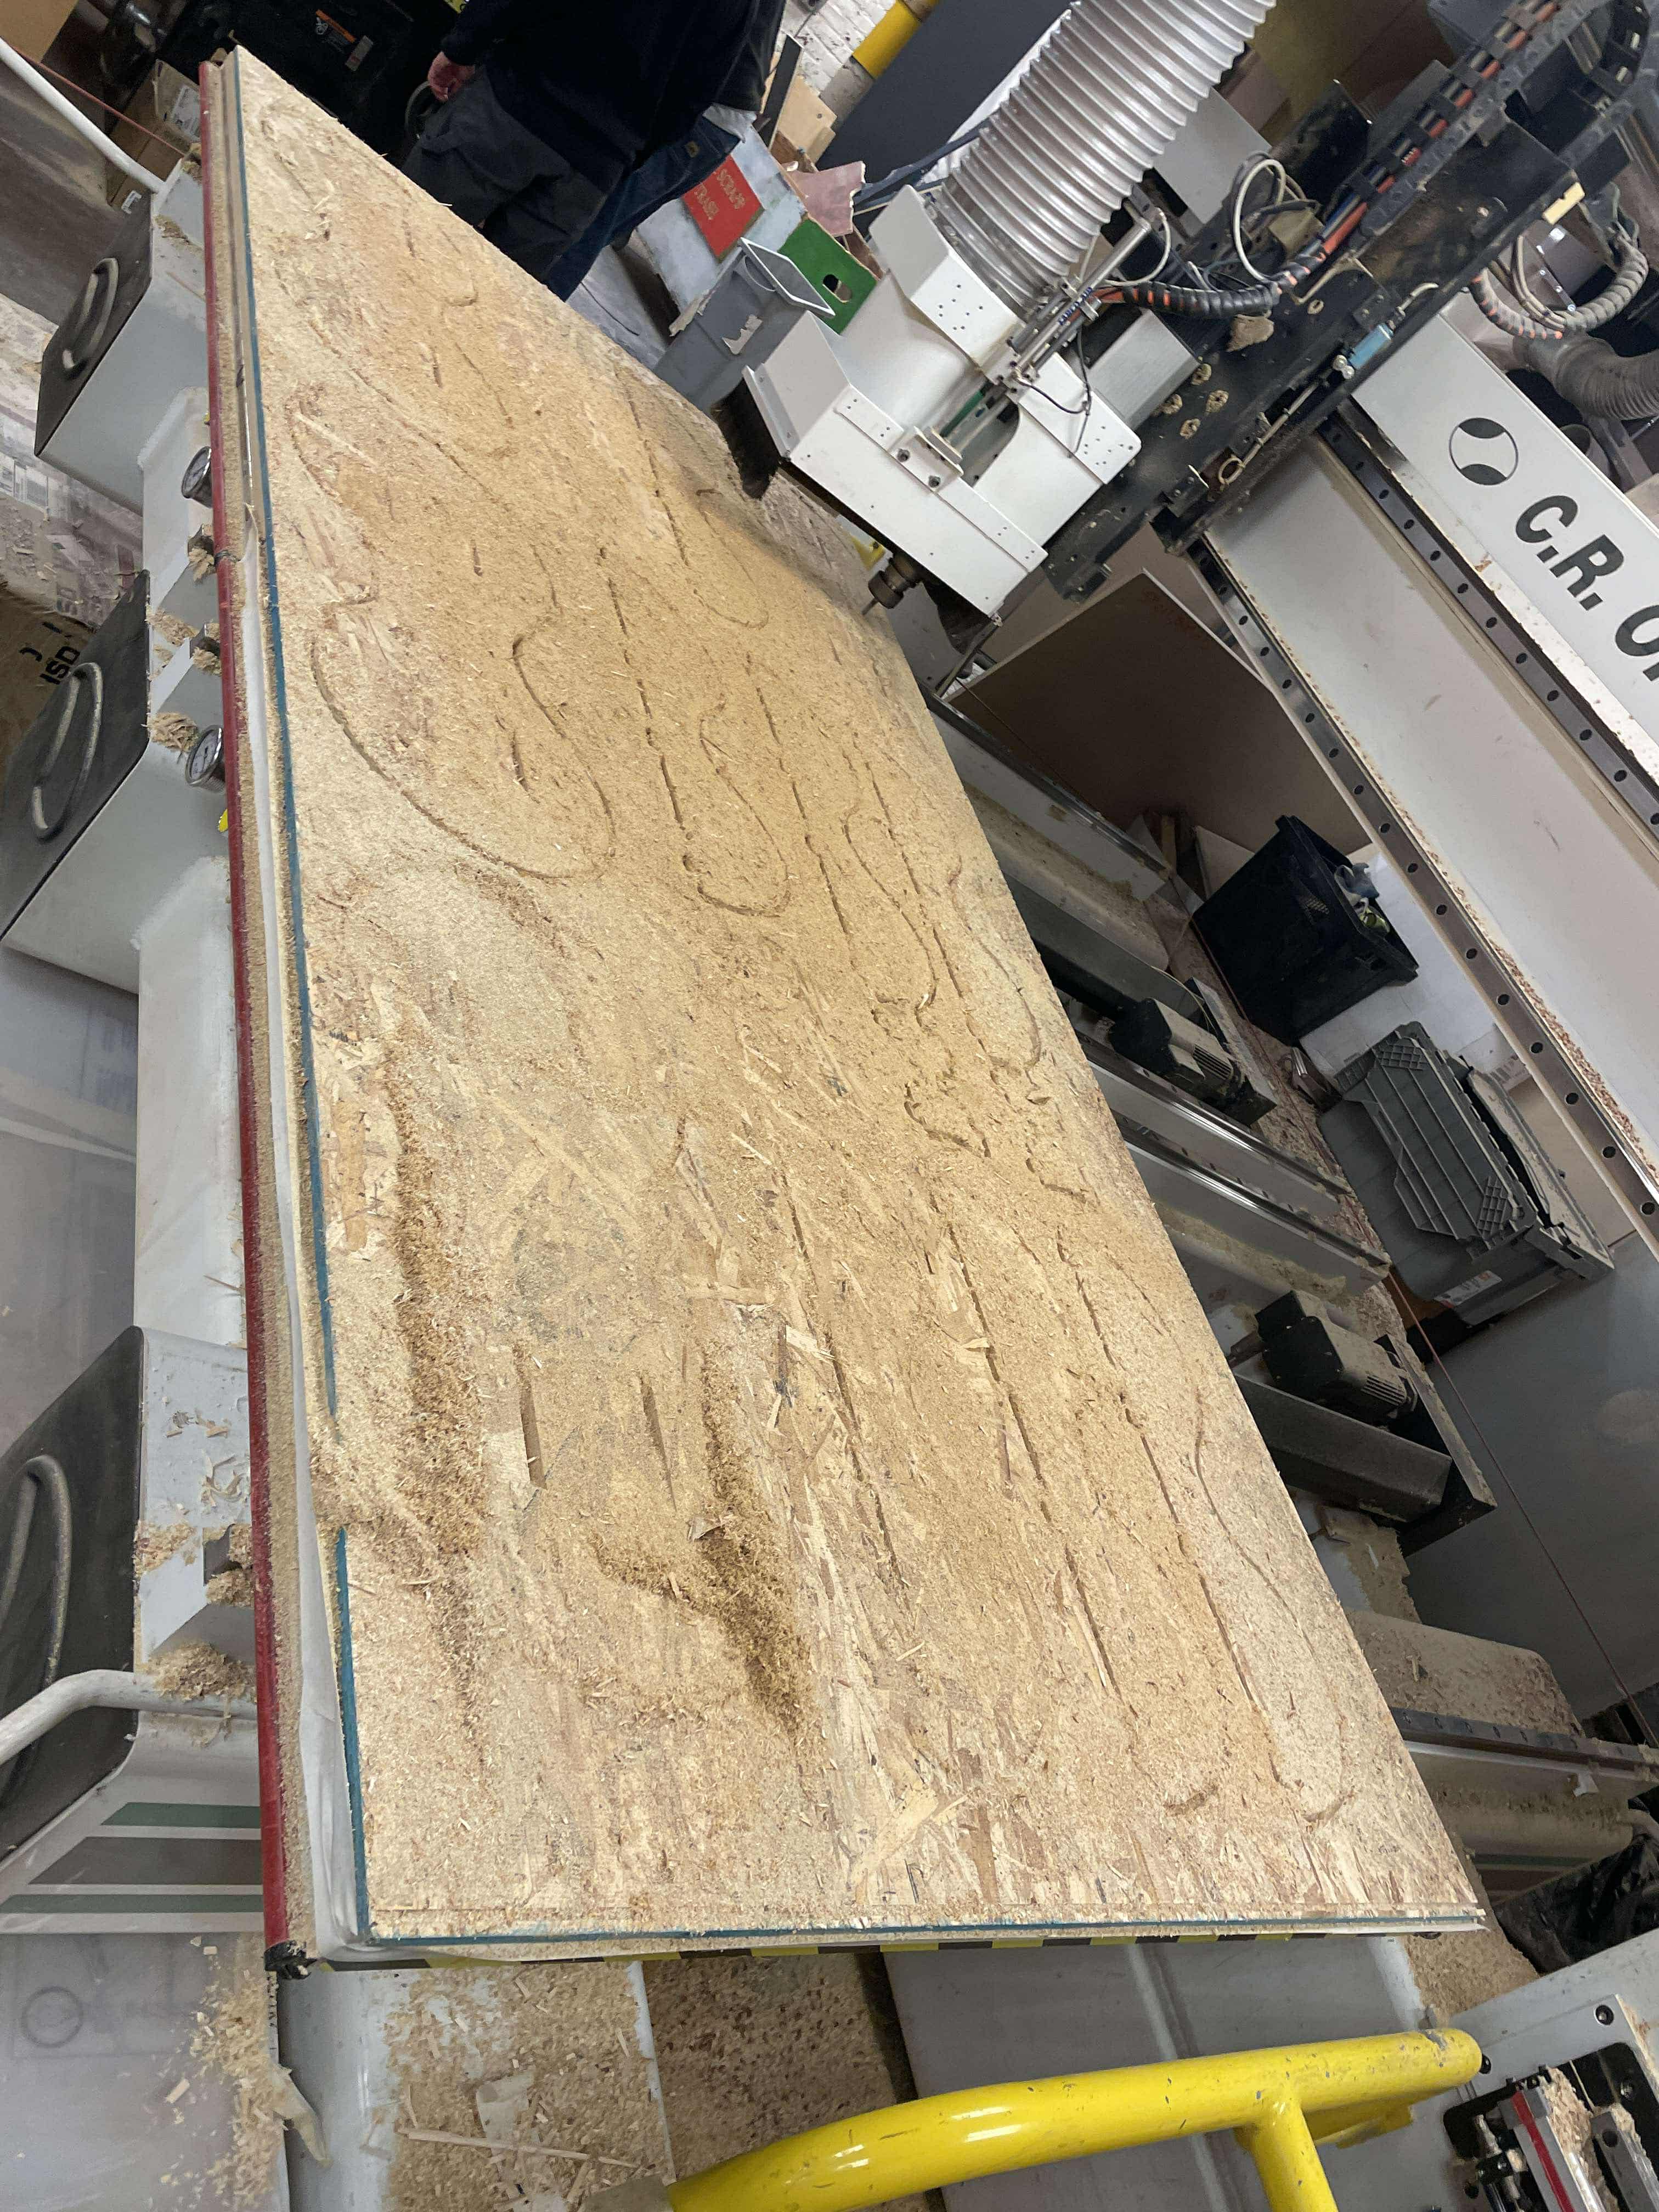
After the second pass (inner holes), the third and fourth pass were for cutting out the outlines.
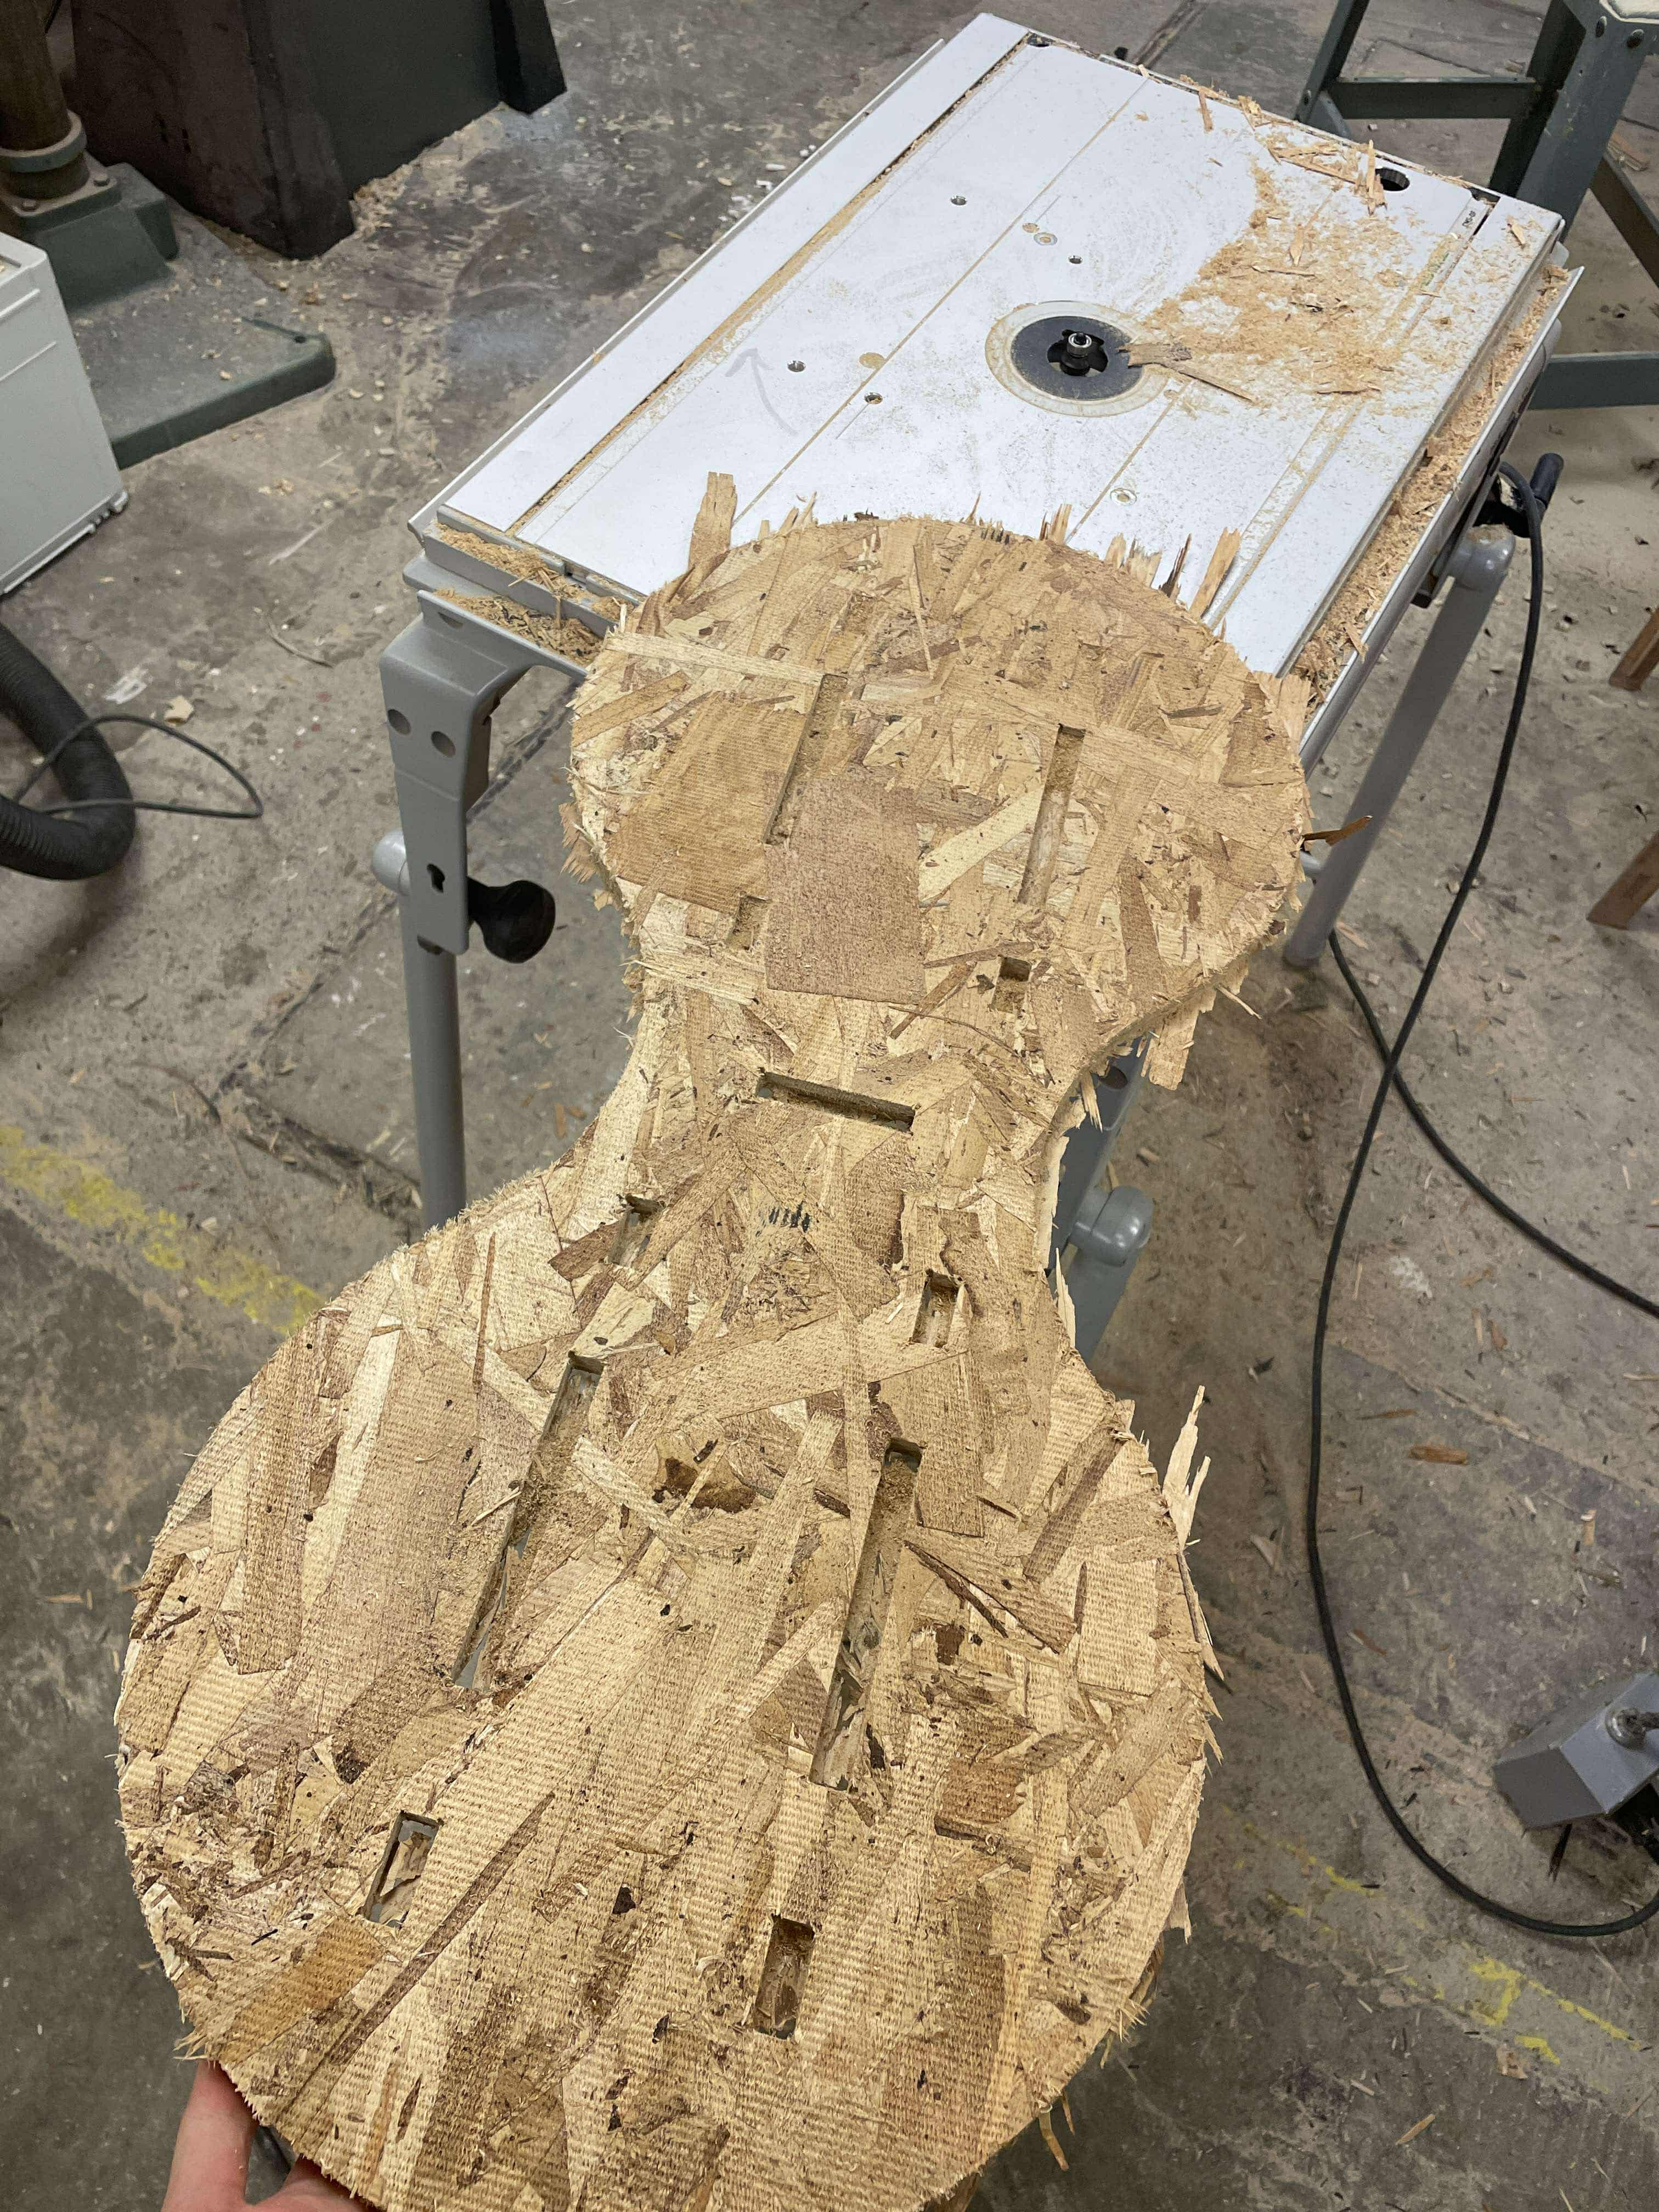
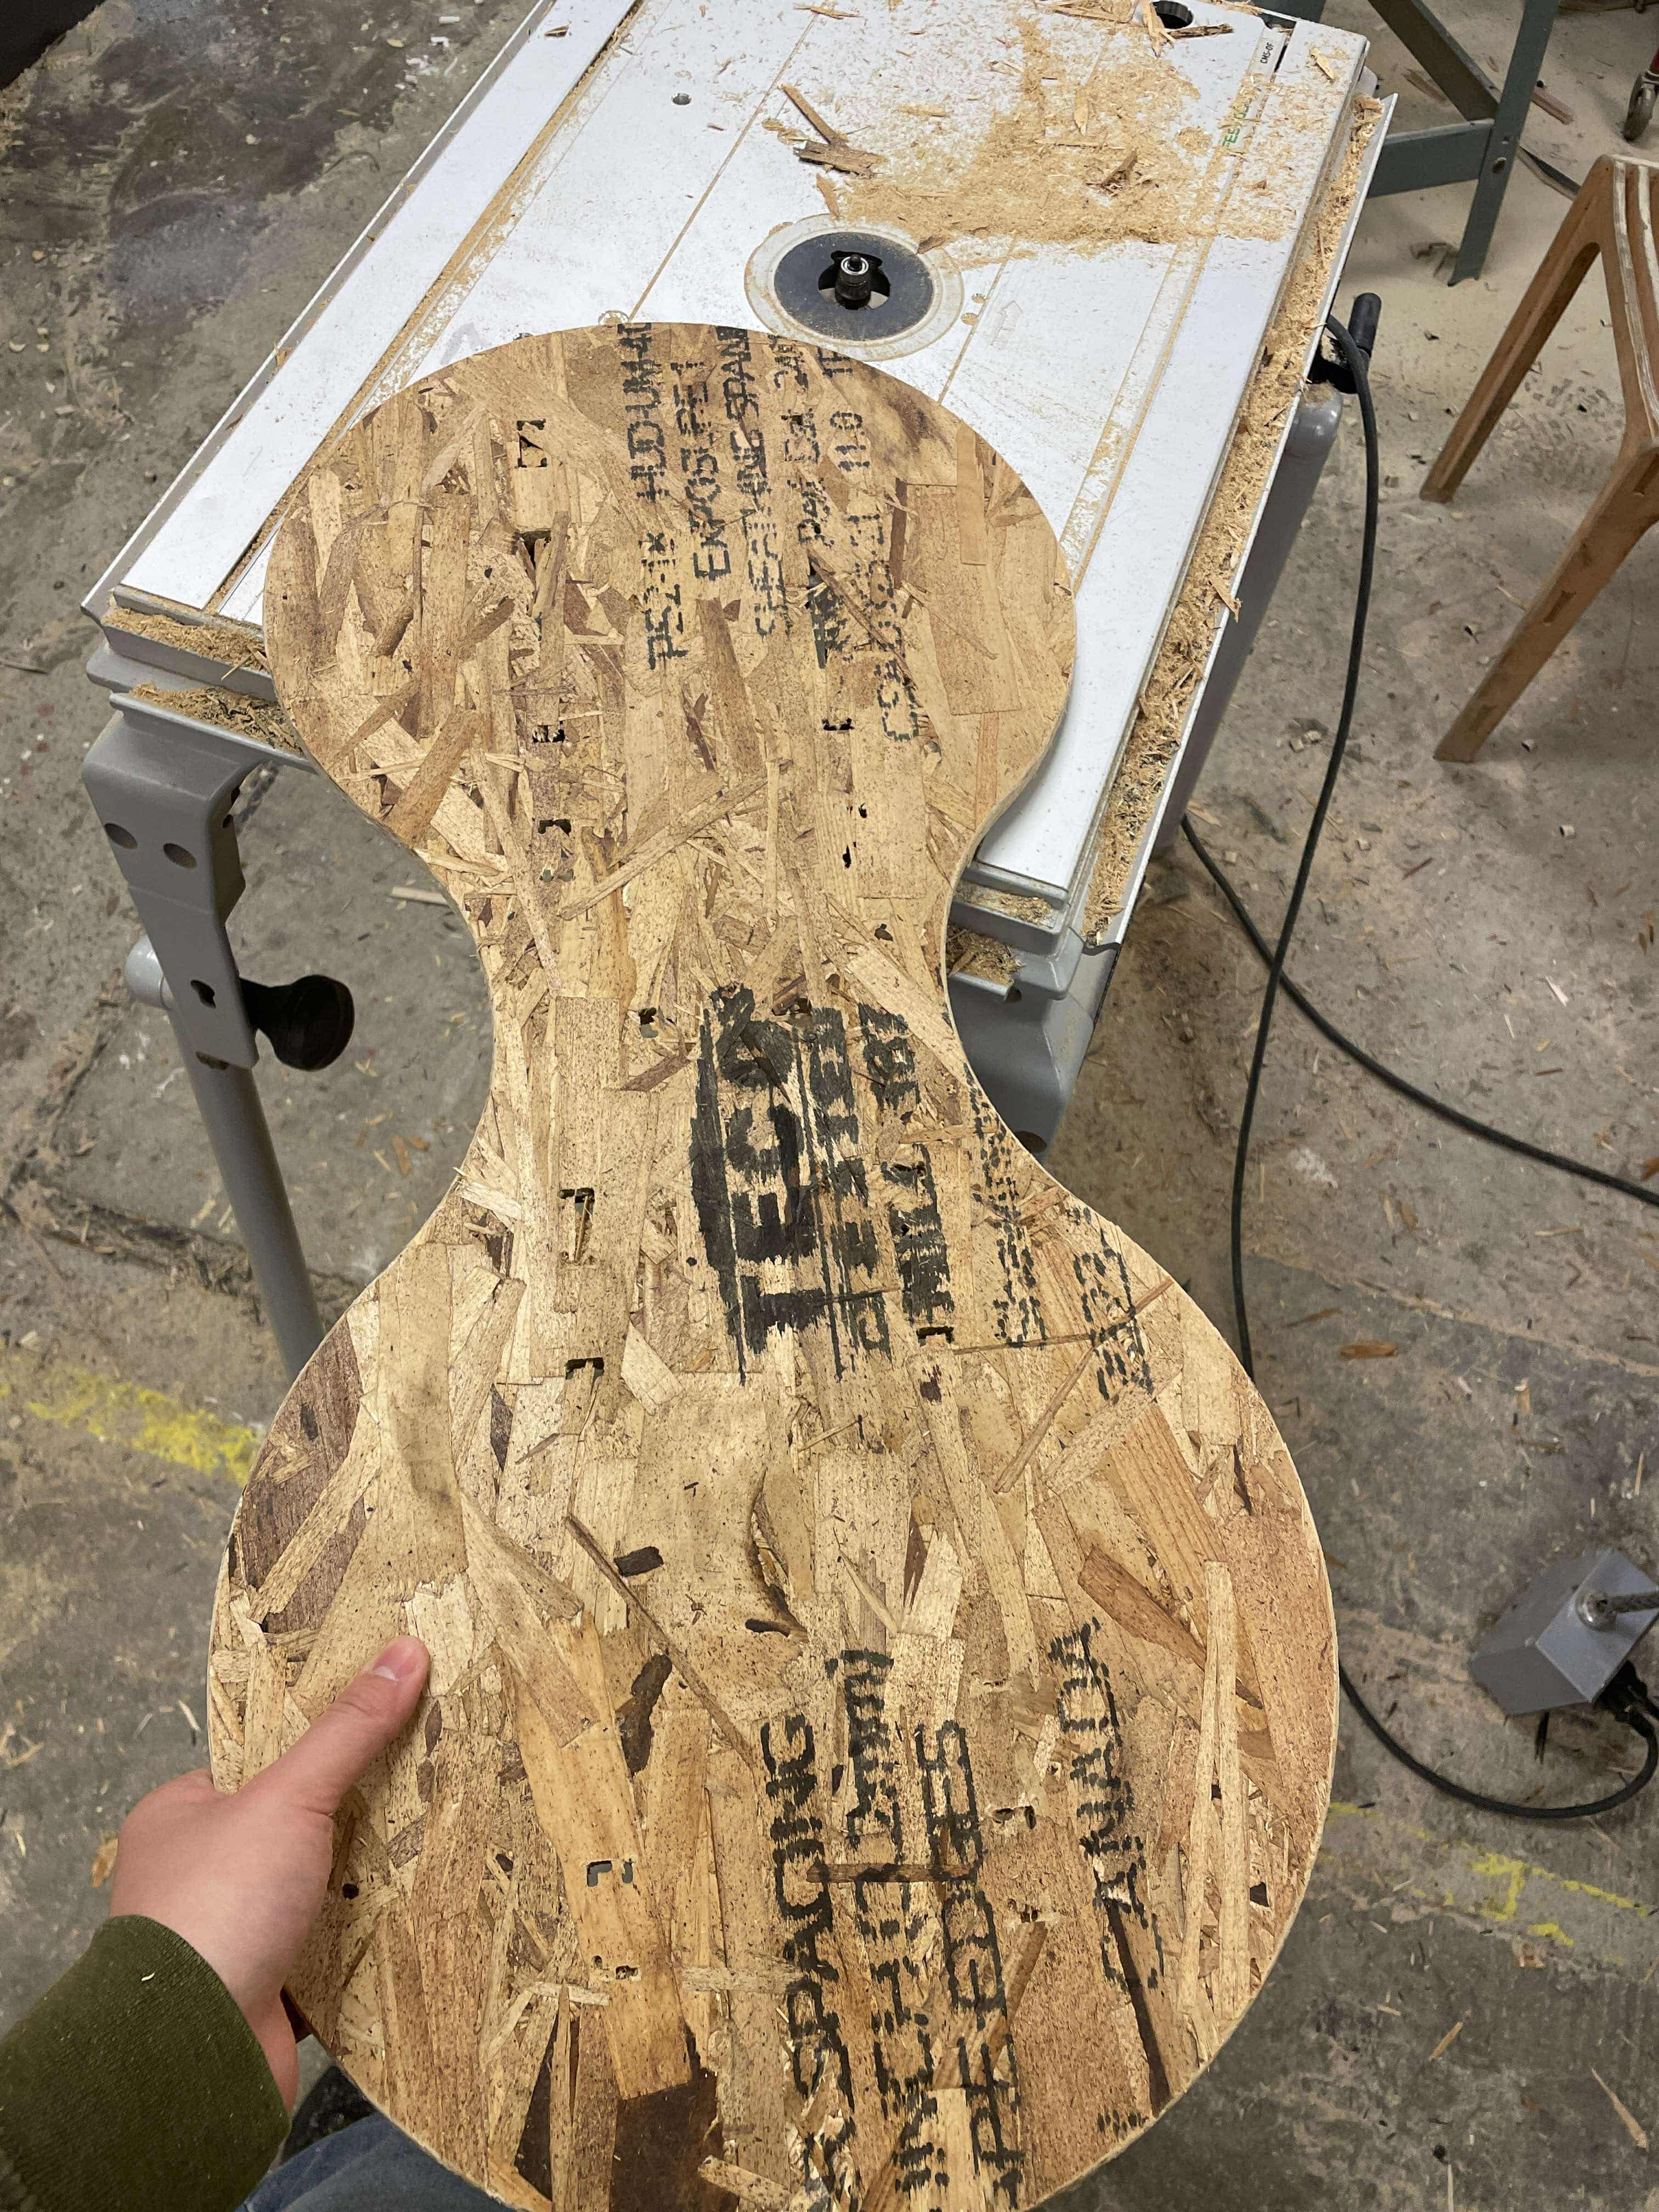
Compared to other CNCs that I have done, ONSRUD + OSB combination left a lot of materials around the edges. Chris suggested to use a router to clean up the edges. The process was pretty quick and simple.
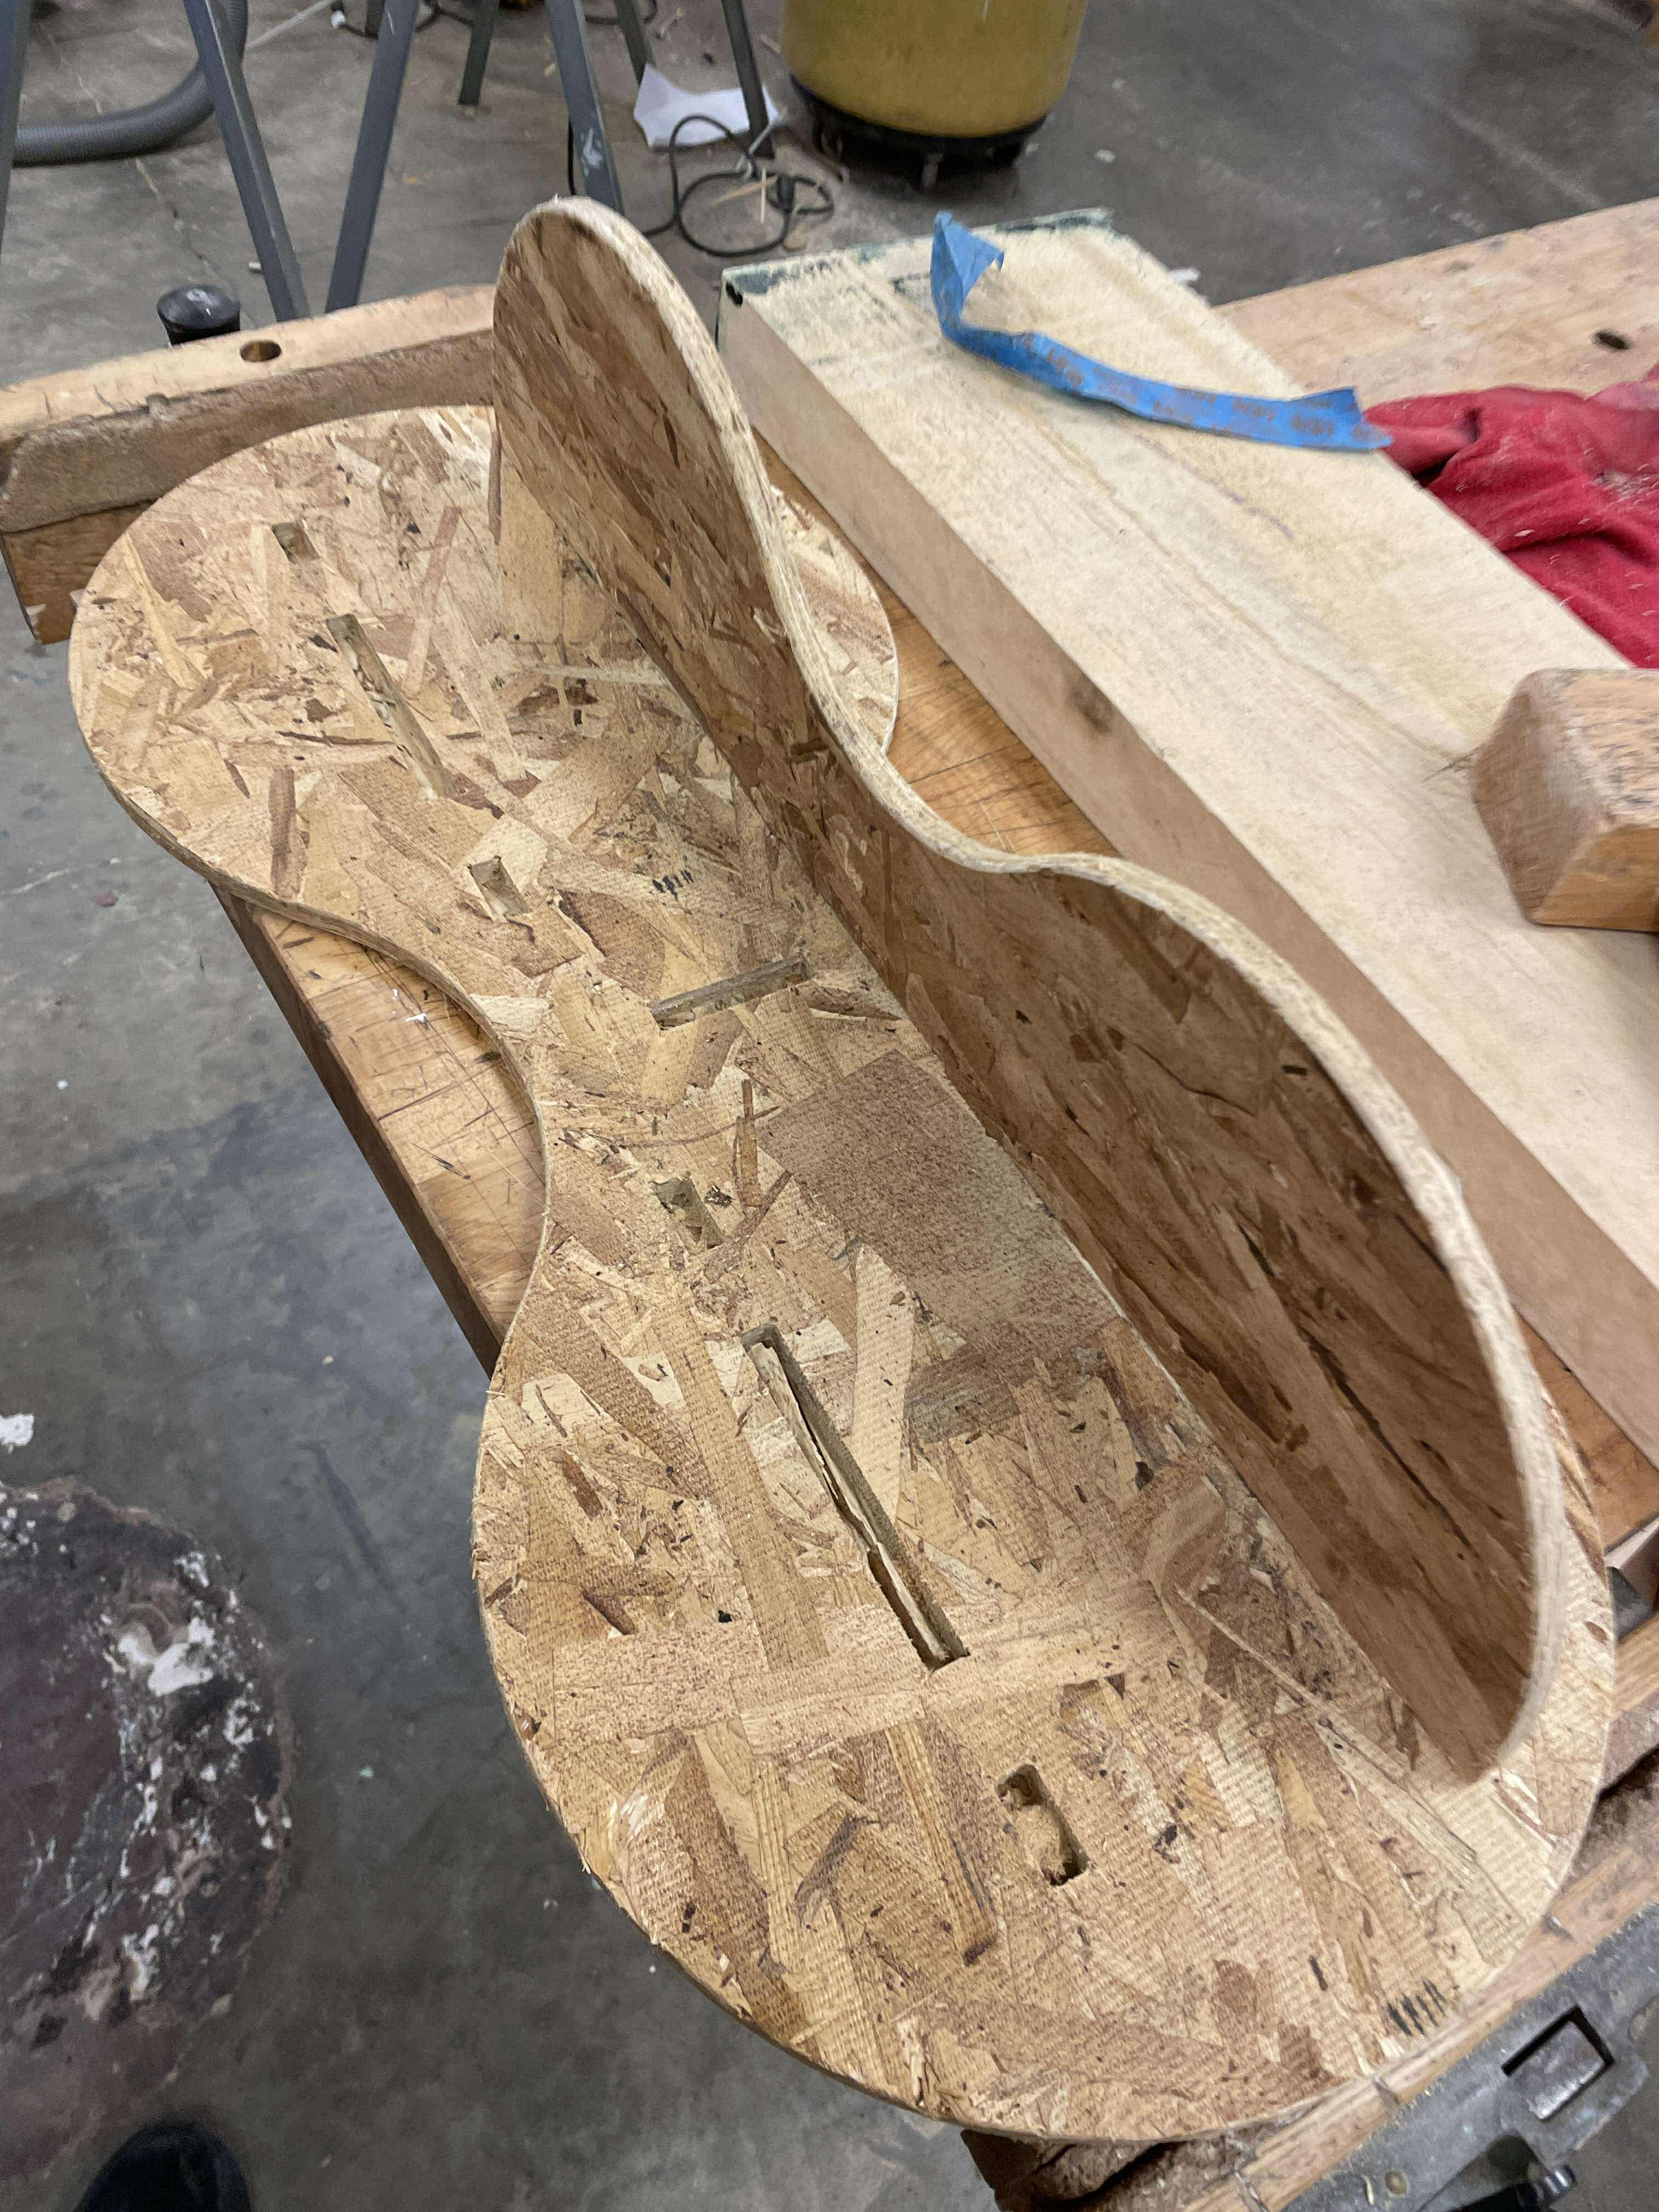
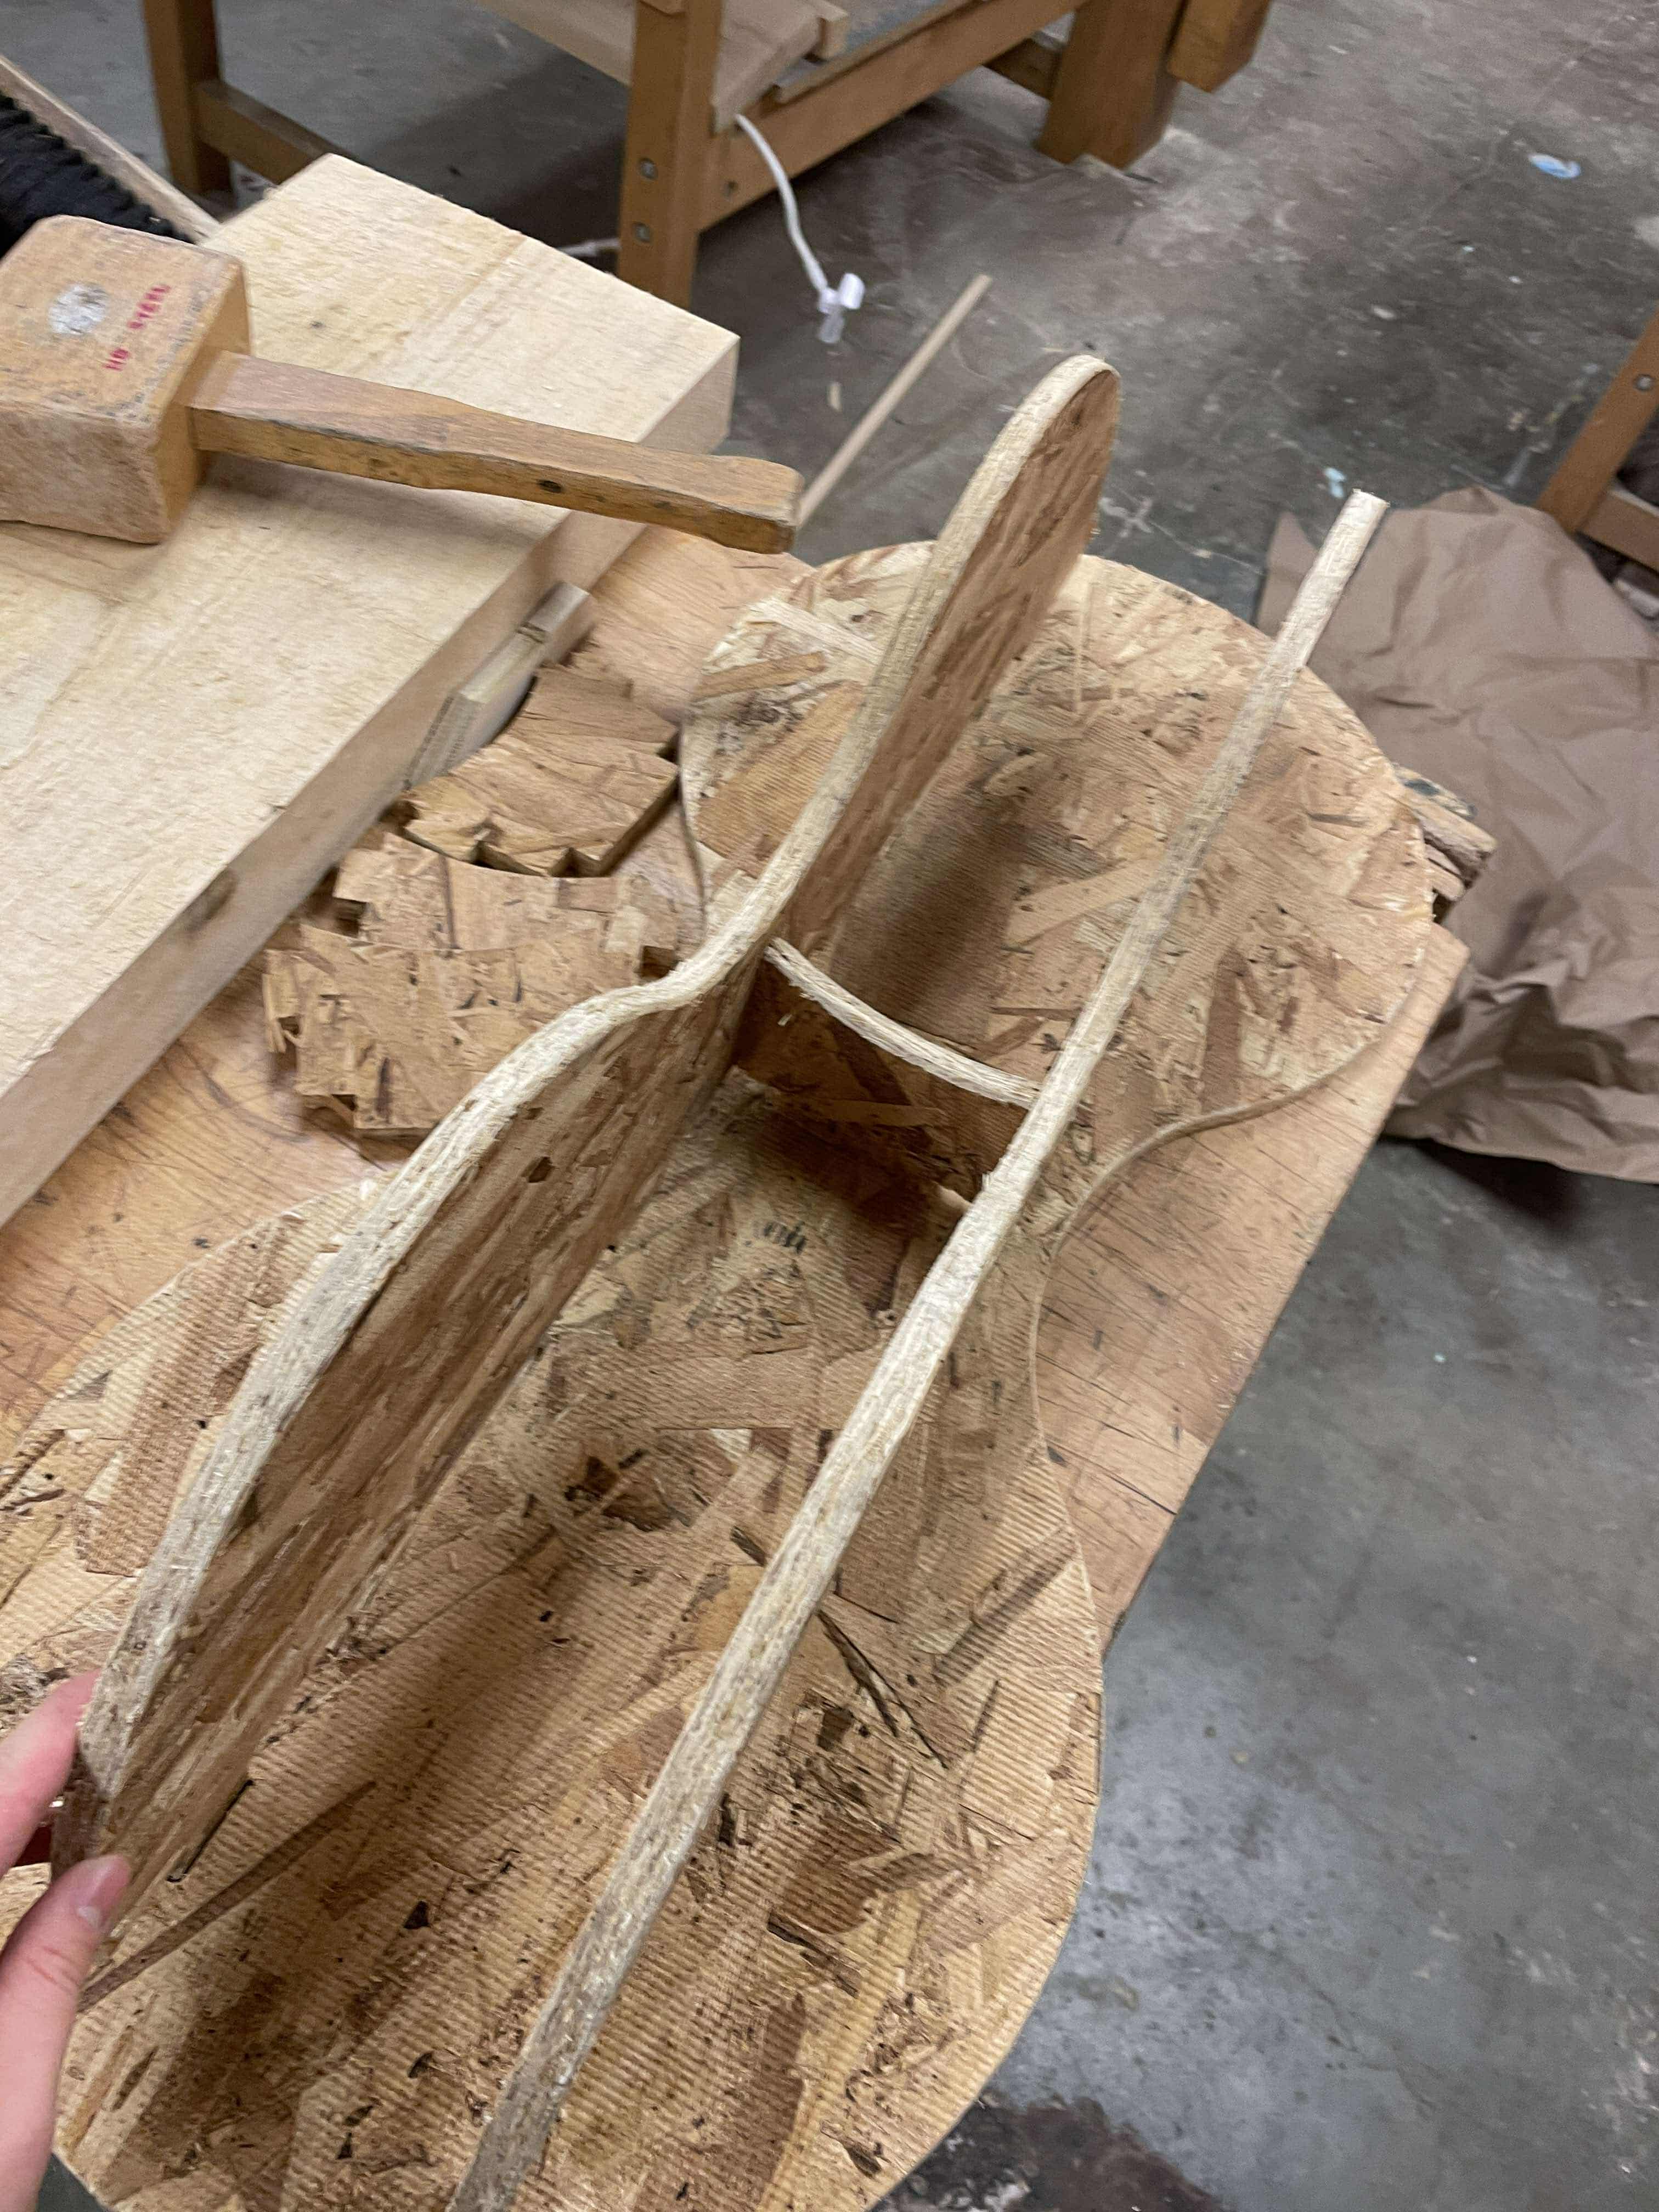
With a bit of hammering, the pieces press fit quite nicely.
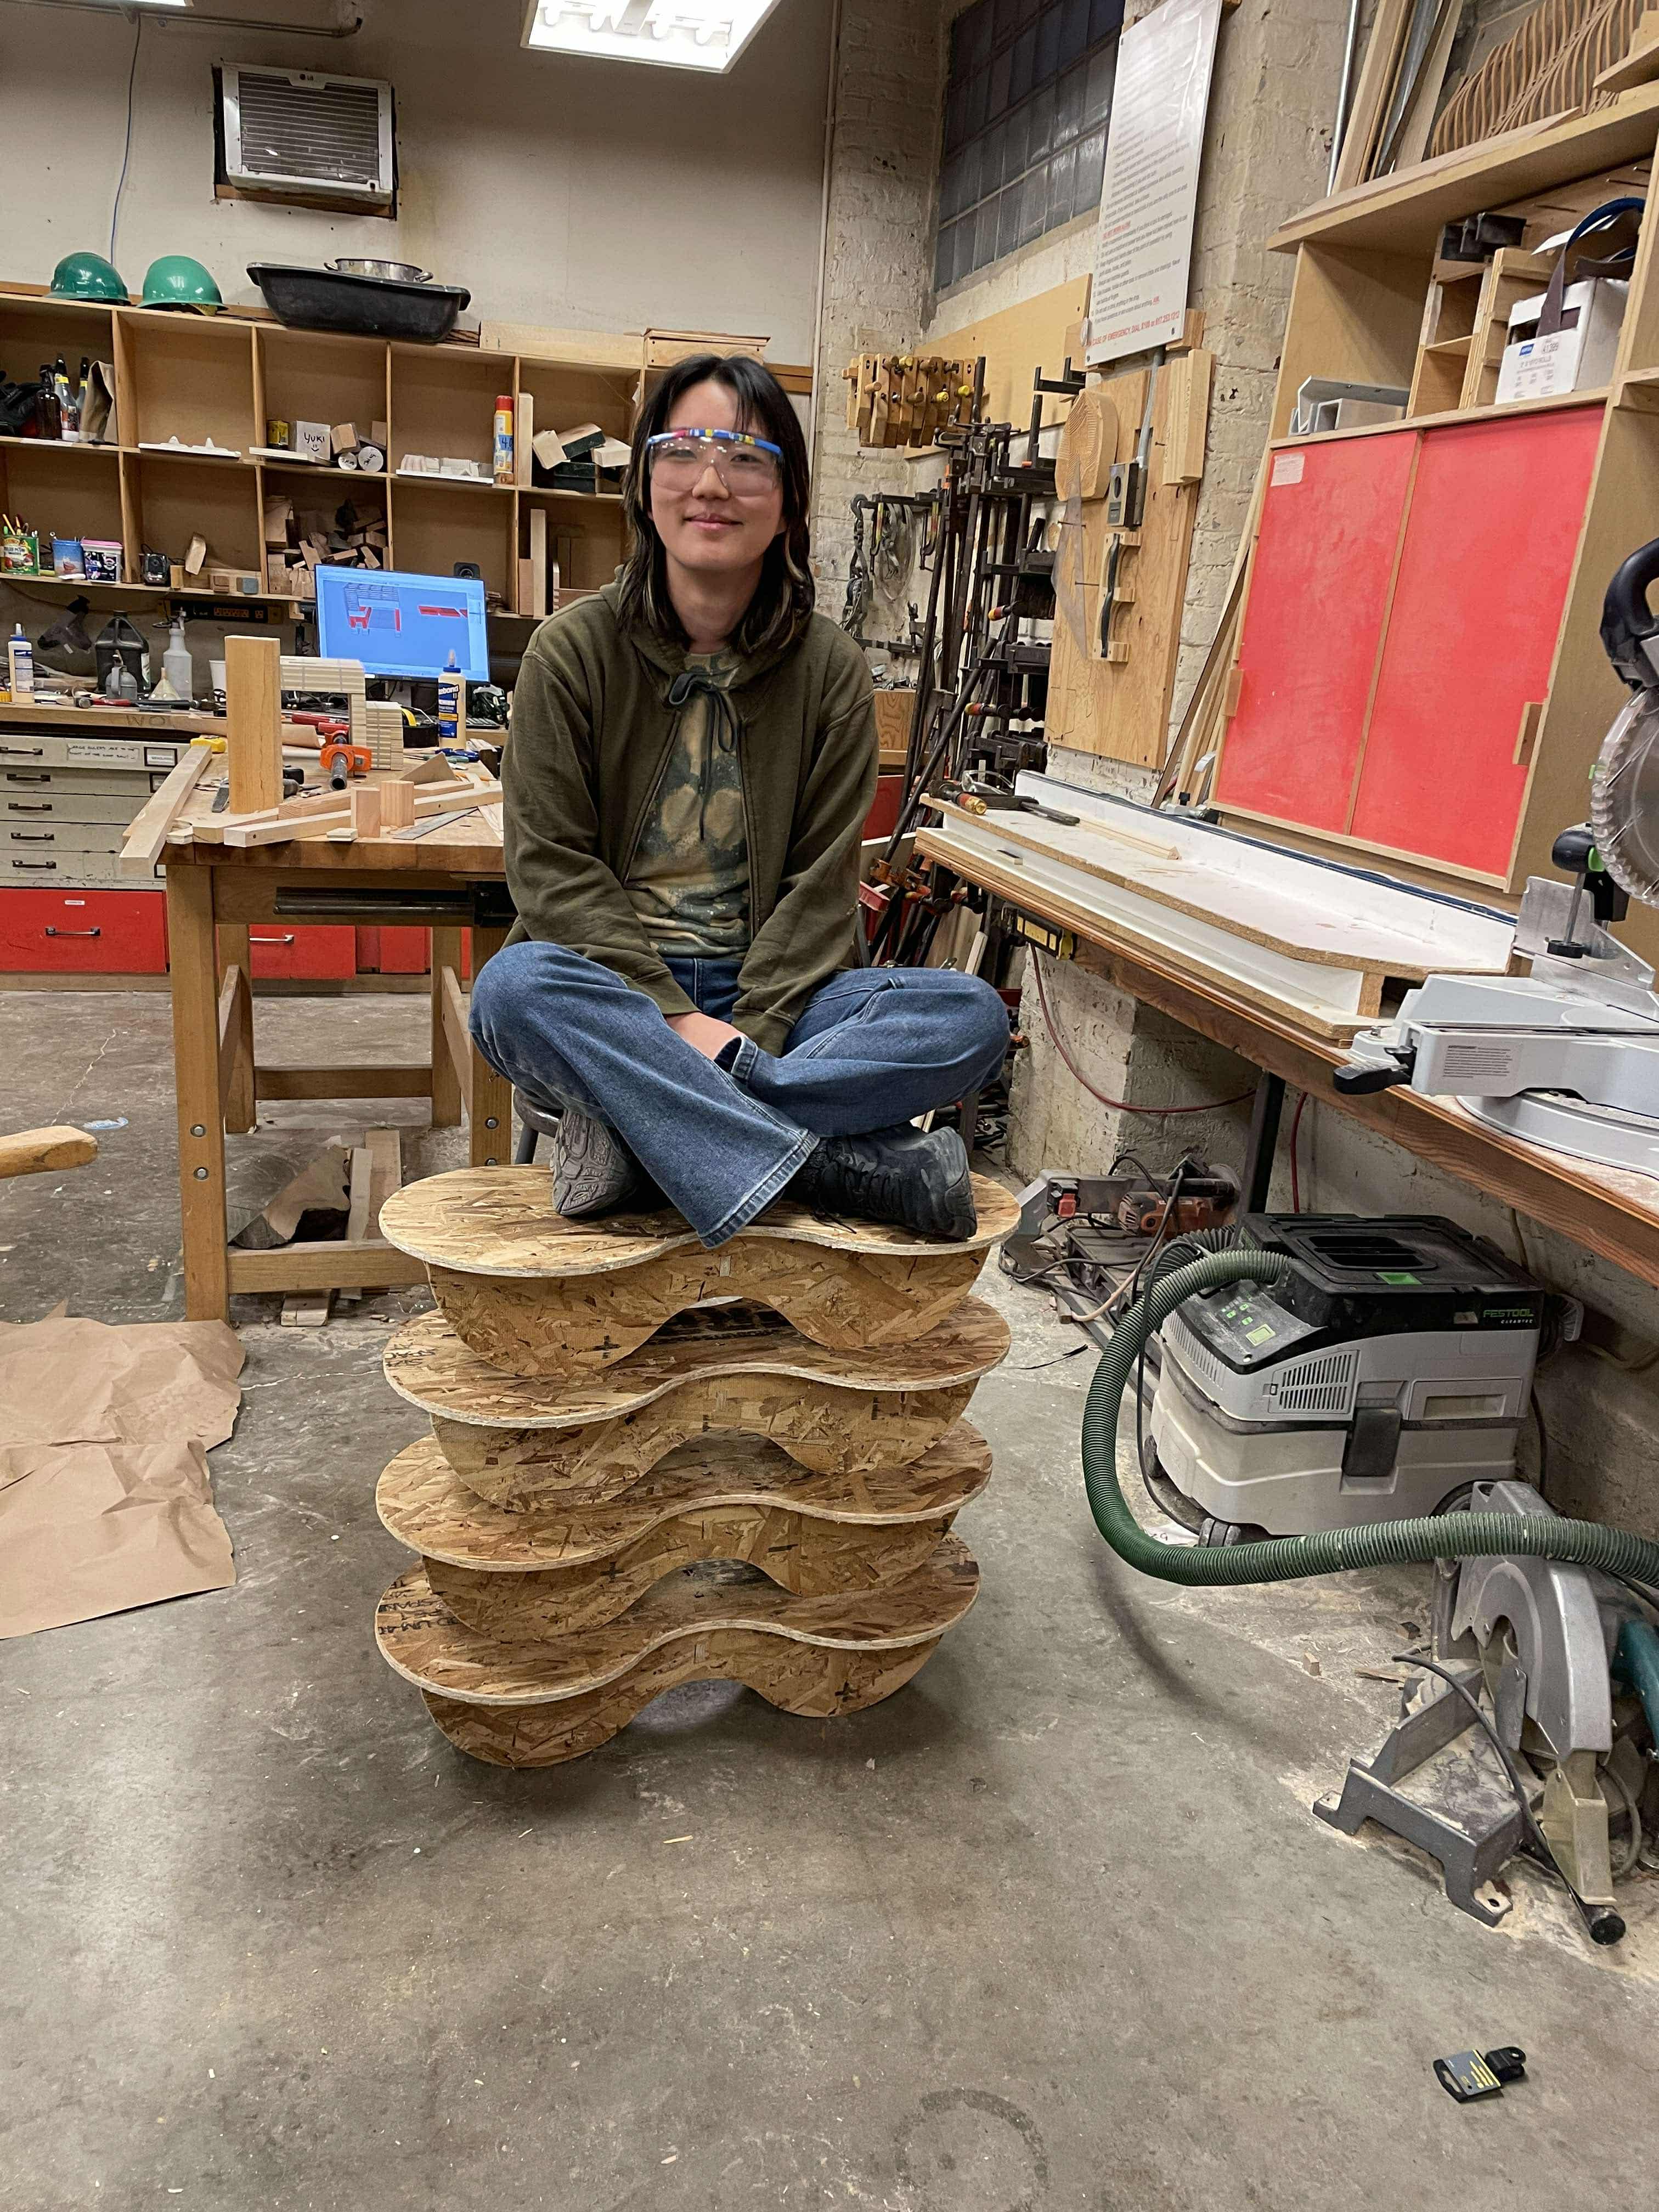
Now you can criss-cross on any chairs.
