I discussed this week's group assignment with a couple of other students: David Perez-Cruet, Anthony Fletcher, and Namirah Q.
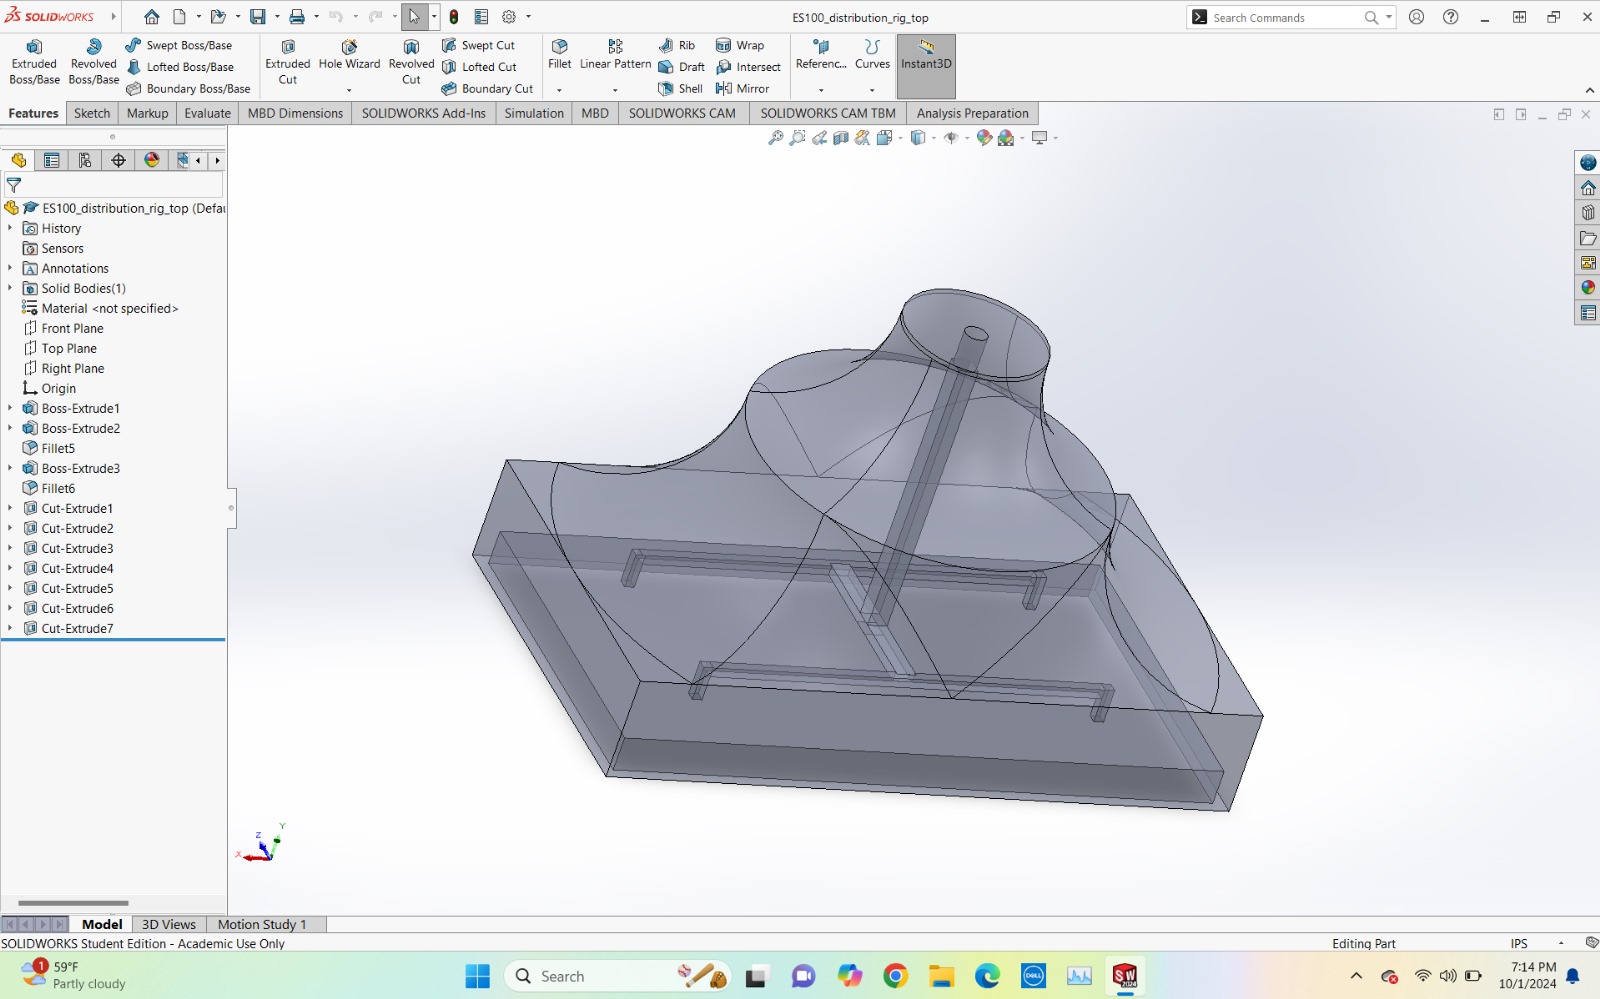
We shared a couple of ways in which we'd approach testing the design rules of the 3D printer. Ultimately I CADded and 3D printed my own design to test the capabilities of the printer. My design was small, but incorporated many tests such as testing different overhang lengths, different overhang angles, and bridging capability. As expected, the overhangs of 90 degrees and 108 degrees (I increased at 18-degree increments) ended up with 'spaghetti' hanging beneath them, no matter what length they were. The bridges, especially the longer ones, ended up with some spaghetti below them, but the tops of the structures seemed to be pretty well built. Despite having difficulty at first, the 3D printer showed impressive ability to recover.

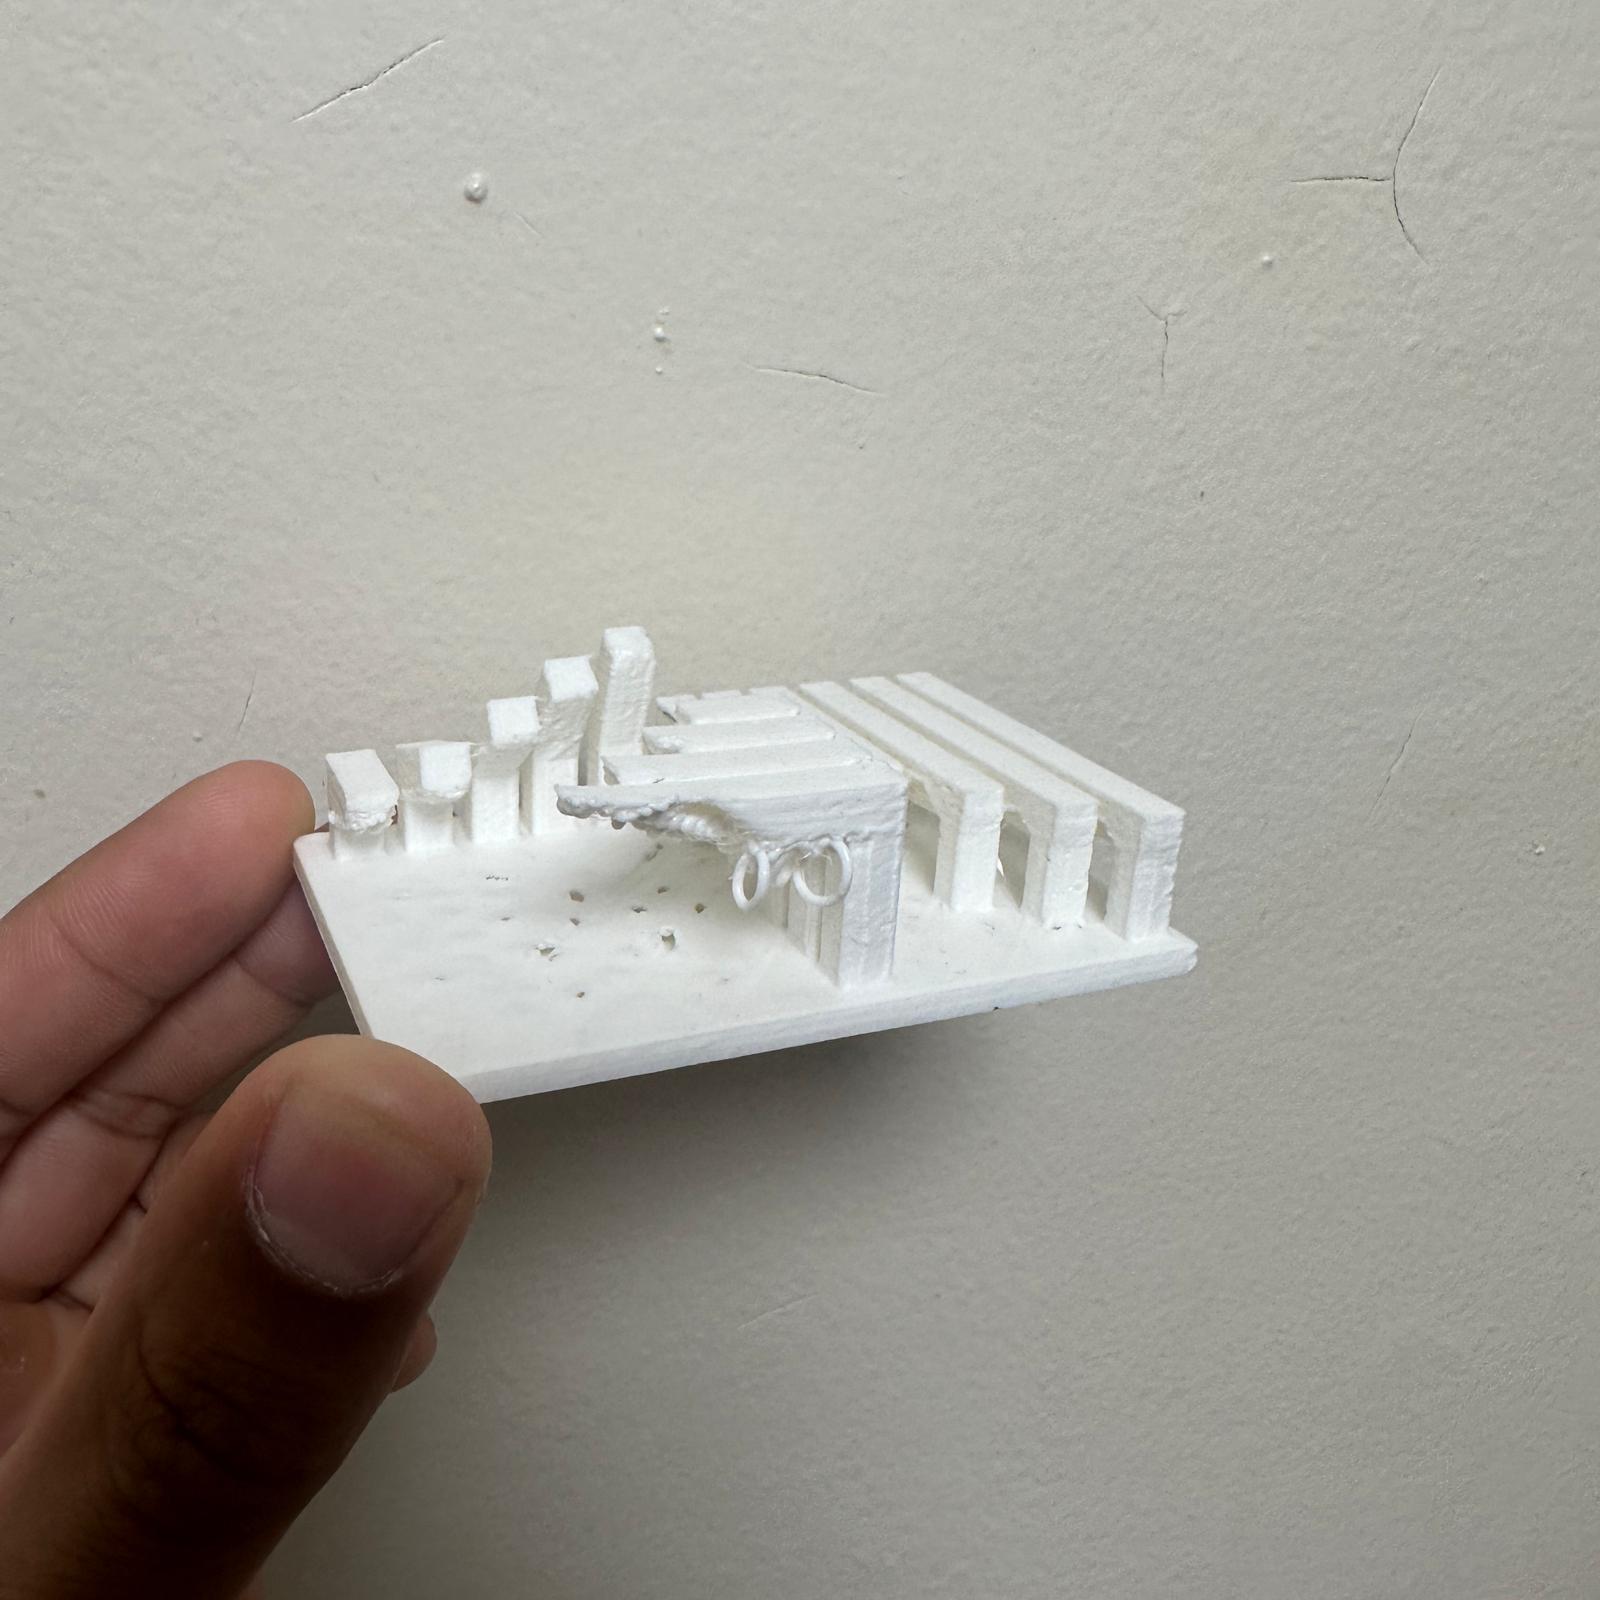
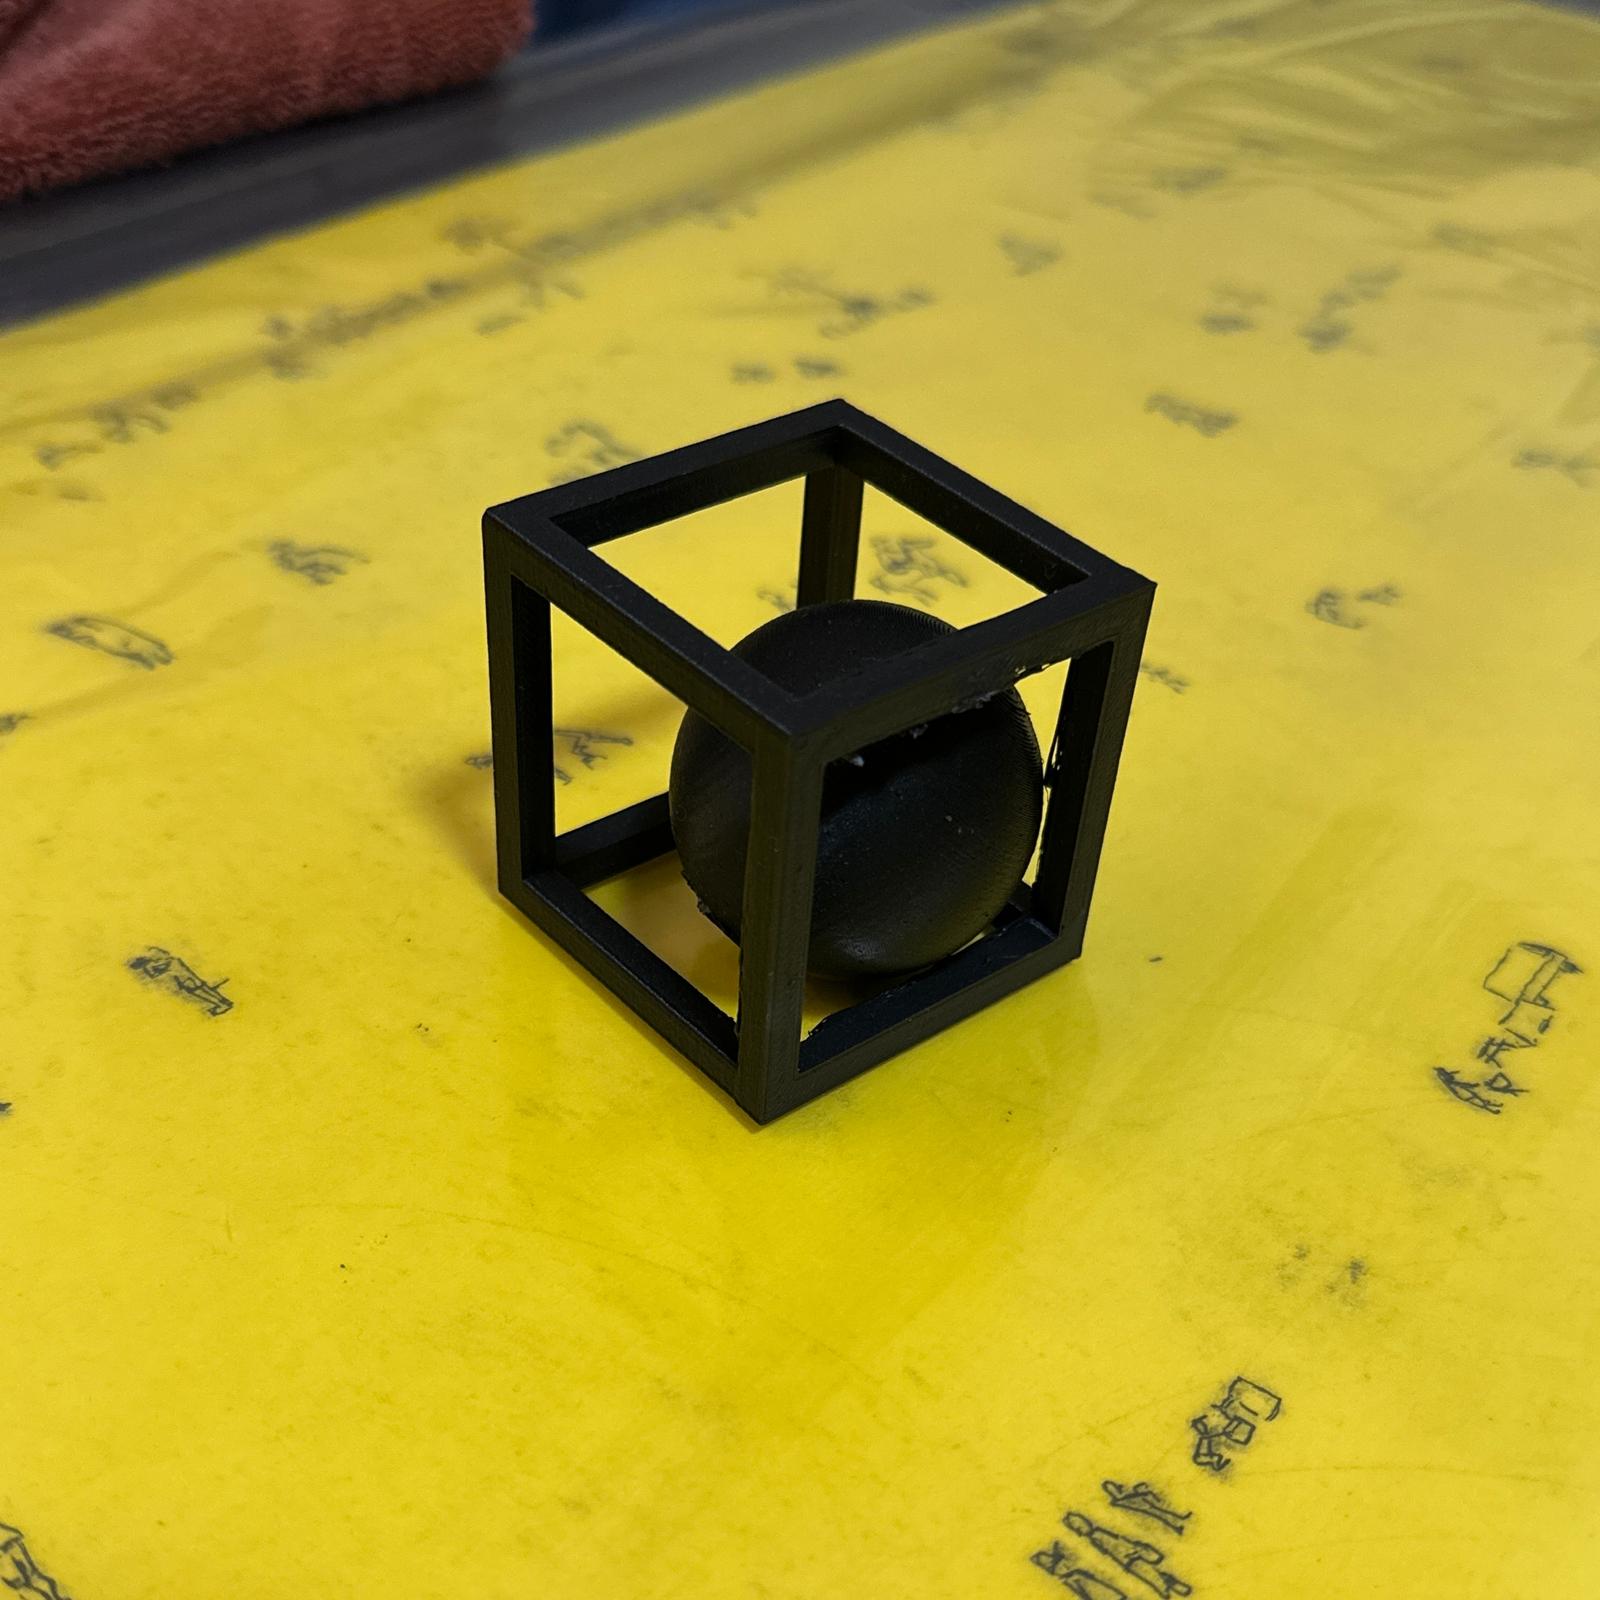
For the individual assignment, I chose to print a sphere within a cube 'cage.' The diameter of the sphere would be larger than the openings in the cage, such that it would've been impossible to put the sphere in if it hadn't been printed along with the cage. I wonder if this object is really impossible to mill. I think that perhaps this could be done with a 3-axis mill if the object were rotated and a number of cutting jobs were completed. Perhaps it could also have been done with a mill with a greater number of axes in one job. I think the important thing to realize, however, is that this, which is a difficult milling problem, was much more easily achievable using a 3D printer.
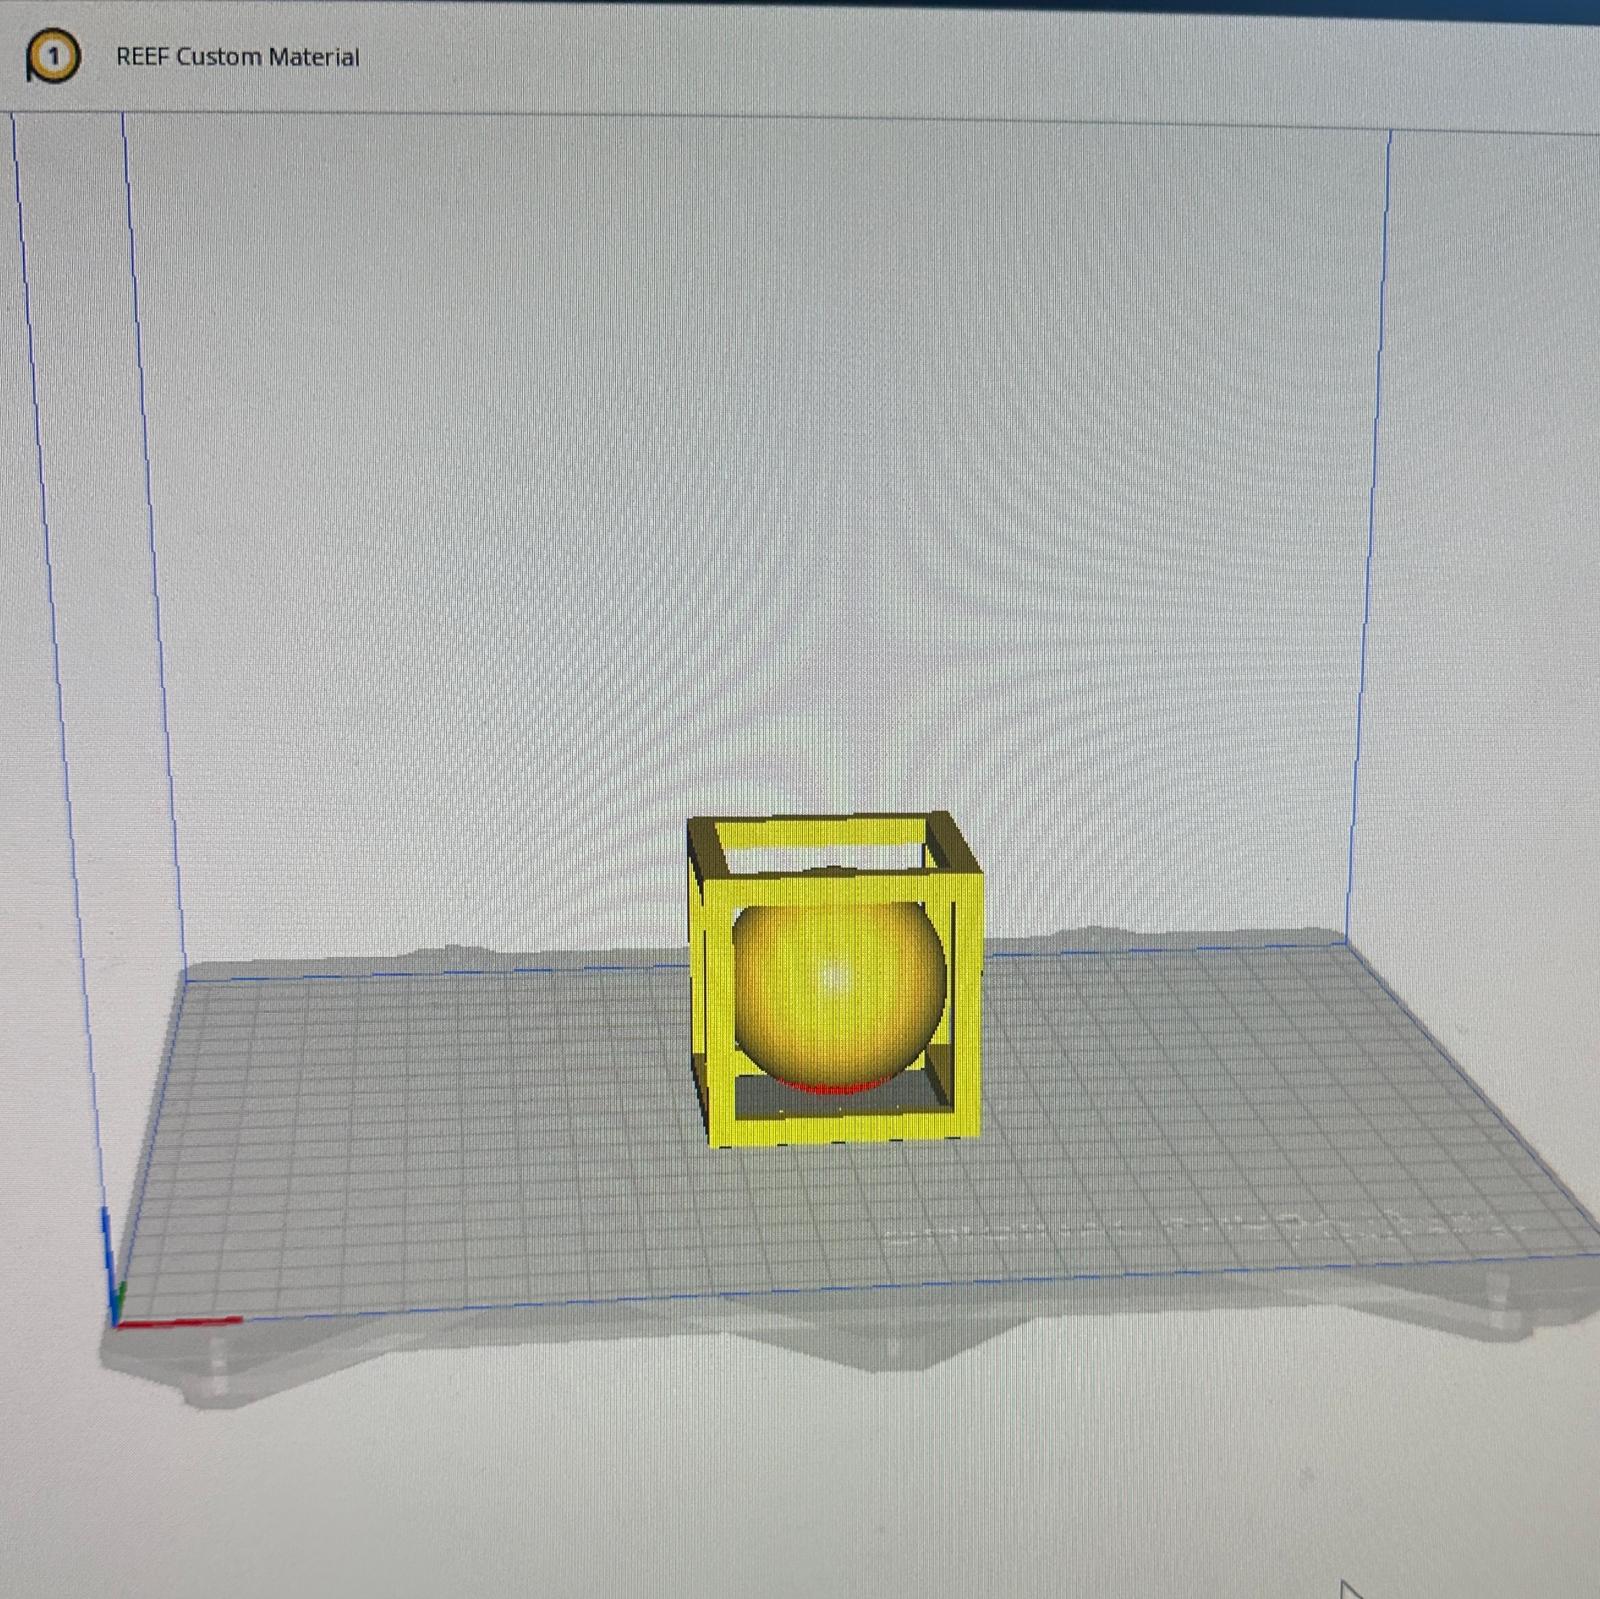
There was some slight 'spaghetti-age' on the horizontal overhangs of my cube. I elected not to use supports because I wanted to see what the 3D printer would be capable of. While it was a little messy at first, the printer ultimately recovered, and the upper sides of the cube are shaped well and are sturdy.
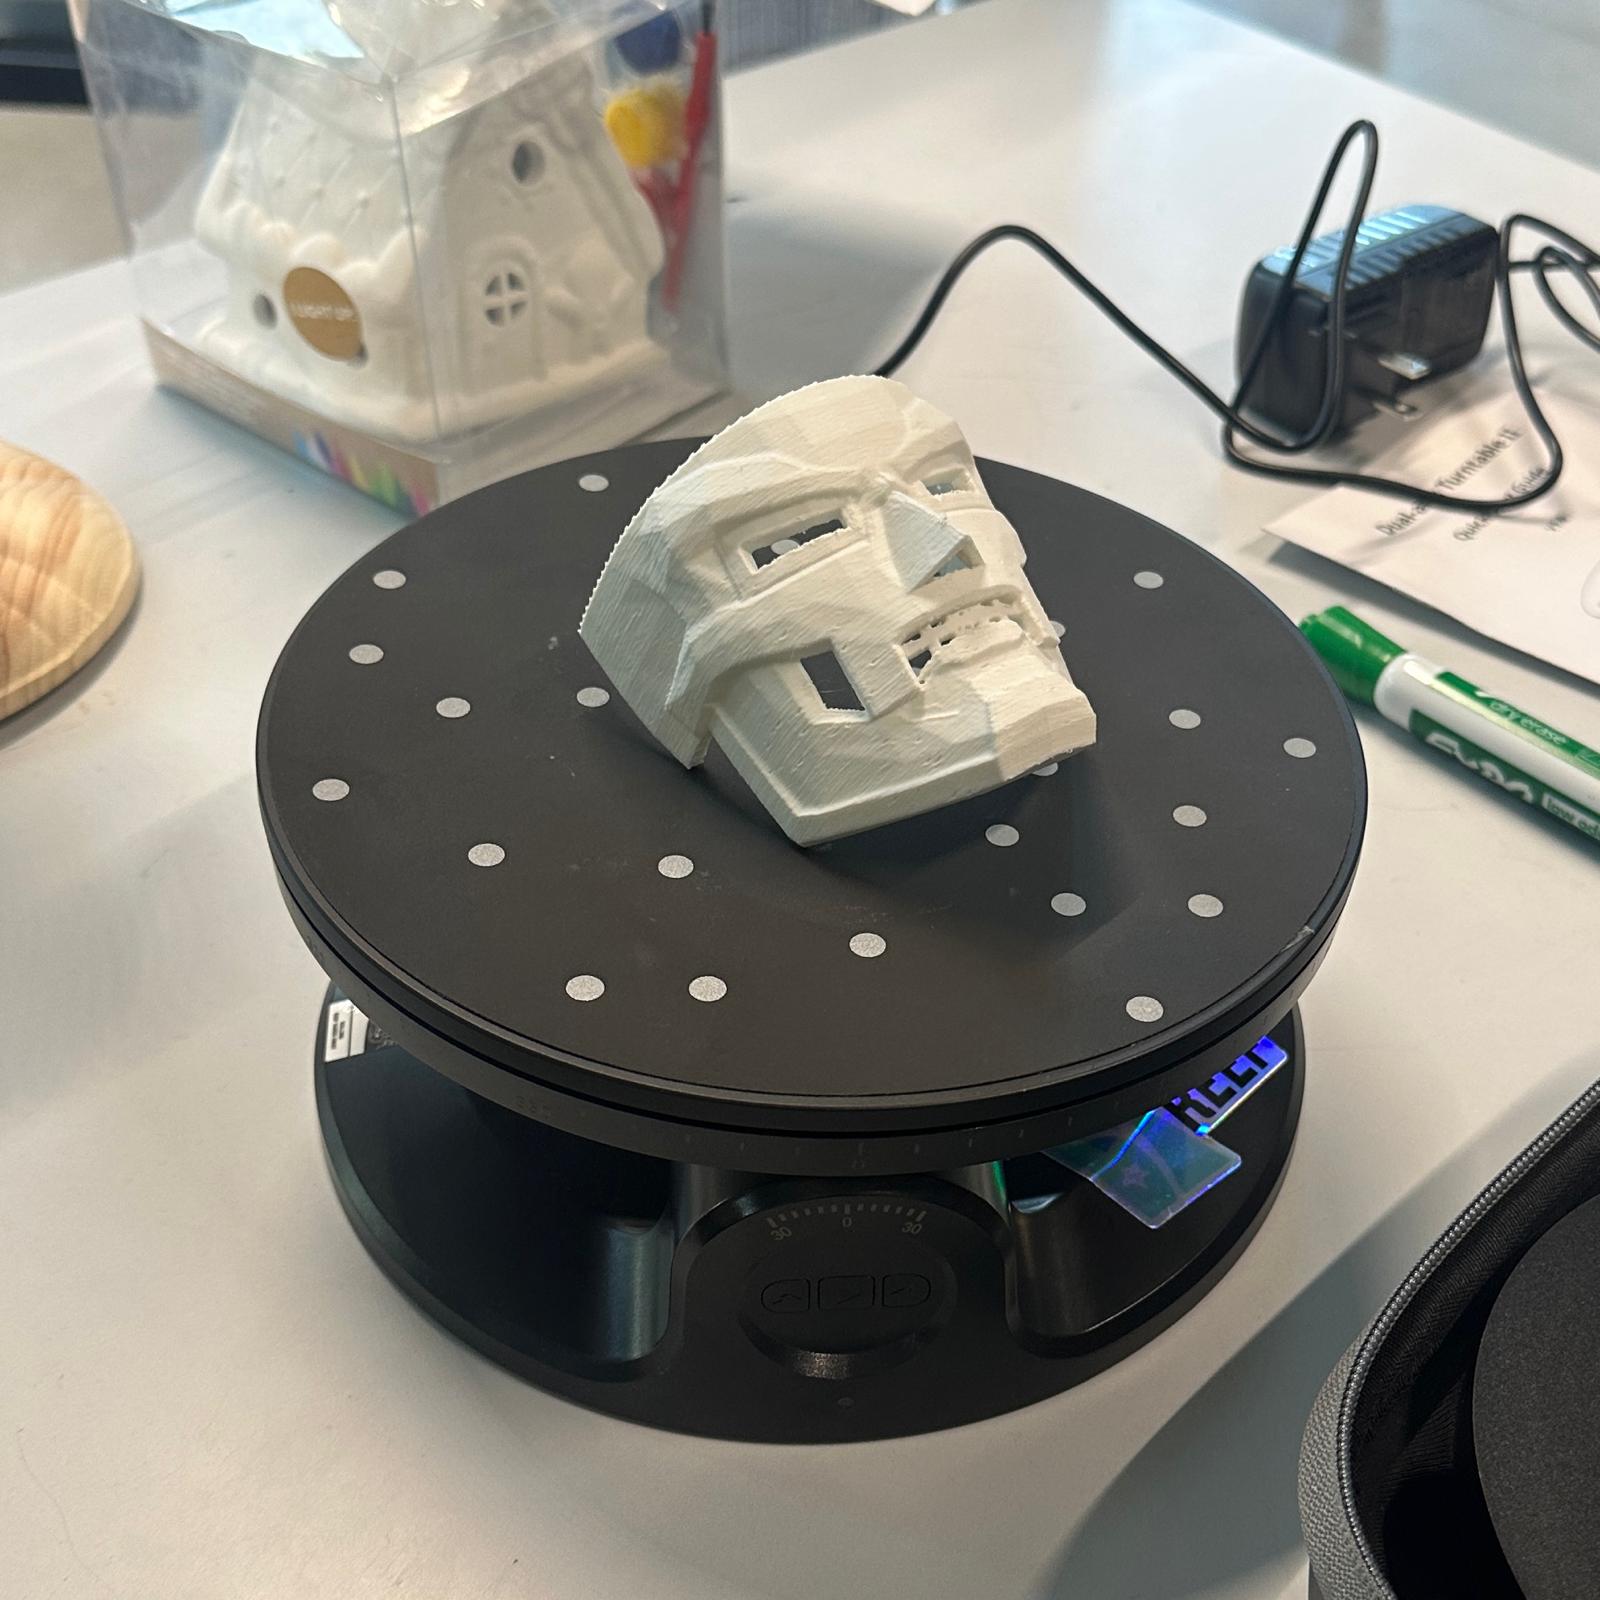
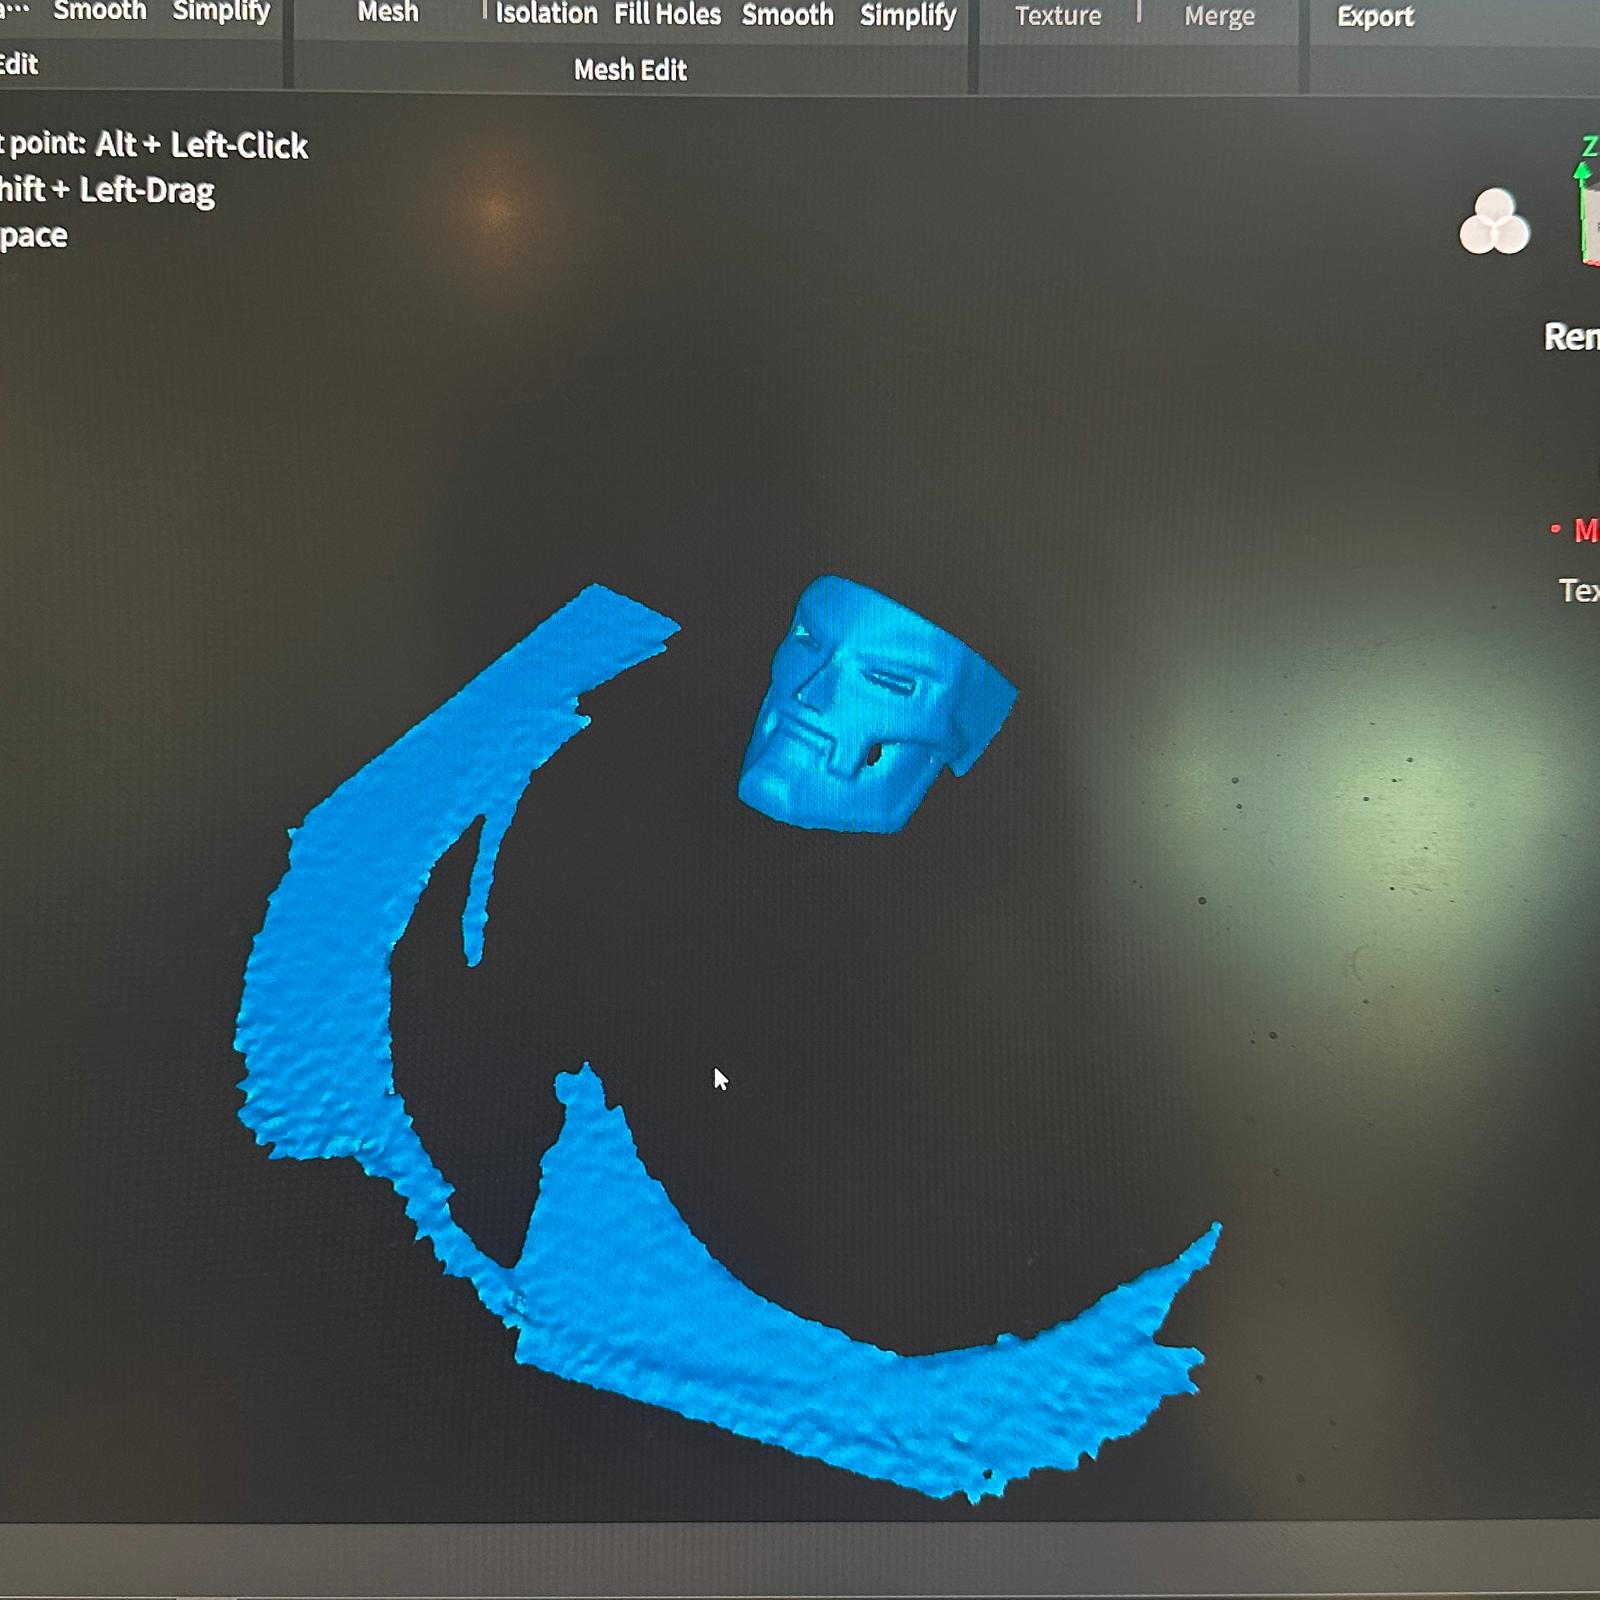
For the 3D scanning assignment, I picked a mask object that someone had recently 3D printed, and I used the Revopoint 3D scanner to scan it. It was a pretty simple process. I elected to use a matte white object because Jeff (Harvard maker-space fellow) told me that shiny objects confuse the scanner, and white objects happen to scan pretty reliably. This process went very smoothly and I was done in about 10 minutes. The scanner did pick up some of the table, and I had trouble divorcing that scan from the image I intended to scan, but I think this could've been corrected had I tried to re-scan the object. This was a really impressive and fun task, and I wonder how I could apply it to projects in the future.
This week's assignment was a great review of 3D printing techniques and principles. I took advantage of my time CADding and using the 3D printers to also 3D print some items for my thesis project. Below is an image of a mouthpiece I printed, which a user will blow into to collect and analyze a sample of their breath. I also CADded a housing for a PCB and microcontroller setup that will distribute the collected breath sample over a group of sensors evenly. This object has internal contours that could not be made via milling. I also think that the small diameter holes in it will be pushing the limits of the 3D-printer's resolution. It's still in the process of printing, and I'm excited to see how it will turn out.
