Machine Week
For this week, I was part of the integration/UI team. The hope was to create an interface for the Barduino, which would set and tell the machine what to do.
I remember coming across PyQT before, so I decided to use it, as it has a dedicated GUI to design a UI through pick and place objects.
There are 3 different interfaces that are QT related:
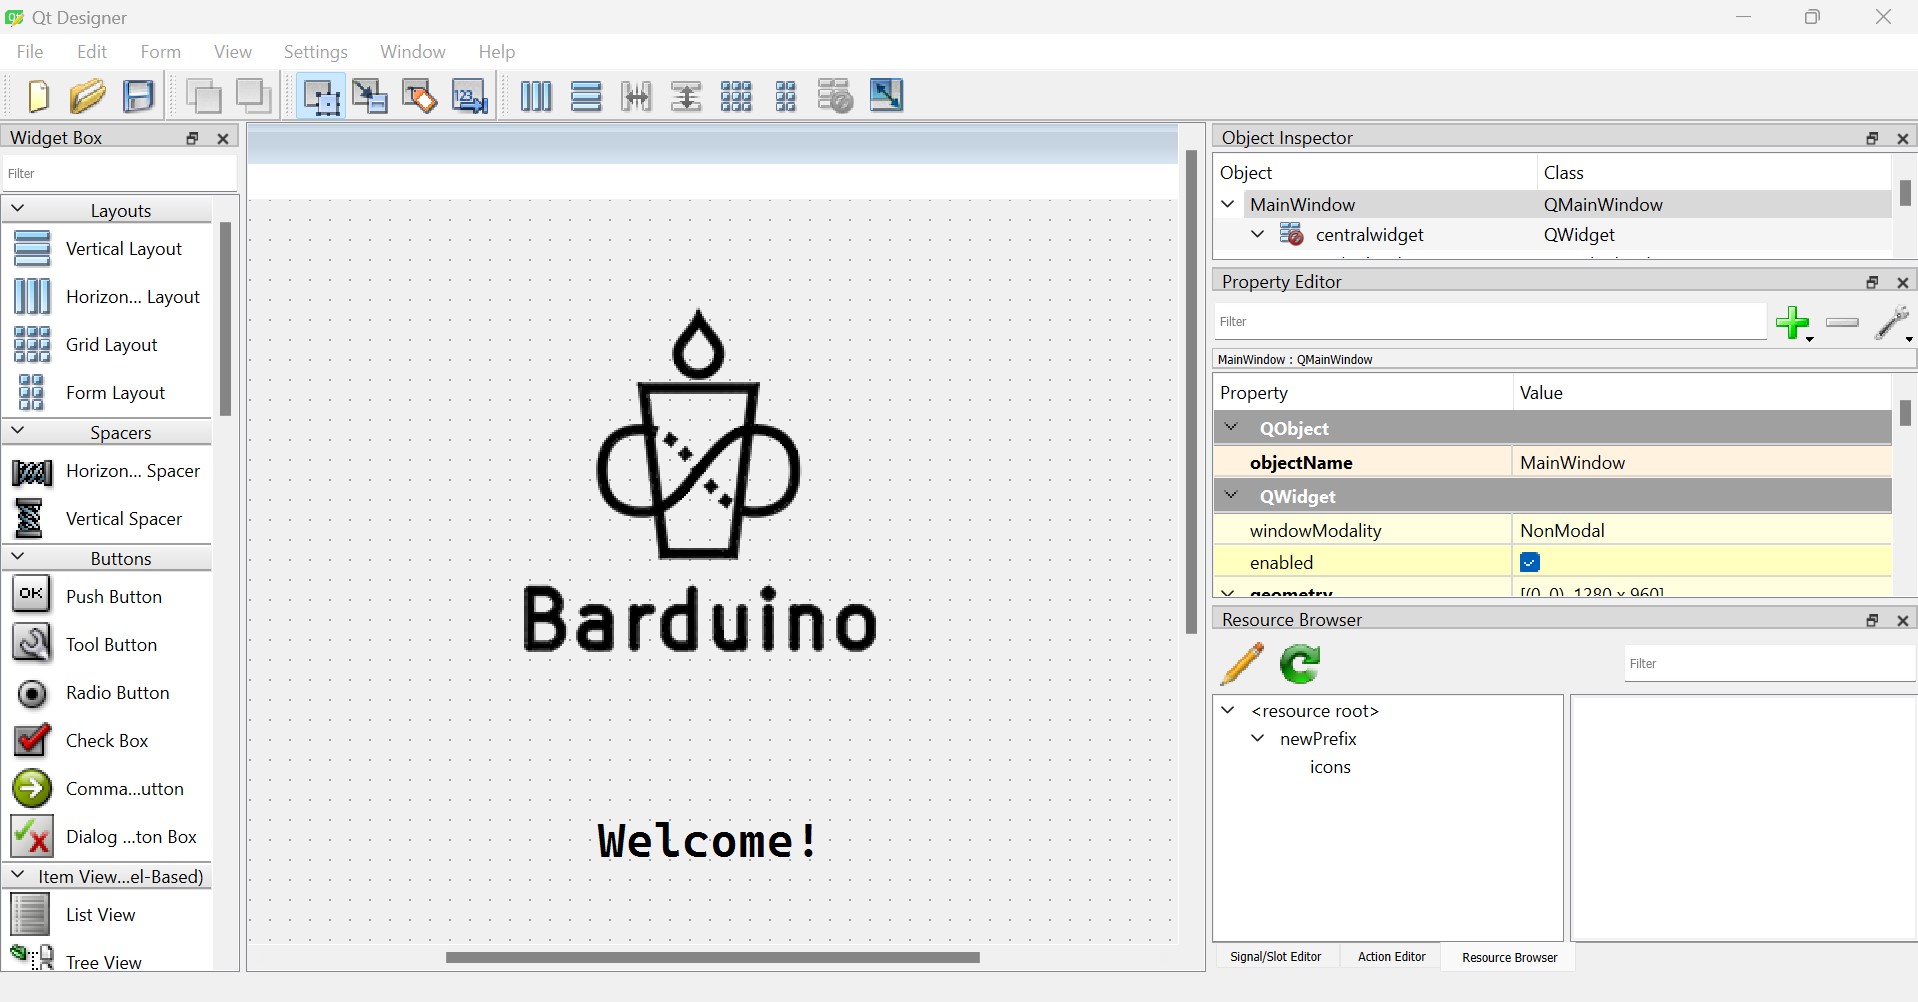
- QT Designer: The most basic version. Creates something that looks like a windows popup, but functional. The UI file requires a pyuic5 conversion into PyQT code.
- QT Design Studio: The sharp rocks against the siren island. It sings of promises of modern looking applications but is confusing, outputs another file format than UI, and in general is not made for beginners.
- QT Creator: Interfaces with the above
- PyQt: Python version of QT
I started off in QT Designer by learning how to switch between stackedviews by creating a first version of the GUI with 3 windows.

QT Designer generates a .ui file, which can be converted into a .py file through pyuic5. When adding photos, it will generate a .qrc file which also needs to be converted through pyrcc5.
UI to PY conversion
pyuic5 input.ui -o output.py
QRC to PY conversion
pyrcc5 input.qrc -o output.py
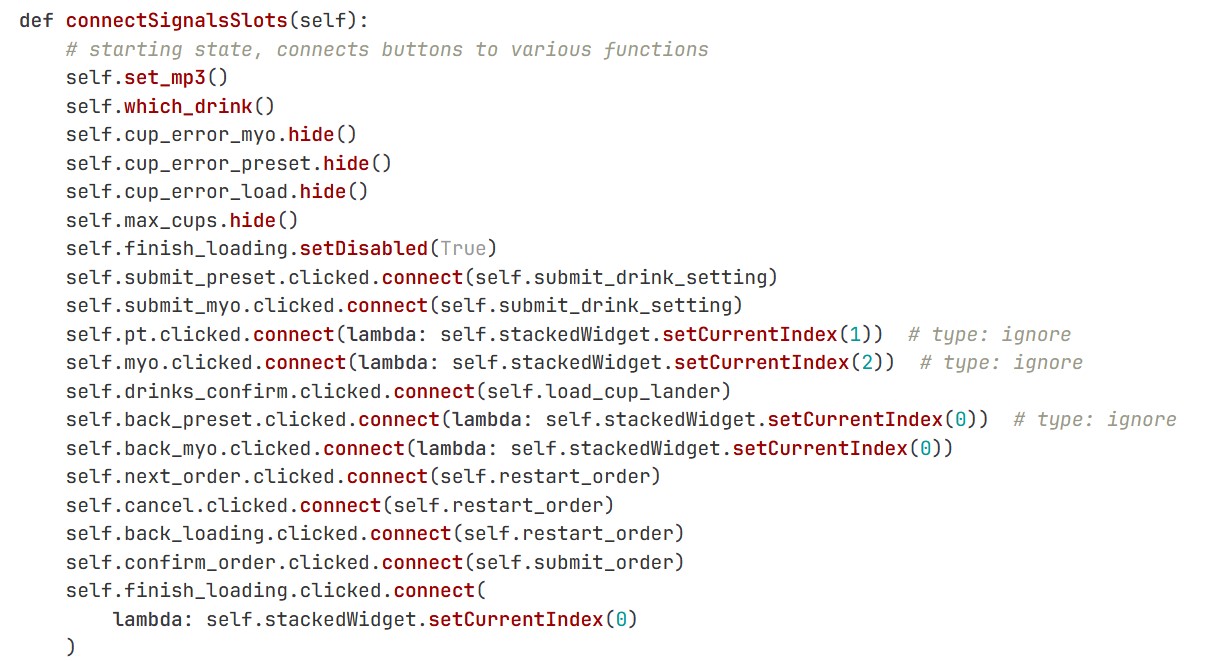
Then, I had to connect the buttons to the functions through .connect

Once that was working, I expanded it to a 6 panel system, adding more functionality as the machine evolved.