Documentation
Group Assignment
We are attempting to find the limits of our printers by printing a bunch of tiny prints.
This was a prettyy cool assignment because I had never though about some of the limits and
although there might be some limits for the printers earlier tests might look cleaner.
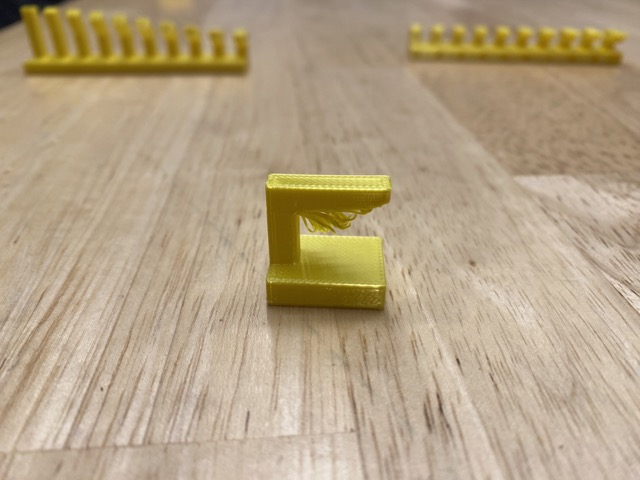 -overhang
 -clearance
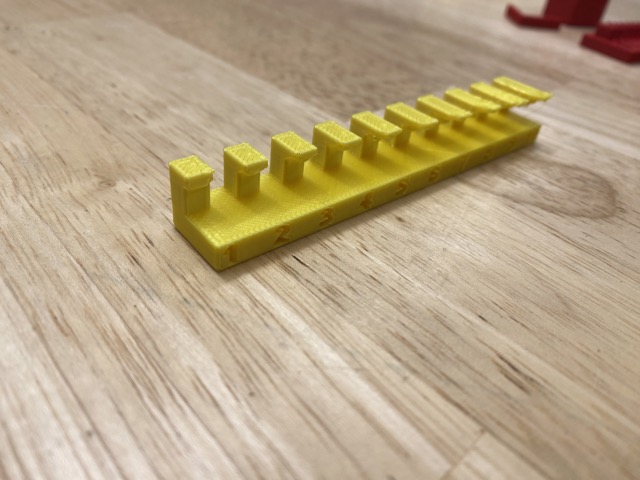 -unsupported
 -angle
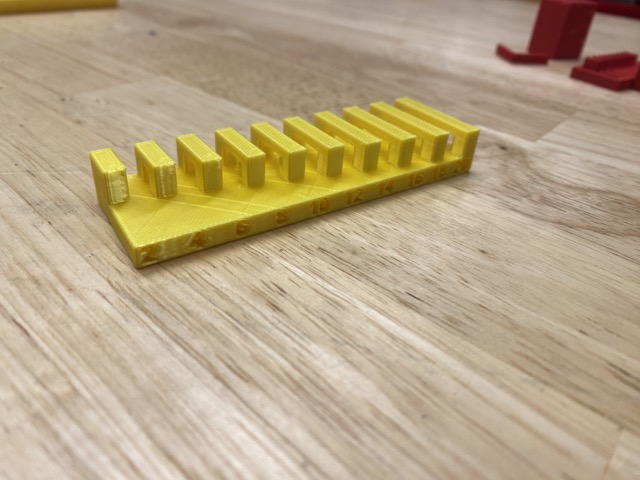 -bridging
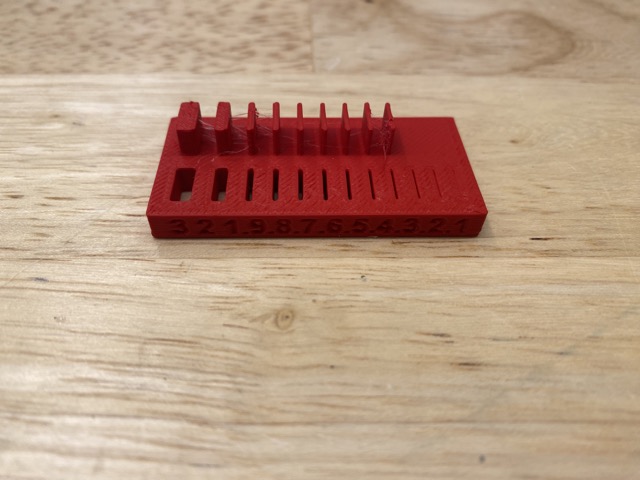
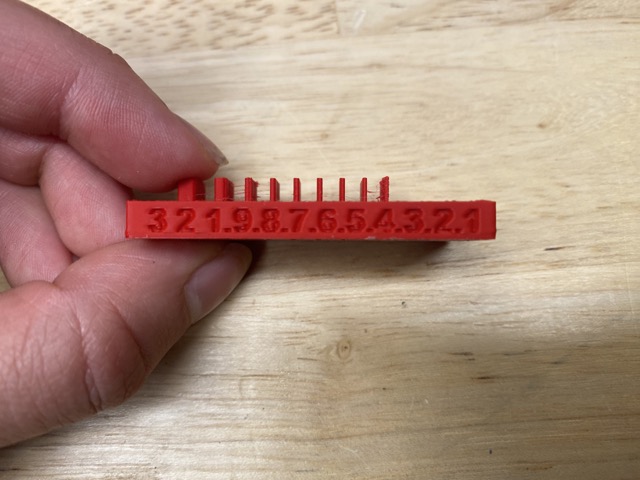 -wall thickness
 -dimensions
-anisotropy
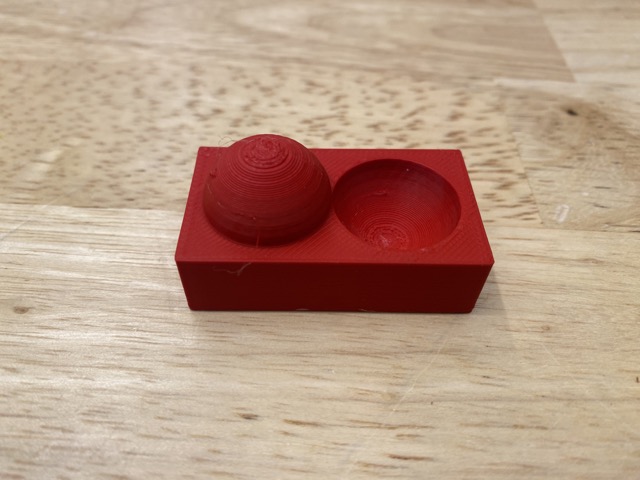 -surface finish
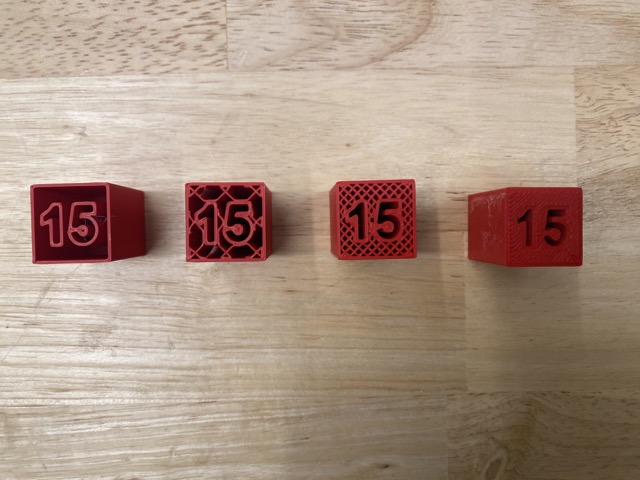 -infill
Brainstorming Designs
I looked on pinterest for different types of headphone mounts and they all looks super clean but kind of lack a
cool design element to them.
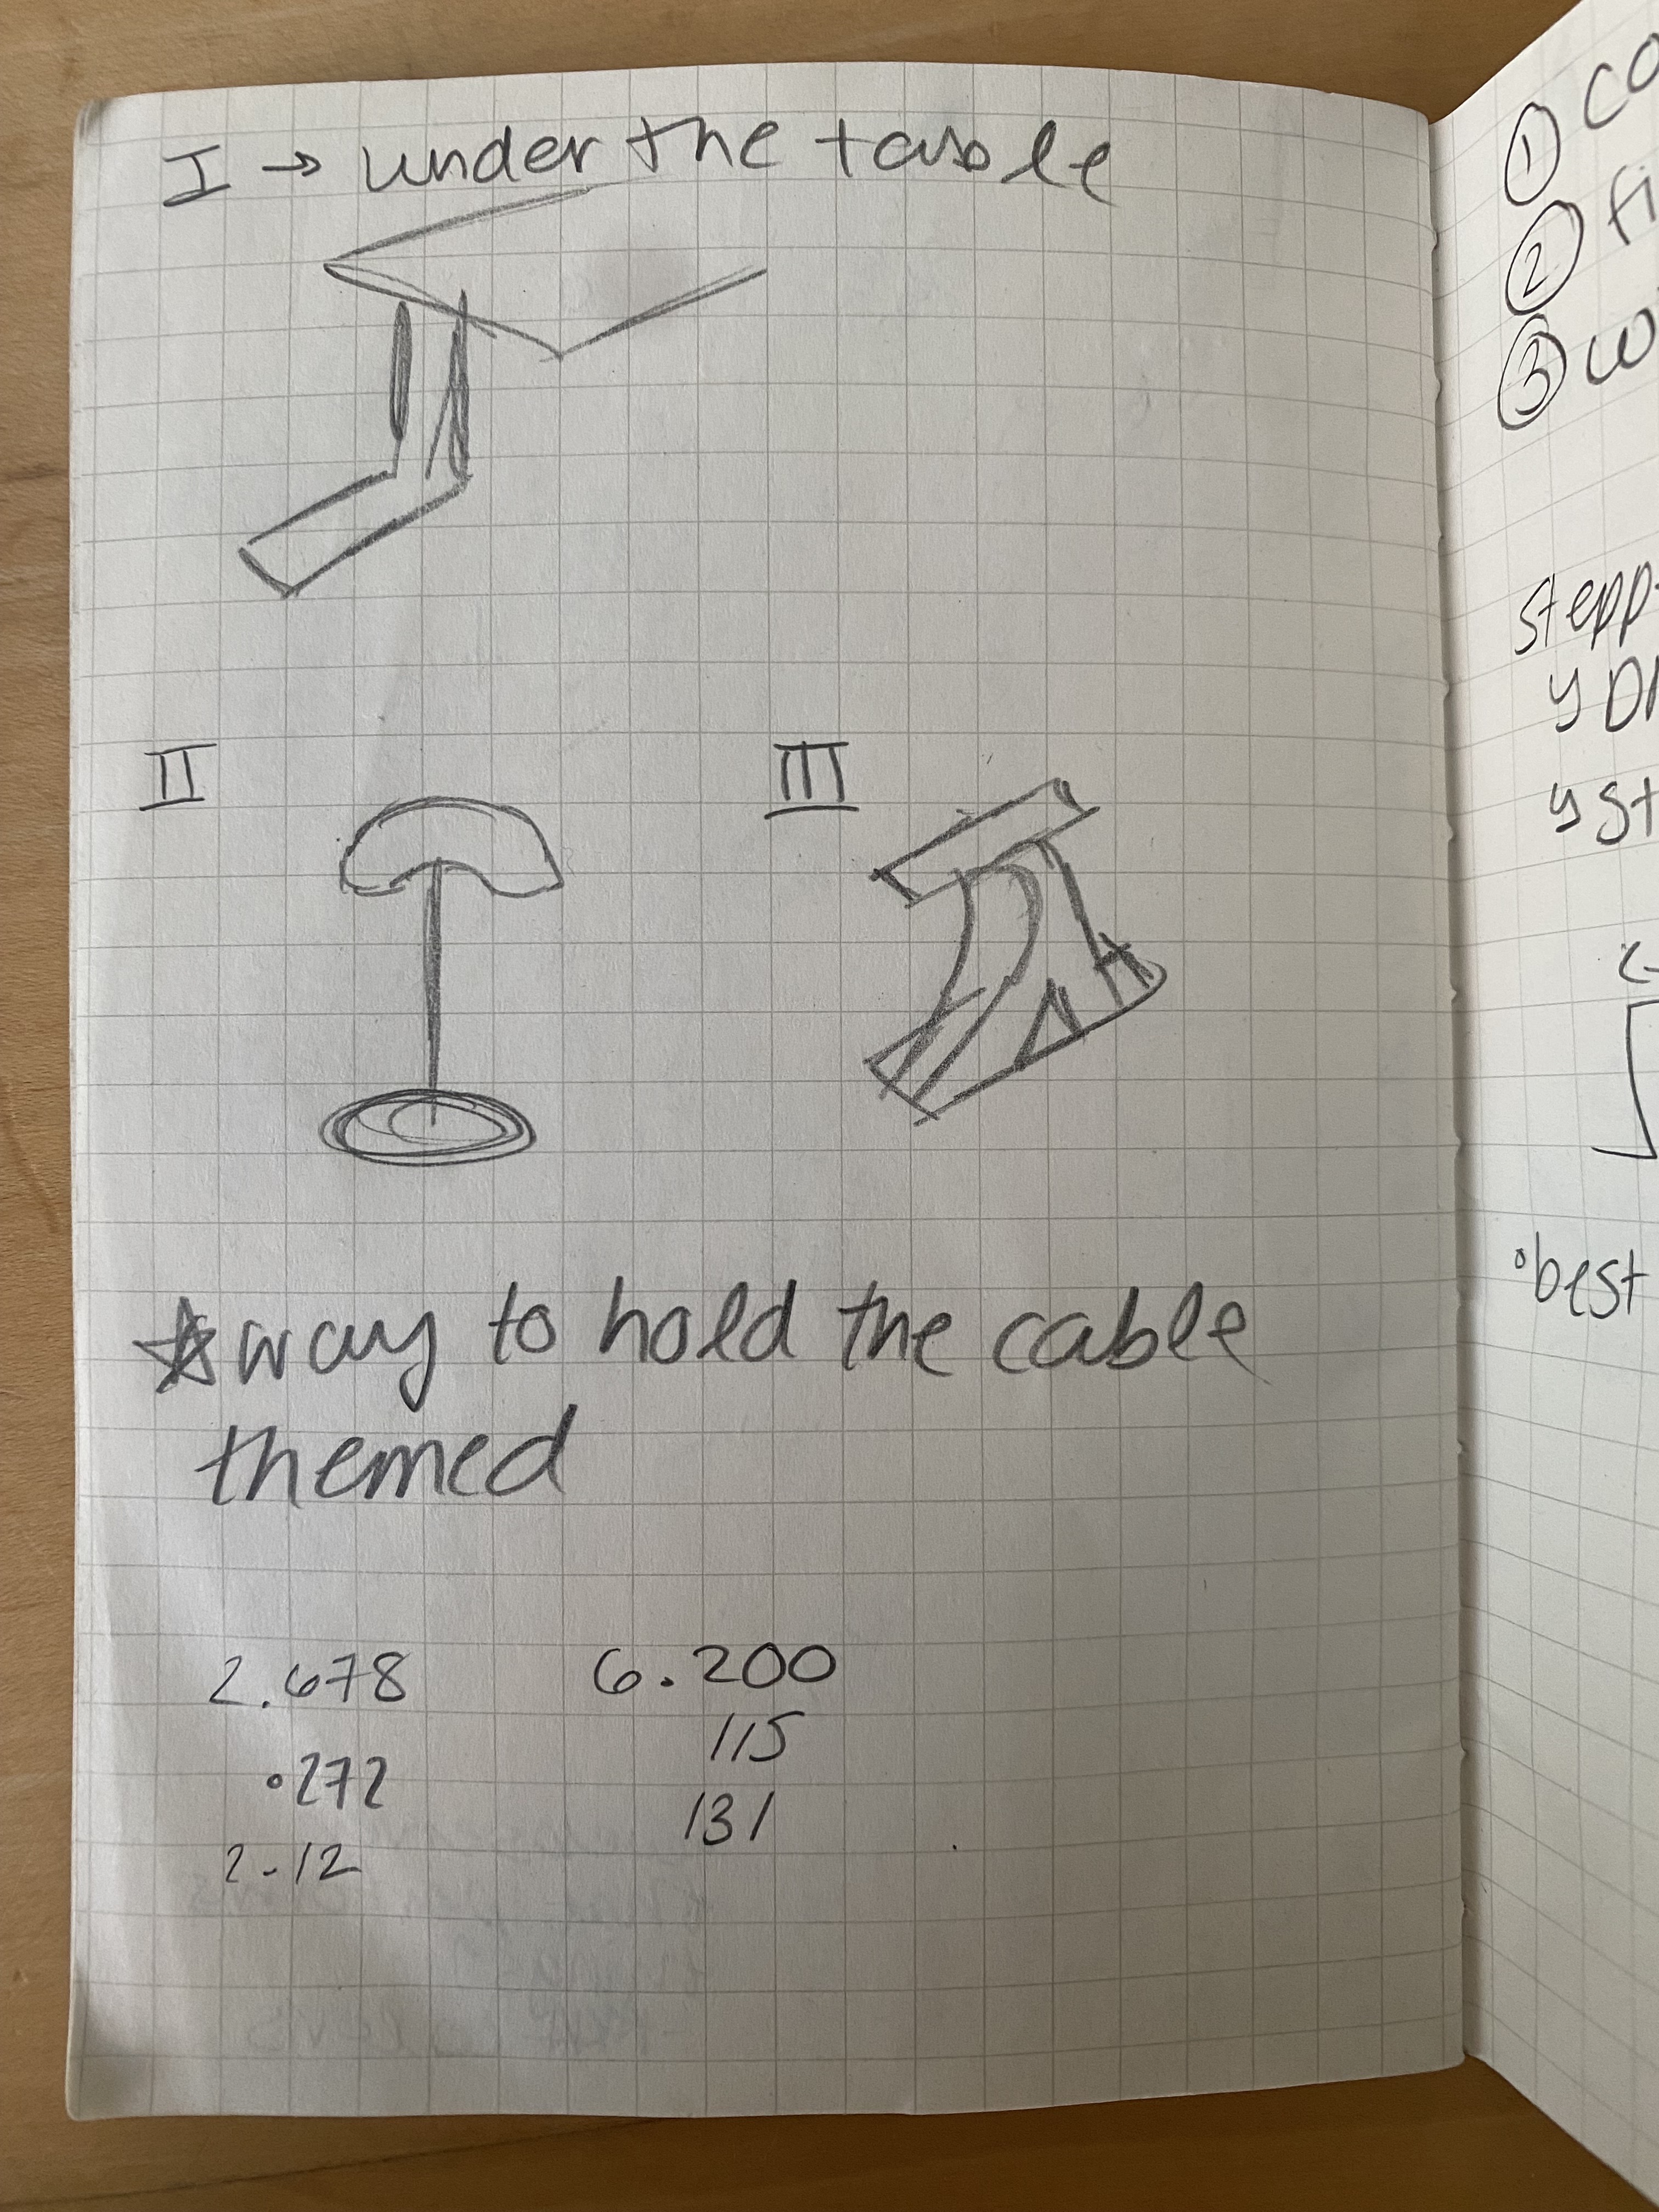
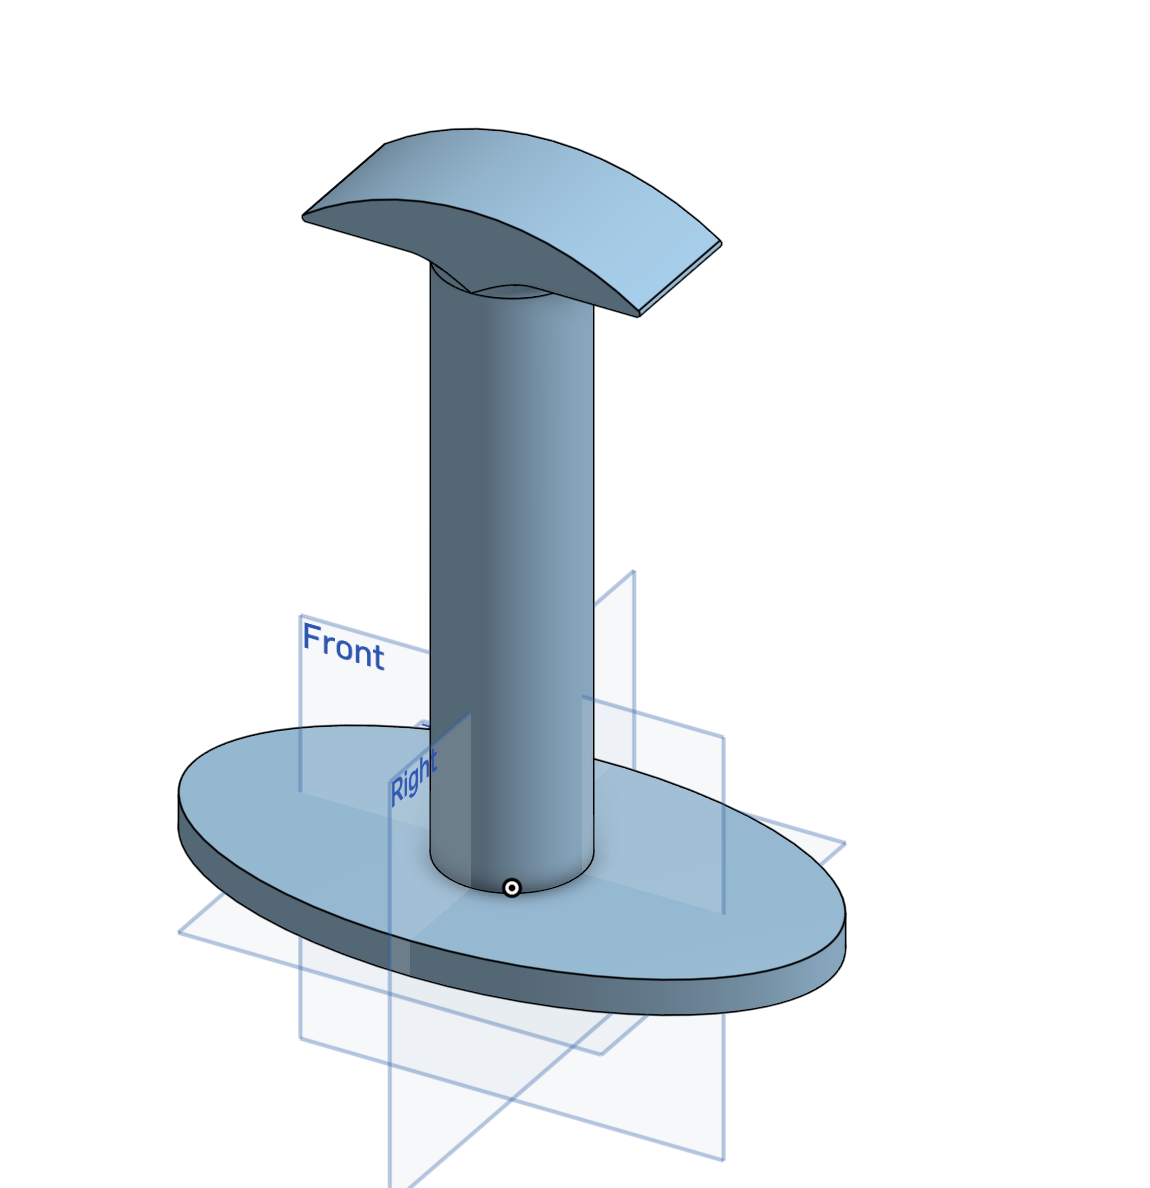
So I have decided to make a starwars themed headphone holder and see if I can
pull off enough detail to make it look cool but also easy enough to design. I looked into it and they are mostly
star wars character faces like c3po but I was thinking something easier but also cooler like one of the spaceships
I was thinking about doing maybe an xwing pointed down but then it would be difficult to add a way to hold the headphones
without significantly altering the design of the spaceship so then I started thinking about more circular spaceships
like a Tyfighter soooo these are my attempts!
TyFighters
I made a pretty simply sketch to draw out the idea and the basic parts are the spaceship itself, a holder for the cable,
and a stand for the whole ship so it doesn't tip over.
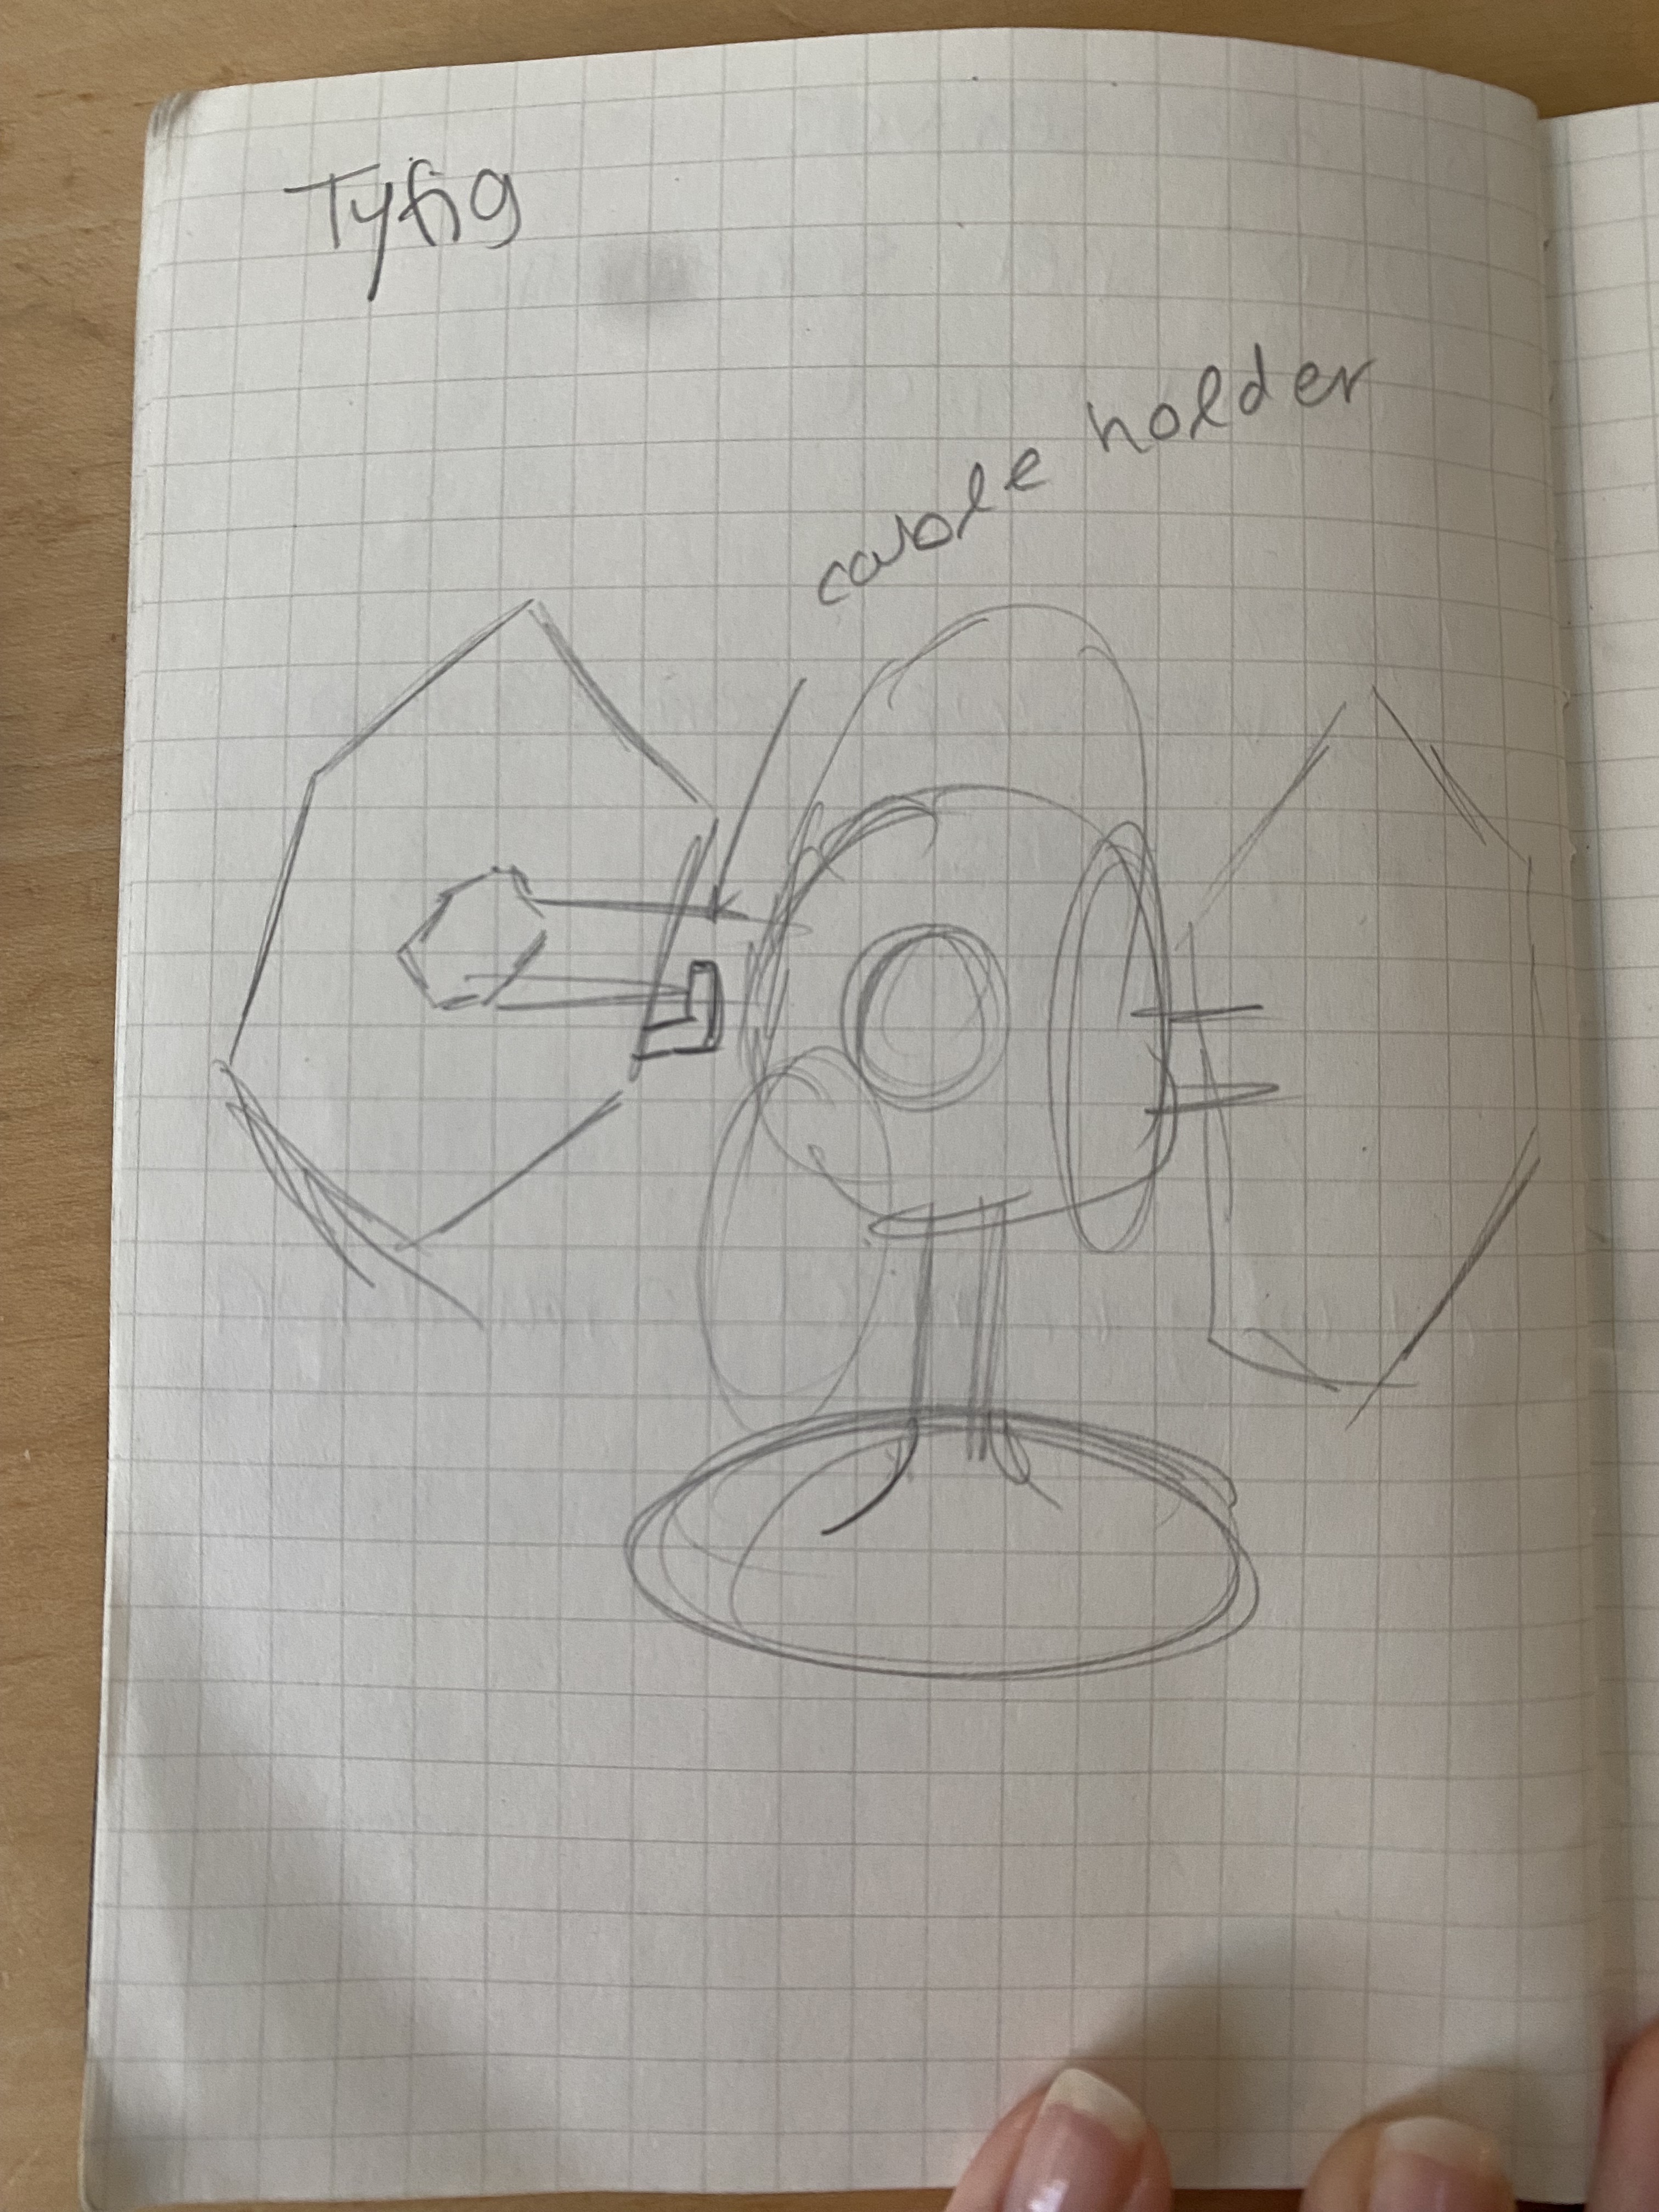
I dont wan't to make it hollow because then it will have supports
in the middle but I also don't want to make the whole stand super heavy so I will probably mess with the infill to make it
pretty light. The first problem I am running into is that I currently don't have his headset
anddd I don't know what the radius is so I probably have to design it in a way that everything can change when I input the radius.
I asked the expert, Jose my brother, and he said that the cockpit which is where the headphones will rest on should be smaller
in comparison to the wings but since that is where the headphones will stay it can't so it is now a "chibi" Tyfighter
This is what the quick sketch looks like and now I am going to start adding details to make it look more accurate.
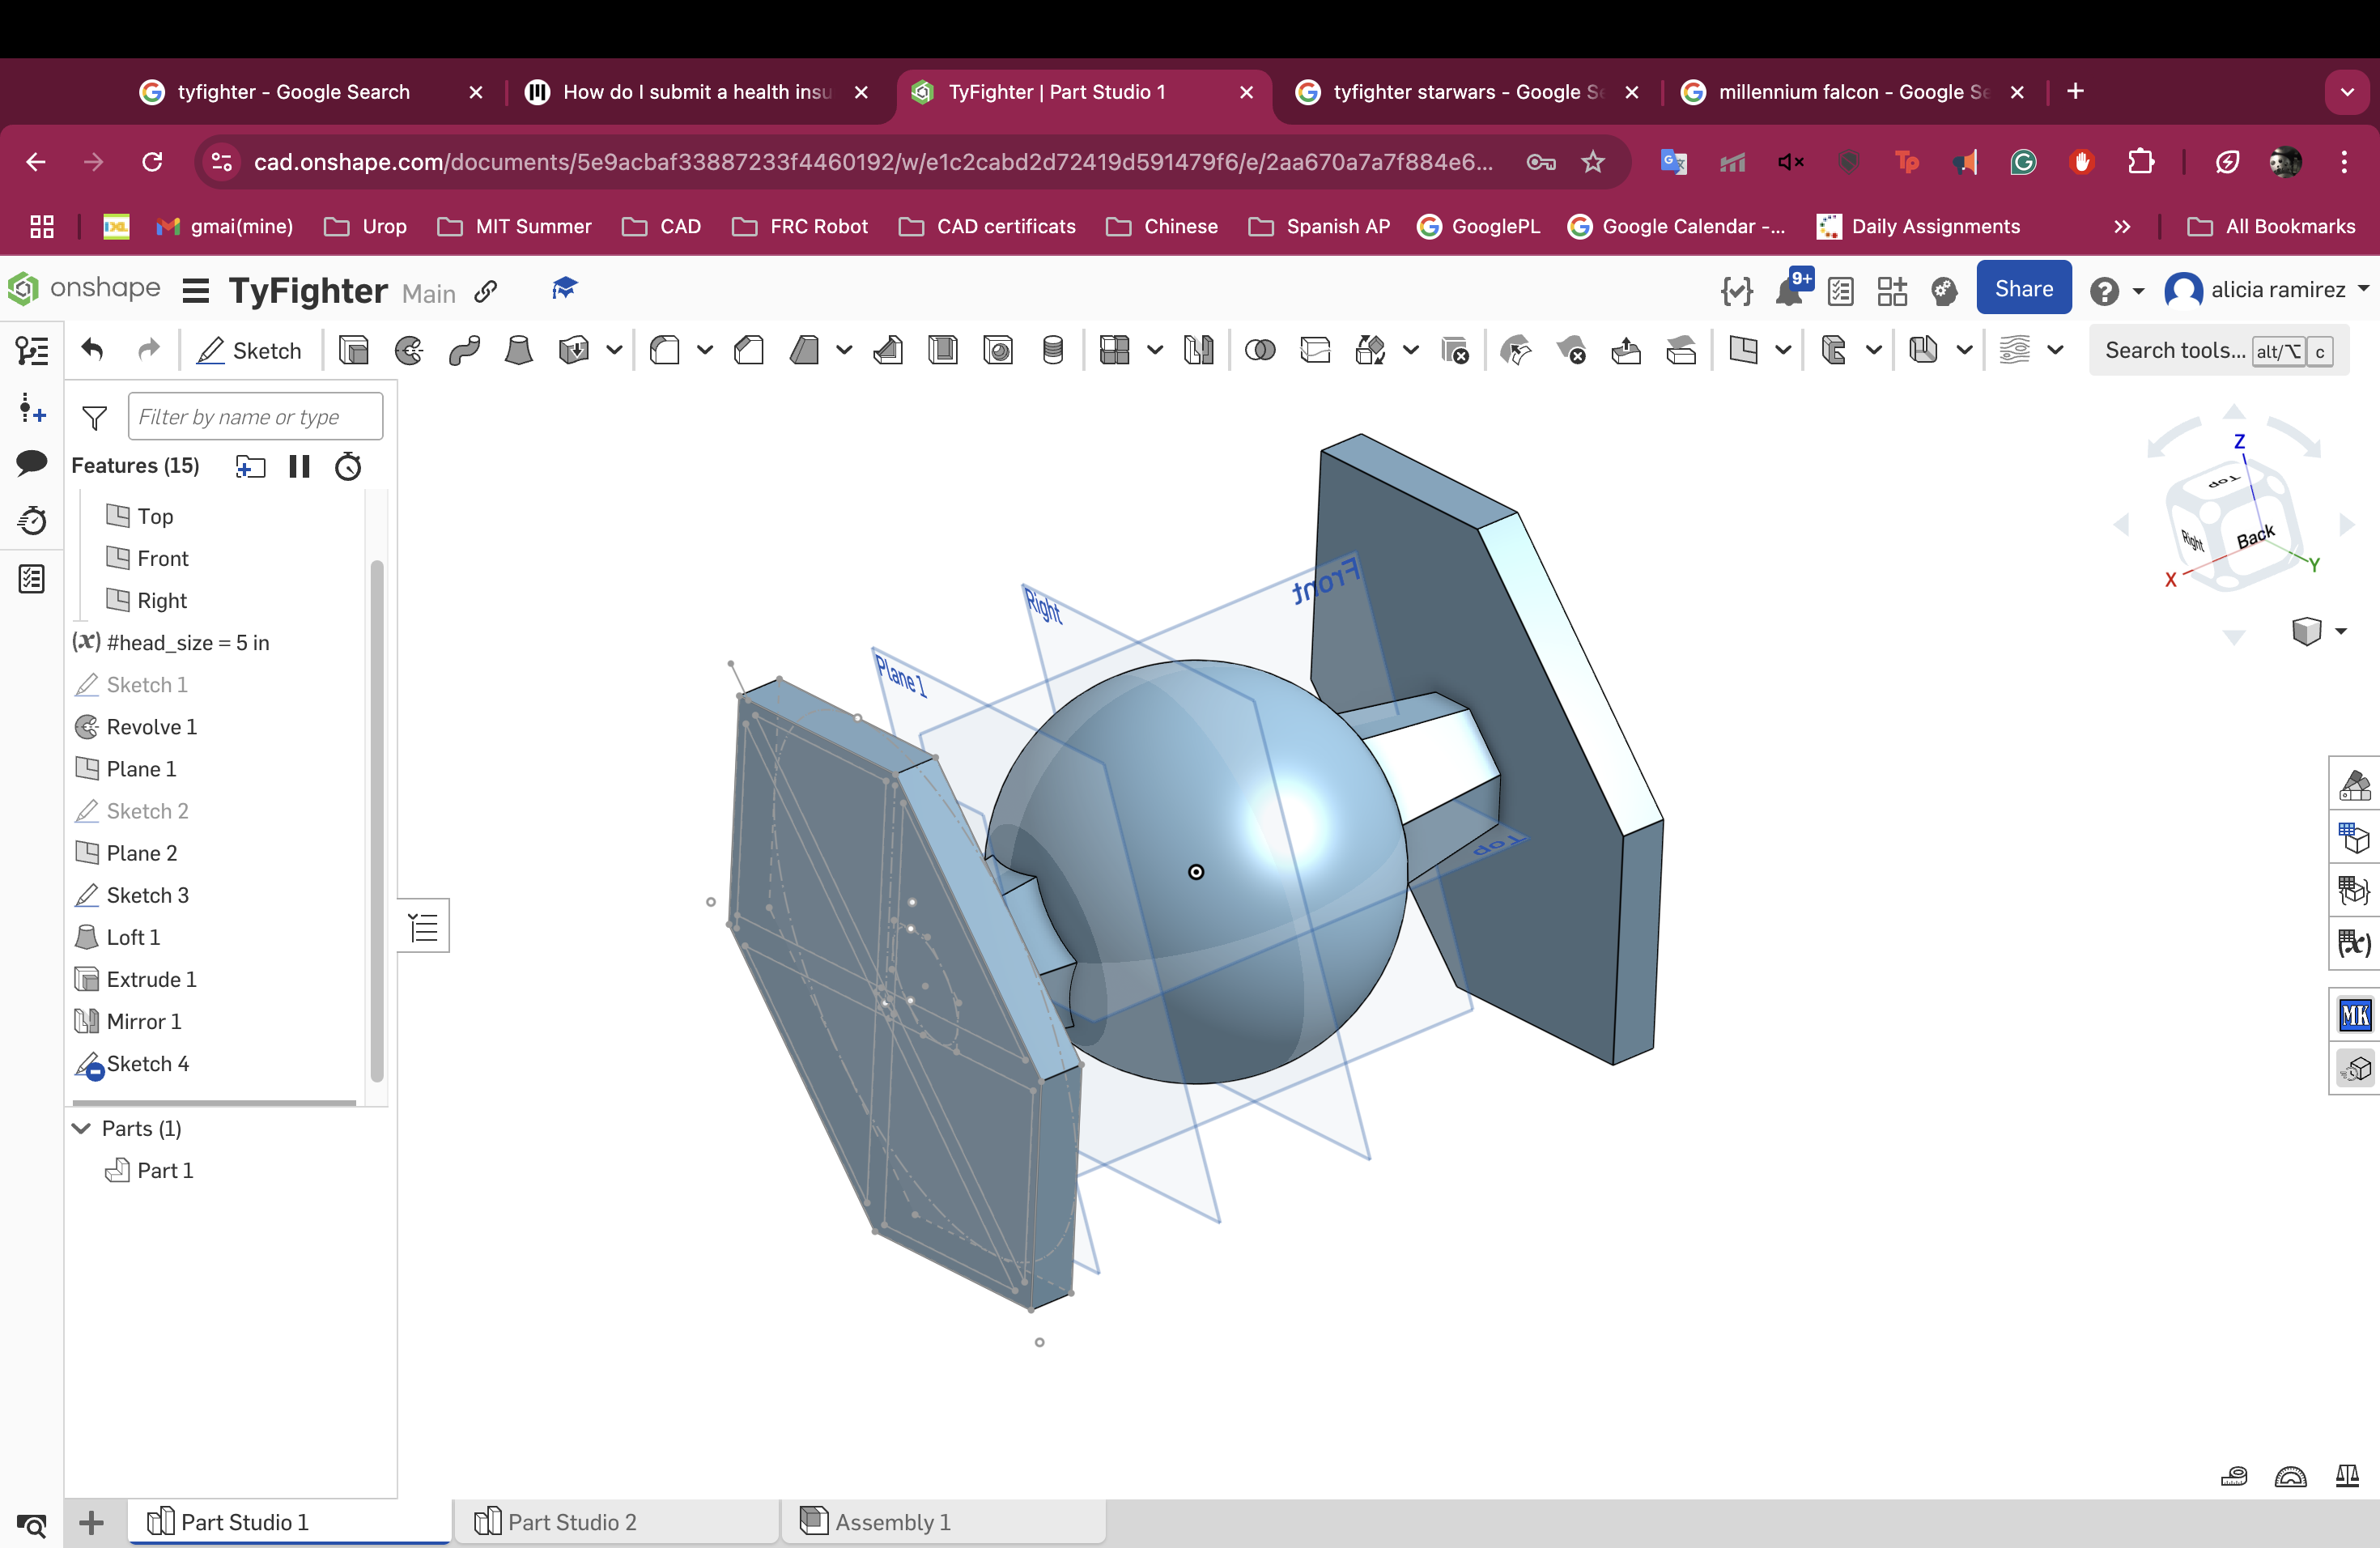
I added the little details and all that is left is maybe adding more detail to the cockpit but I am unsure I will be able to.
I am also more than a little worried about the actual printing.

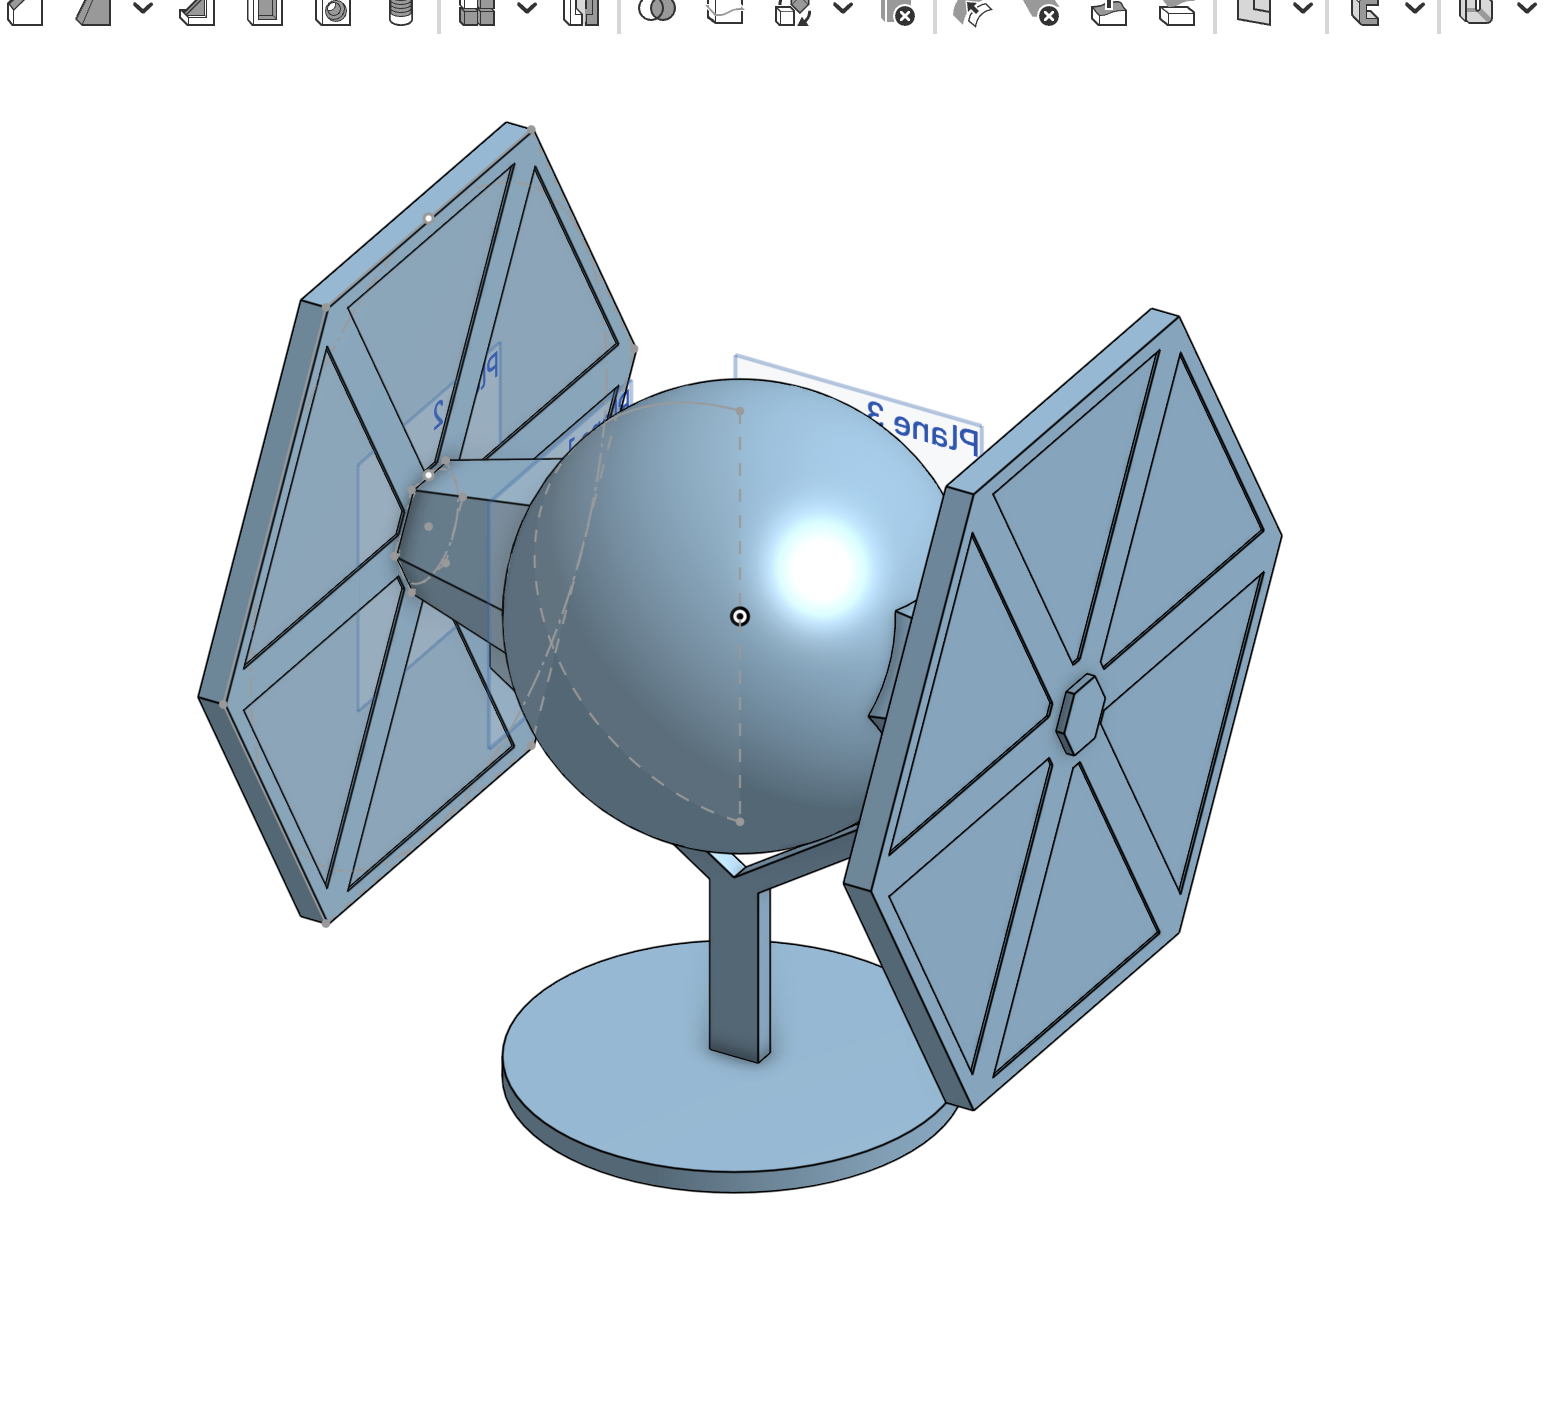
I completley messed up. Apparently I made the radius of the circle the
diameter so I made the whole thing super small. So when I scaled it up it all fell apart. I was able to fix it and now I am going to see
if it even fits inside my printer because just the wing itself is 15 inches big. I was able to figure out how to put in the curved
details. I was able to make a new revolve slighlty bigger than the body and I created a new sketch that was supposed to be the extrusions
and just extruded it to a face which was the curved face and then hid the bigger revolve.
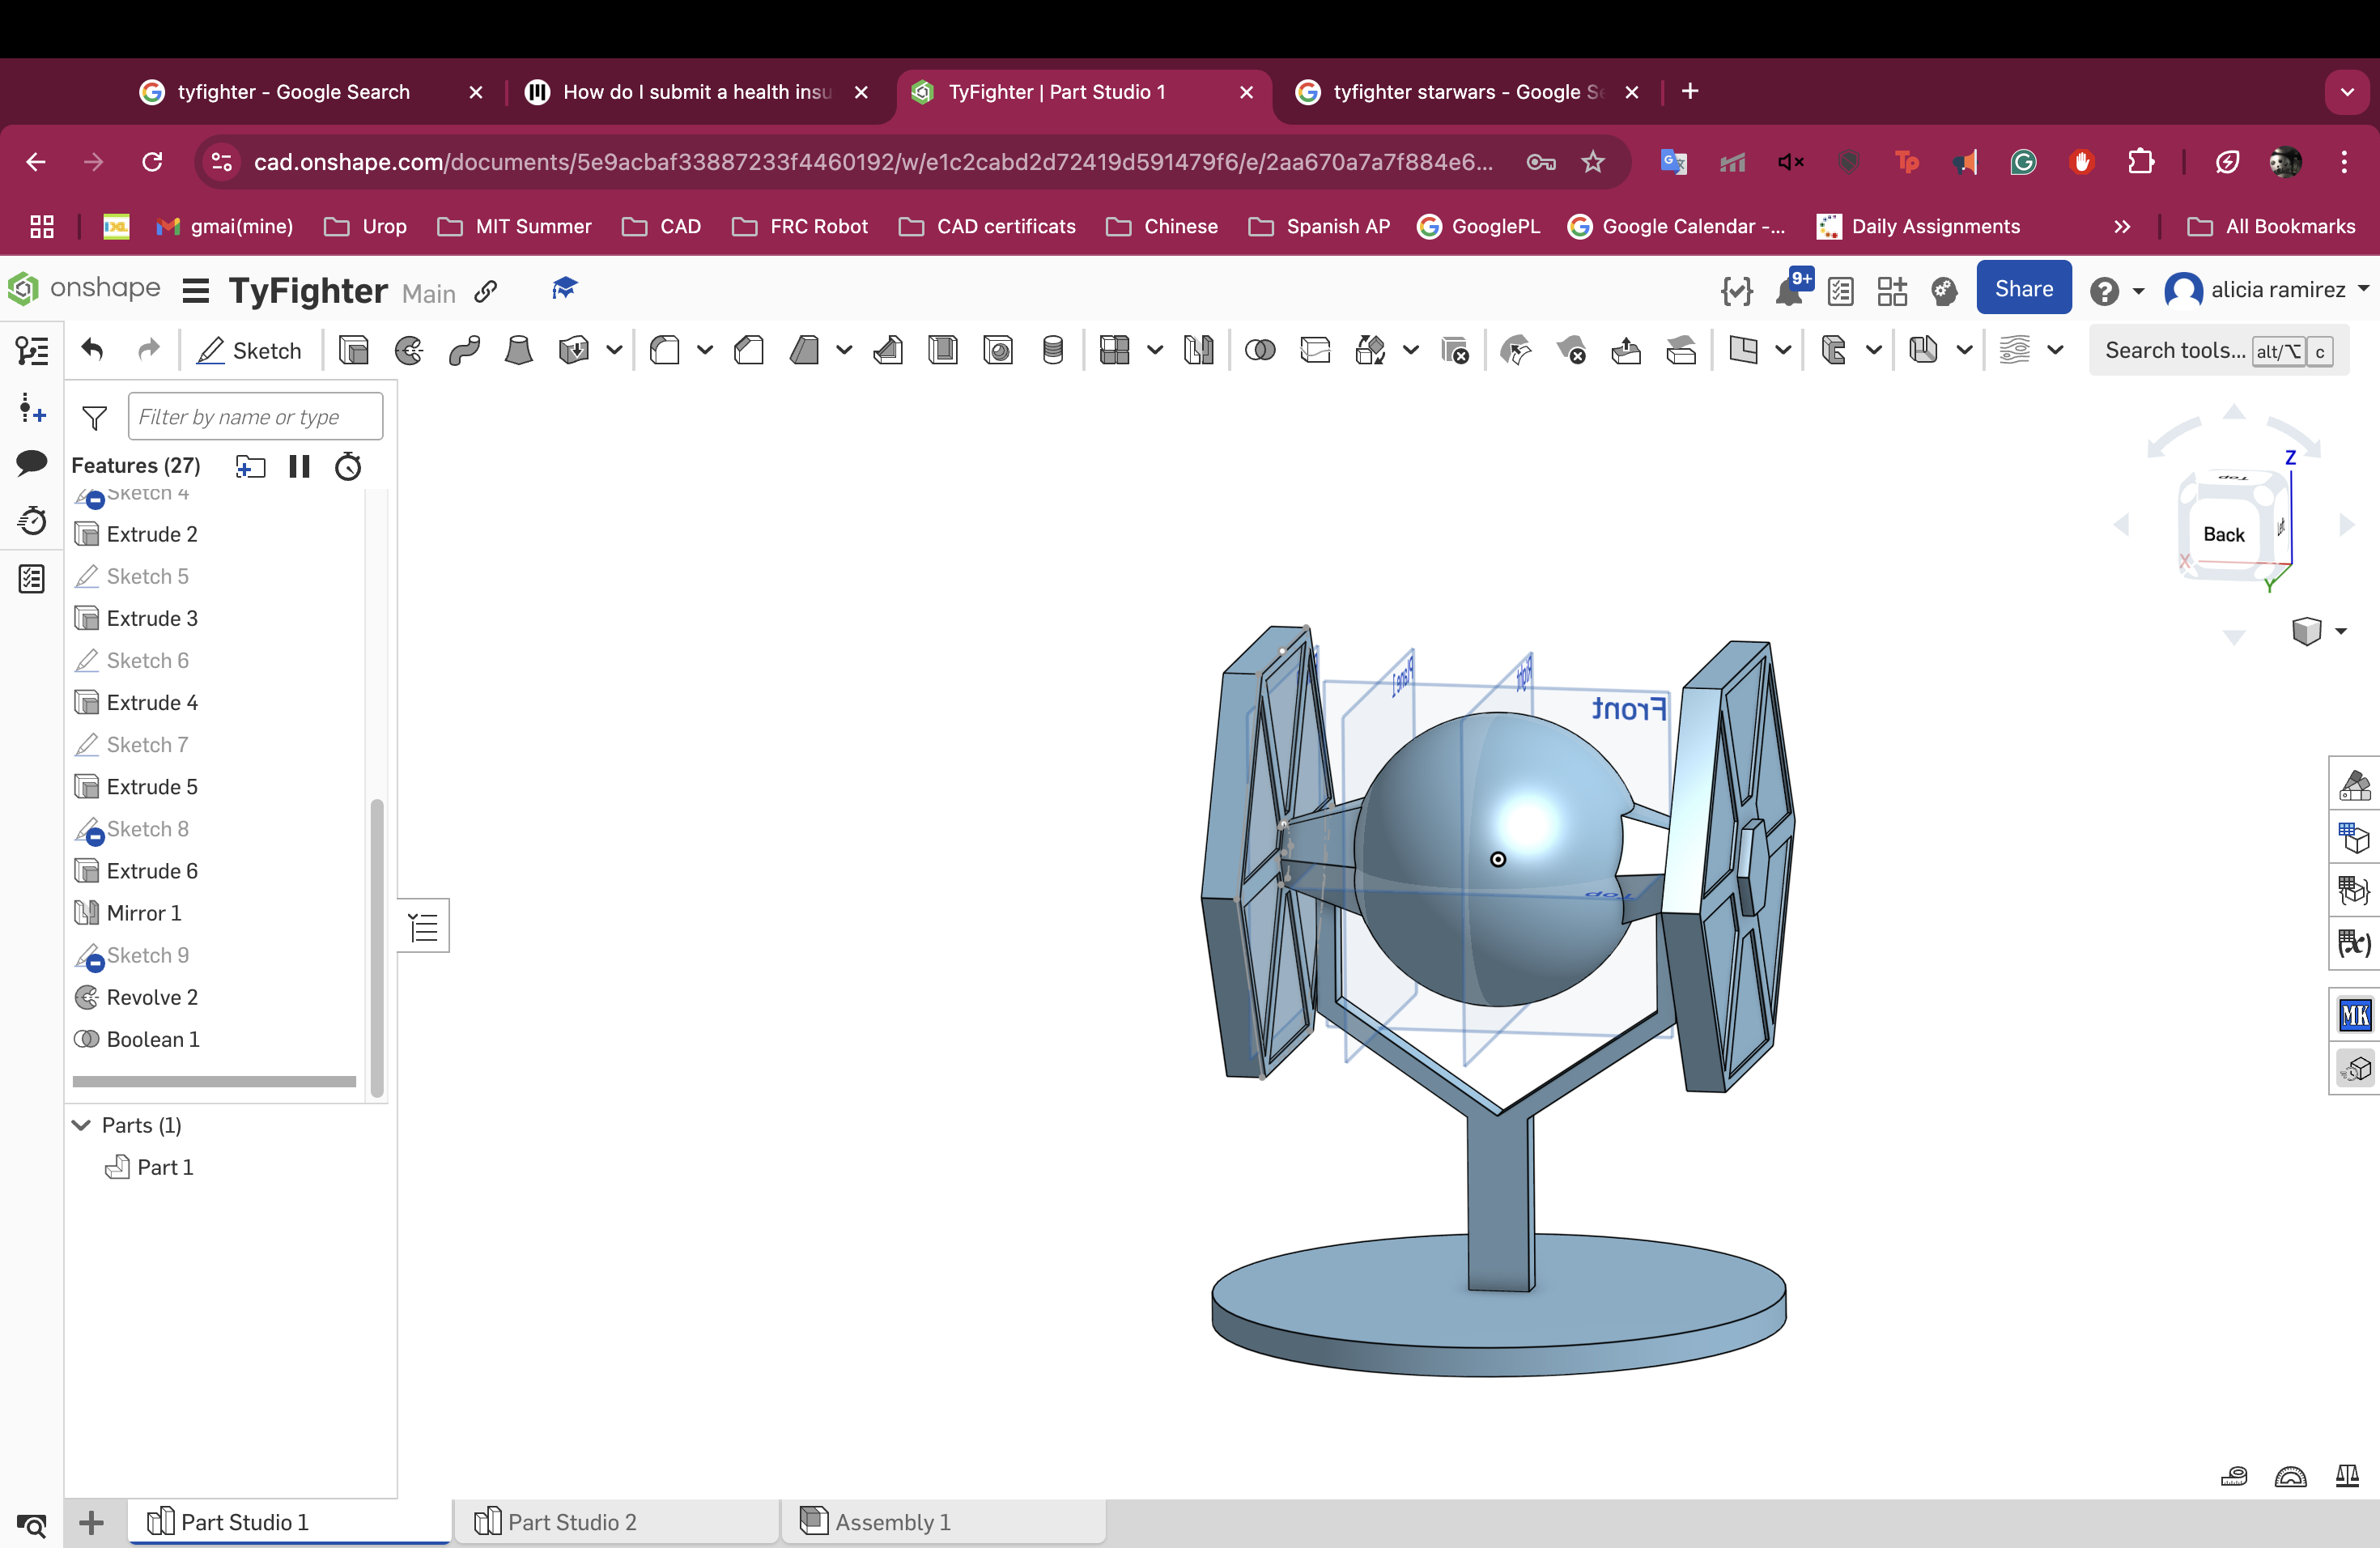

So I ran into a fun issue. The model does not fit into the printer so we are scaling it down and pretending it was meant to be a
figure all along. It is a nine hour print!!
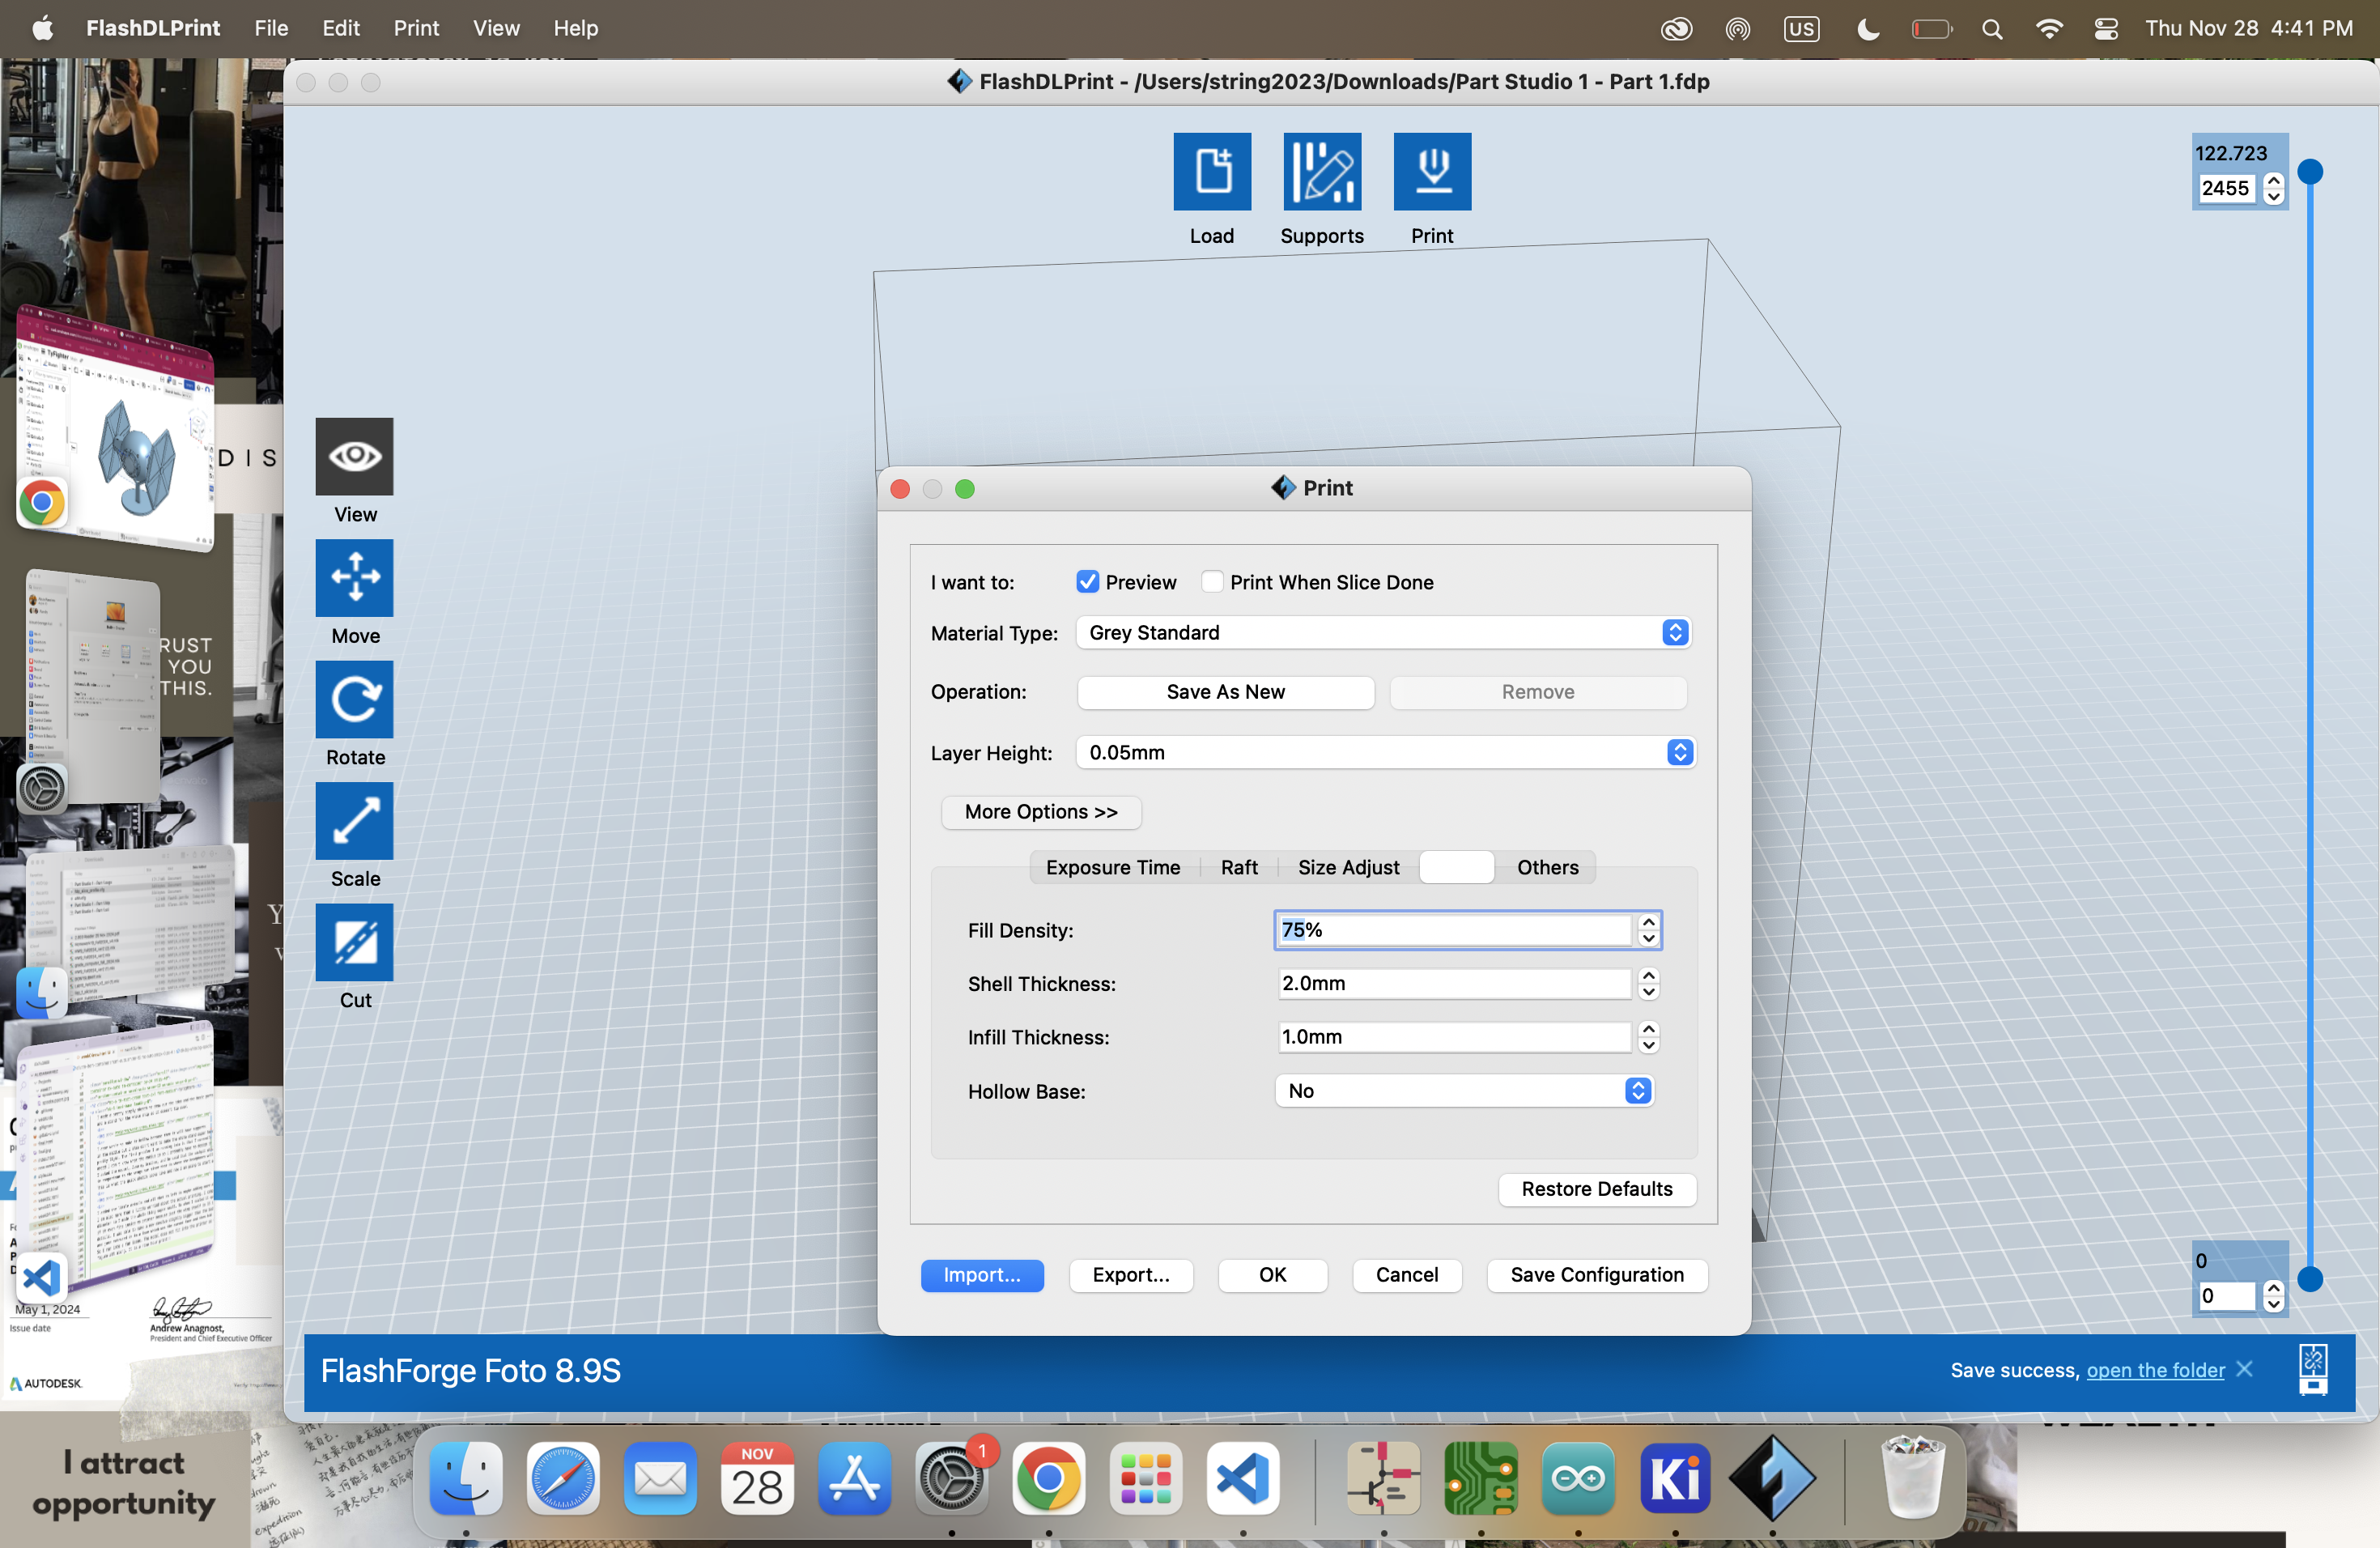

In the end I was having some issues with my printer and the file wasn't the right type after being sliced so it would not show up
in the printer. I decided to wait until I got back to MIT and just use the Bambus in the EELab in Simmons. This ended up working gorgeously.
I am a huge fan of the bambu minis especially with all the calibration they do in the beginning which is crazy because they even account for when they
accelerate super fast. Apart from that the A1 mini used a 0.6mm nozzle thaty allowed it to print faster and I changed from auto supports
to the tree supports because they are a lot faster to print and also because they are easier to take off.
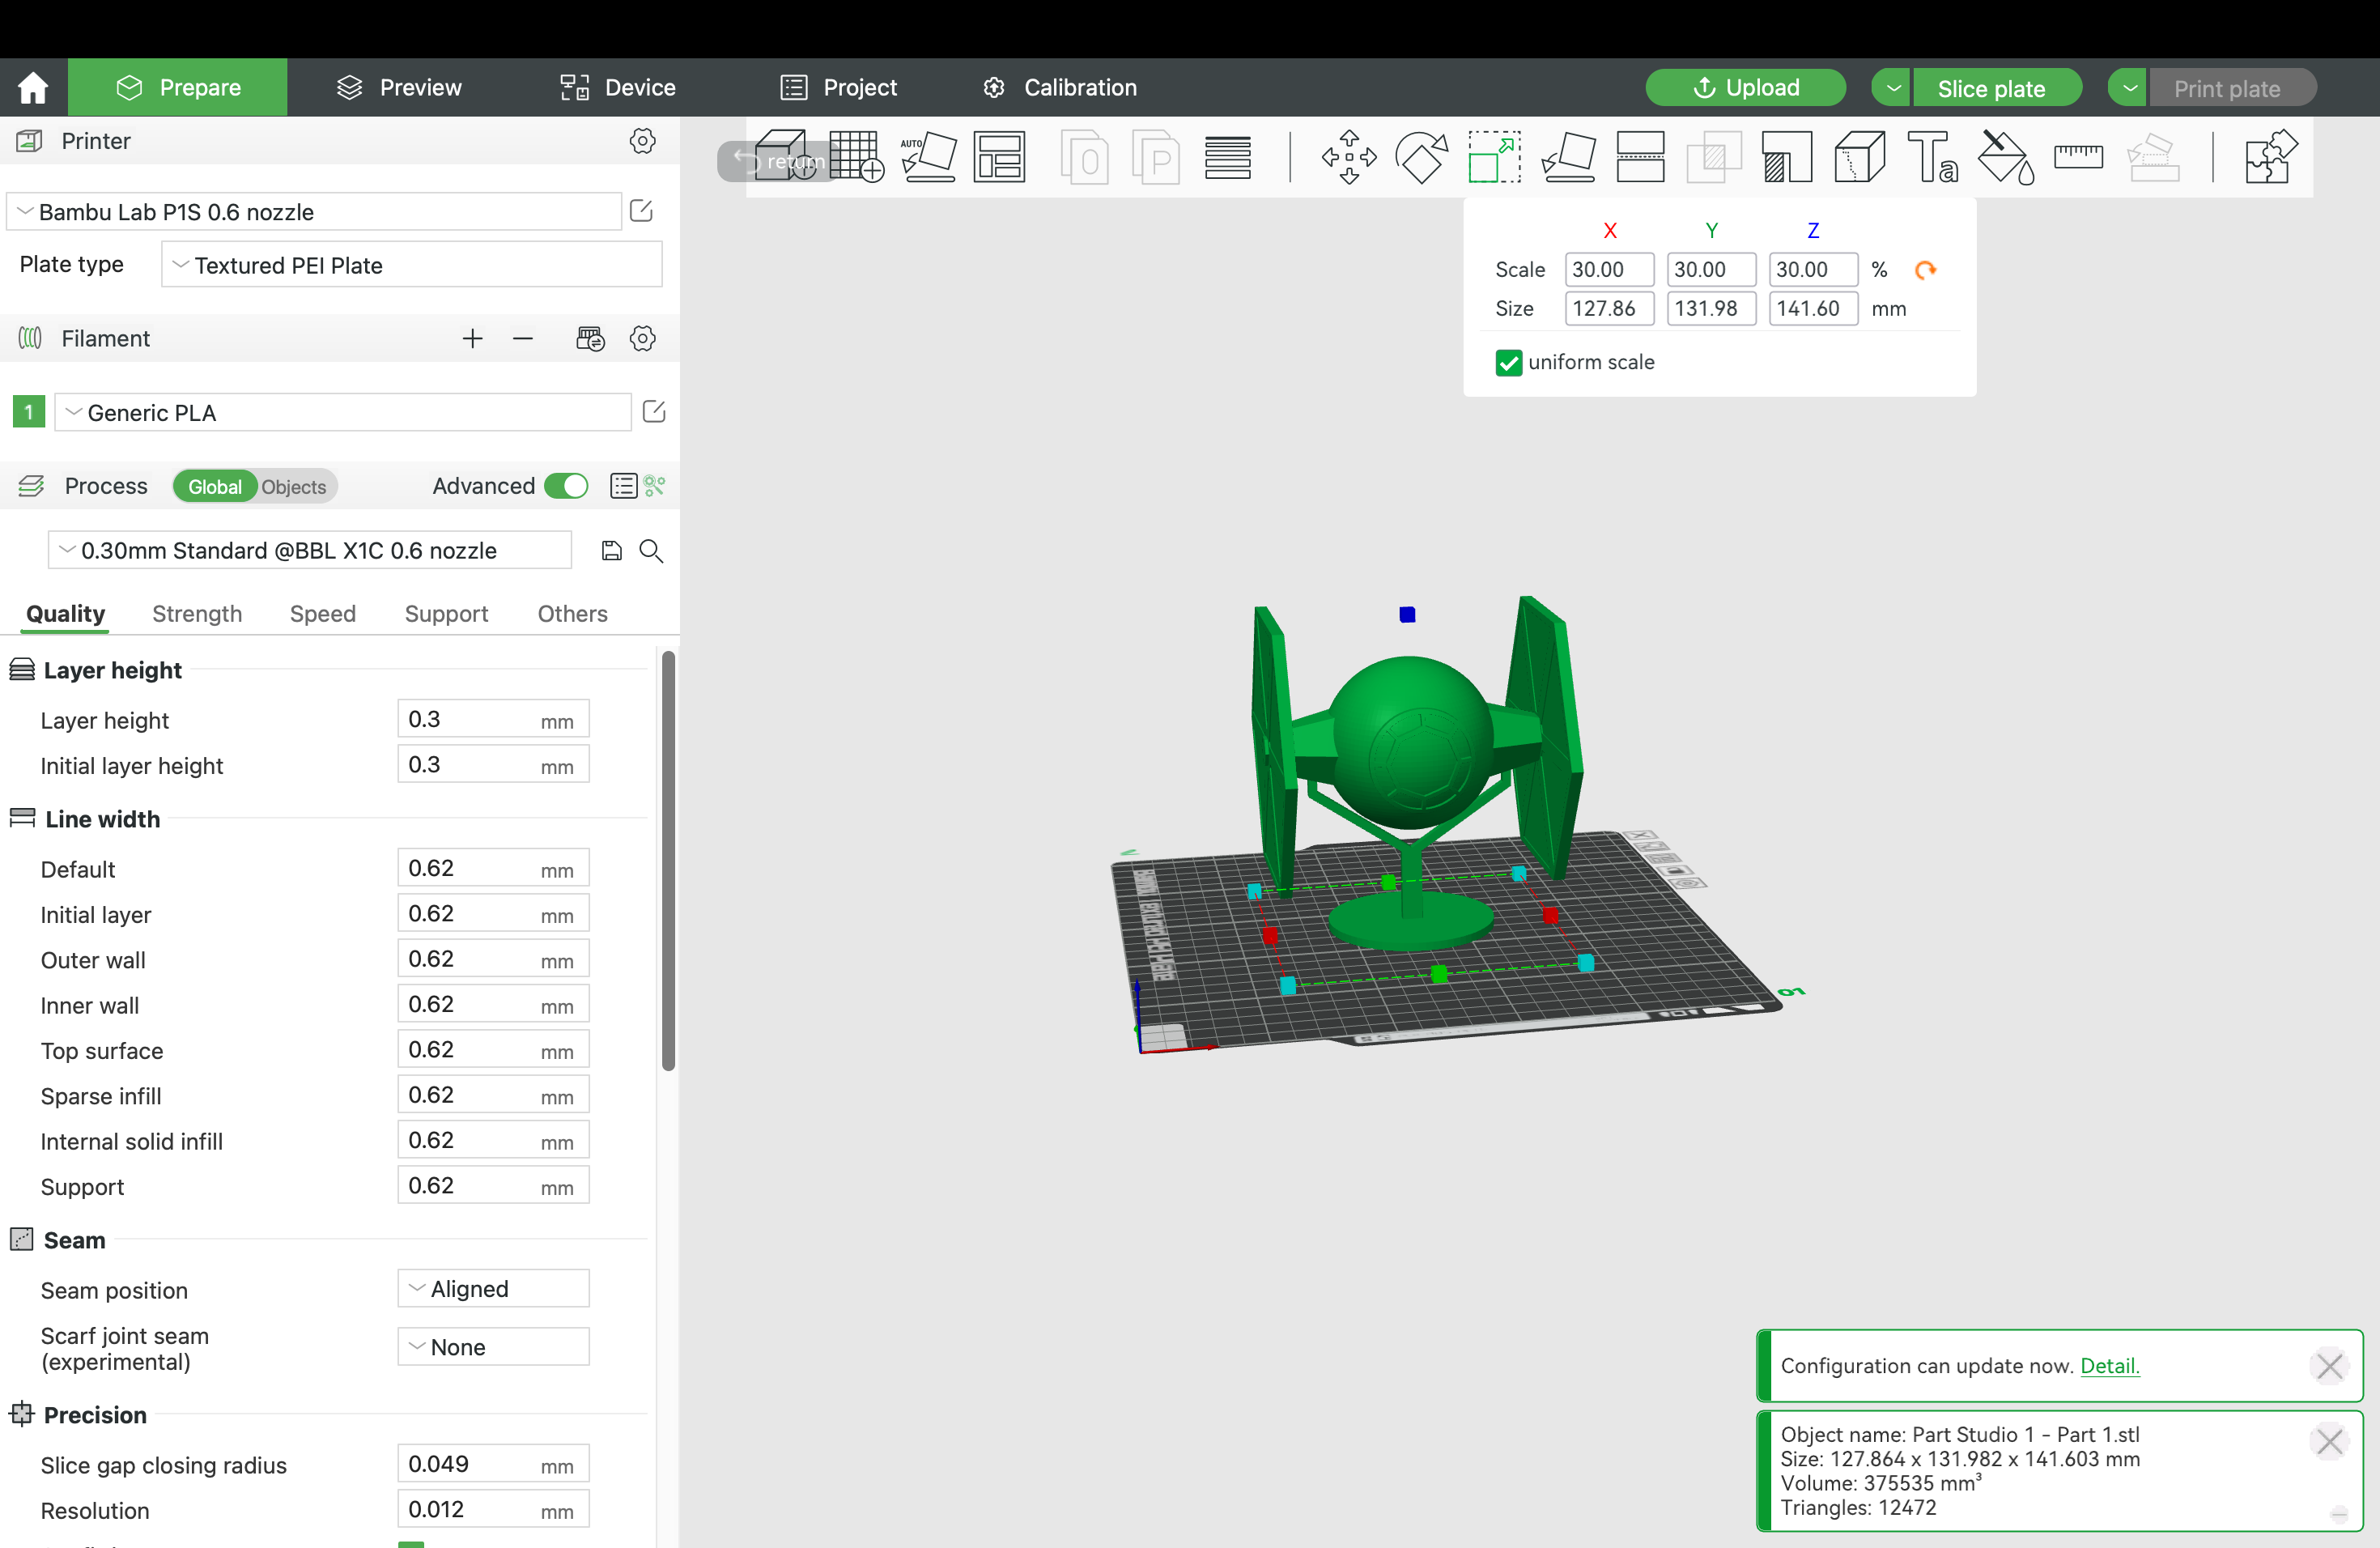
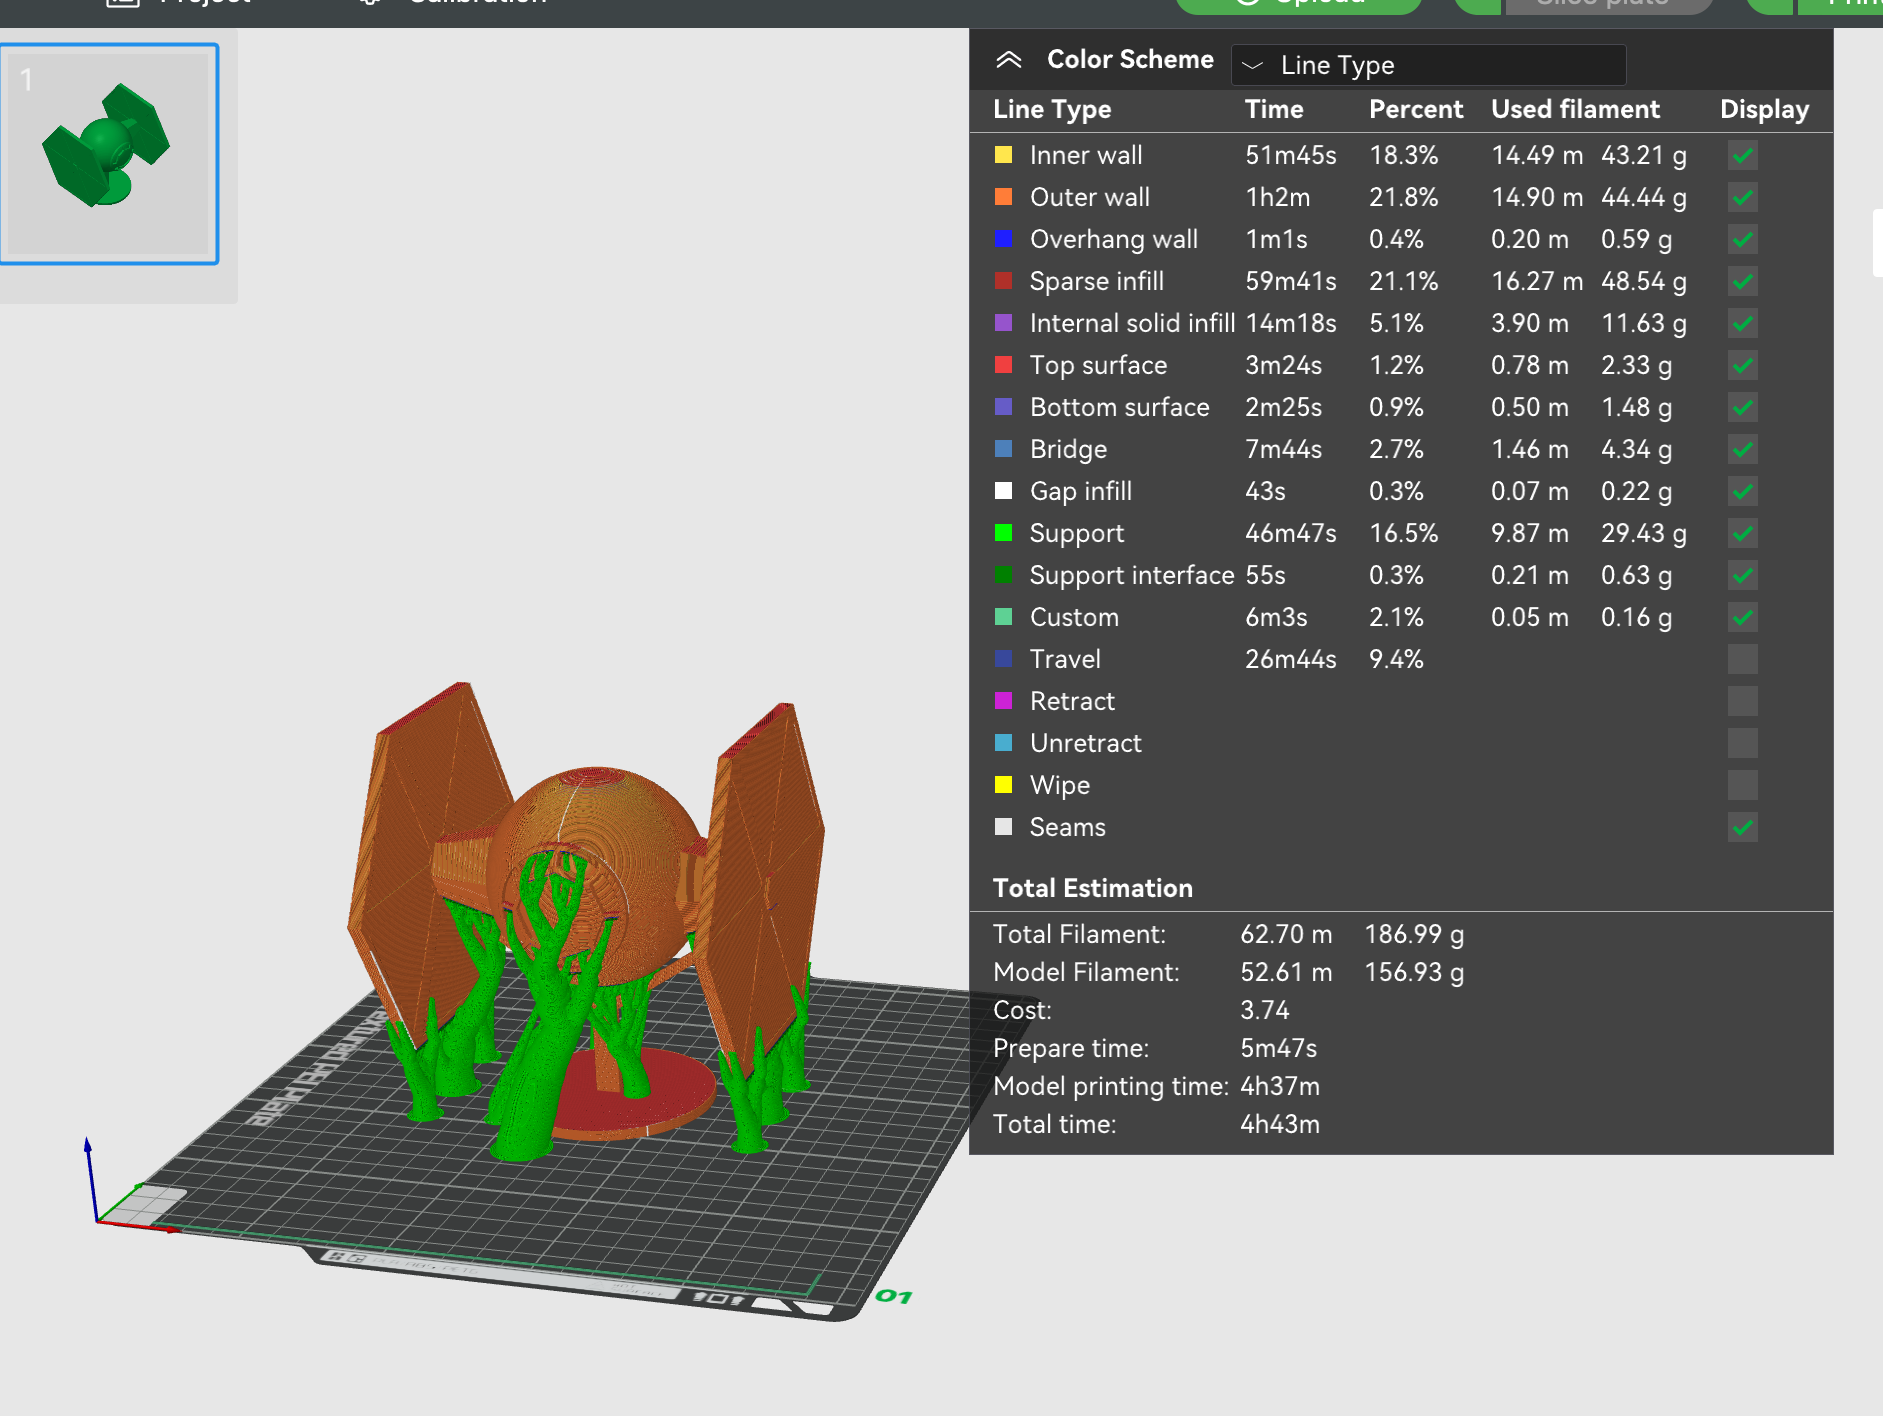
I also lowered the infill to 10% because that would definitely make or break the speed of this print. In the end it came out to be
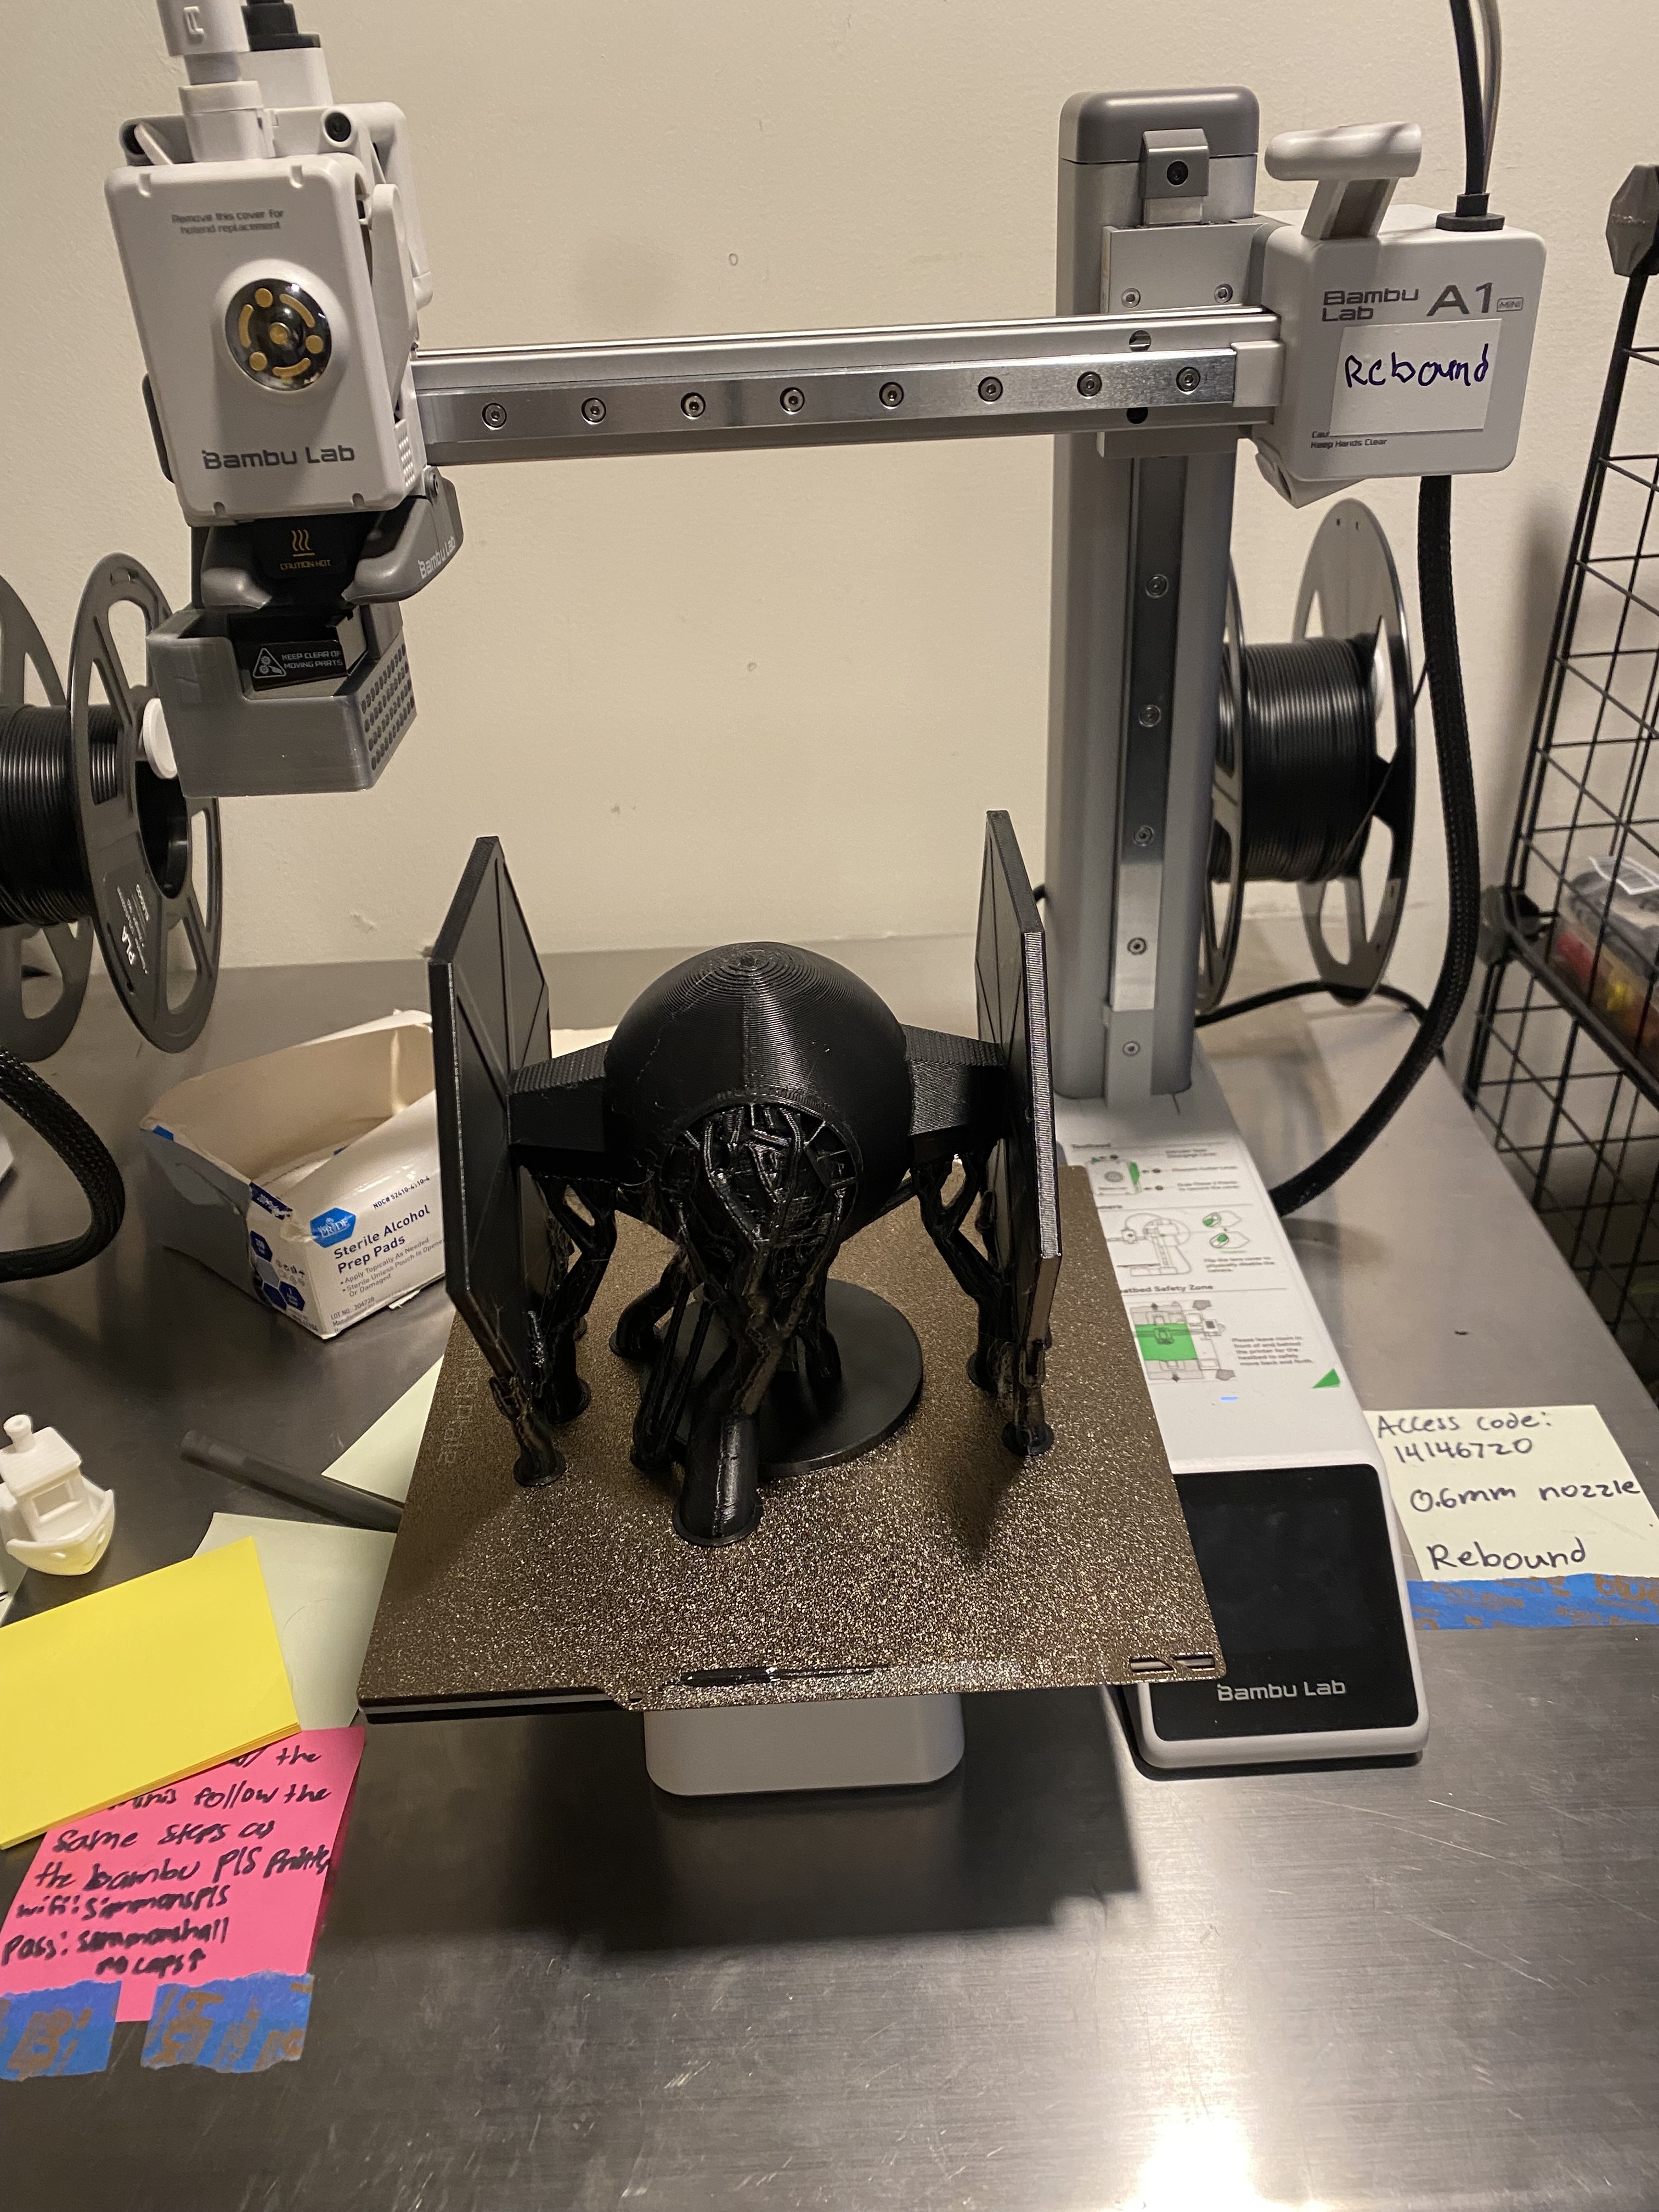
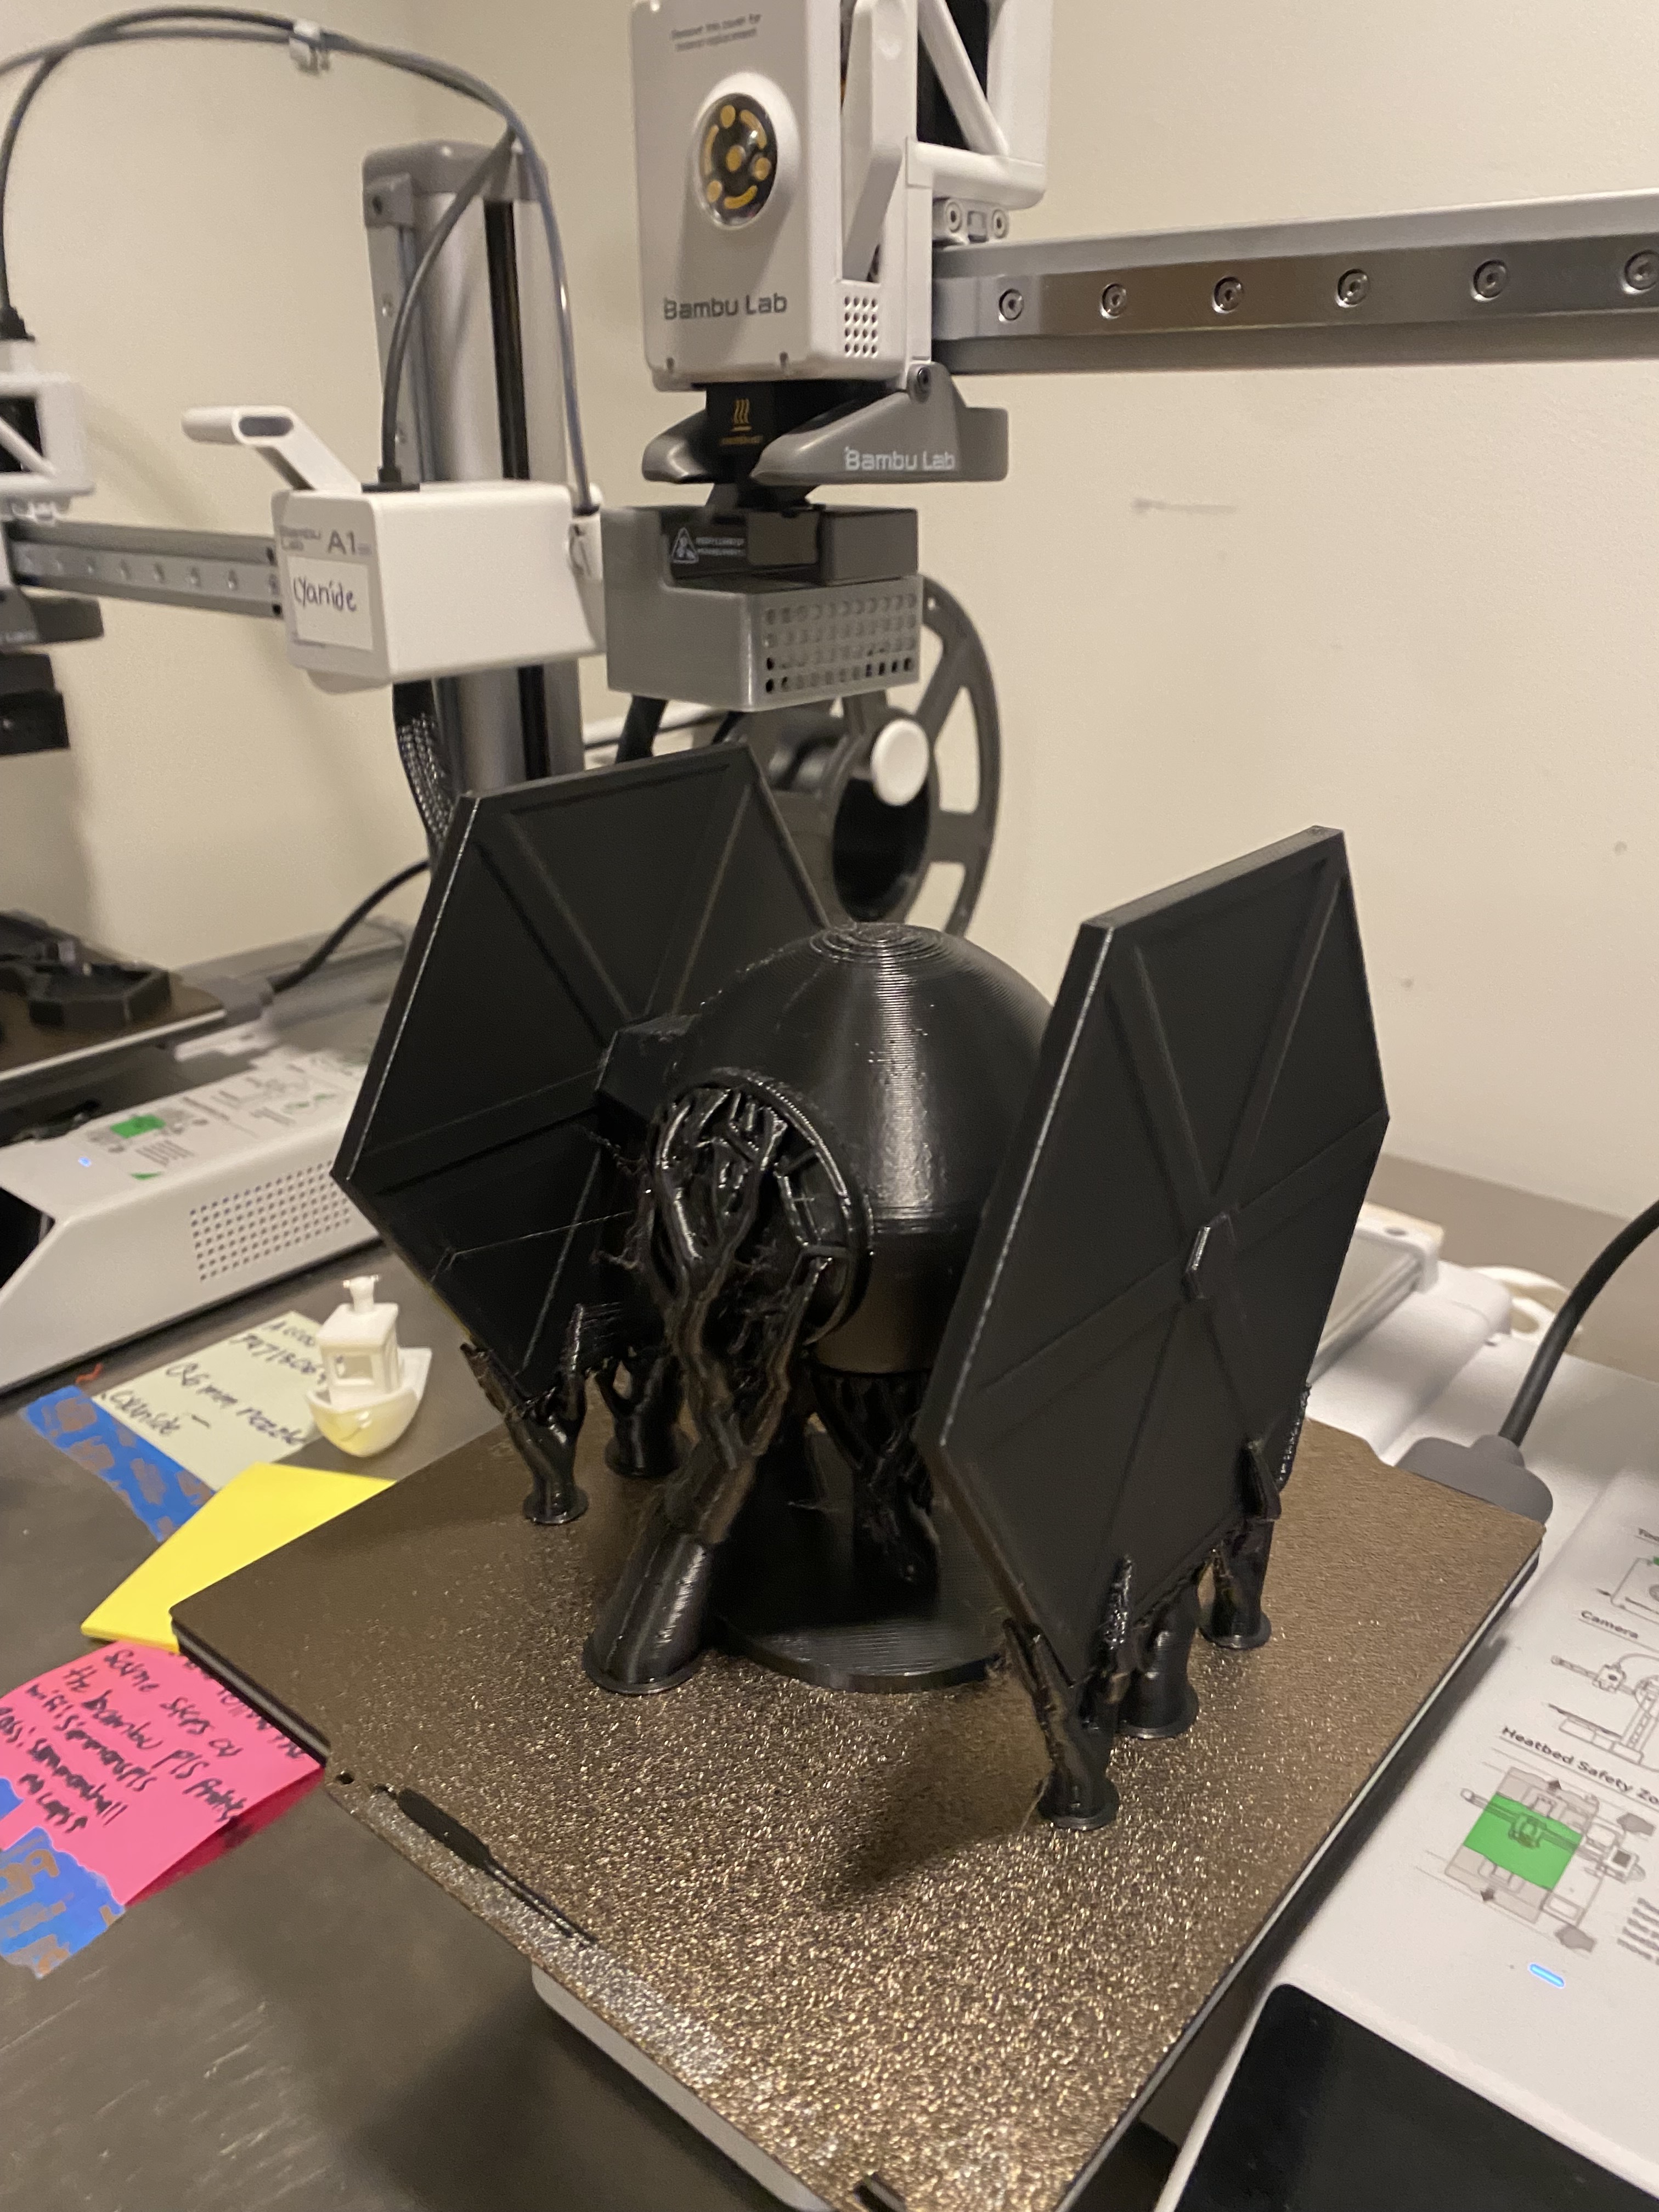
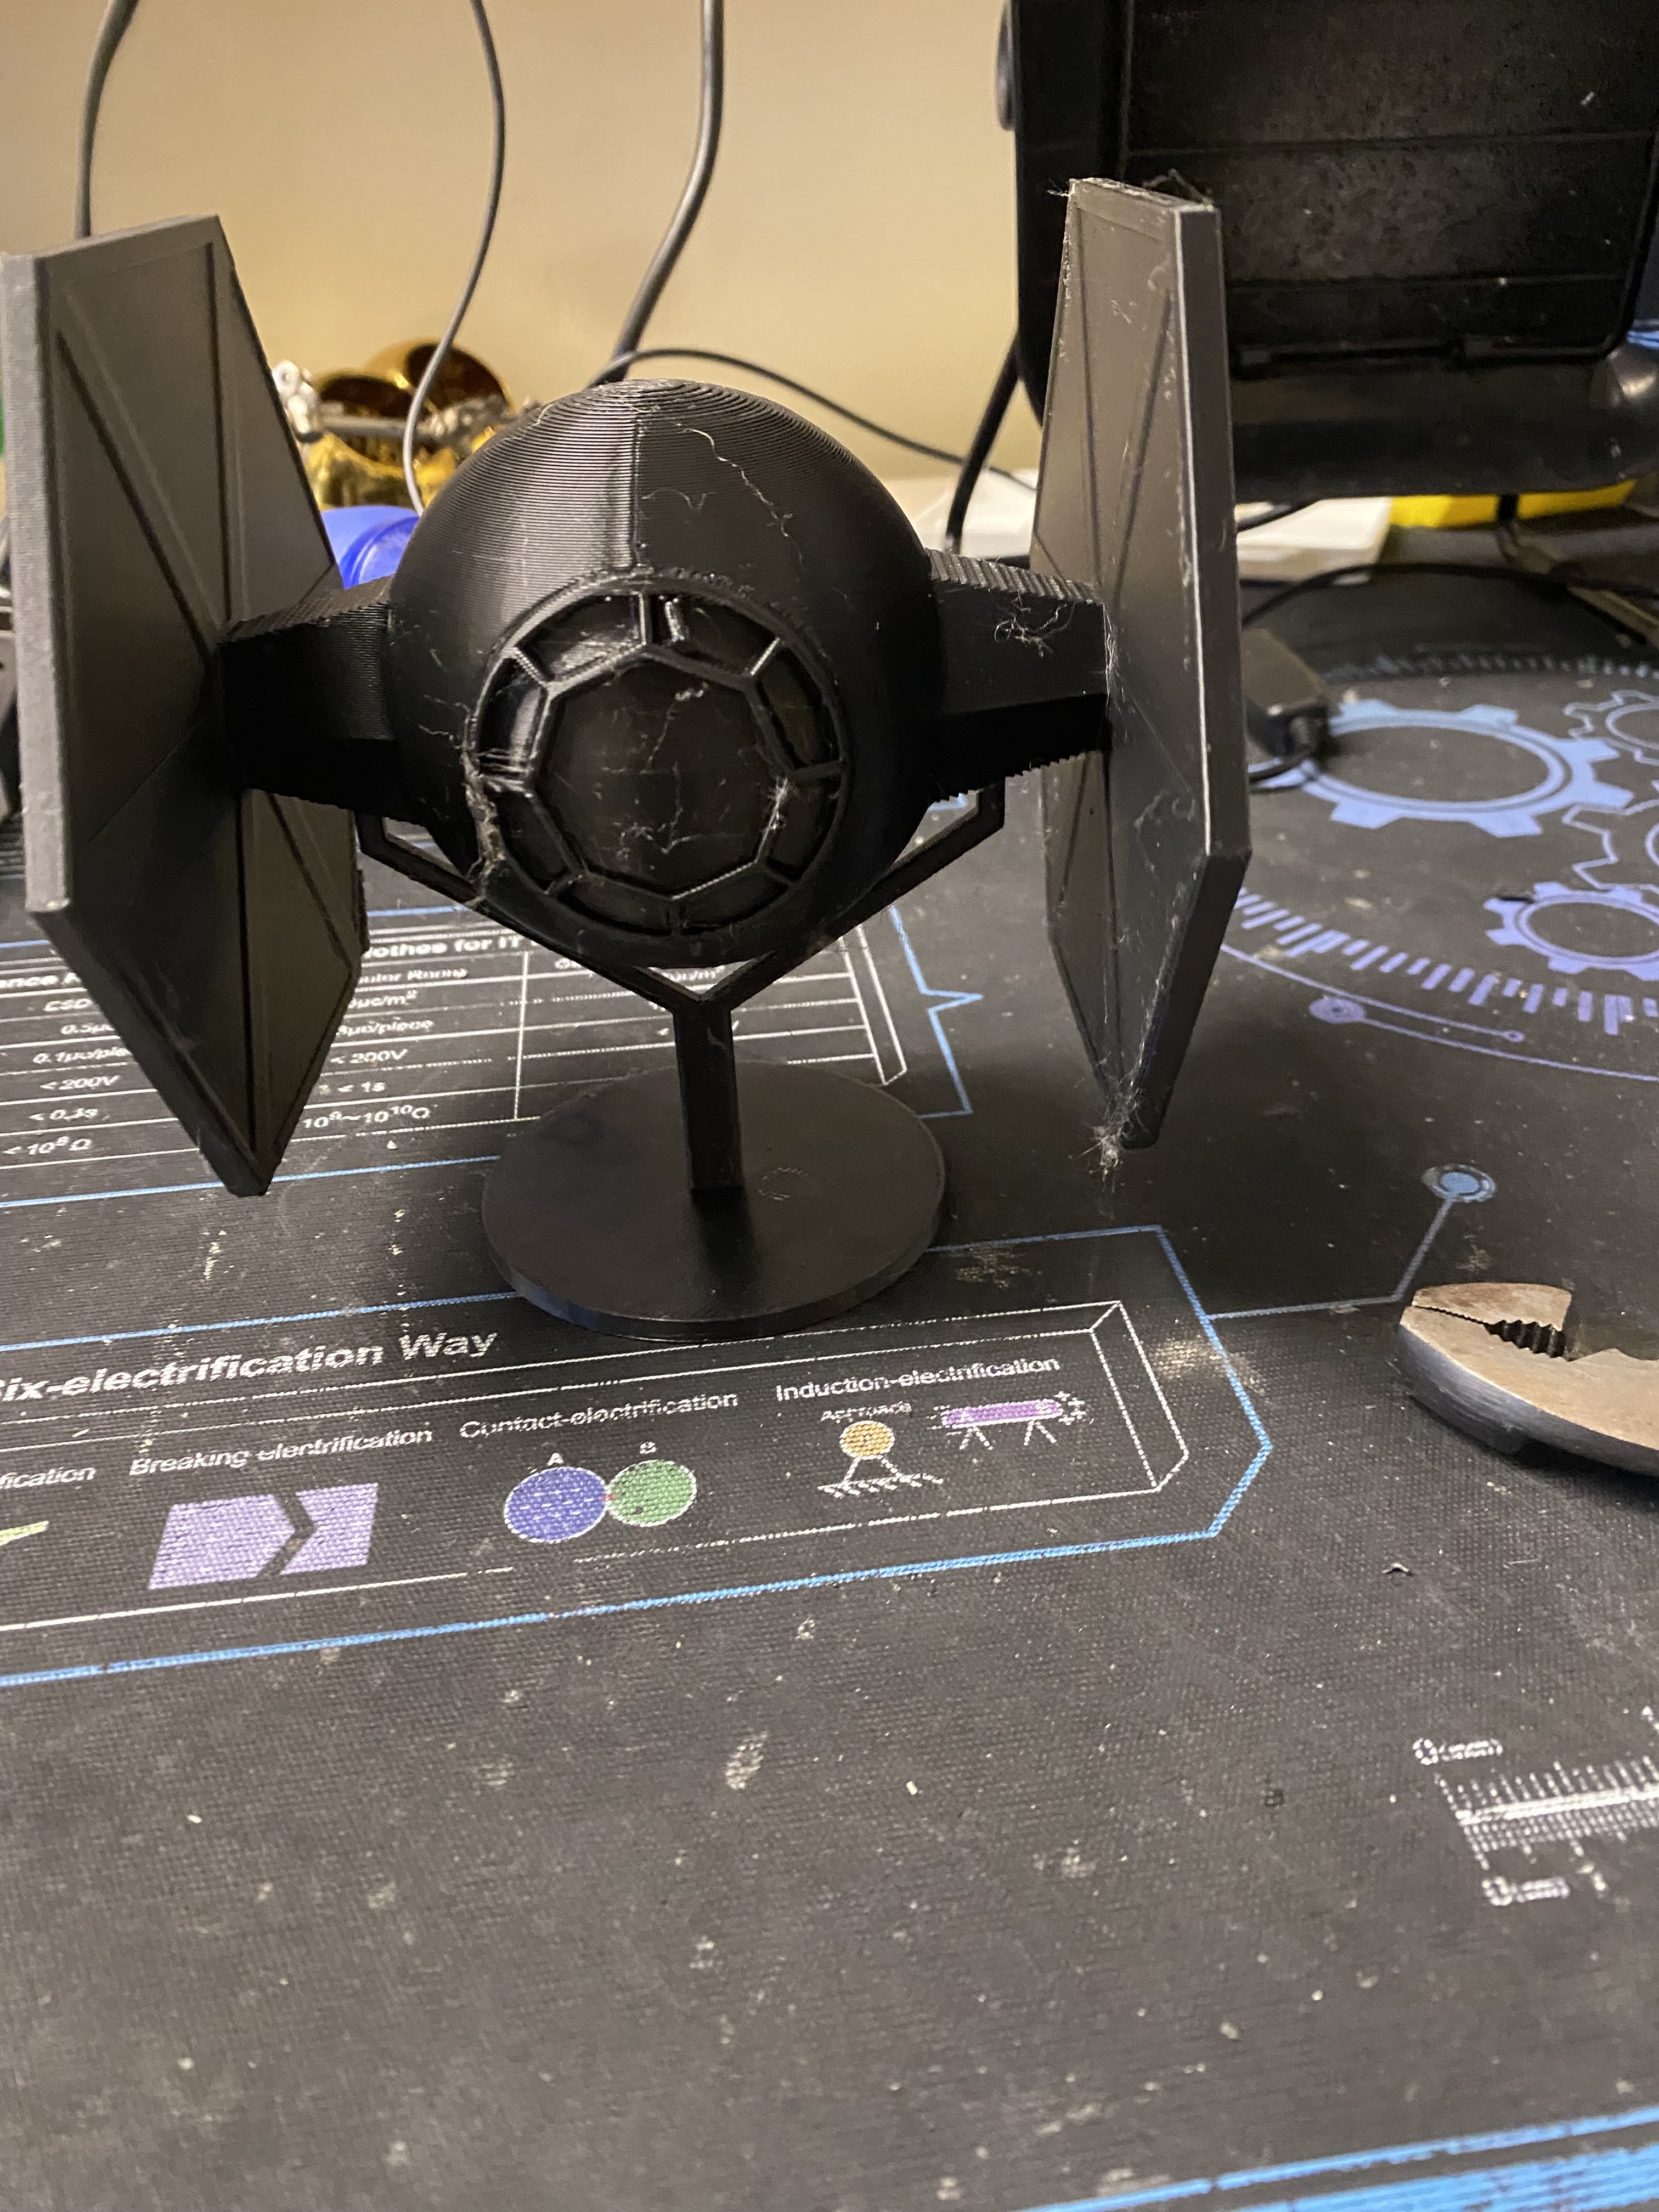
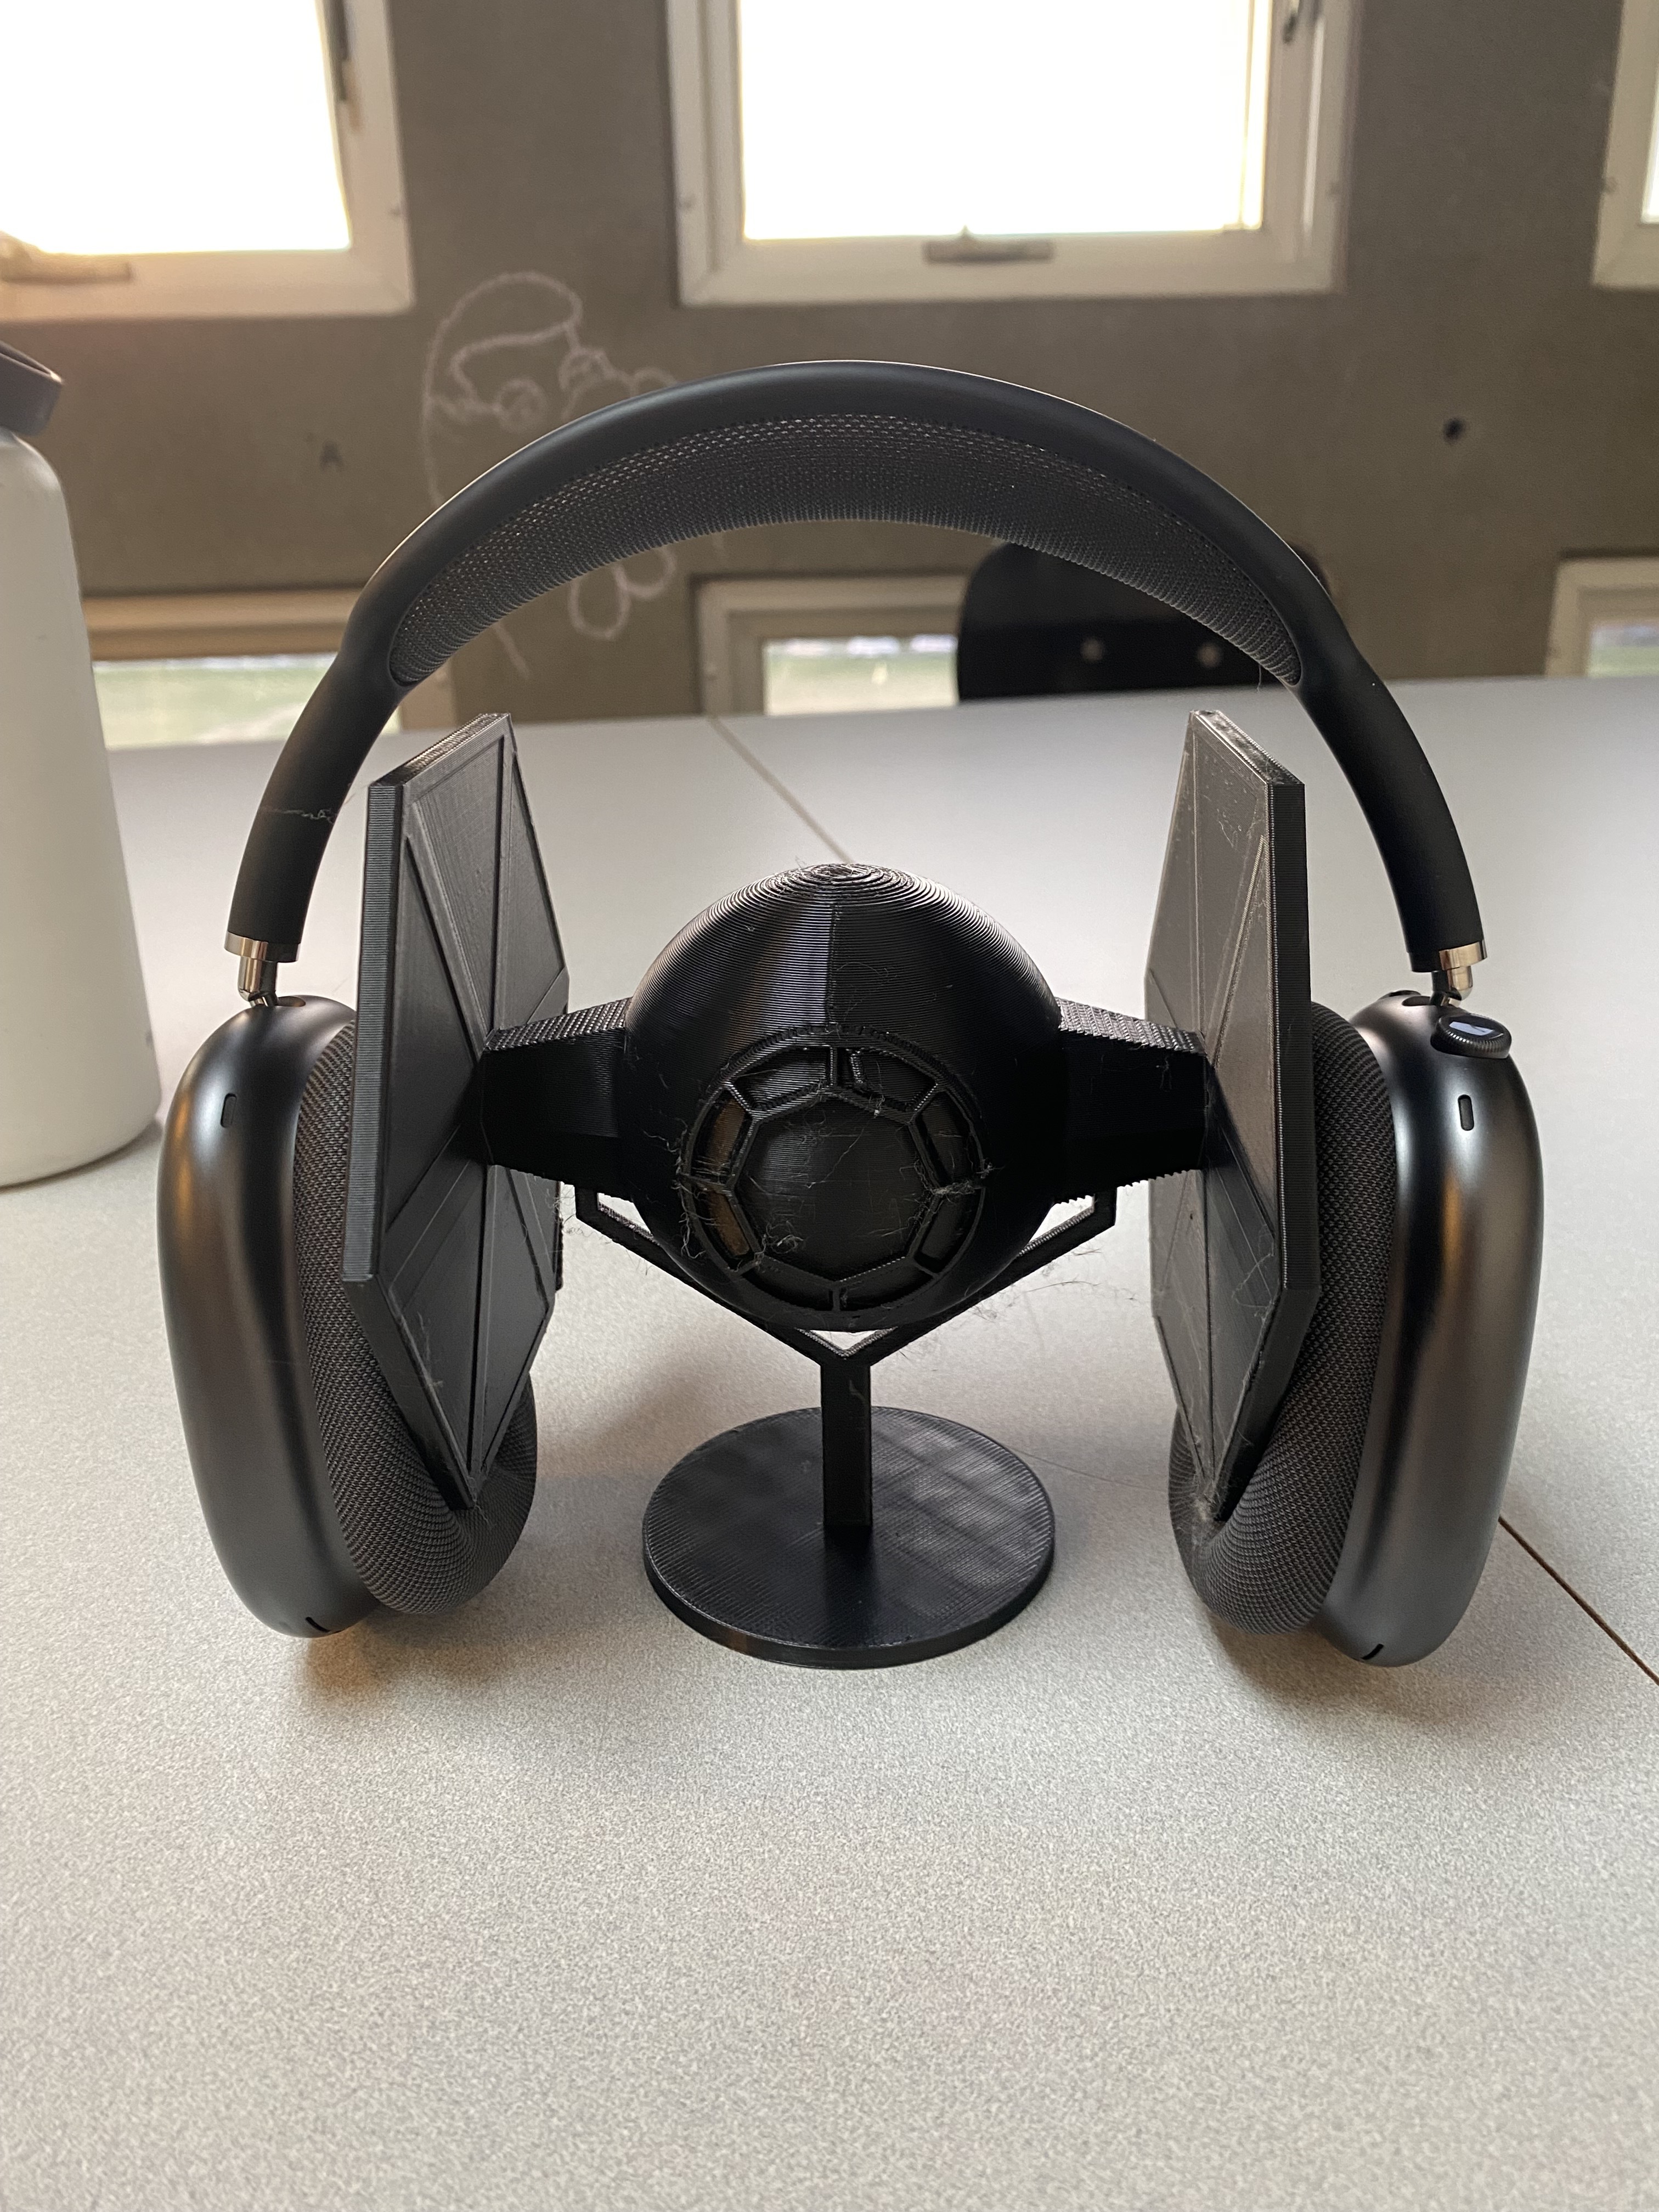
a five ish hour print and it came out super clean!! It even looked the right size ish for headphones over the wings so I tried it
out and honestly it worked better than i thought it would. They did slide down though because I had nothing to hold them up but Overall
it seemed like a success.
Scanning
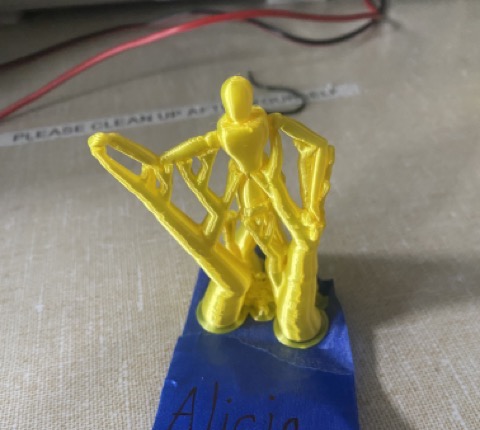
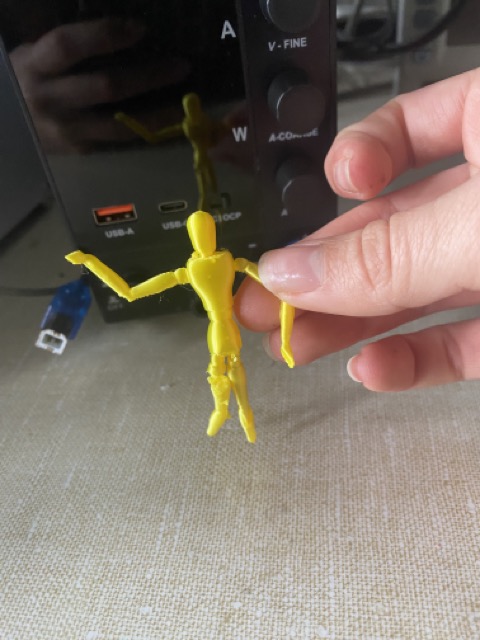
This week we also learned about scanning. I tried to scan a manequinn and it took a LOT of time to actually scan it.
And the details were all broken up. I then tried to scan JDs face but that was also super difficult because the scanner
was not able to capture the details of his hair. The shop mamager also told us that we should put the items on a spinning
platform and keep the scanner still. This is what we had tried at the beginning but I guess the spinner was going to fast
because we kept getting errors about it no longer knowing where it was. Apart from that I think having a clean background with a
few defining characteristics would have helped. Overall, scanning was super cool to learn but for medium sized thing that
don't have a lot of detail.
