Group Assignment
This week we learned how to cast and mold. The first step is to create a mold and either 3d print it or CNC it. There are two parts to the silicon the A part which is blue and the B part which is green. There is a difference in the viscosity. We have to individually stir each bottle for about 7-10 minutes to get rid of bubbles. After that we pour each one out separately into a cup and tap the cup for another 2 minutes to make sure there are no bubbles. After that in a one by one ratio you combine both A and B and stir it for a very short amount of time to make sure it doesnt solidify before pouring it into the wax mold. After that you let it sit for a few hours take the silicon mold out and fill it with plaster.
The Idea
The first thing is that I wanted to learn surface modeling with Rhino so I decided to CAD a rubber duck since it is also the mascot of Simmons which is my dorm. I am hoping to make a rubber duck for each of my friends so that we can all paint them together.
Surface Modeling with Rhino
I initially followed Rhino's documentation to create a duck which came out kind of cute.
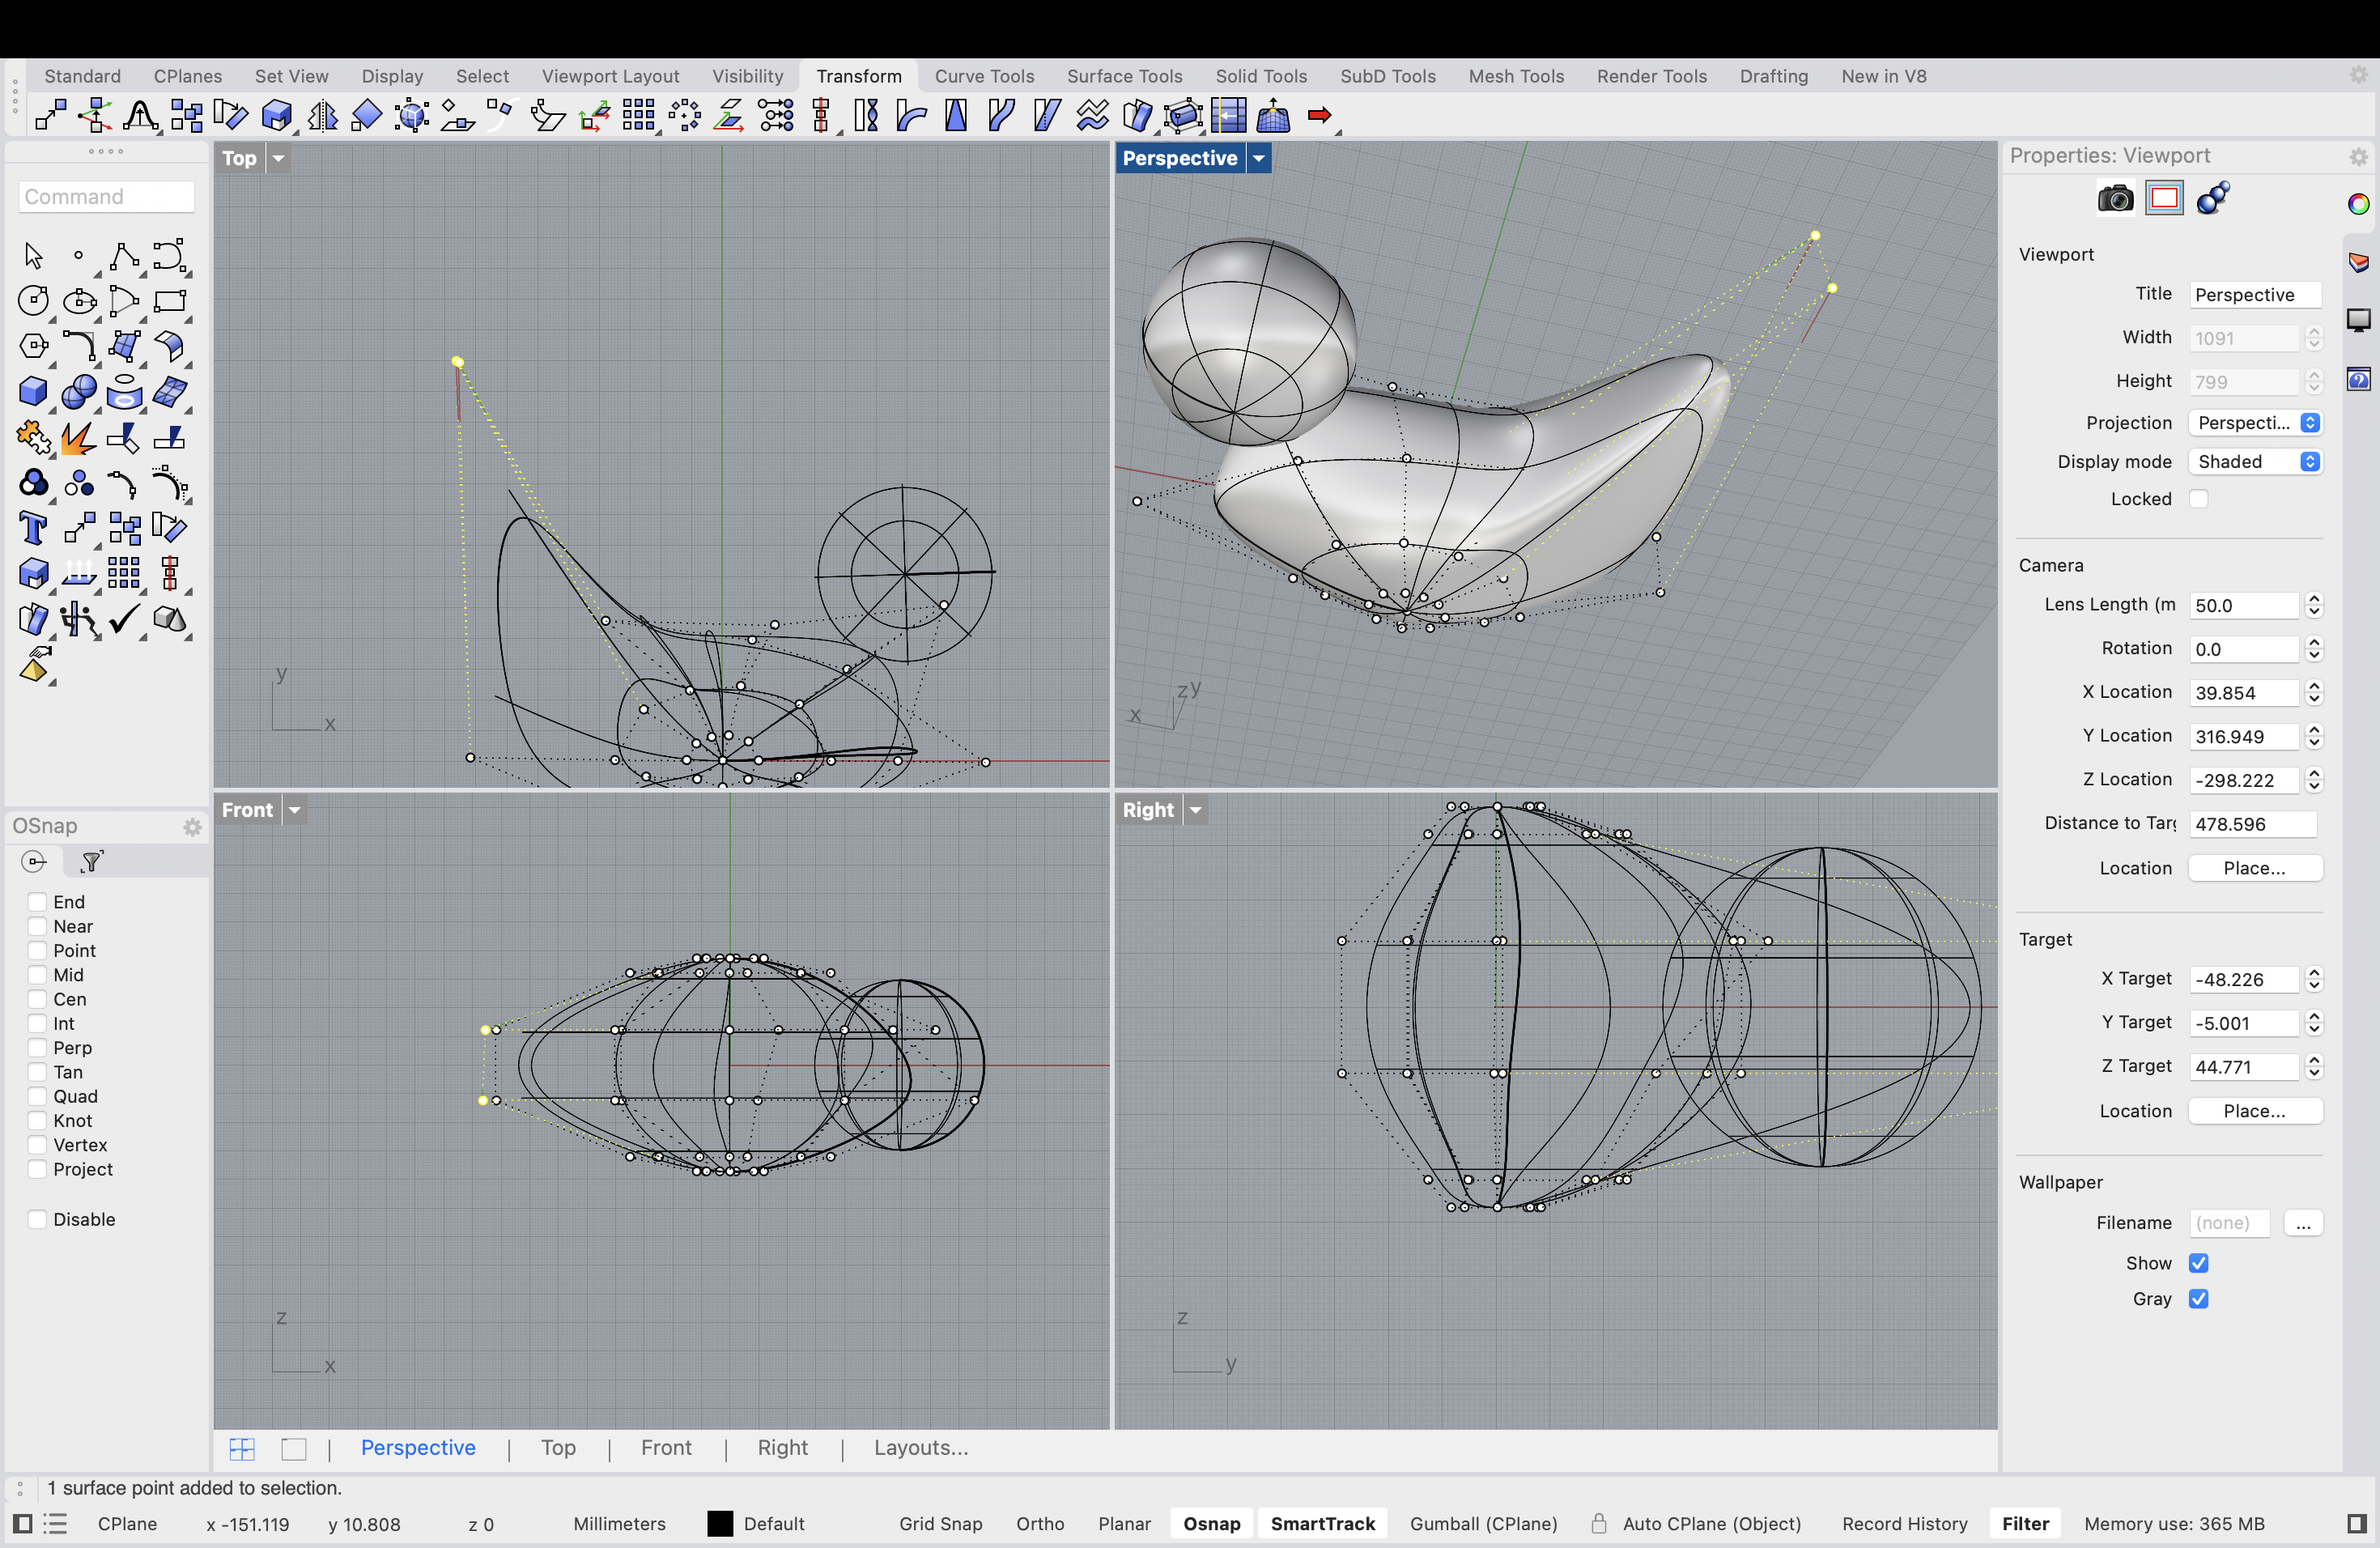
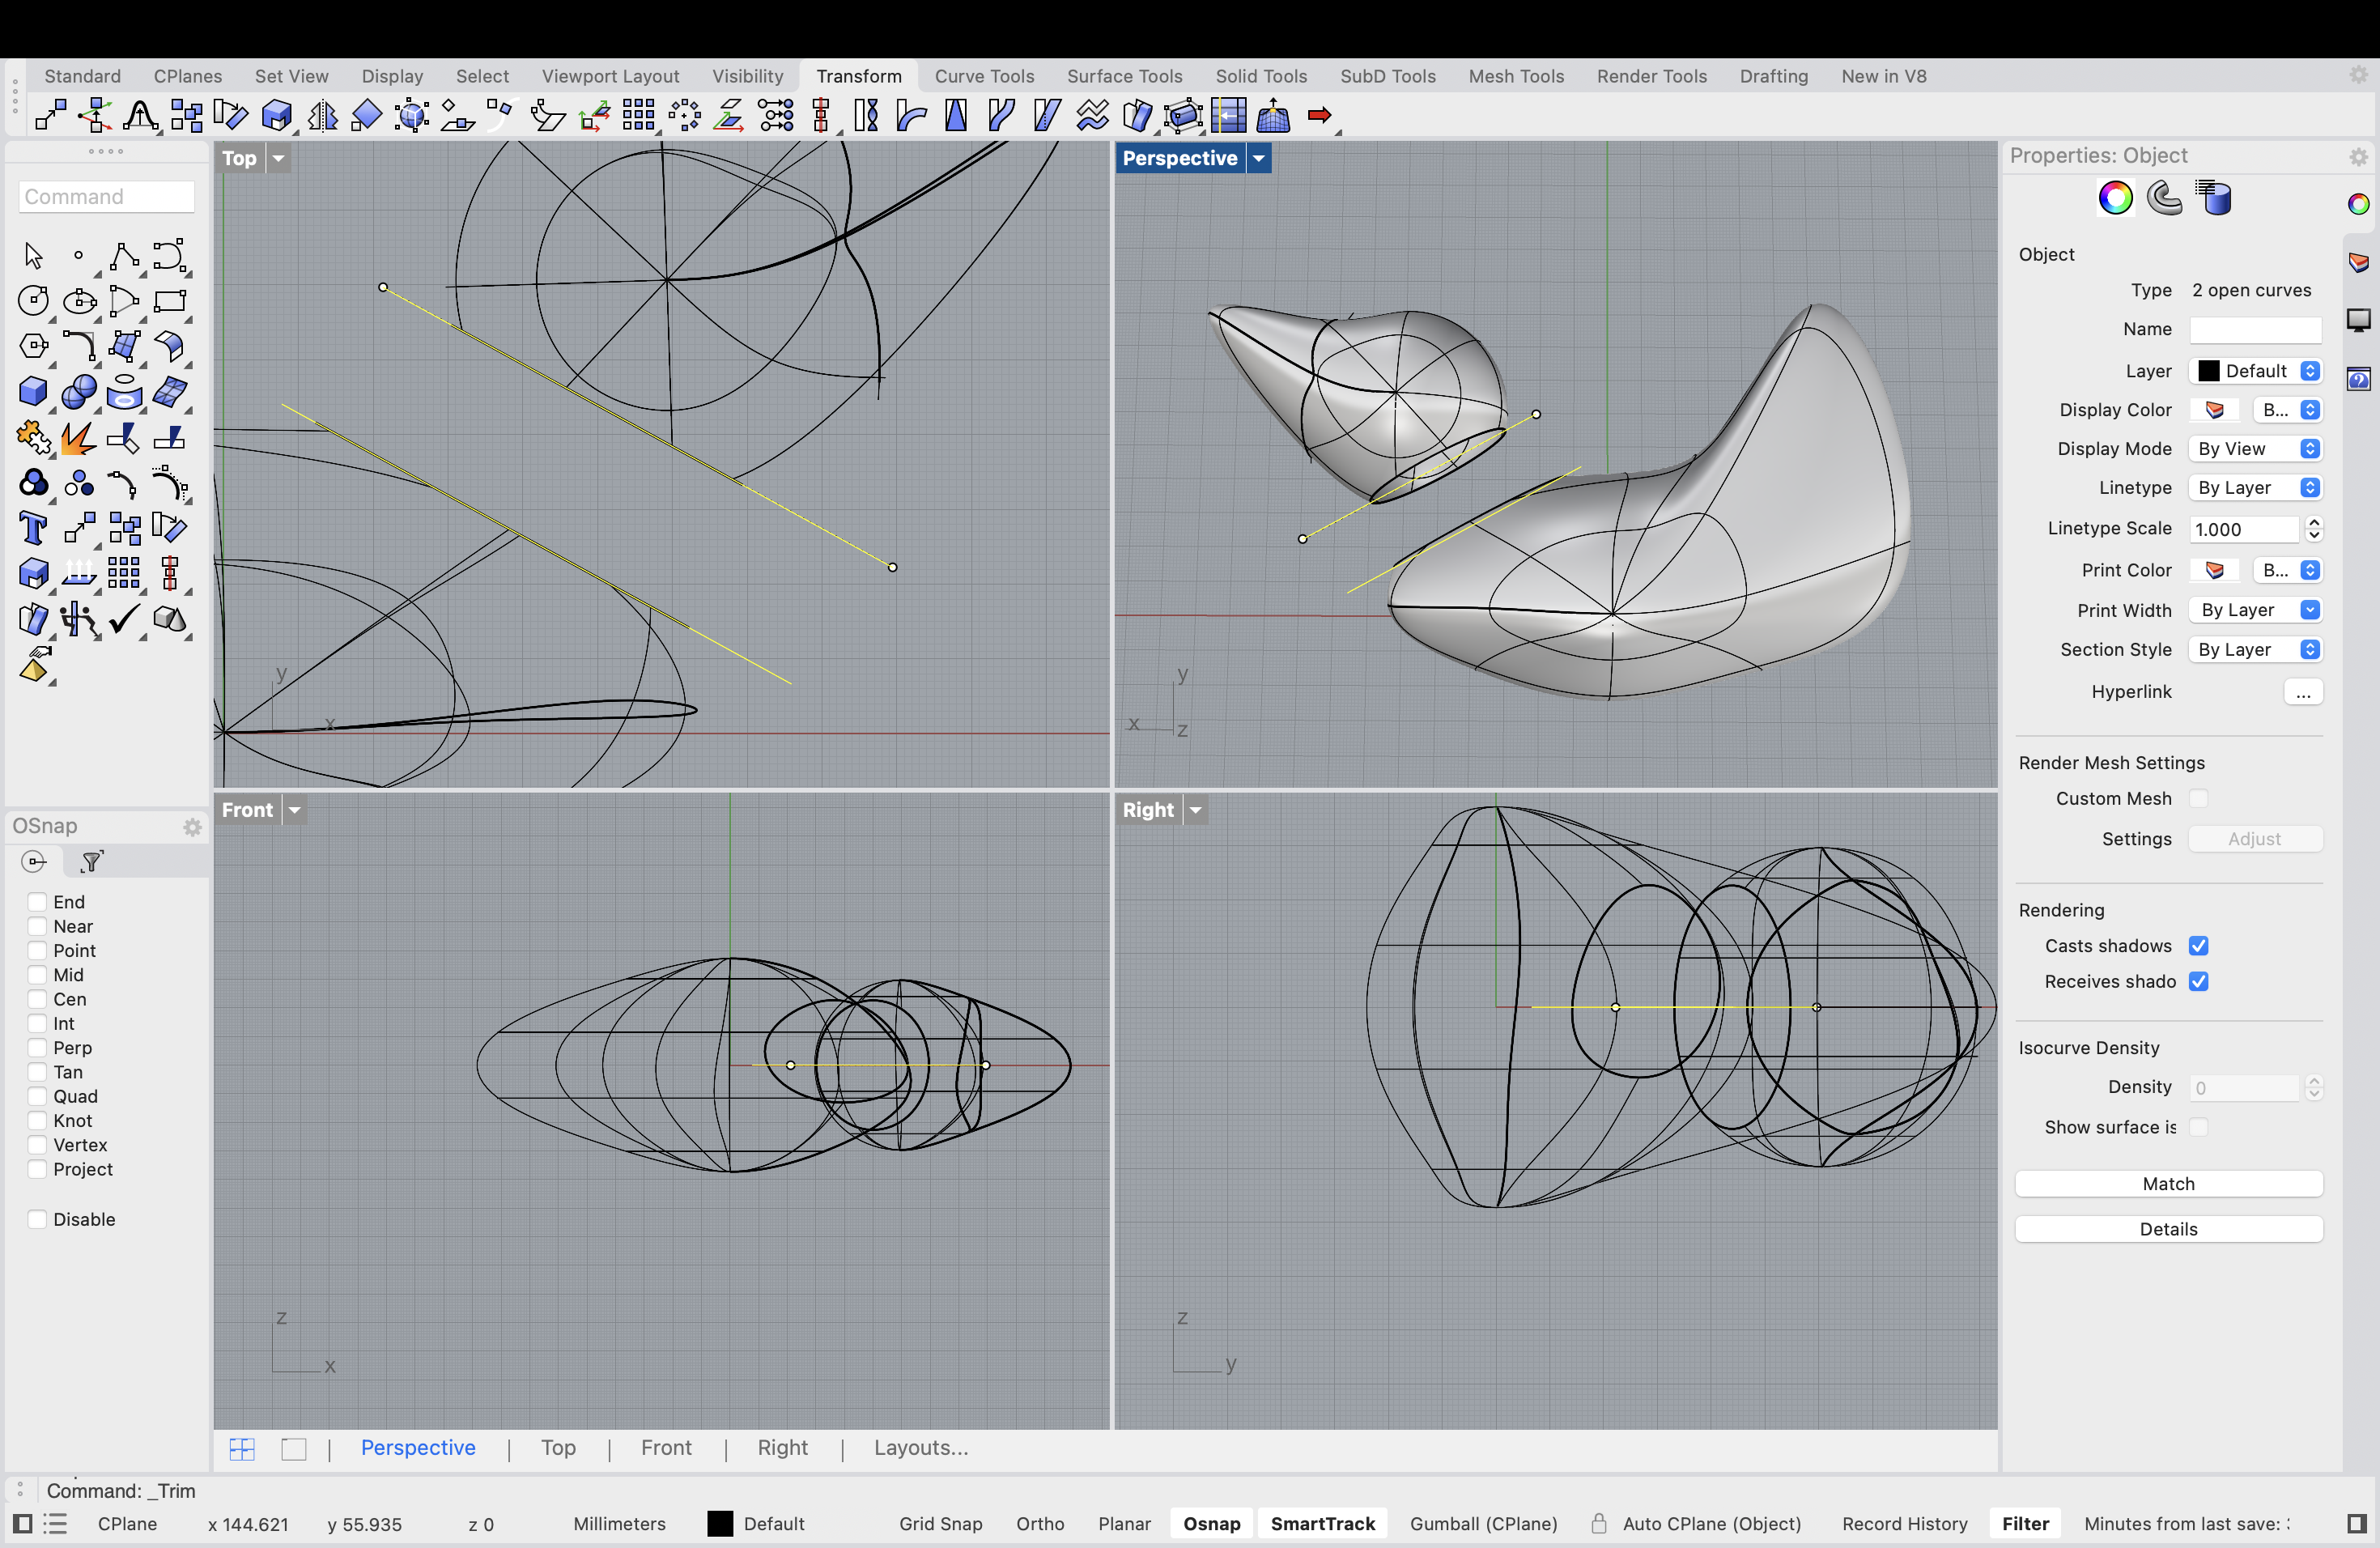
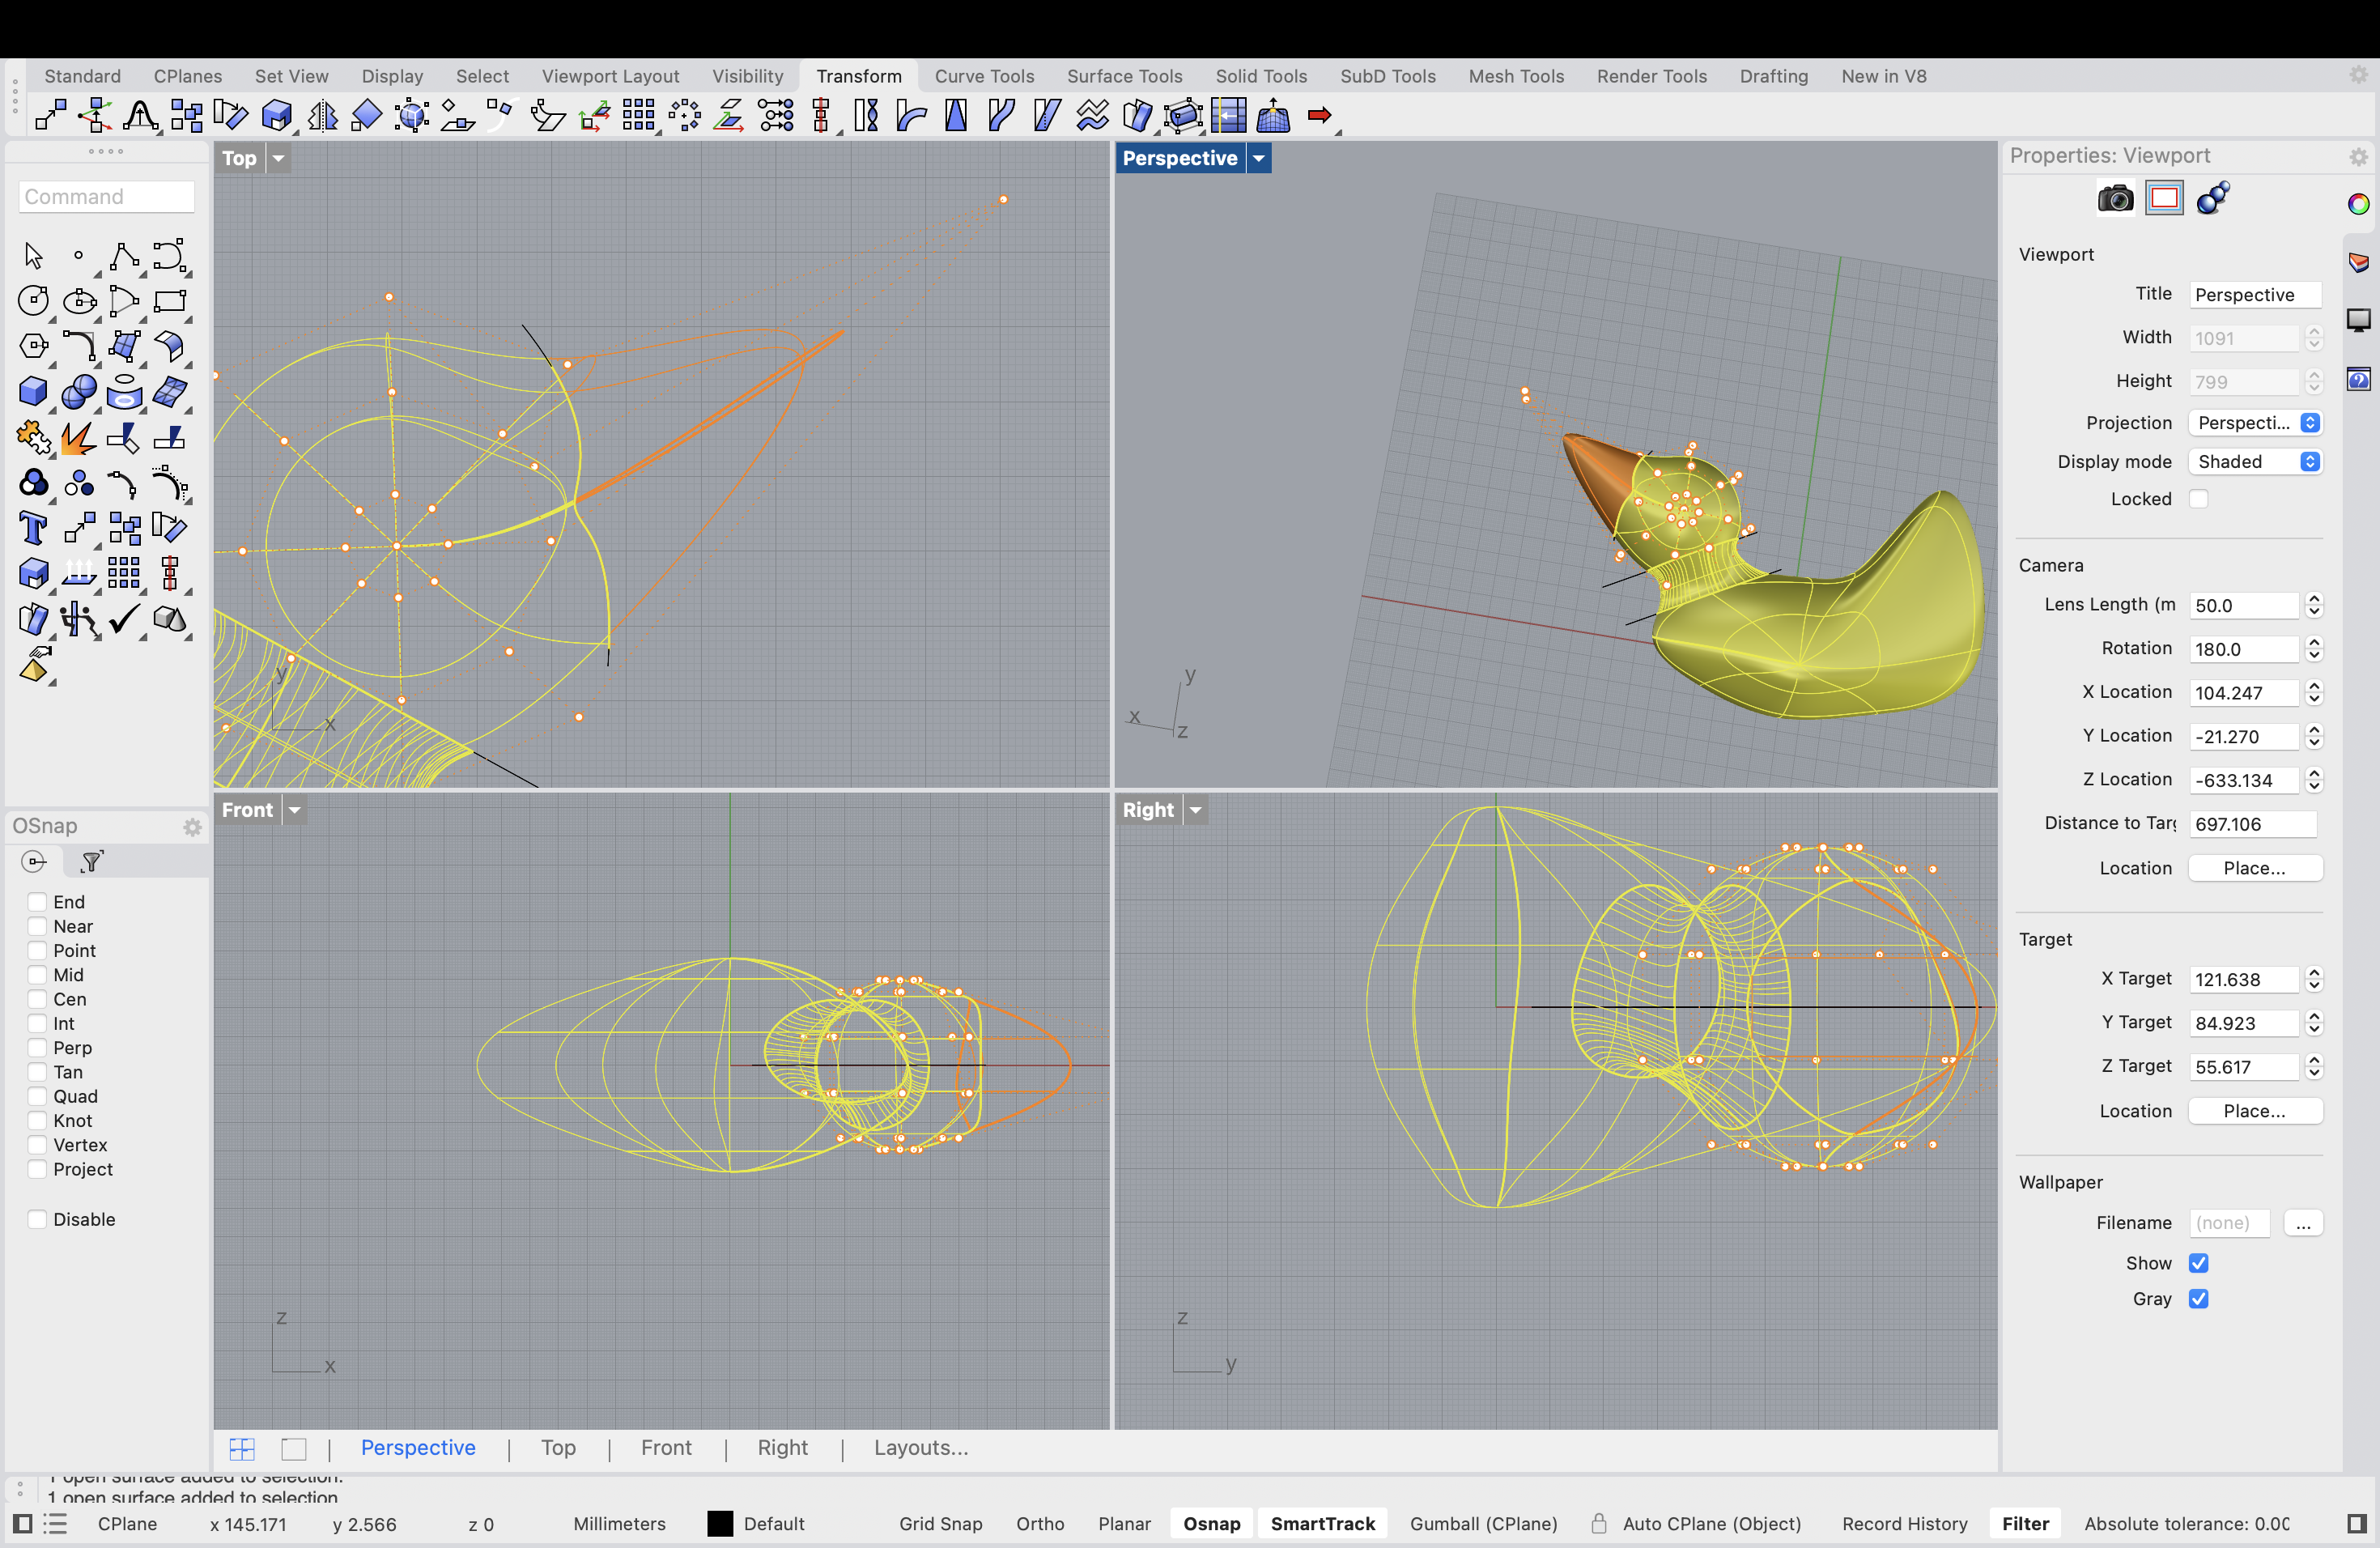
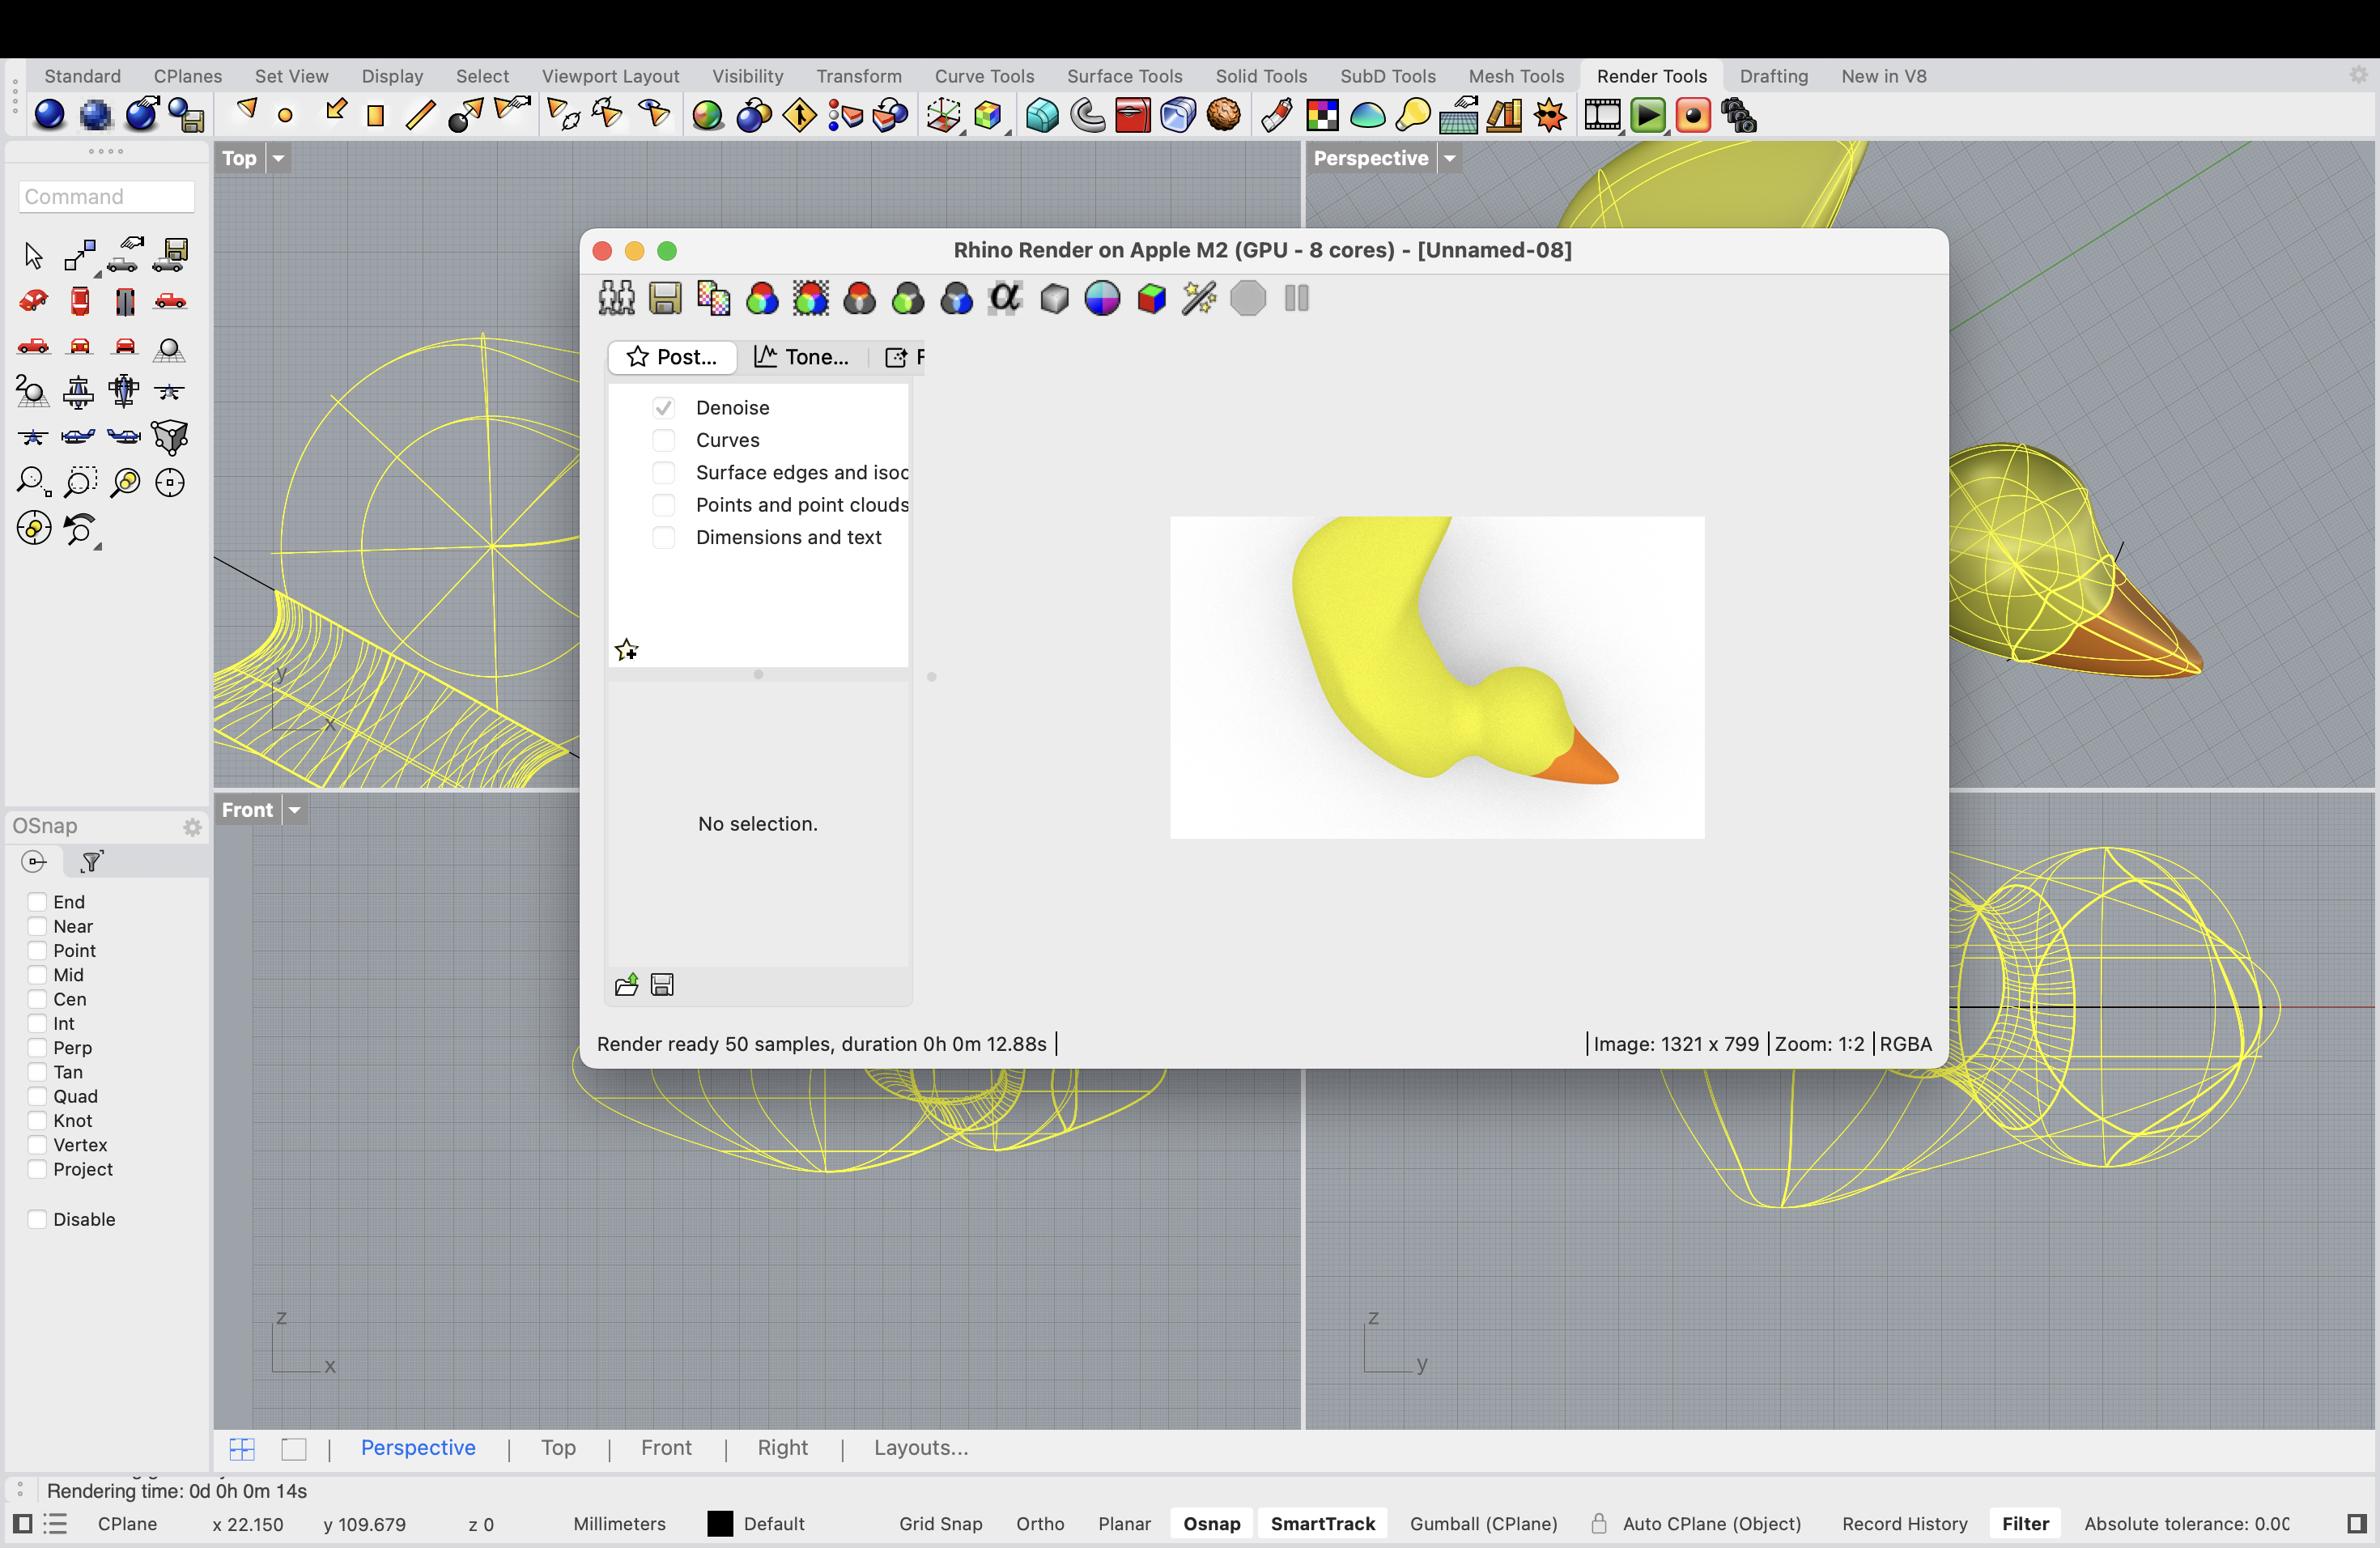
I was having a bit of difficulty with using the control points and creating new ones
that would allow me to change the shape even more. After figuring that out I was able
to make something that resembles the shape of a duck. However, even though the shape
came out organic I want to try to make it look rounder and more like a rubber duck.
This means I am going to try again but this time without documentation and seeing what
happens. My main prioirty is keeping it round in everythign from the body to the beak.
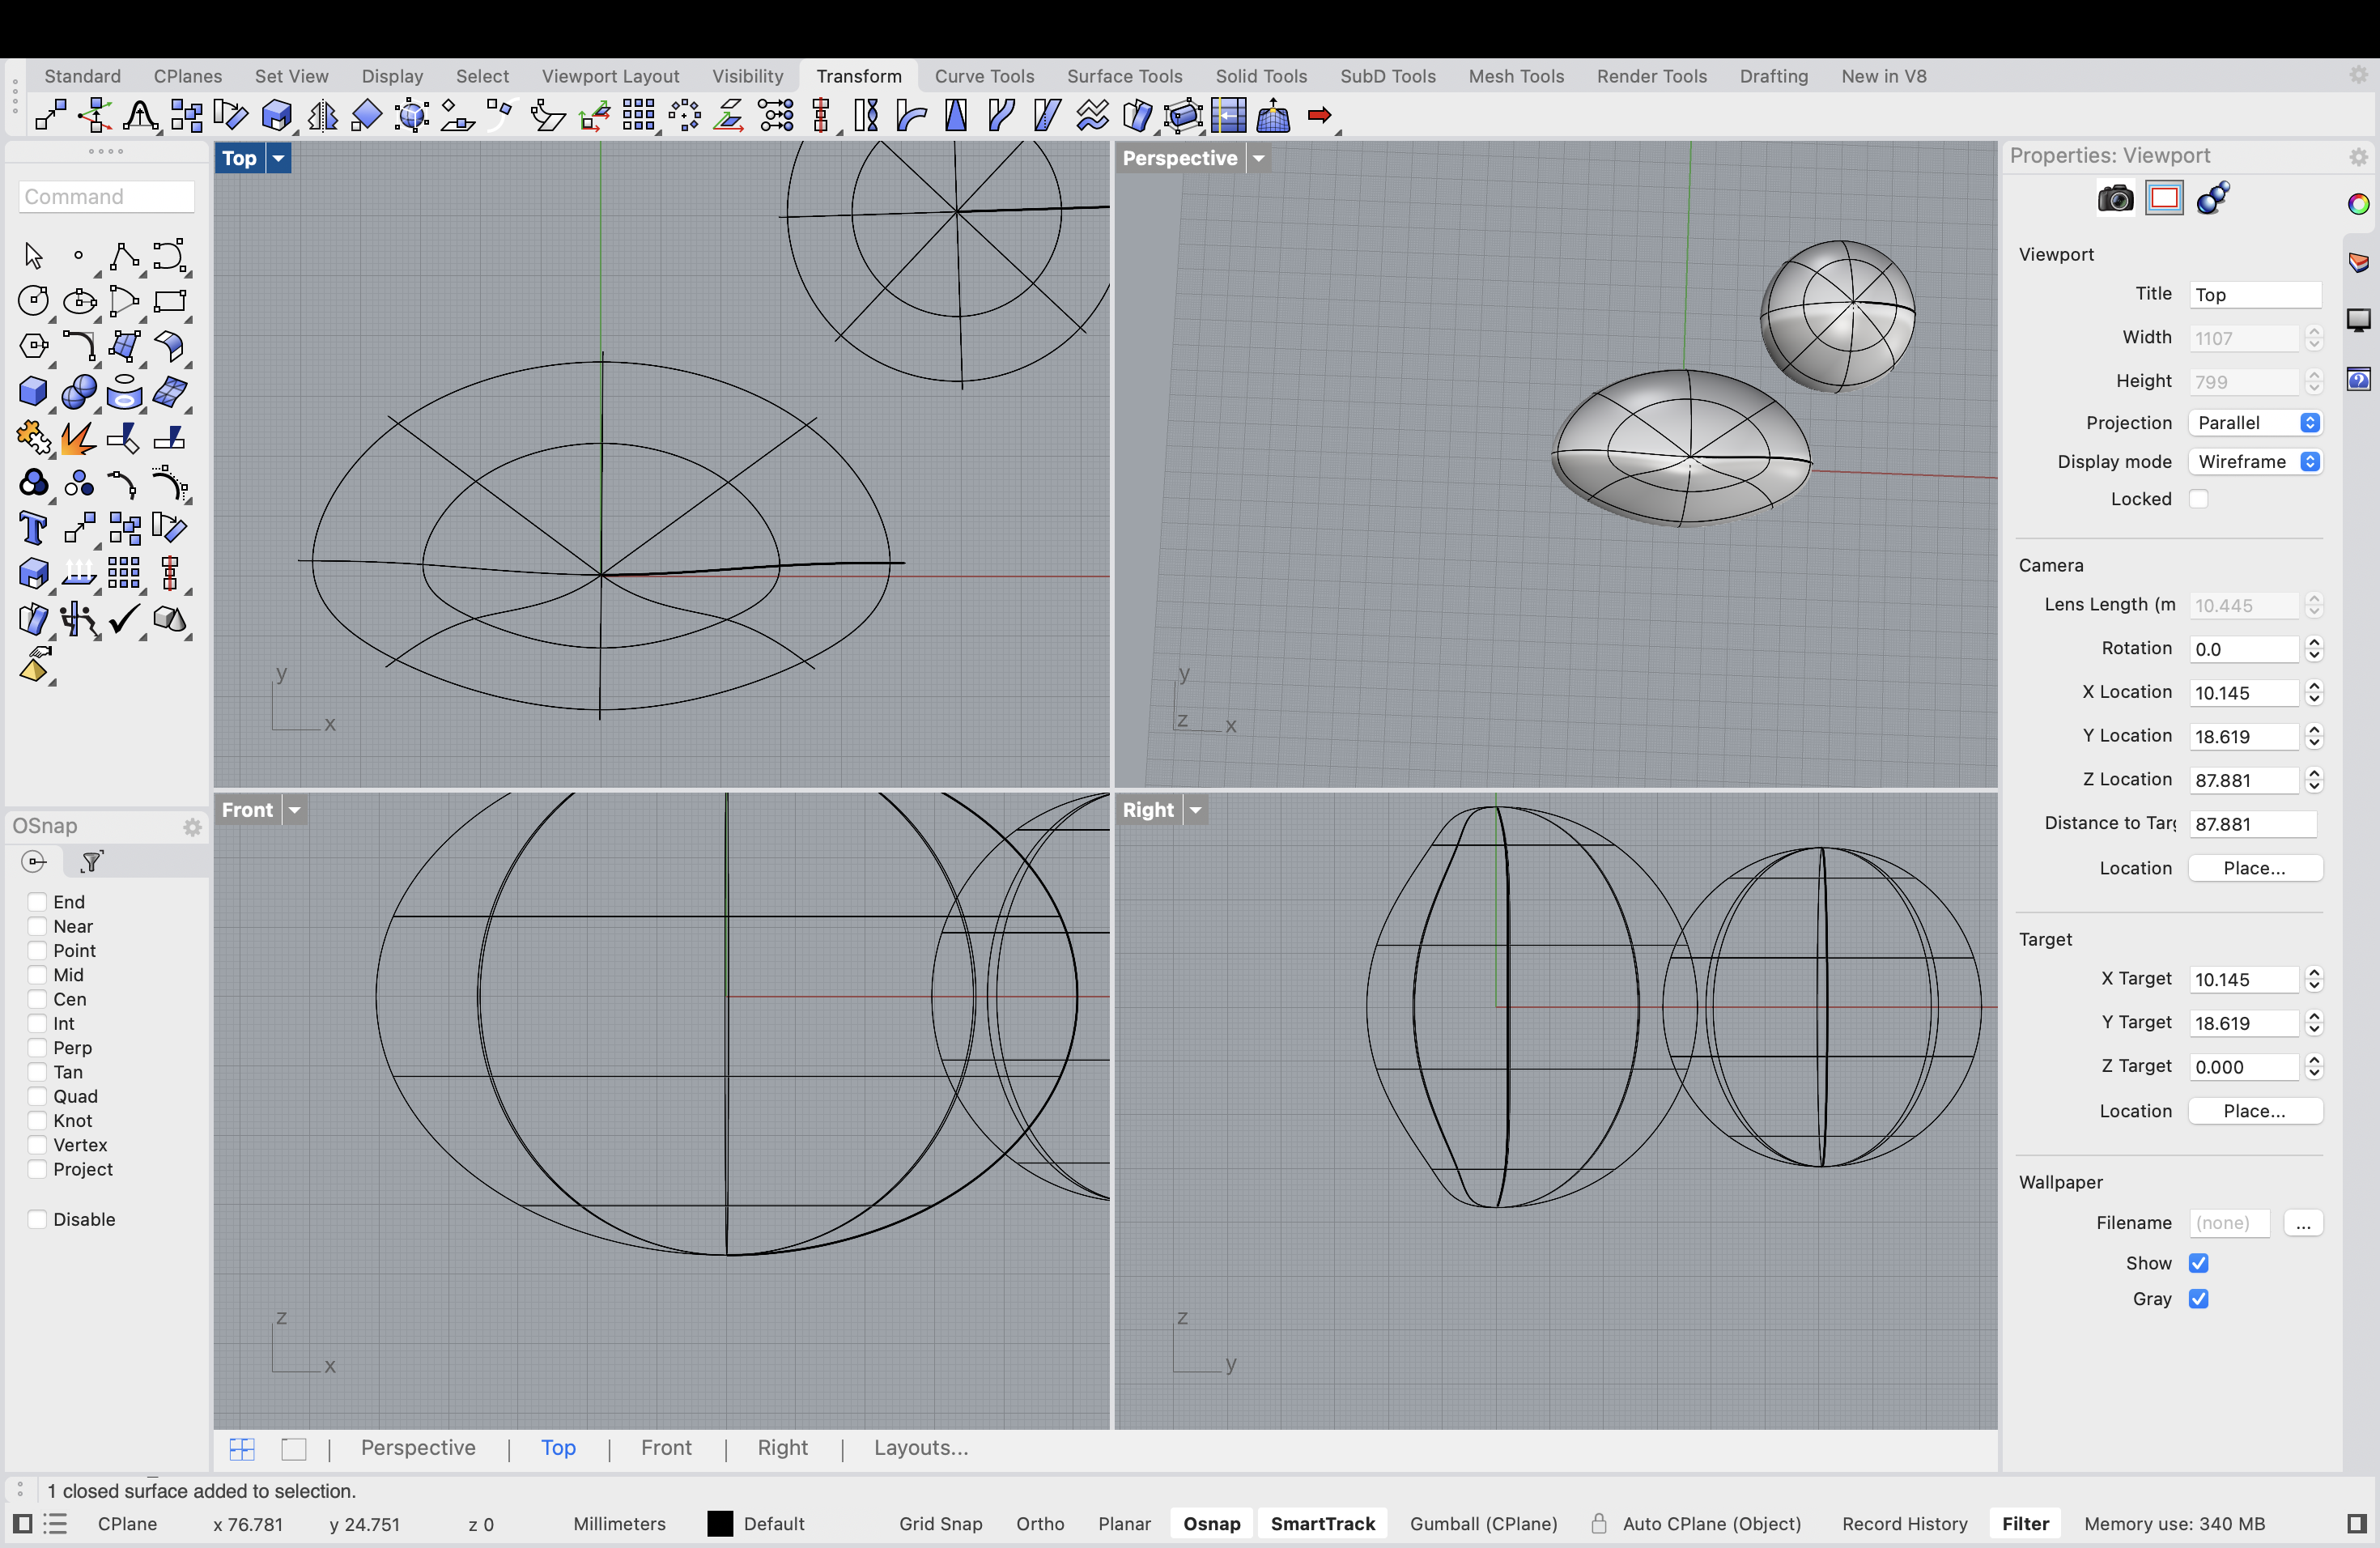
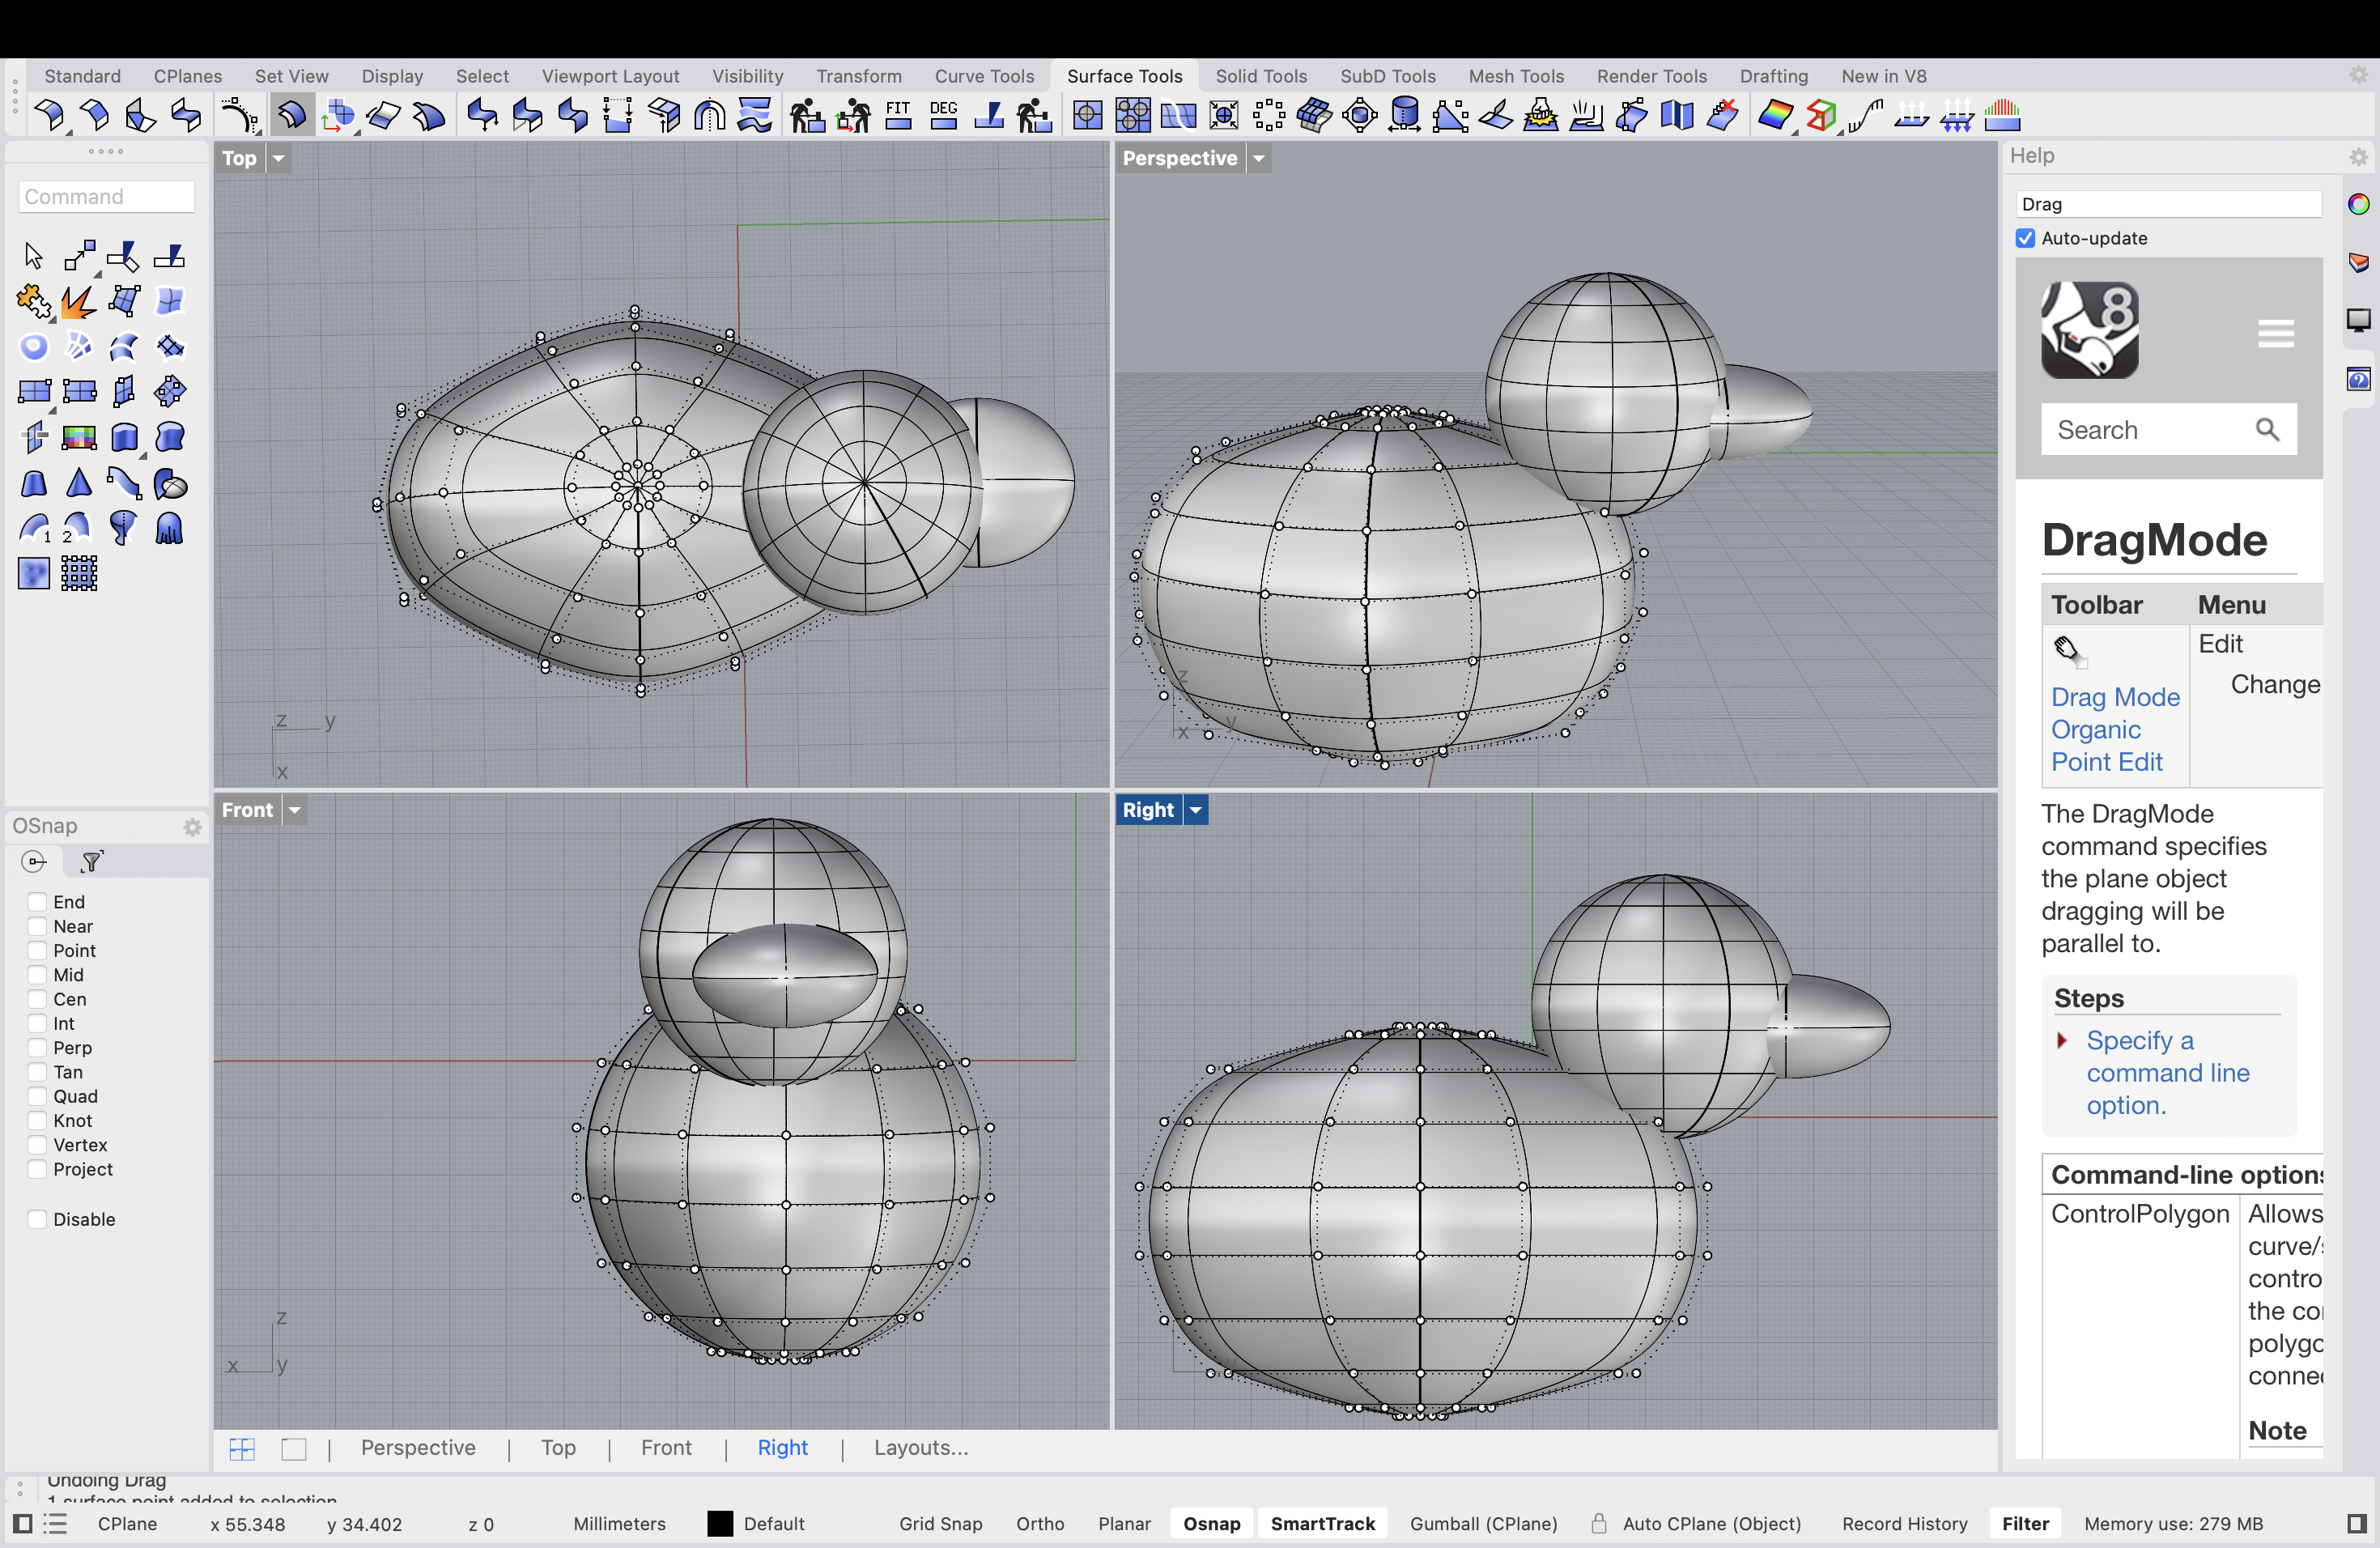
This time I used three main solids: two spheres and a cone. I am a bit worried that the
cone is going to be too sharp for the duck. I was able to add more degrees to deform the
spheres of the duck but for some reason I cannot seem to edit the points for the cone.
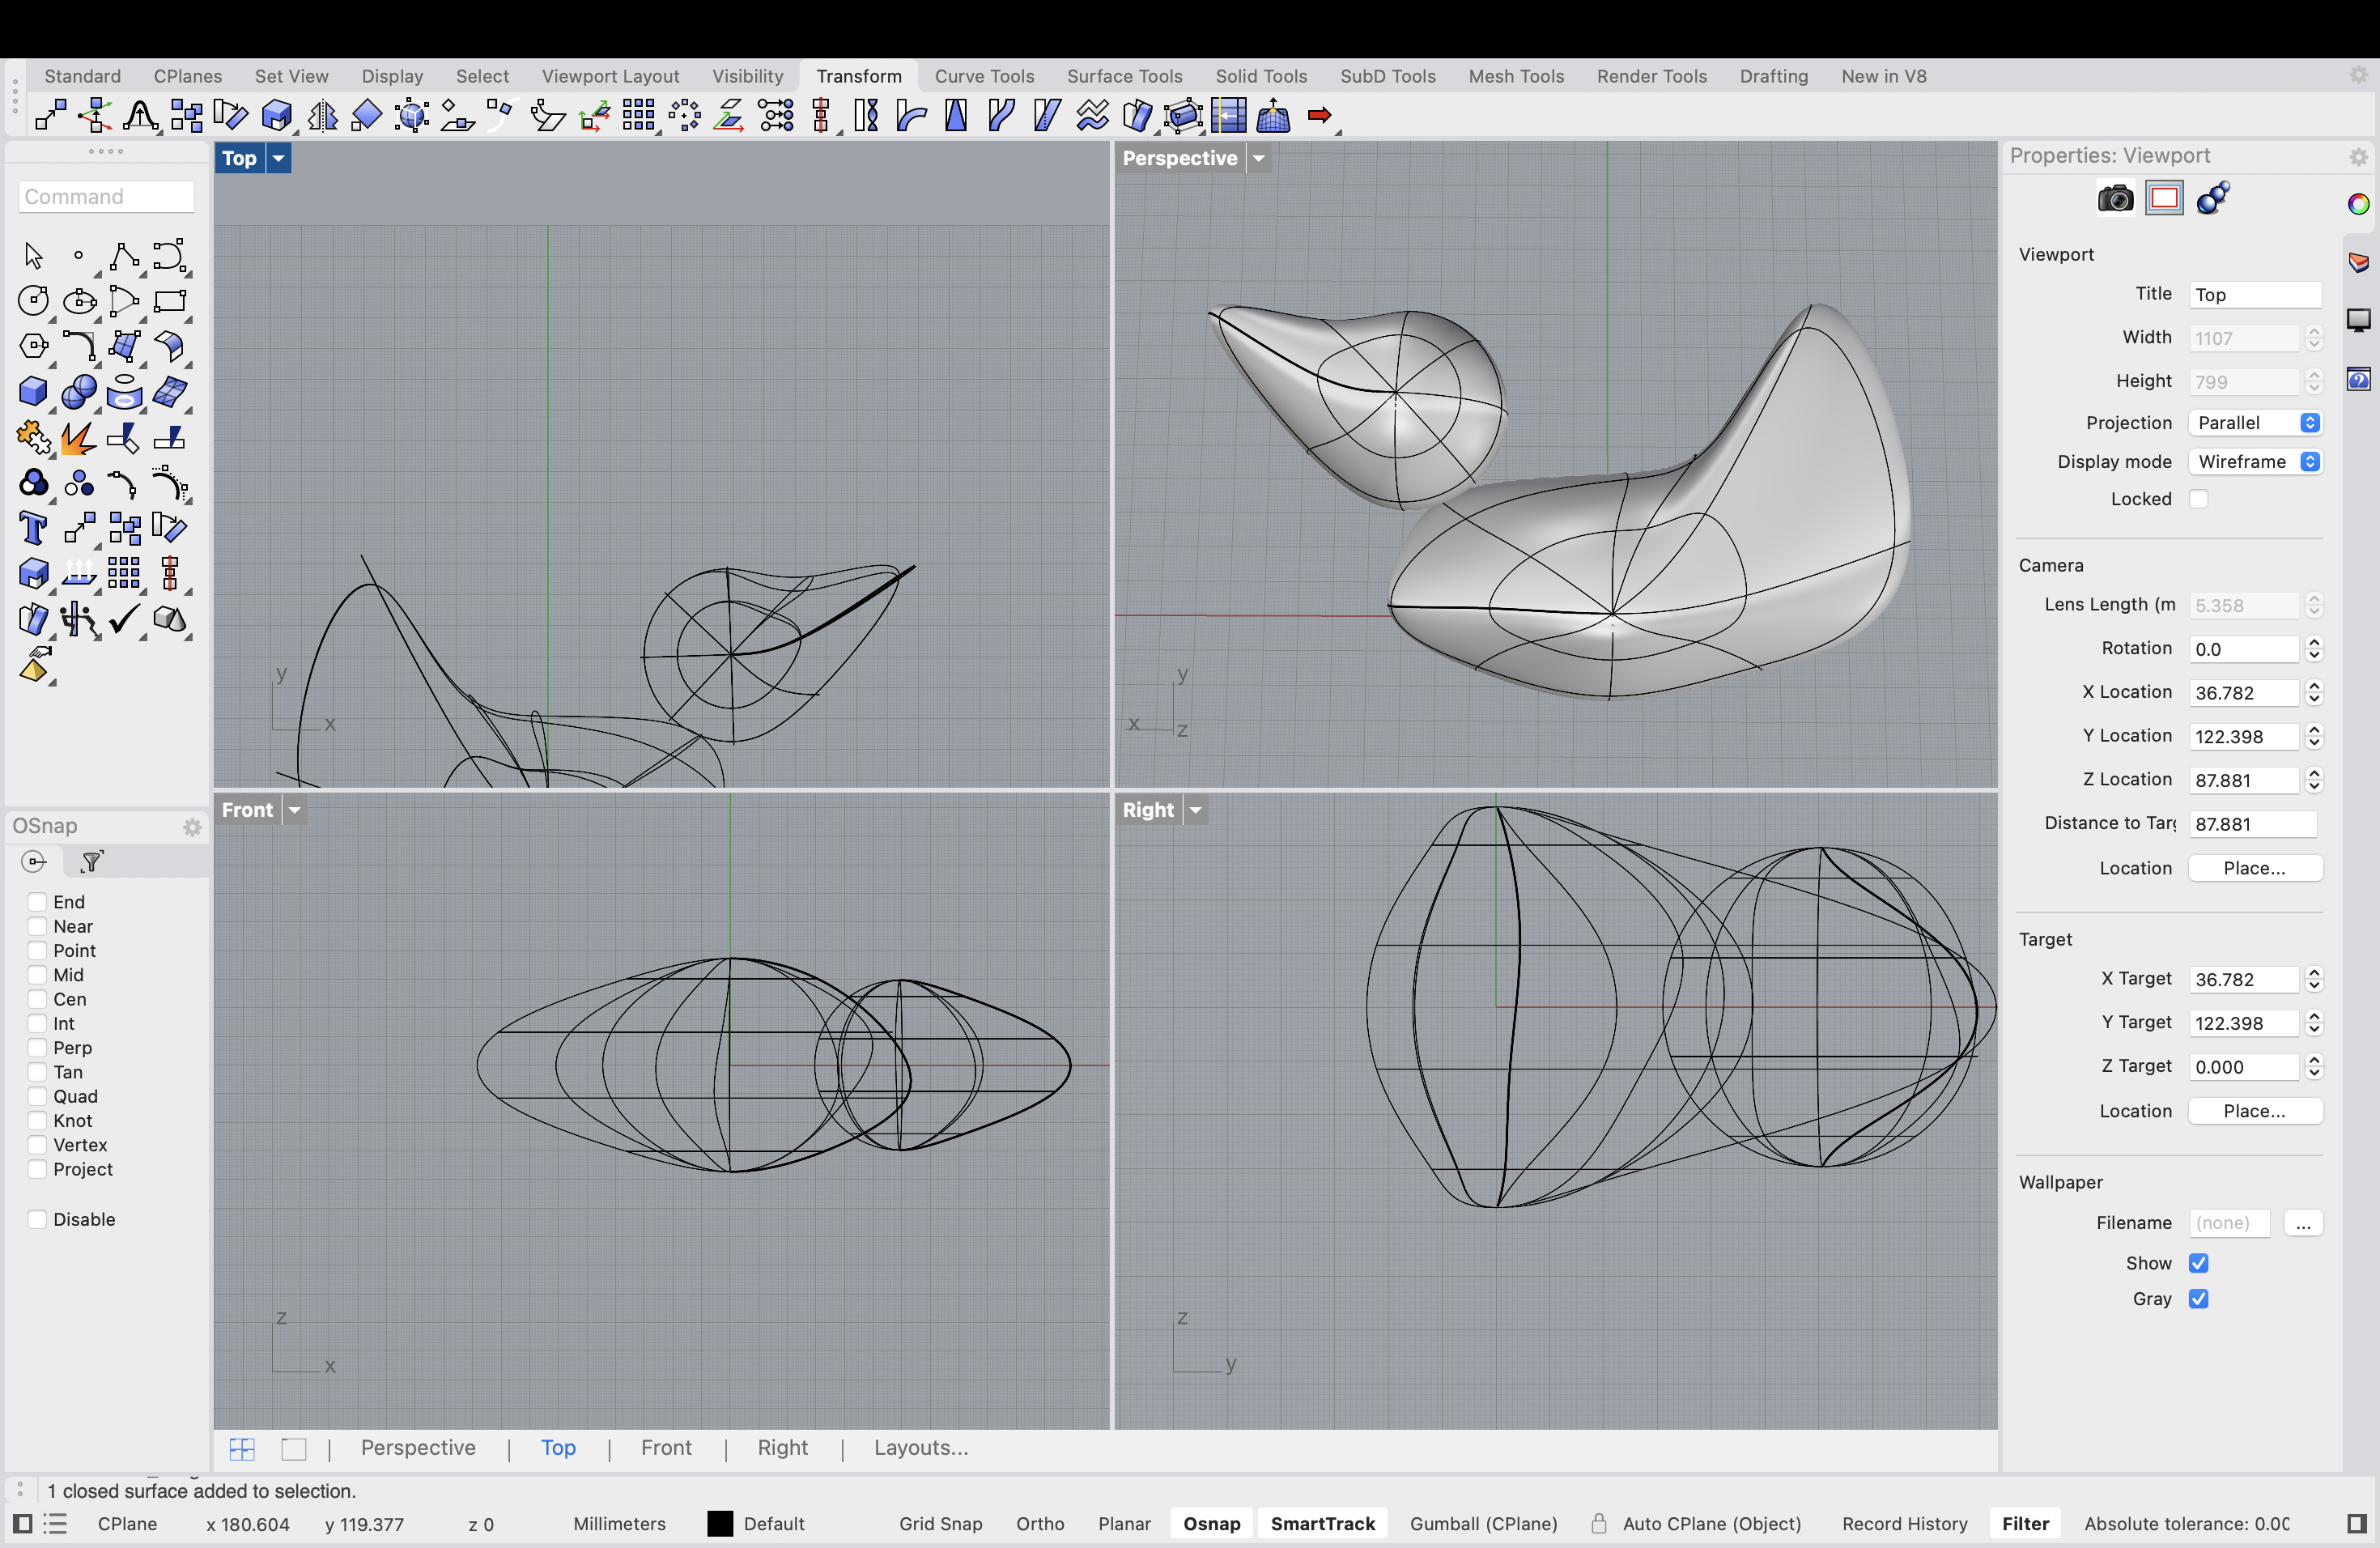
I ended up changing the cone to an ellipse and adding two more for the wings. I am also
still working on figuring out how to blend surfaces to make it more seamless. I like
how the interface is very mouse free friendly because I lost my adapter. Overall even
thought he UIUX is extremely overwhelming I am really liking to start rhino. I absolutely
love the fact that you can see all different directions at the same time.
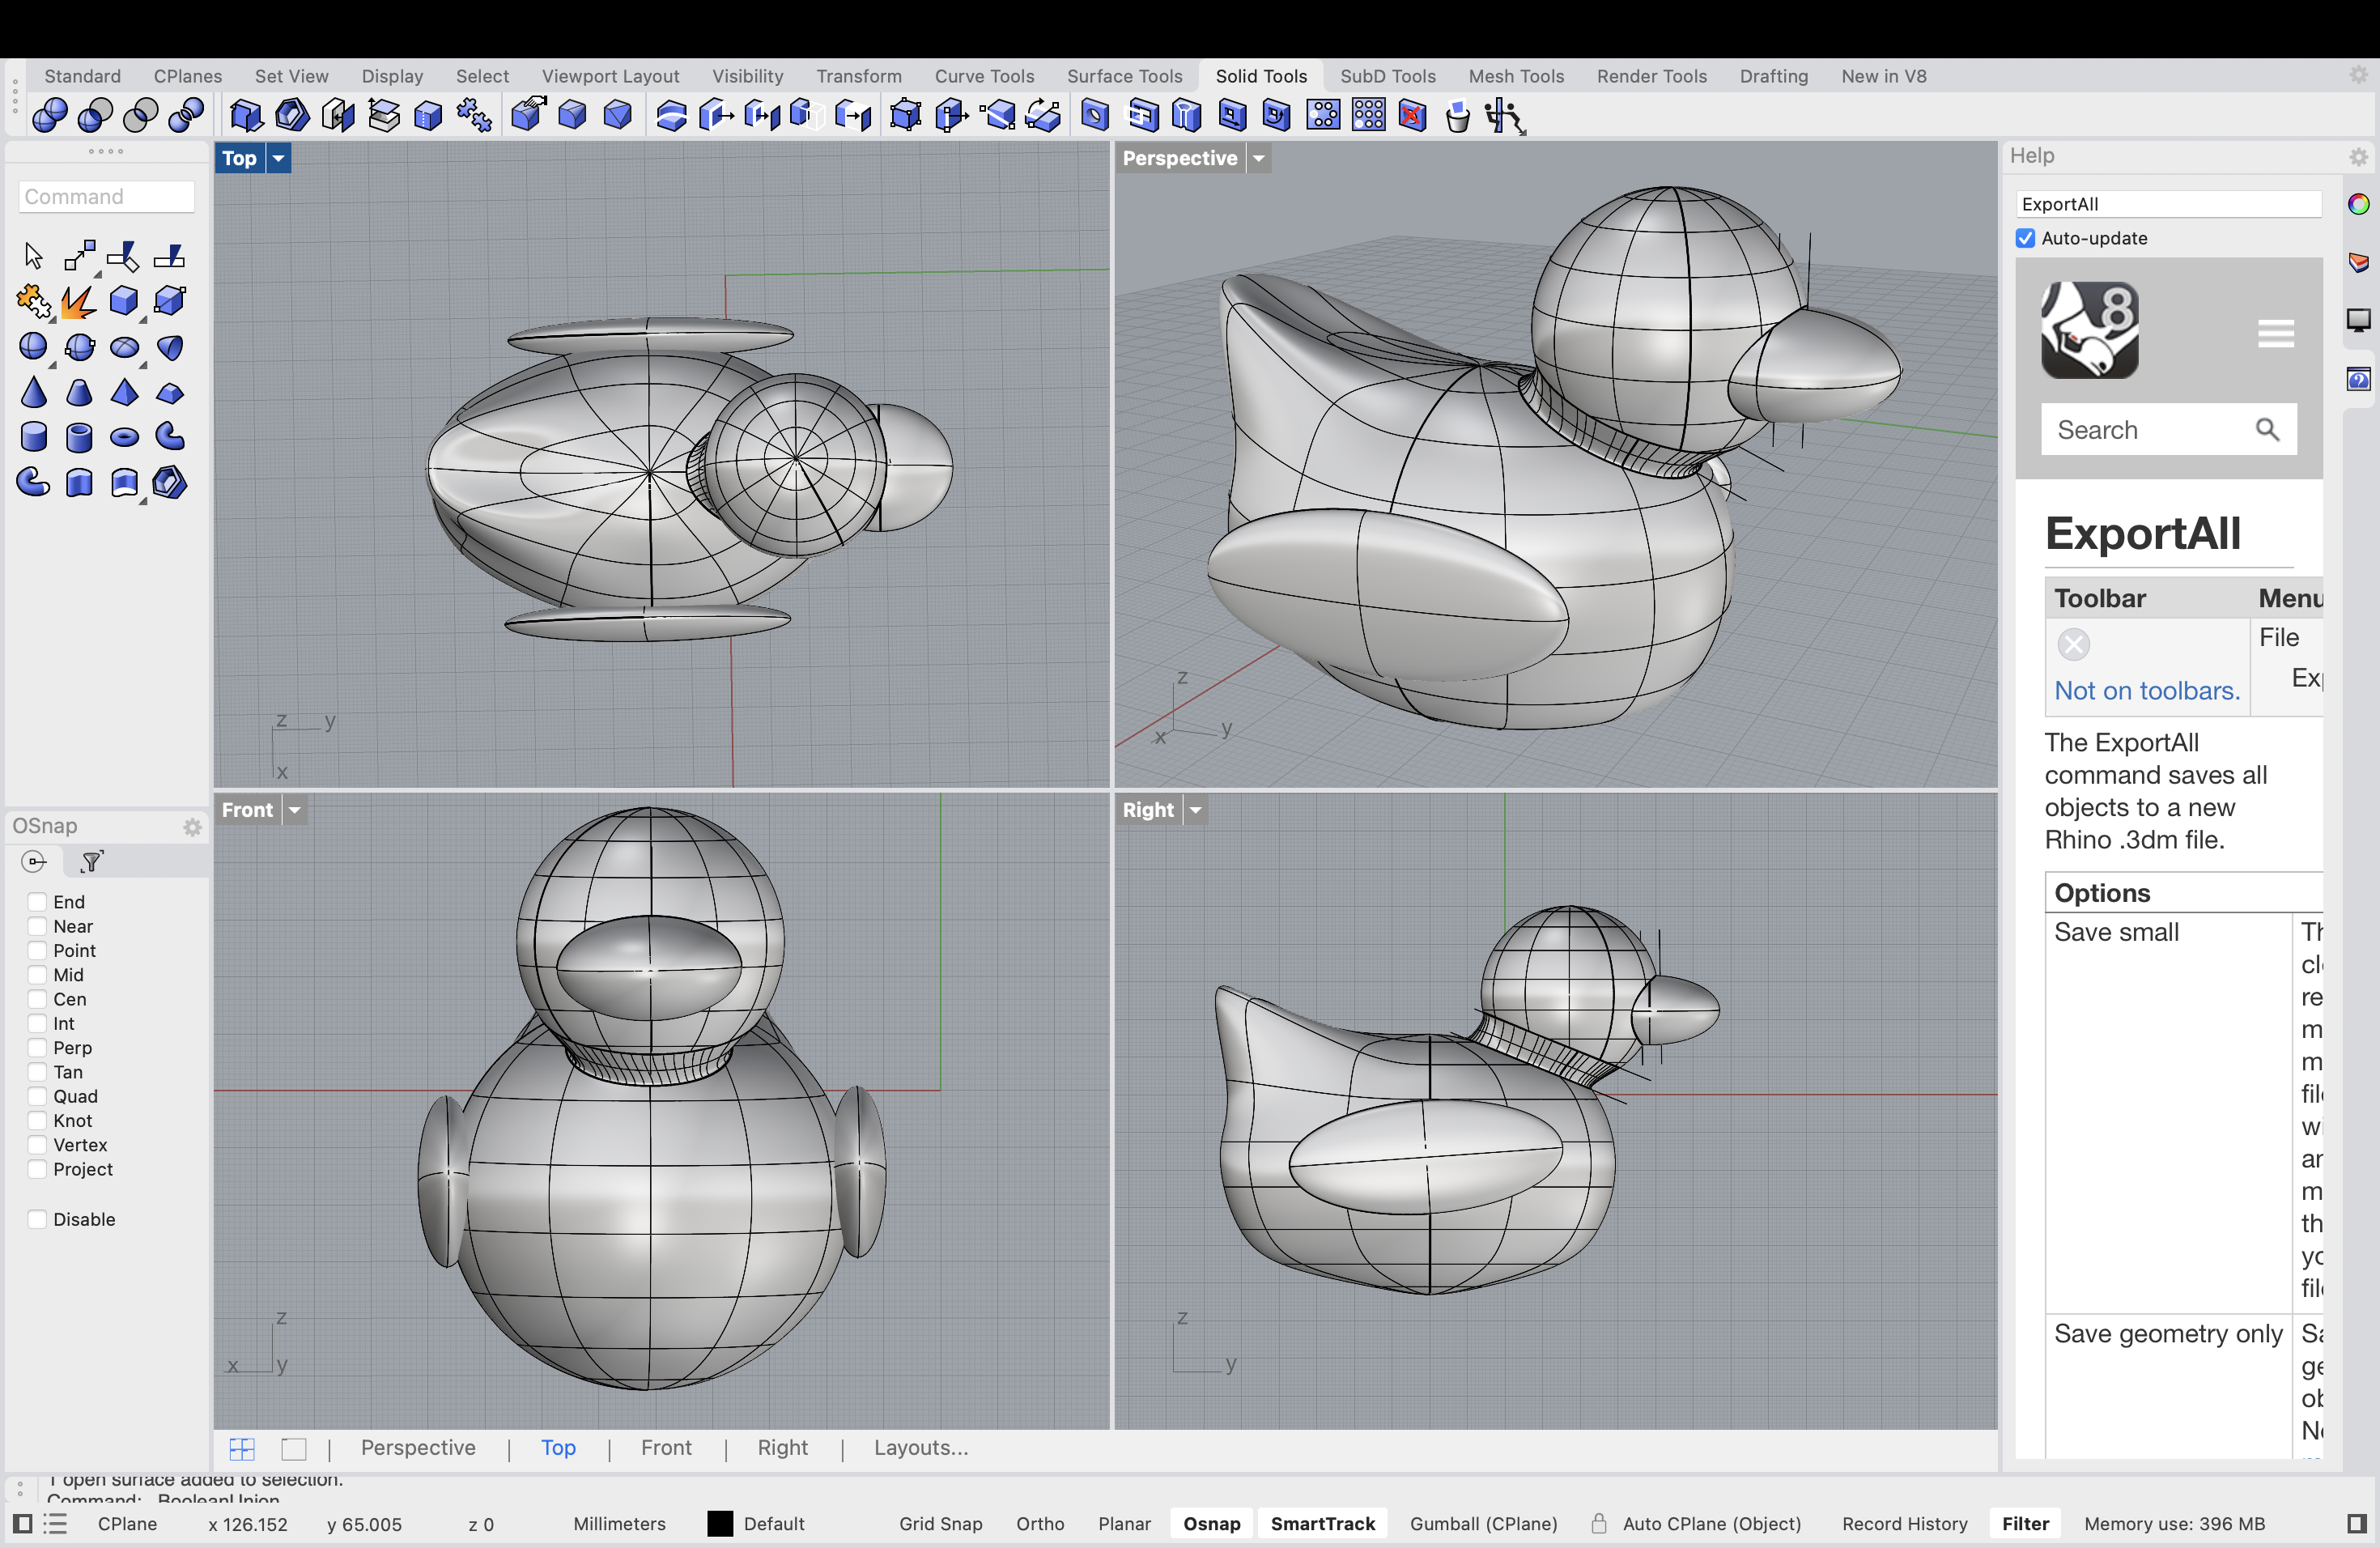
Straight Lines in Rhino (the lack thereof)
My next step since I am not so fluent with rhino and I cant really make a straight line and it
doesn't really have autosnap features is to move the STEP to fusion360 and create the actual mold there.
I highkey forgot what the dimensions for the wax block is but I'm sure its written somewhere?
Im having a little bit of an issue with creating the mold because I am not able to split the duck on
Fusion360 for someguring out the pegs I realized
that Im not taking into account the size of the wax. I think I have a solution. I tried to import it into onshape but the blended surface did not import
in at all. I was finally able to figure out how to make the mold. The problem was that the duck technically
is not an object because it is a surface and not solid.
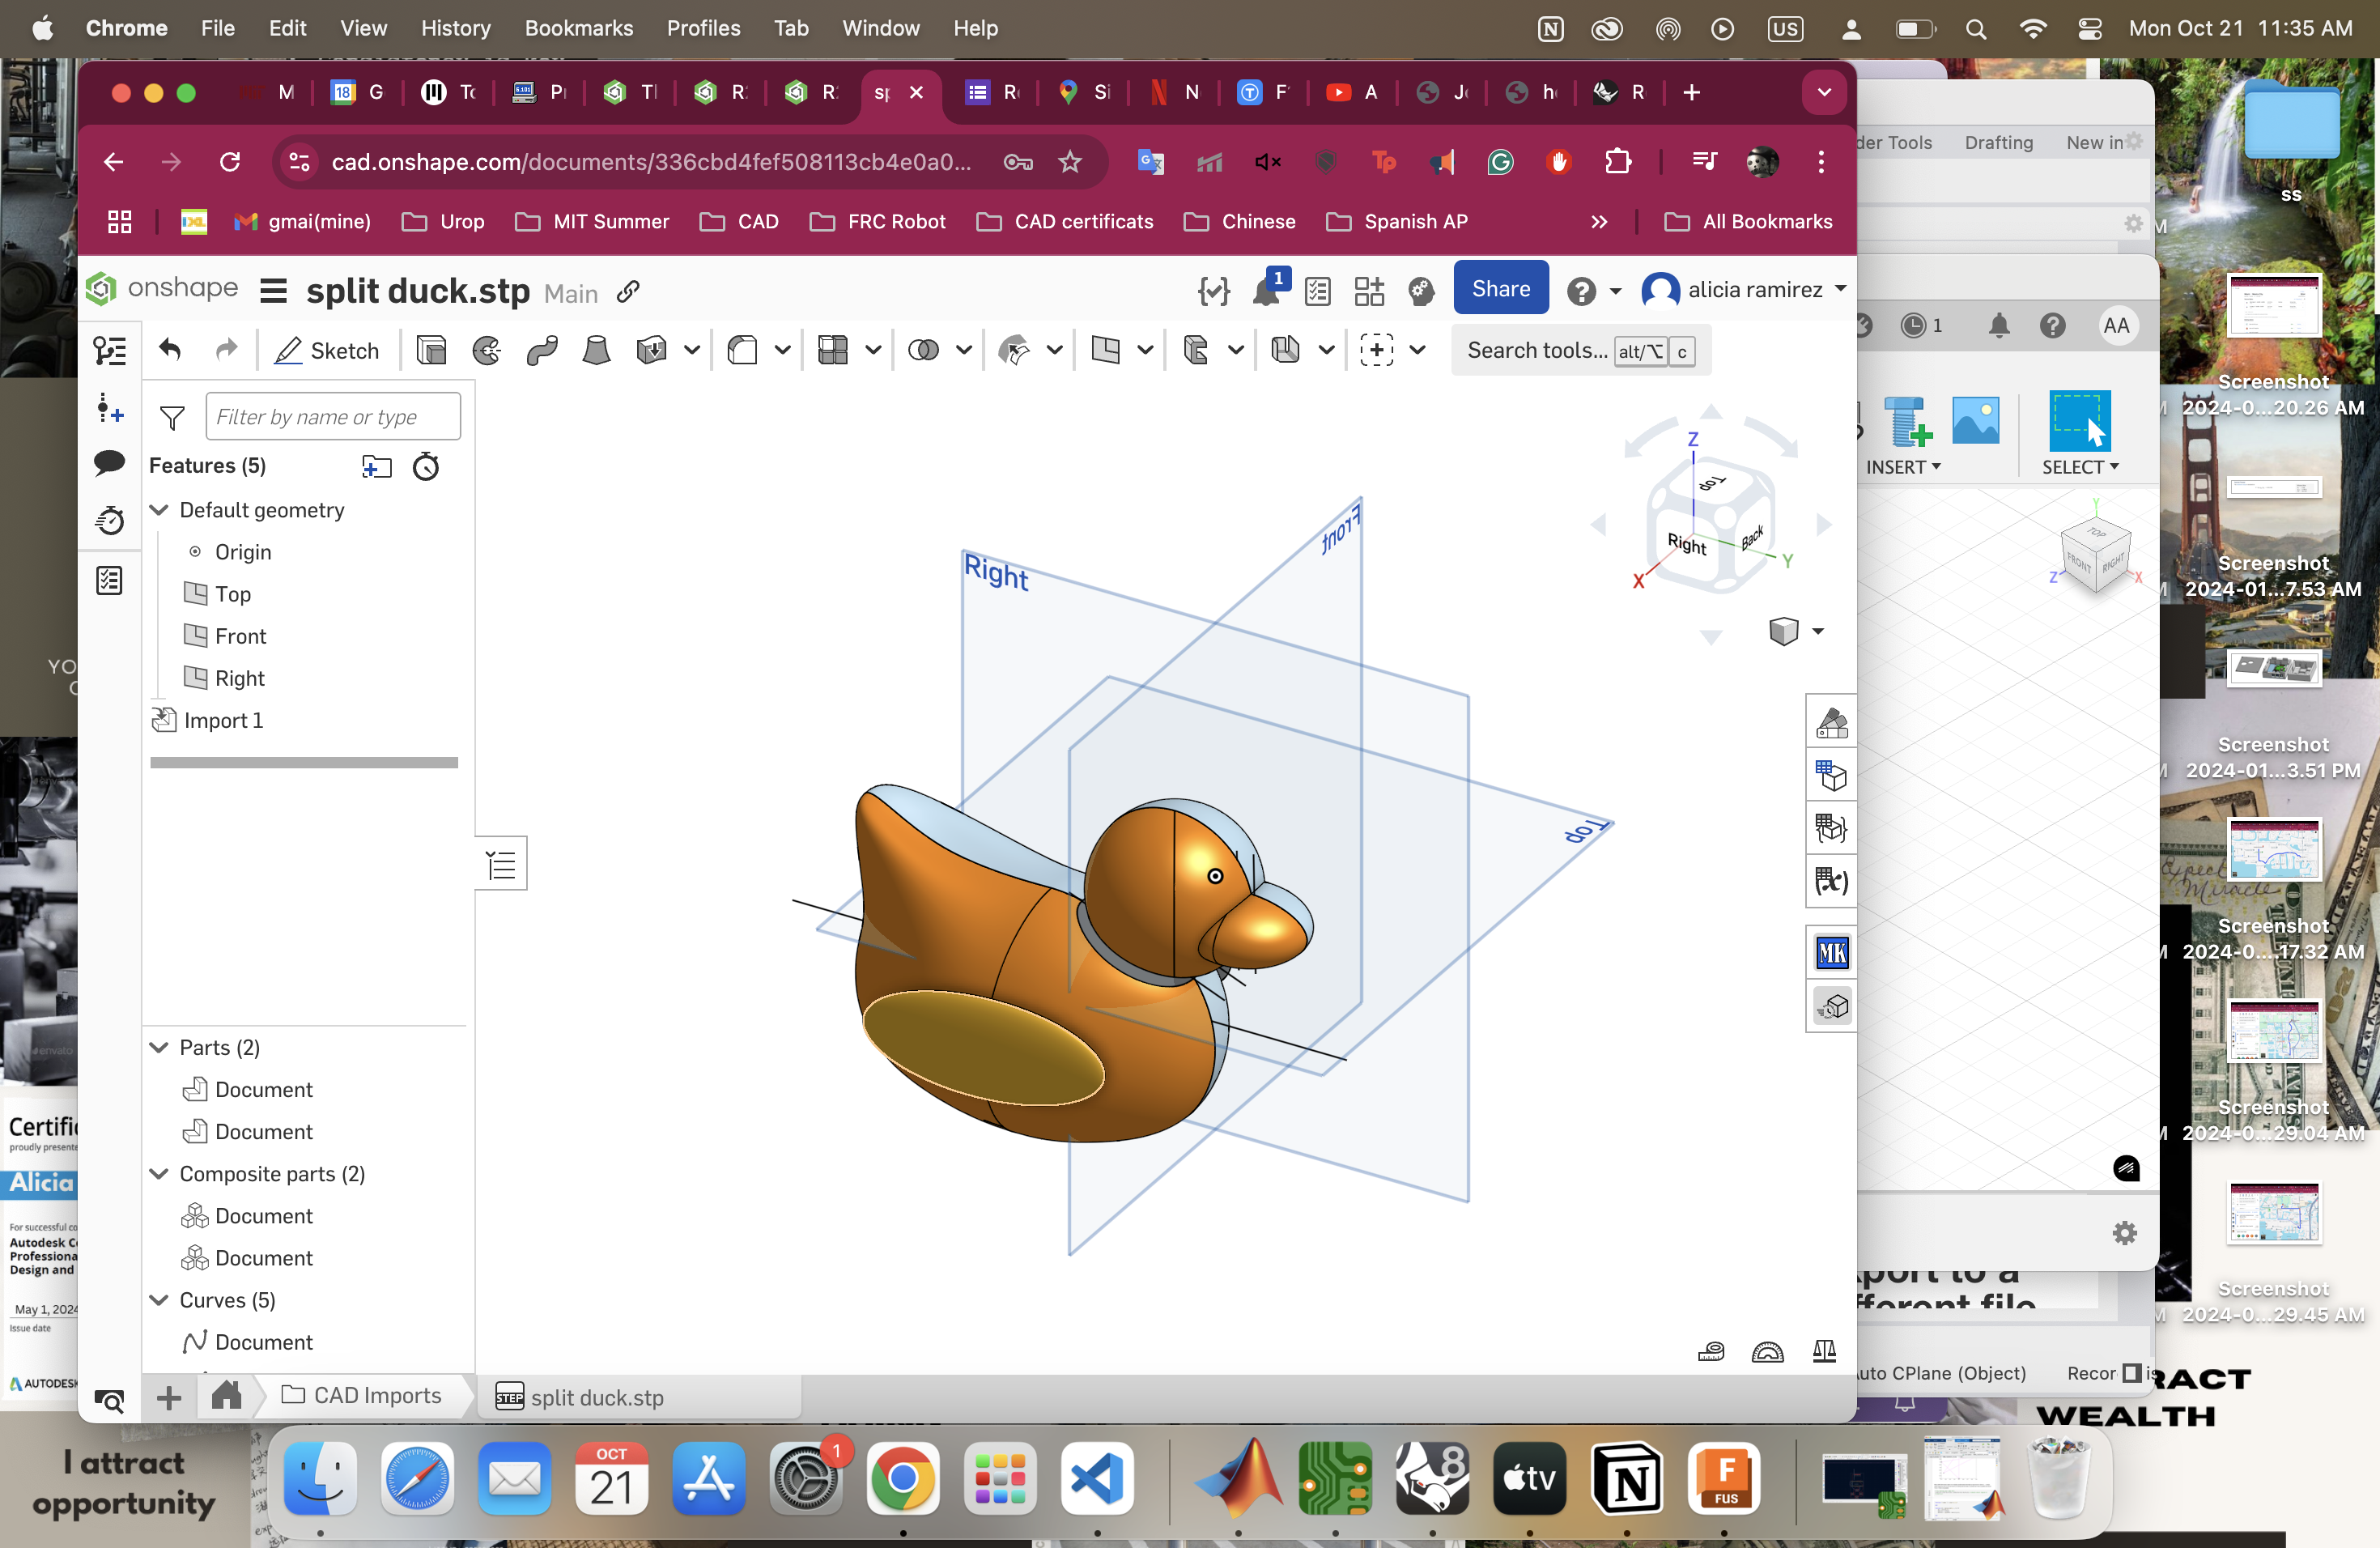
I wish they had a fill it in option but
I dont believe they do. Anyway I am not trying to figure out mentally how the molds being put together works
and how to make sure the pegs will fit into each other. As I am fine to redo the frame first putting
in the dimensions and then scaling the duck. I was able to do it but I am a bit concerned that for some
reasons the two edges won't line up correctly. I finally send the file to Jen and I hope to CNC tomorrow morning
and create the model tomorrow as well.
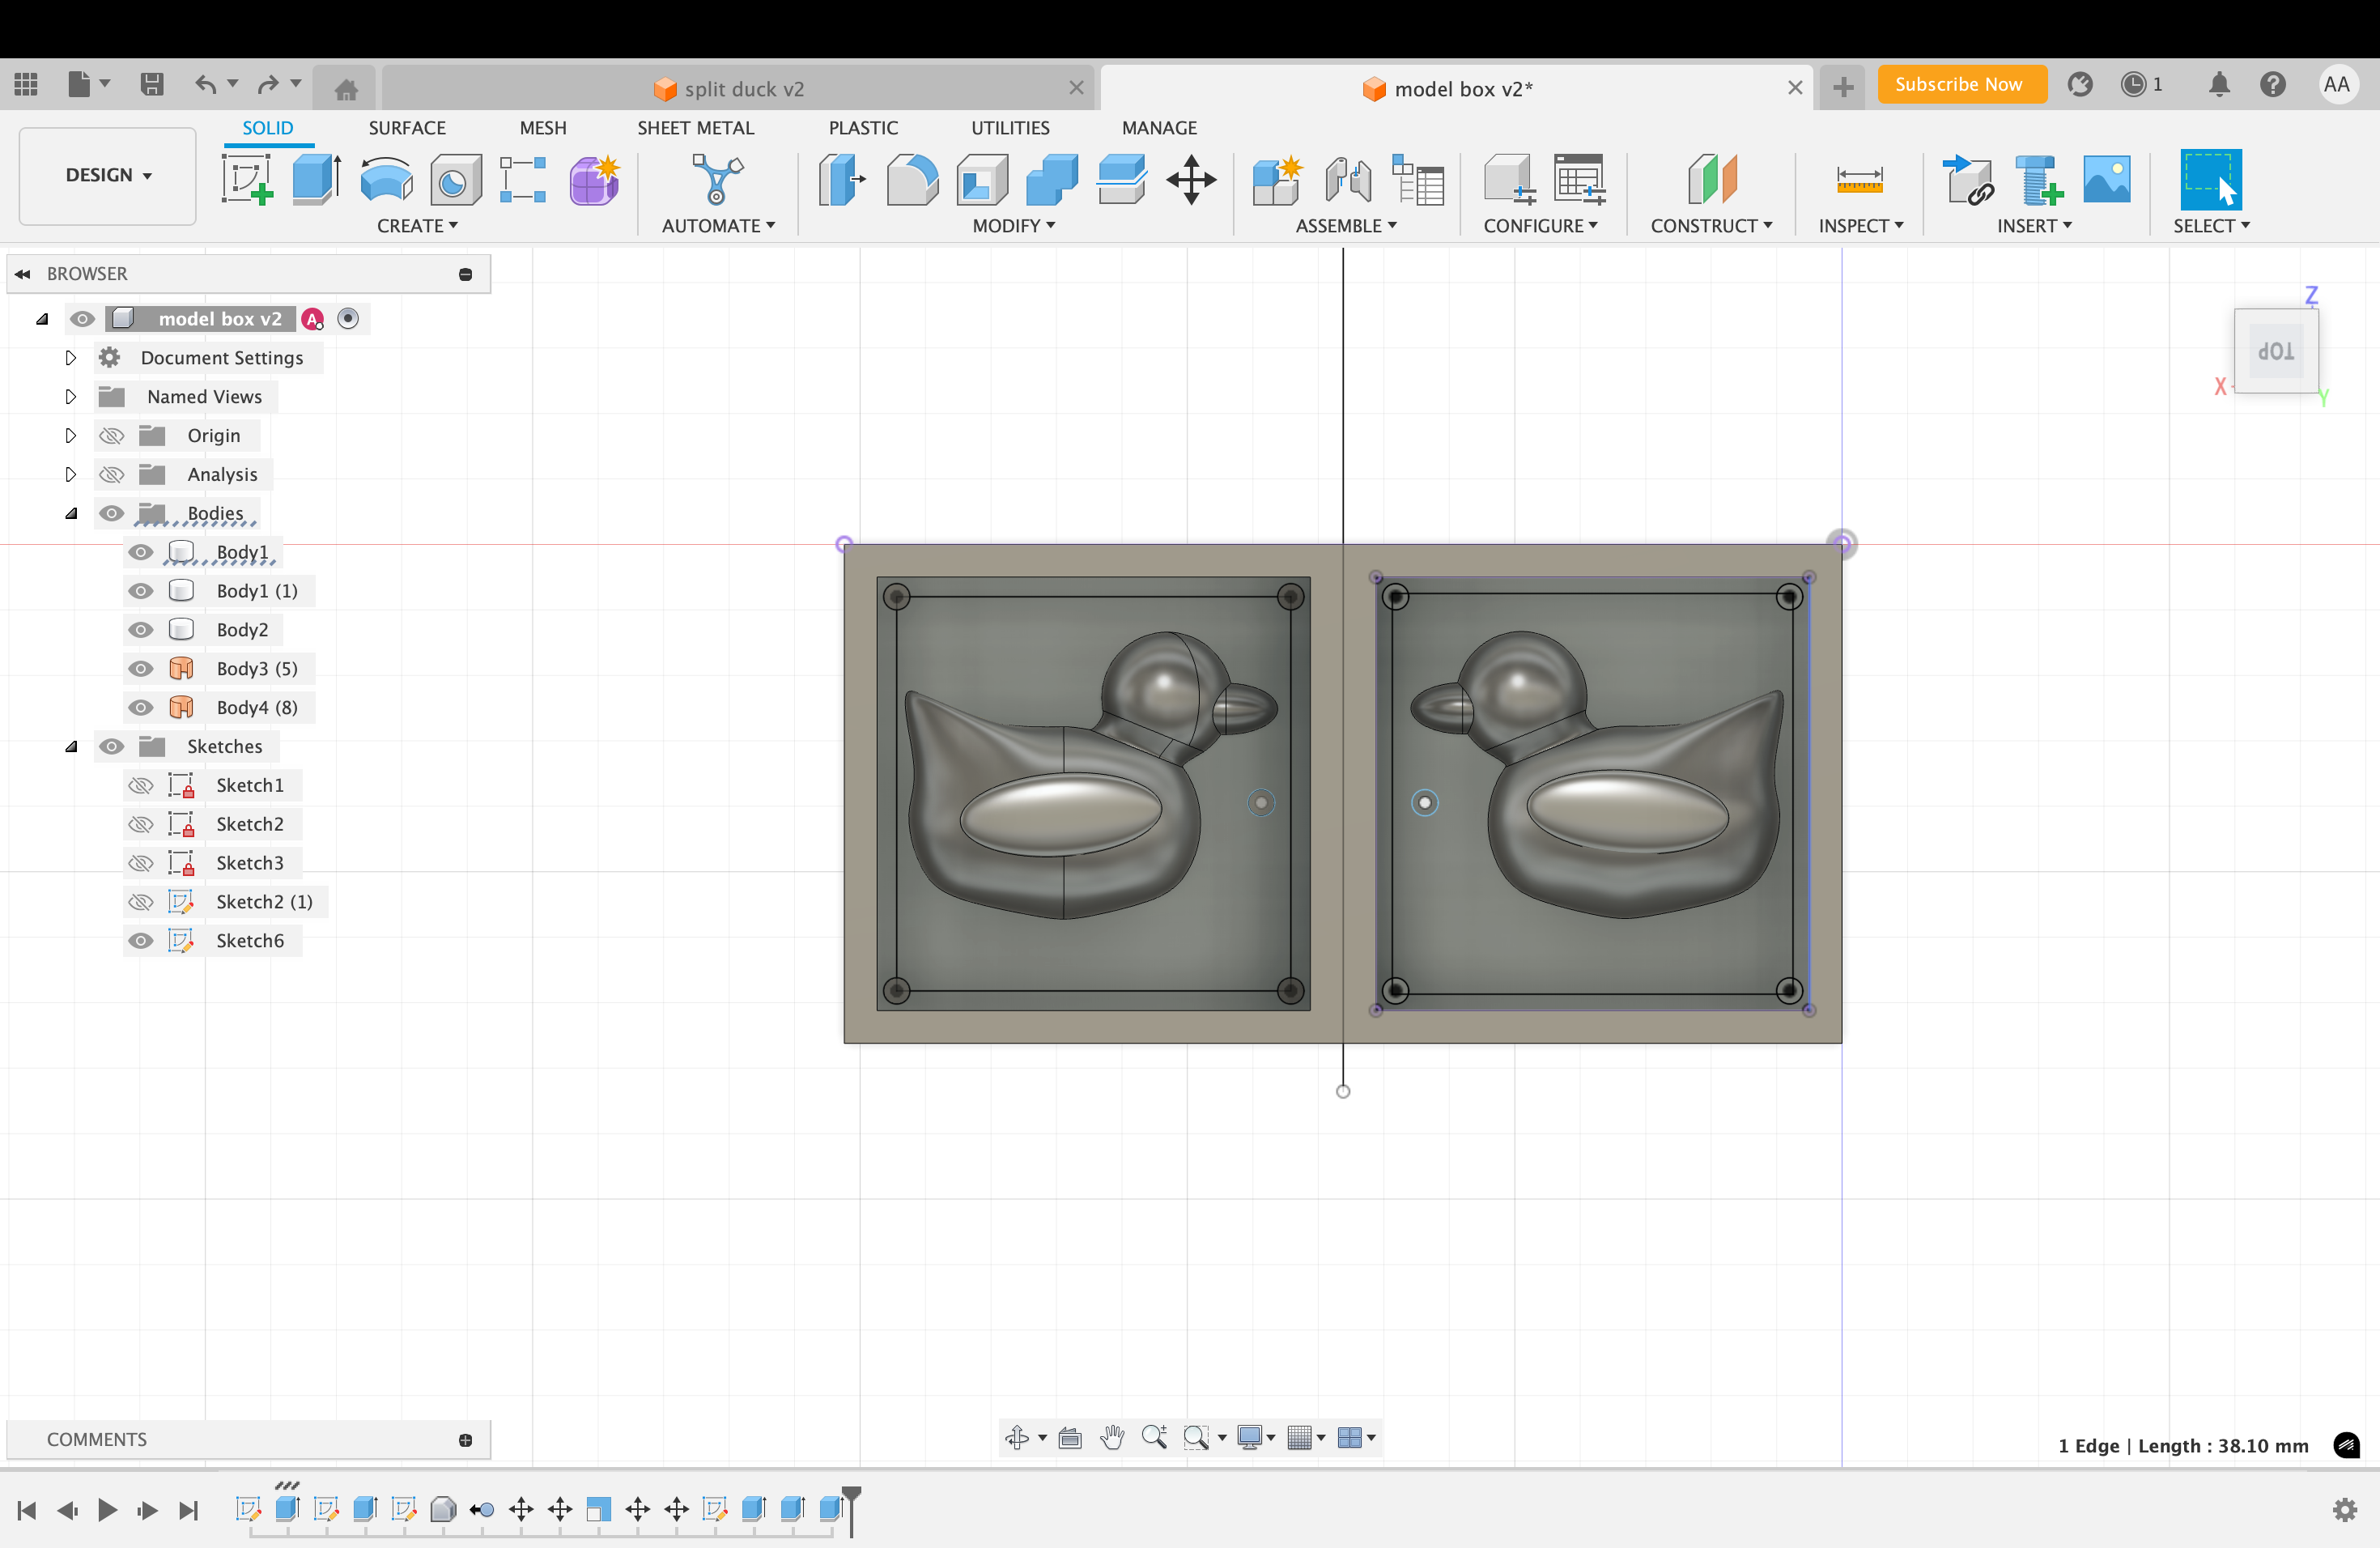
CNCing
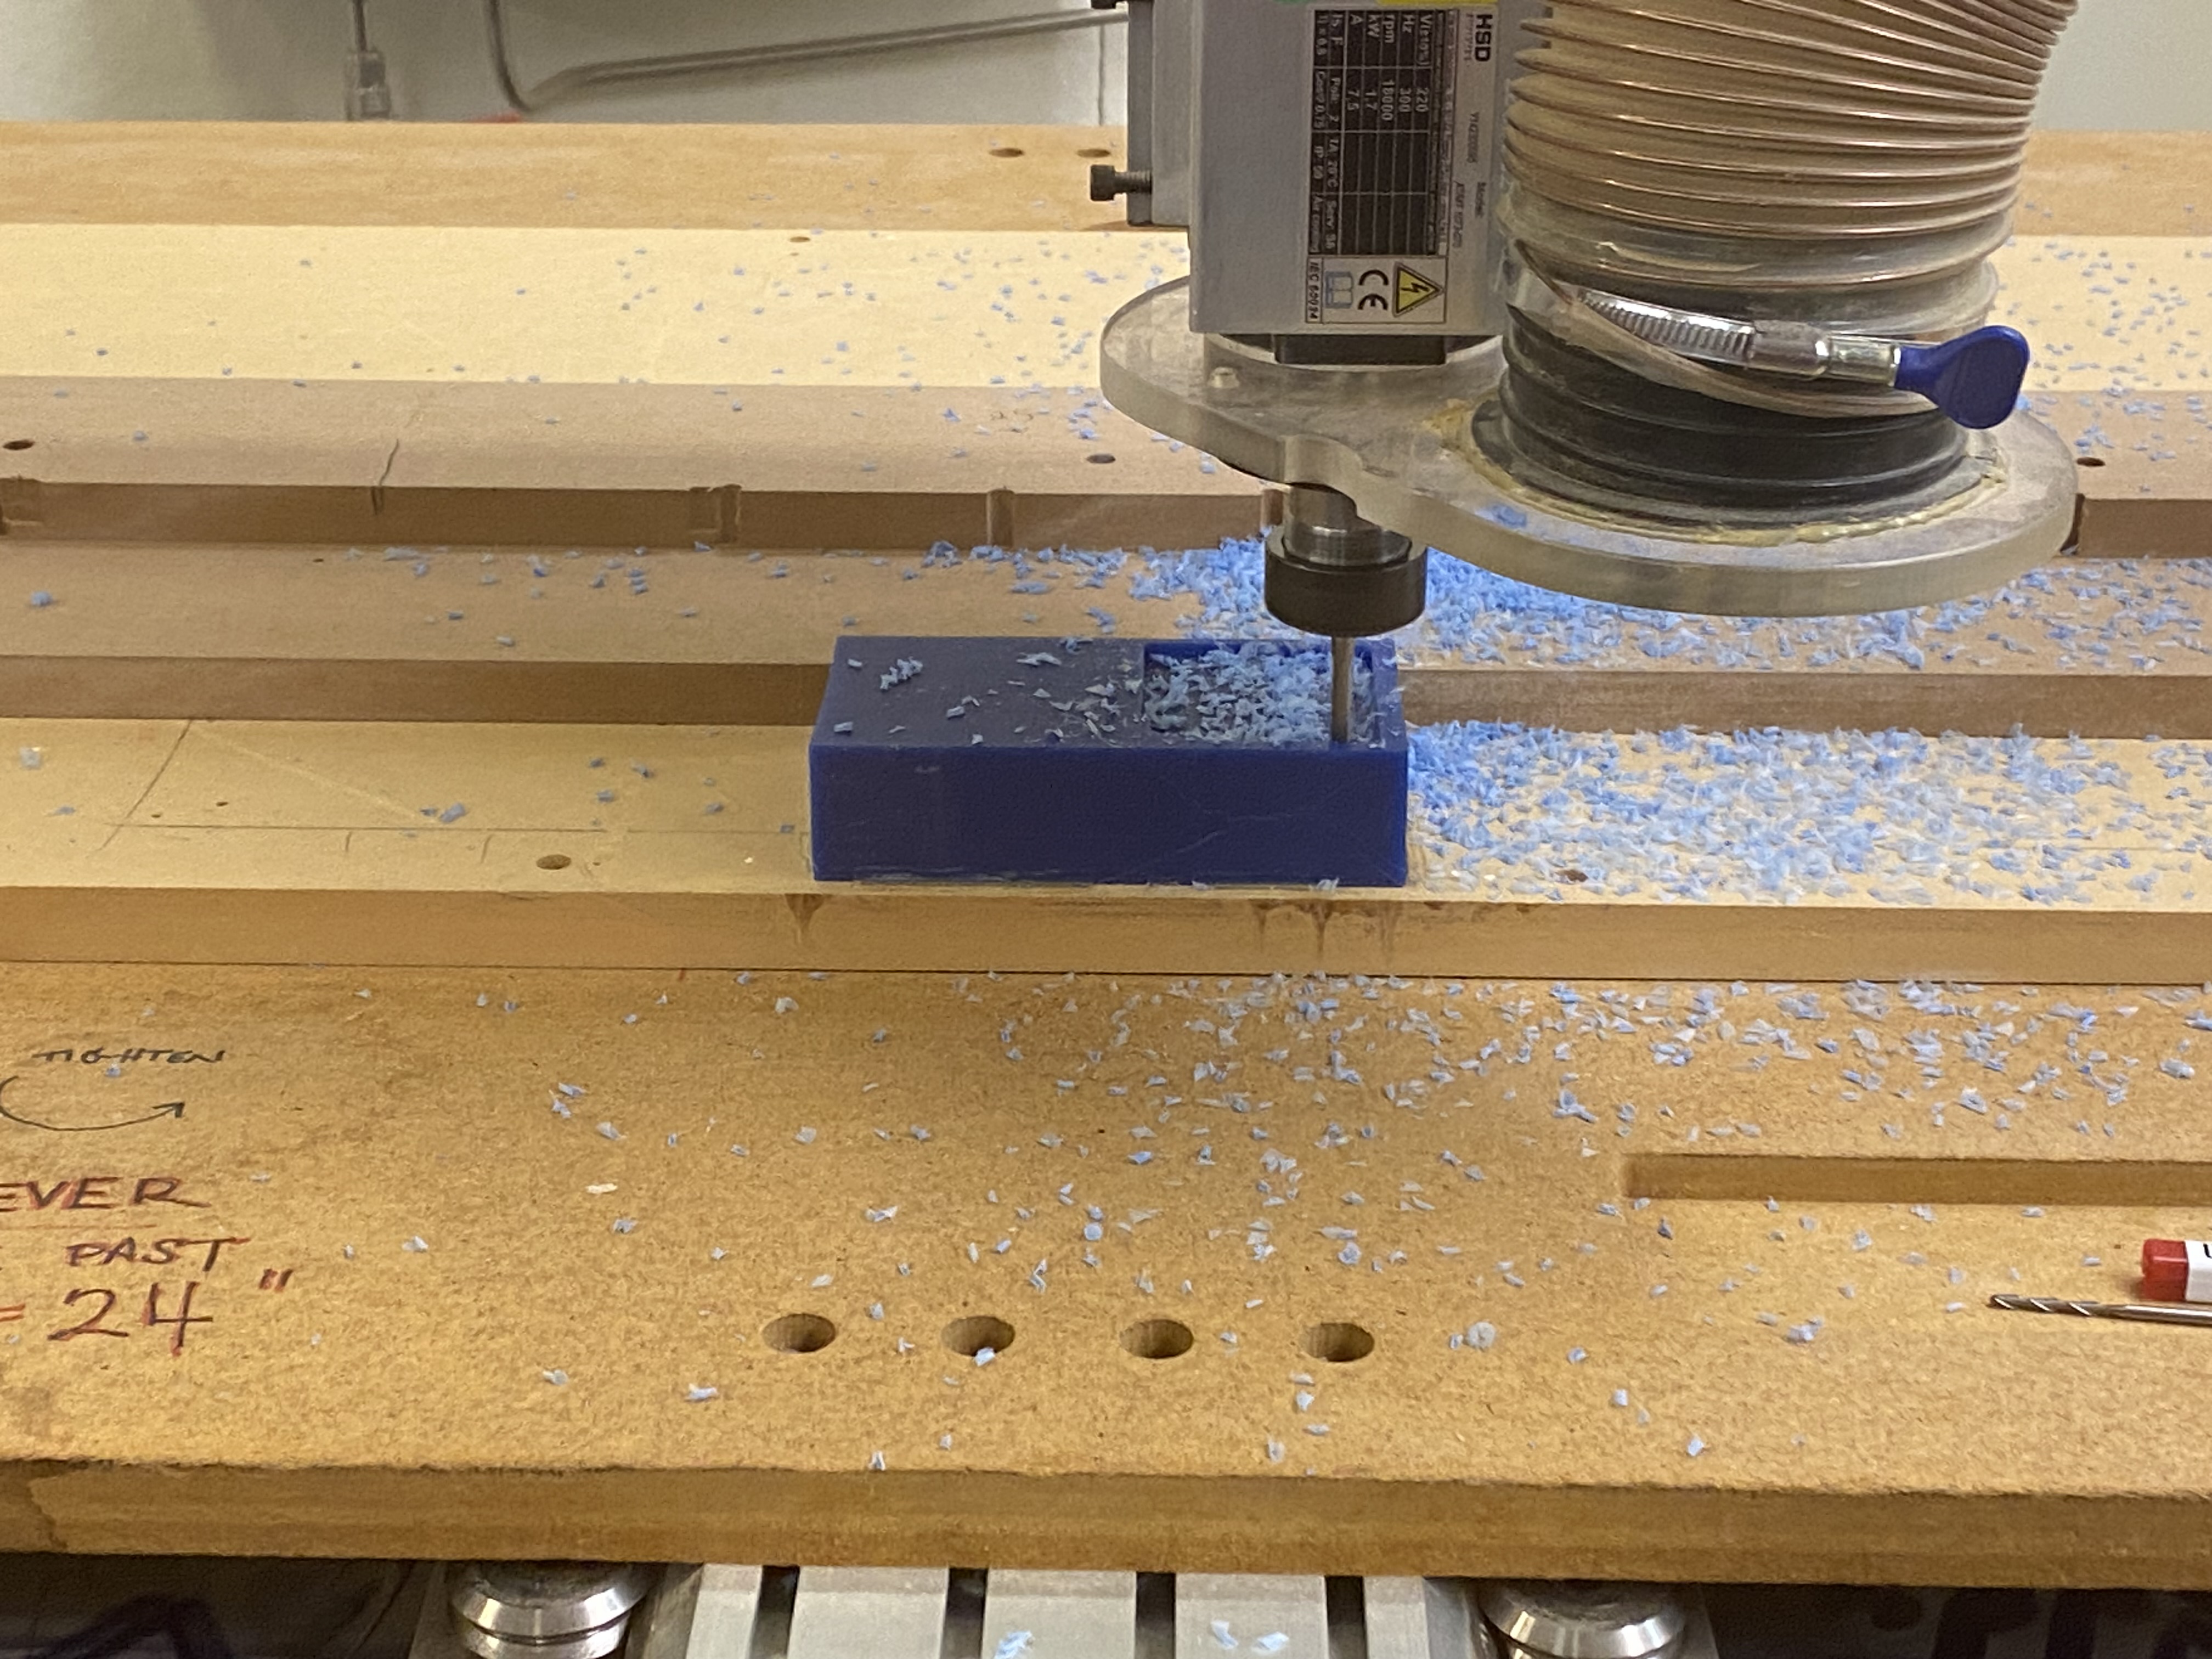
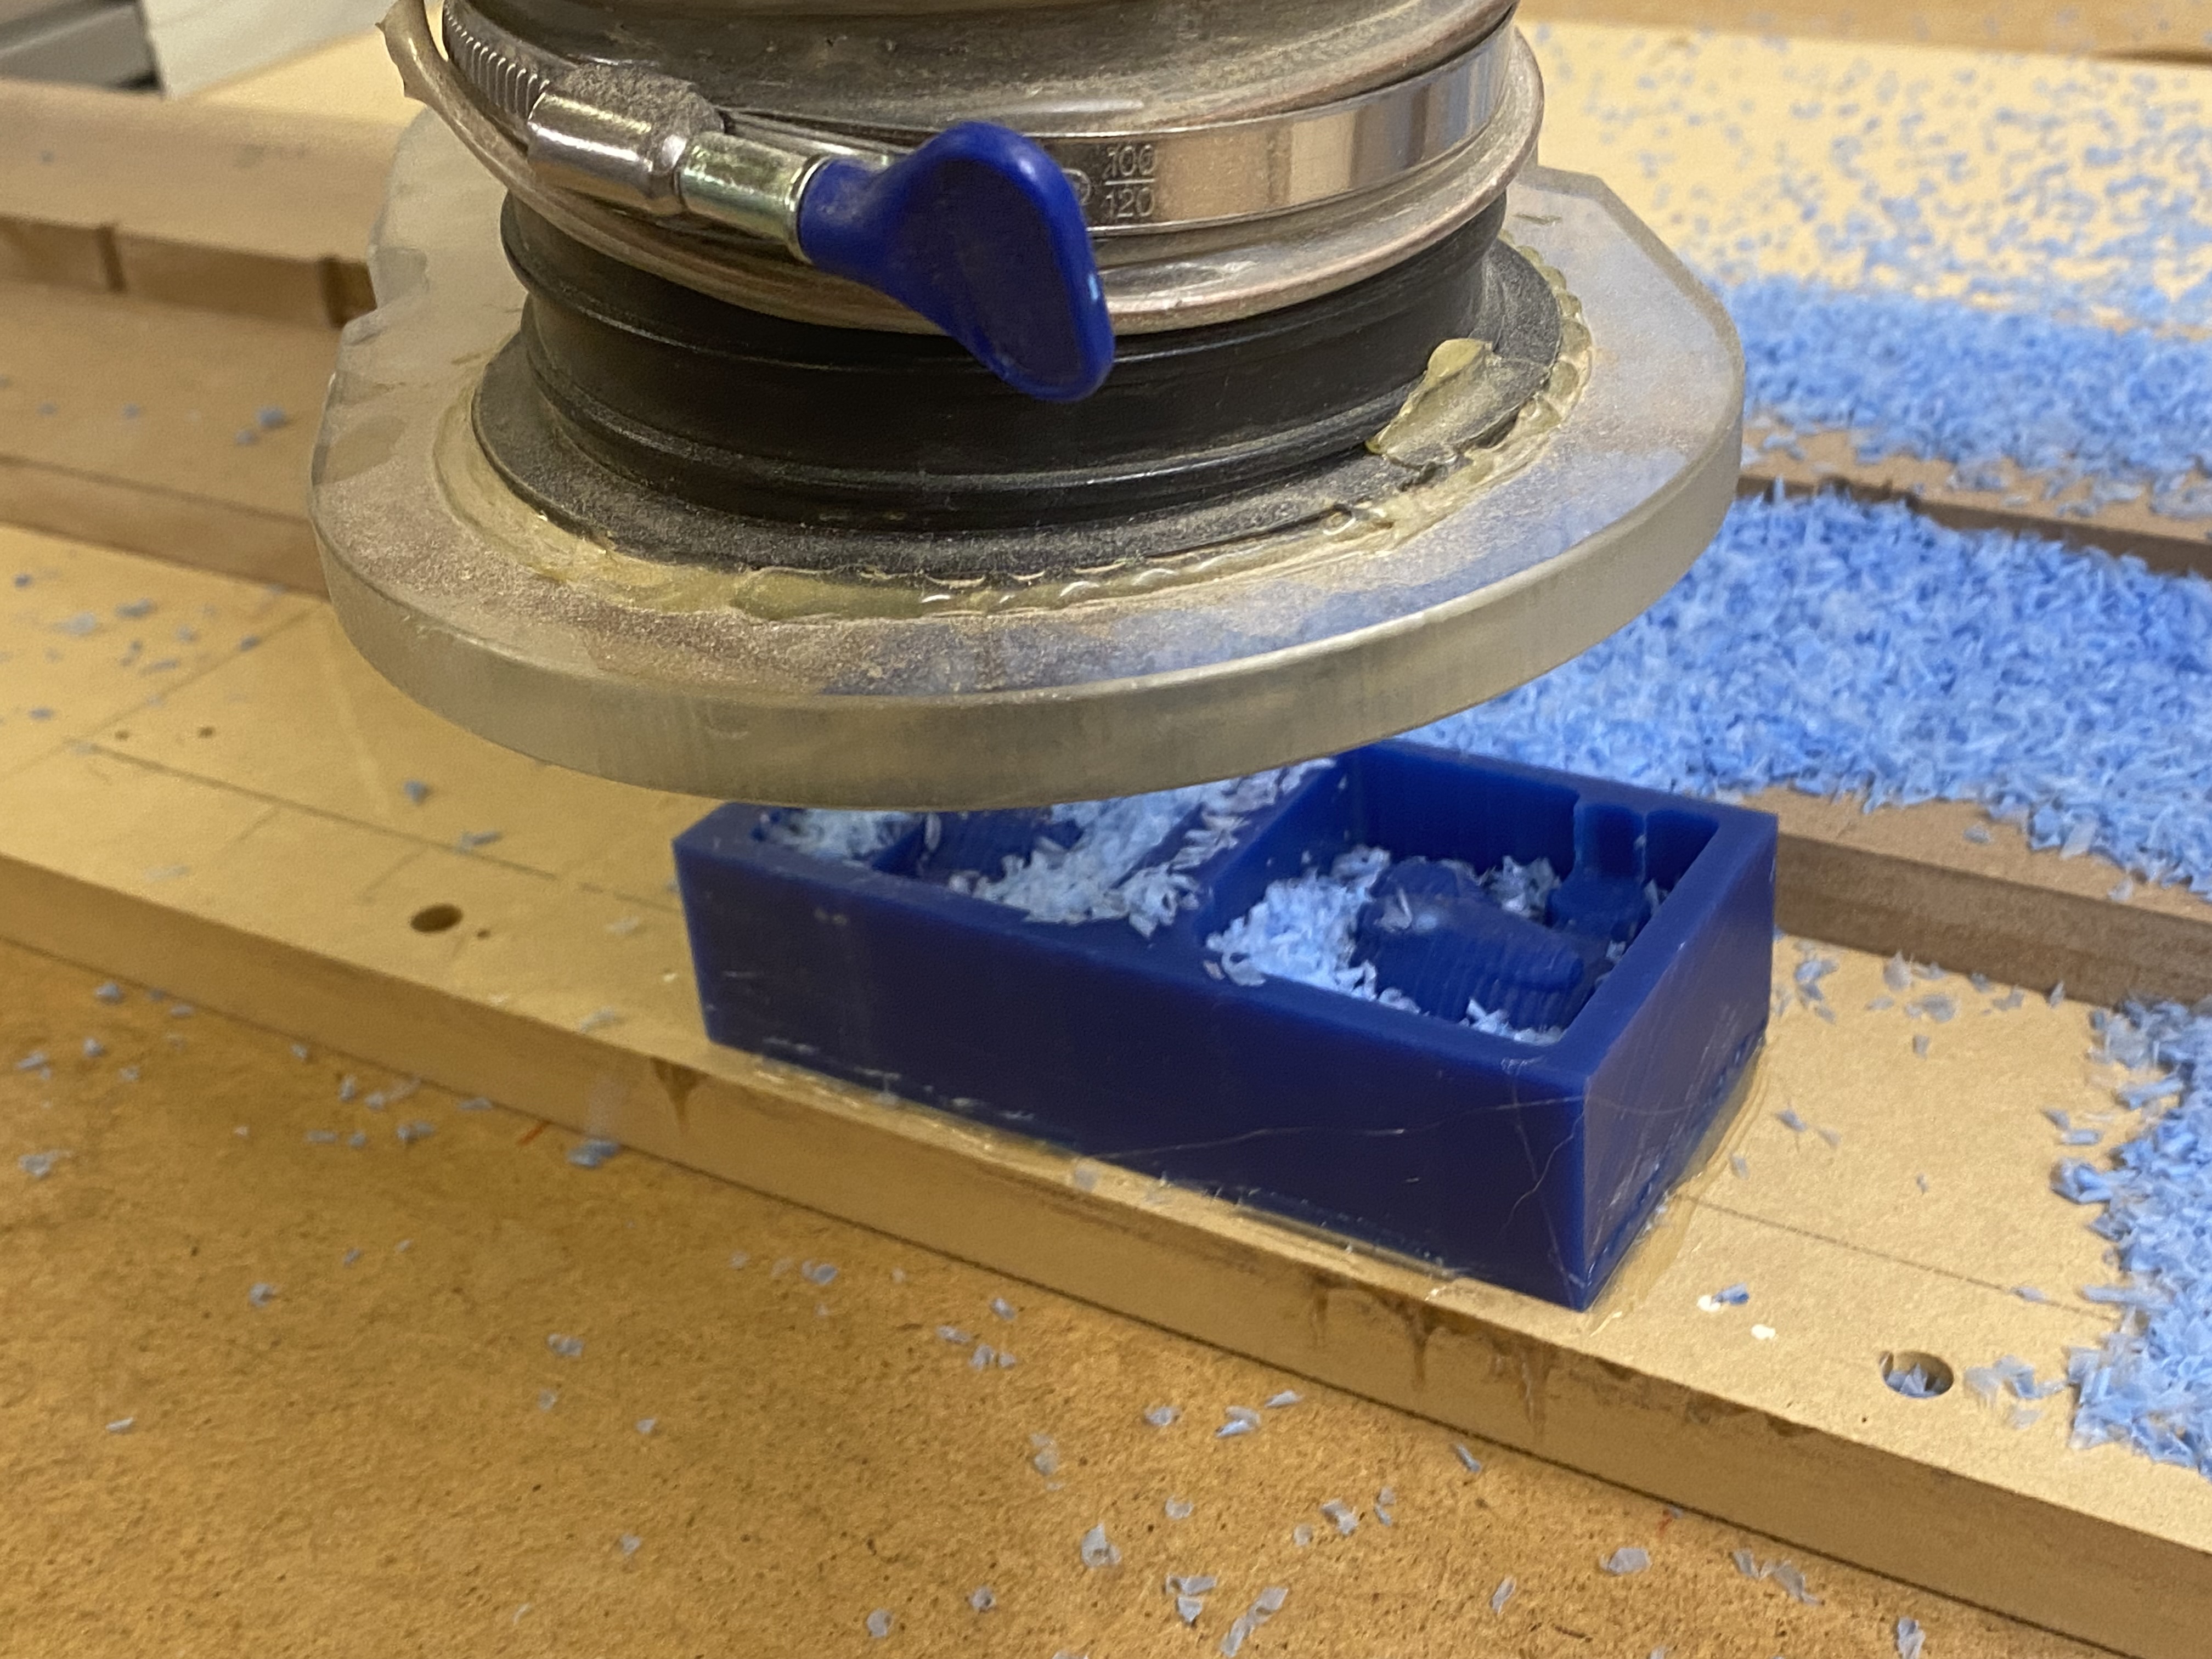
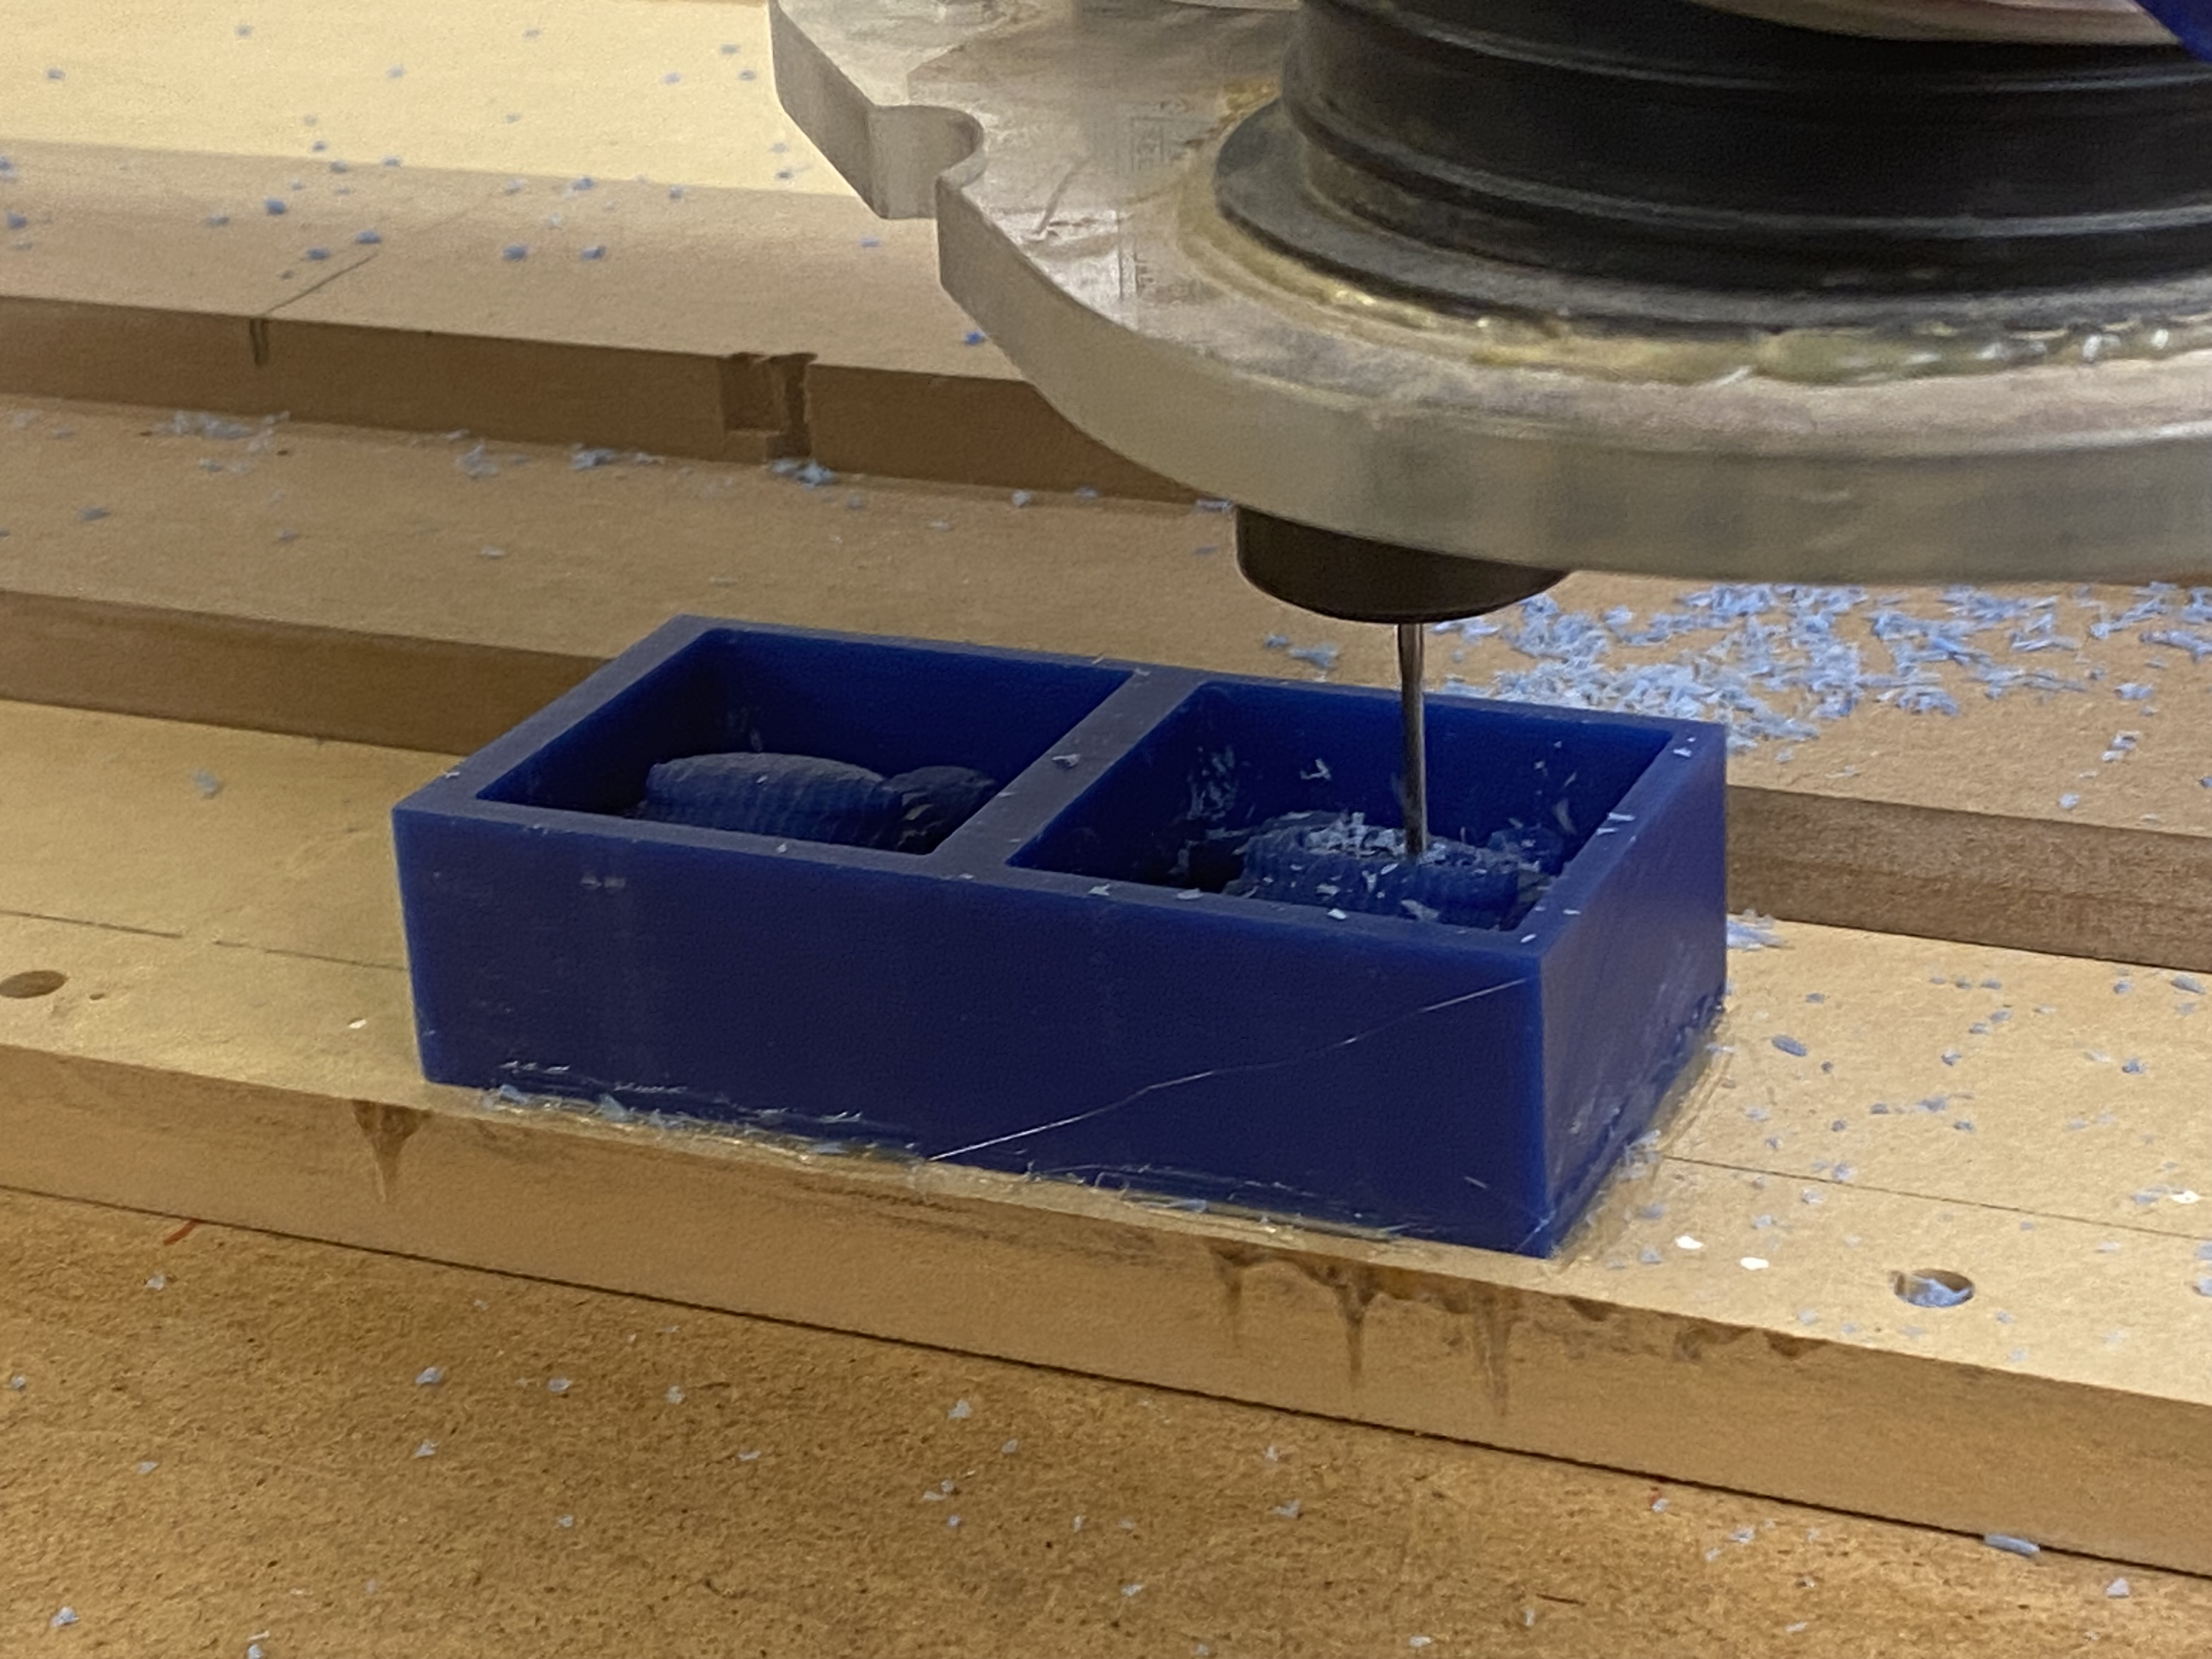
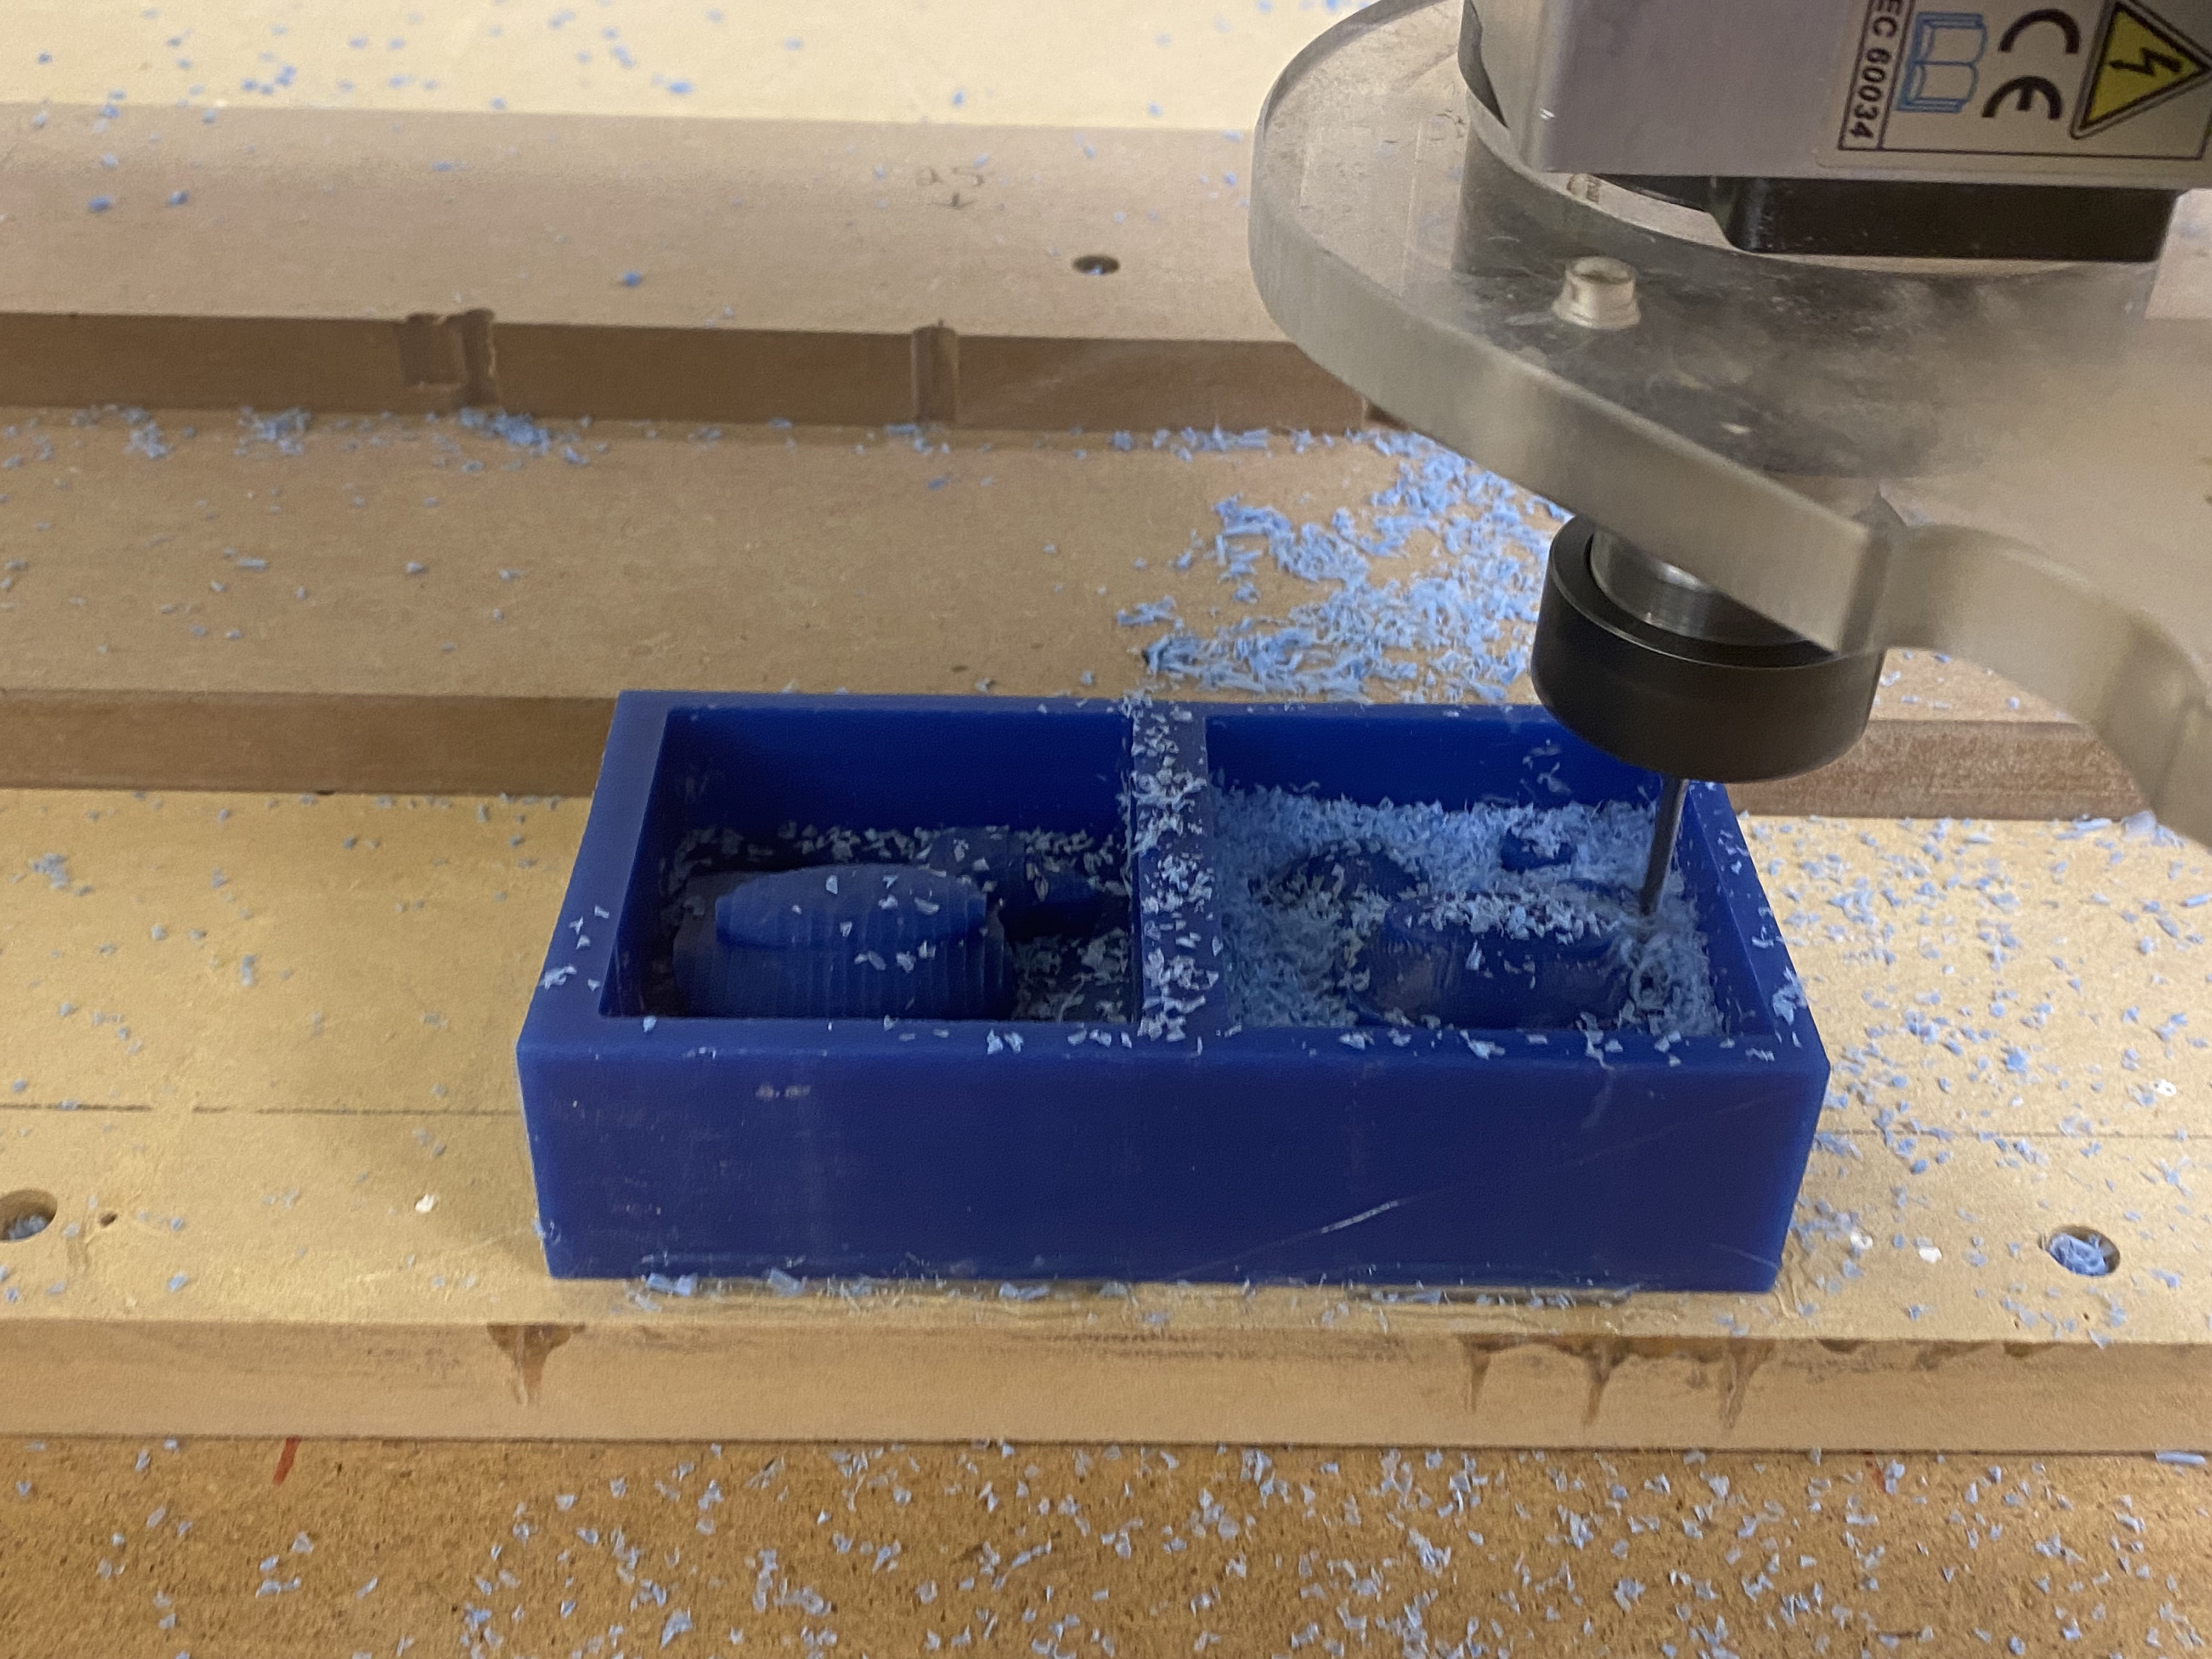
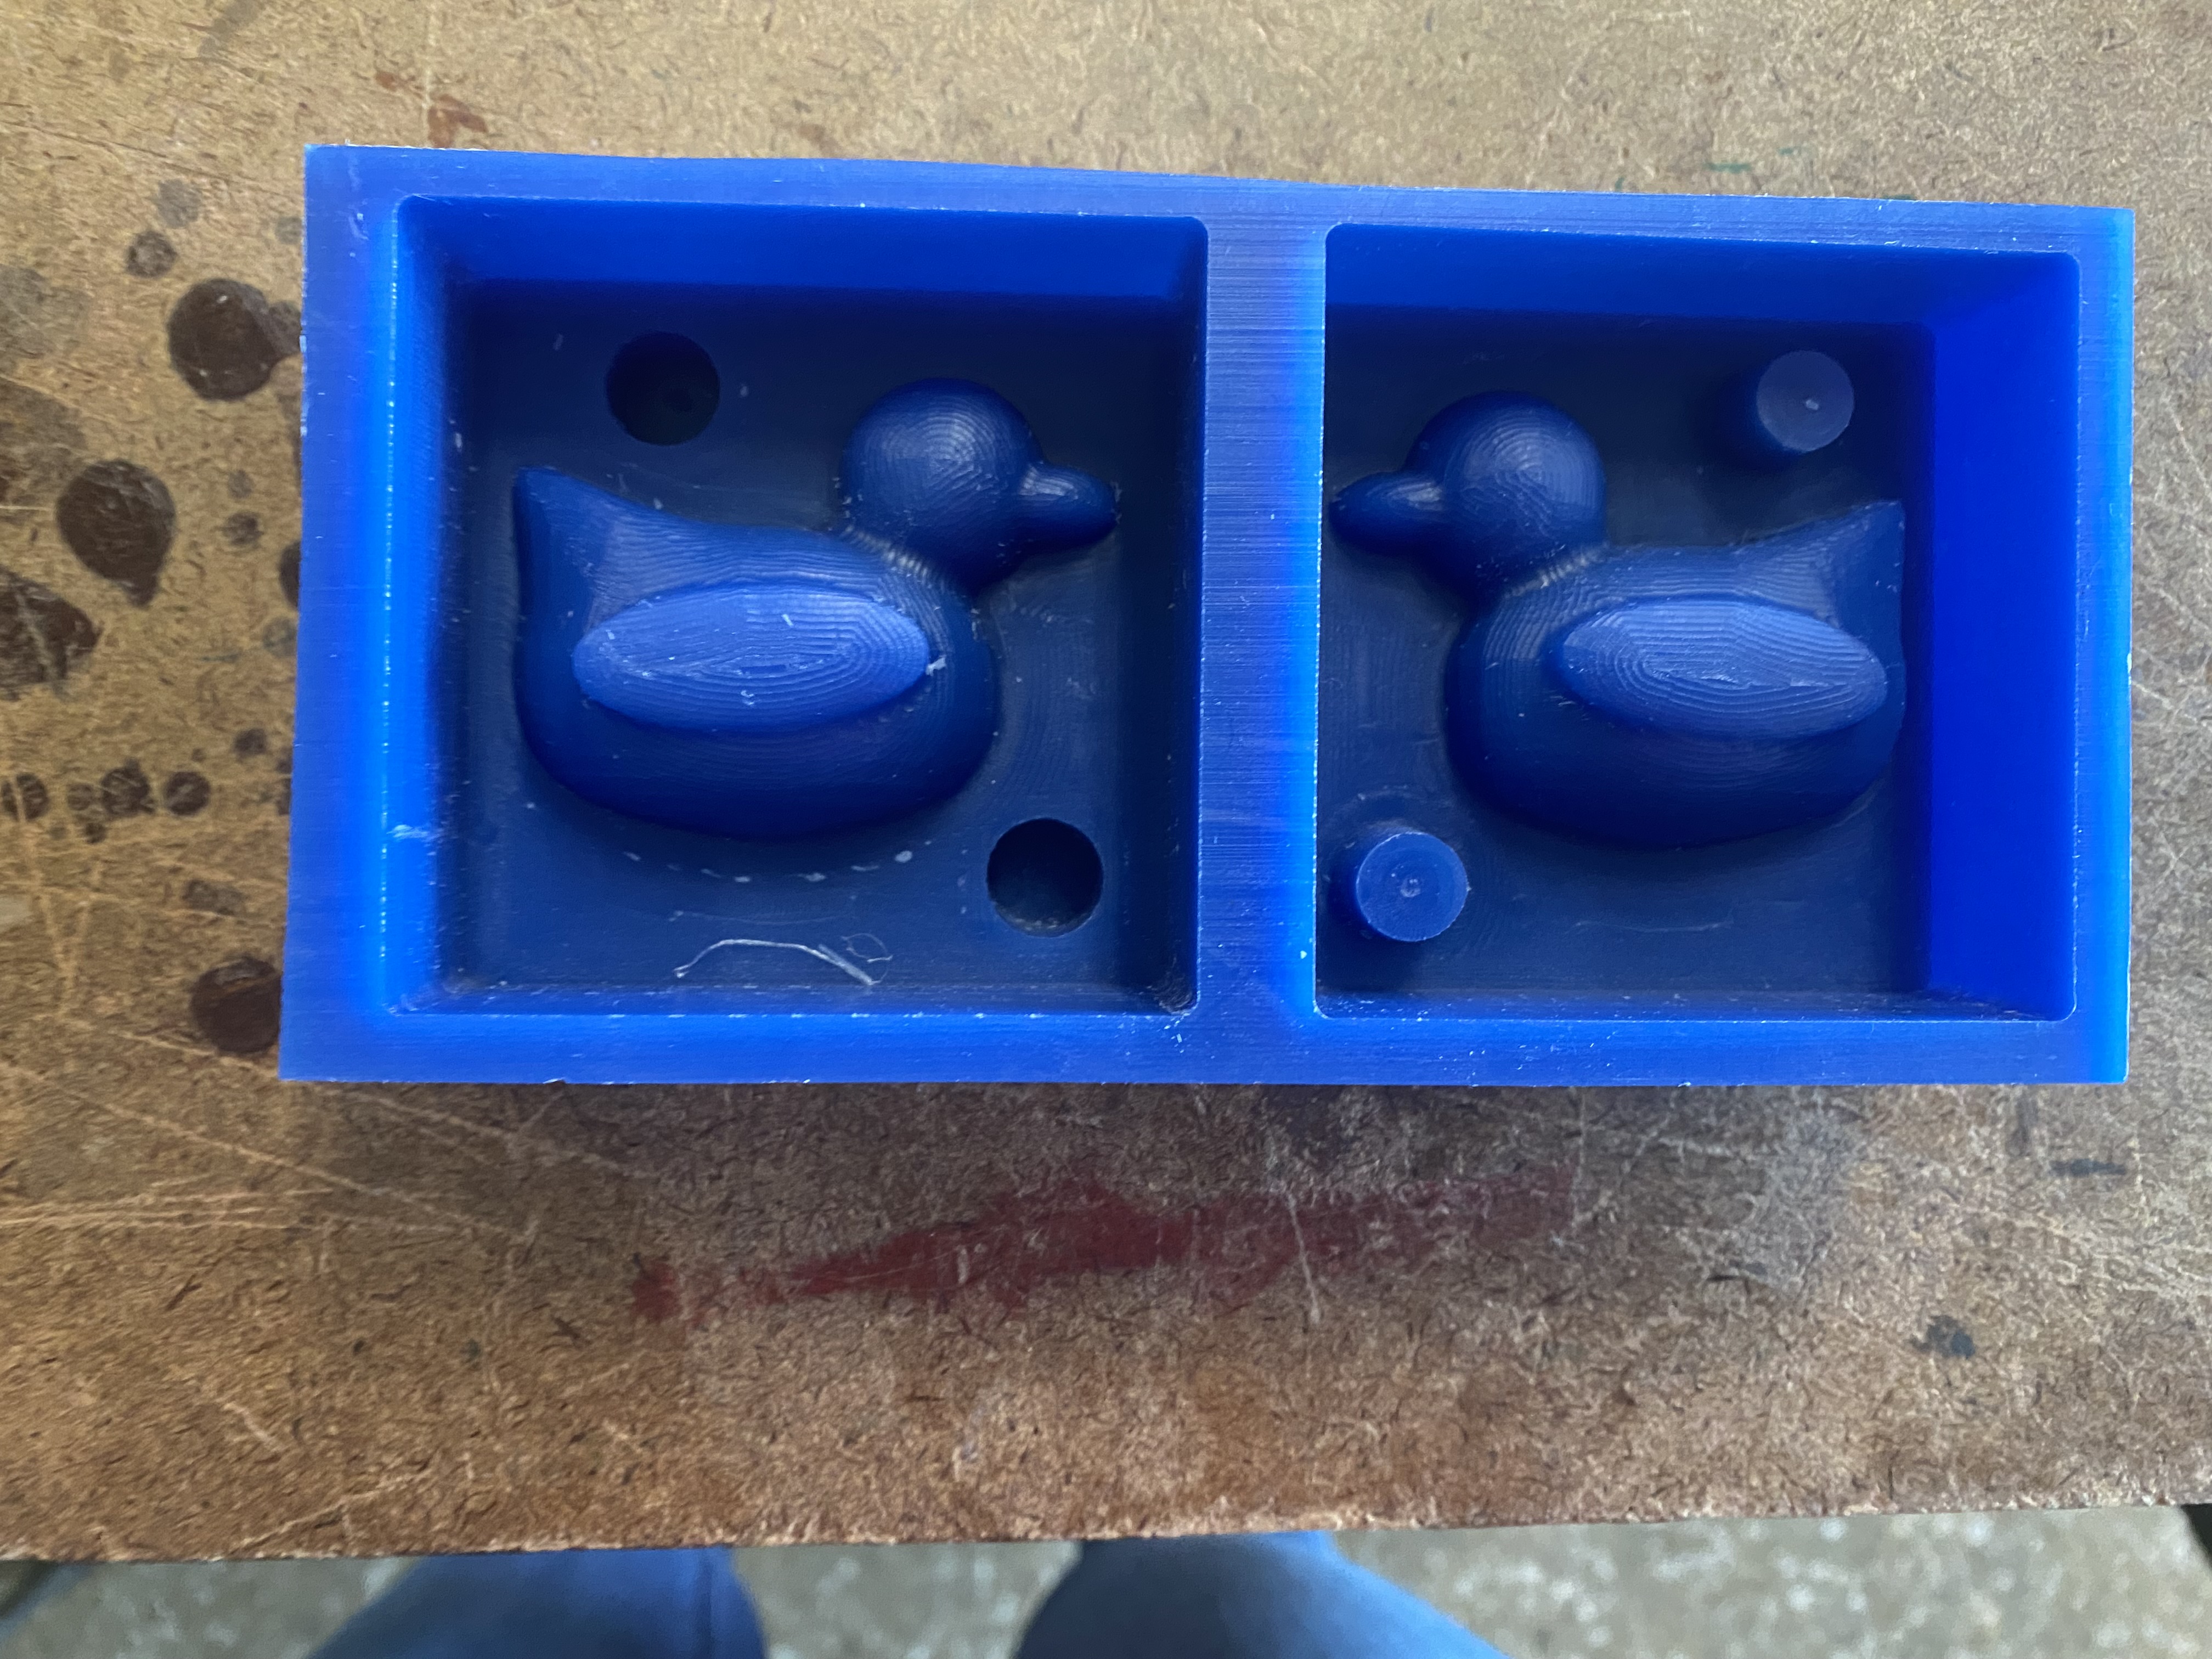
I went to the arch shop today and Jen showed me all the CAM she made.
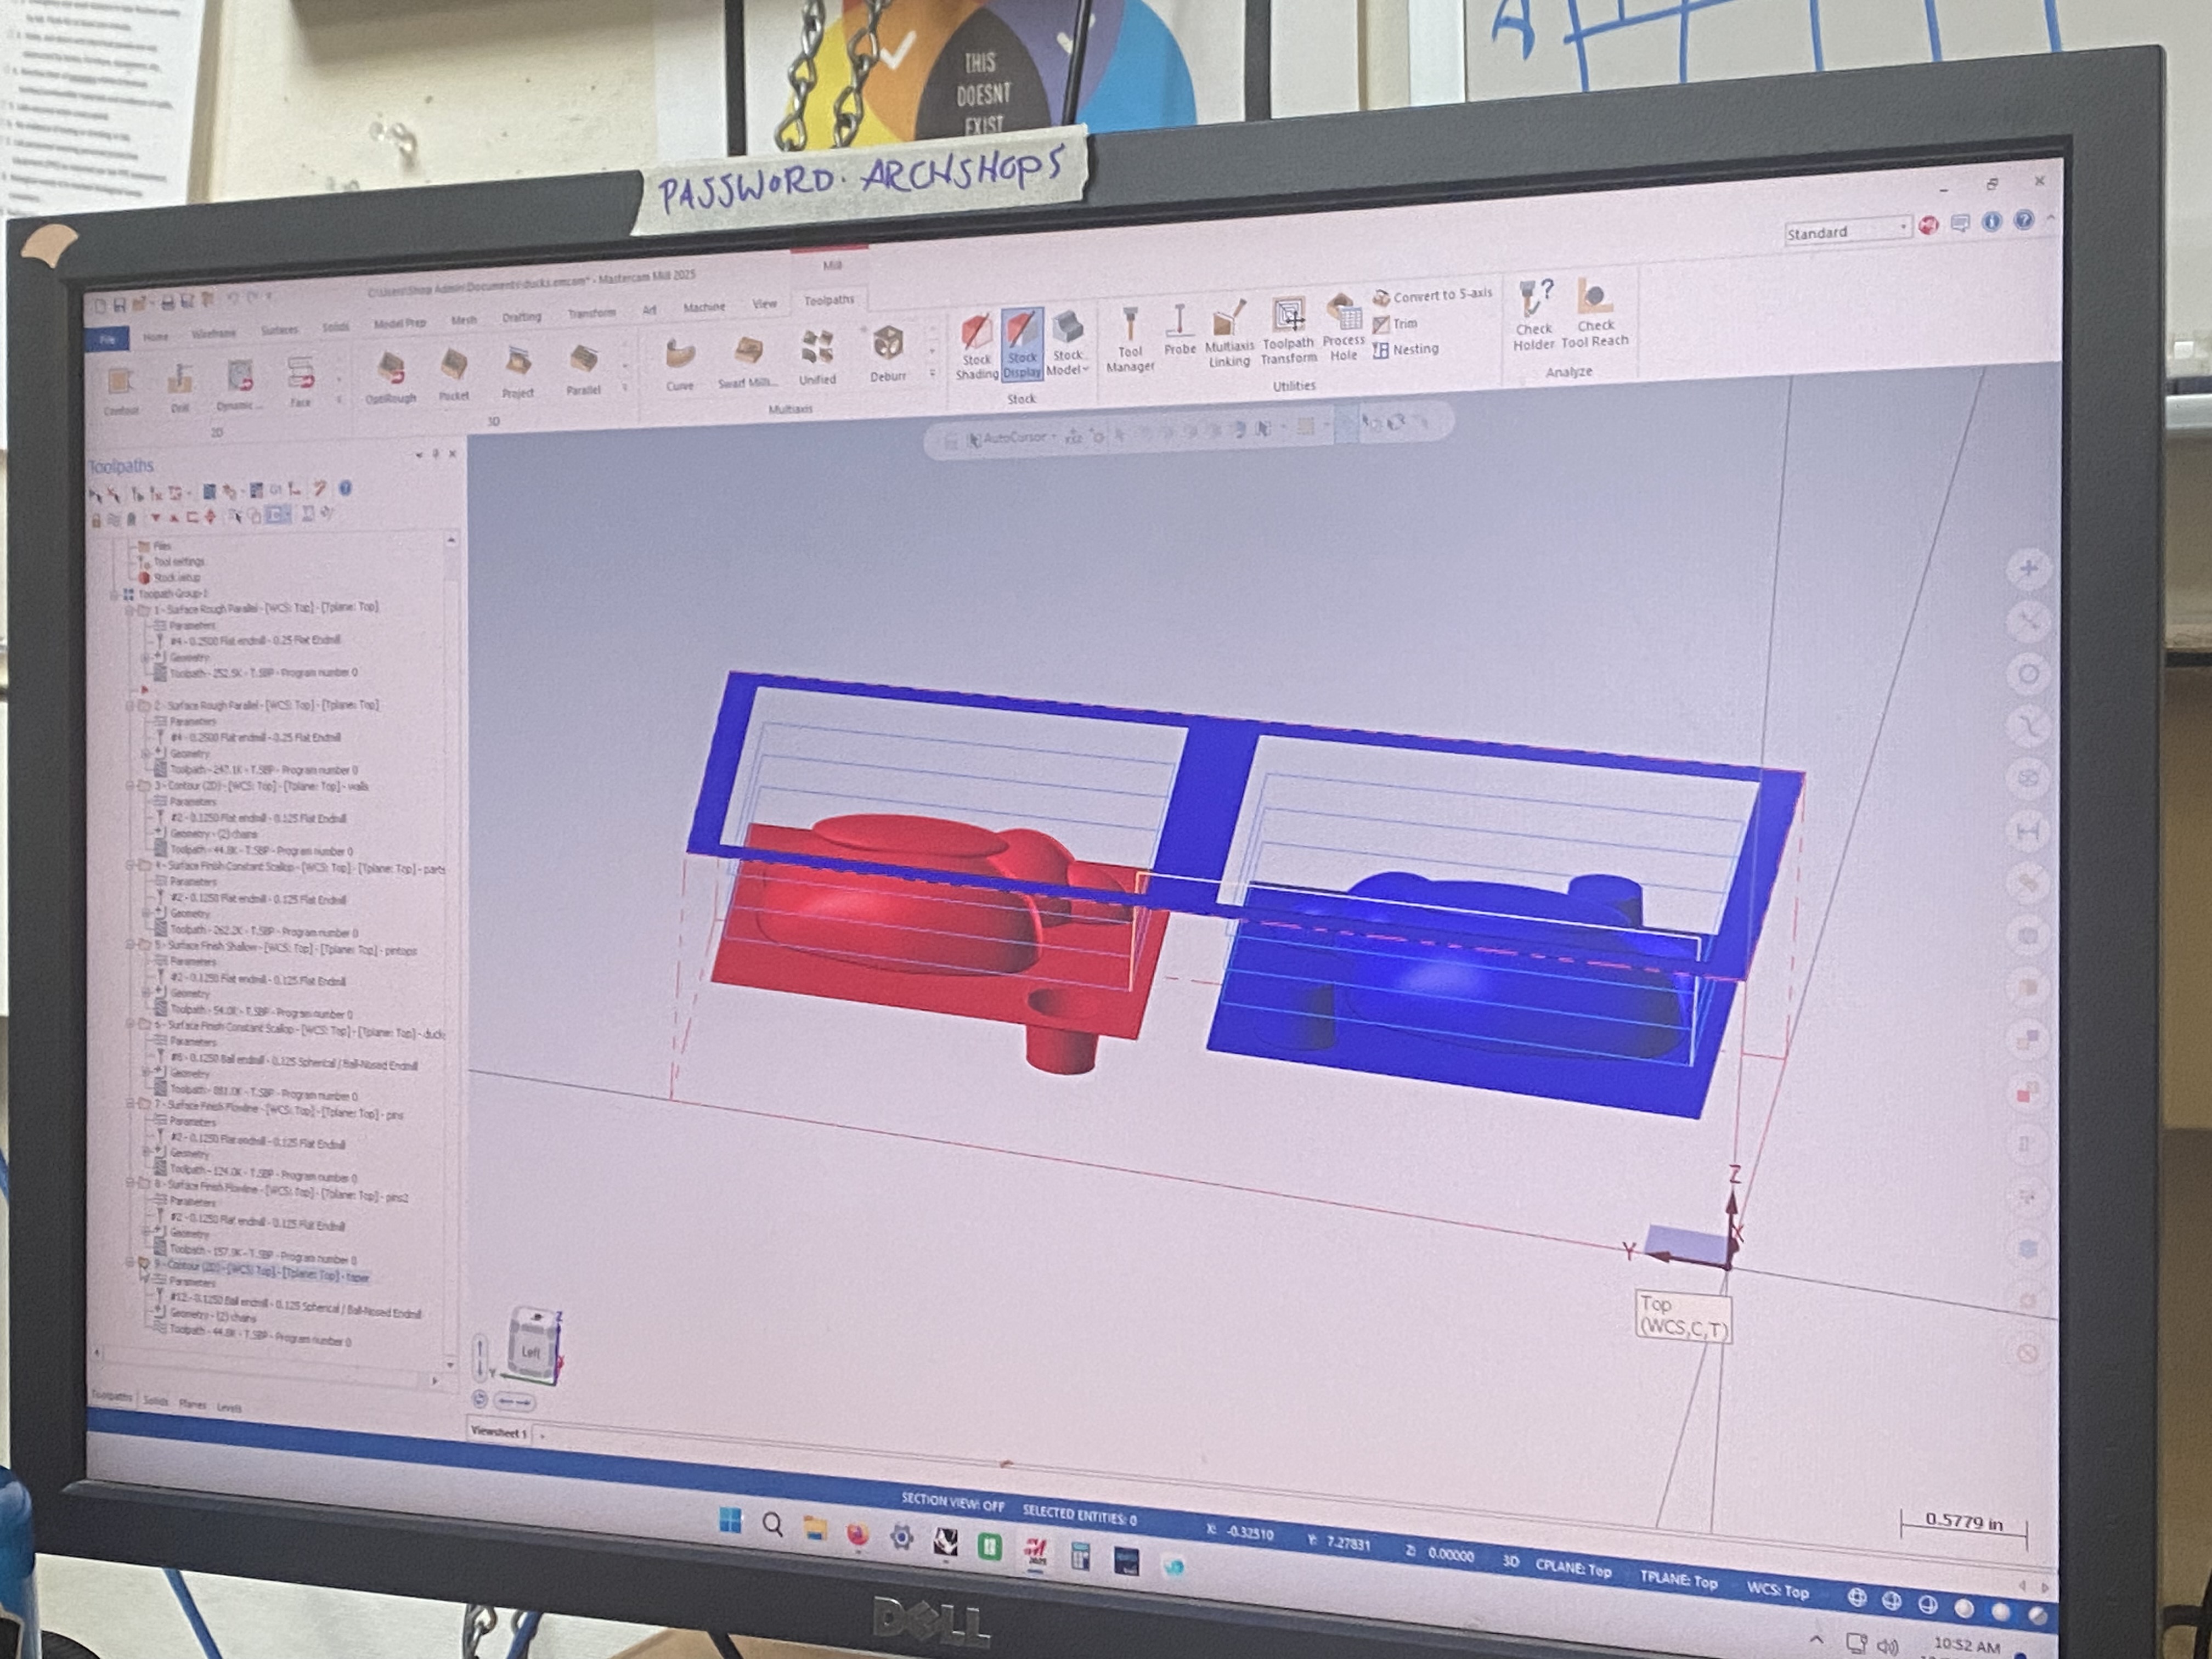
two things I could've improved
on the model is the pegs were too thin and close to the edge so jen substituded them out with two bigger ones
and also the model was too deep into the wax meaning that a lot of silicon would have been wasted.
The toolpaths start with roughing the wax and then making nicer finishes with scalloped edges and other
similar procedures. The process with the CNC mill was what I am mostly used to which is changing the bit
and then zeroing the z every time there is a bit change.
Pouring Oomoo
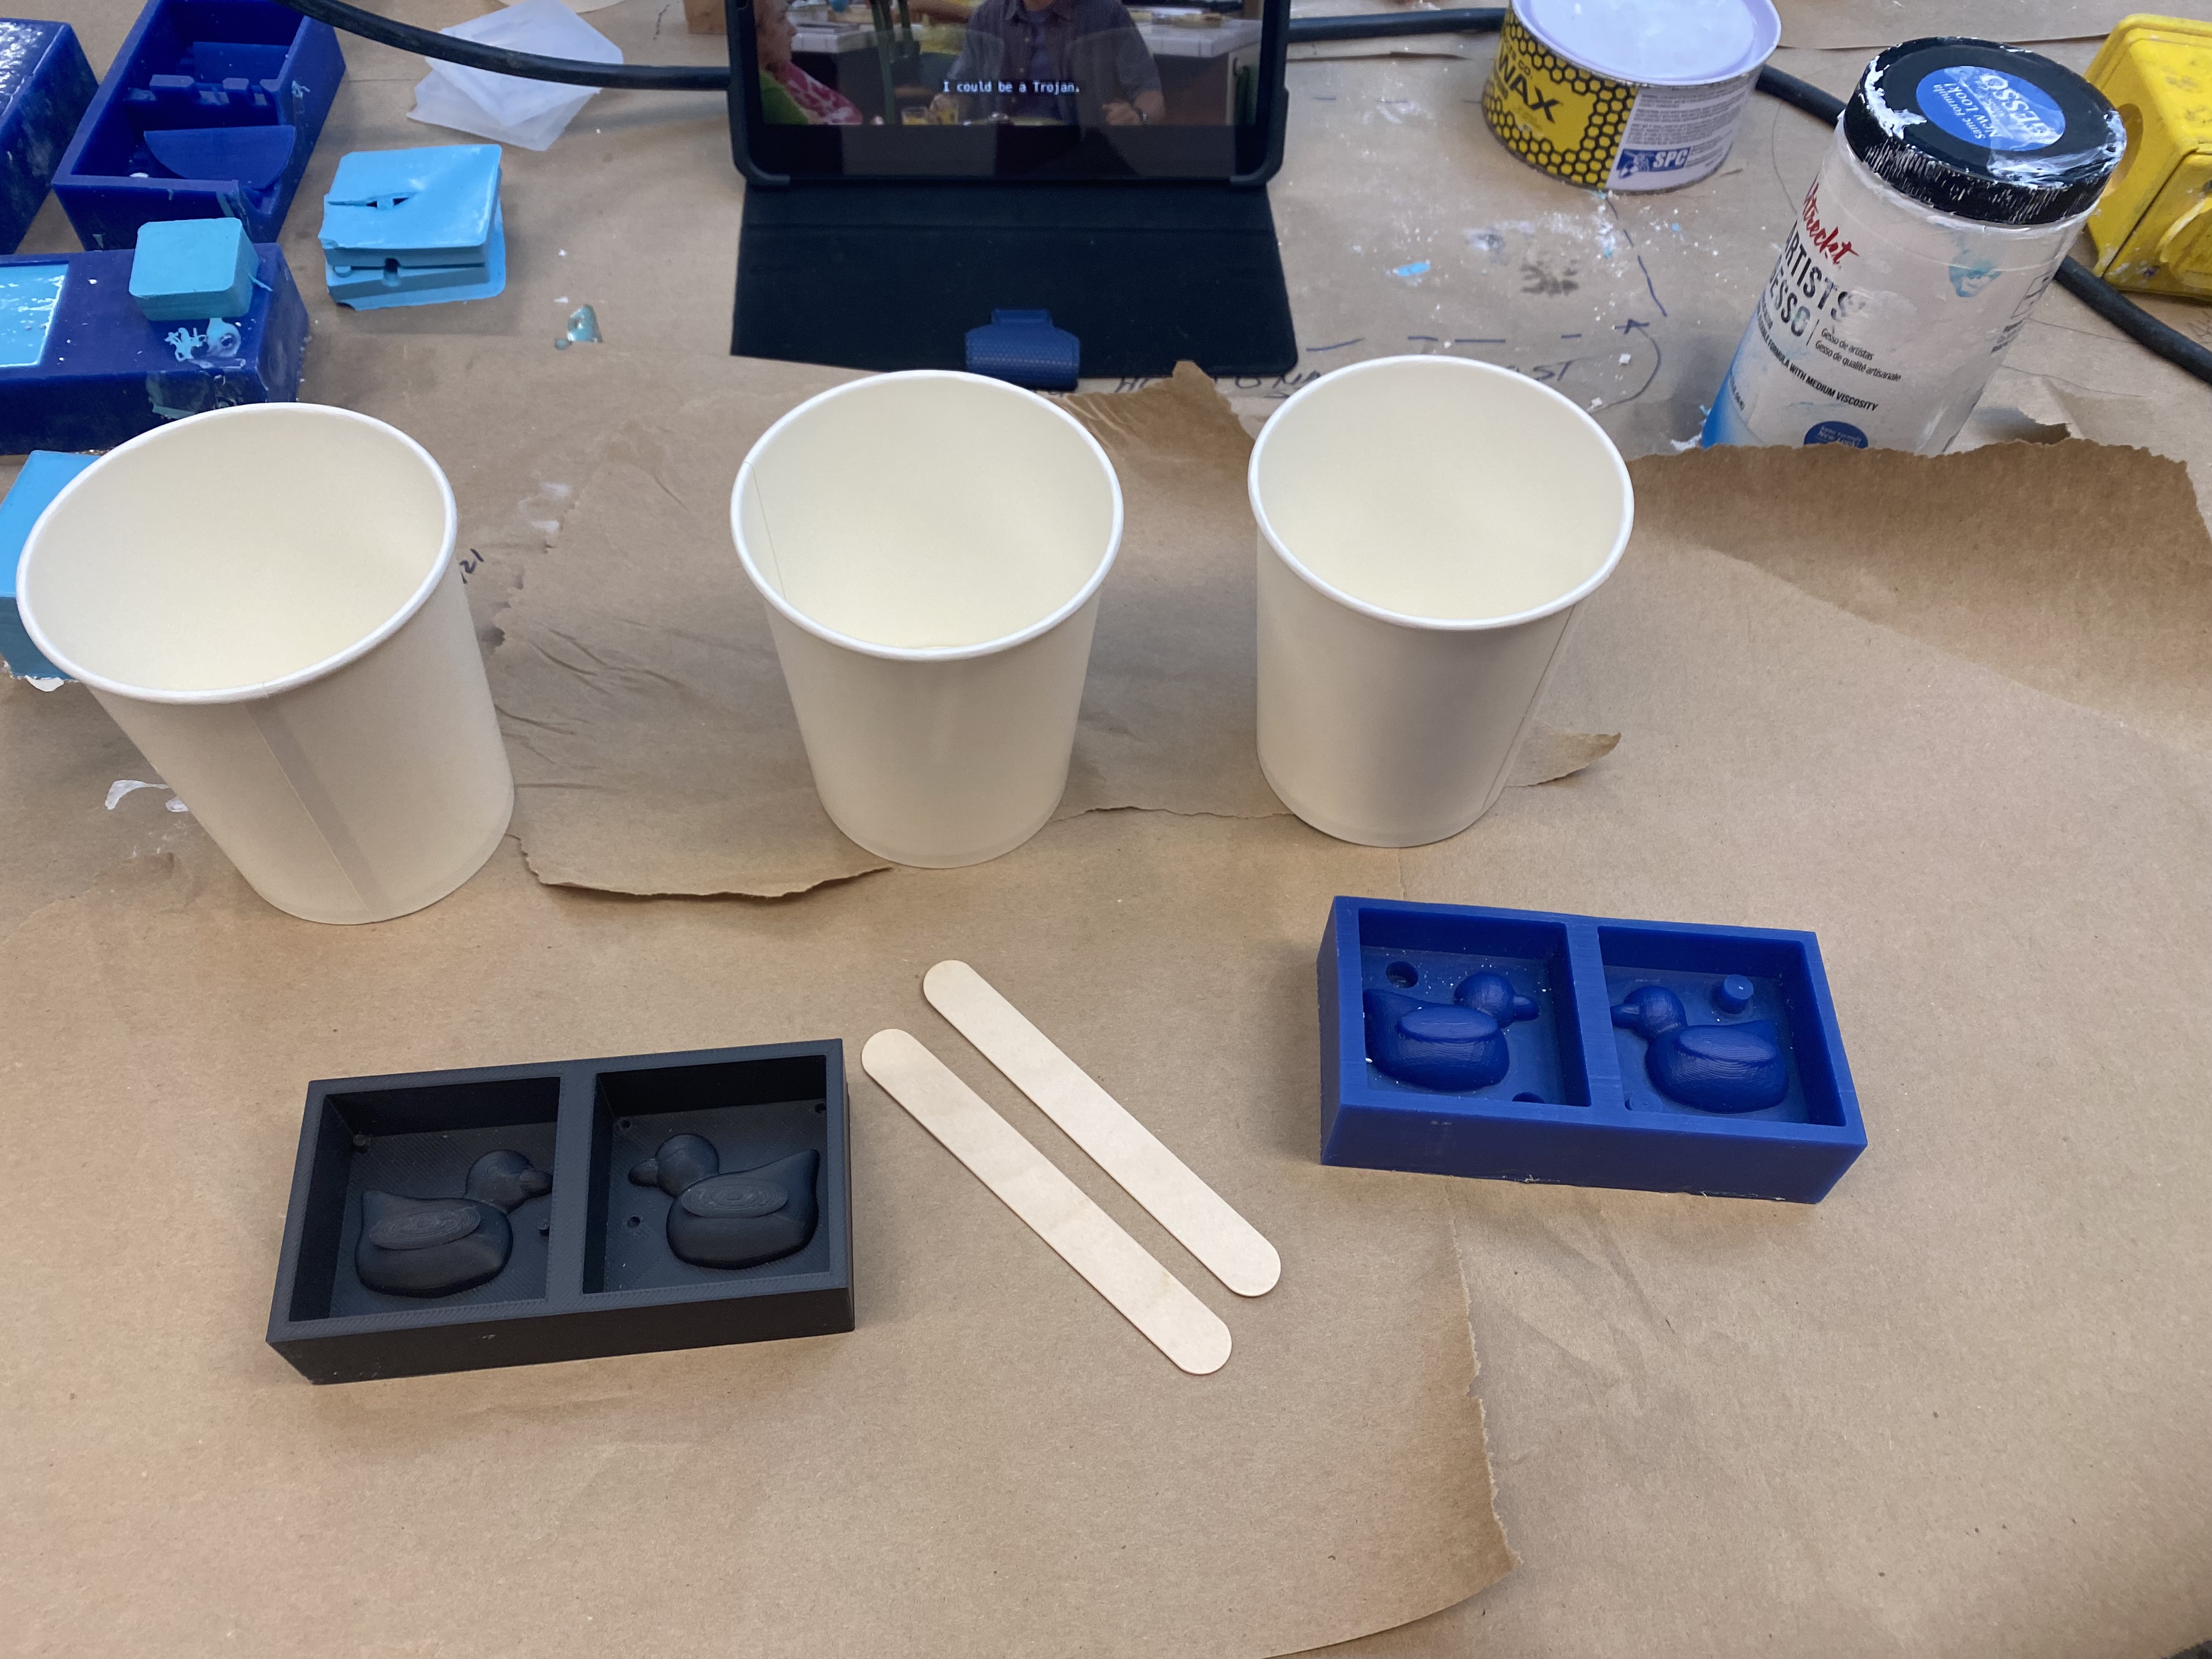
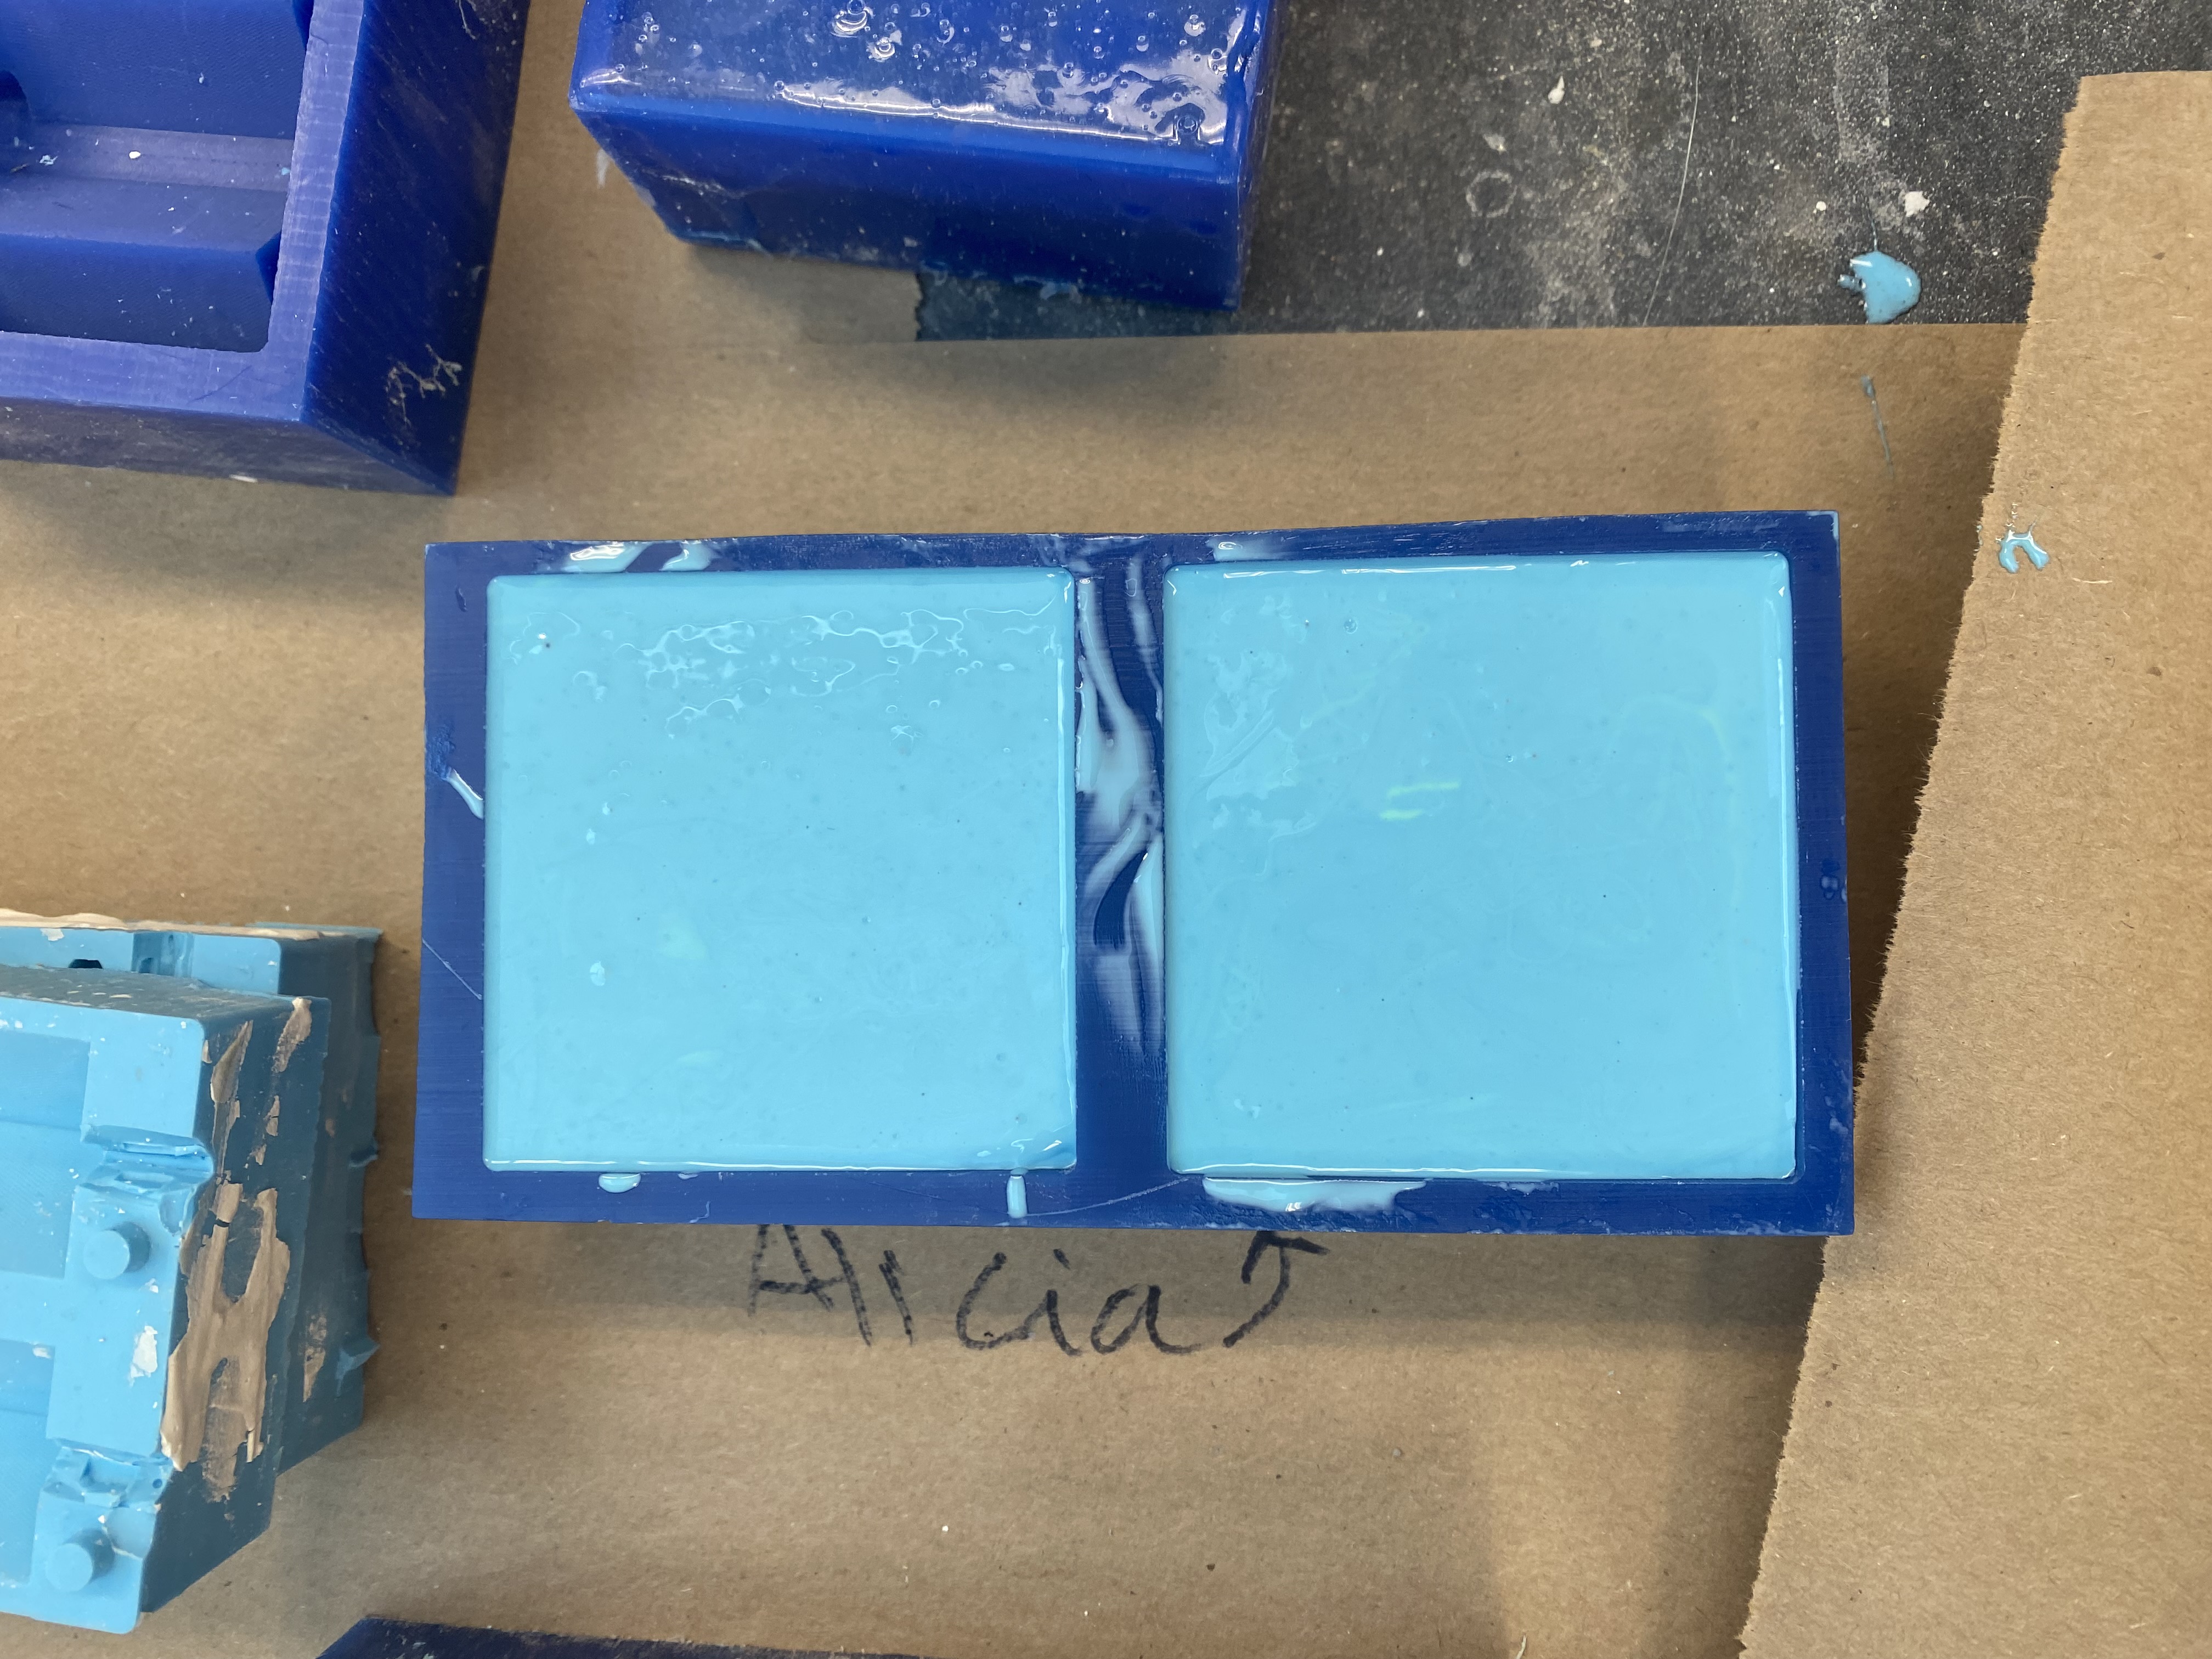
After CNCing I poured the oomoo into the wax mold which was a pretty simple process. I was a bit concerned that
my 1:1 ratio was not correct and then I ended up not making enough so I had to make more before it cured
and hopefully it will turn out correctly. I will be back in an hour and a half to put in the plaster.
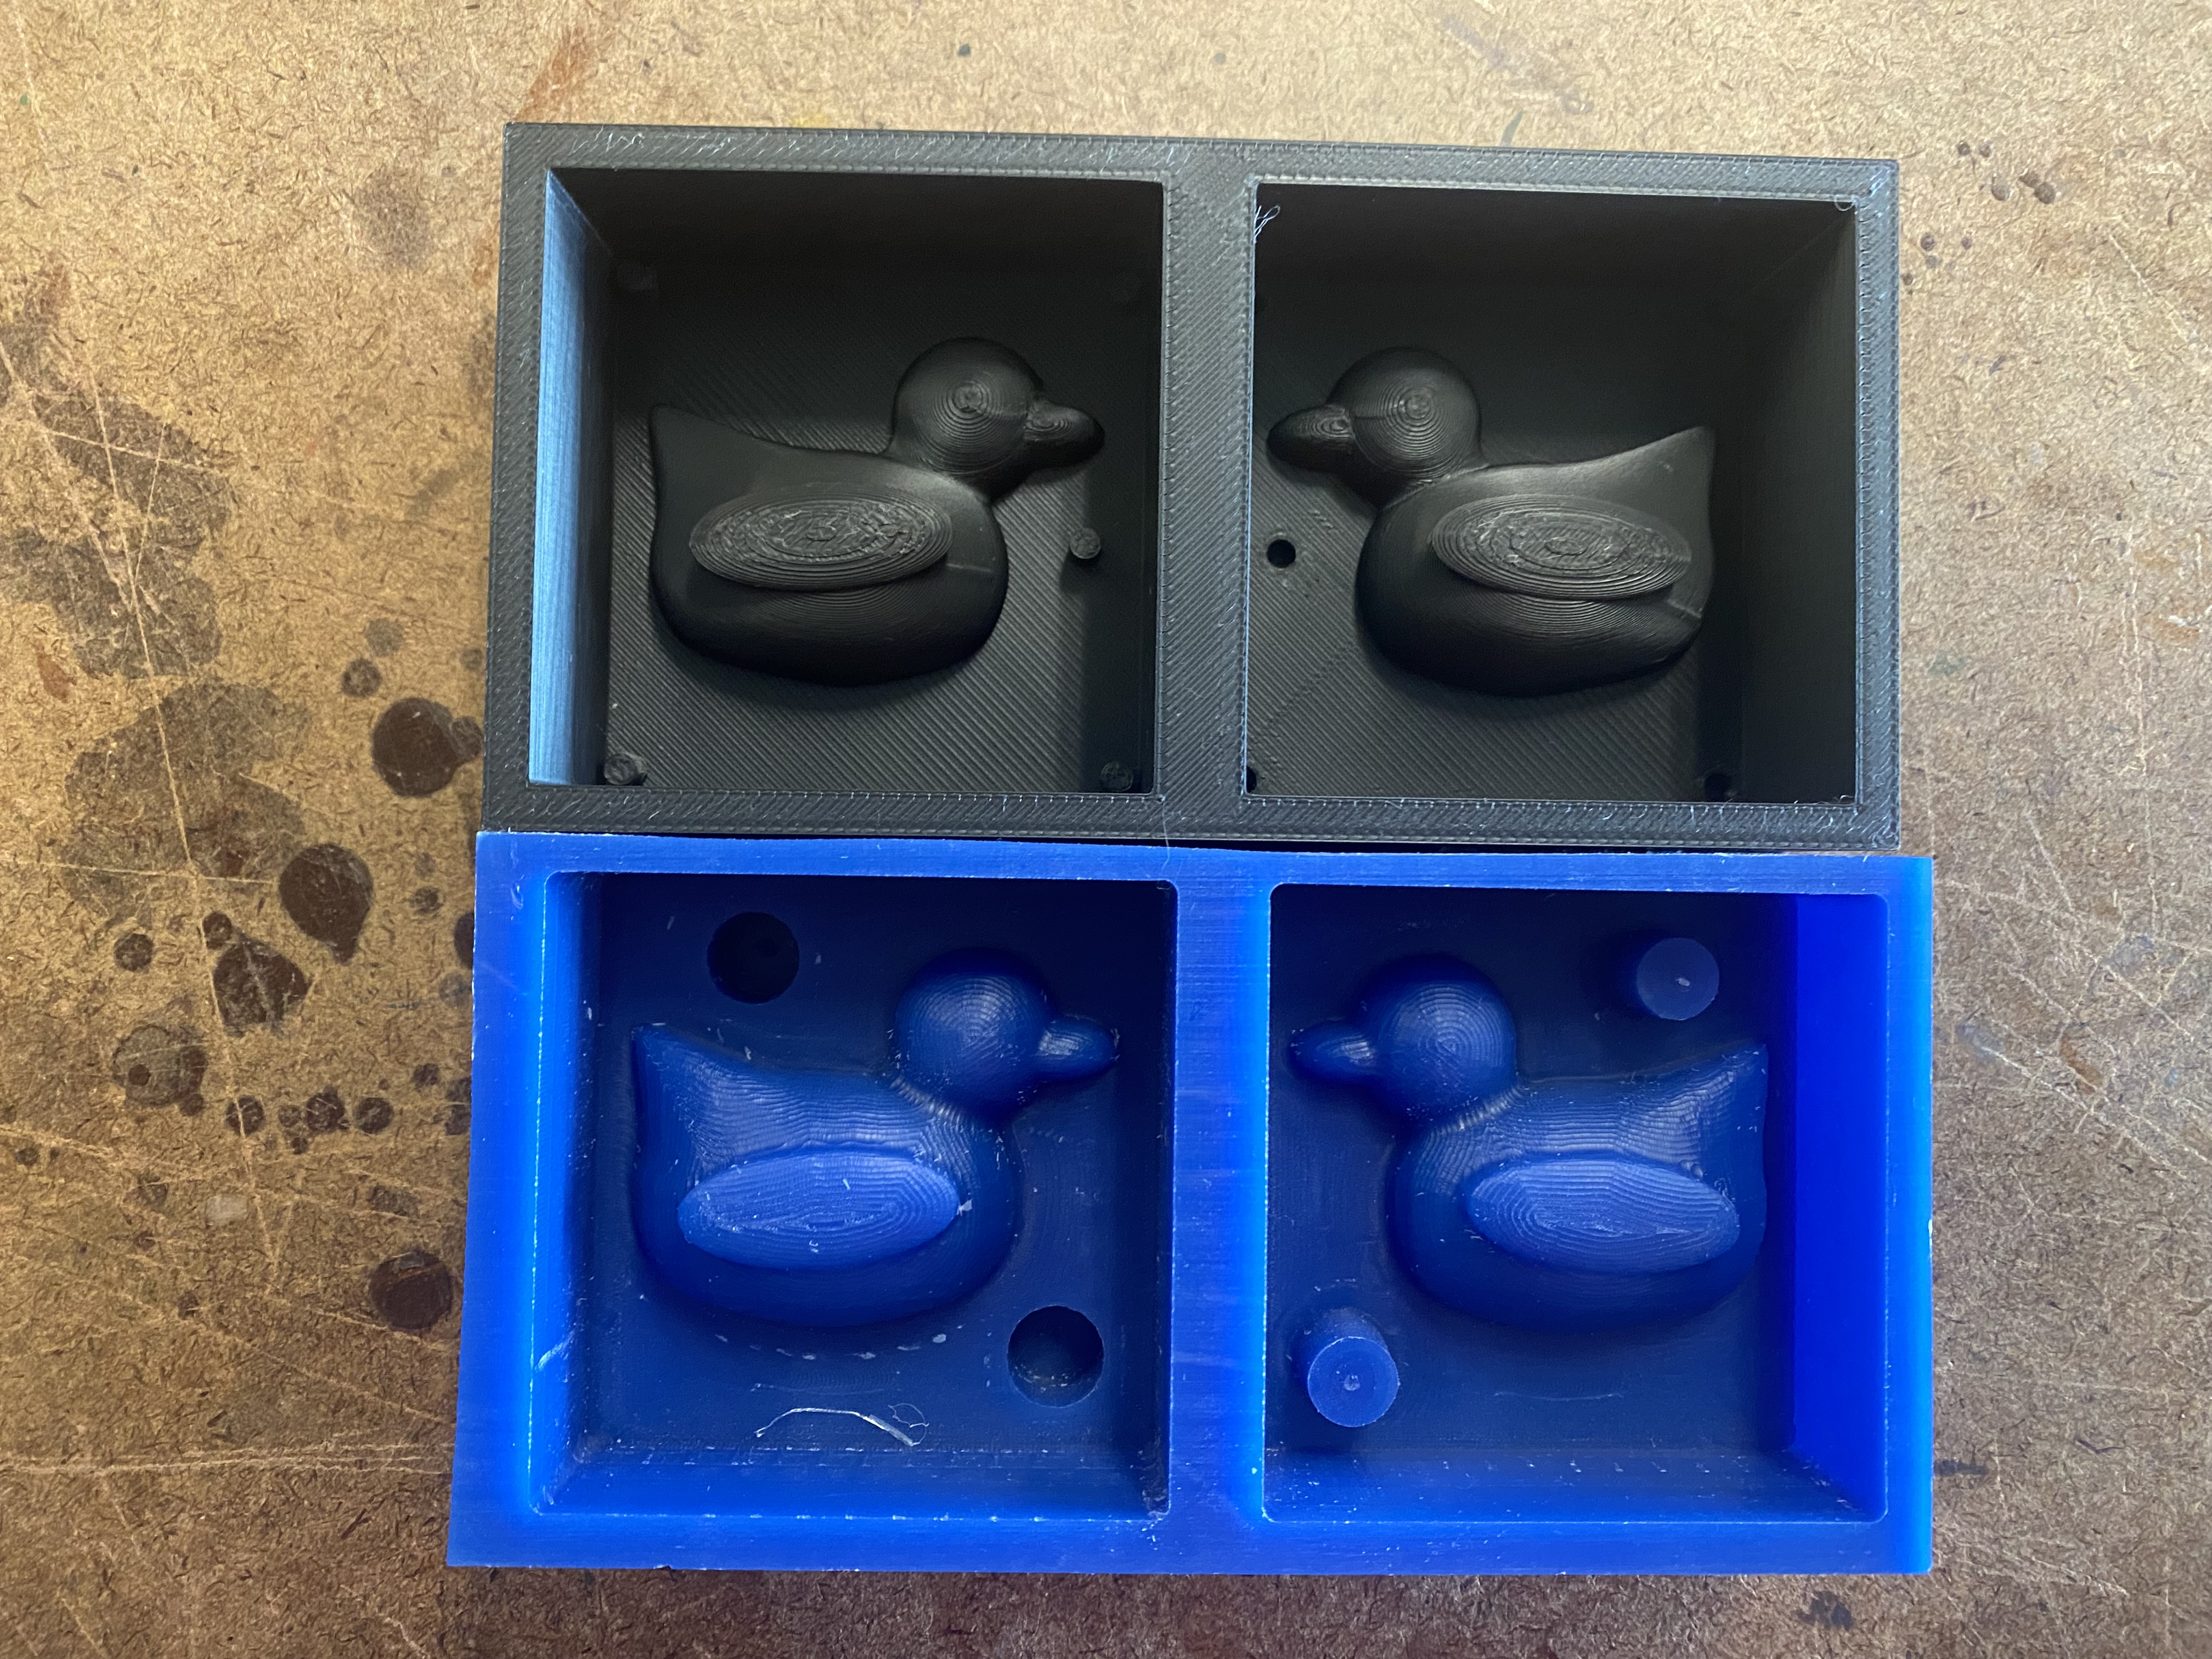
I was planning on also making a mold with the 3d print that I made to compare the surface finishes but
there was barely any oomoo left in the bottle so I decided against it.
Pouring Plaster
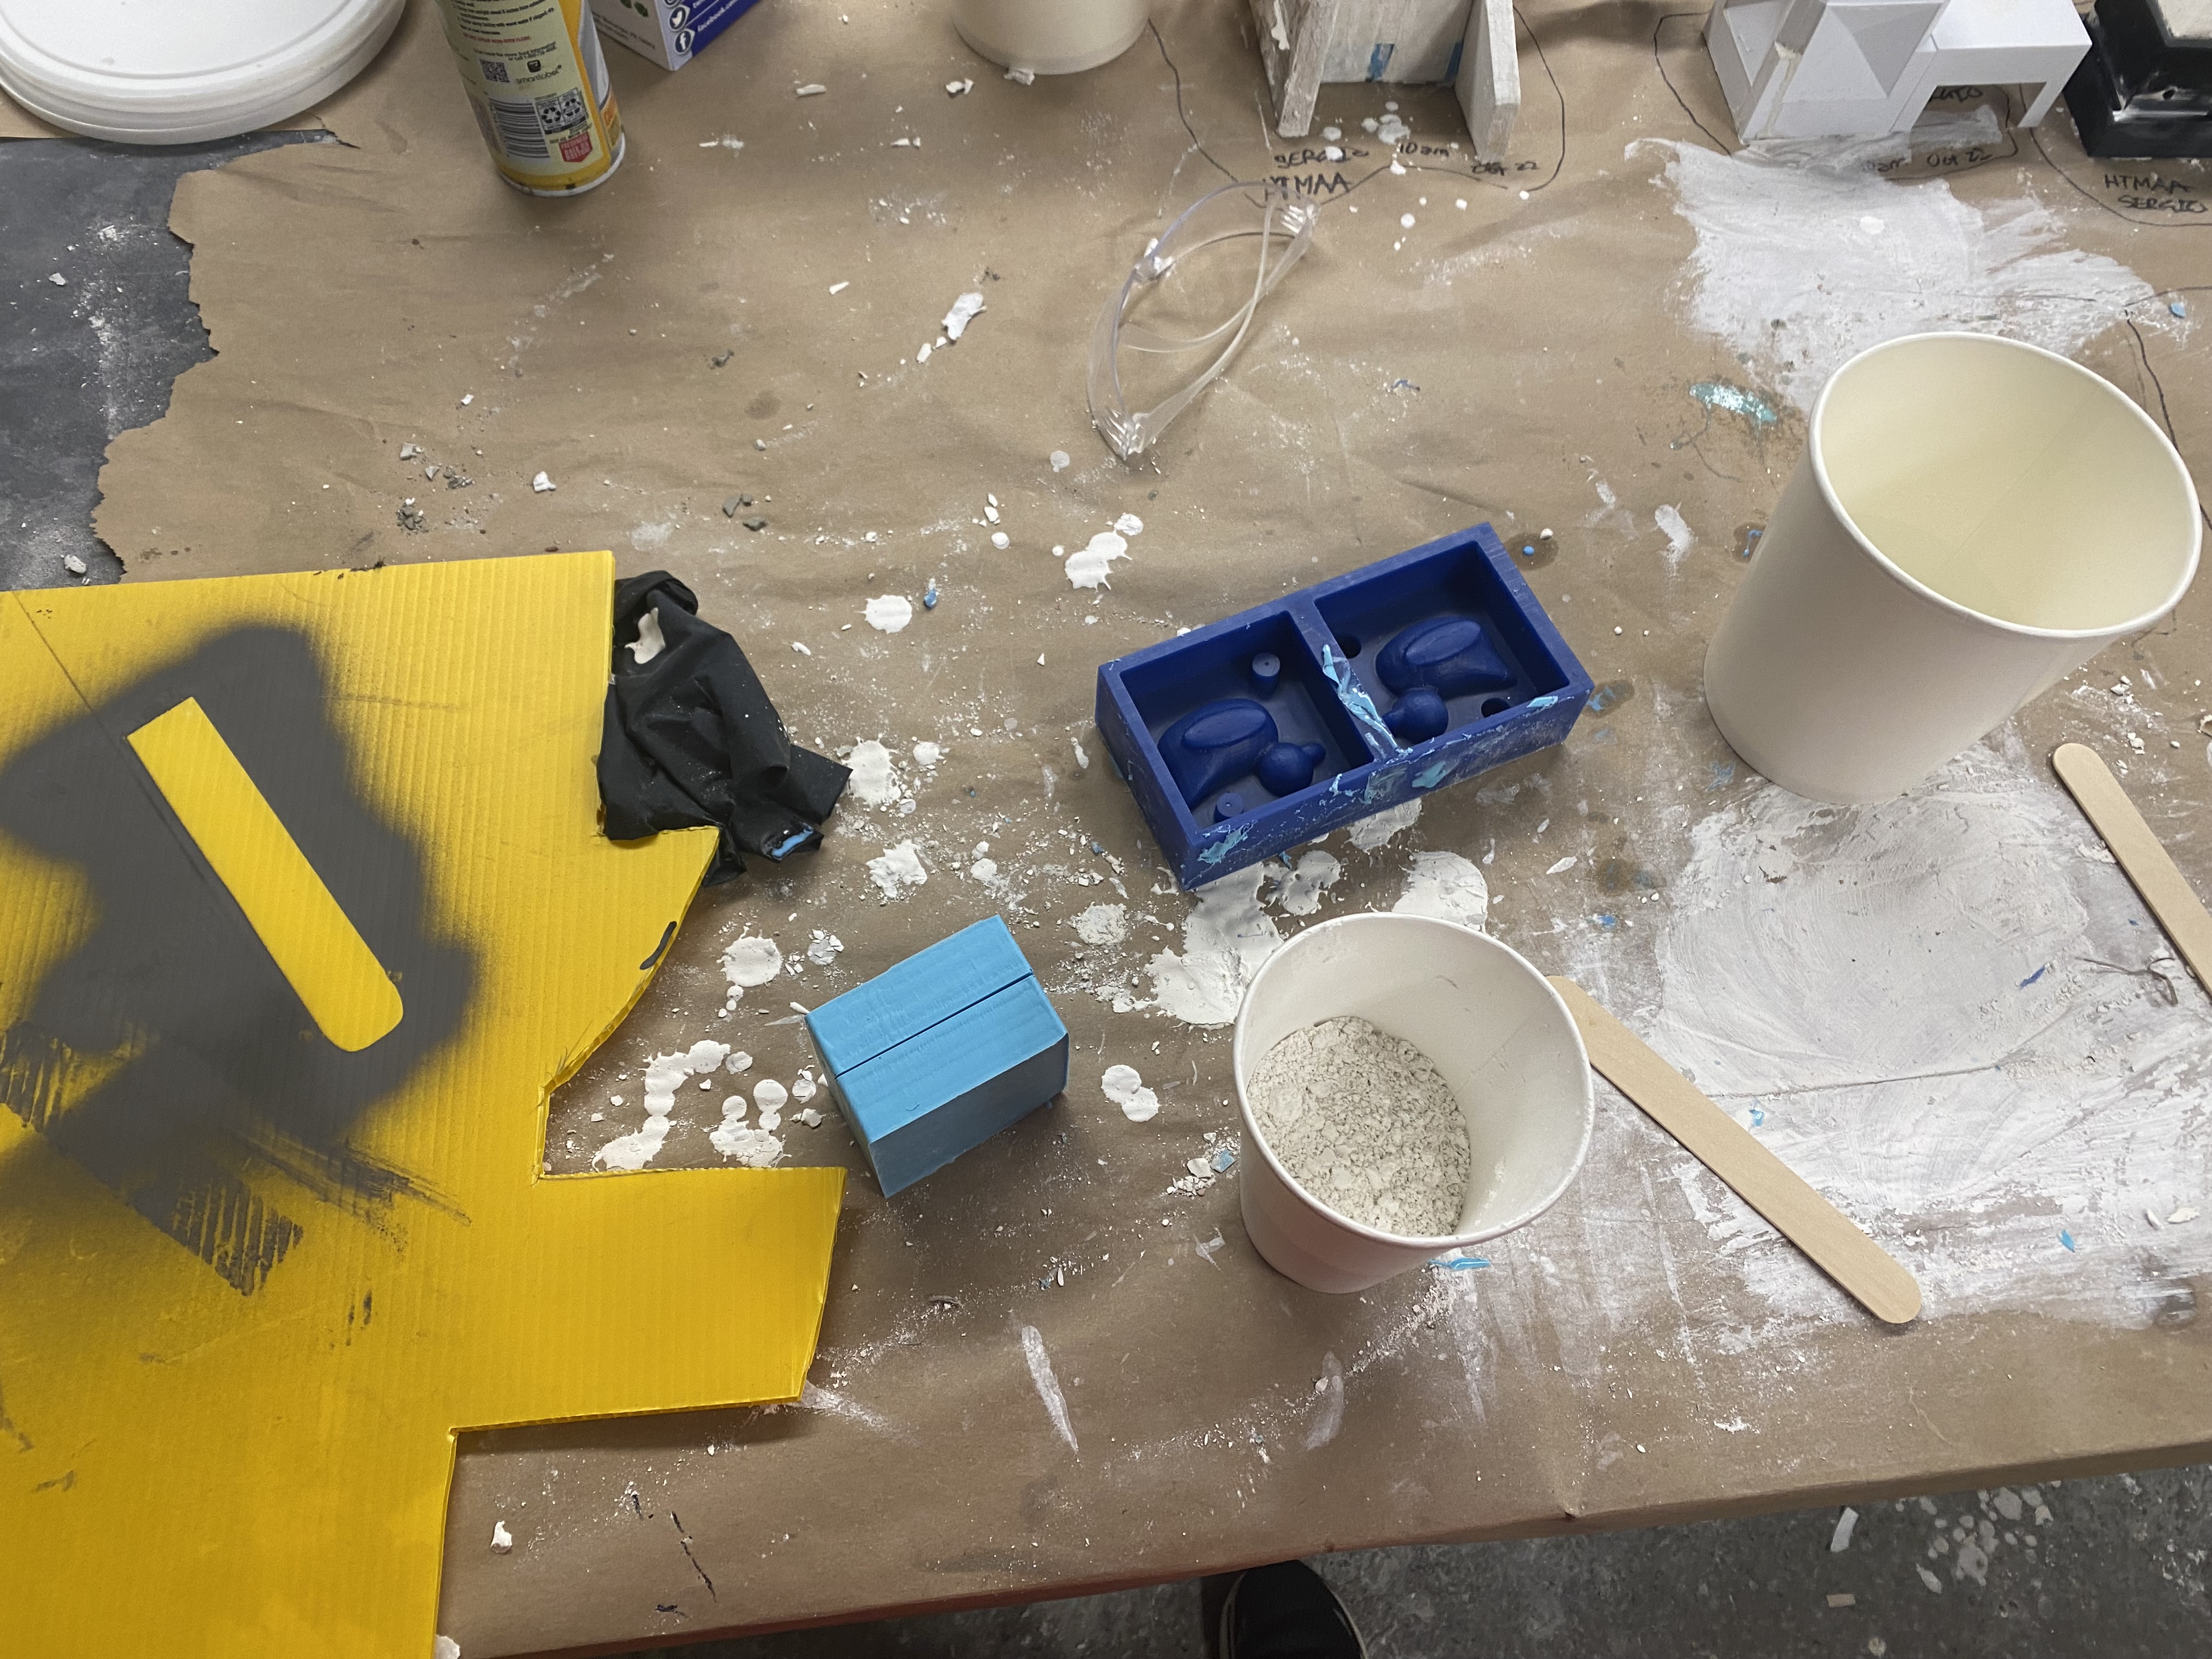
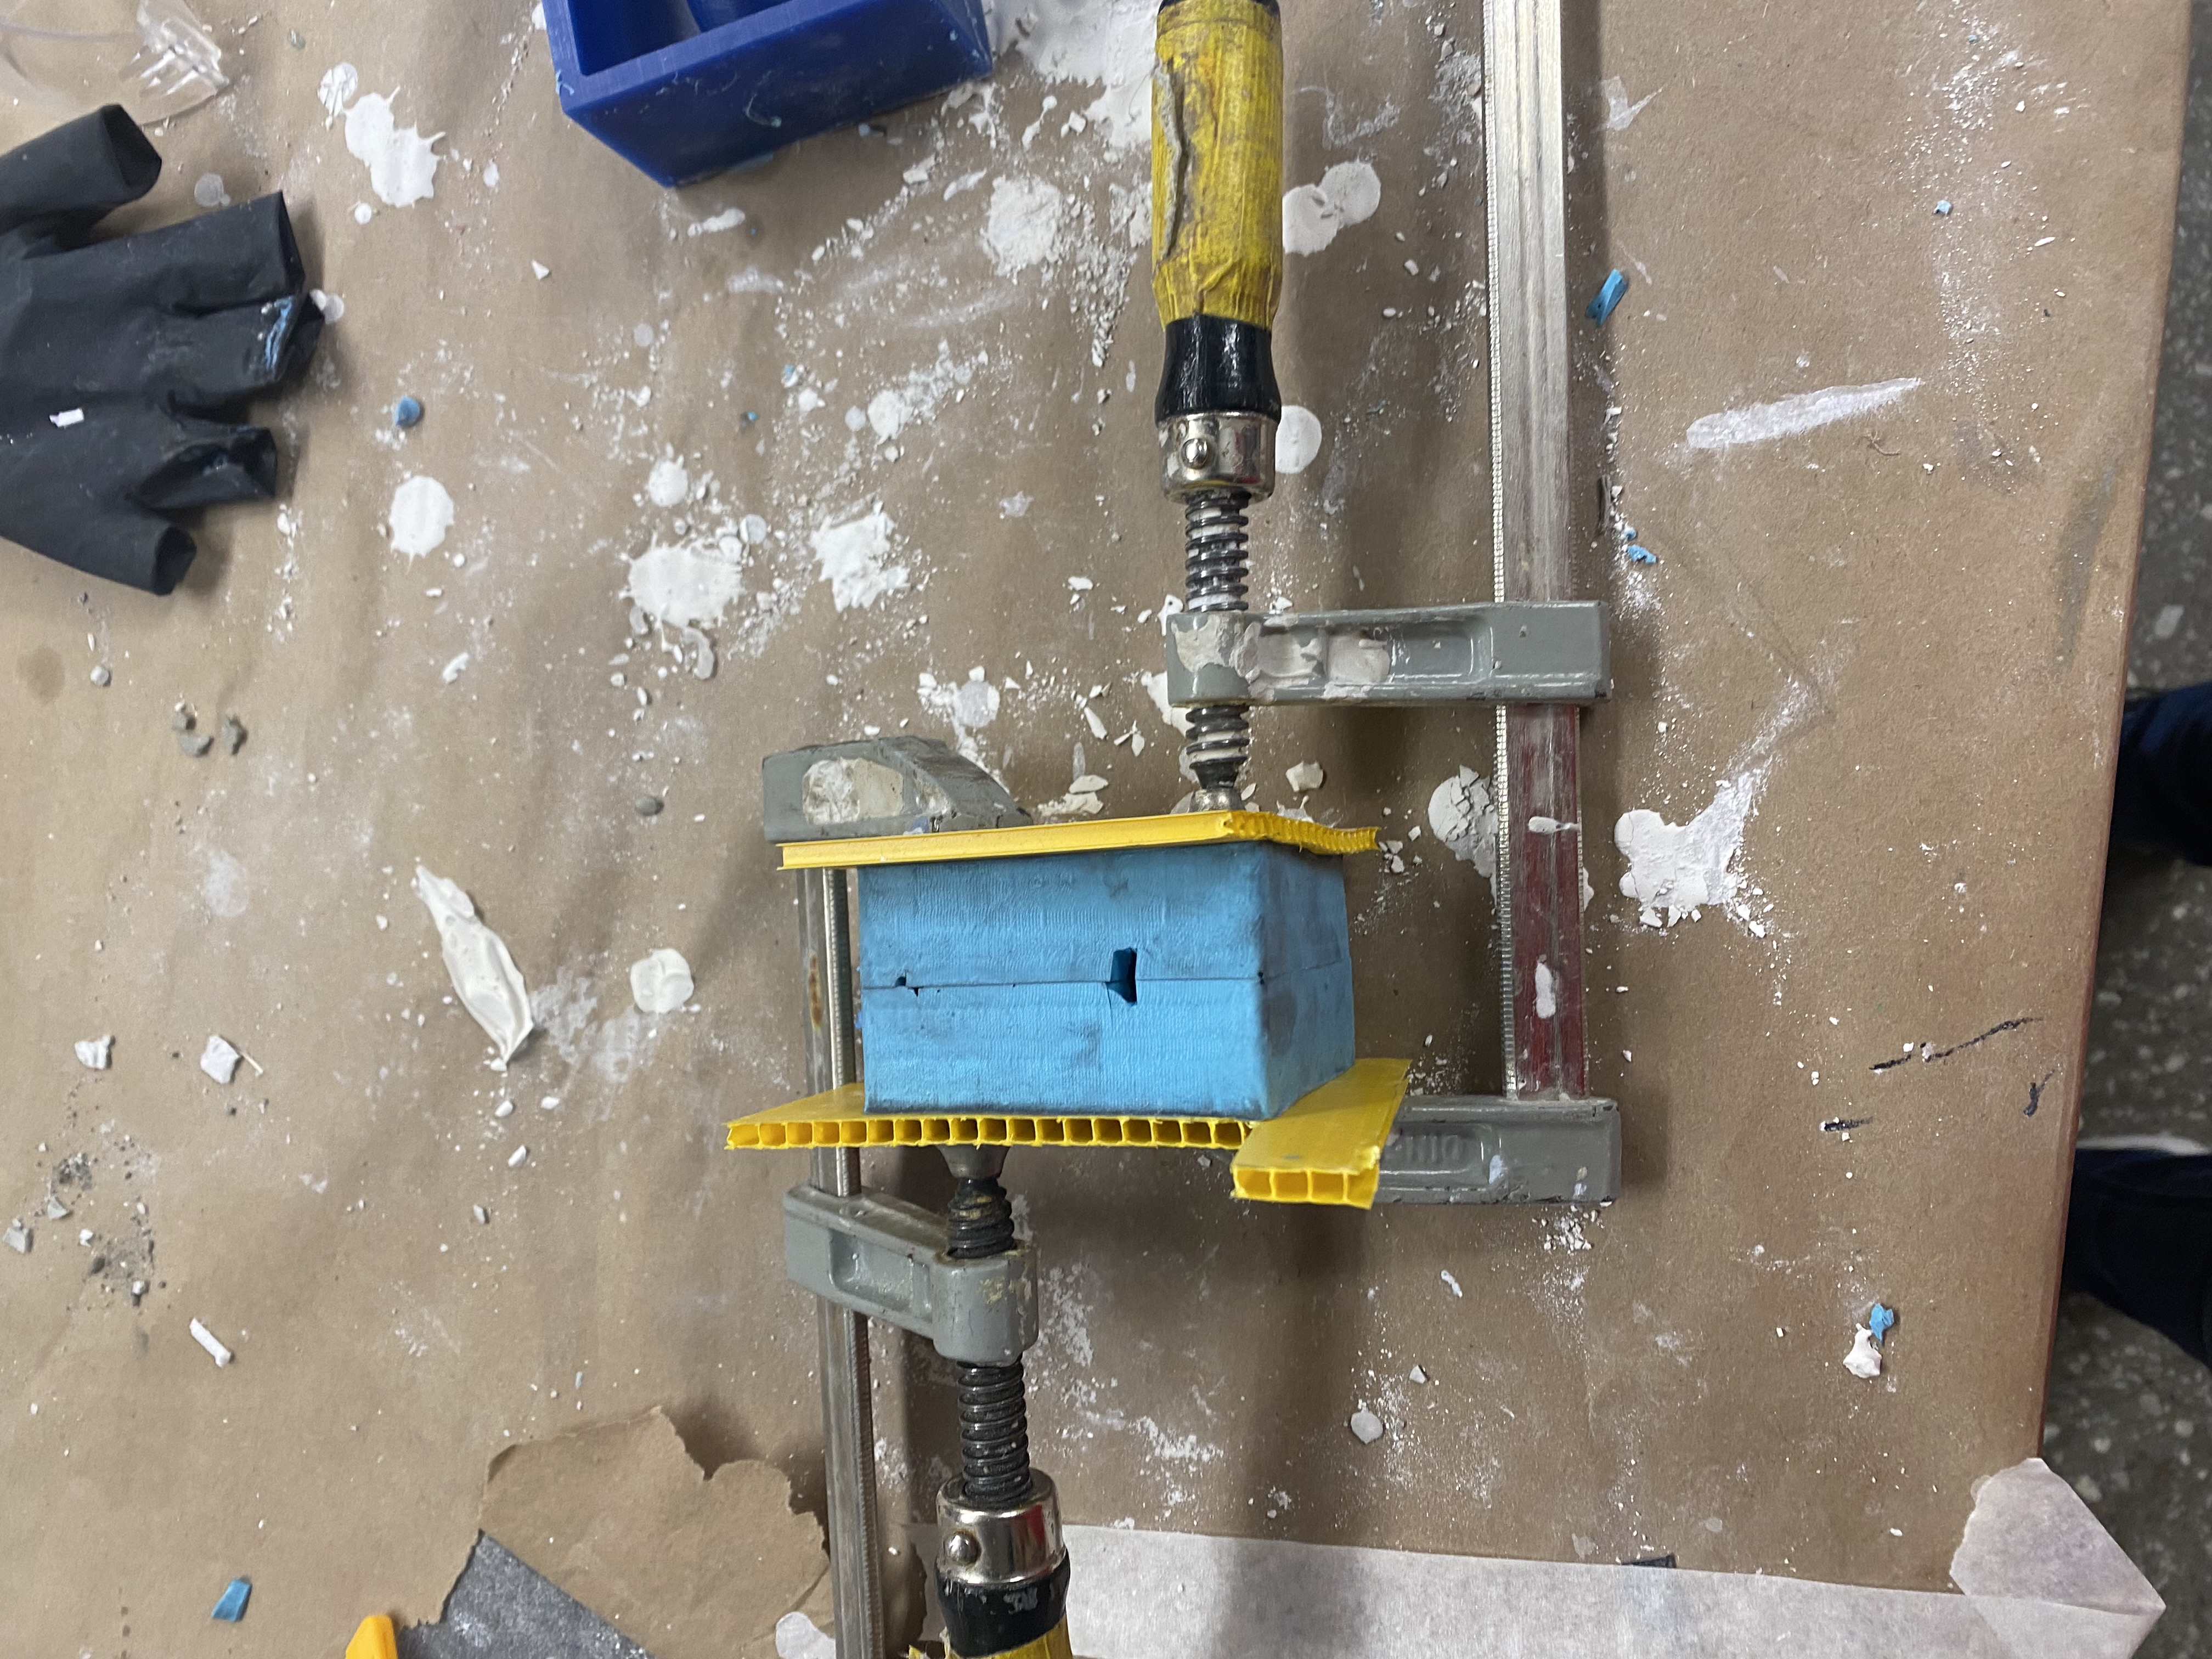
Andddd I am back. I grabbed a cardboard like object and two clamps and cut in two holes into my silicon mold.
The first hole was for pouring and the second one functions as an air hole. As i squish mold im realizing
that it squishes a LOT even with the cardboard holding it more stable. I started pouring in the concrete
but low and behold it refuses to go in. As I am doing this I start taping it against the table in an attempt
to make the plaster fall into the mold. Although this works it is ridiculously messy and time consuming. I
wonder if it would have been easier if I had already created a better funnel. So I got plaster all over
myself and also the table and my silicon mold but hopefully the duck is actually full and I didn't mess it up.
The result
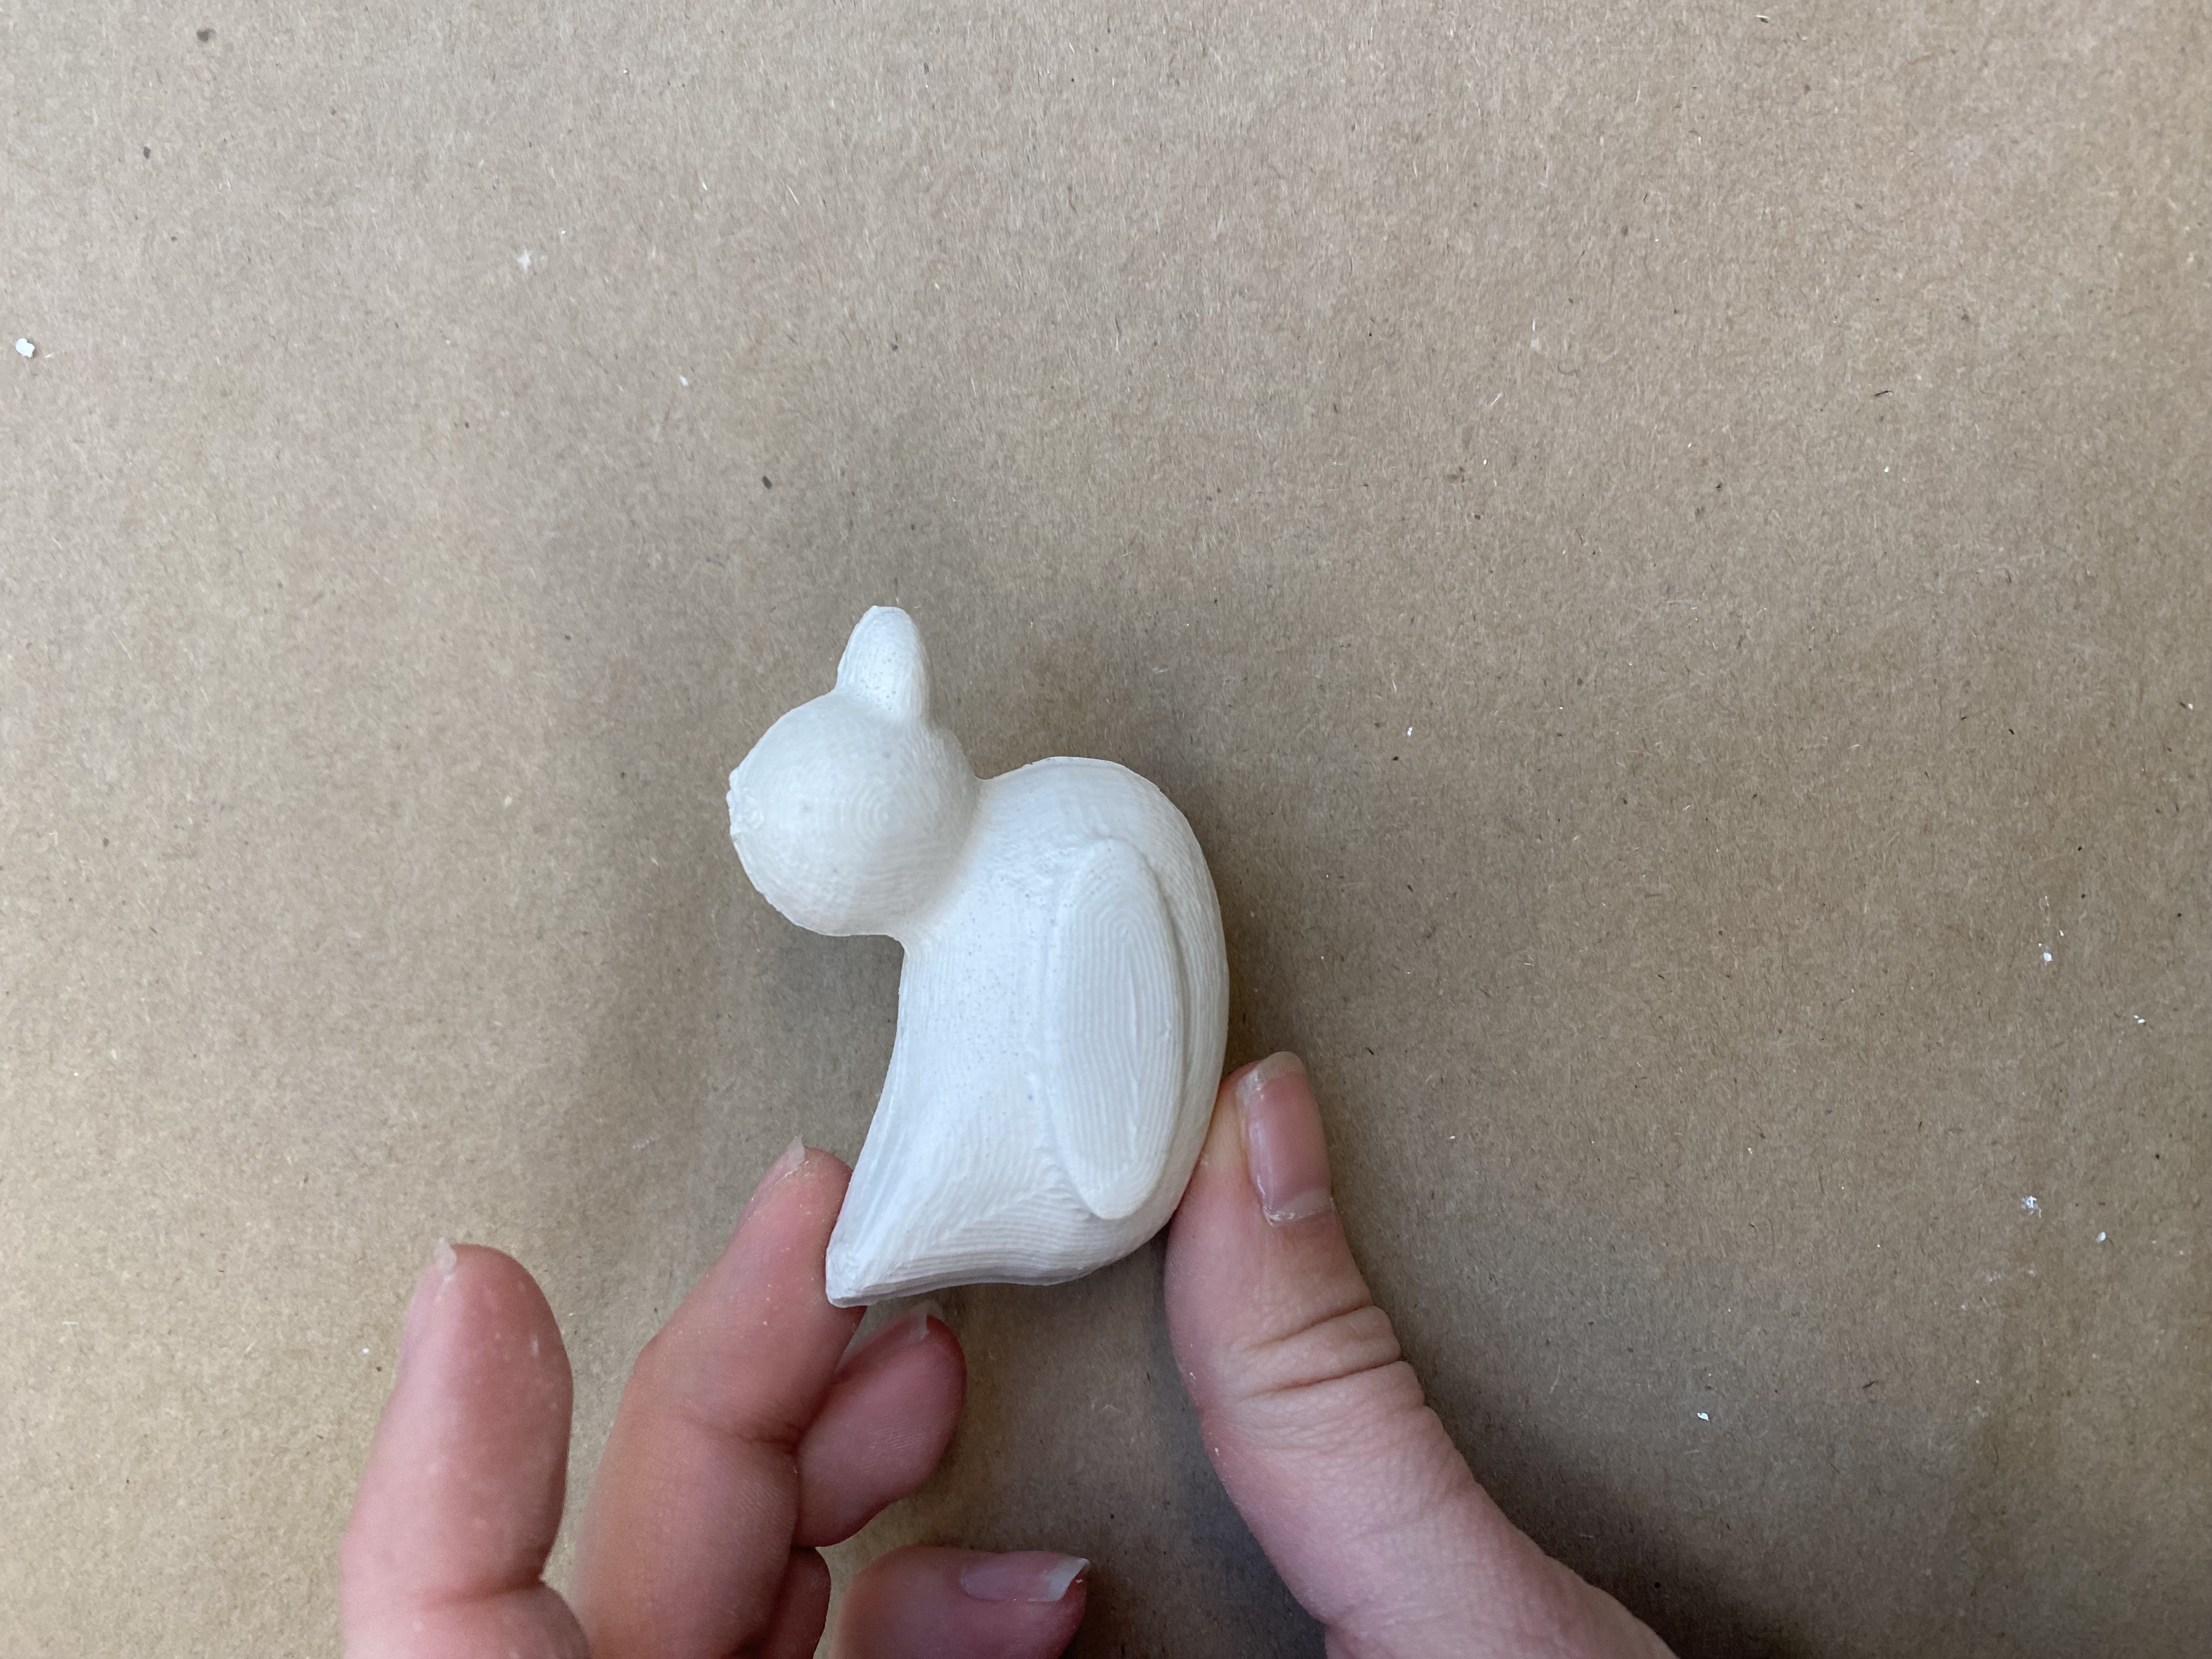
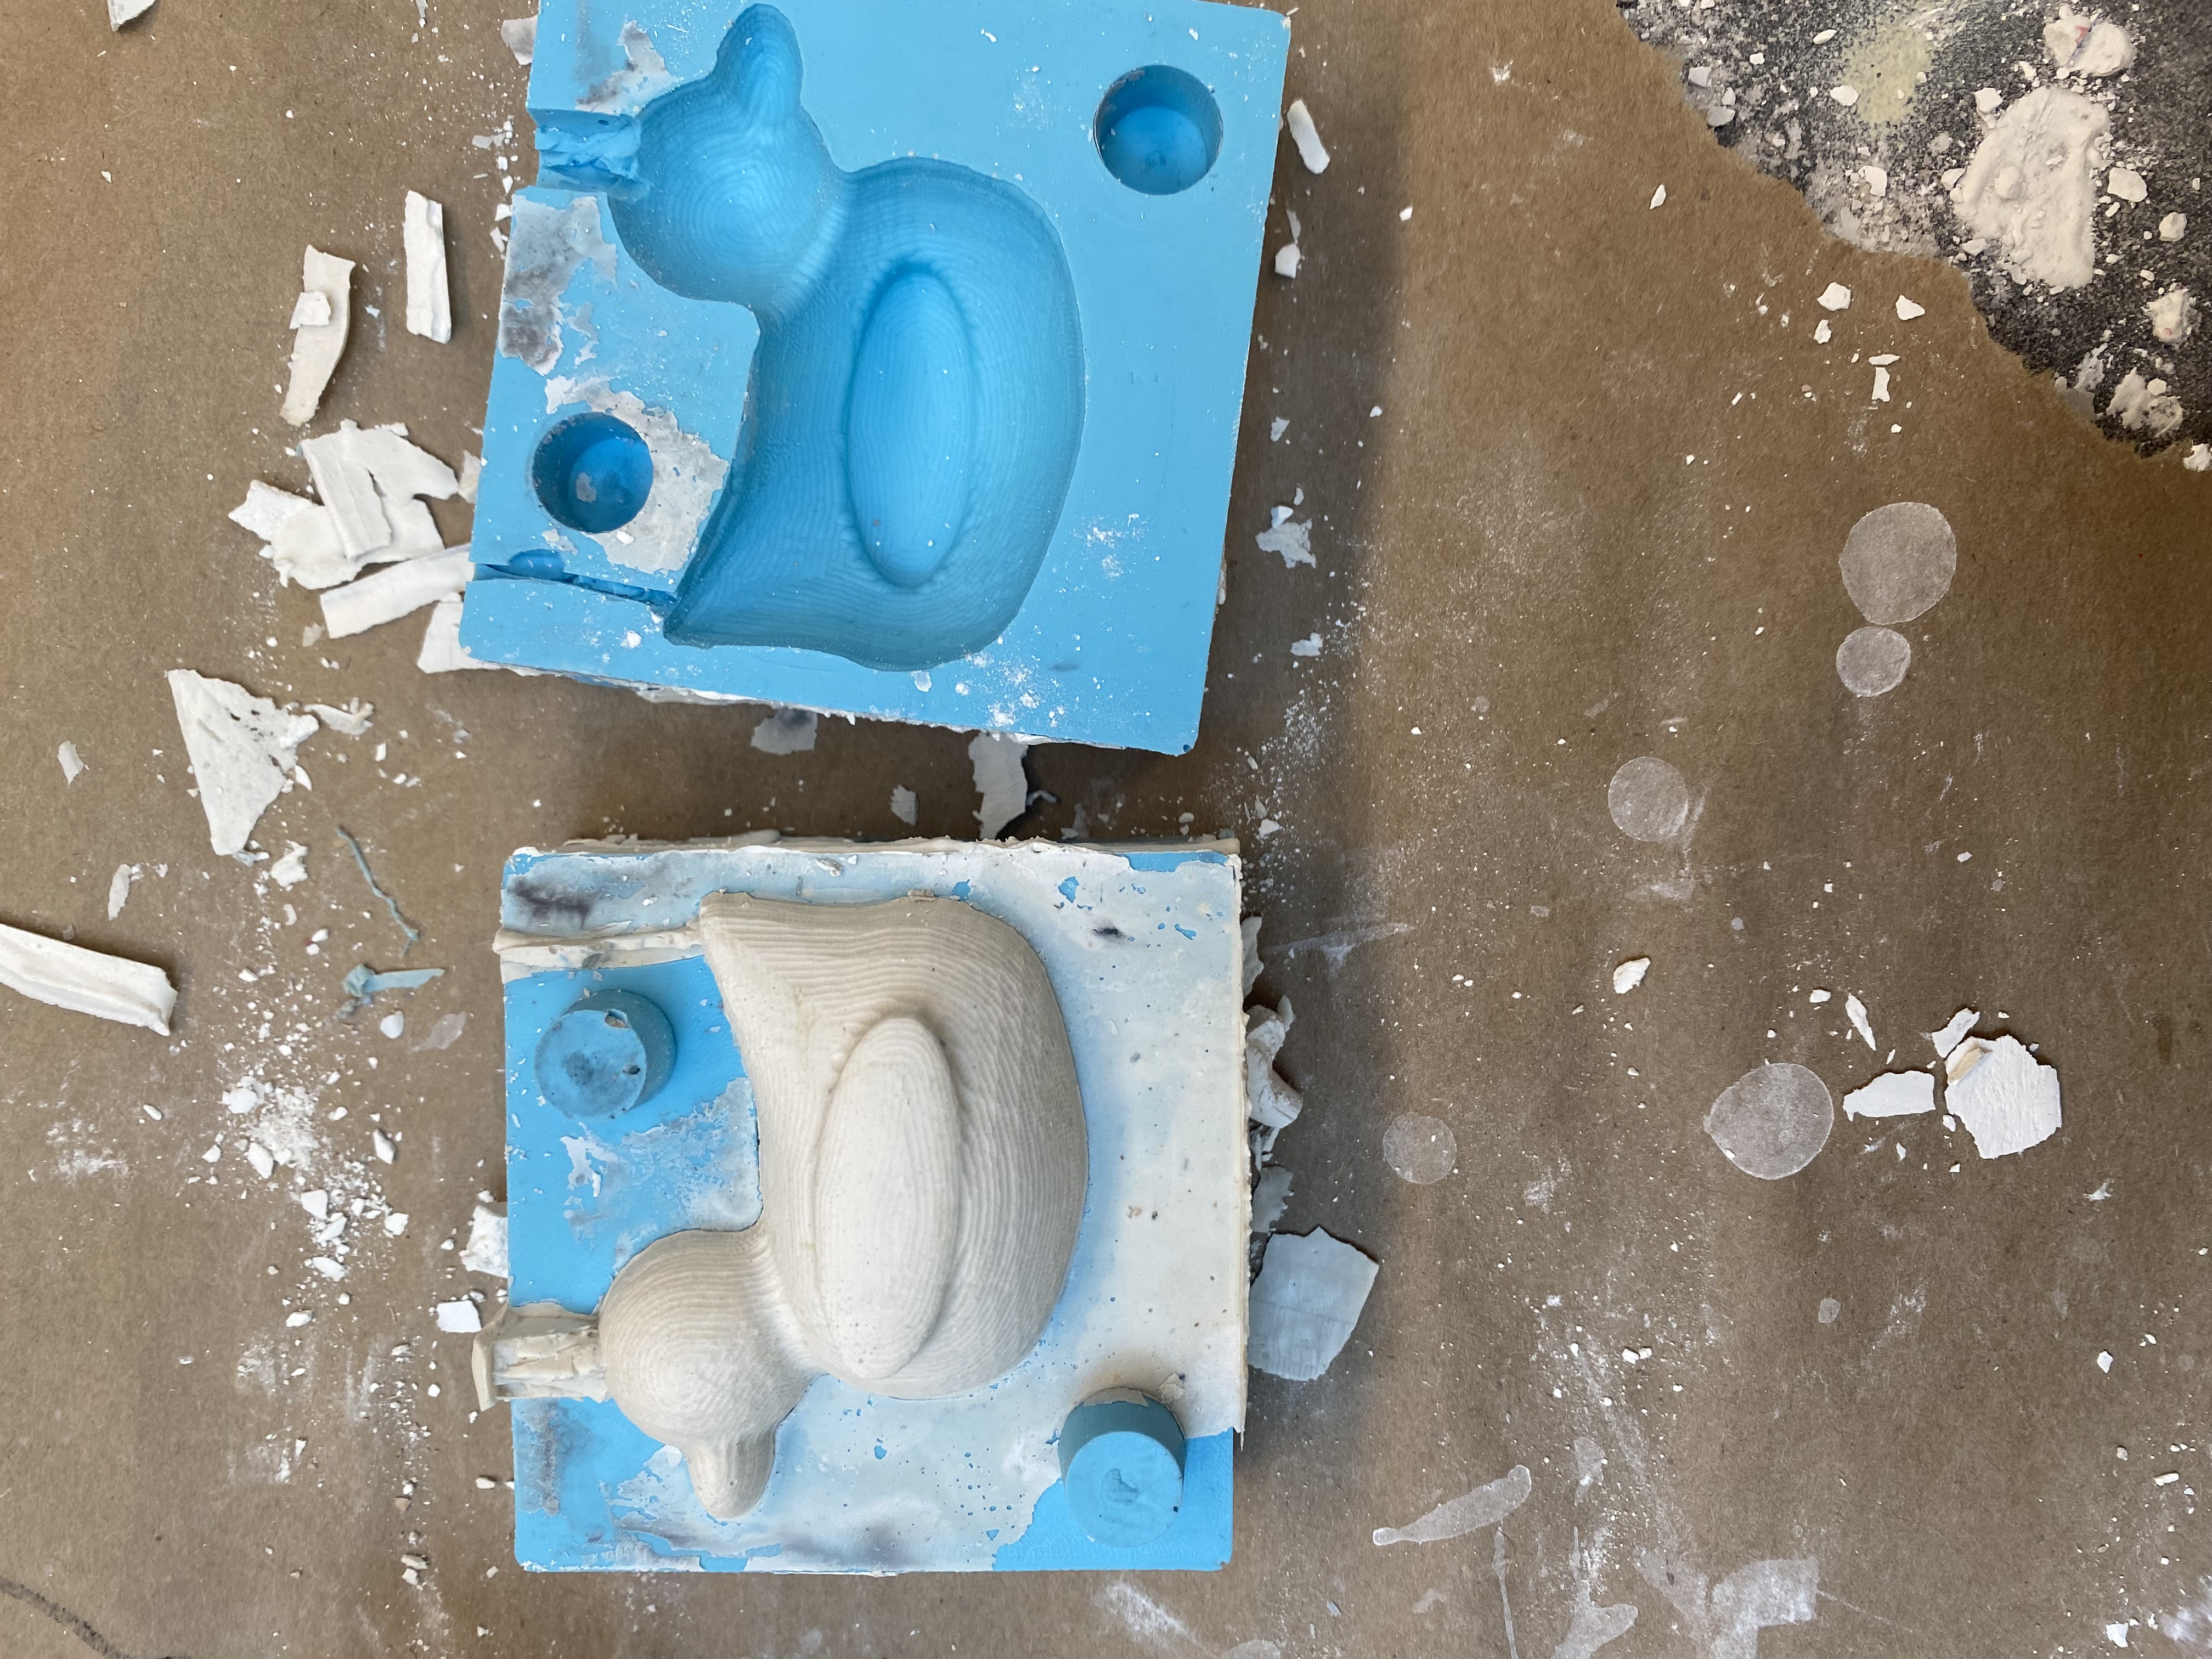
It was actually full!! Meaning the duck actually did end up coming out the only think is that the texture is
kind of funky and it feels wet ish so I probably did something wrong with the ratio but I kind of like
it more like this.
