Documentation
Final Project Tie In
This week I decided I should probably start working on parts of my final project. The final project is hopefully going to be similar to honey lemon's bag but instead of mixing elements it will be mixing something more accessible. I broke it down into being able to sense when a clear object is in front of the sensor
Chose Your Sensor
The first step was to pick a way to detect if something is in front of the sensor and for that i decided on a phototransistor. There are two main types of phototransistors an infrared and a visible light. The infrared allows you to also sense transparent objects so that is the one I chose. A phototransistors works by conducting current when there is light So the way that my design works is that the 5 volts flows into the phototransistor and when it detects light the current will flow into a pin. If it doesnt detect light no current will flow and nothing should be read by the pin. At the same time there is an LED connected to another pin. the point of this LED is to create the light that will bounce off the object so the LED should be on at all times. I decided to use a seeed xiao ESP32S3 because I was told that xiao was more powerful than arduino and that I could still use the same Arduino IDE.
Designing PCBs
Once I figured out the electronic design I drew the schematic and and created the PCB.

I ran into
a small issue because when I was changing from a schematic to a PCB the components were not uploading
and apparently it was because the files were not linked properly in the project folder of kicad. this
time around it was a lot easier to work with kicad and to find the right components.
the steps after you think you finish the pcb is to make sure that the minimum clearance is 0.4 and that
the traces are also 0.4. You then have to run the DRC to make sure that you don't violate any of the
constraints. I made sure that when I designed the PCB I made it all on one side. Once I finished it up
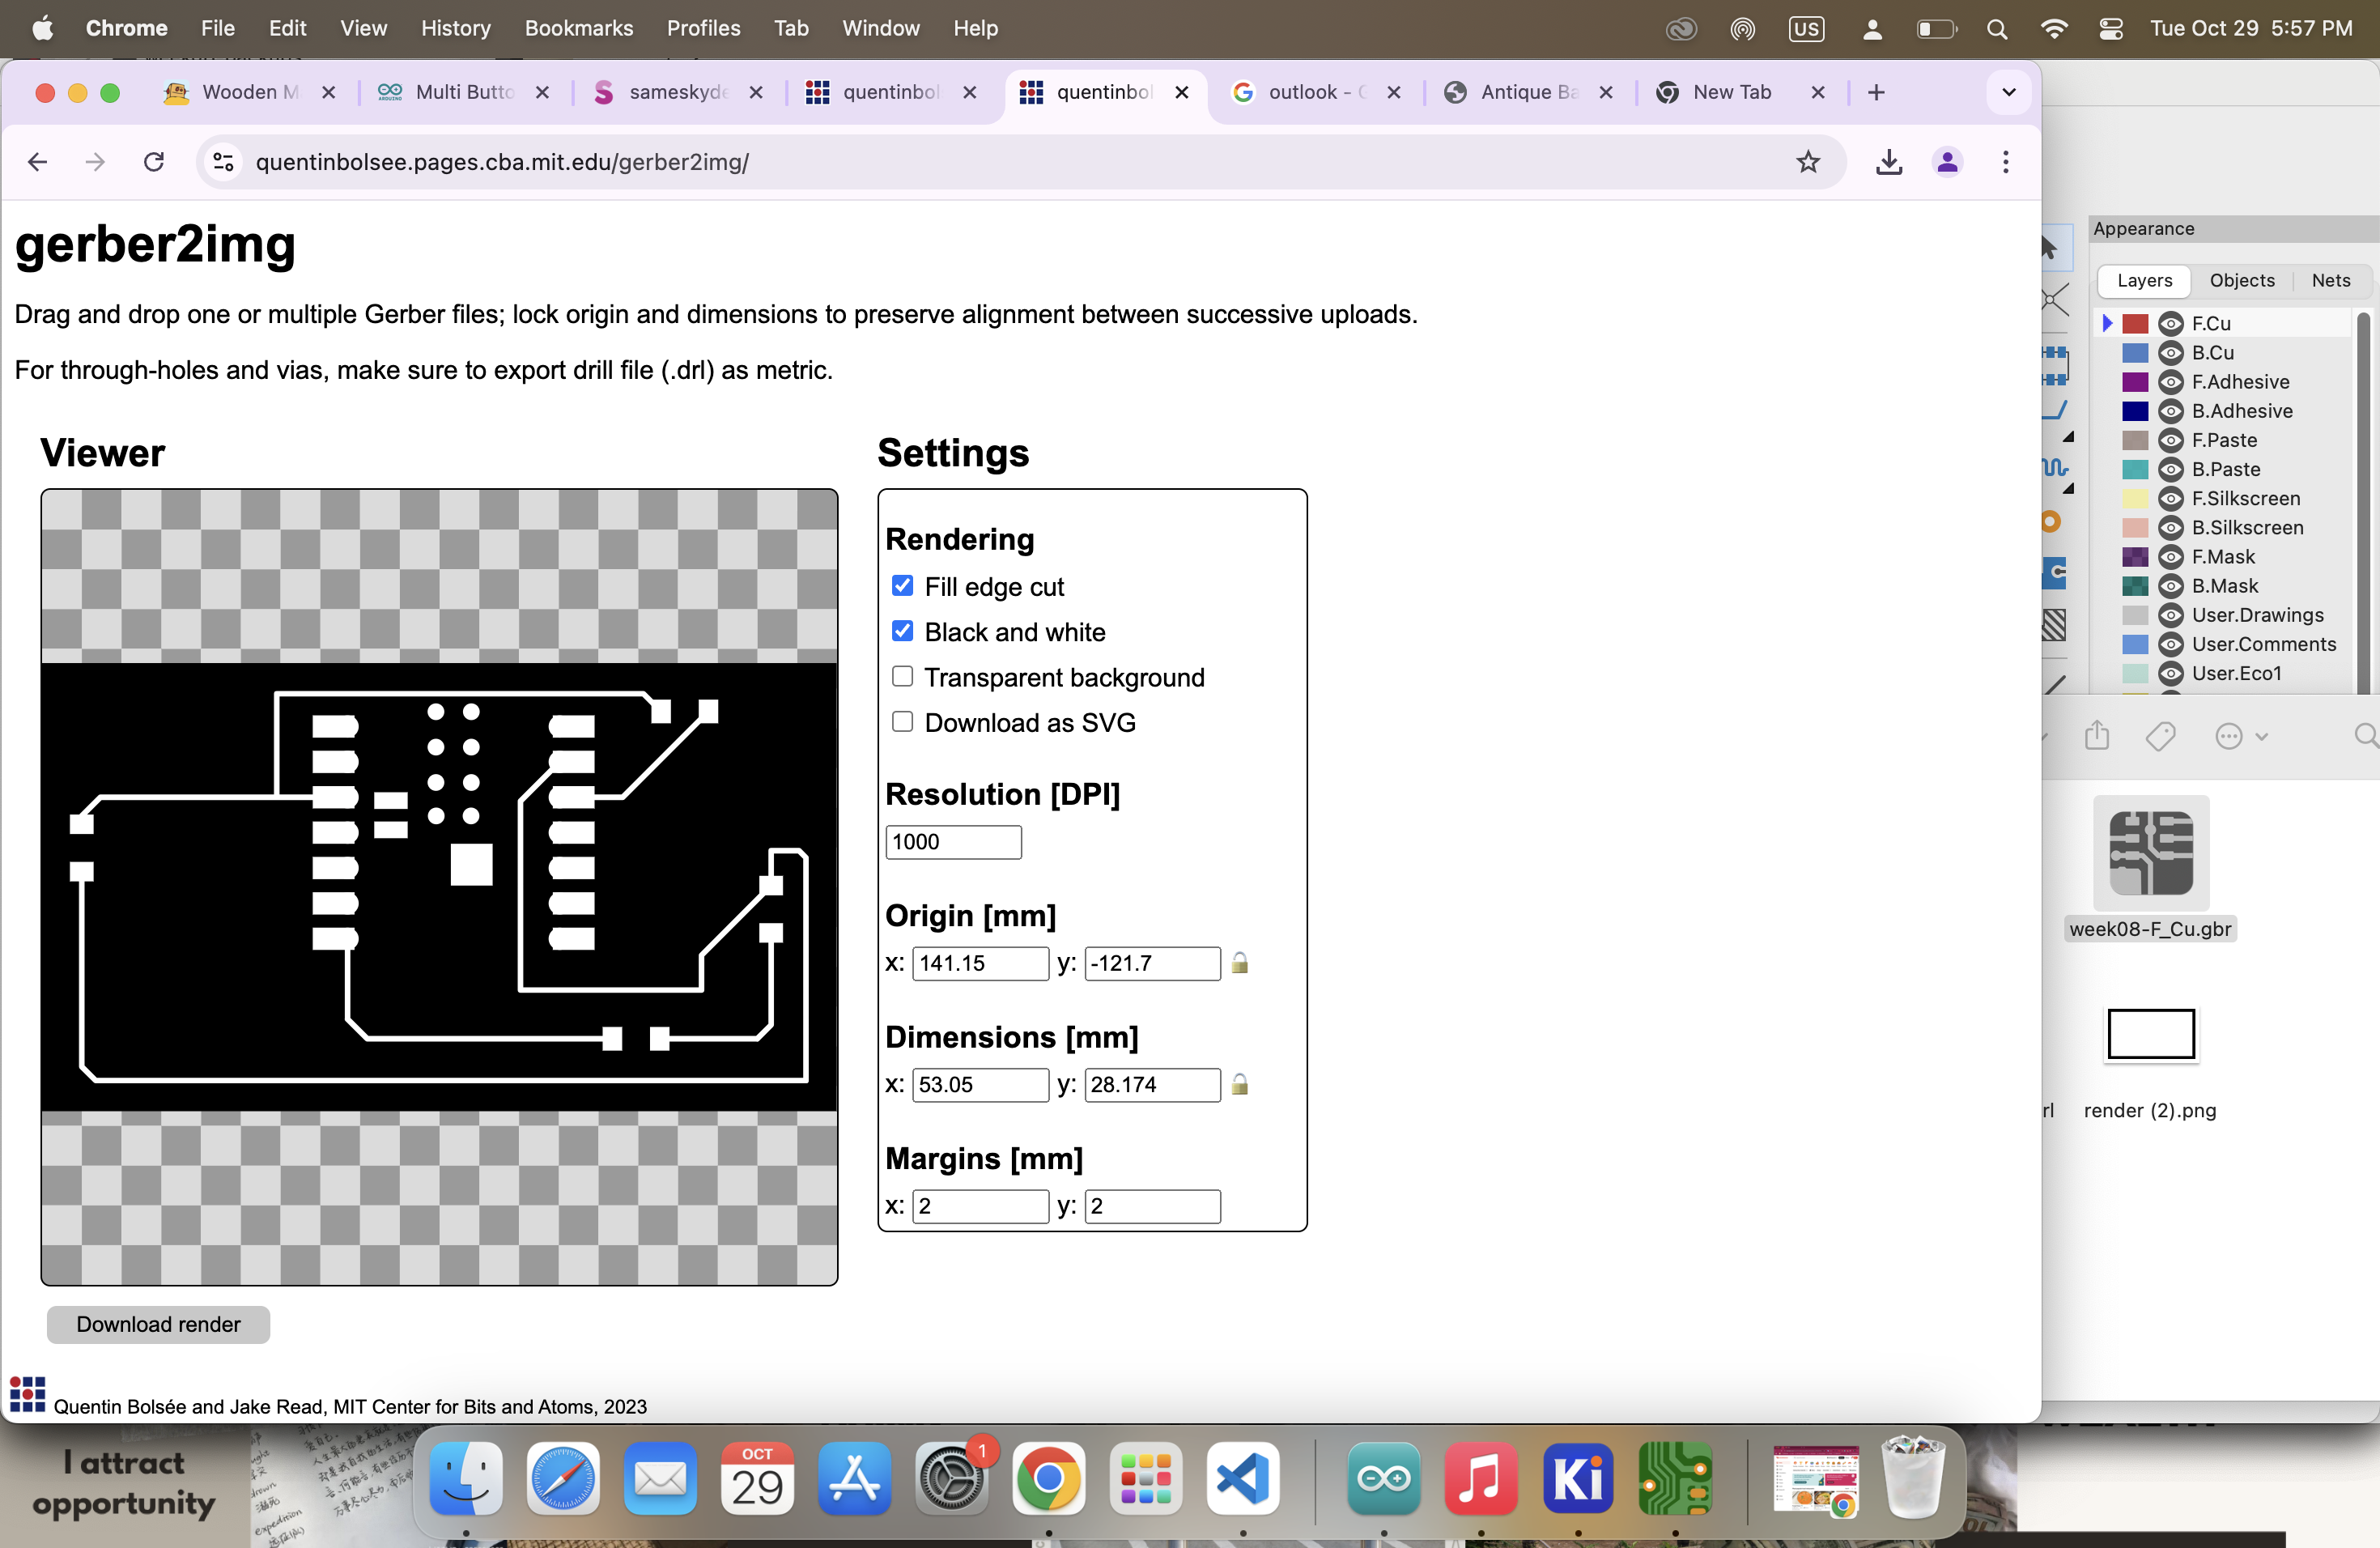
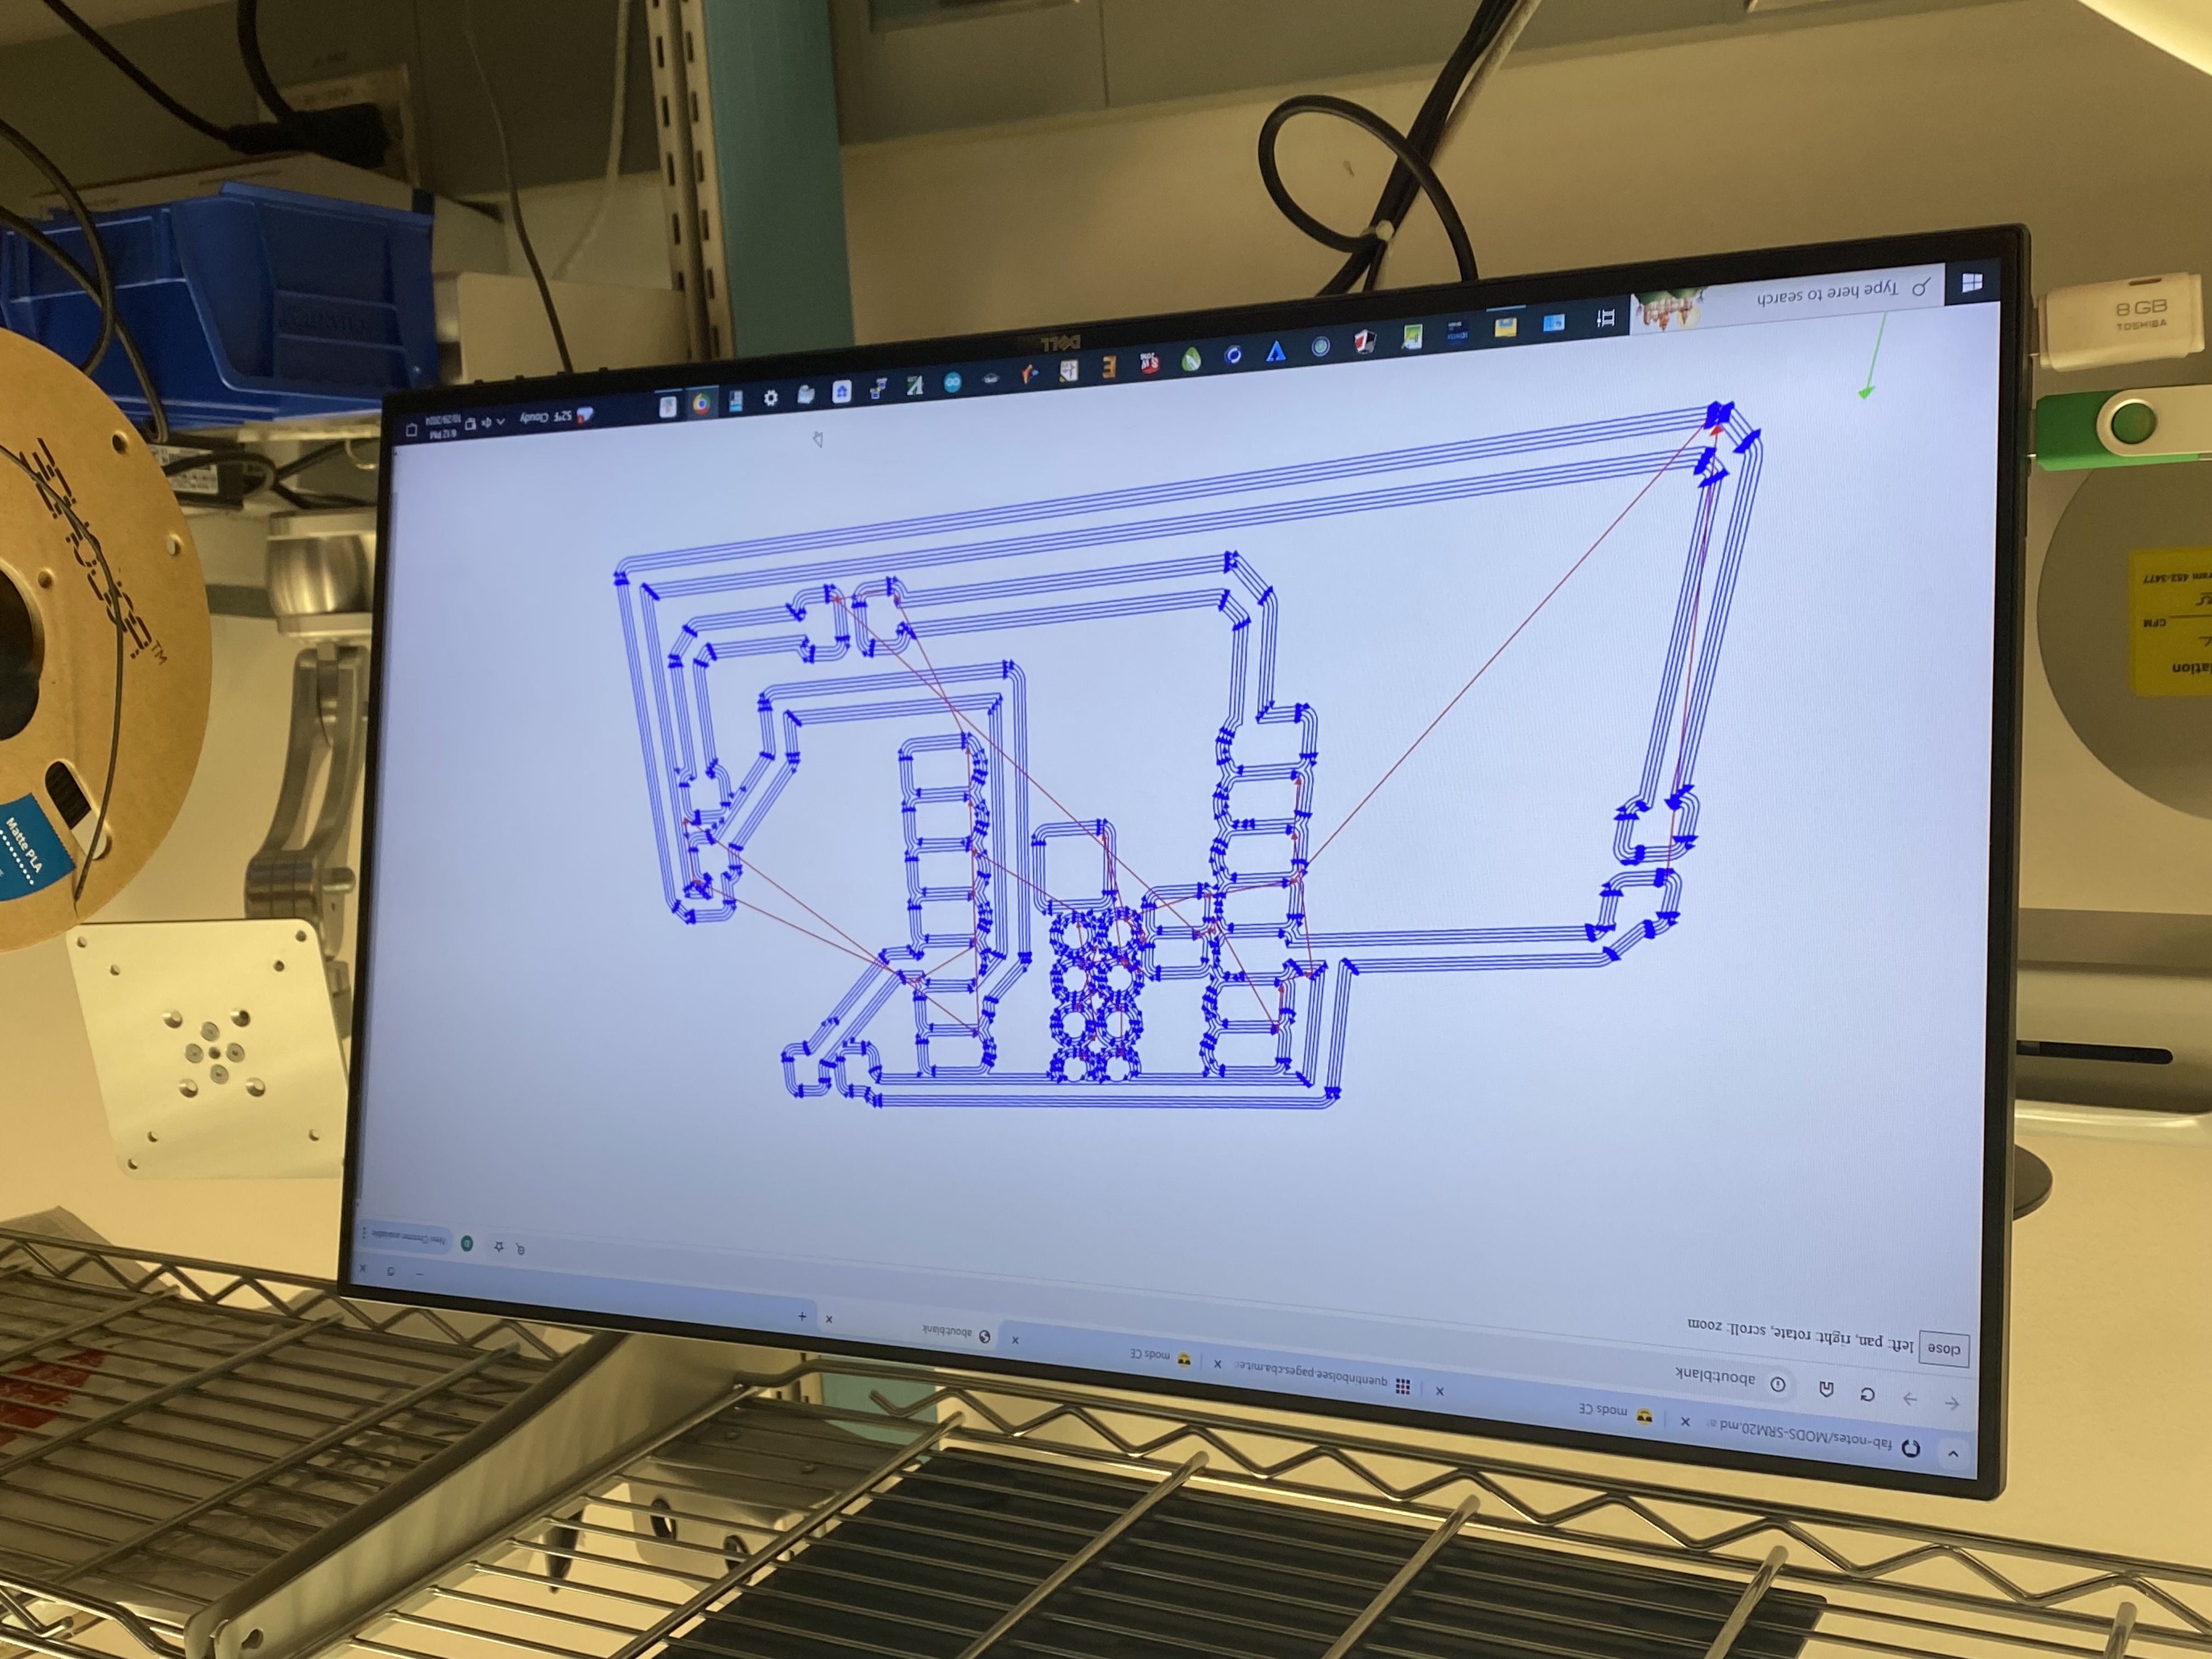
I exported the gerb file and then changed it into a png and then used the mods to cut the pngs on machine.
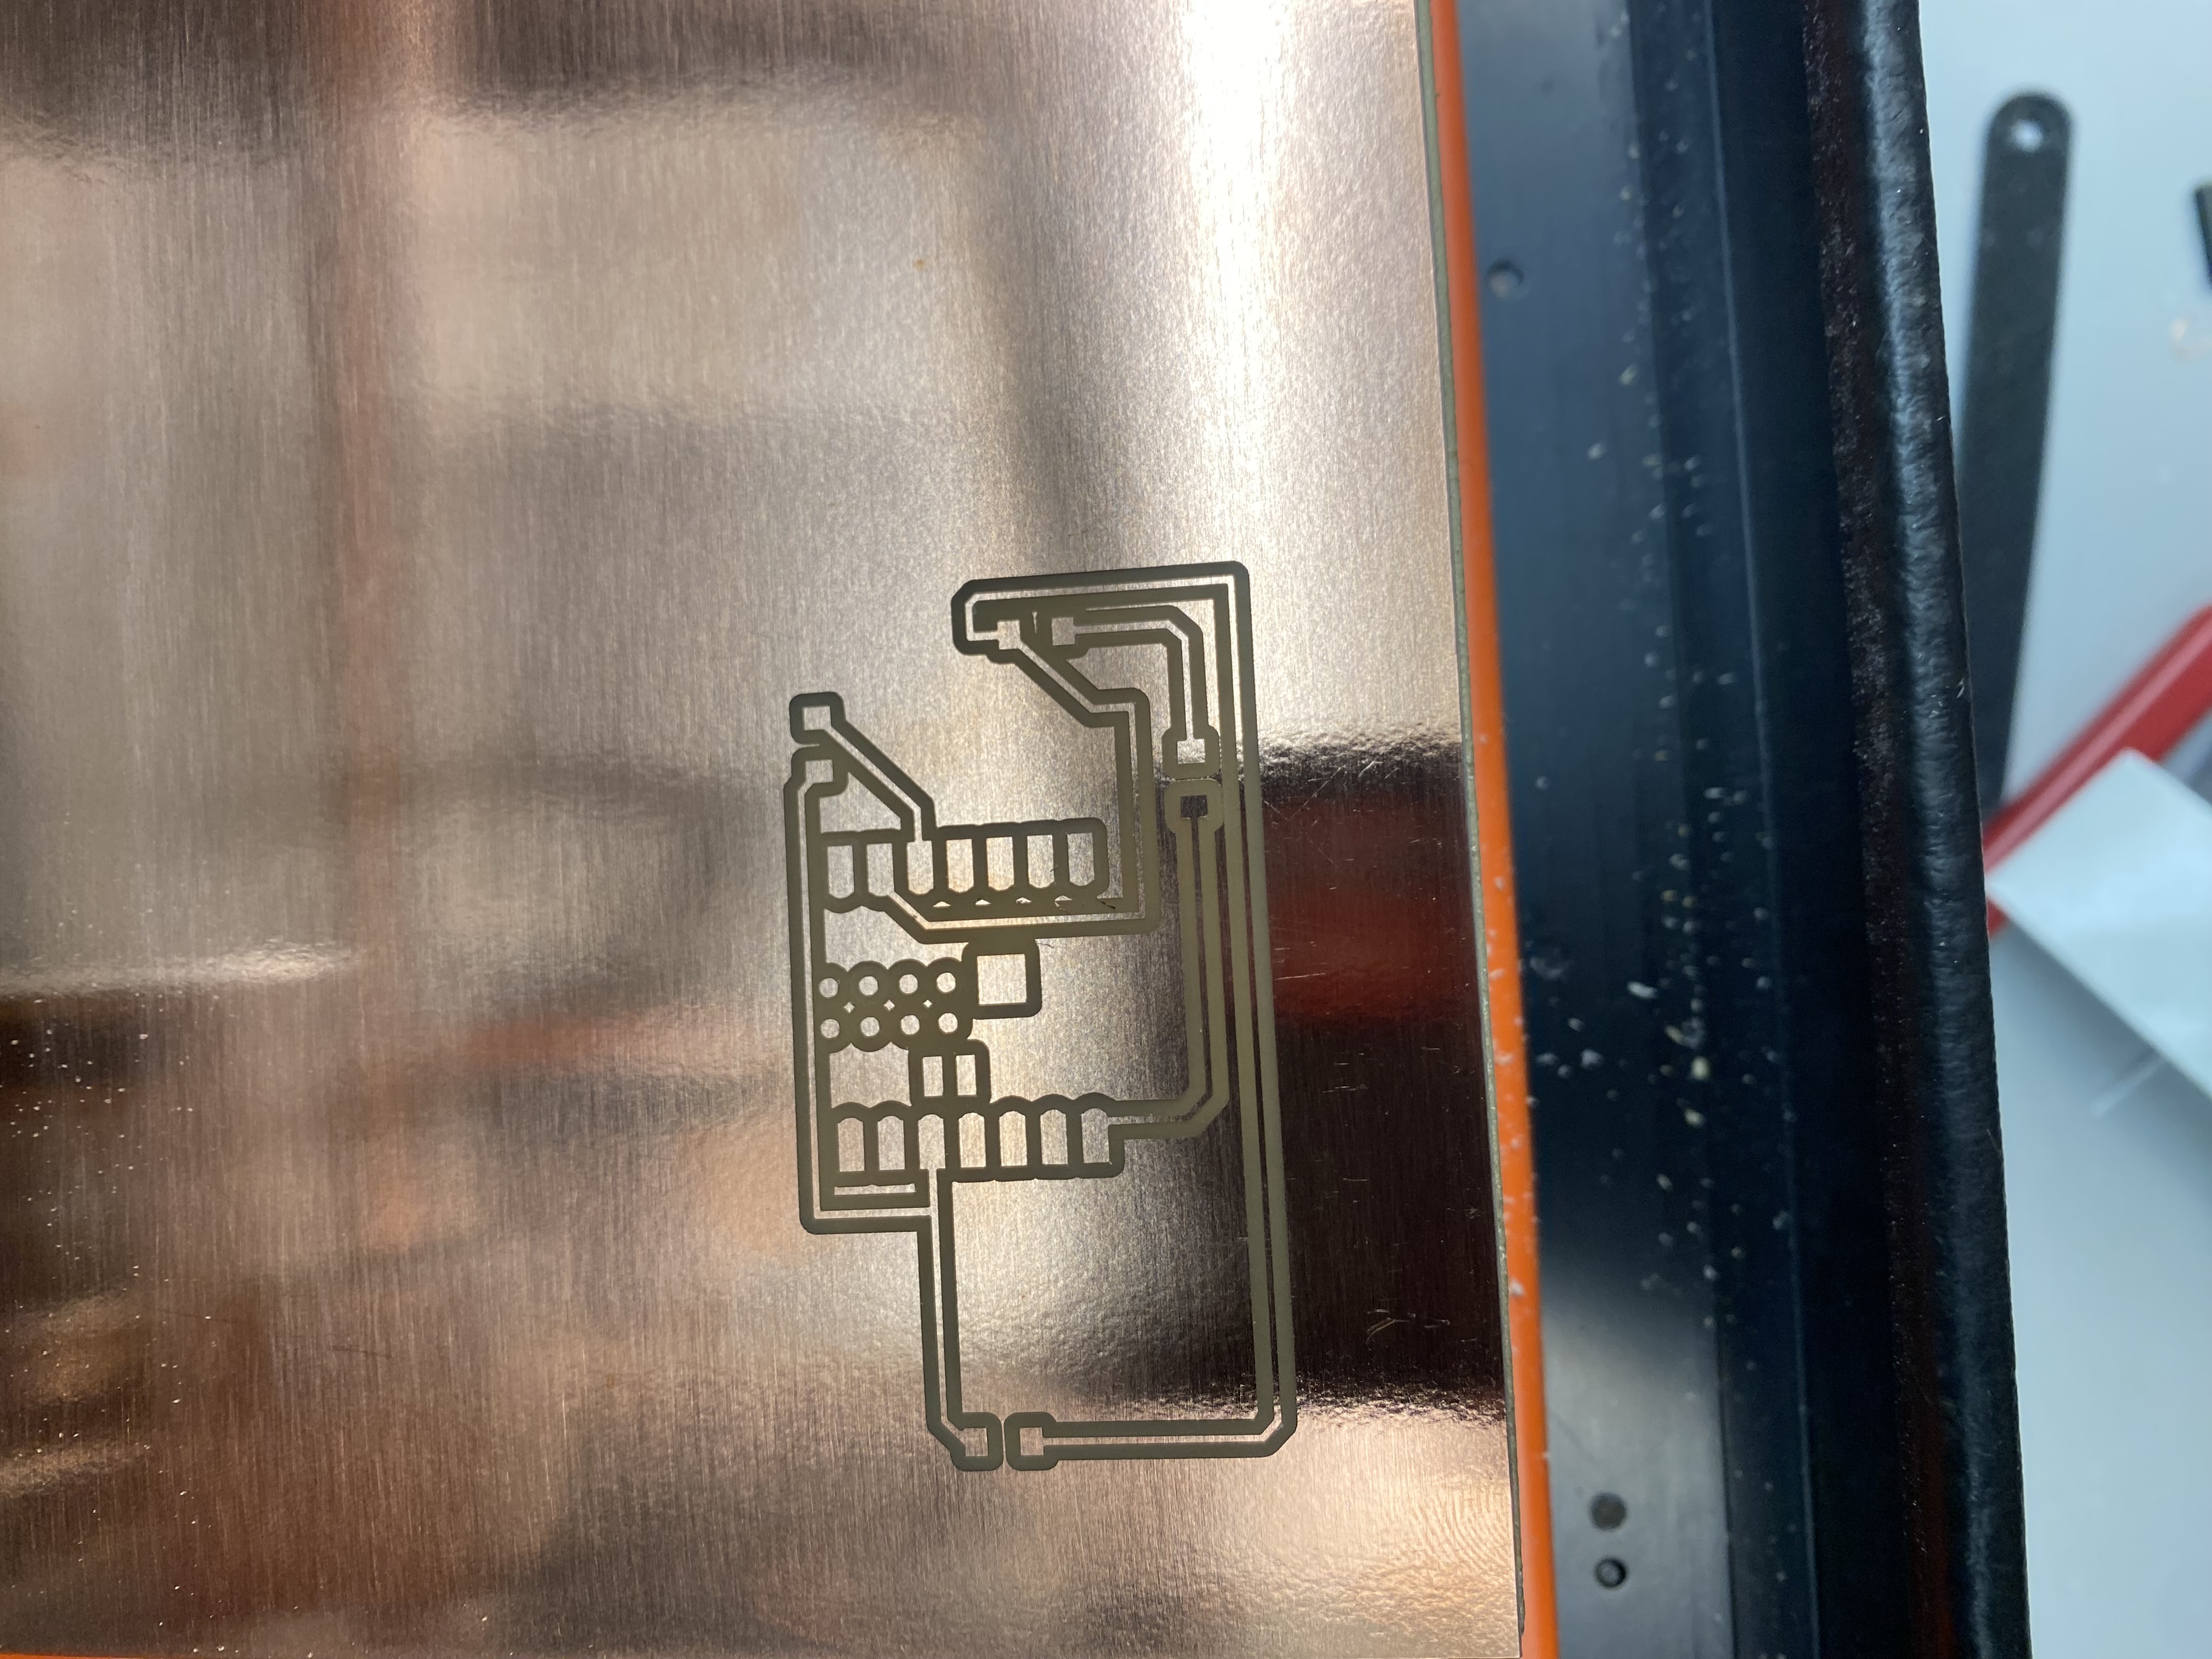
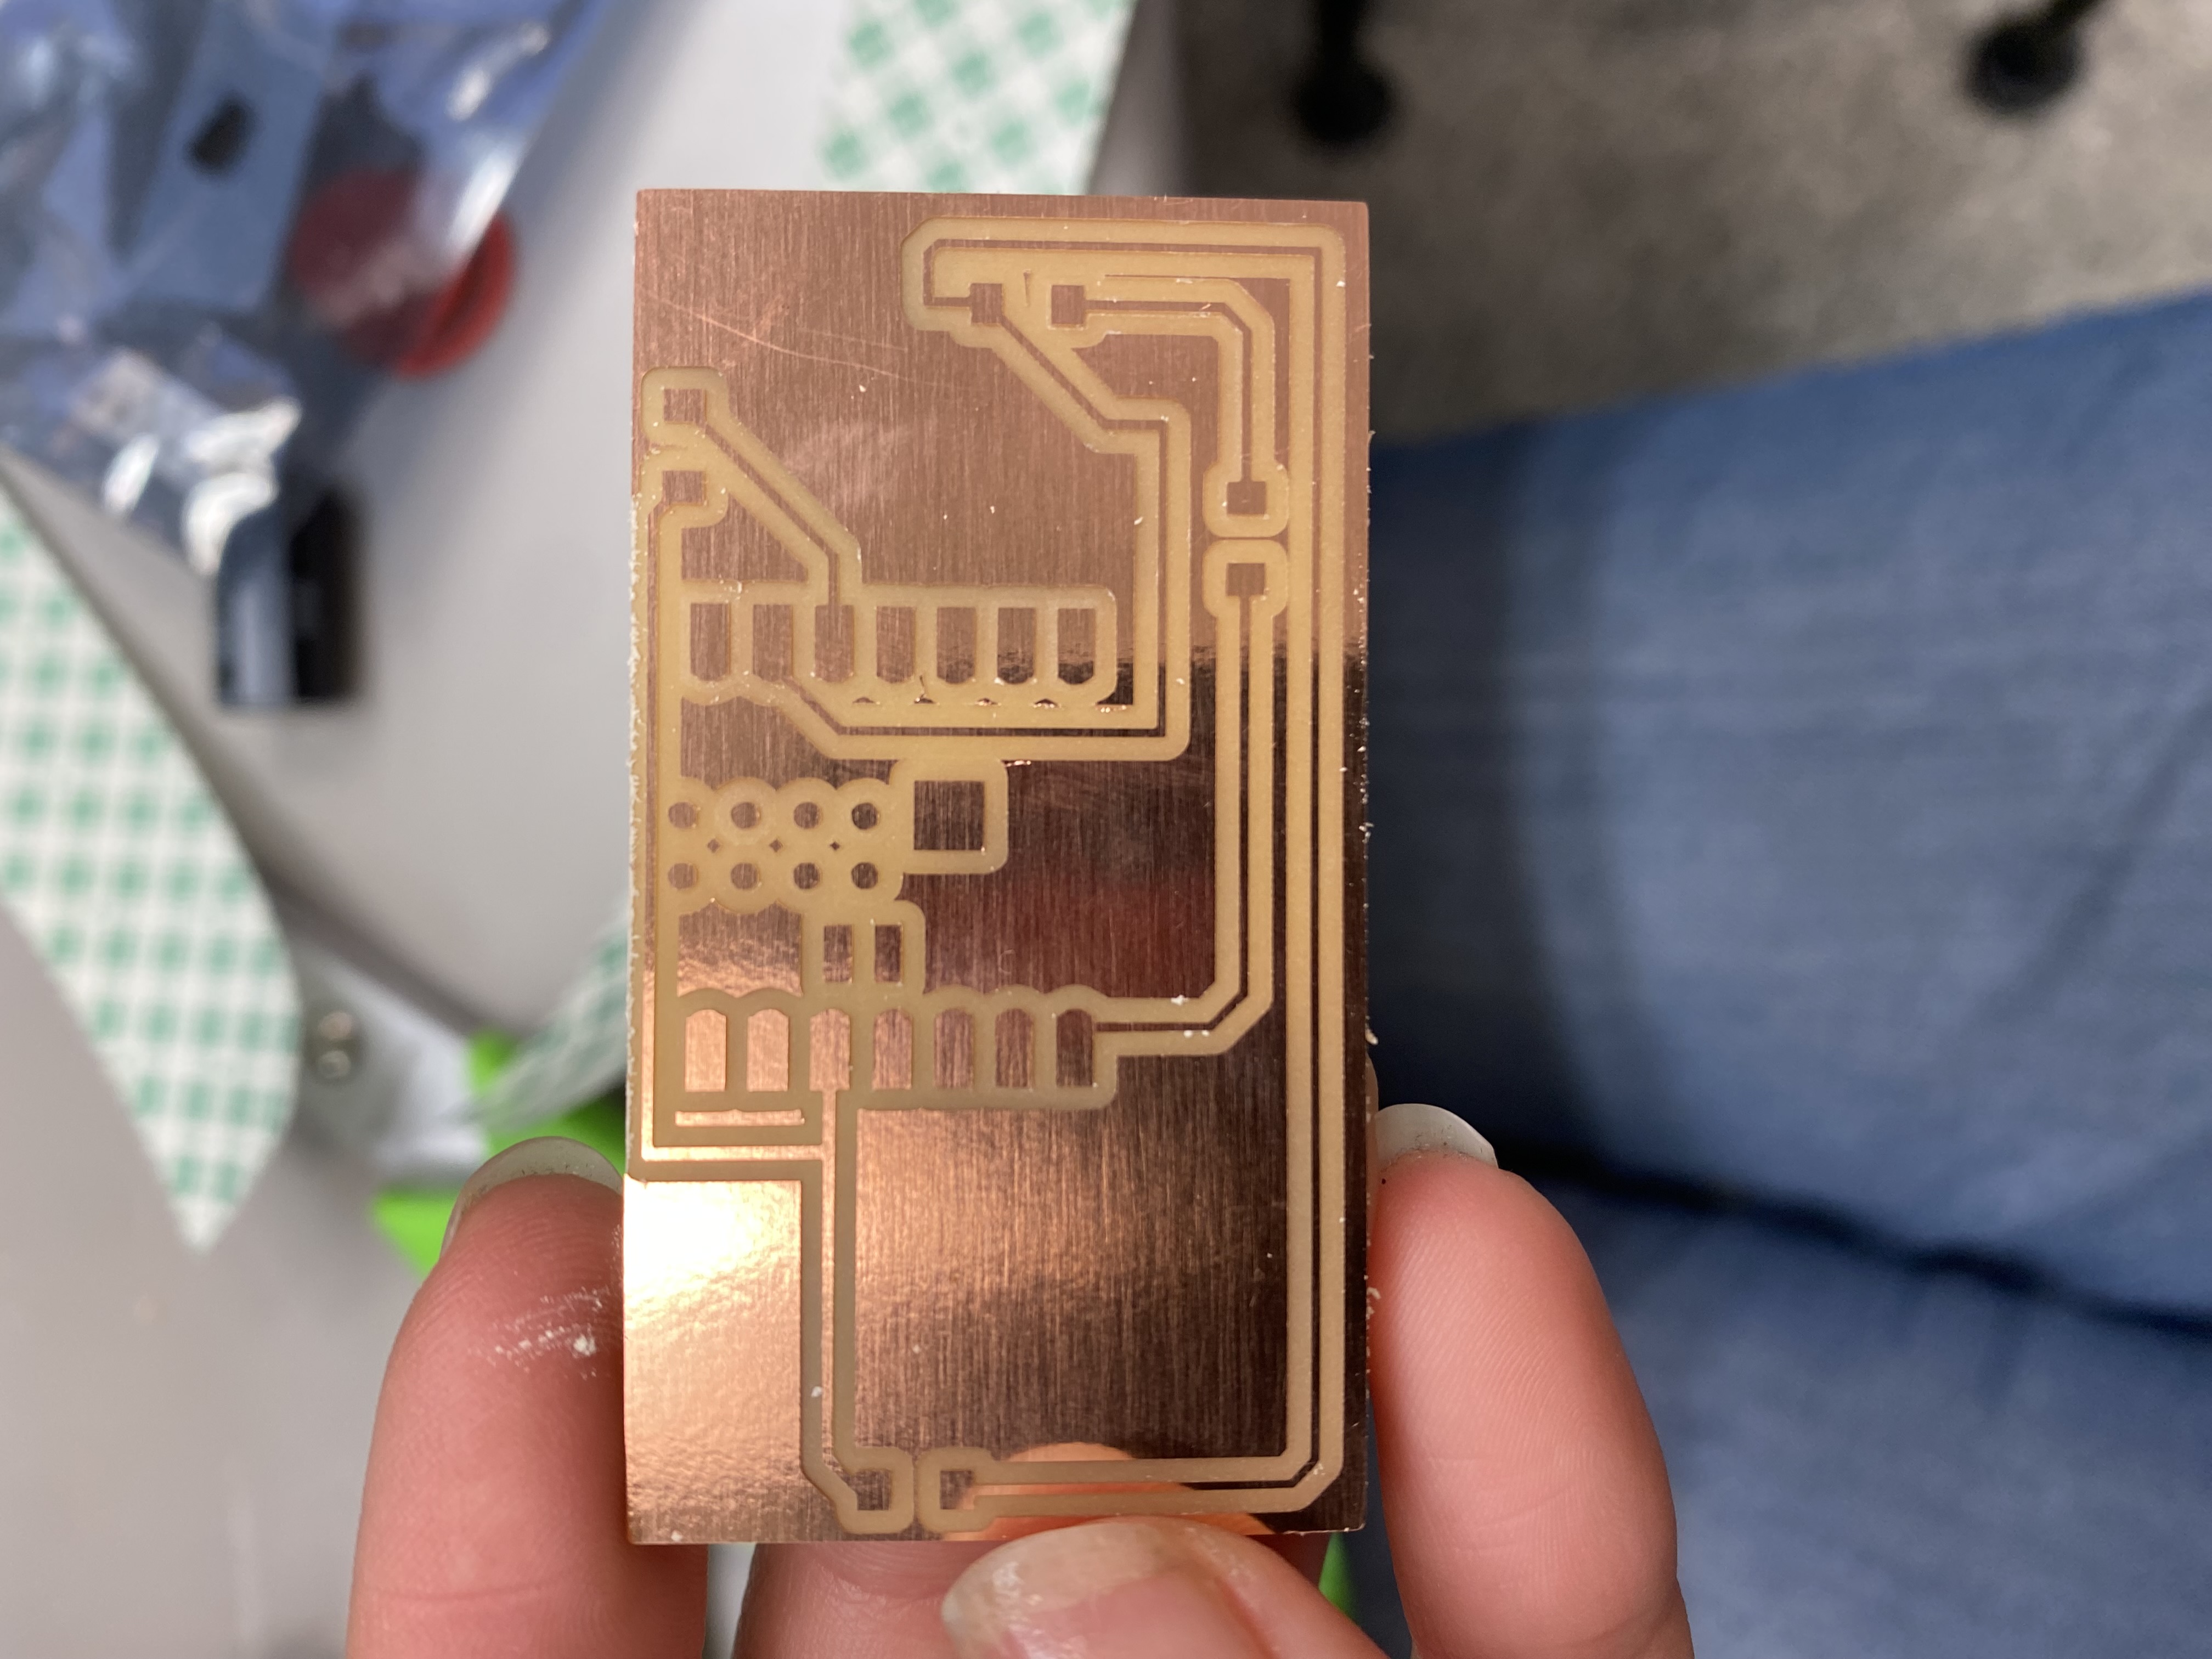
Milling the PCB
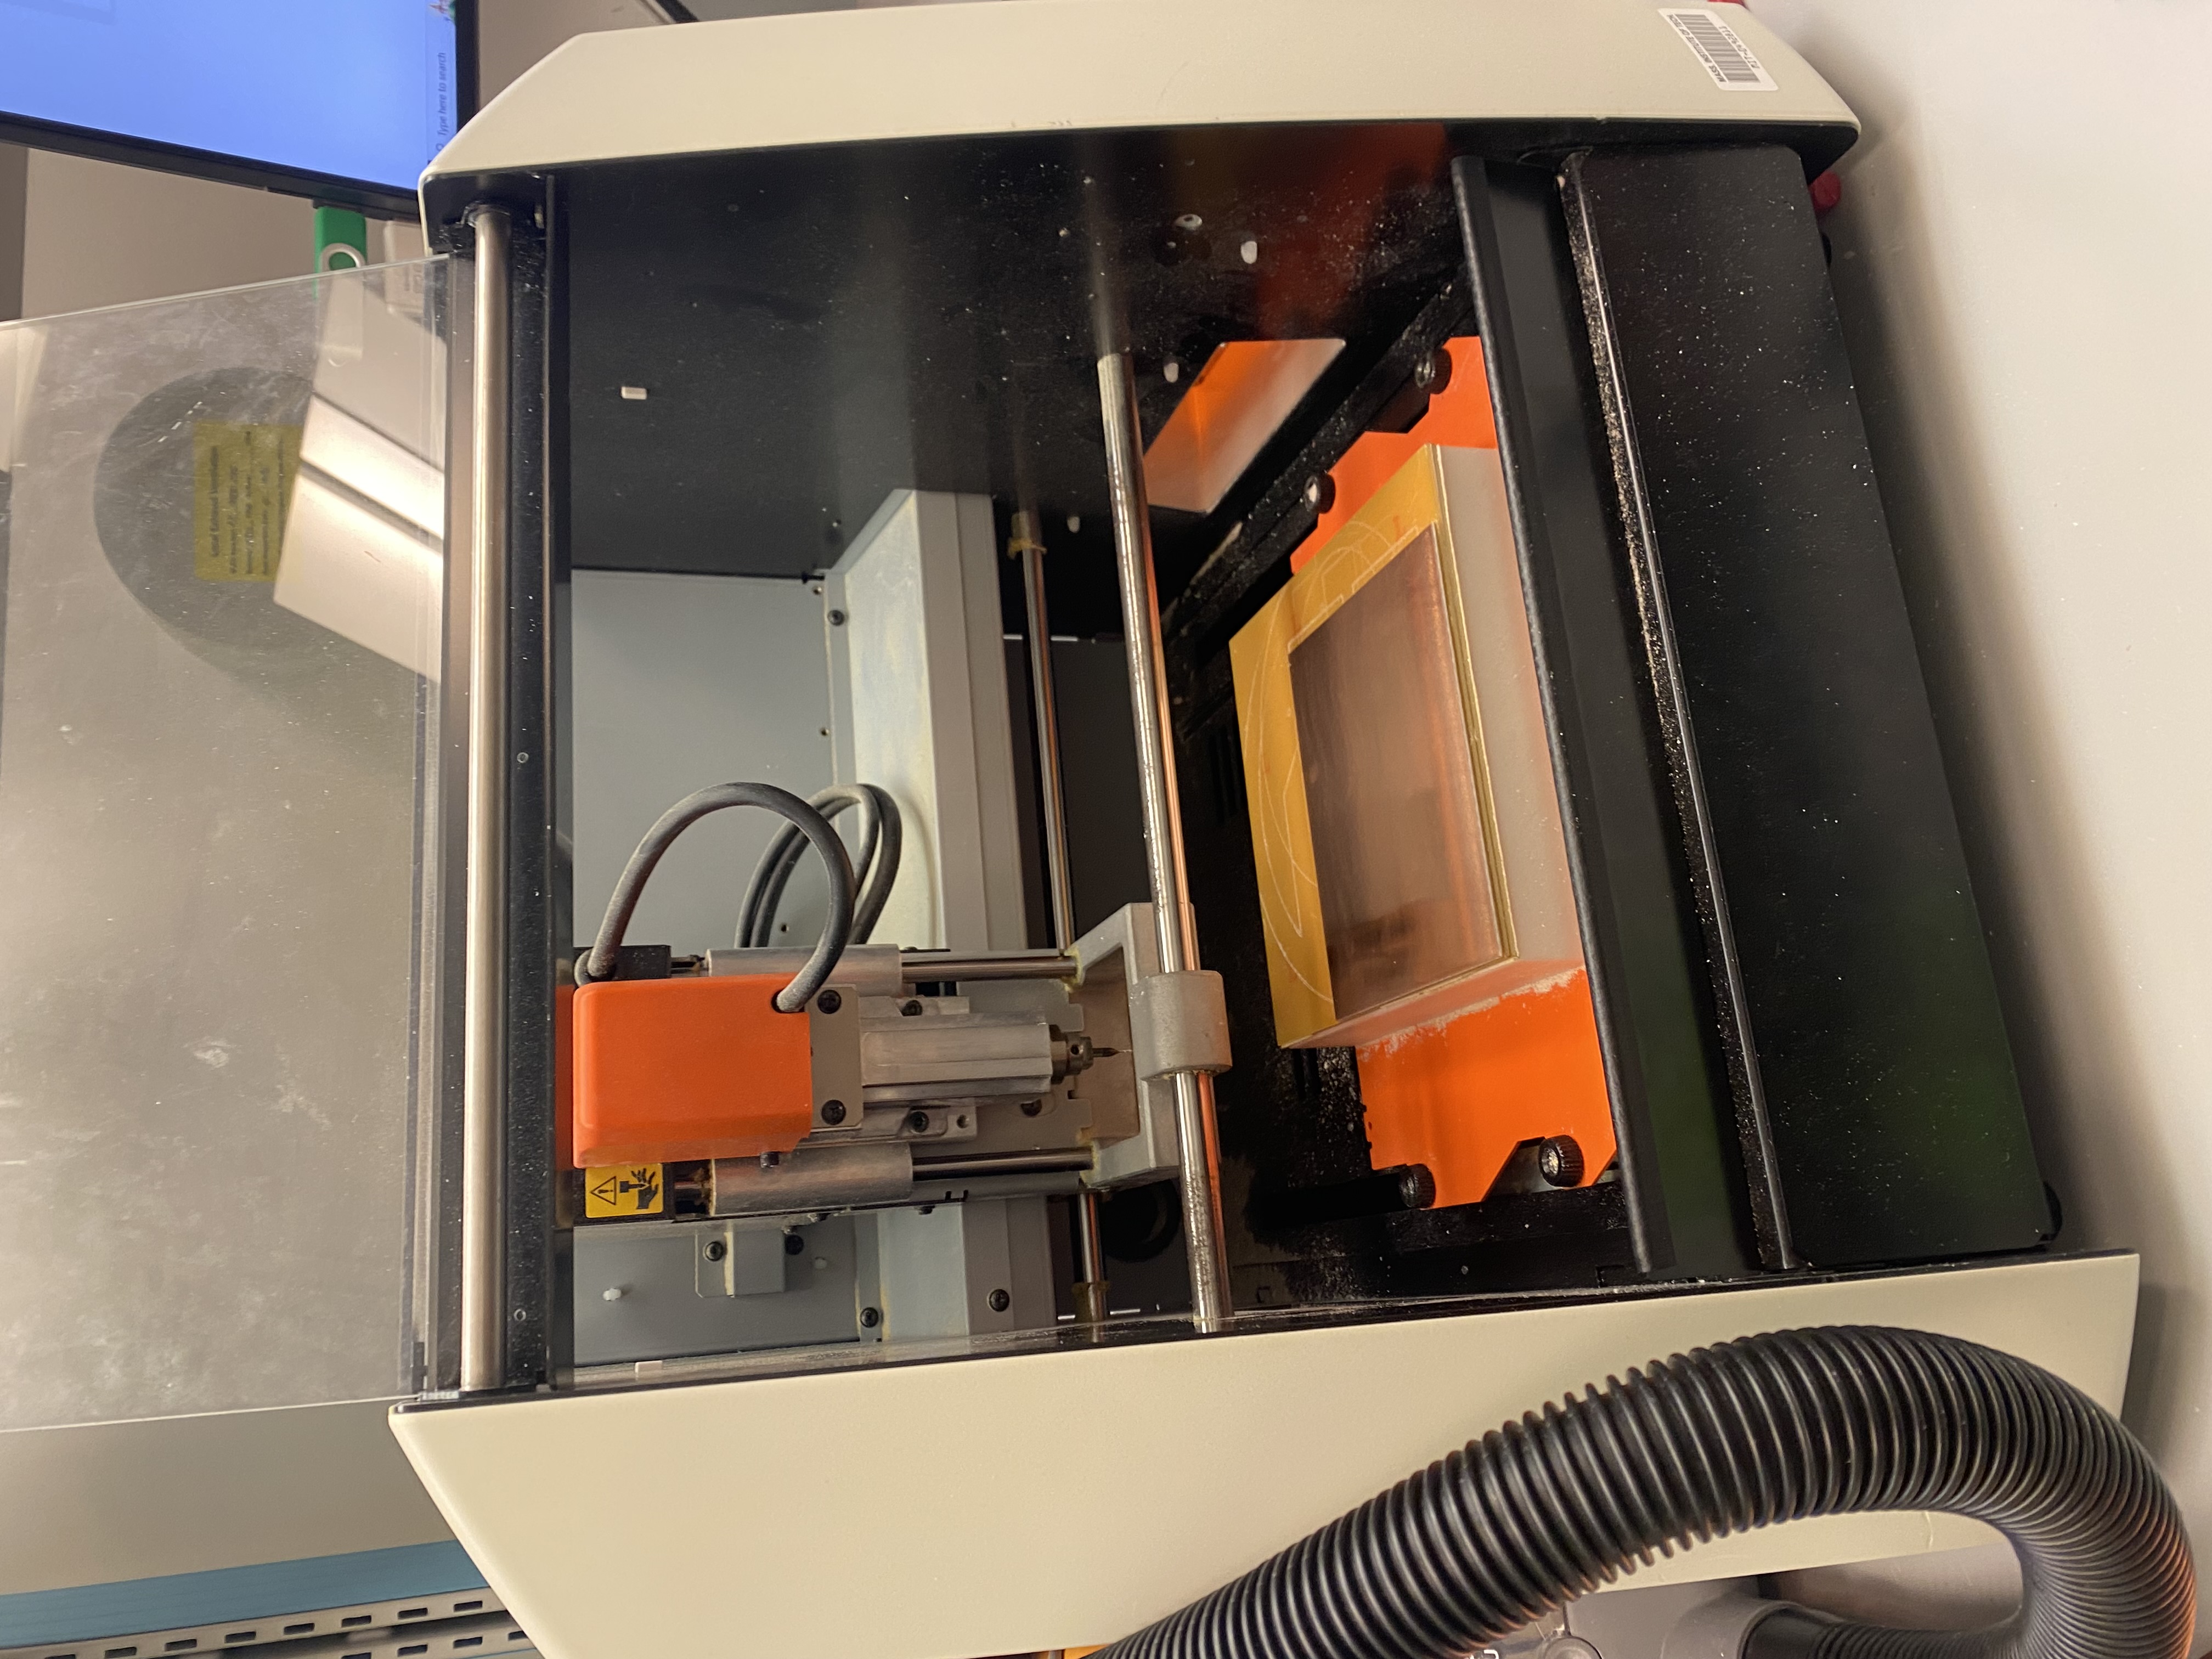
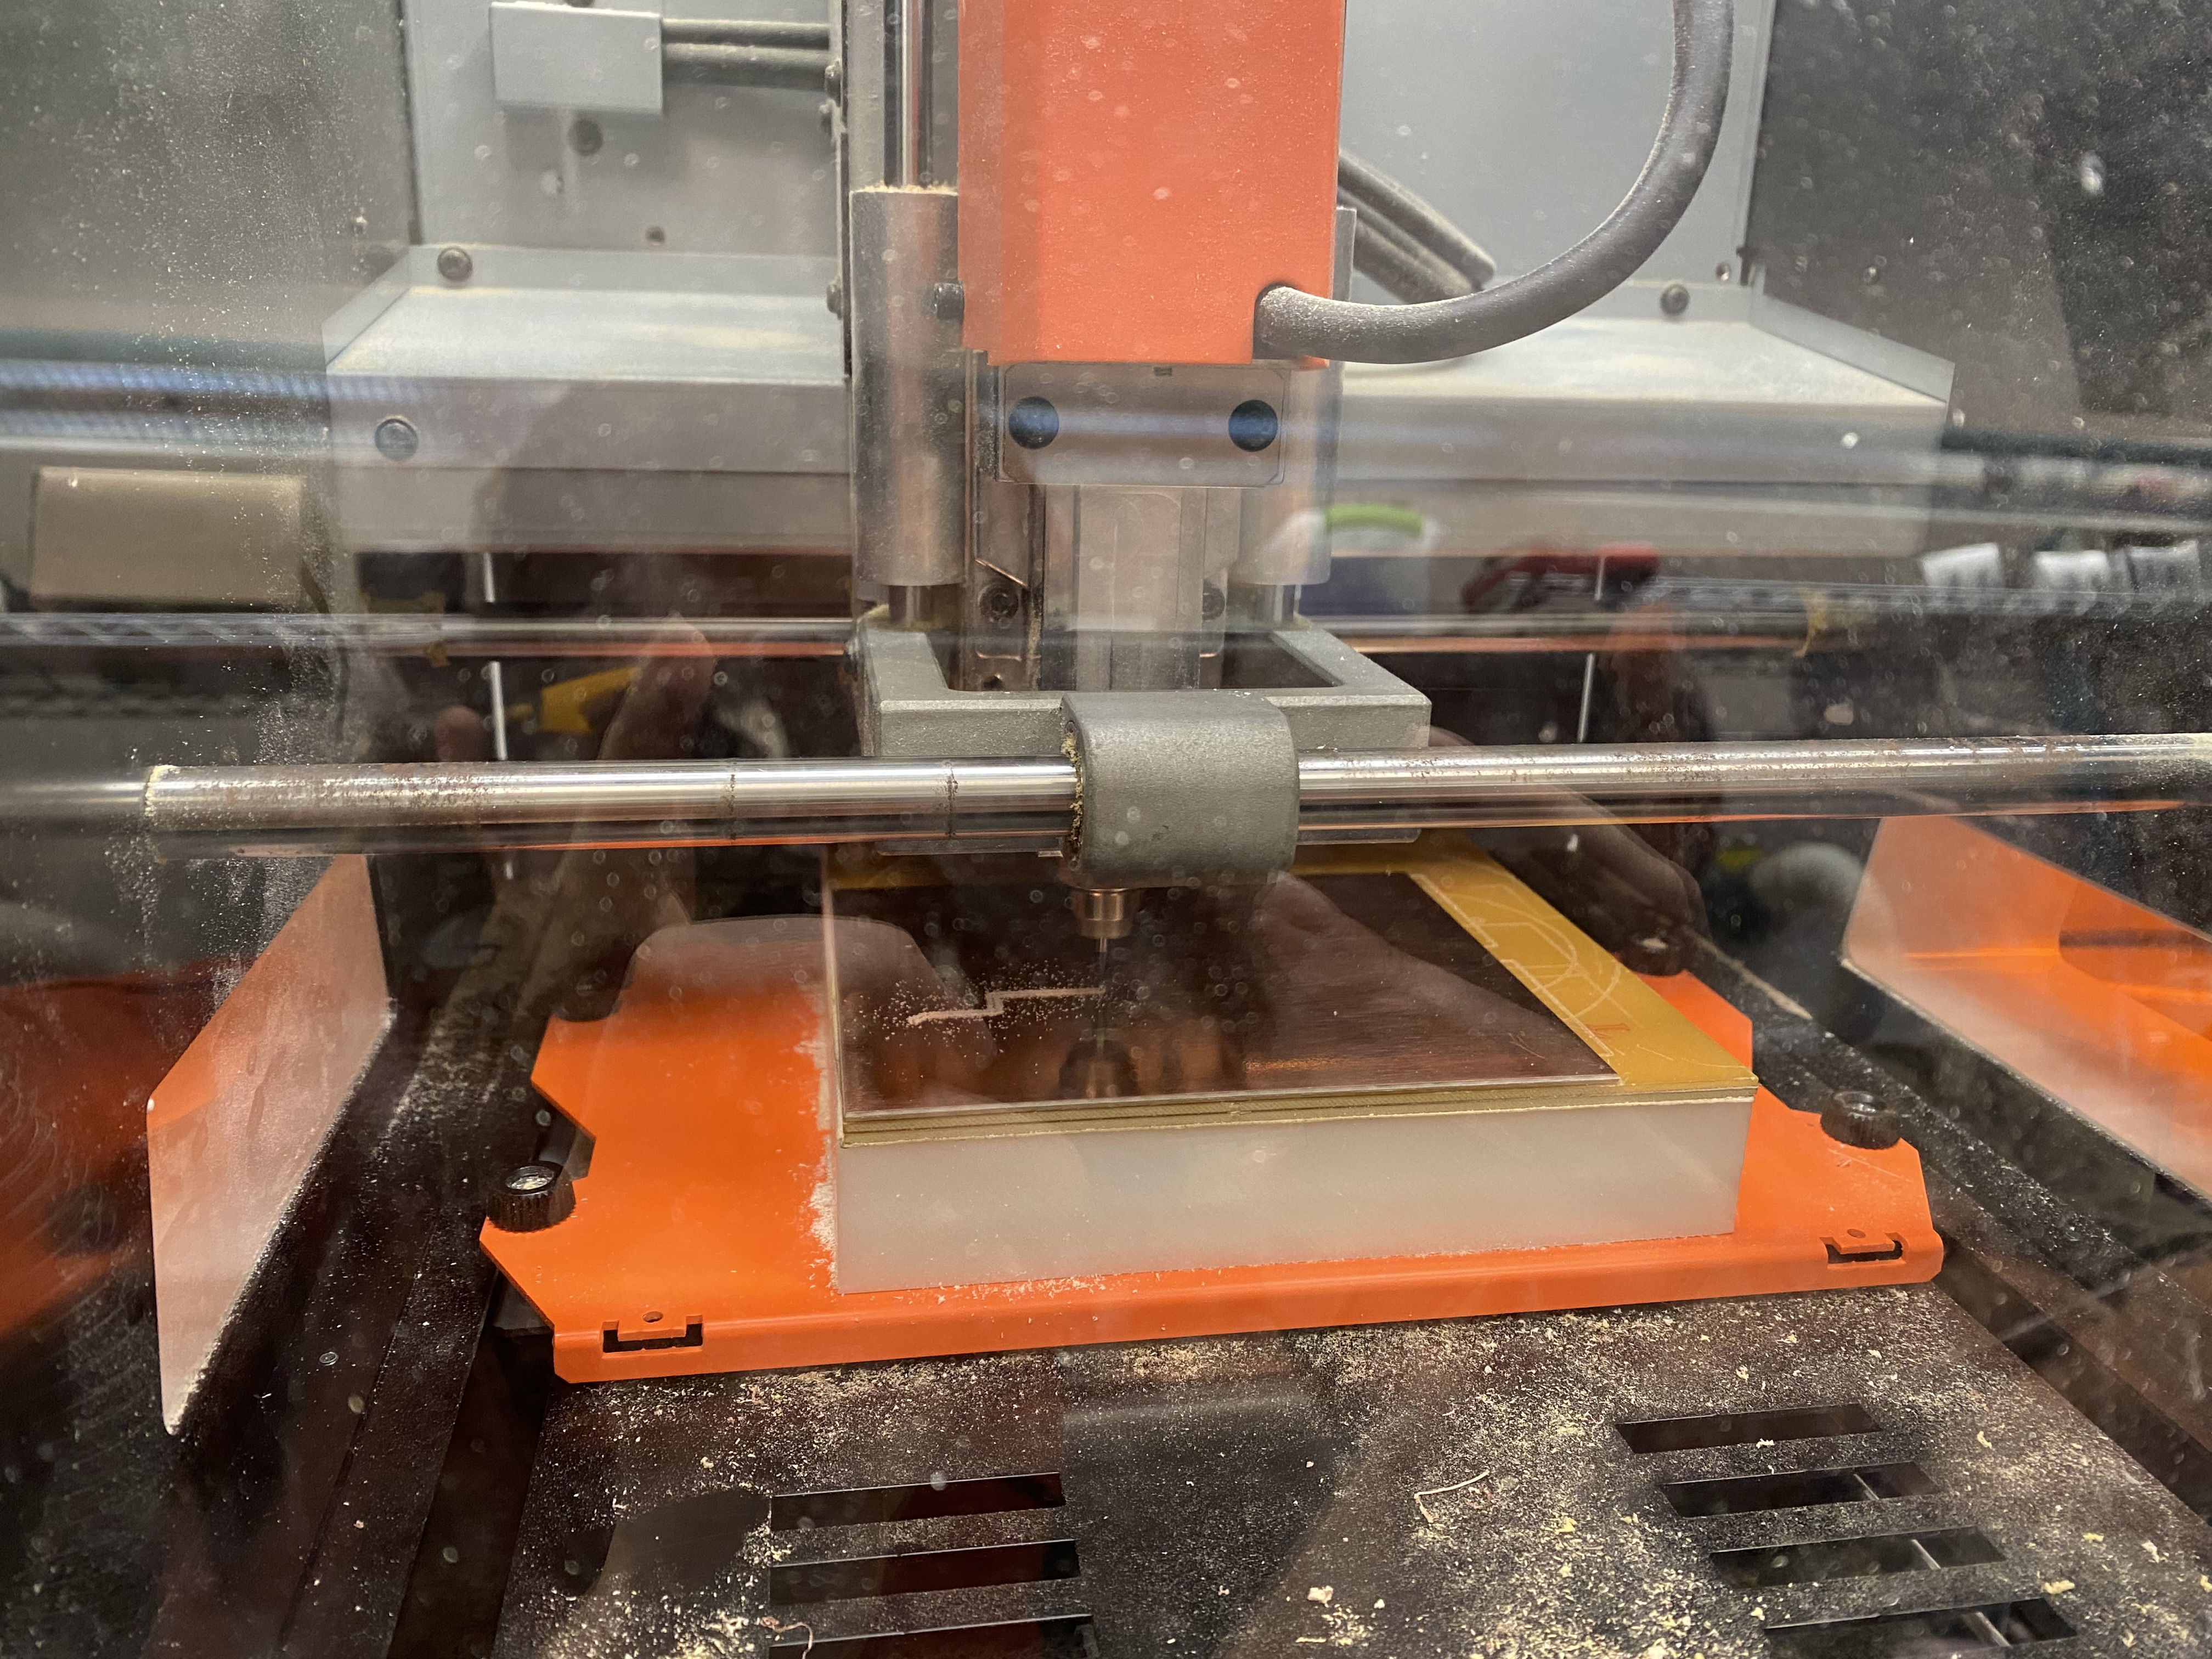
The cutting was straightforward and the only problem I ran into was that for some reason it started cutting
in the air. To fix this issue we restarted the machine and ran it again without a problem. There was also
another issue that when it did the edge cuts it was cutting too deep but we just let it run the cut twice instead
of three times and ended the job early.
Soldering the PCB
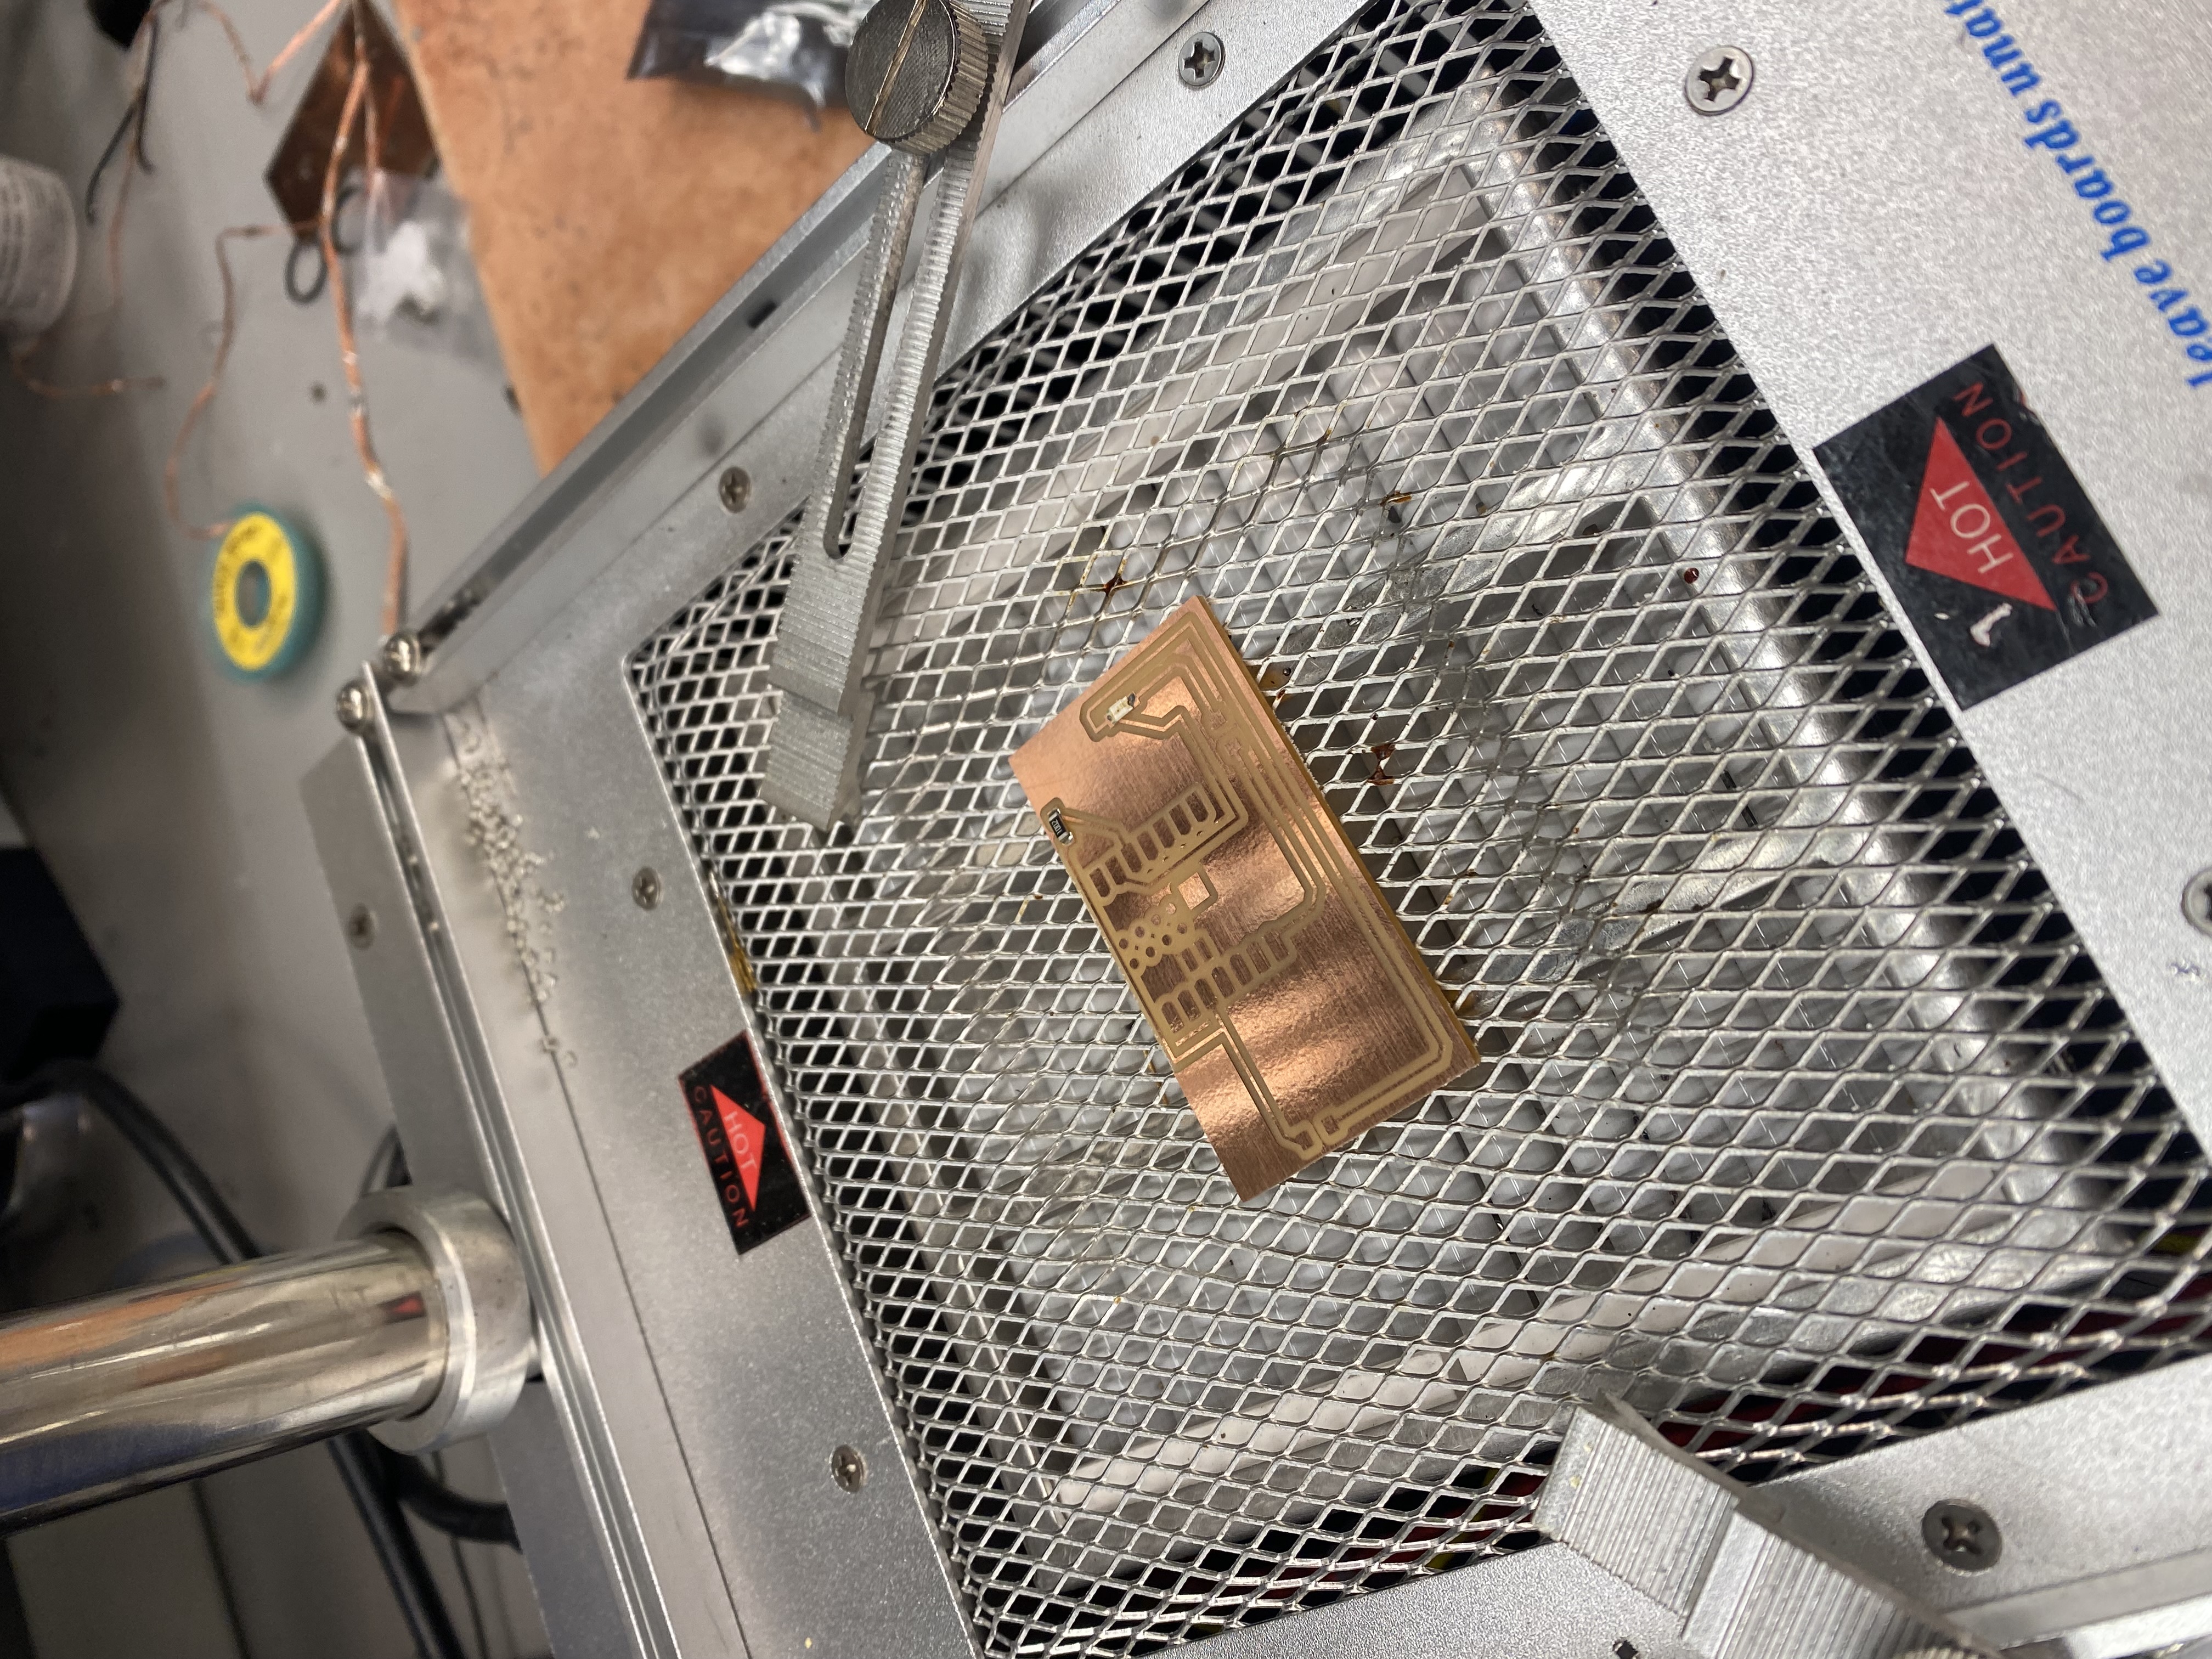
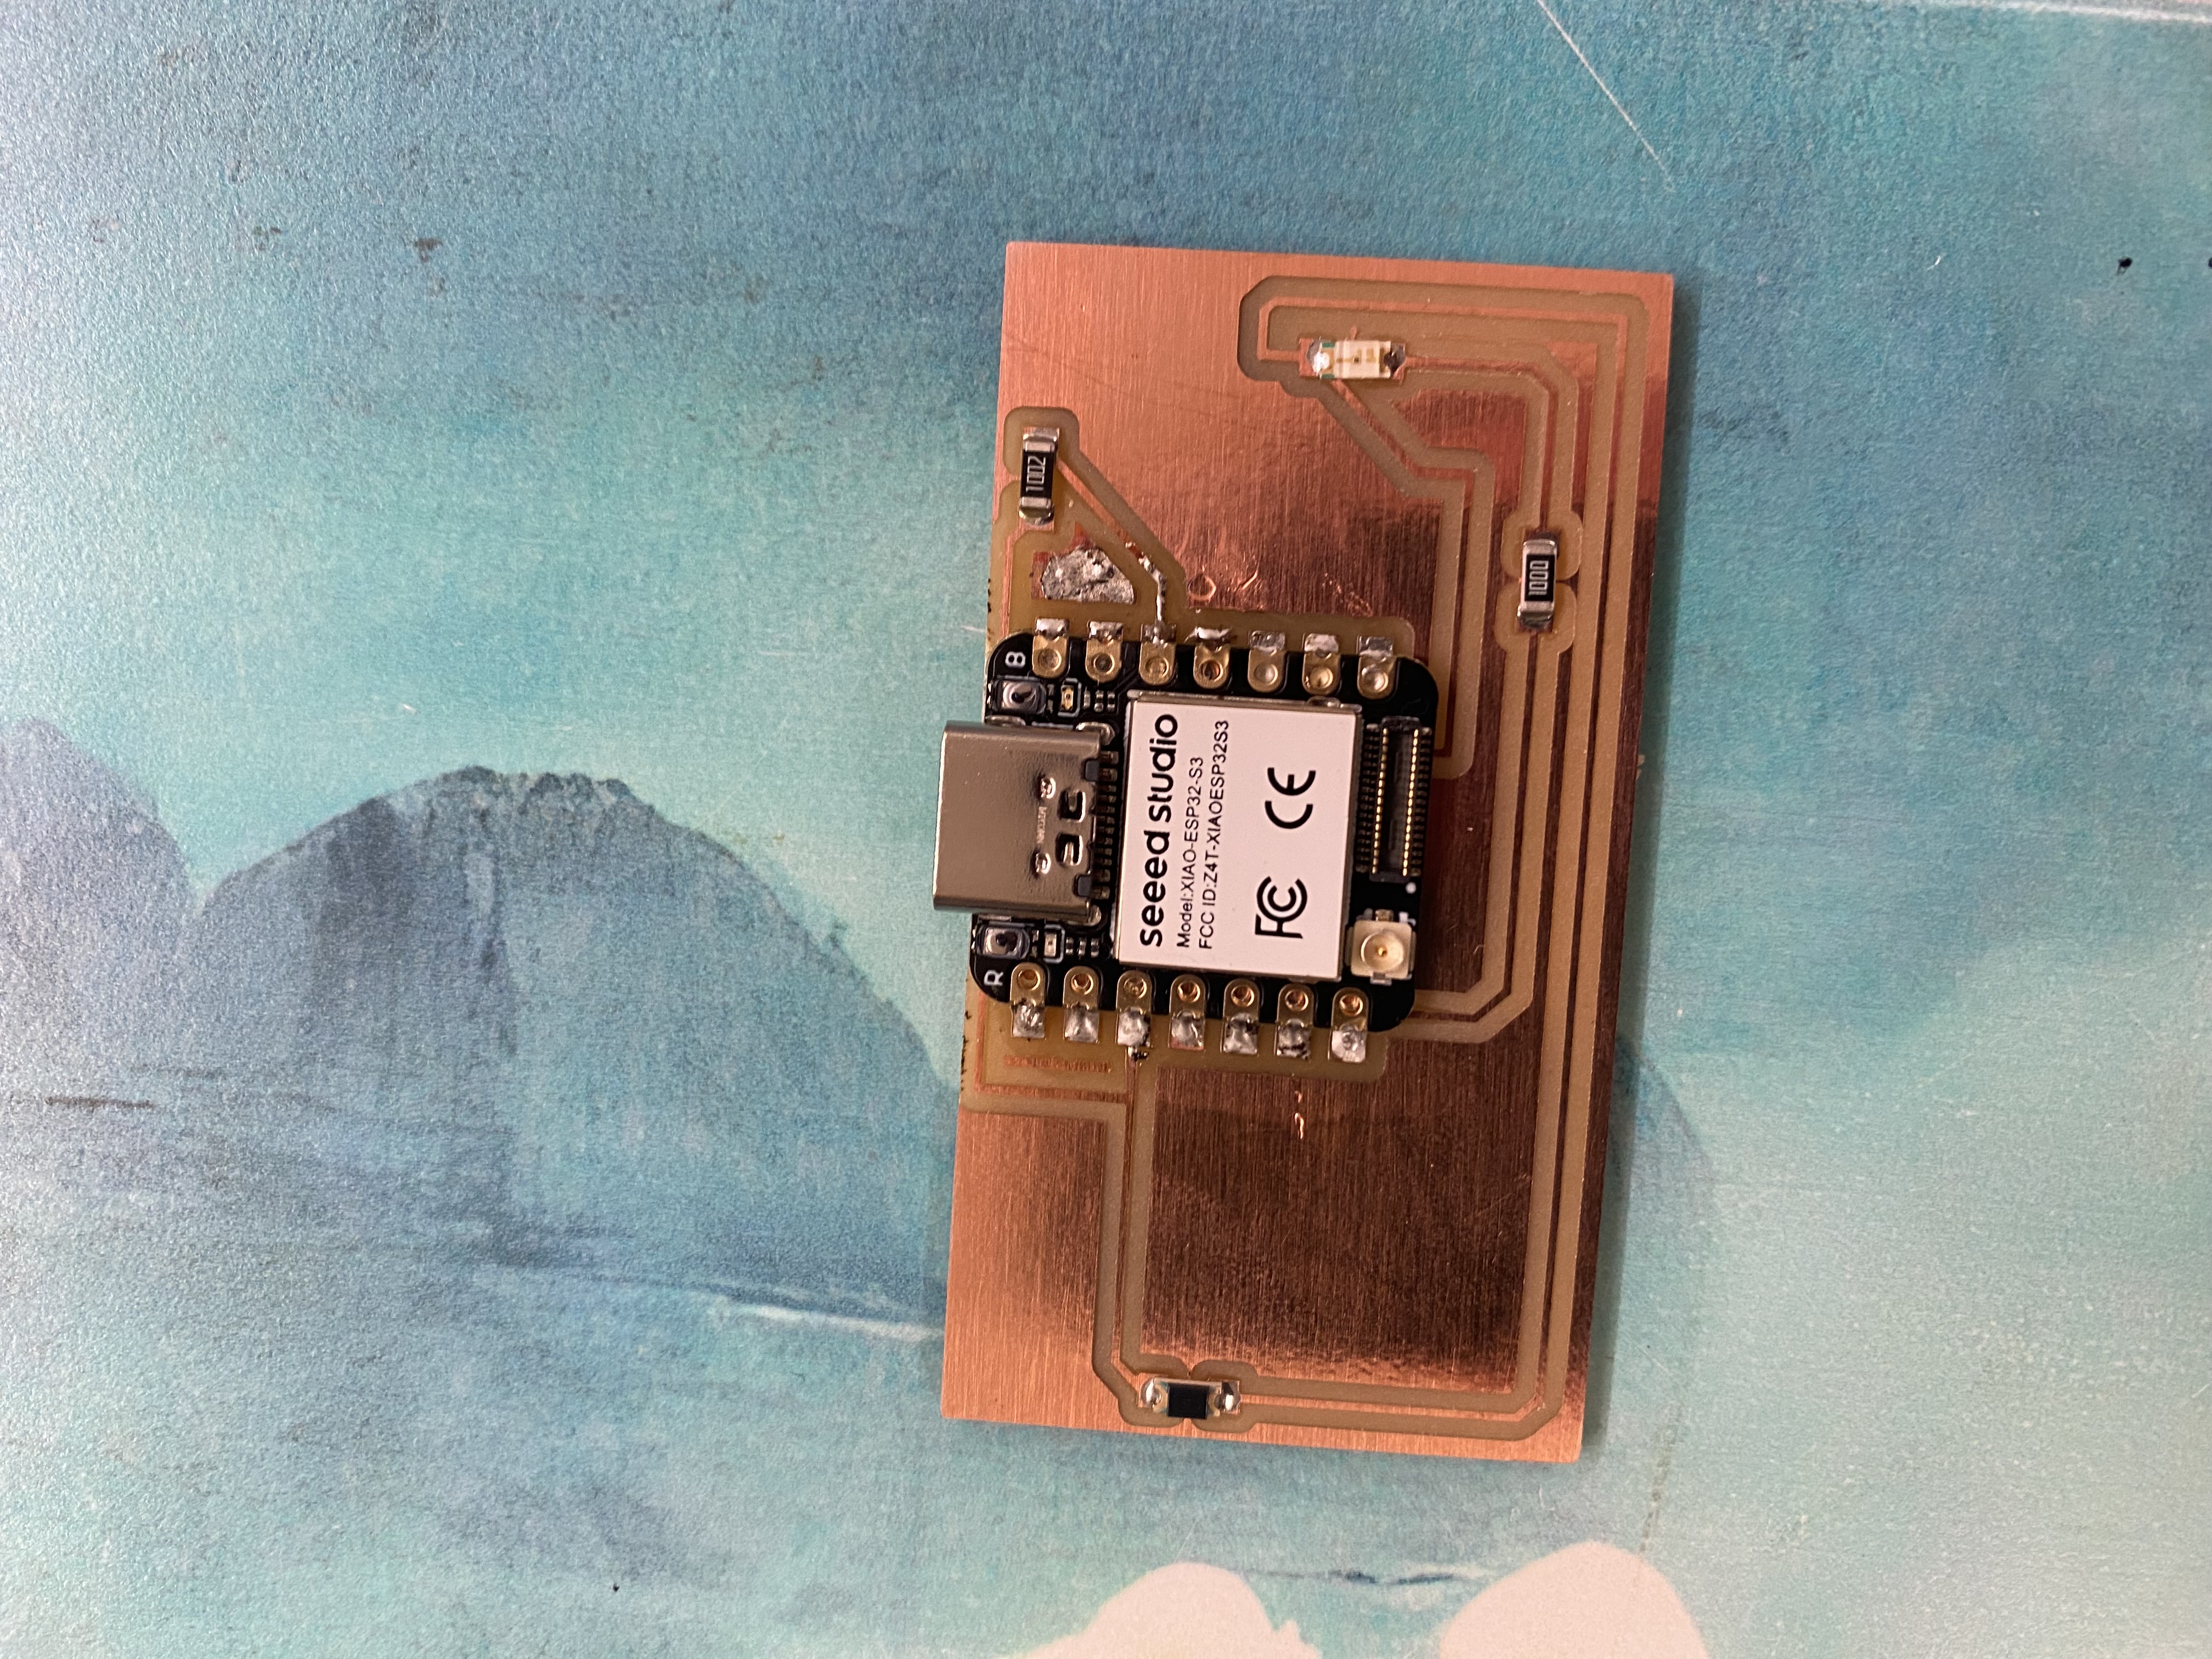
Once the PCB was cut I had to solder on all the components. I did this using solder paste because the components
were so small. an LED is a diode so using a multimete I put a small amount of current on it and if it turned on
that means that was the direction I had to solder it on. Then for the phototransistor using a multimeter we
checked which direction was correct by reading if there was current when light was shined on it. After soldering
on all the components I had to write the code.
Coding the PCB
Since I had never used a seeed xiao before I went to office hours where they helped me write the code.
I was using the same aarduino IDE that I have always used so the code ended up being almost identical
to what I would have written if I was using the nano. Once I ran the code I noticed that I didn't
actually need the LED. I should probably test if this is actually true when I am in a dark location.
When I am in a room with light the phototransistor will read 4095 when there is something in front of it
even if that object is frosted transparent. As i mentioned before I still want to test it with both a
completely transparent object and in a dark room. Overall it worked great and I was surprised how easily
the seeed xiao connected with arduino I thought it was going to be more difficult.
