Documentation
Brainstorming Designs
So while i was super locked in (on pinterest) I found a lot of cool inspo pics that I want my chair to look like. Using those inspo pics I am going to sketch a cool design. Let's see what I can come up with I will be back with an update. Okay so I sketched out four ideas:
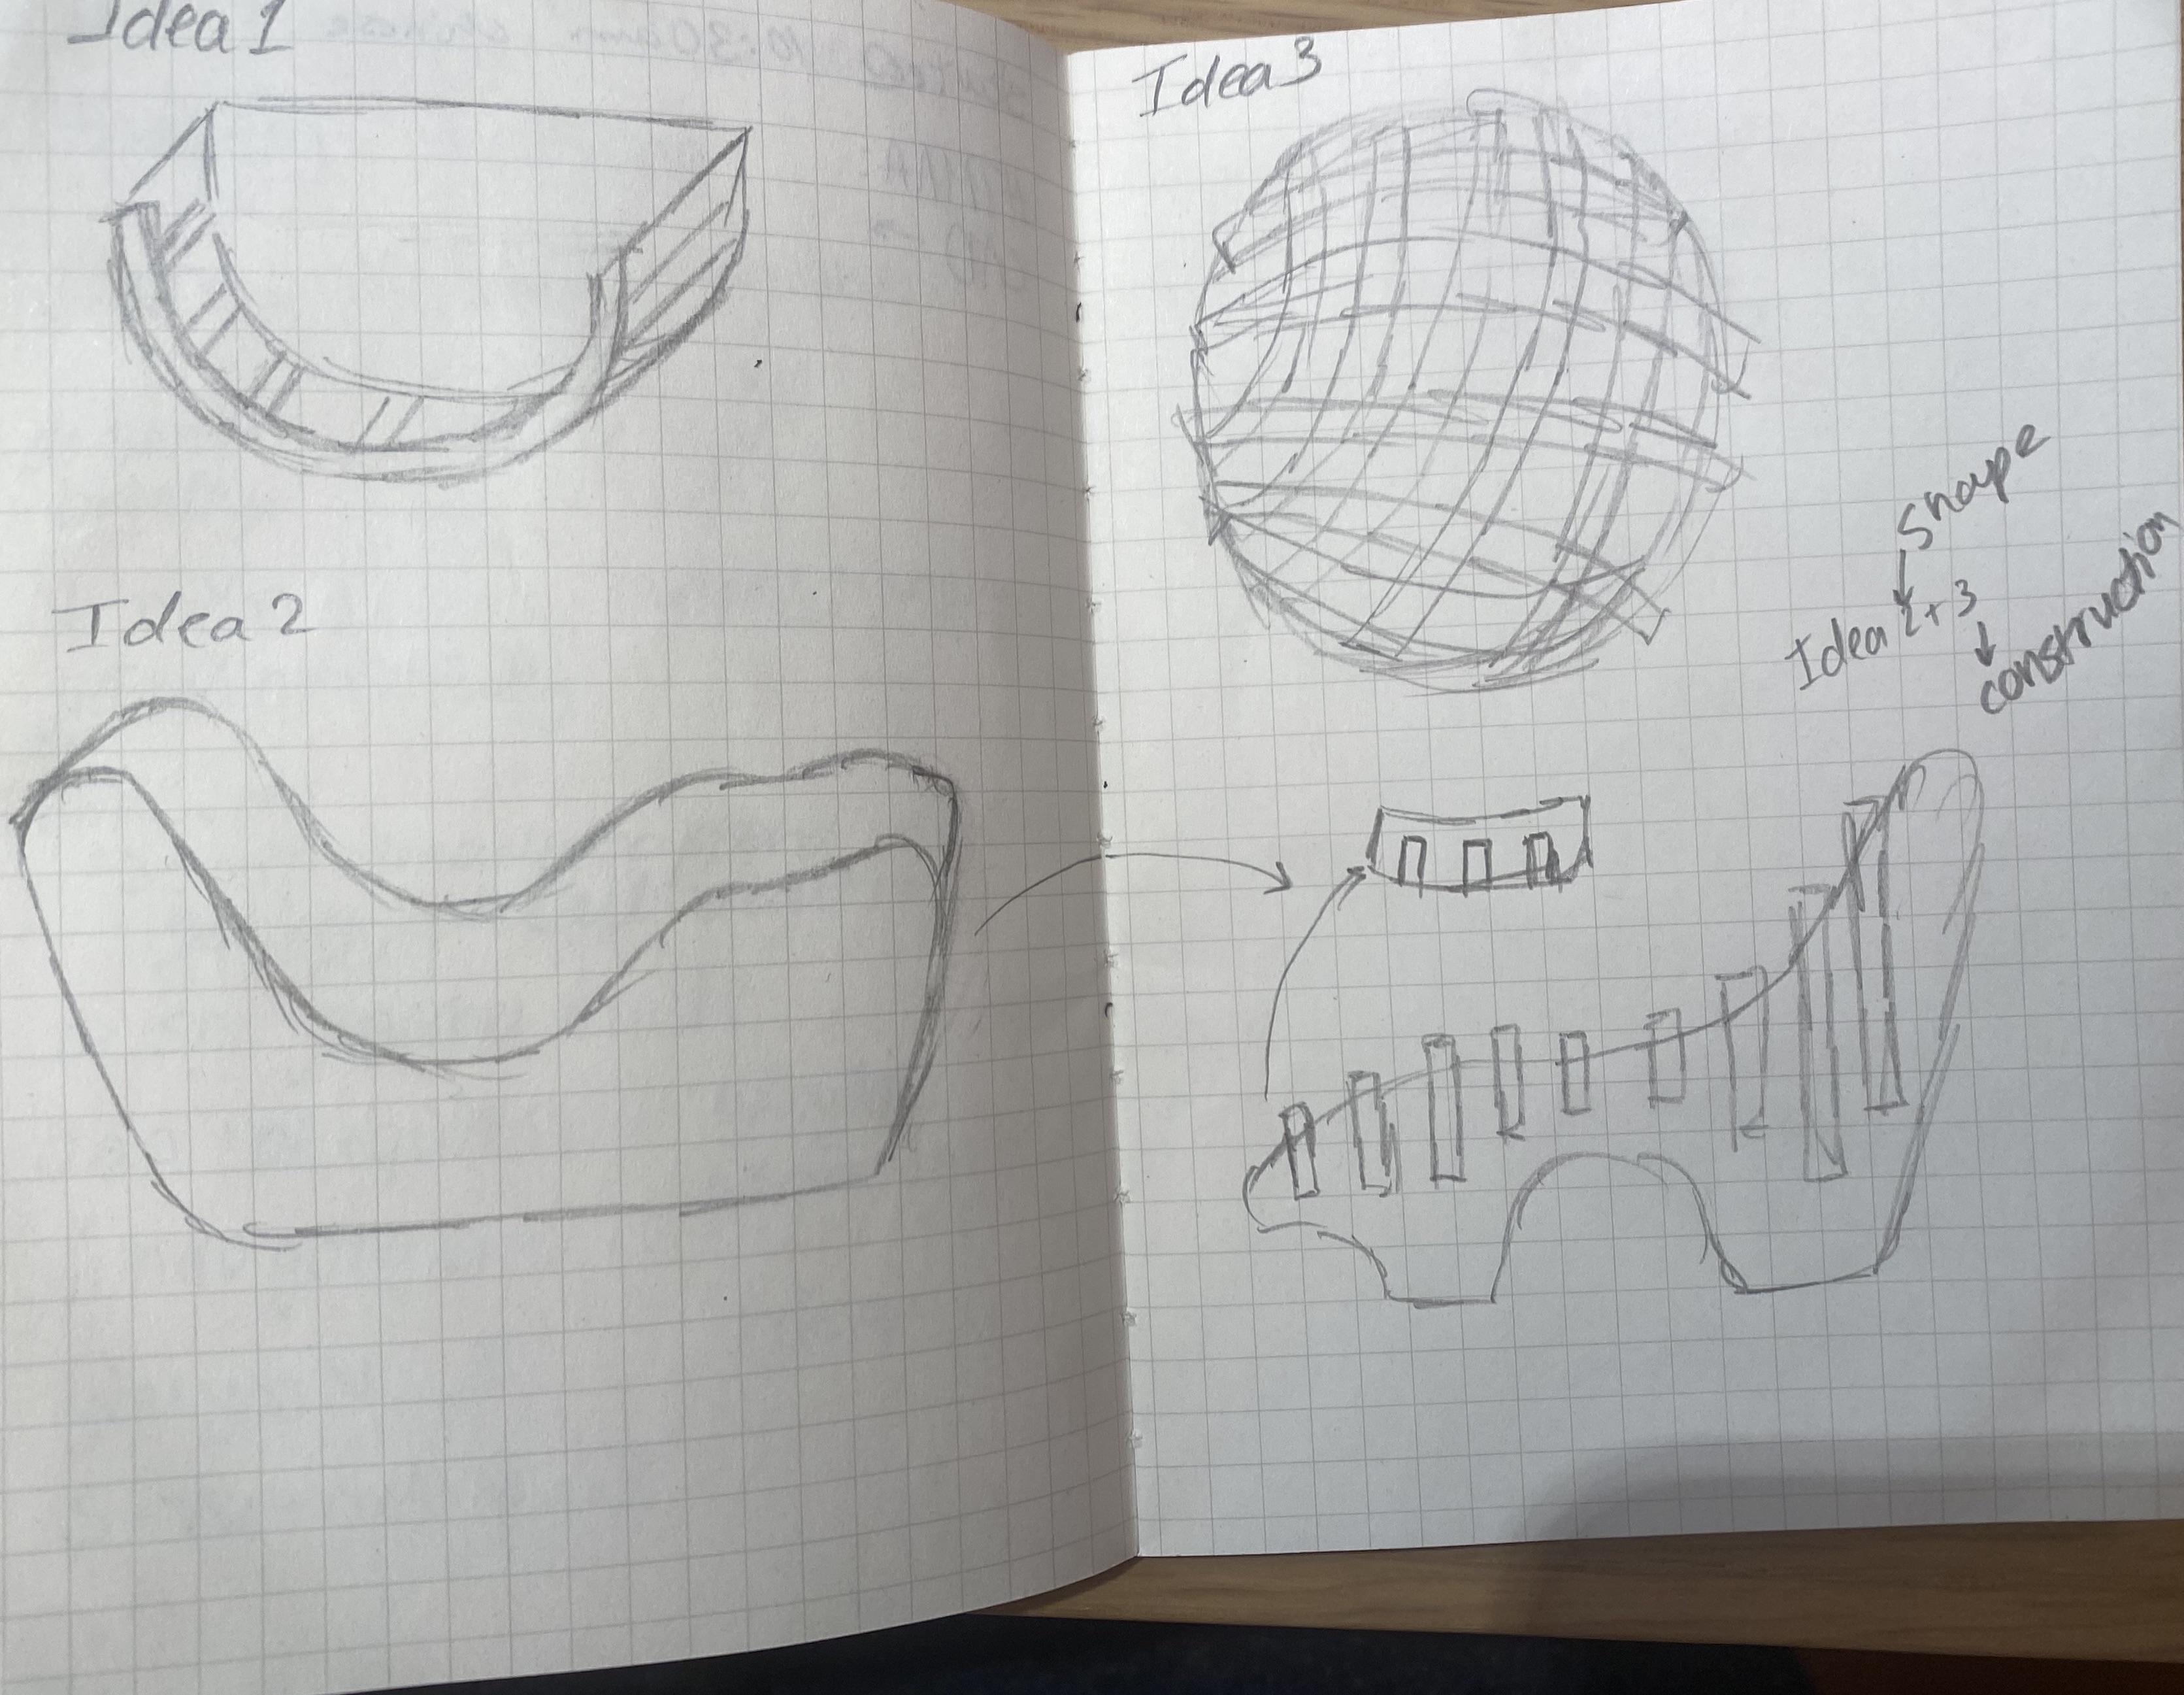
I am thinking about cutting out a mini version of my deisgn with a lasercutter to see how feasible it is
The Design
The design I am chosing is the fourth mixed in with the fifth. The construction is going to be slotting into itself
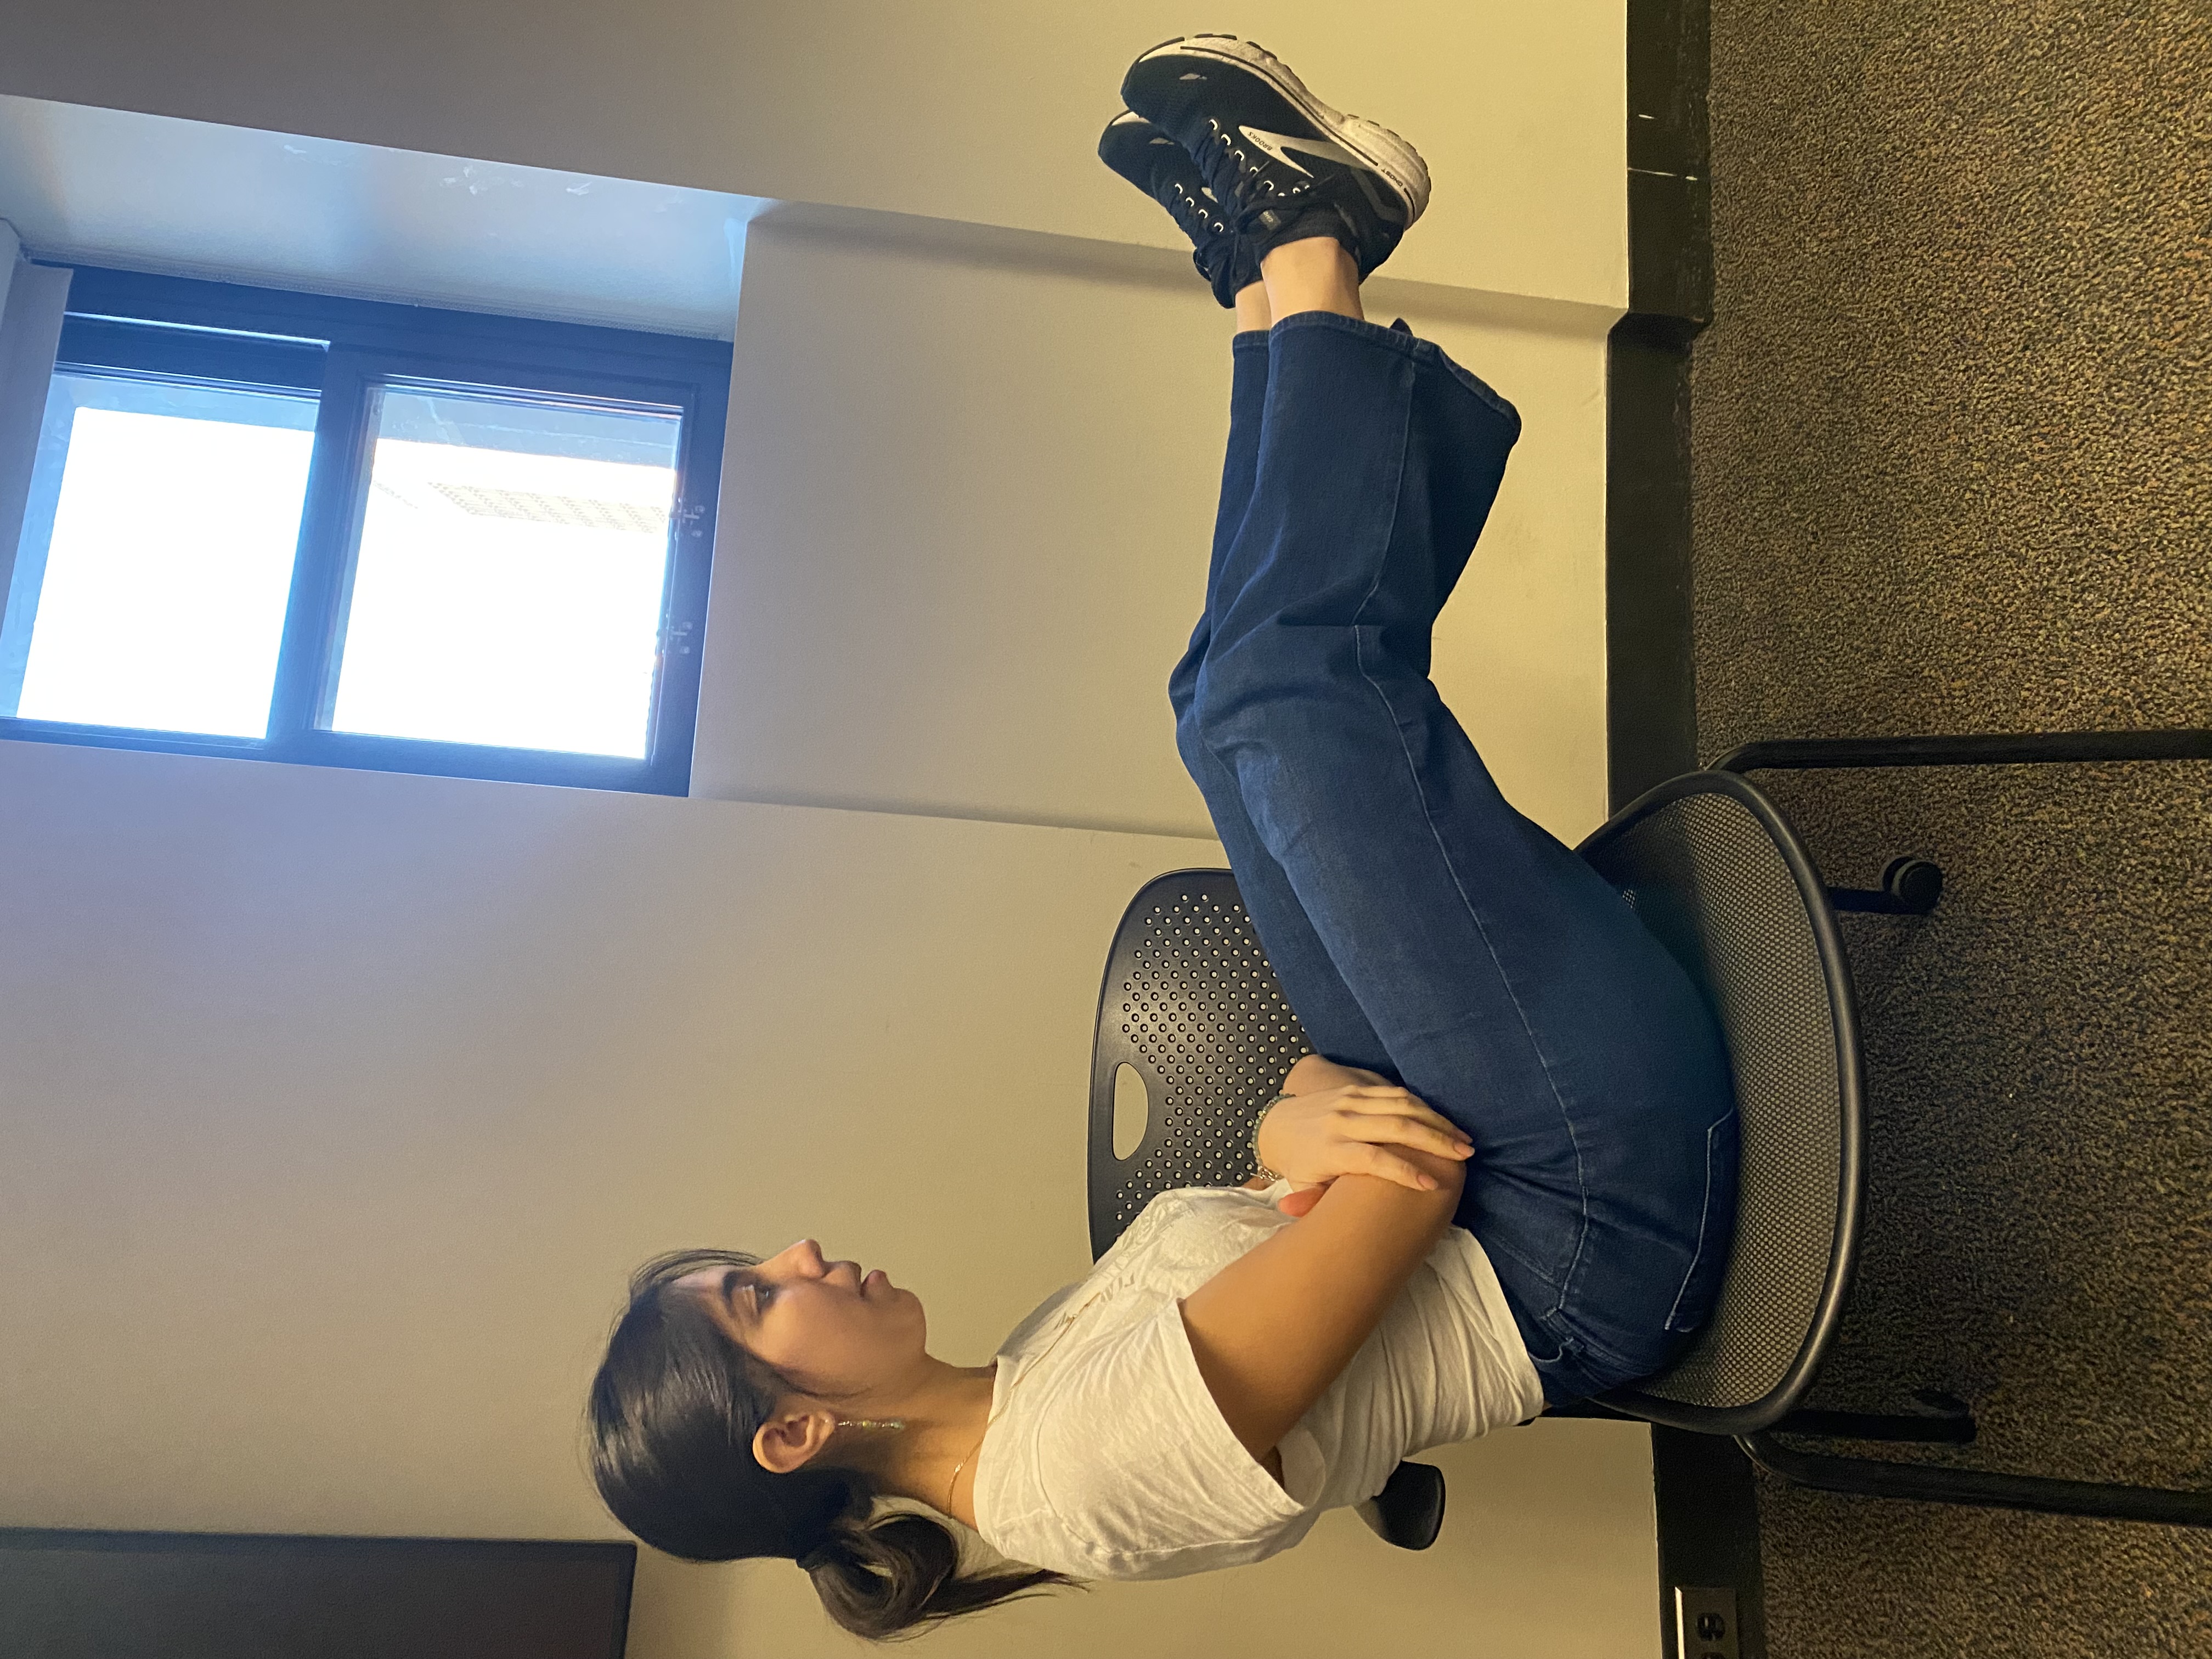
with a rocking bottom curved to the counter of the ideal sitting shape pictured below.
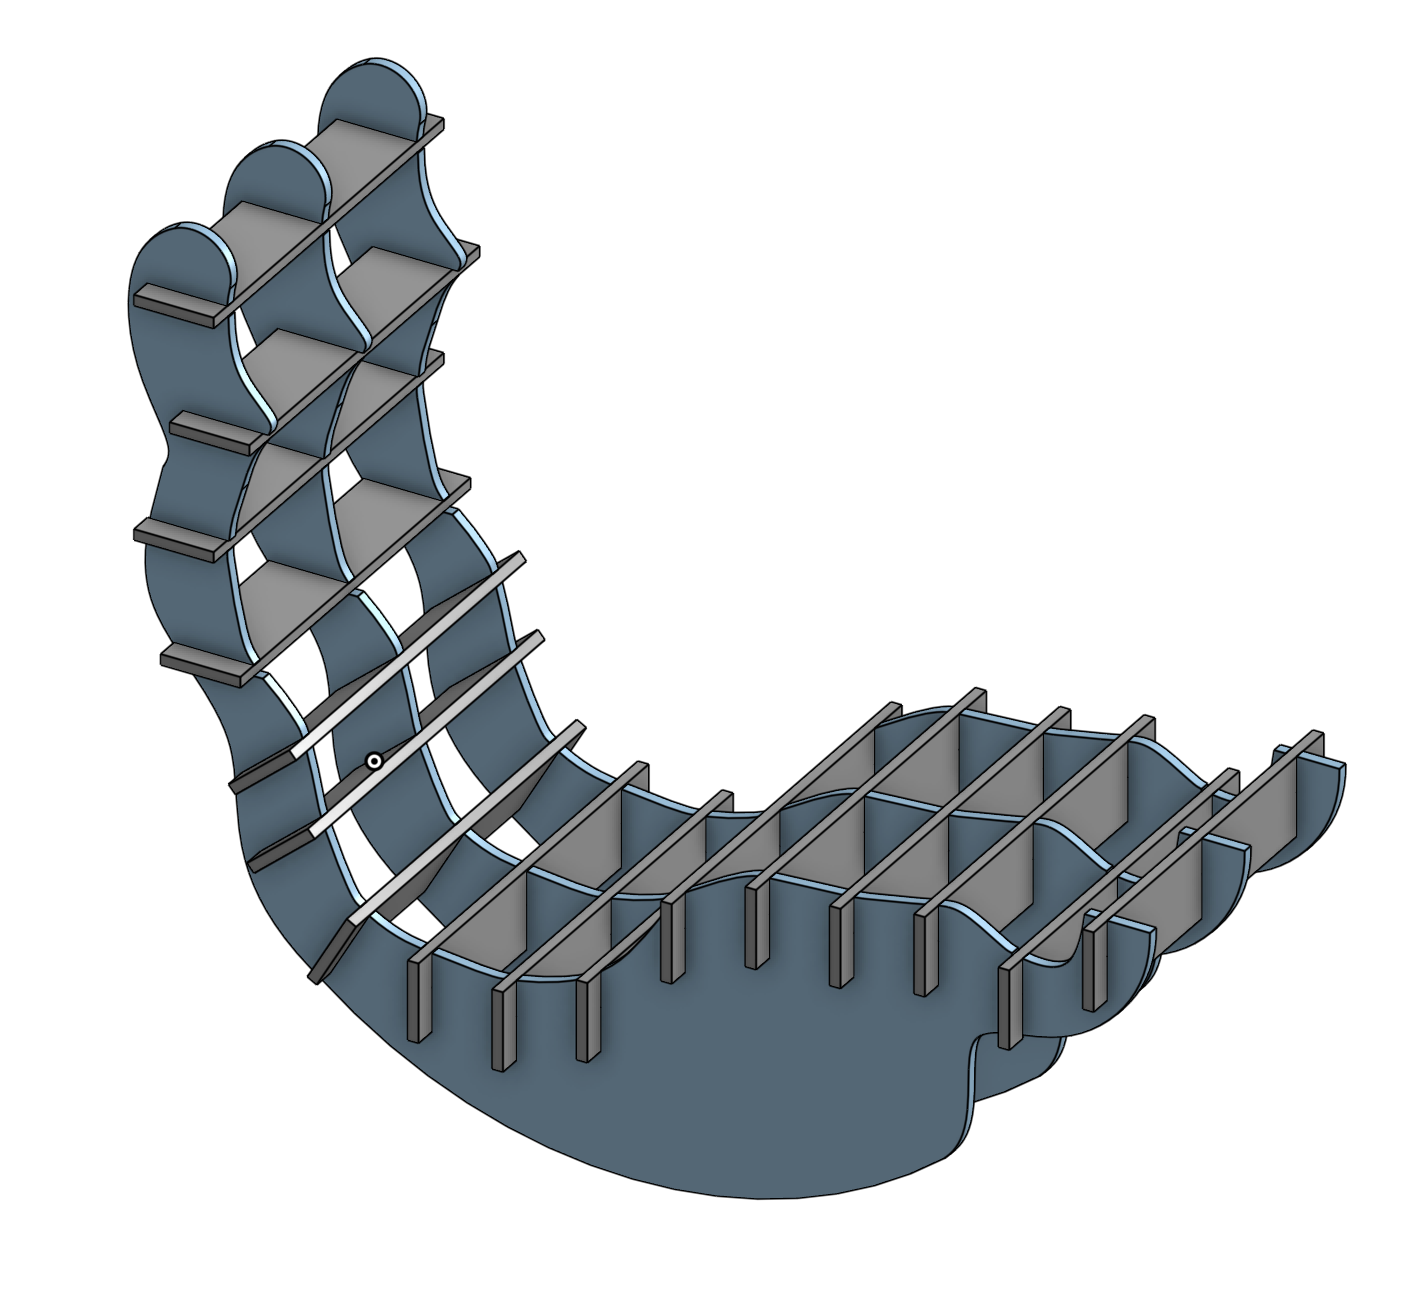
I am going to sketch out the design on Onshape in 3D
and then I am going to see if it is feasible to fit it in a 4ftx8ft piece of wood. I finished all the CAD.
I am a bit worried
about two things. 1 - that it will tip over once I sit on it and that the rocking won't be that great. 2 - That it
won't be that comfortable with all the wood sticking out. But I am thinking about making a cushion for the top anyway so it
should be fine. I made sure to make the thickness of the wood a thickness that I can easily change. I think I made it to the correct cut size
so although the extrusion is technically the wrong depth the cuts are the right size. I used a thickness of 0.46in.
Does it FIT?!
I am now going to make a new sketch to see if all the pieces of wood fit in the constraint of 4x8 wood.
It FITS!!! I am not sure how to make this into a DXF I think creating a new sketch and projecting everything
onto it. that idea did end up working. After I finished the main DXF I decided to check out the insttruction on
the arch shop tutorial. After reading that they mentioned that the parts should be bigger than 6x12 but my smaller
parts are like 3.5x17 which i am not sure if it is too small. Apart from that i had to make a new DXF with
all the inside points so that the cam can do the dog bone method so that the corners will be cut properly.
I am going to send the DXF to archsop now to see if I can maybe cut it tonight or tomorrow. WOO! I ran into a small
issue. When I make a new sketch with only the points It doesnt let me export just that

Time to Cut
I am currently at the arch woodworking shope getting ready to cut my pieces. There was a small mixup with scaling and the thickness
of the notches in my wood. I also completely forgot about three of the wodden slabs so I had to add them in in the end.
For the Master CAM we are starting with drilling holes and then doing the countour of everything on the outside.
The cutting was wildly succcessful.
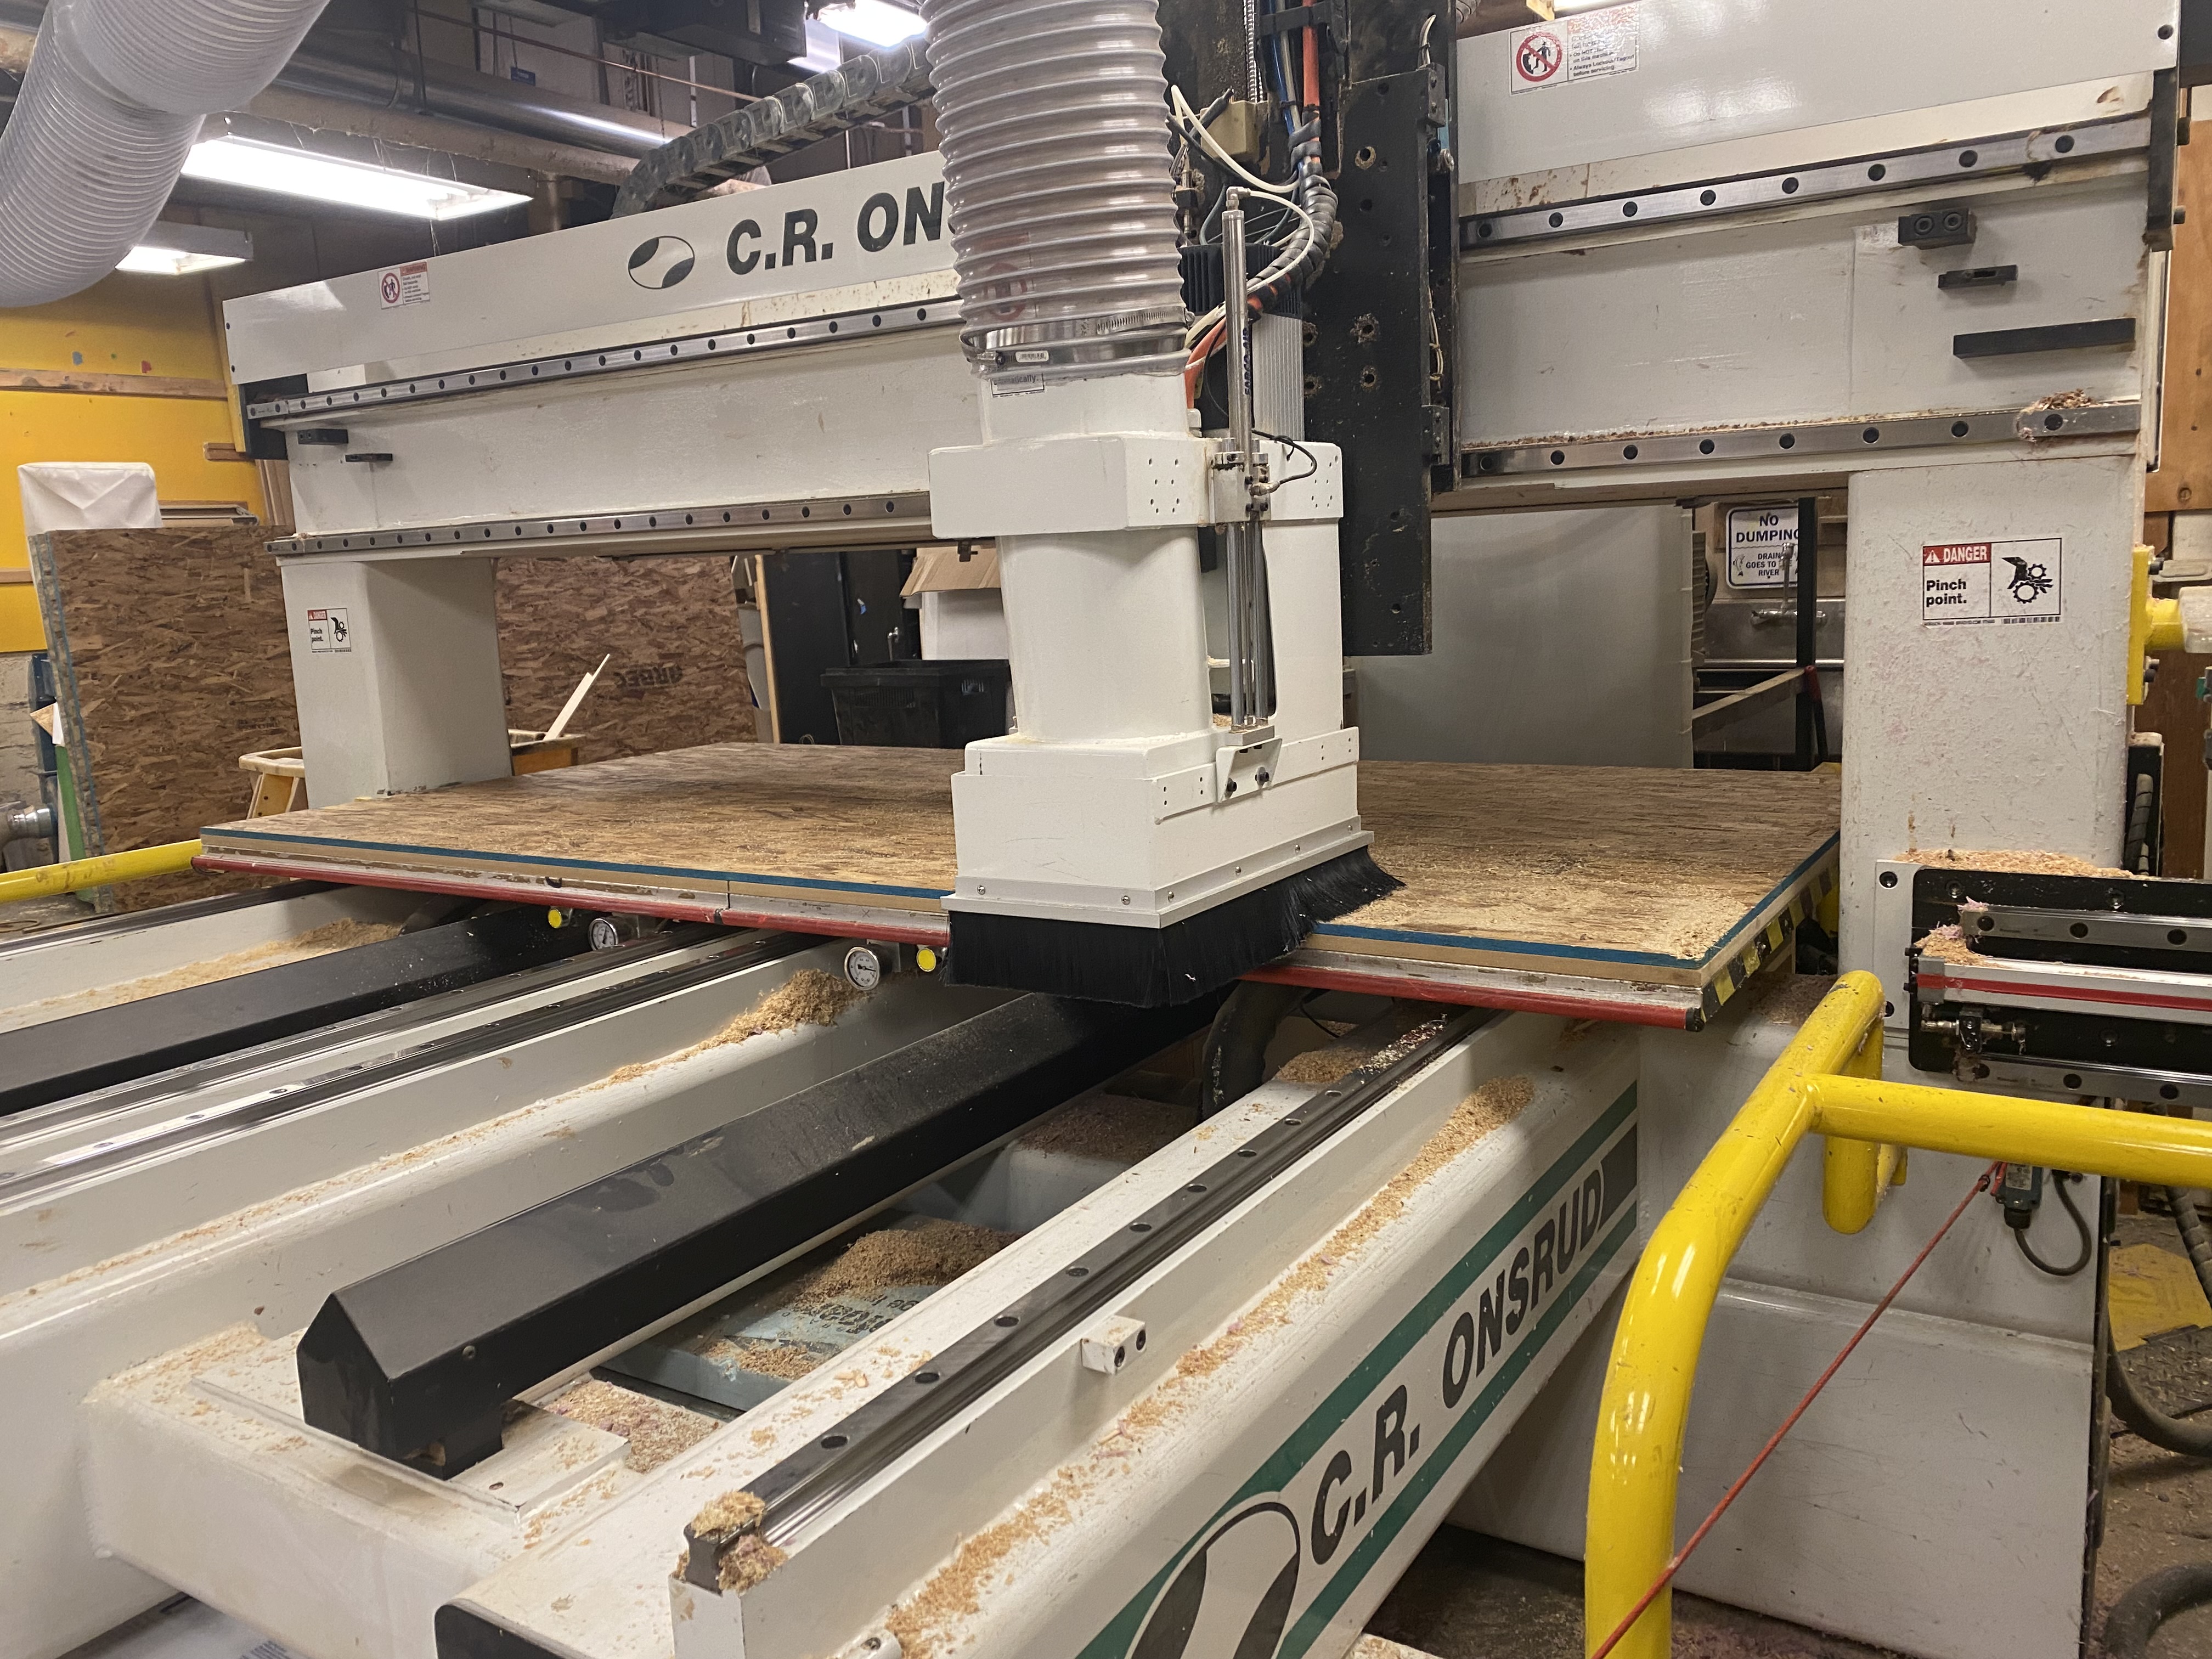
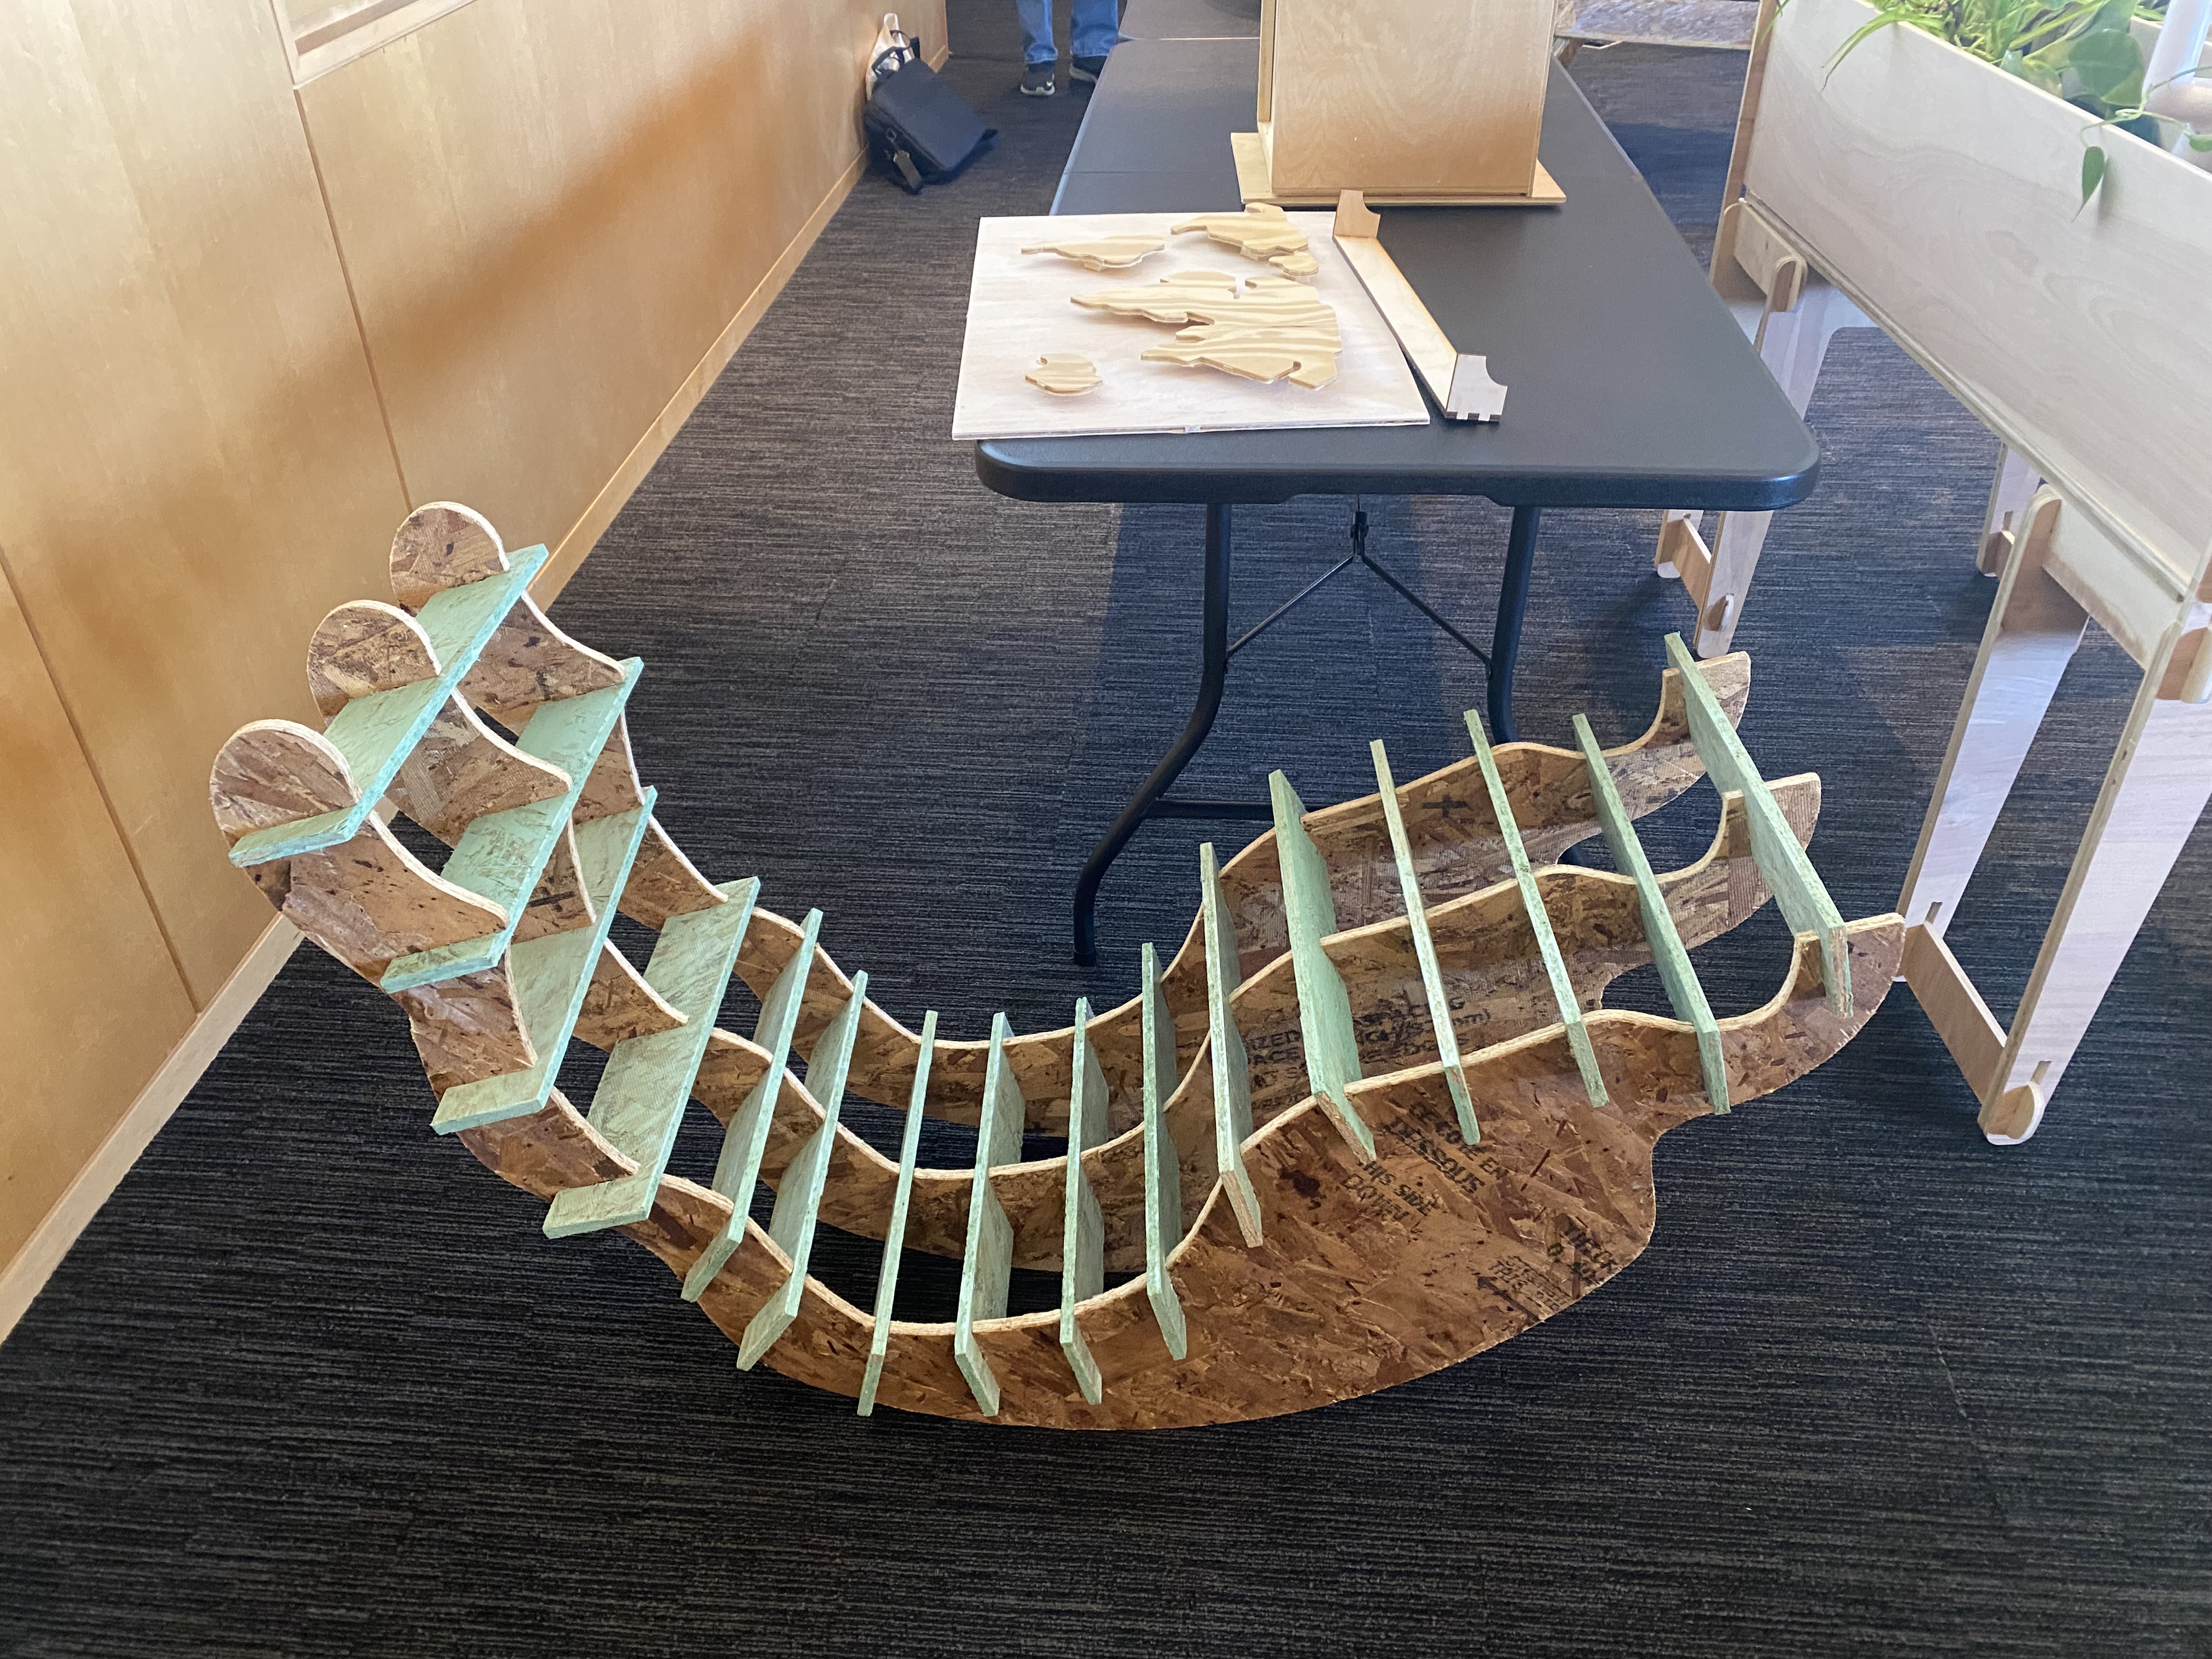
Everything came out great and it popped right out of the wood. I was able to roughly
assemble everything and I plan to go back on tuesday to sand it all.
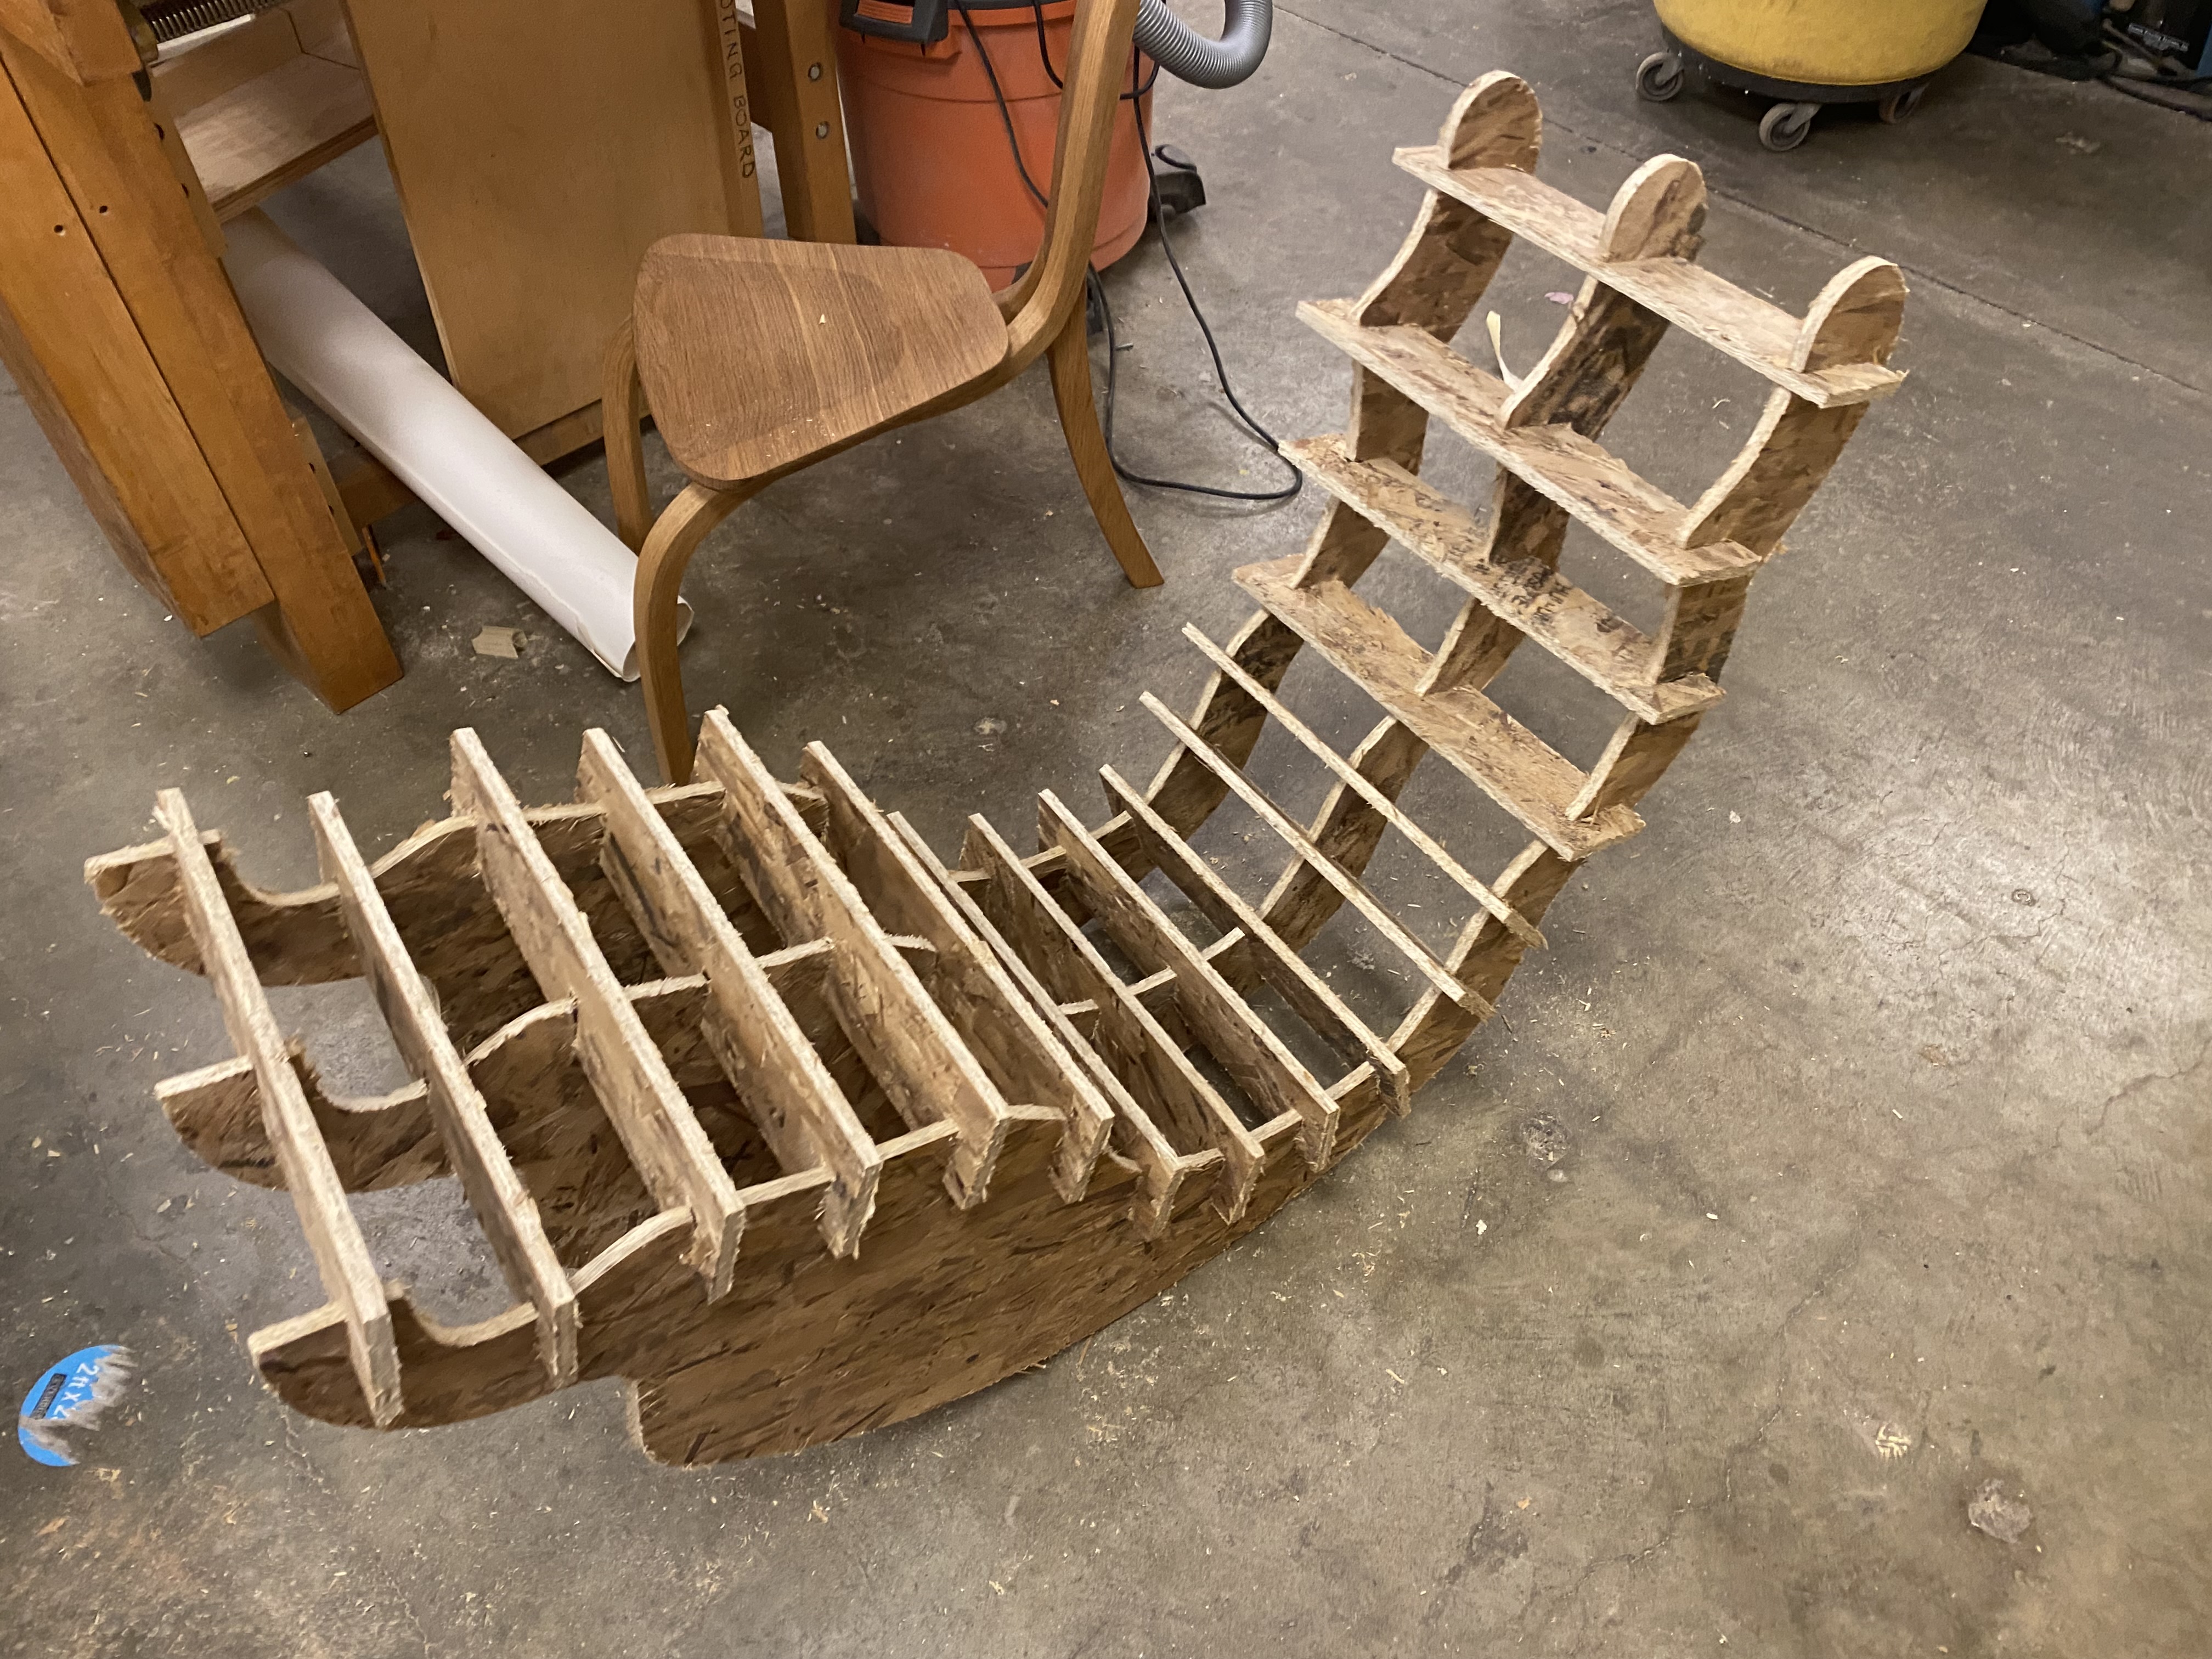
I am also reading into how to paint it.
Maybe I will be able to make it look really nice. It ended up coming out really nice but there were two main problems:
the first being that it was very back heavy so I sat down in it and although I technically did tip over it was safe.
I need to figure out a way to add more weight in the front. The other thing is that it did seem a little smaller than expected
and i was not able to see if it could support my neck but overall it was pretty comfortable all things considered.
Finishing - Sanding and Painting
I started and finished the sanding of my pieces but it turned out to be mostly filing. I learned that wood
is pretty bad quality. As I was filing chunks kept breaking off. Then I had the truly genius idea of attempting to paint
my chair. Horrendous the stuff of nightmares. The paint was supposed to be light green but turned out aqua, which i'm not
complaining about because I love that color but the wood did NOT take to the paint. It came out all splotchy and didnt't really
cover the wood very well.
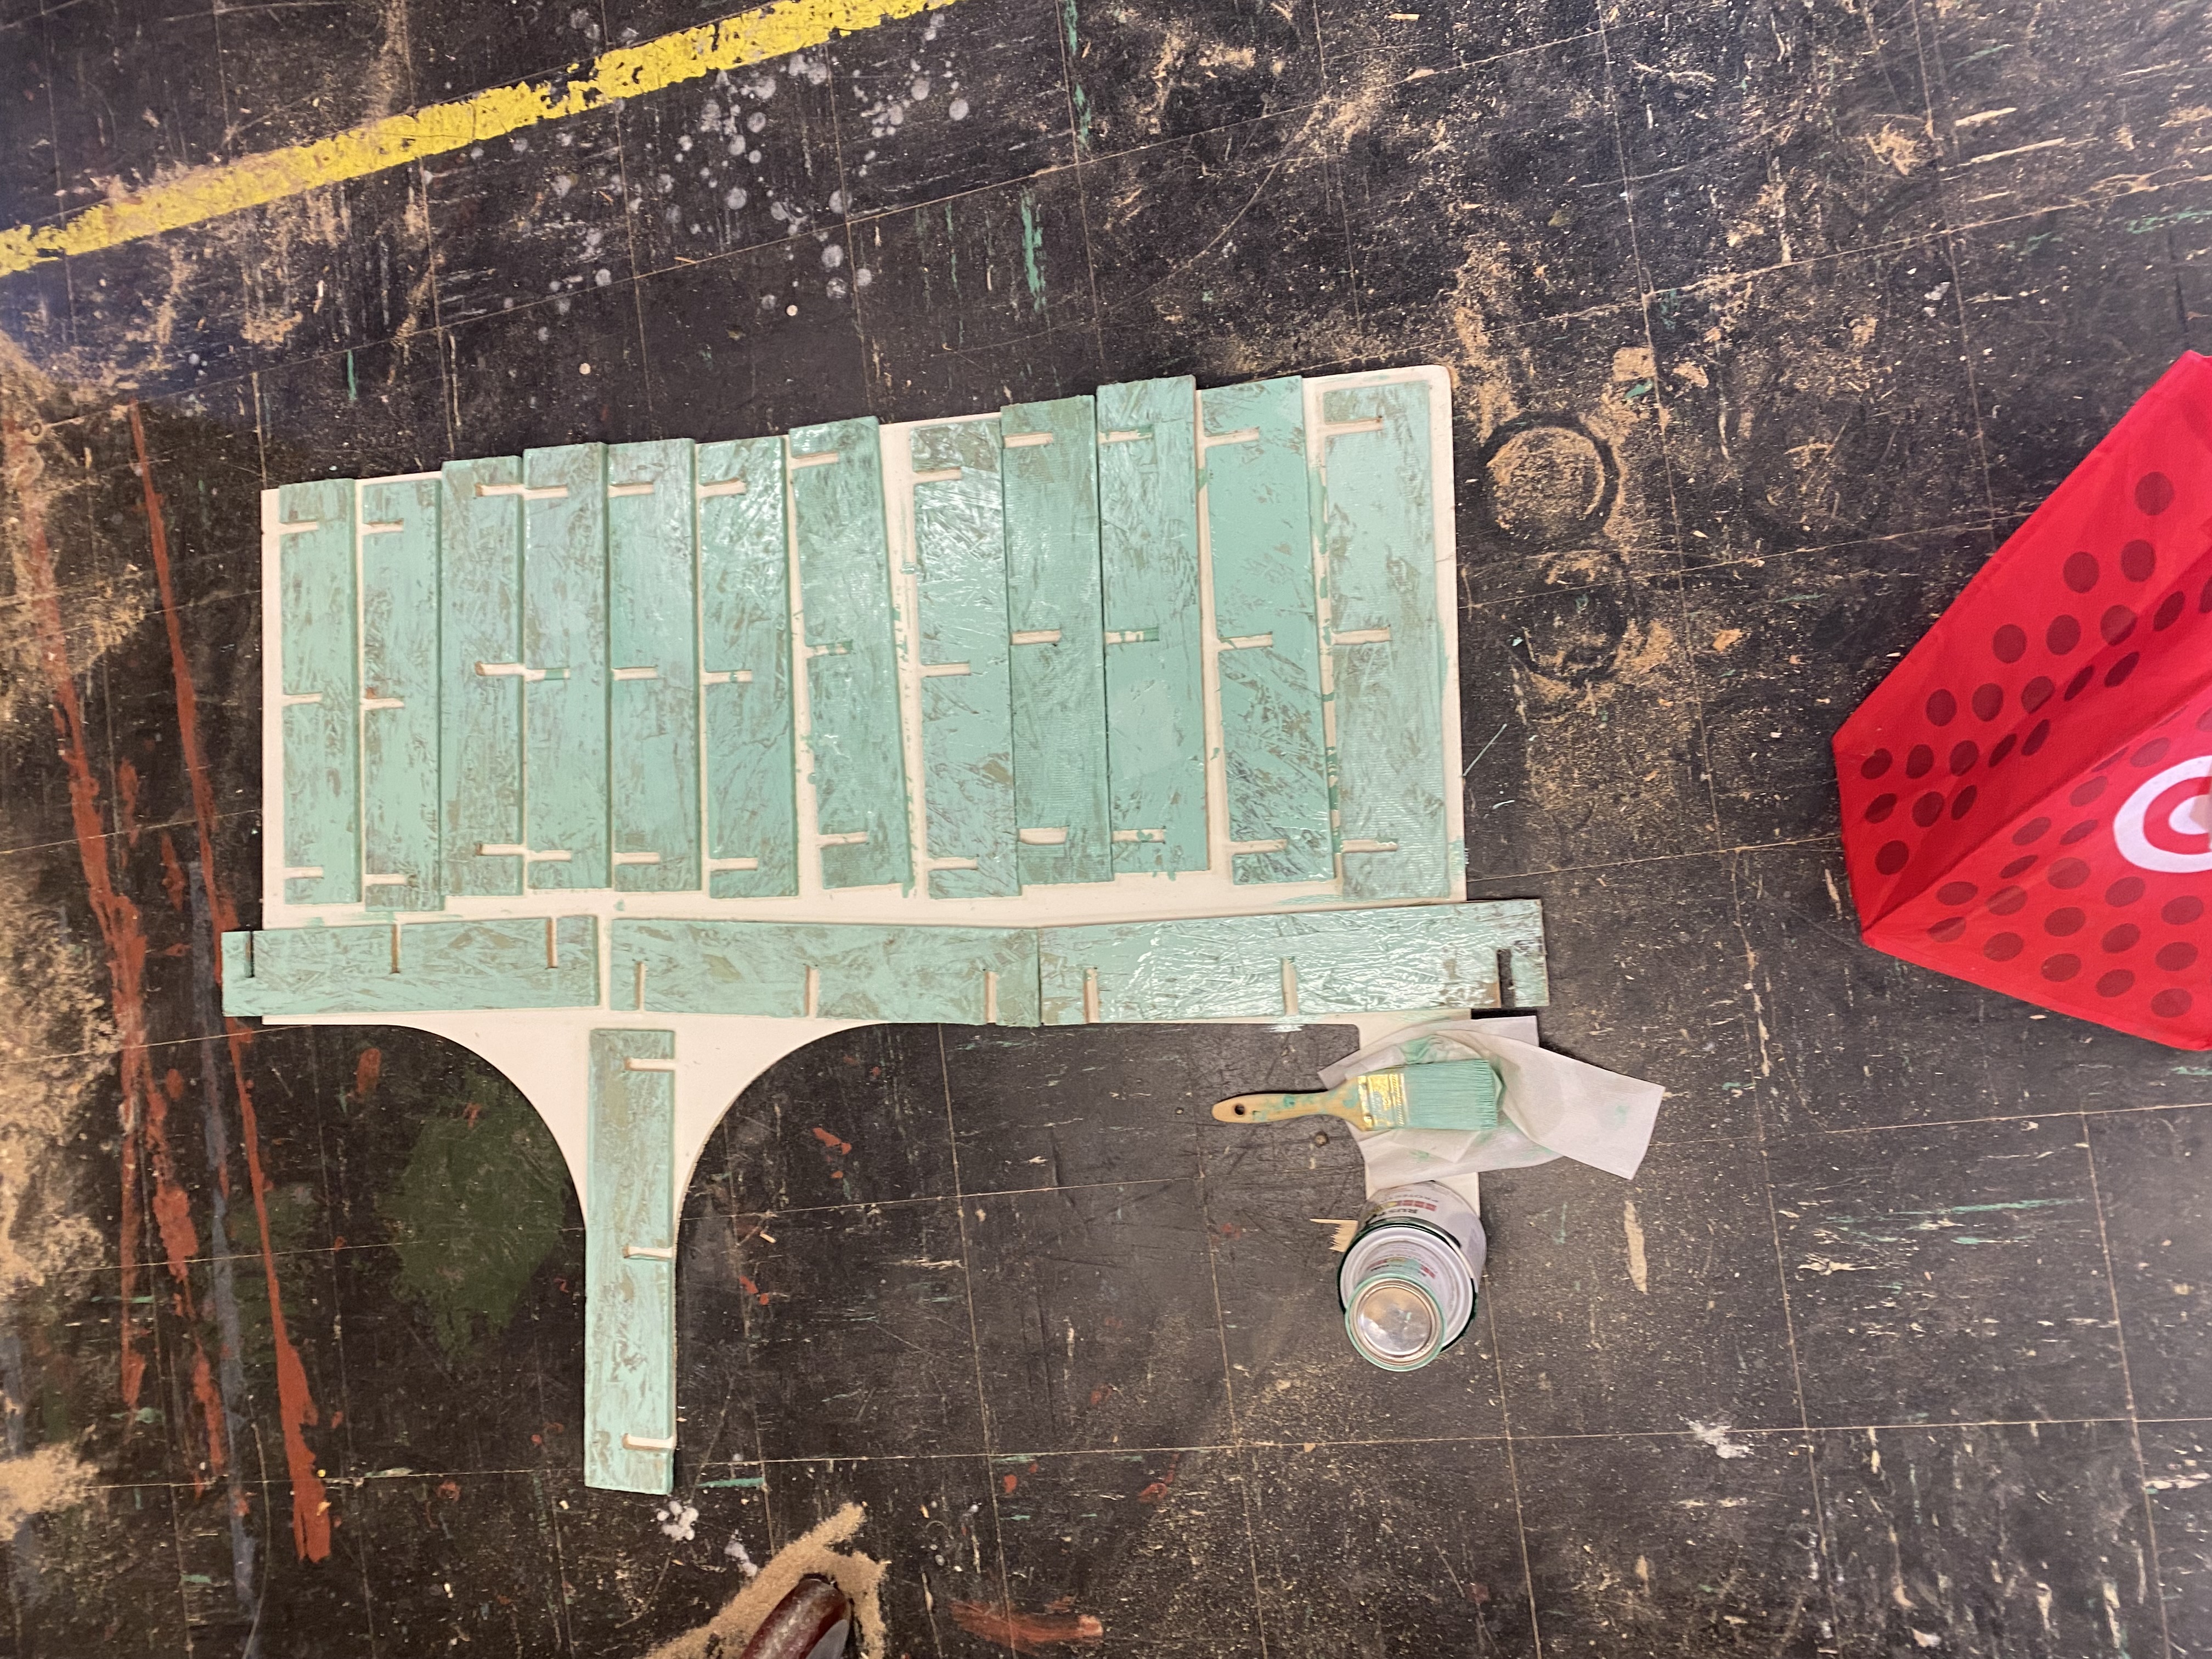
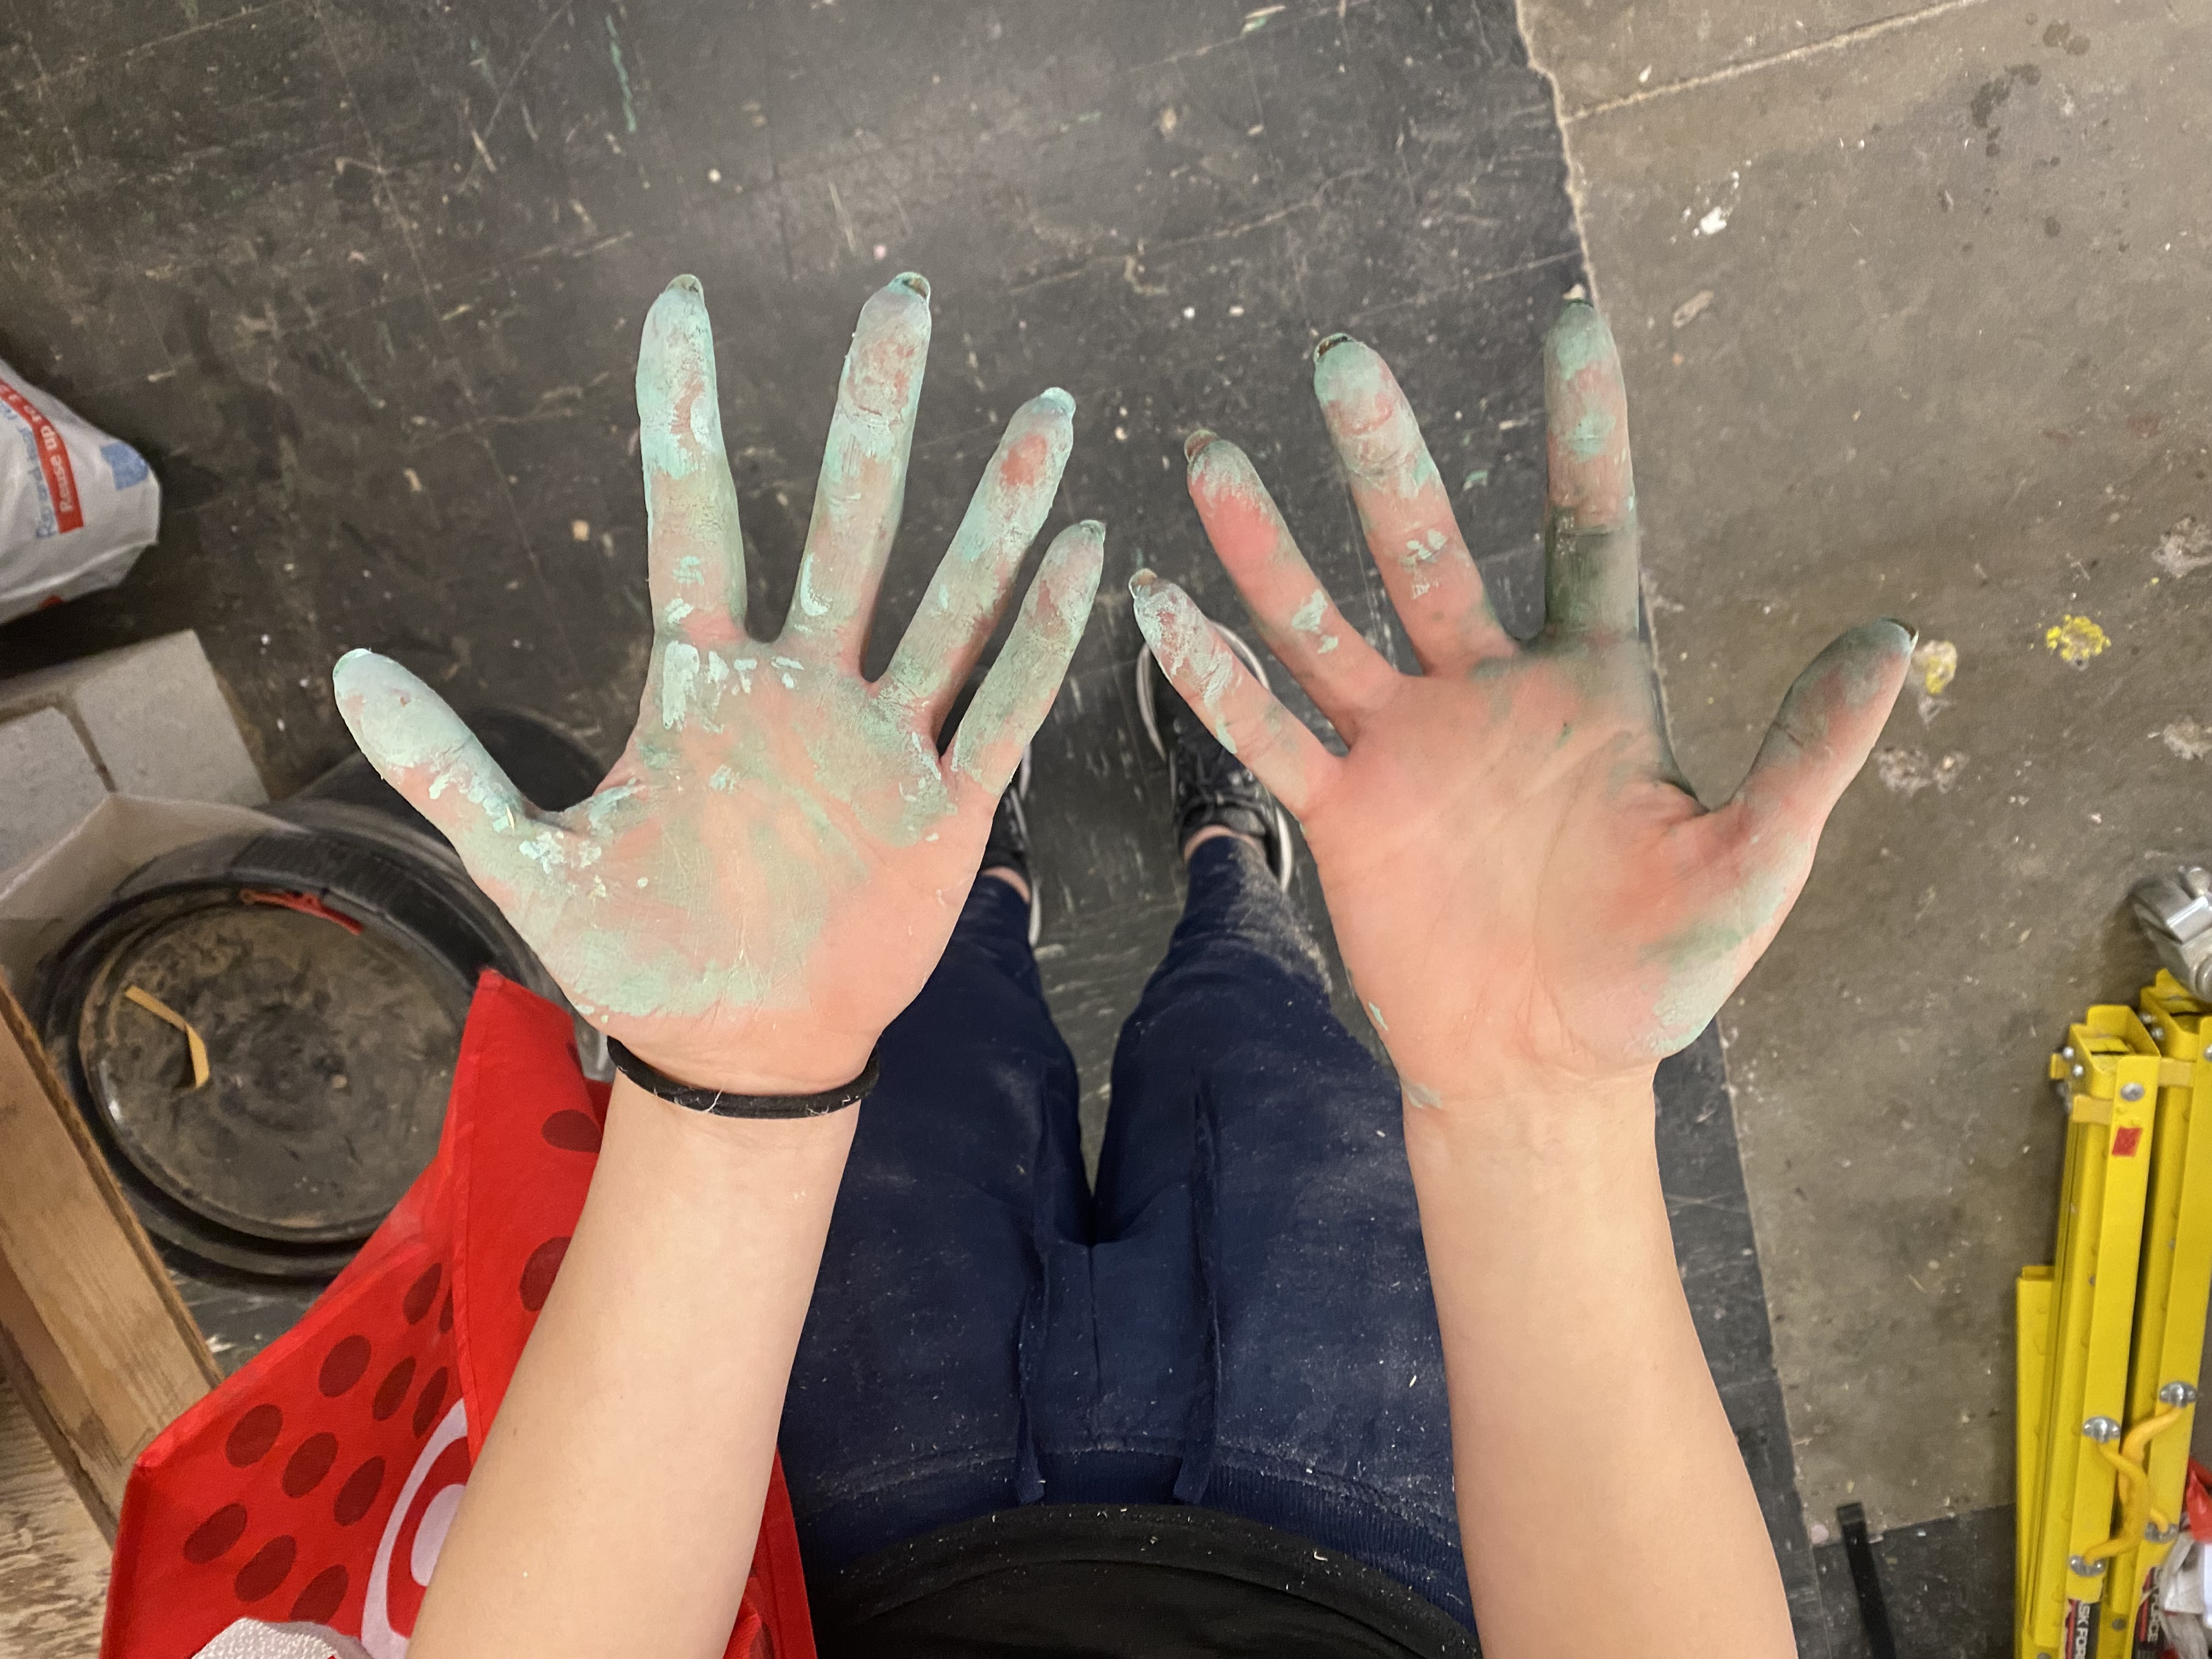
I had an image of super crisp painted wood but unfortunately that did not happen.
Honestly the final project ended up looking nice.
