
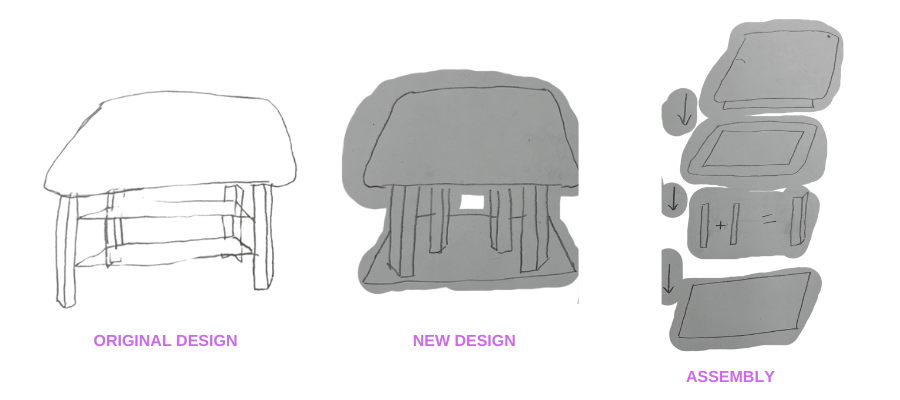
i was tempted to make something quite large, but really wanted to make a foot stool for underneath my desk. i shoved an ottoman under my desk because i like having my feet elevated but the ottoman was just too high.
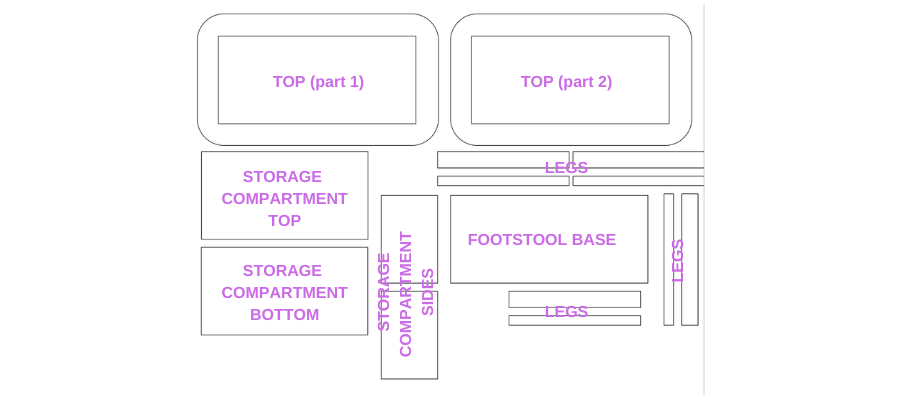
i started by using illustrator to design a foot stool. i wanted the footstool to have a storage compartment for slippers, so i included that. an interesting feature of this design is that the top of the stool is a 2-part component. first, there is a bottom part that is a rectangle, with a rectangle inside that recedes into the bigger rectangle. there is also a top part, which is a rectangle with a rectangle inside that extrudes outward. i did this so that i could upholster the top top part and have it seamlessly fold into the structure. otherwise, i may get some not so nice staple/glue marks.
under joe's advice, i simplified the design so that it wouldn't take so long to mill. the storage compartment ended up getting eliminated
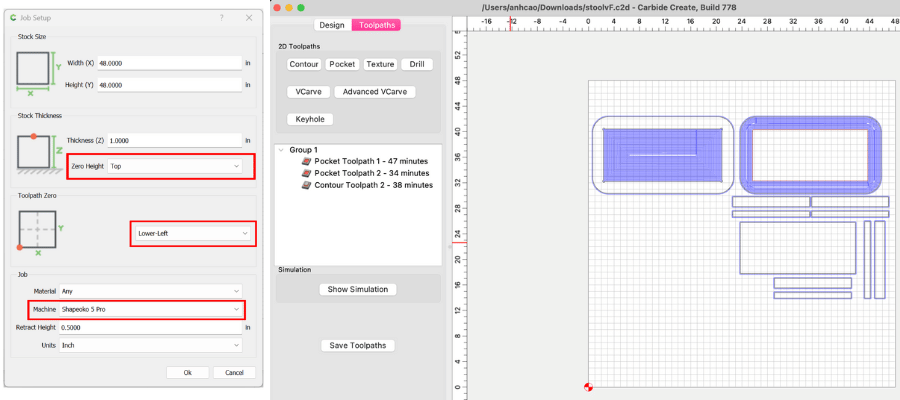
to mill, i imported my illustration into carbide create. i then configured the settings and sent it out. the entire process took roughly three hours.
i could not get a photo of all of the parts when they came out of the cnc (actually i did, but true story, the day after i finished my phone fell out of my pocket while biking and got ran over by a bunch of cars, so i am trying my best to recreate in this entry).
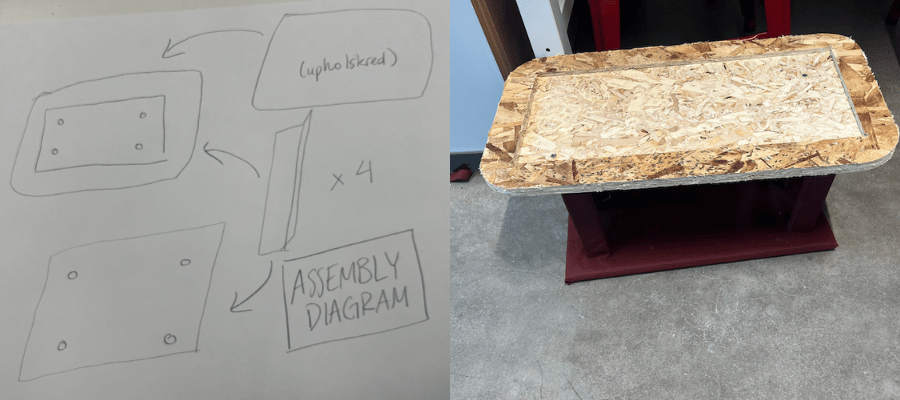
to describe the assembly, i individually upholstered the parts. i put each leg together, covered in fabric, and used hot glue (i wasn't allowed to use a nail gun). then, i covered the base. then, i covered part of the top, stuffed it with teddy bear filler so it was soft, then glued down the rest.
after upholstering the parts, i screwed them together. i ended up having to use really skinny screws because screwing through fabric is not a great idea (it gets caught).
this wasn't an issue for the top, since the top has two parts and one of them was uncovered.
ultimately, i was able to get the stool assembled, and it works well! i don't mind that its not that nice looking because it lives under my desk.

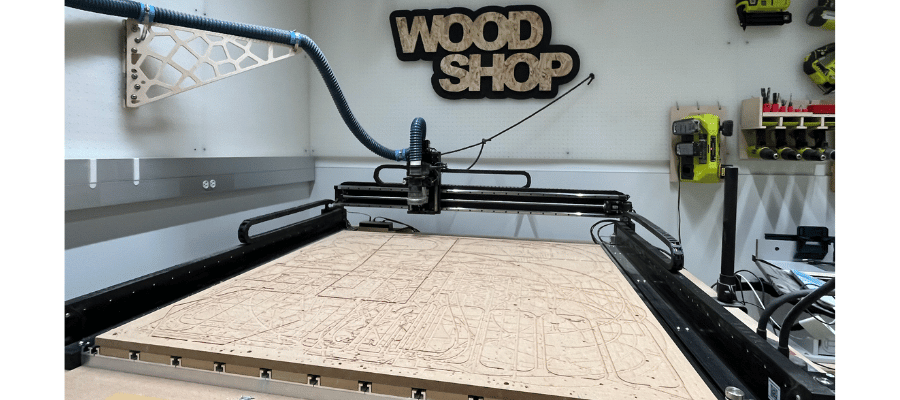
had a chat with joe about safety training. we used the Shapeoko 5 Pro CNC machine. We made sure to protect our eyes and ears during the milling process, and i practiced using the emergency safety button (which i actually had to use). We nailed the board to the bed of the CNC.
in terms of testing the machine, i was unable to due to constraints at the REEF. we had a 3 hour slot to train on the machine and run the job, were only allowed to use one material, and i was too short on time to test or change the presets.