

******spoiler alert: this one's a fail******
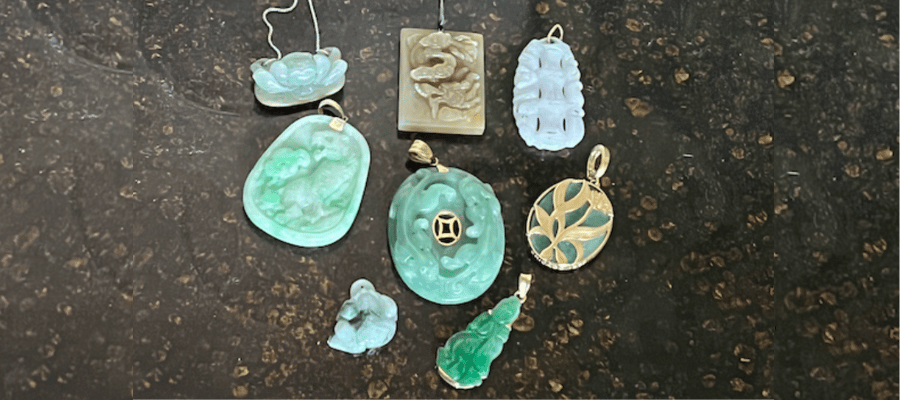
i have a lot of jade pendants. some of these are heirlooms and some of them i buy. i love them all equally (except for the one in the bottom right which i love them most). i love love love jade. when i saw in class that we could use the xtool f1 ultra to carve almost anything i knew i really wanted to try to carve my own jade pendant
i went to chinatown to buy some jade. there’s only one vietnamese jewelry store in town so i was a bit nervous i wouldn't be able to find what i needed. i came across these four blank pendants and i liked them all, but i wanted something that was as flat as possible and as simple as possible so i could put any design onto it. i went with this nice tear drop shaped pendant. it was pretty small (maybe 1” by .5”) but i figured the laser is used to really fine details.
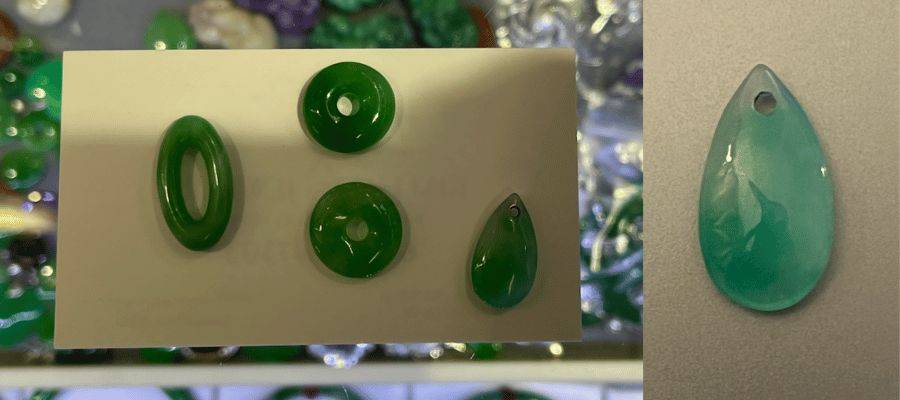
disclaimer: i did spend $40 on this jade but i negotiated it down from $60 so who really won here? also carved jade can cost anywhere from $70-$400 so my thinking is if i can make myself a really sick pendant it is worth it.
i had two choices; either the design was carved into the pendant or the pendant was carved away to reveal a design. the latter is far more popular in jade making (as is evidenced by all of my jade). however i decided that i would prefer to have the design push into the pendant because 1) it requires less time for the laser cutter and 2) i don’t have to worry about depth maps (it’s a 2d design), which are needed to emboss/carve 3d images onto flat surfactant. i went on pinterest and found some inspiration and came up with a few sketches, shown below.
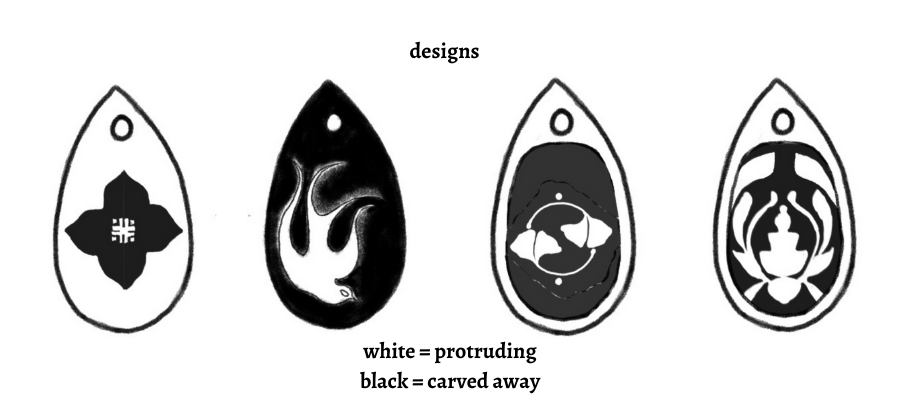
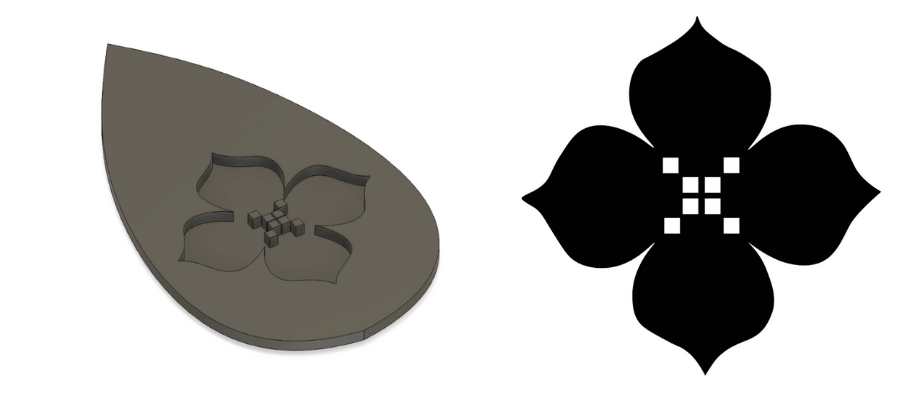
i settled on the simple flower that receded into the pendant while its seeds came out. i then made a quick model in blender to make sure i liked the way it looked, and went to illustrator to make a vector image that the xtool could use.
jiaming was kind enough to teach me how to use the machine (shoutout jiaming for all his help!!!). we talked about how the passes, power, and speed of the machine can change the finish, depth, and precision of the final product.
we tested different power, speed, and passes on an aluminum block and got promising results!! we didn’t run the machine too long, so you can’t really tell we ran it on embossing.
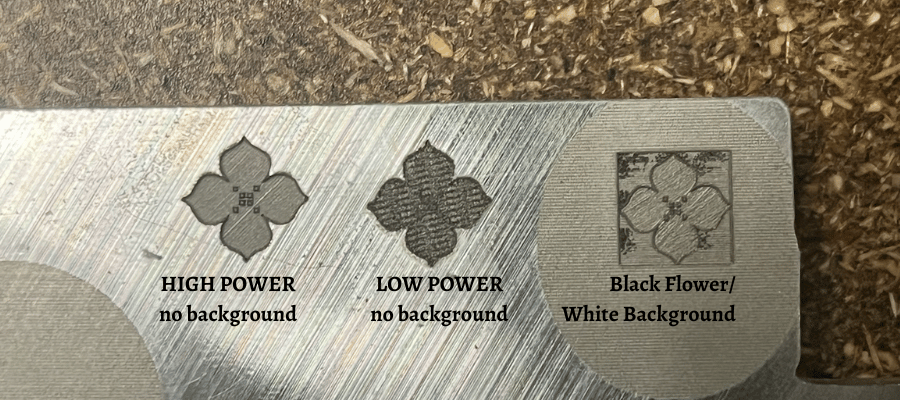
we throttled the power because jiaming thought that the stone was at risk of cracking if the power was too high. so to start, we ran standard embossing settings with 50% power (all other specifications aside from power can be seen below)
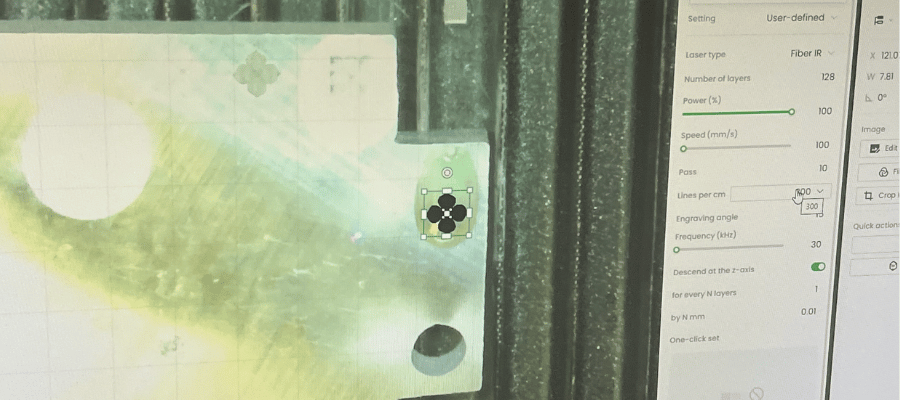
after running it for about 15 minutes (the job was estimated to be 45 minutes), there was no difference in the jade; it just looked like the top was scuffed/lasered over with no depth achieved (see on left side below). so we decided to push the power up to 100% (see on right below).
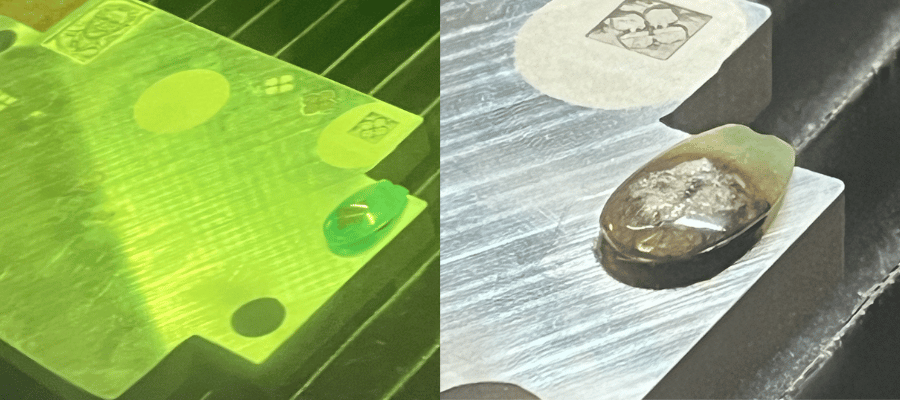
that’s when disaster struck. within minutes the jade began turning brown, and it was difficult to tell if it was burn marks on the surface like sometimes occurs with wood or if the stone was actually burning.
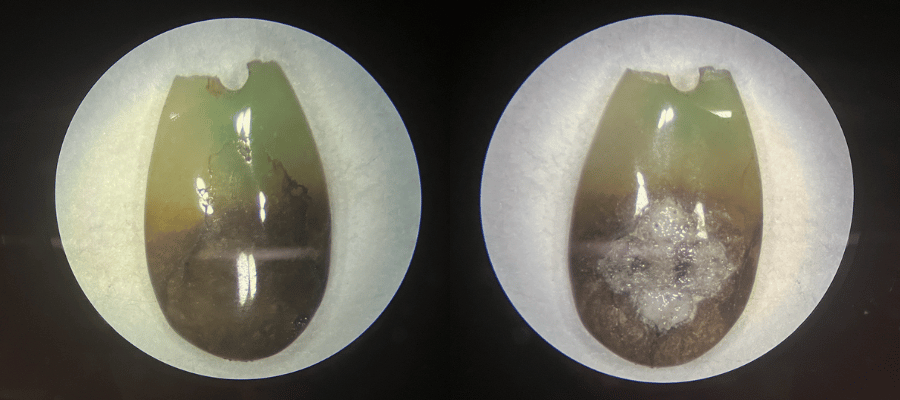
i decided to cut the power and pull it out. it looked like the top was melted and most of the jade was turned brown. marcello said it looks like a mix of glass and plastic, and i thought it was possible that i bought fake jade. but a quick google search suggested that jade, at very high temperatures, can burn and melt, so its also possible that the full power of the laser just heated the jade too much.
here's what it looks like under a microscope
we have a couple of weeks using subtractive fabrication (laser cutting, cnc machining, electronics production). for this week’s assignment, i would define it as: use a subtractive process to create a three dimensional object on an unconventional material (not wood, aluminum, acrylic, or cardboard). bonus points if the canvas is smaller than 4 inches squared.