

the goal: combine vinyl cutting and laser cutting to create a miniature bound book without adhesives
a book is a simply structure, with a hard cover, a spine component, and pages
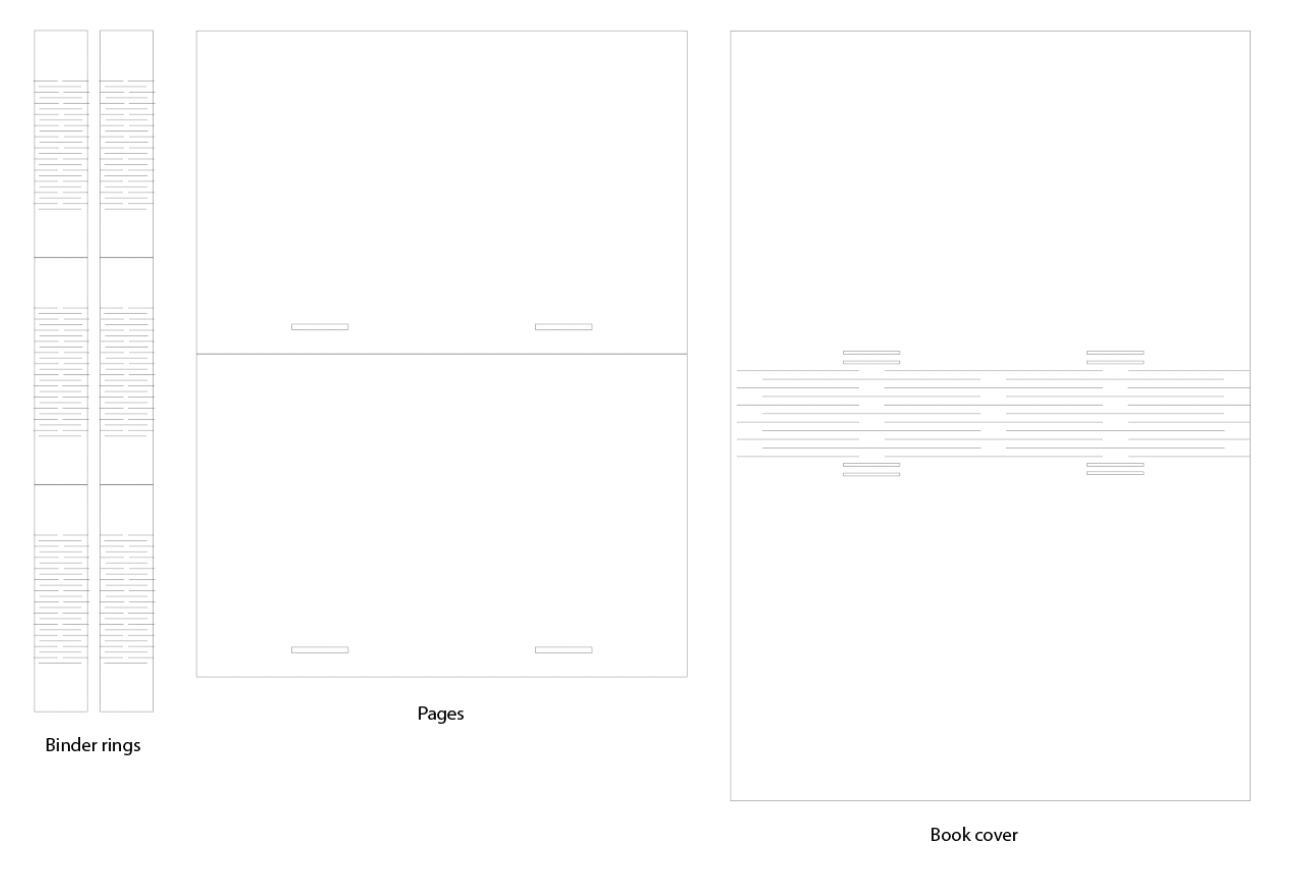
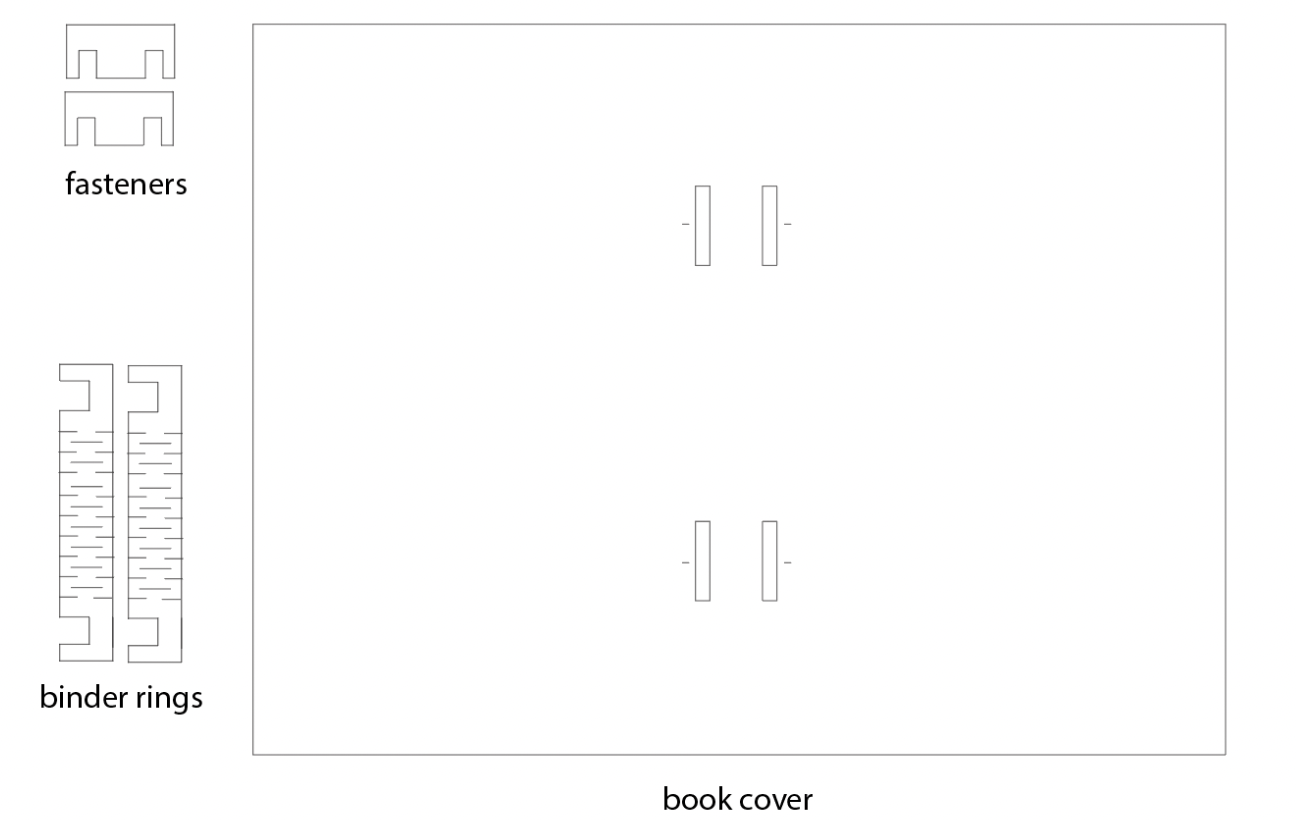
the hardcover was 3in by 4.5in, and the pages were .2in smaller length and width wise. the rings were .5 inches tall and 1.25 inches wide, although the width could have been adjusted without issue.
for the hard cover, i used a thick cardboard. for the spine component (the rings), i experimented with thin and thick cardboards. for the pages, i used a thin cardboard (mat board? not quite sure what it was but it felt like it was in between cardstock and cardboard)
i created the specs in illustrator, adjusted in inkscape, then laser cut onto the cardboard.
to assemble this book, i threaded the rings through the paper first then threaded the rings through the hard cover. i then secured the fastener. in the first iteration, there was no fastener. in the second iteration, i placed the fastener on top of the rings to hold them in place.
i experimented with the number of pages i could add to and take away from the book while maintaining the structure, which i view as constructing the project in multiple ways. with two to eight pages, the book looks the same and has the same rigidity due to the stiffness of the cardboard.
in the first version, i imagined i could replicate a book like reading experience by creating a press-kit binder-like notebook, with the pages hole punched and hanging on rings that thread through the hard cover.

i created a living hinge for the binder to create the 180 degrees bend in the book. the spiral rings were also made with living hinges.
the issue with this iteration was that the rings did not stay in place, were quite flimsy, and the paper and hardcover were too tight around the rings to allow movement.
in this version, i changed how i made the rings adjusting for the issues i had in the first go-around. i used sturdier material so it was less flimsy, extended the living hinge further while spacing out the cuts so that they were flexible yet sturdy, and adjusted for kerf for the locking mechanism.
the most visible change was the change in the spine; i went from using a living hinge to simply cutting a straight line in the first layer of the cardboard so that it could bend up to 90 degrees. i also think this helps the book translate, as it looks more like a hard cover book.

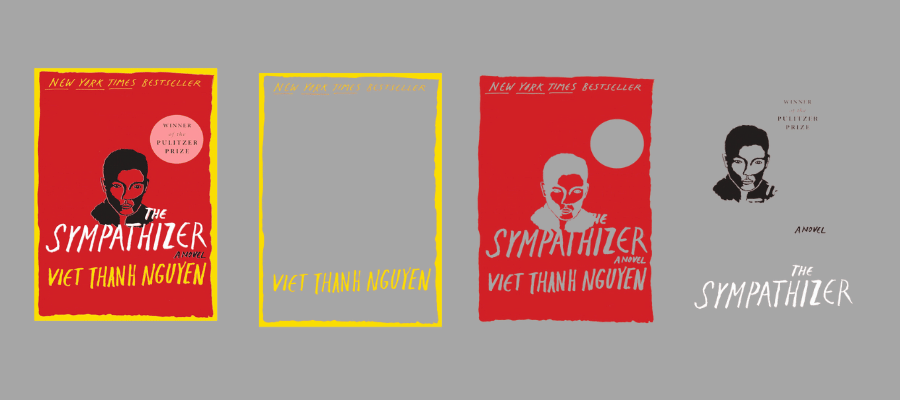
i wanted to create a cover for my book. my favorite book is the sympathizer by viet thanh nguyen so i figured ~why not that one~. the cover is simple and graphic which made it suitable for vinyl cutting.
i began by taking the cover and breaking it up into its colors (see below). i did this so that i could run four cuts on different colors, which i would be able to layer on top of eachother to give the impression of the cover. the only change made is that instead of cutting out “the sympathizer,” i put a white rectangle so that way when the red overlaid it it would look like the cover.

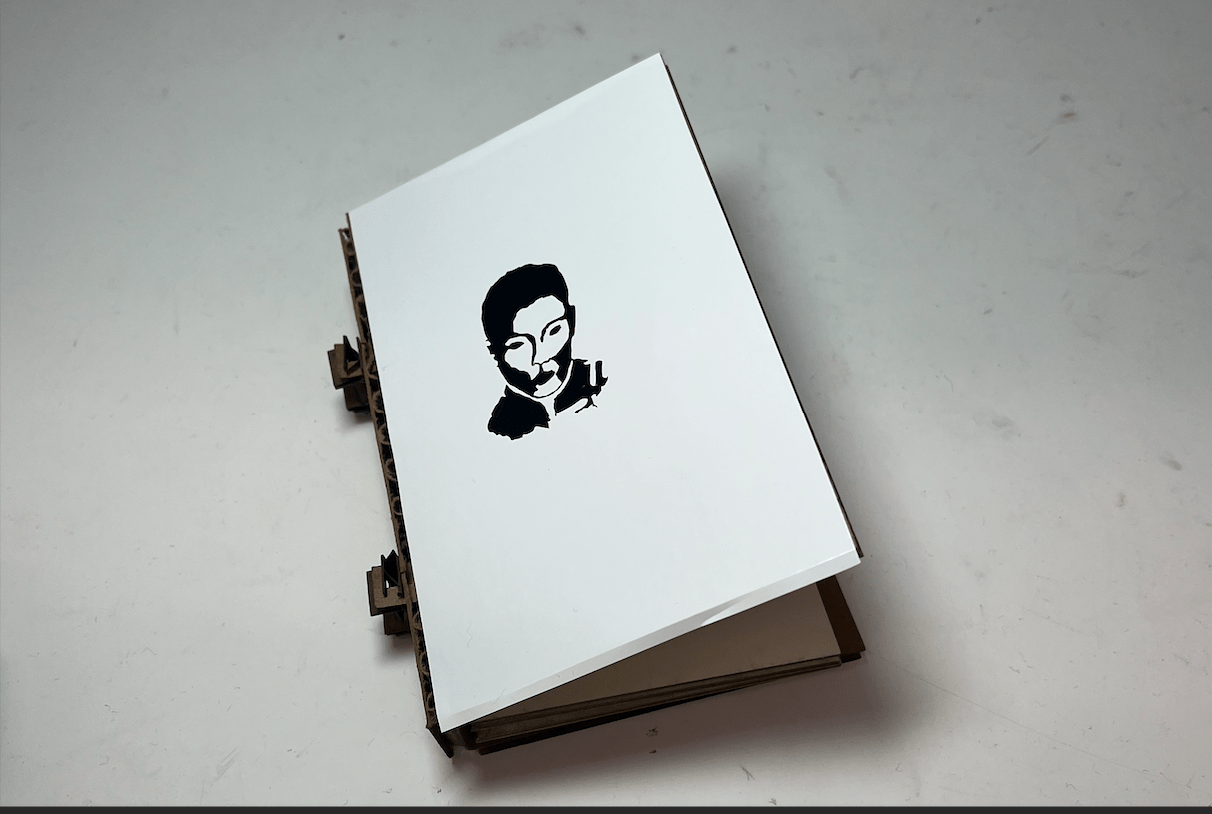
i used the vinyl cutter in the sci center fab lab, which left me yearning for a cricut. bobby and i did some snazzy troubleshooting (shout out bobby) and got the machine working. first, i started with a white rectangle (success!). then, i decided to do that black overlay. the machine sort of chewed up the text with the black overlay, which i took to mean that the details were too fine for the machine. it was at that point that i knew that i wouldn’t be able to get the full cover, as the rest of the book cover was just text.
that being said, i was able to get the face and the white background (just by peeling and sticking to my book), so i think the final product calls the sympathizer to mind.

to begin, i completed the lab's safety training to ensure i could operate equipment safely and responsibly. i used the laser cutter in the science center lab (the one in the reef was super busy and i had never used it before).
once cleared, i characterized the laser cutter by testing its focus, power, speed. for the focus, i manually calibrated the z-focus to ensure it was correctly focused on each go. for the power and speed, i used the existing material settings to guide the laser settings experimenting on two thicknesses of cardboard.
i also analyzed the kerf to account for its impact on dimensions within my project. the kerf was actually less than i had anticipated, which is shown in my first attempt as the joints do not move freely. as a result, i revamped my design and adjusted the joint clearance.
lastly, i looked at various joint types, such as finger joints and press fits, by reading this article