
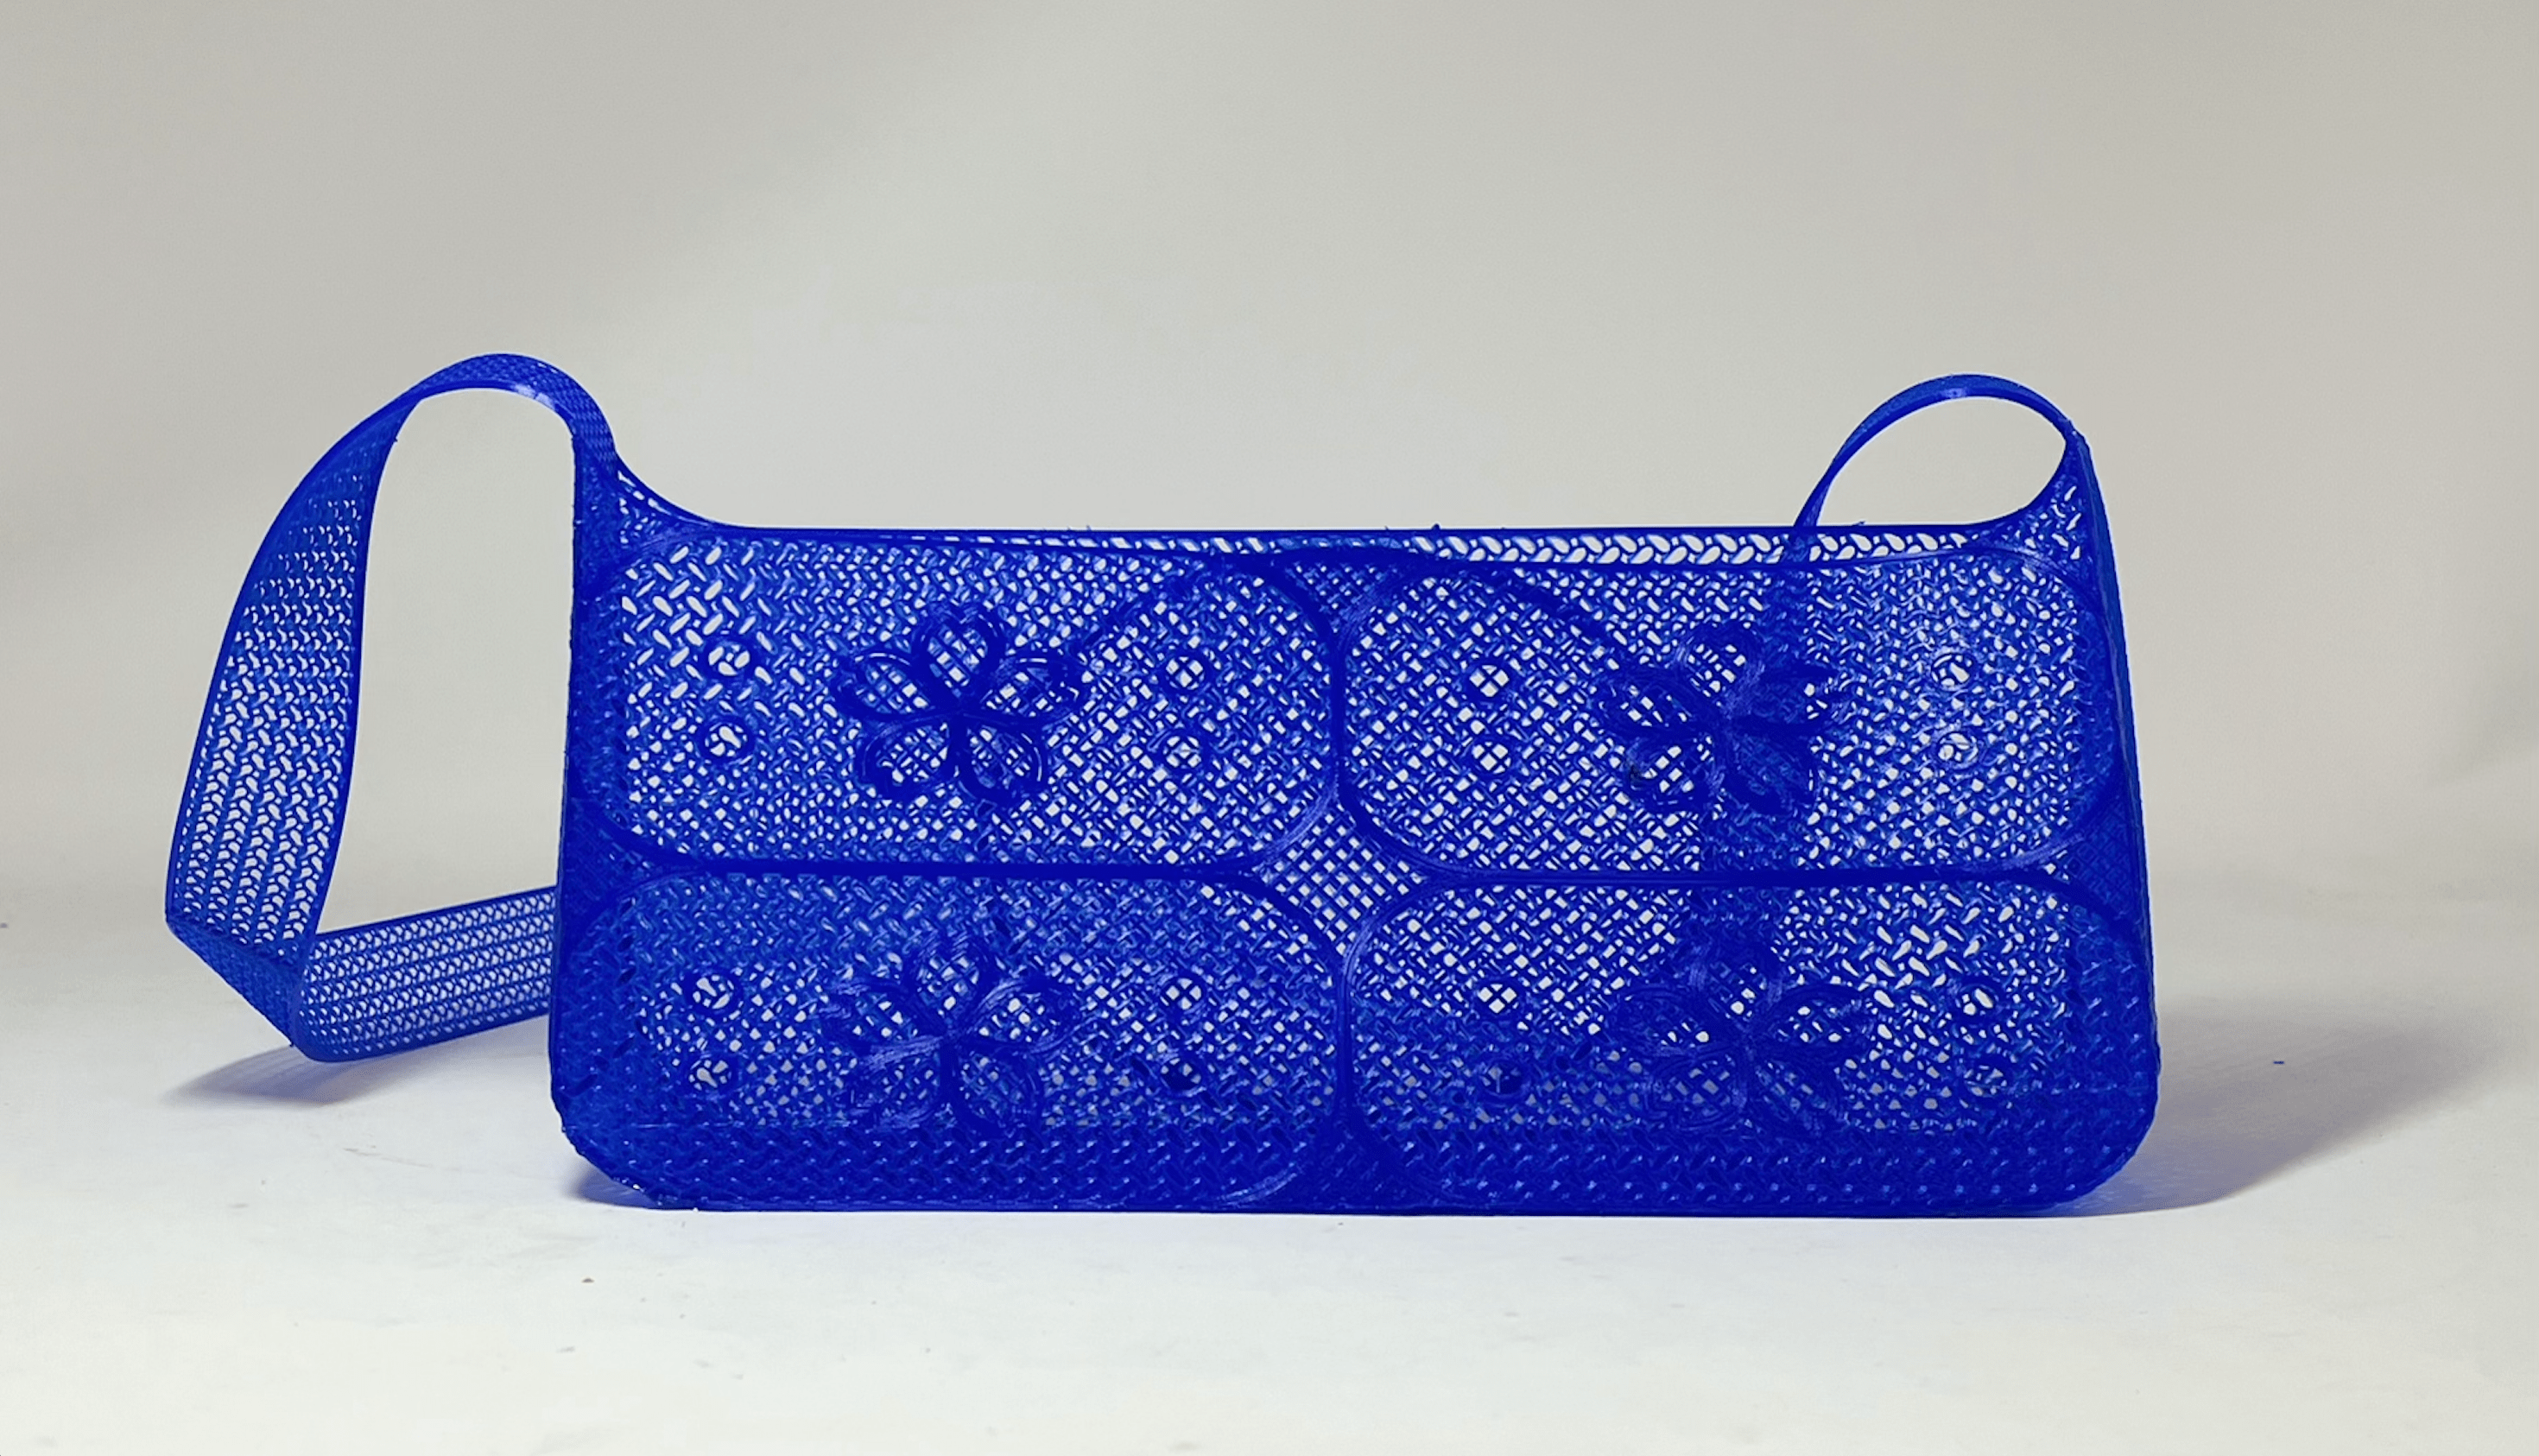
This bag is made of one part that is replicated, similar to a press fit kit. So, there are 4 unique parts for the front of the bag (three joints and one baguette), 1 part for the bottom (just a 1.5” strip), 2 parts for the side (a strip that goes from 1.5” to 1” and a 1” strip), and 3 parts for the back (joint for the top, circle, panel). I exported it as a 3mf file.

I prefer designing the bag in prusa directly so I can see it on the bed and I can visualize more easily how things lay together and adjust the infill. I began by repeating the baguette to get a bag shape
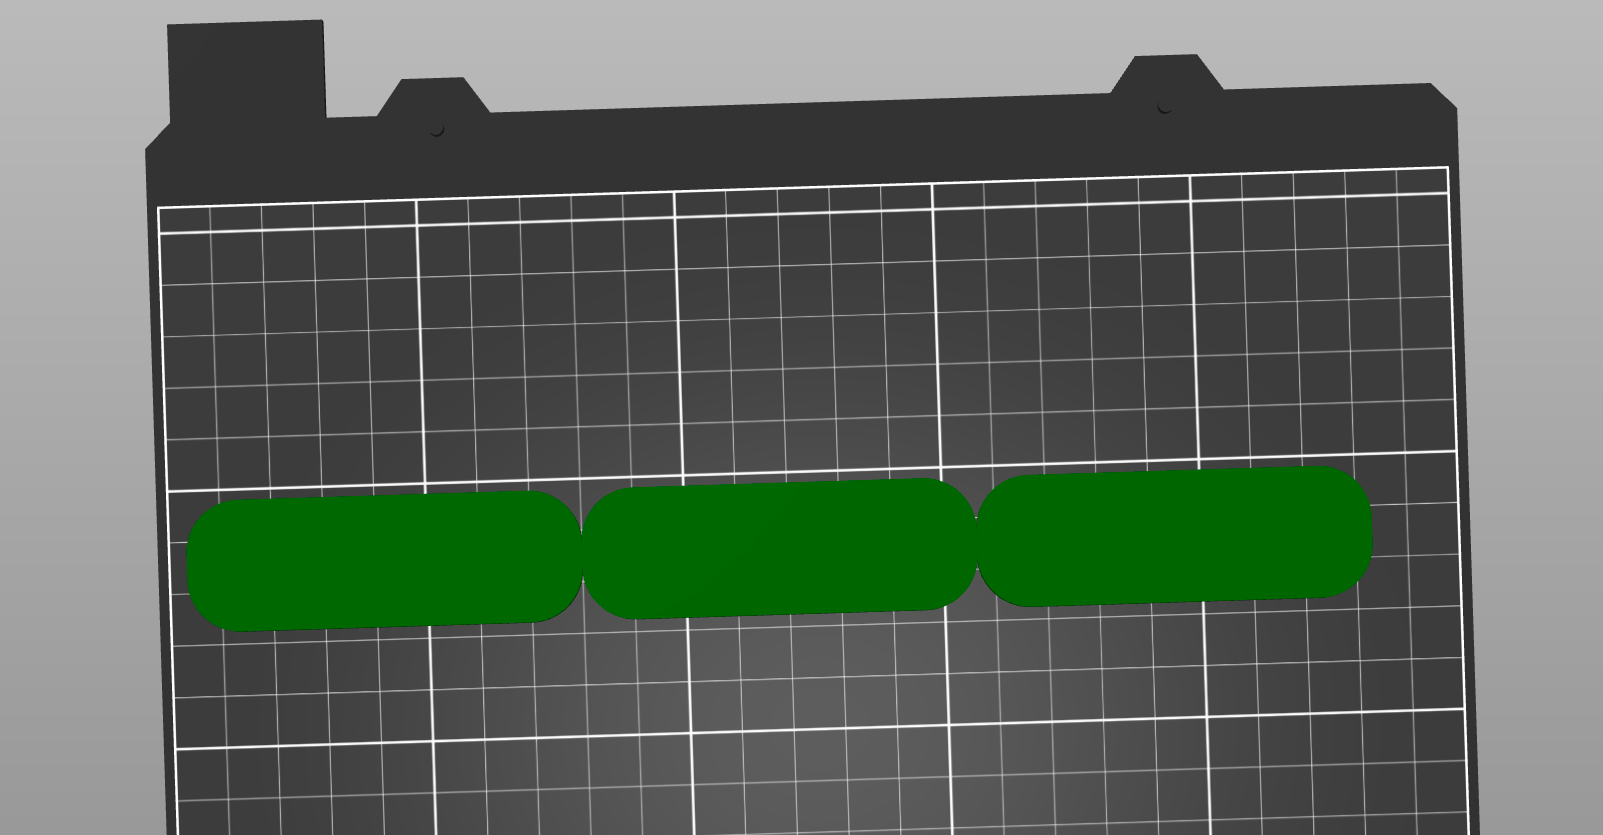
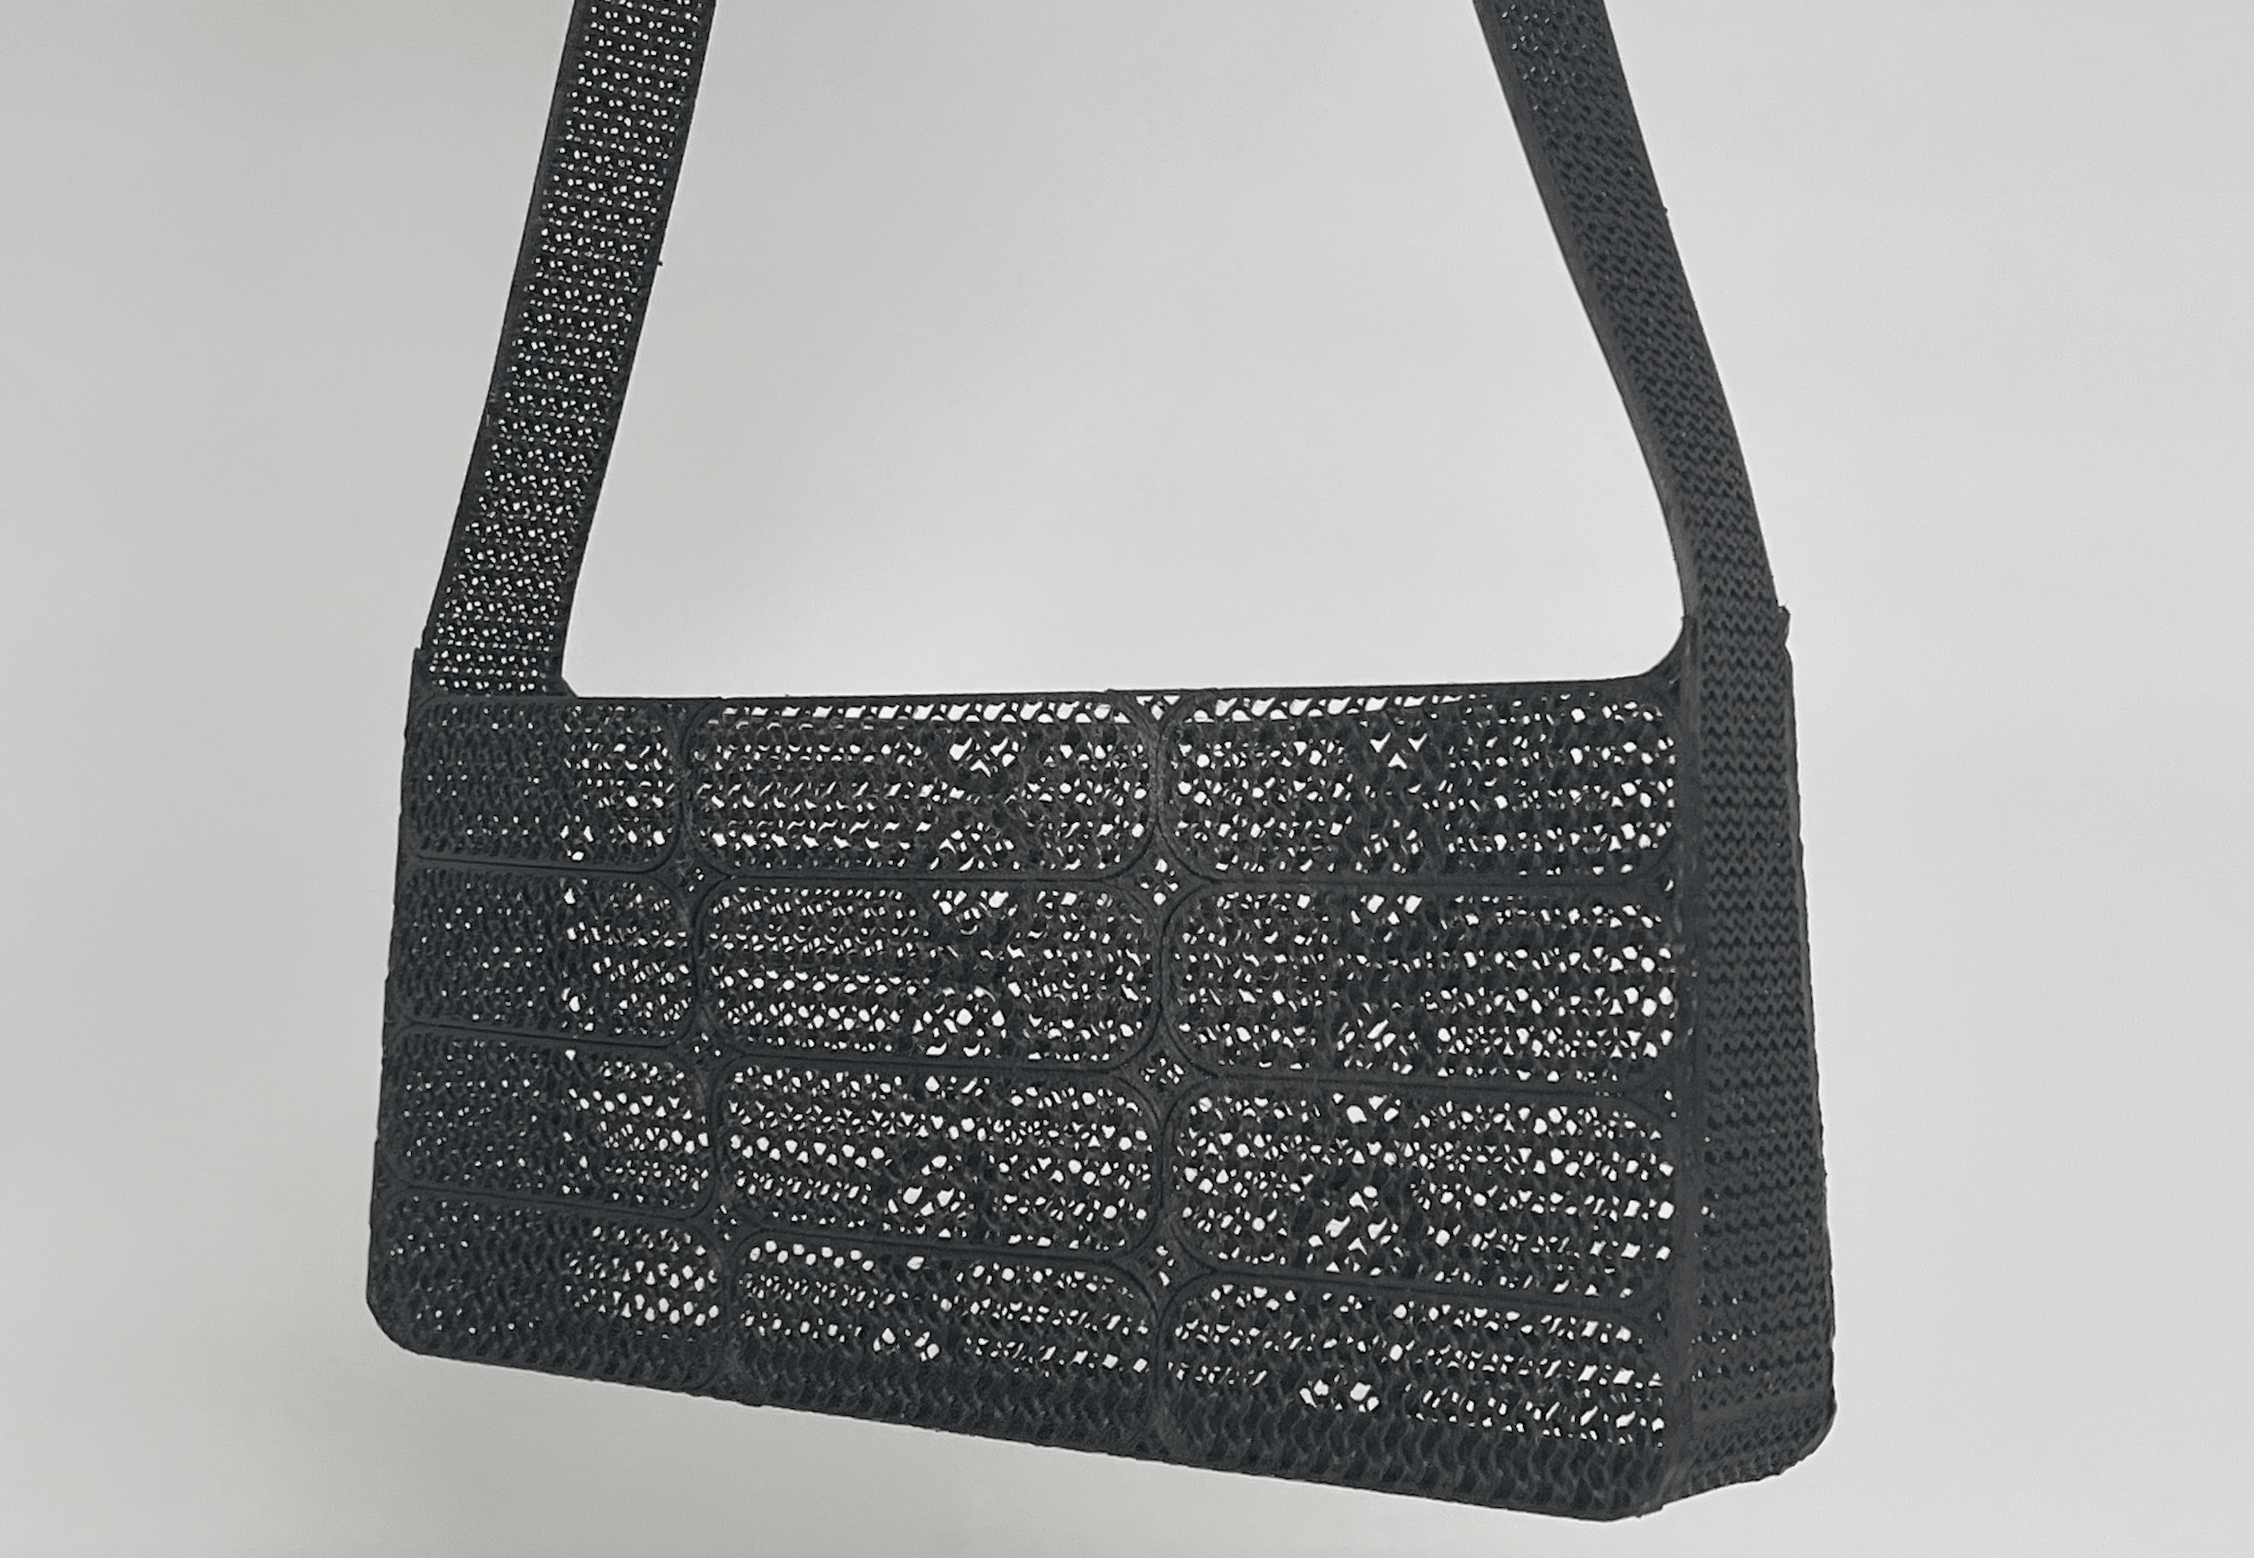
I copy and pasted the individual parts and assembled them to get the first part of the bag. The baguettes have gyroid infill, 20% fill. The joints have grid infill, 35%. The bottom has gyroid infill, 25%. I toggled between the 3d editor and the slicer preview. I left a little bit of space between each element (i’ll adhere them later with filament).
Before printing, I went back and forth between fusion and prusa to make new parts or to redesign different elements.
All of the 3mf files can be found here: https://drive.google.com/drive/folders/1N3q5ilvxWNeDZKo1Efyb5A1D7tSQpDR1?usp=sharing
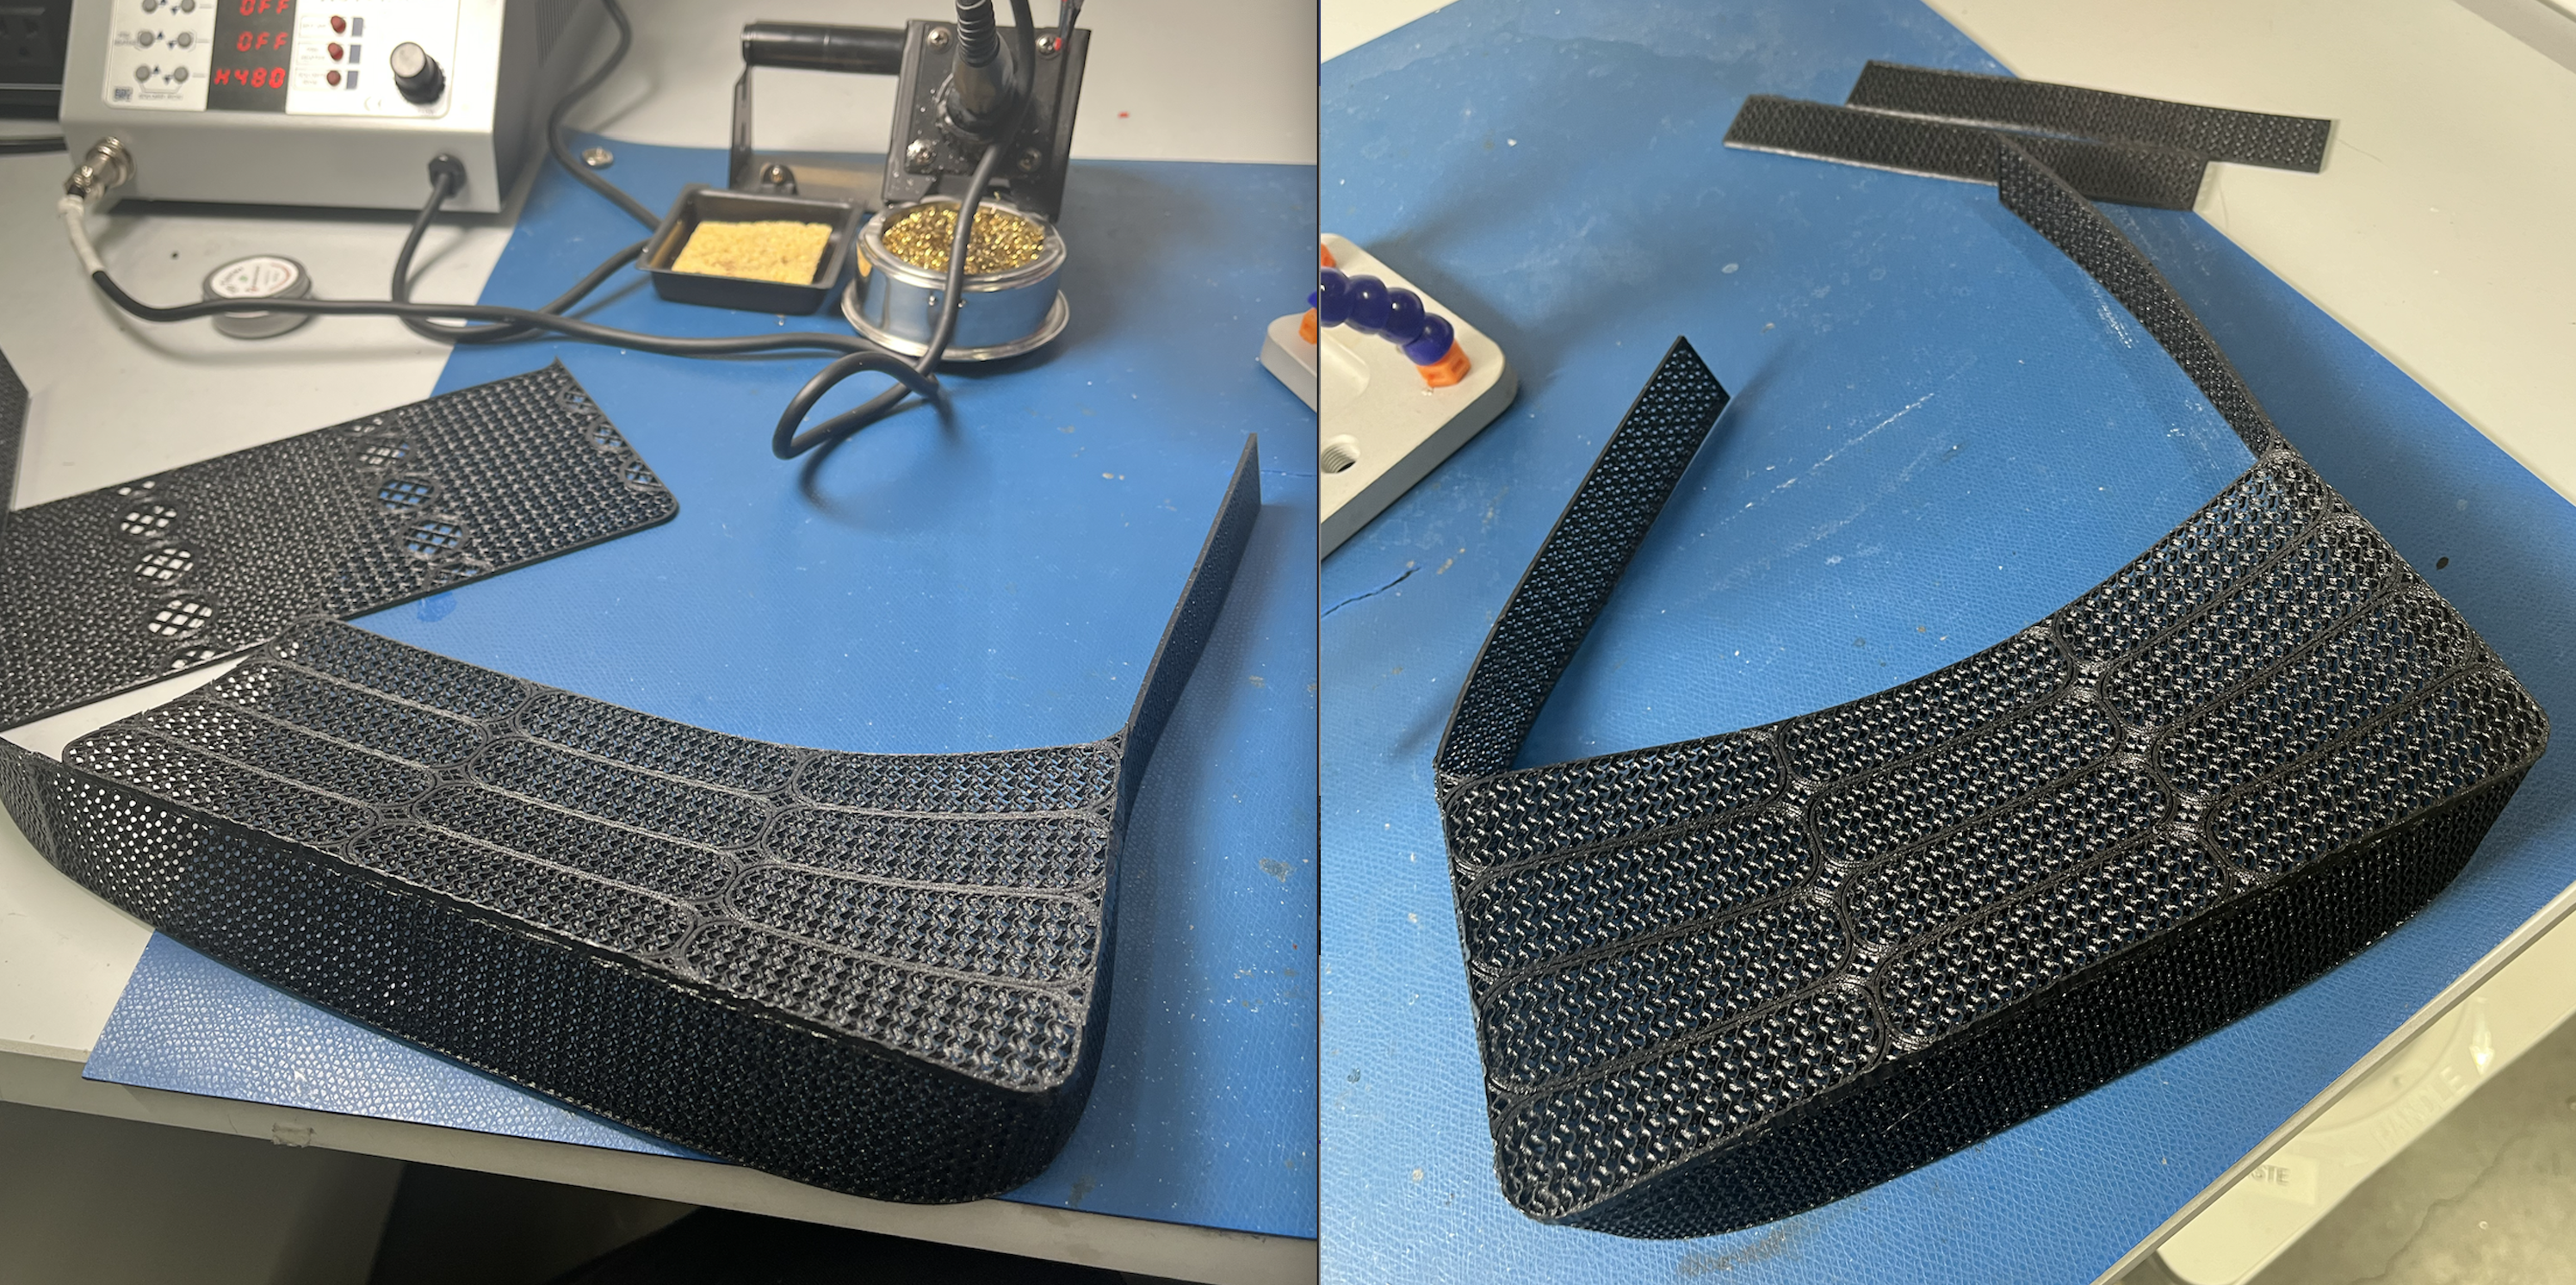
This is a final view of the parts before printing.

I exported the prusa file as gcode and printed it on a 3d printer. I used a flexible filament to give the impression of fabric (i went with overture tpu).
To make use of the bed, I did three prints: one with the front and bottom, one with the sides/handle, one with the back.
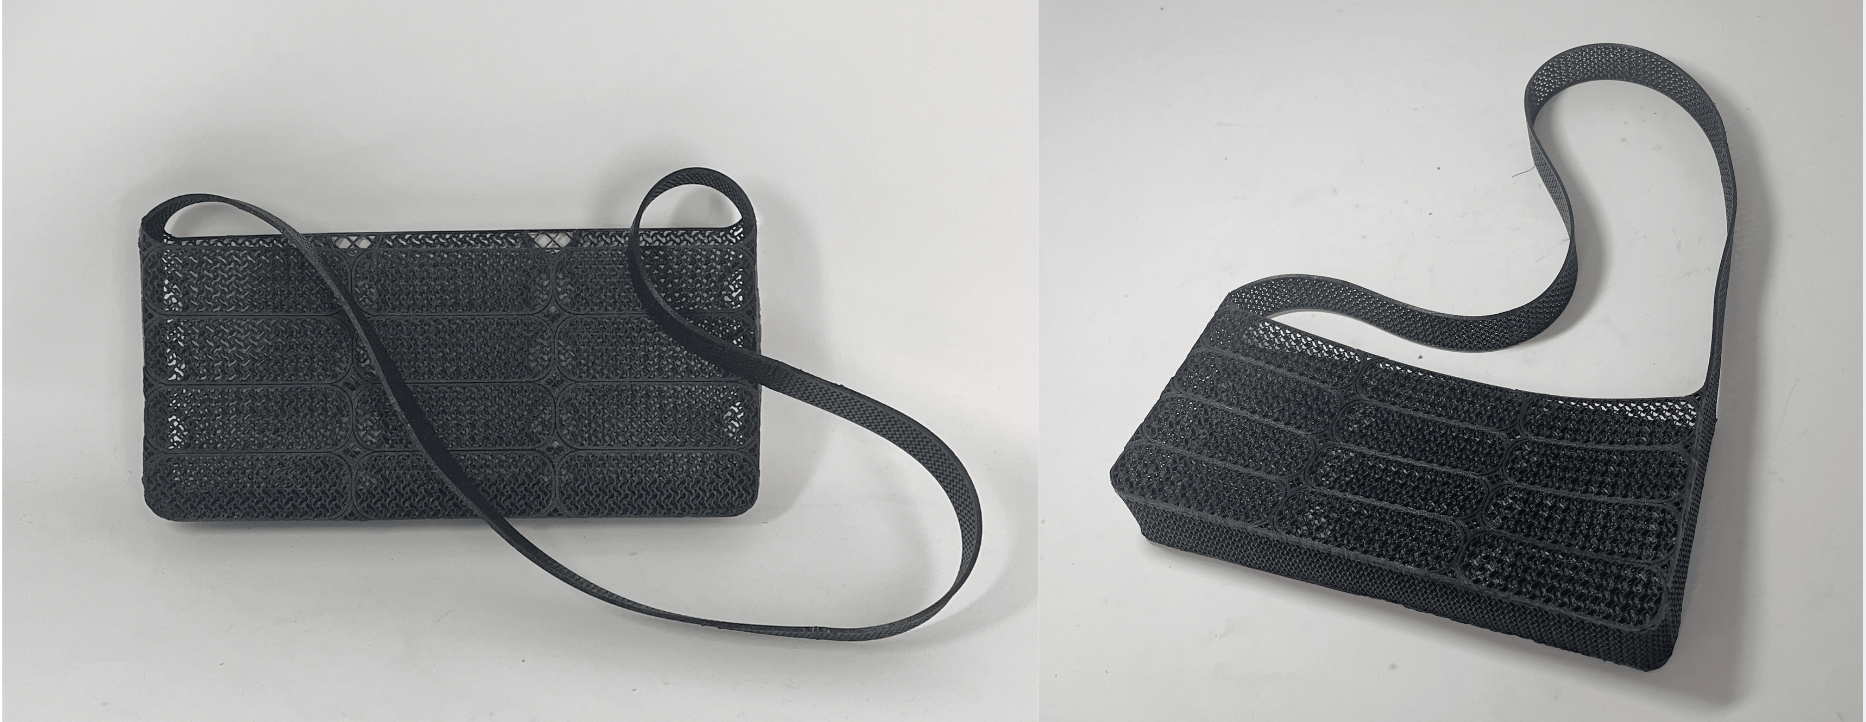
First, I cleaned up the pieces of the bag. Sometimes 3d printing, especially with flexible filament, creates ugly little strands. I used a soldering iron to clean them up.
Second, I made sure the individual parts of the bag were welded together. The elements of the front were printed together but not joined, so I used a soldering iron to weld them together.
Third, I attached the parts to each other. The adhering mechanism for this bag is using heat to create seams. I needed a directed, high heat source so I used a soldering iron. I put pieces together and had the soldering iron glide over the perimeter. It doesn’t require much pressure or time.
The plastic appears to be only self adherent so I don’t think it hurt the soldering iron.
I attached the bottom to the sides, then I attached the front to the bottom. Then, I attached the front to the sides. Then I attached the back to the sides. Then I closed the sides to create a loop/bag handle.
3d scanning my face
I scanned my head using the scanner in the SEC
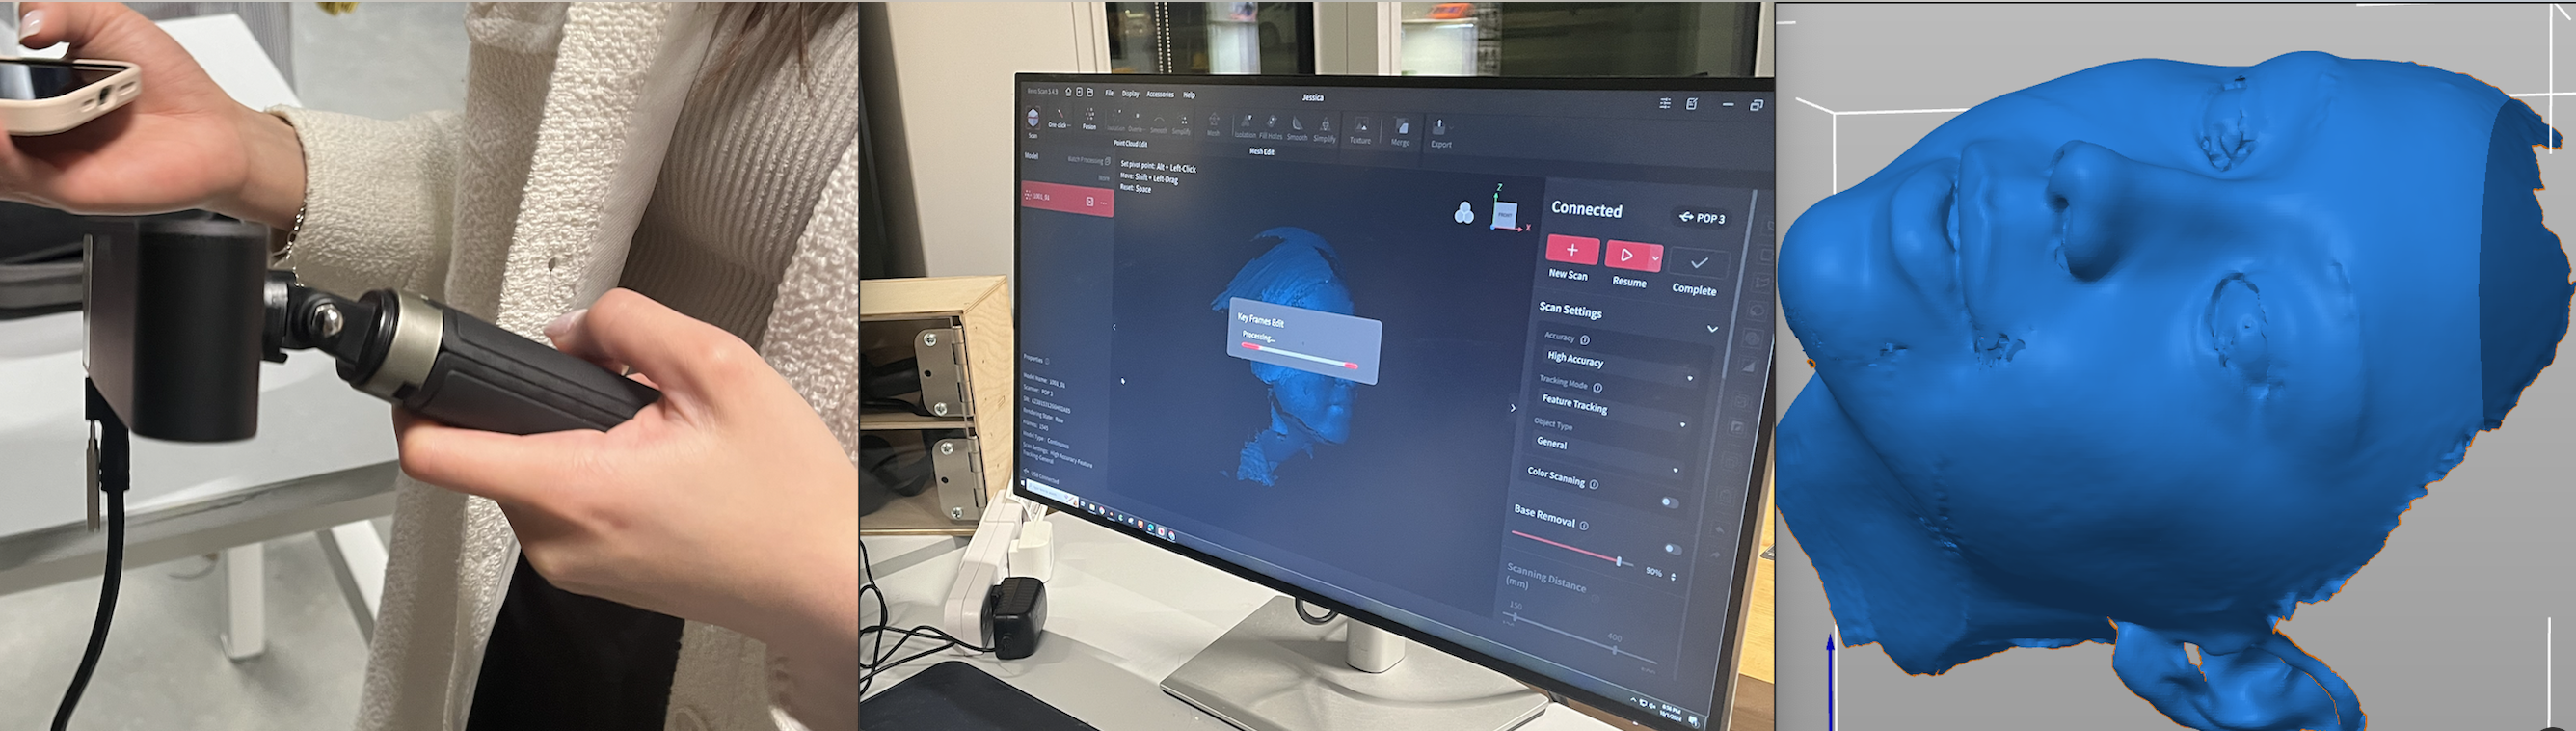
not too much to say here; i used the 3d scanner in the reef, set it up according to the posted instructions, and jessica and bobby helped me get around my full head
overall, the scan was succesful, but it had a lot of trouble capturing my hair, even when we went over it multiple times or very slowly. we came to the conclusion that it was too dark / without texture to be picked up clearly
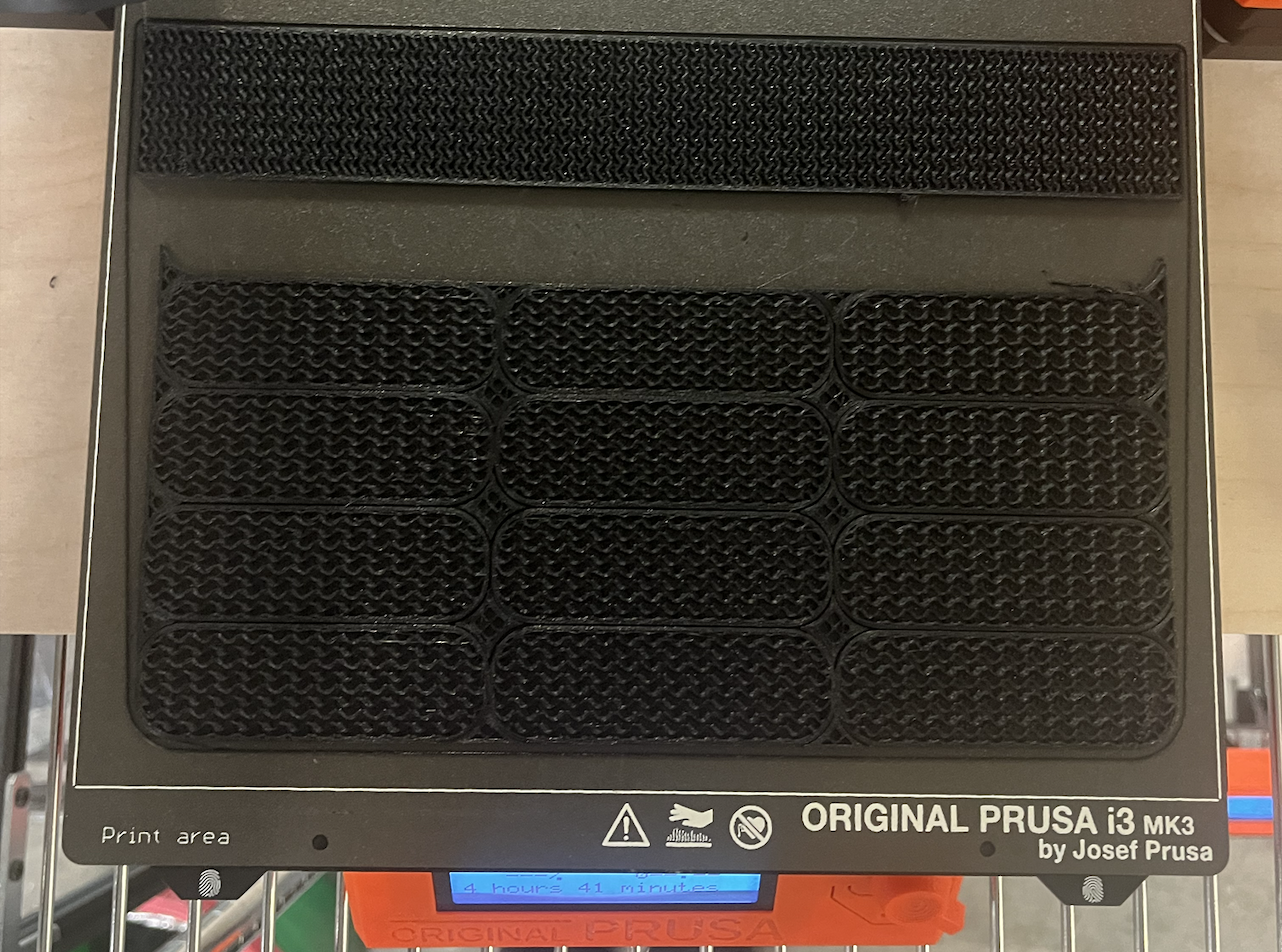
group assignment
we made a test using a design from thingaverse
the test went well; the only parts that failed are those without supports/with overhang. i was surprised that the print completed, but it's clear there are strings of filament hanging off