

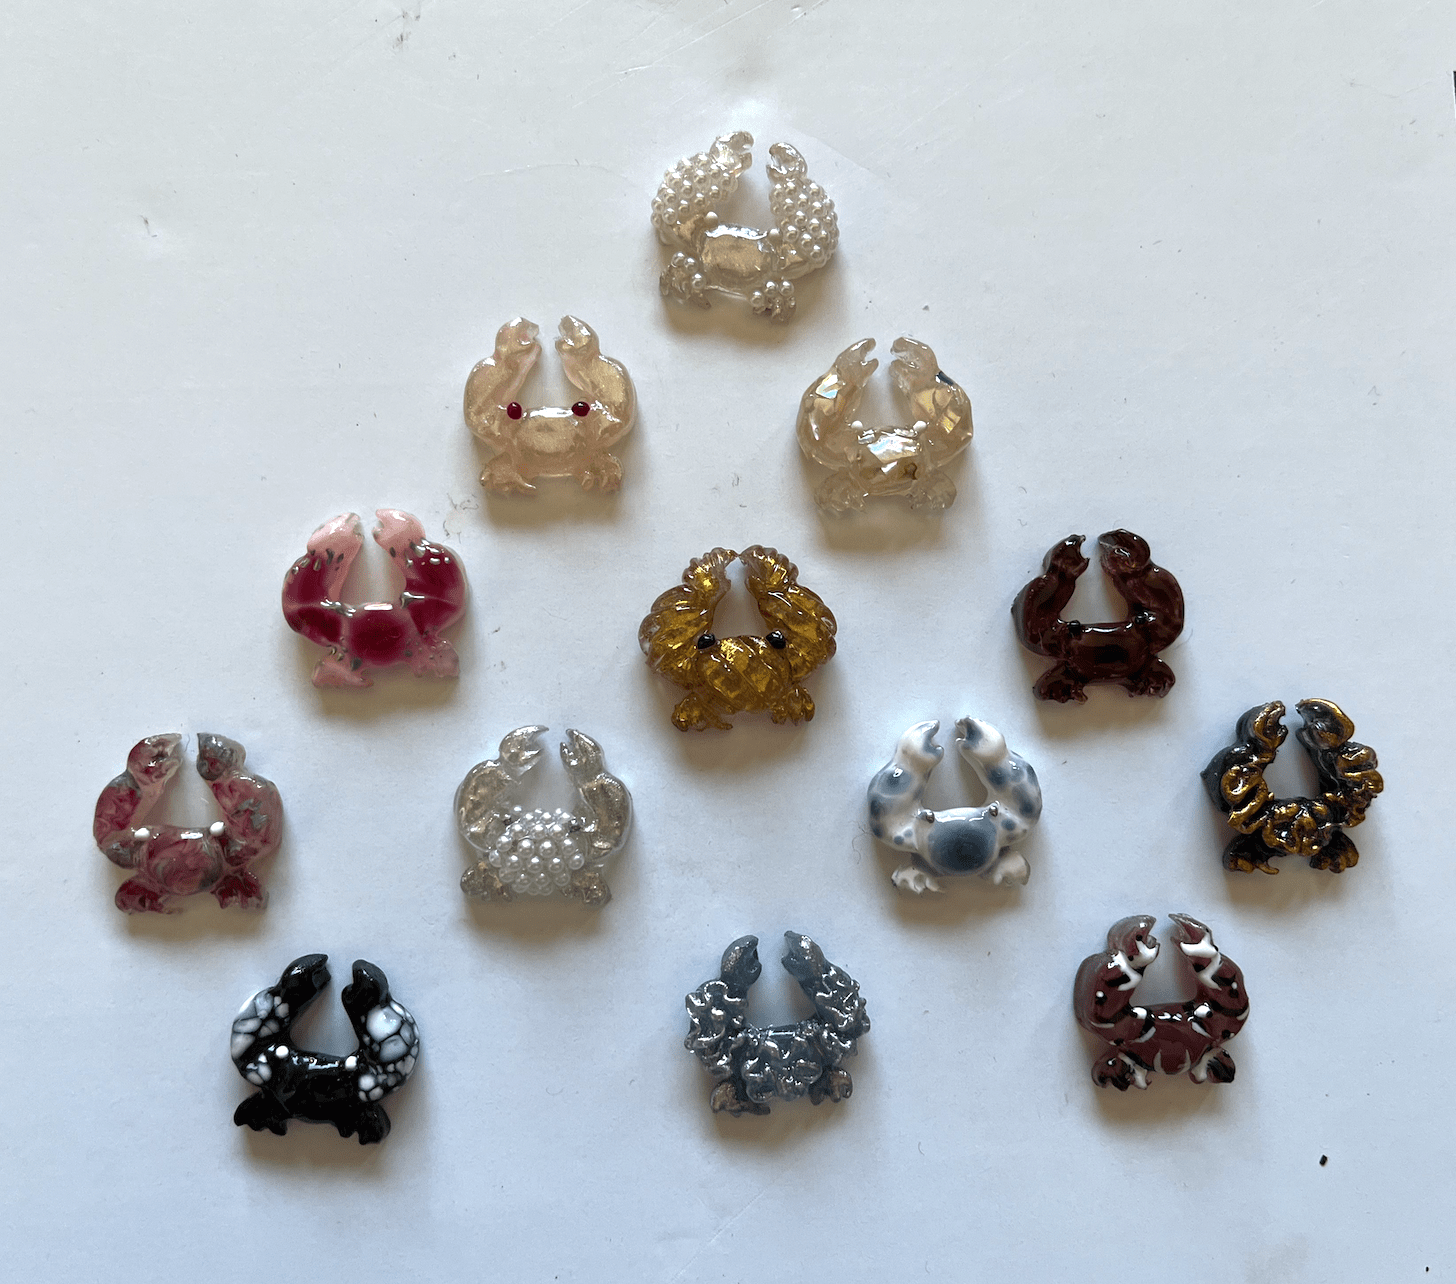
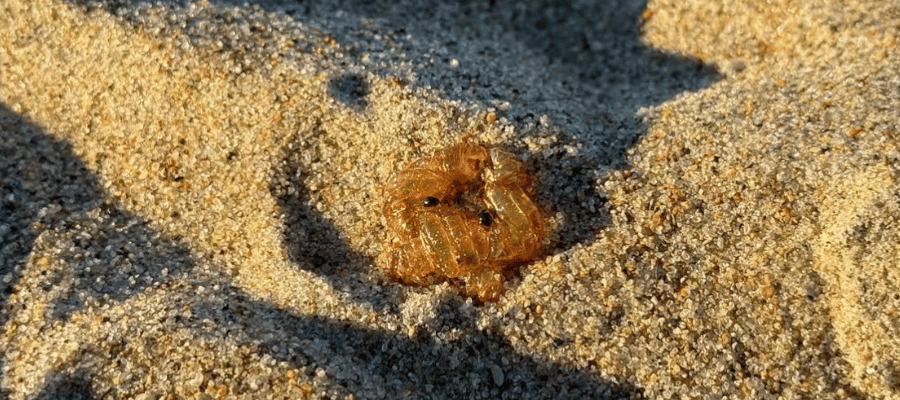
note: these crabs come from my second attempt to make crabs. in my first attempt, i didn’t create my mold using 3d printing/cnc so i had to redo the project. if you’d like to see my first attempt, please scroll to the bottom.
i made a crab in fusion. then i extruded it, beziered (?) the face of the crab to give it a curve, then created a structure around it.
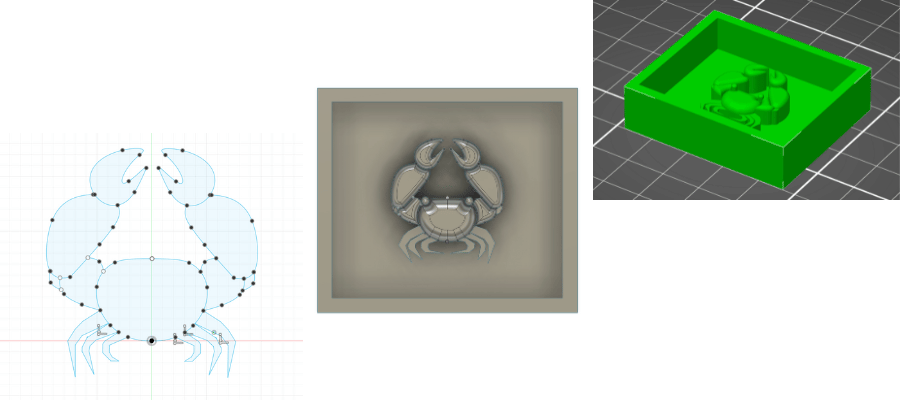
after printing, i used a print coating ( here) to make sure you couldn’t see the lines from printing.
i used this this rubber, mixed in equal parts, then poured into my 3d-printed mold. i poured the rubber in thin layers to minimize air bubbles. after it set, i freed the rubber mold from the 3-d printed mold.
i experimented with a bunch of different casting agents (see first attempt), and i found that this sculpting gel i had on hand worked the best. you can work with it before curing it (almost like playdoh), and it cures under a uv nail lamp in minutes. i cured it in the mold for 2 minutes, demolded it, then cured it under the light for an additional two minutes. i was able to make tons of crabs very quickly. one thing that surprised me was that the cast quality didn’t decrease no matter how many crabs i made. i only had one mold and was able to make ~15 crabs without a dip in quality or the mold breaking.
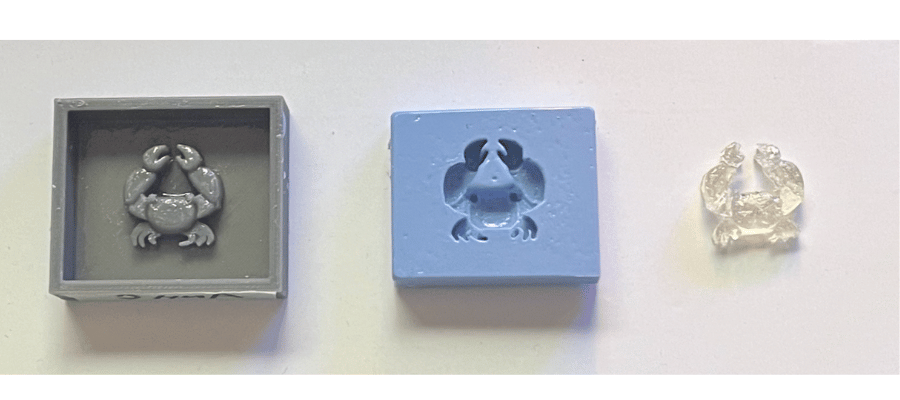
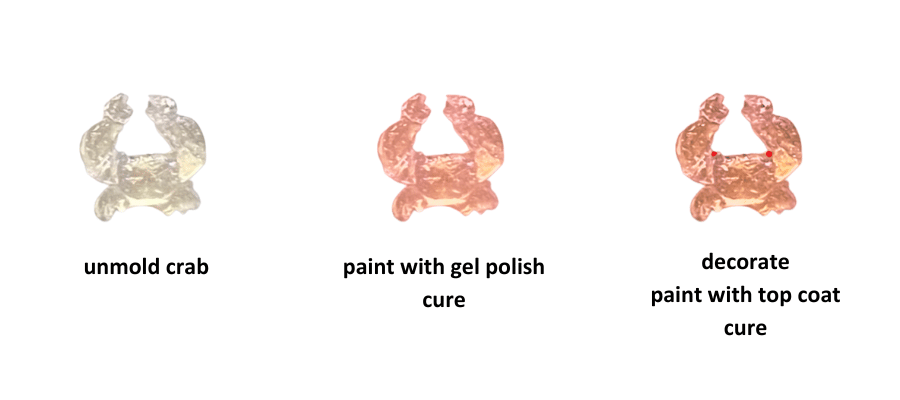
this photo illustrates the entire process. on the left is my 3d printed mold (that has been treated with the brush-on smoother). in the middle is my rubber mold. on the right is a crab that was cast out of the mold.
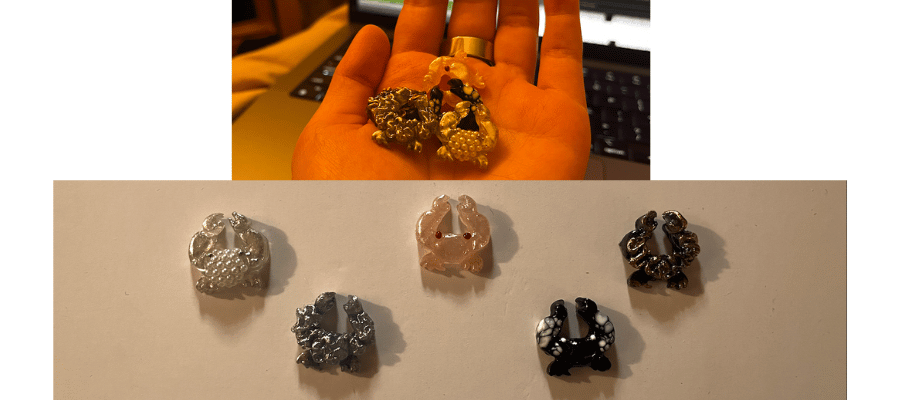
this was basically a free for all. i had the idea of using nail supplies to decorate crabs, and i had a lot on hand. i gave each crab a base coat, then i added decorations (more nail polishes in different colors, using sculpting gel on top, adding pearls or shells). i continually cured the crab under my uv lamp as i would when doing my nails. lastly, i finished every crab with a top coat and a long cure to make sure it stayed shiny!
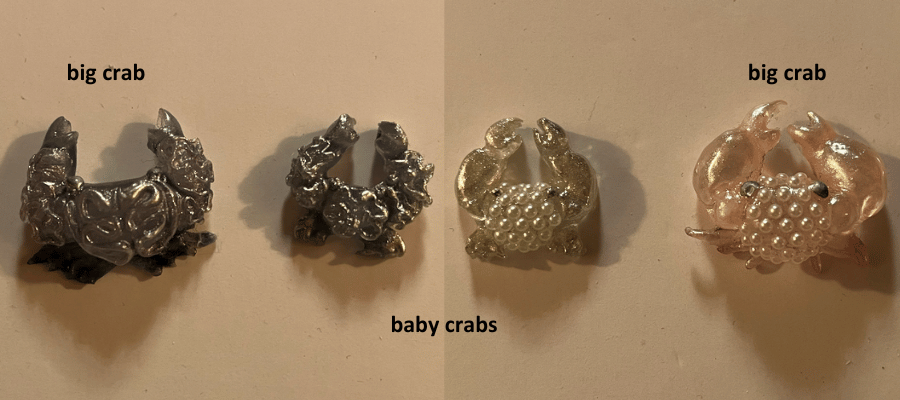
here are some of my new crabs decorated. you can see the difference in size and quality between my second attempt (baby crabs) and my first attempt (big crabs)
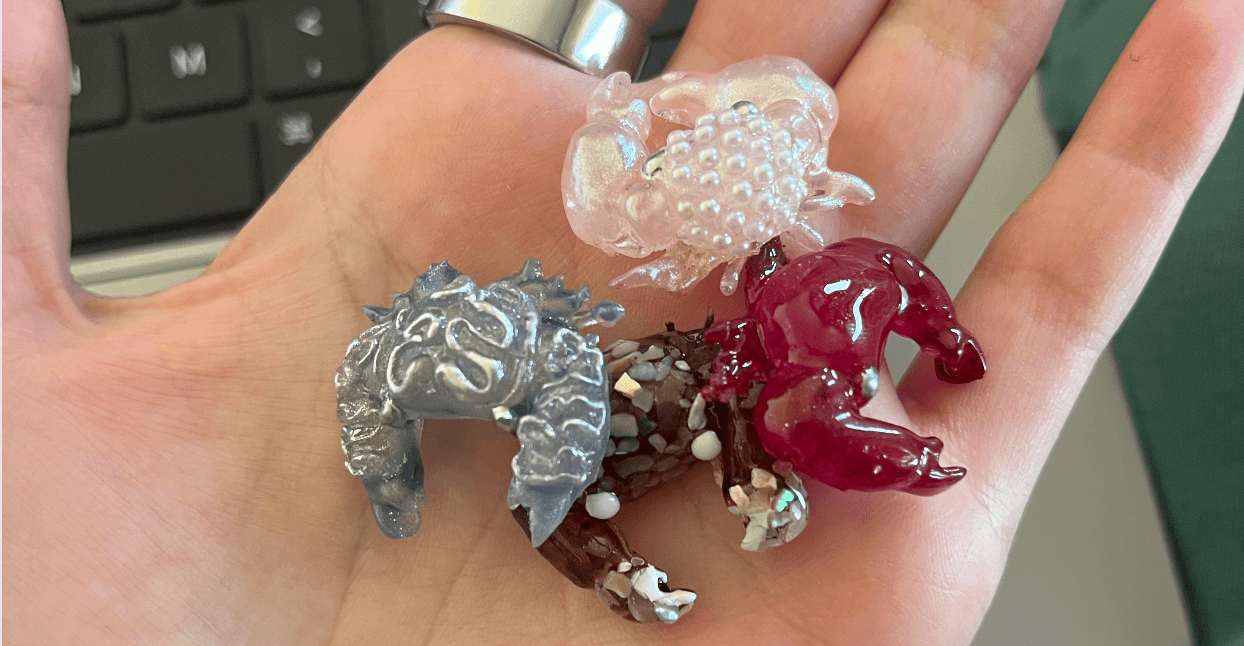
making little crabs
this week, i made some little crabs. i was traveling so *spoiler* i did not mill my molds or 3d print my positives (my b). instead, i sculpted some little decorated crabs.
step 1: sculpting
i used oven-baked modeling clay to make a couple nice looking crabs and one armless teddy bear
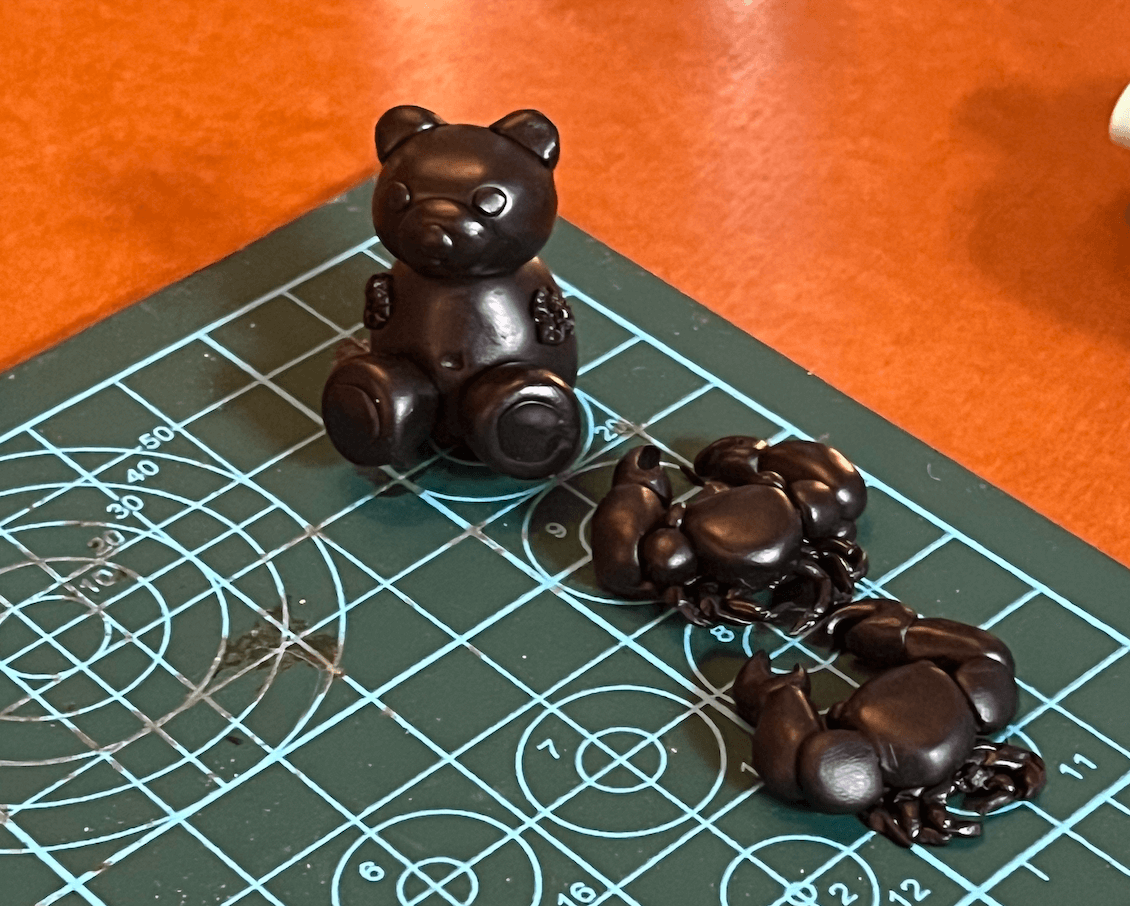
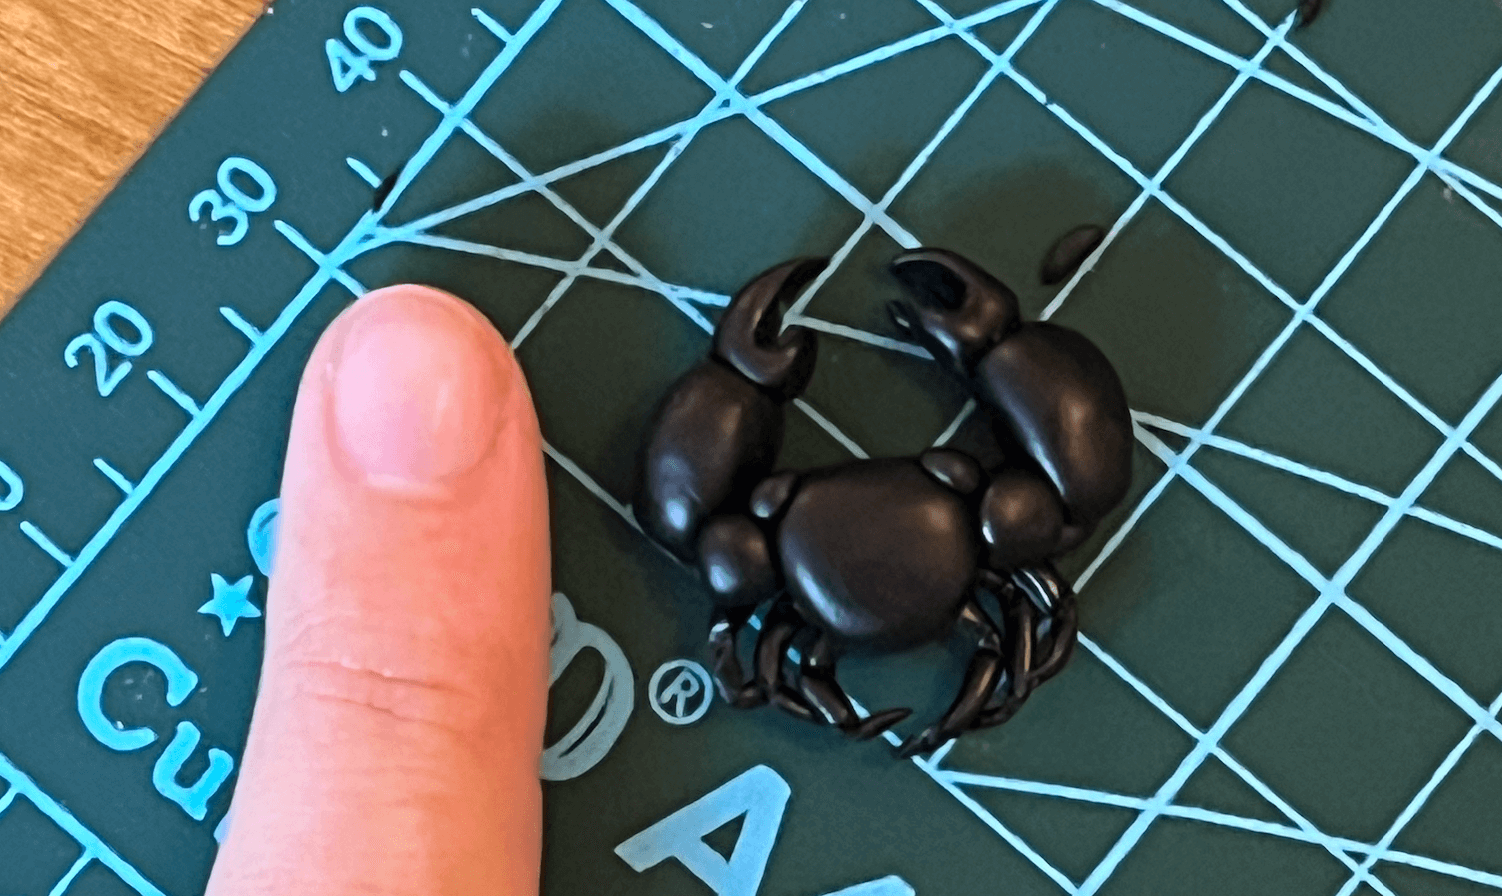
step 2: making molds
i used oomoo to make the molds. i chopped off the mixing cups to have a good container for the mold. i started with just making molds of two crabs (using equal parts of the rubber and allowing the mold to sit overnight). after i made those molds, i made one more so i could get more crabs made.
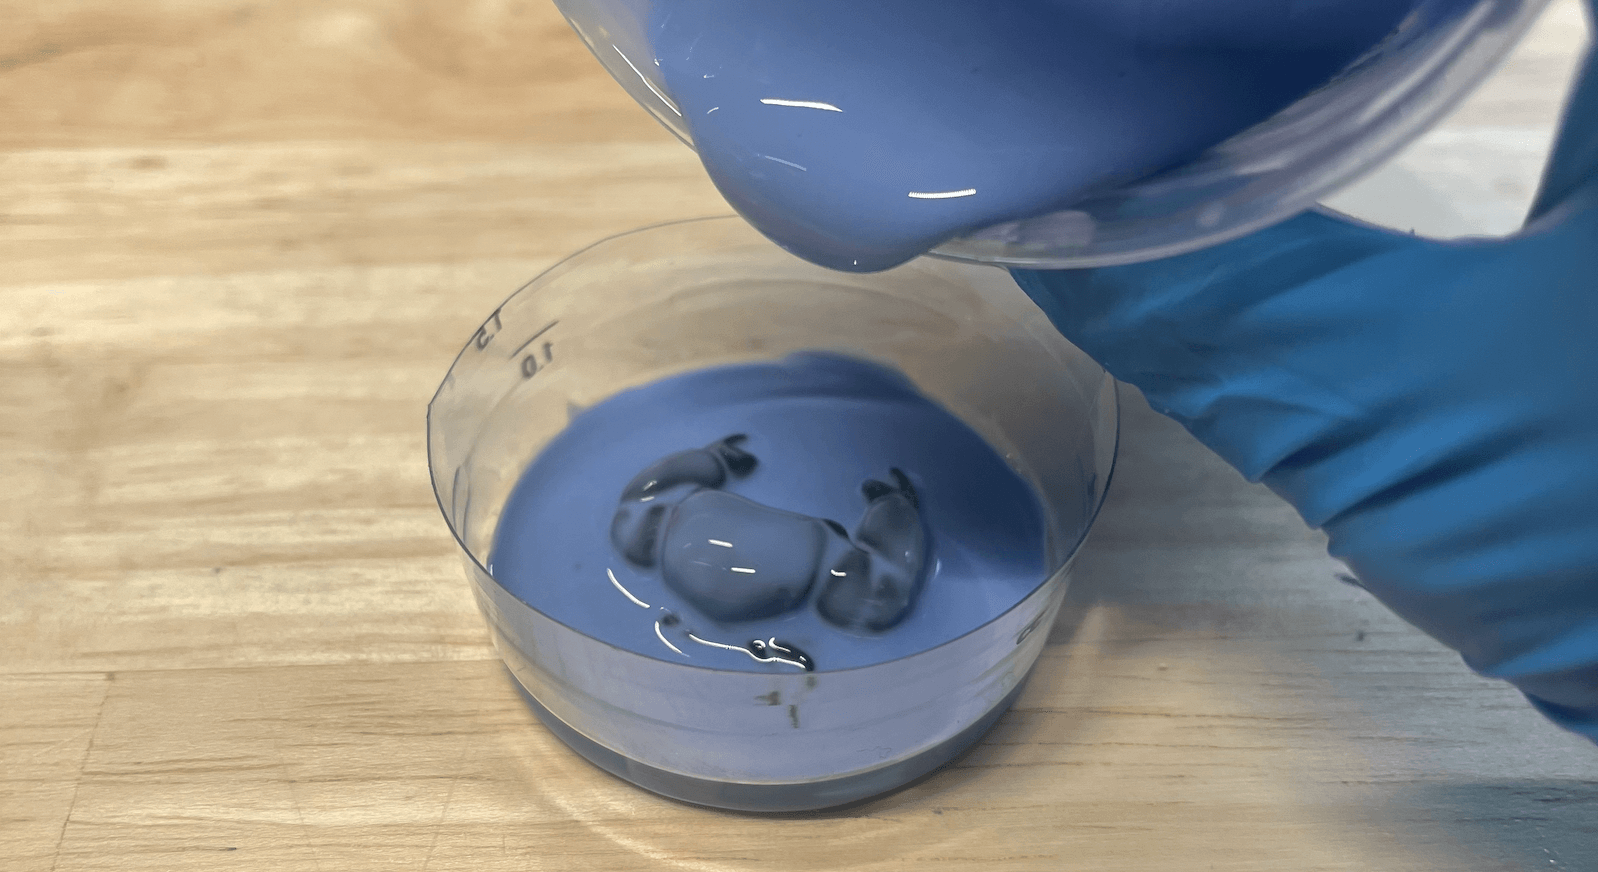
i poured the mold in layers so that airbubbles didn't form
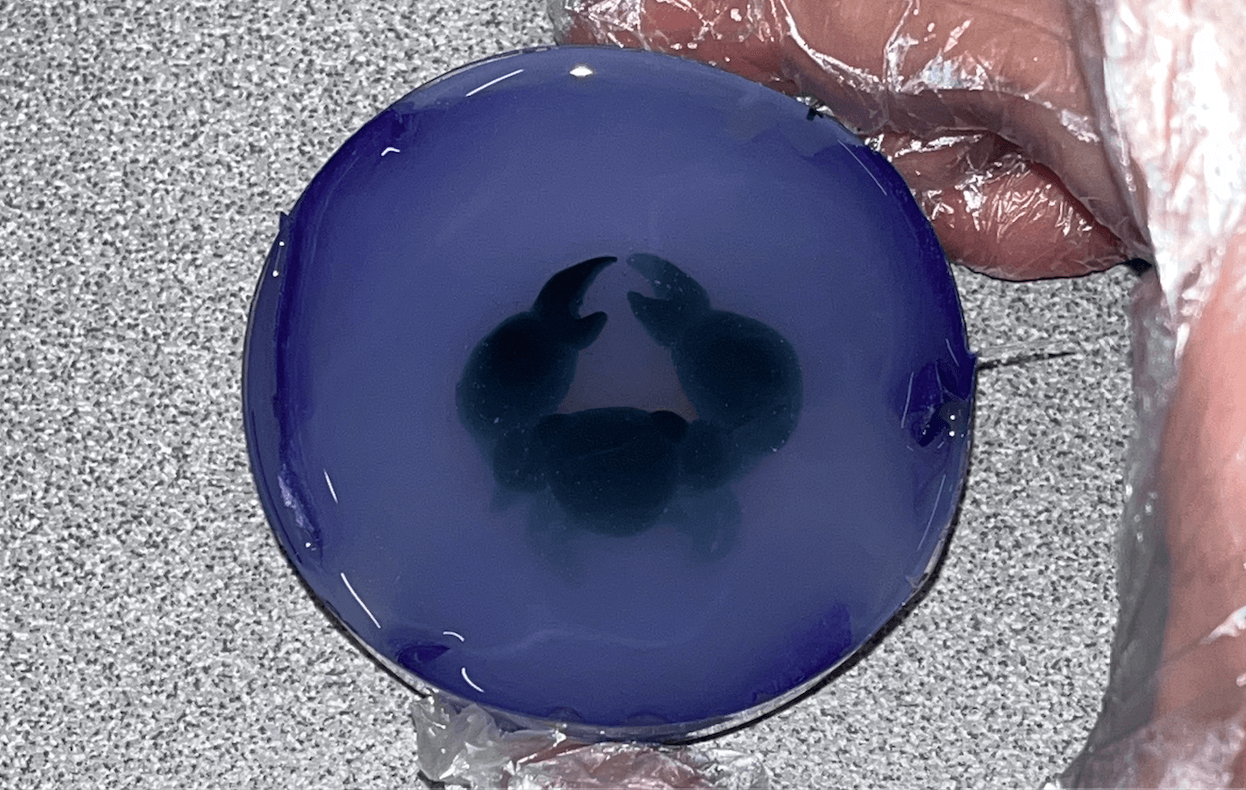
the biggest difficulty was getting the crabs to sit in the mold mixture before it set. they were really light so when i placed it on the bottom it would rise to the top. i decided to just mold them upside down, gluing the bottom of the crab to a stick then placing the crab face down in the rubber mixture.
step 3: casting
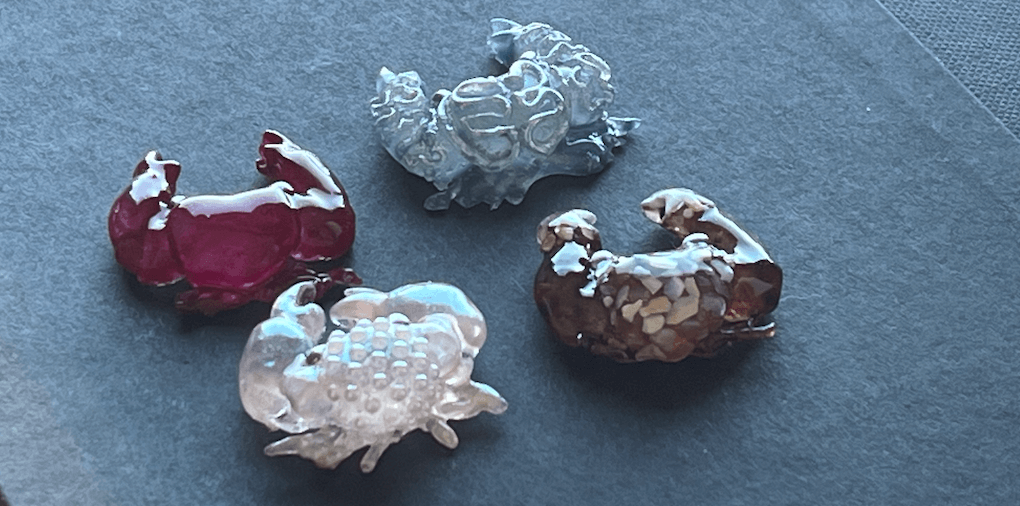
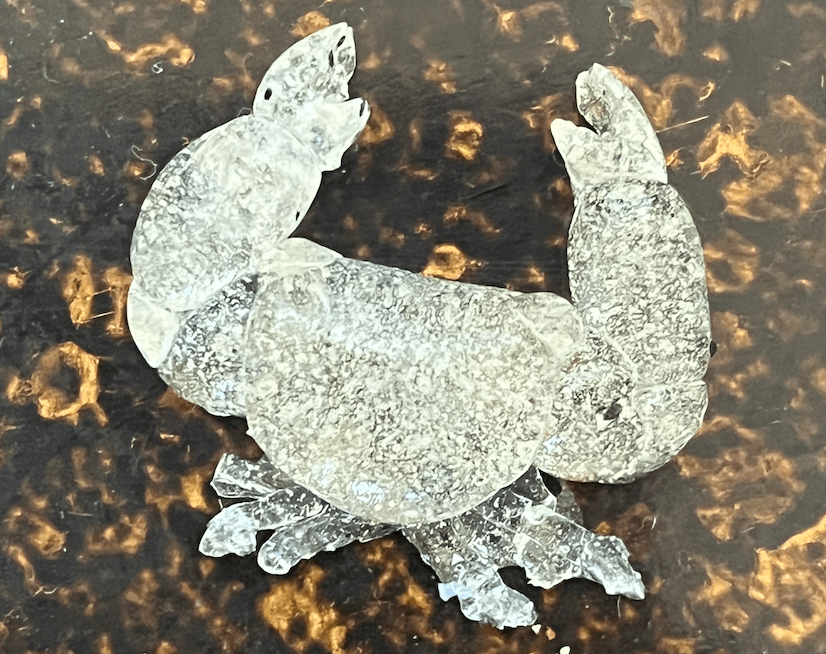
i wanted clear (or at least translucent) crabs, so i used a variety of epoxy resins until i found one that worked. the long-curing epoxy gave me the best results, but the quick curing epoxy was good enough for the project even though they had lots of little air bubbles.
please note that this fulfills a portion of the group assignment
step 4: decorating
to decorate, i first demolded the casted crabs. then i cleaned them up by sanding them. then i wiped them with alcohol and began painting and decorating using nail supplies. i cured everything under a uv light.
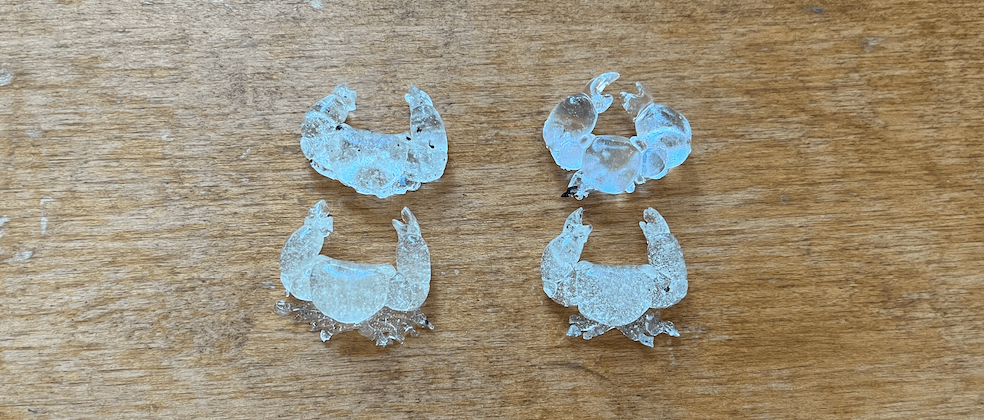
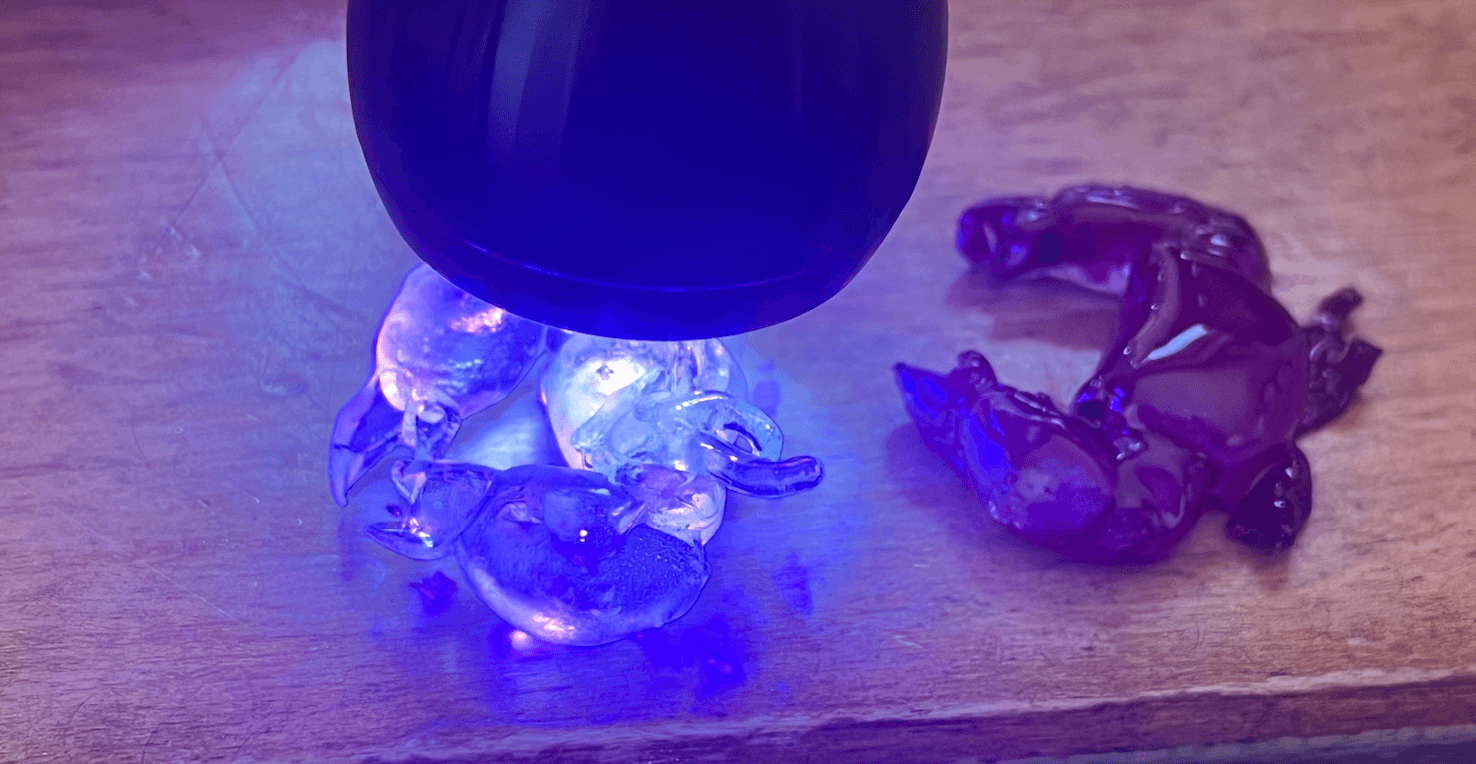
please see above for different casting agents. in terms of comparing mold-making techniques, i compared oomoo and wax with CNC milling. i think the appeal of wax is that it is quicker (you don't have to 3d print and then make a mold). in my opinion, the result from wax is way too rigid, especially for the scope of this project.