Laser and Vinyl Cutting
Cardboard Cutting
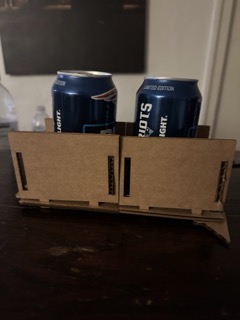
Building a beer holder for my dorm
Step 1: Drawing a Design
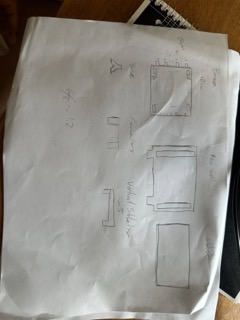
I started off by roughly sketching out what I wanted to build on paper. I sketched each individual piece and used some rough measurements based on the size of a beer can to ensure that it would fit.
Step 2: Making the Design
I decided the best course of action was to figure out how to use CAD, so I watched a couple of YouTube videos on how Fusion works and designed the pieces for my contraption there. I used parametric design to keep consistent, which came in handy when I had to adjust the thickness parameter due to the cardboard I was using being thinner than anticipated. This also helped keep my hole insert sizes consistent.
Step 3: Export to DXF
After completing the design, I exported the files to DXF format for laser cutting.
Step 4: Laser Cutting
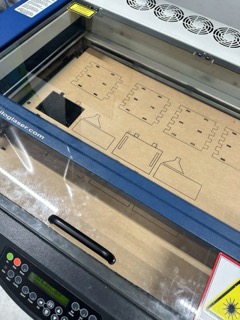
After struggling a bit, I realized how to import my DXF file properly into Illustrator, which is used on the laser cutter in the REEF Makerspace. I needed a 1:1 scale. I then set the laser cutter settings to 45 speed, 100 power, and 5000 frequency. This was slightly slower than initially recommended for cardboard; however, after some tests, I realized this is optimal, likely due to the material being thicker than most.
Construction
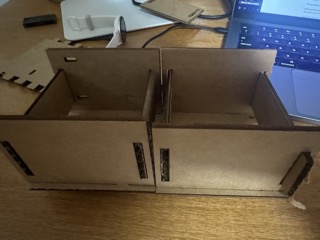
After I printed everything out, I assembled my piece. Sadly, it was not as structurally sound as I had hoped and collapsed under the weight of the beer.
Vinyl Cutting
Picking a Design
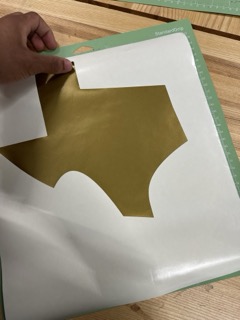
Because I am from Texas, I decided it would be best to print out the Texas logo, so I used a vector image of Texas.
The image was sourced from SVG Repo.
Printing
Next, I learned how to operate the vinyl cutter machine and printed out the design.
Peeling
I then peeled off the outside paper carefully and laid the stickier paper over it.