3D Scanning and Printing
Scanning
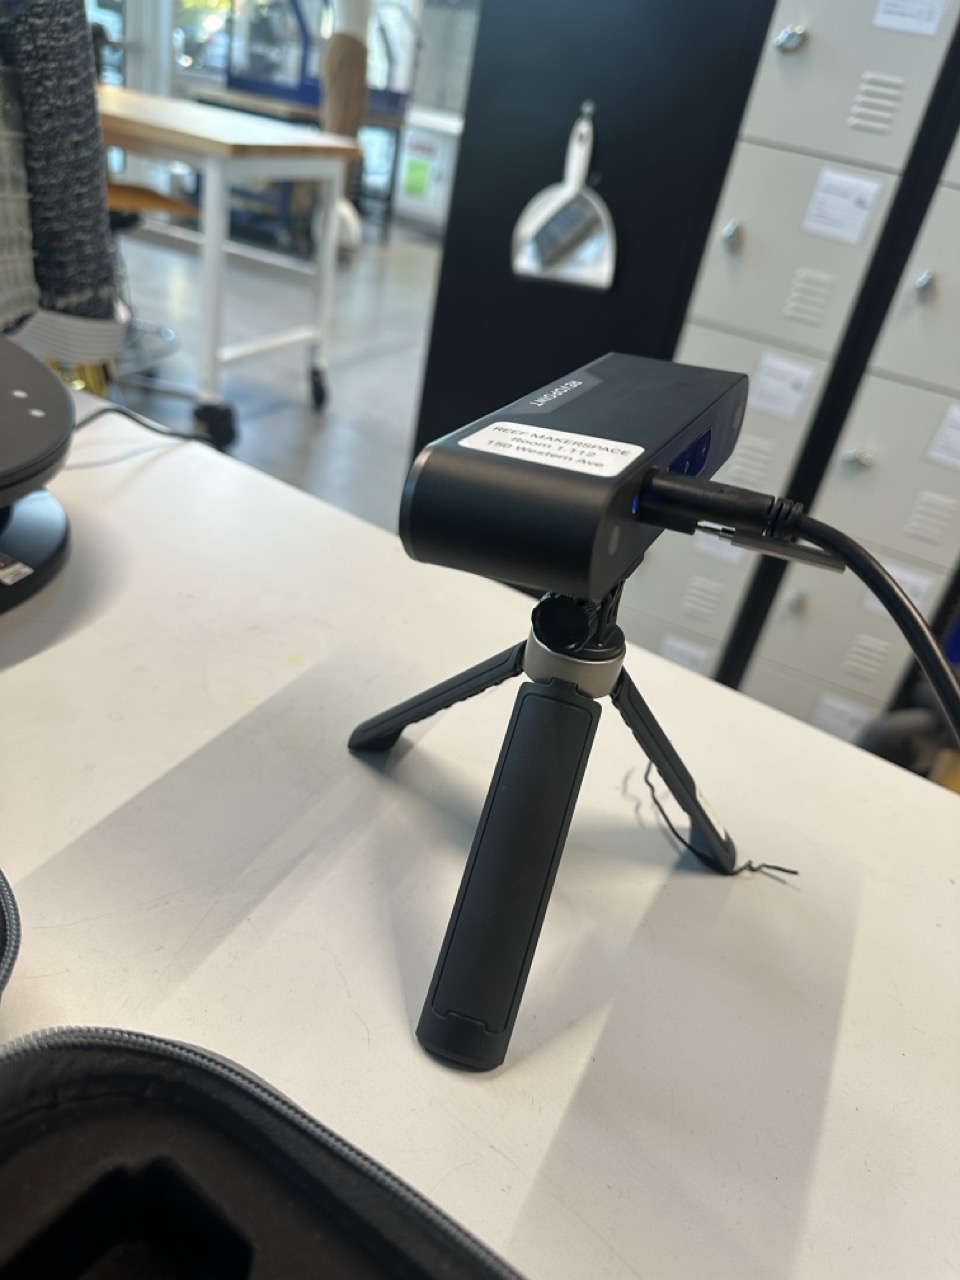
I started this week figuring out how to use a scanner at Gail’s office hours. Because it was white and I had it on me, I figured scanning a bottle of ibuprofen could be an interesting place to start and learn. So I set up the scanner base which allows the bottle to rotate. Next, I set up the scanner itself on a tripod.

My initial scan did not capture the top of the bottle so I realized that I had to put the base at a more steep angle. I was then able to capture the totality of the bottle in the scan. This scan can be seen below.
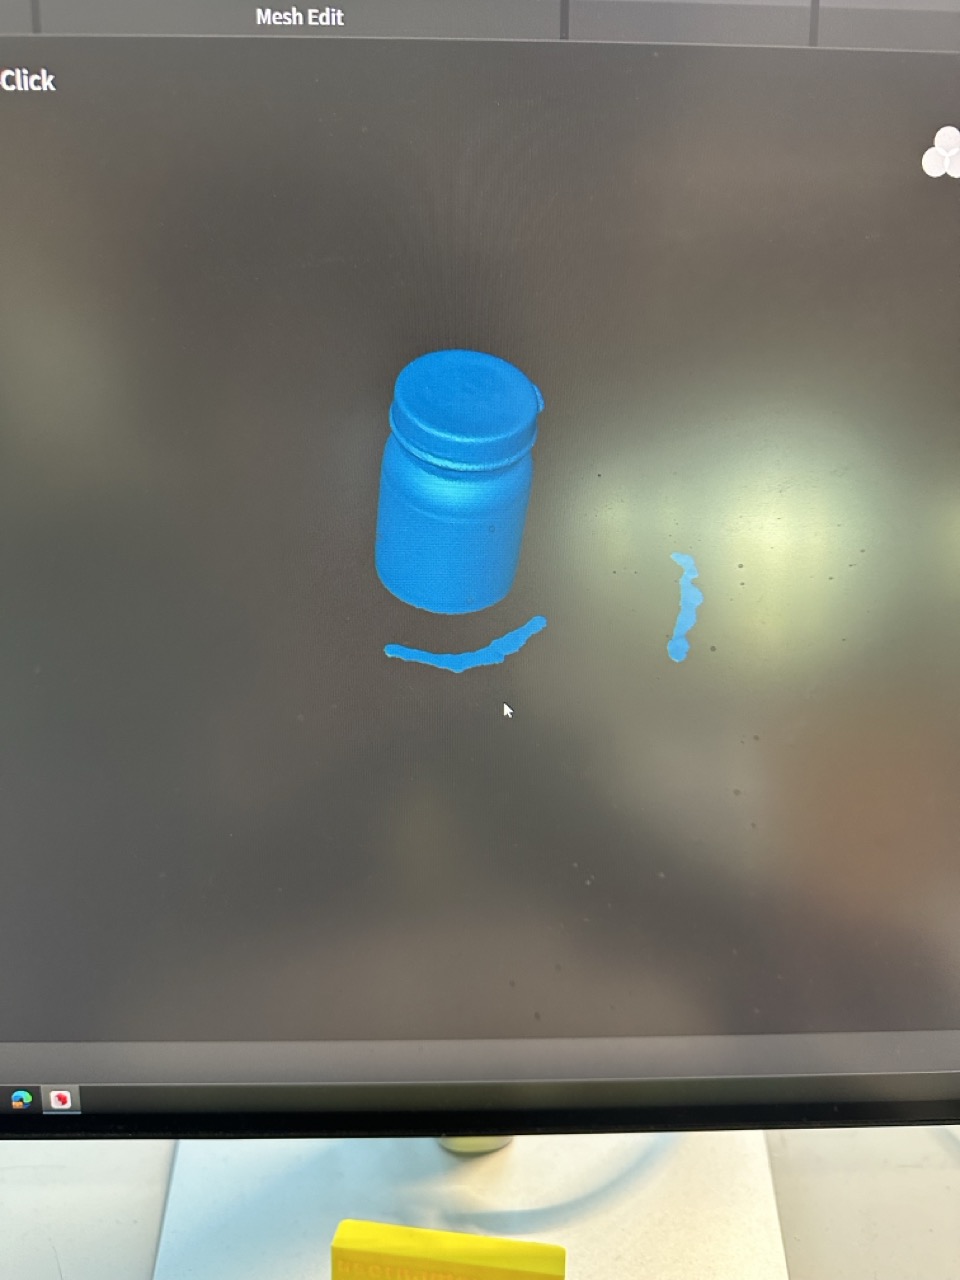
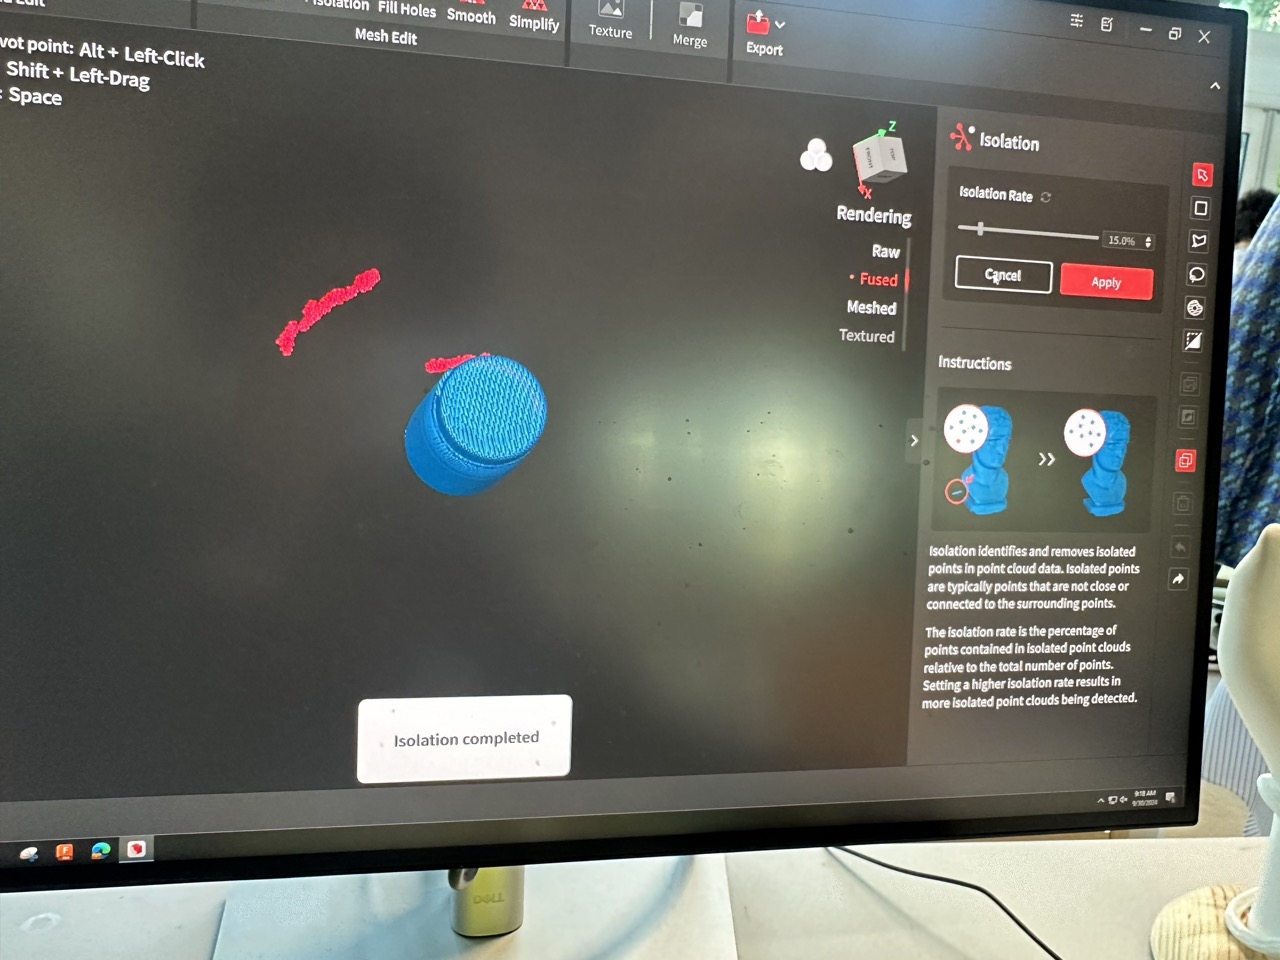
After doing a one-touch cleanup in the software, I got the final scan. While it was a bit grainy, the scan came out pretty well overall. The only downside was that there were some outlier random pieces in the scan. To take care of this, I used the isolation function in the program, which searches for things outside the main object and then I deleted these excess pieces.
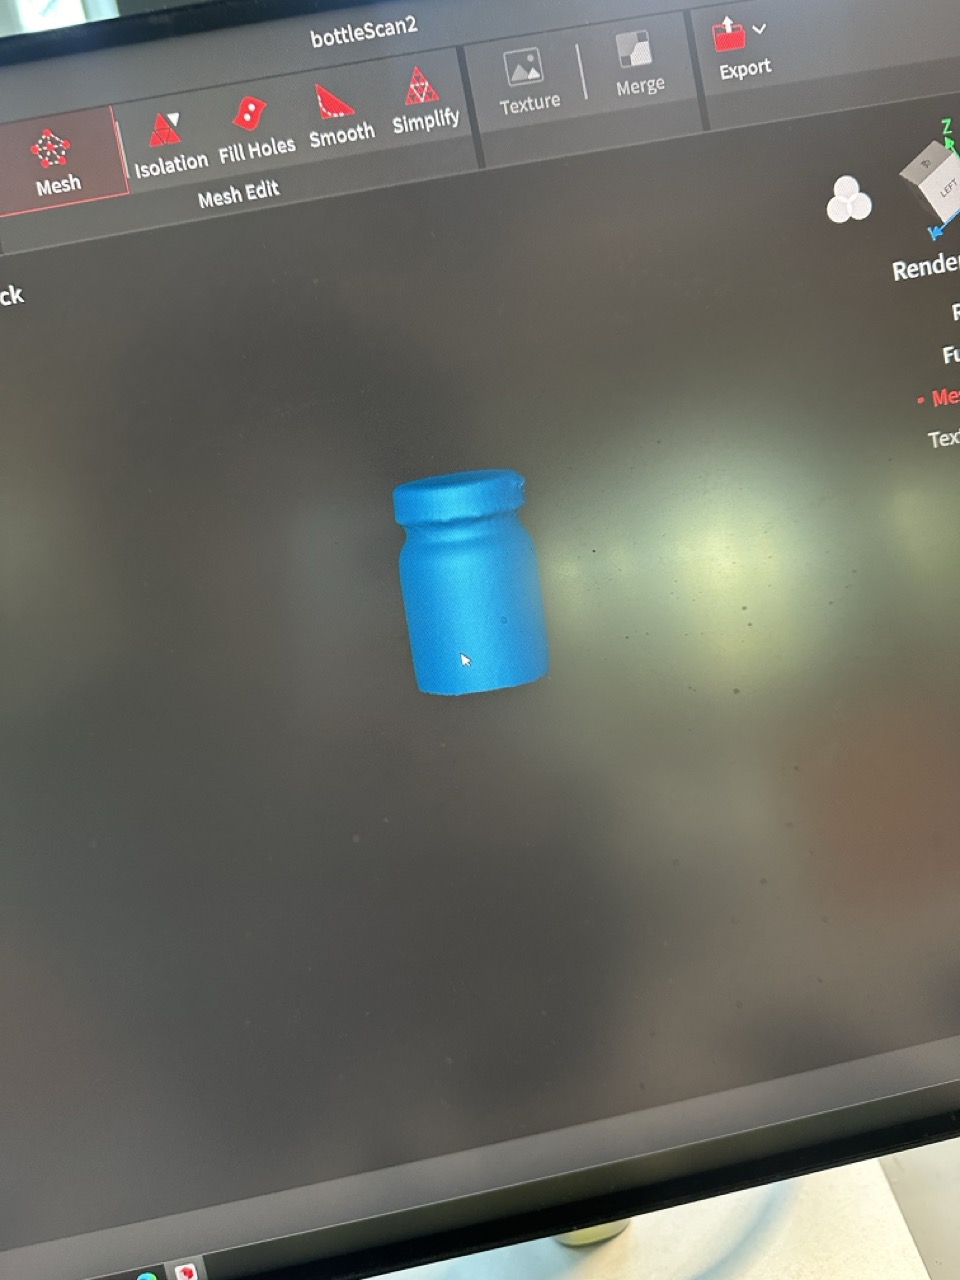
My final product is below.
Group Project
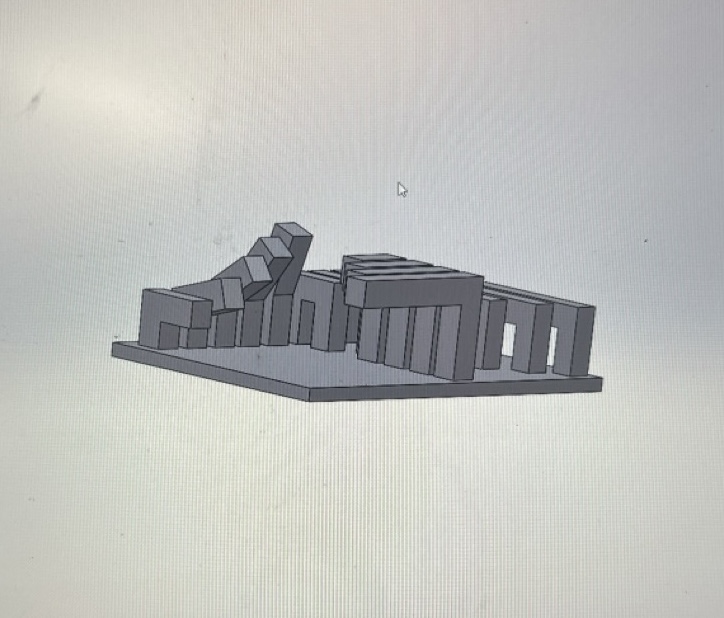
For the group project this week, I worked with David C., Alek K., Namirah Q., and Sara F. We were able to print a basic tester to see how far we could push the 3D printers. The design used is shown below. The design has various angles to see at what incline the printer can print, as well as tests for the length in which it can print on a straight bar. In the back, there are also tests for thickness.
It ended up coming out surprisingly well, in that it is possible to visualize what was in the SketchUp. However, it is still clear that the 3D printer has limitations to printing without supports.
3D Printing
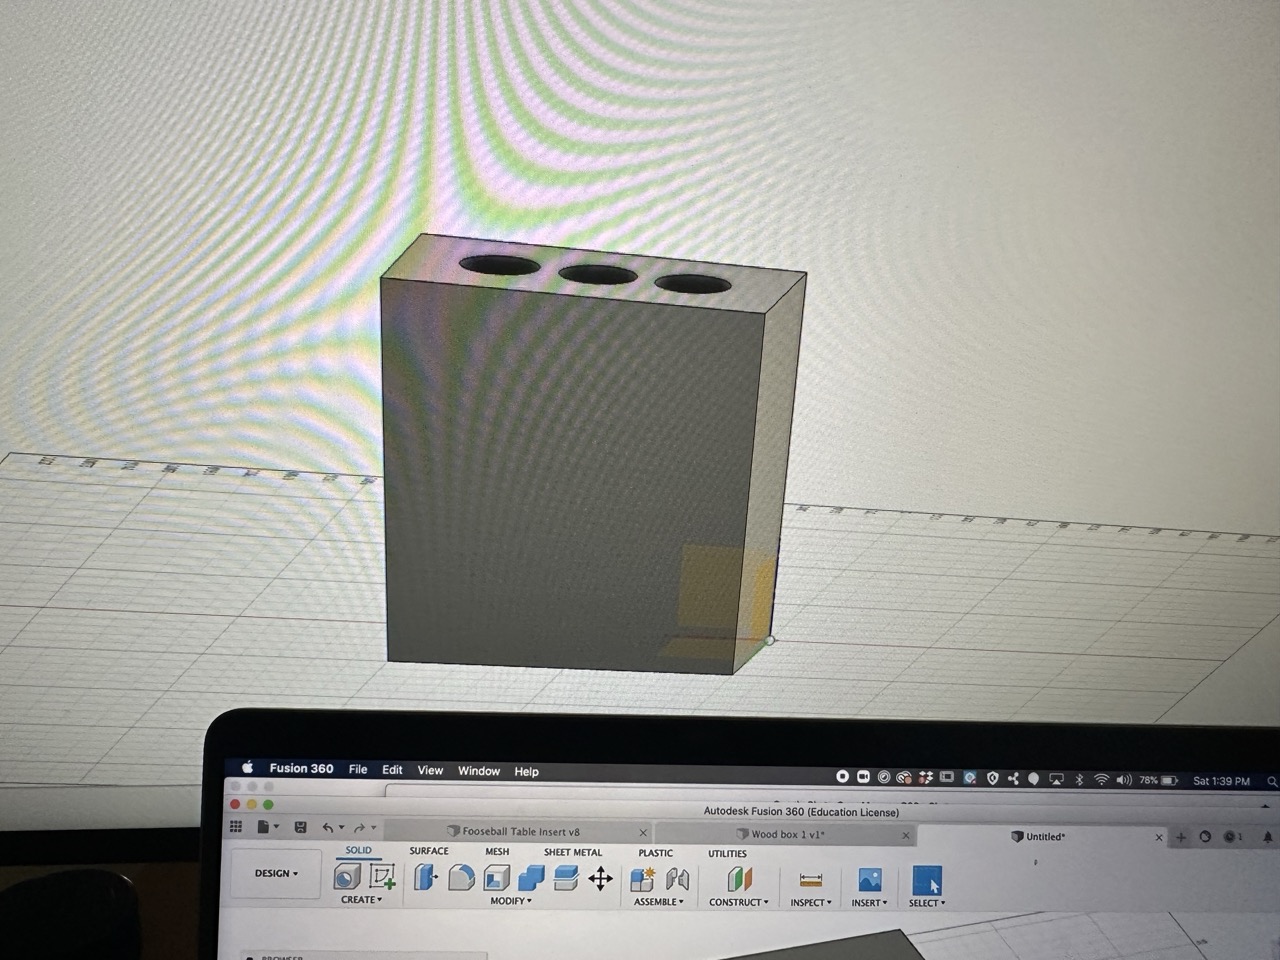
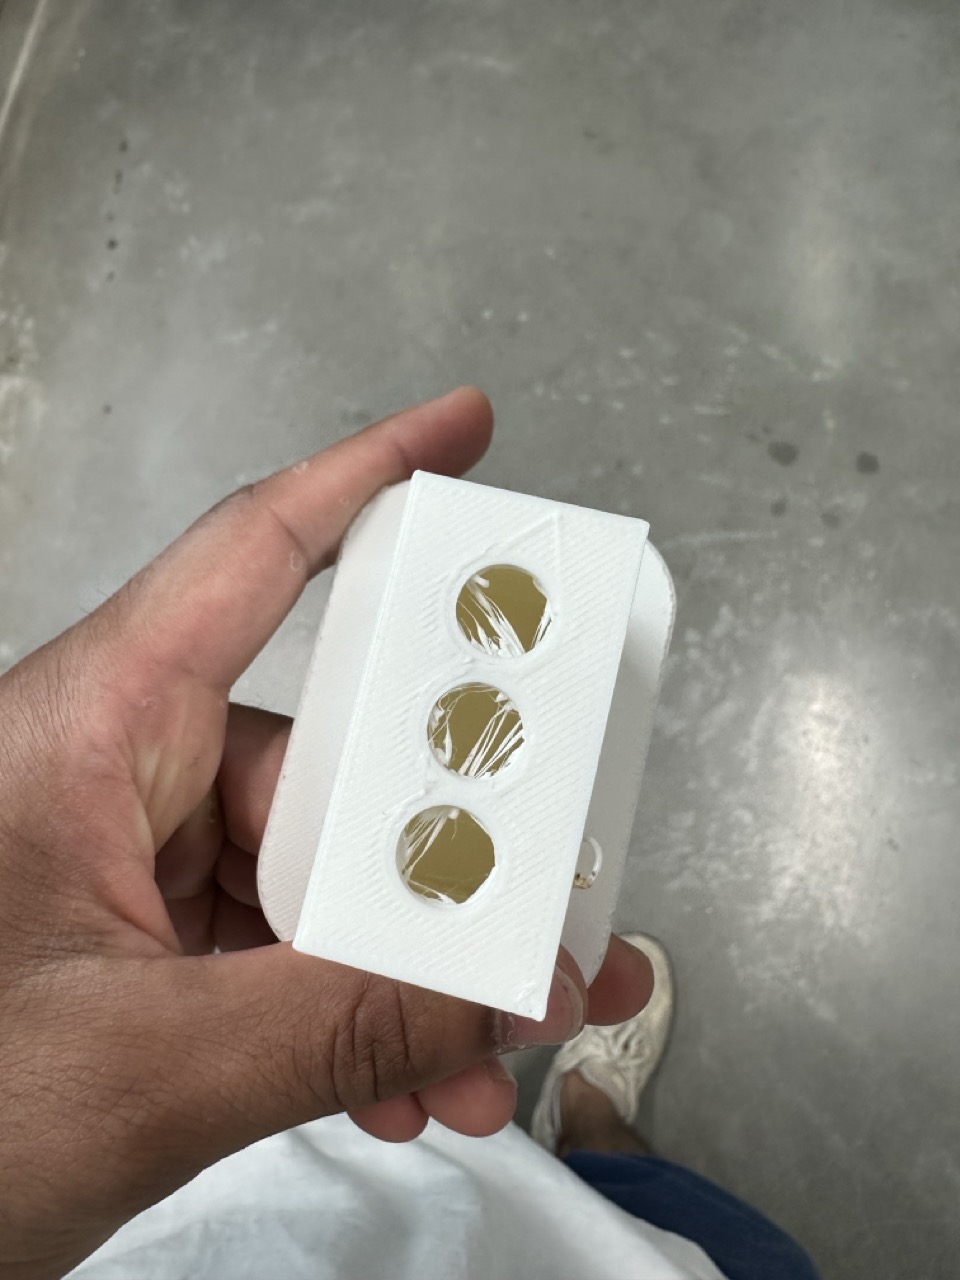
For the design and print portion of this week’s assignment, I initially decided to try and test the limits of the 3D printer by designing something to hold pencils on my desk. I first designed it in Fusion by making a box, then using the shell function to hollow out the box. Lastly, I made three holes by cutting into the top of the box. The design was pretty simple.
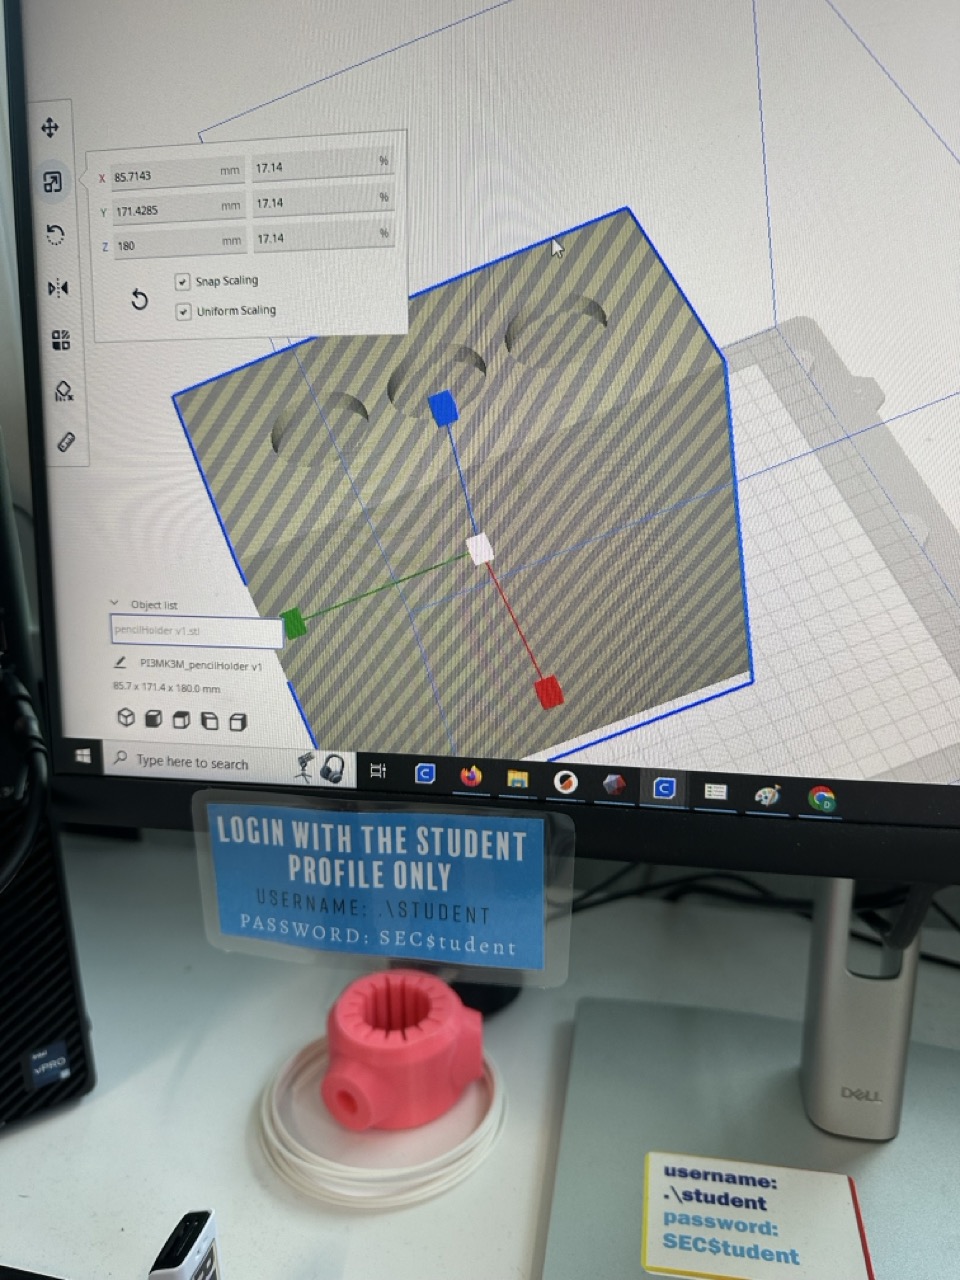
After learning how to use the 3D printer, I uploaded my design into the software. I realized that when I was making the holder, I accidentally implied that 100 mm = 1 cm (I know, dumb mistake). This caused my dimensions to be much too big for the printer bed. I then made some adjustments in the software itself.
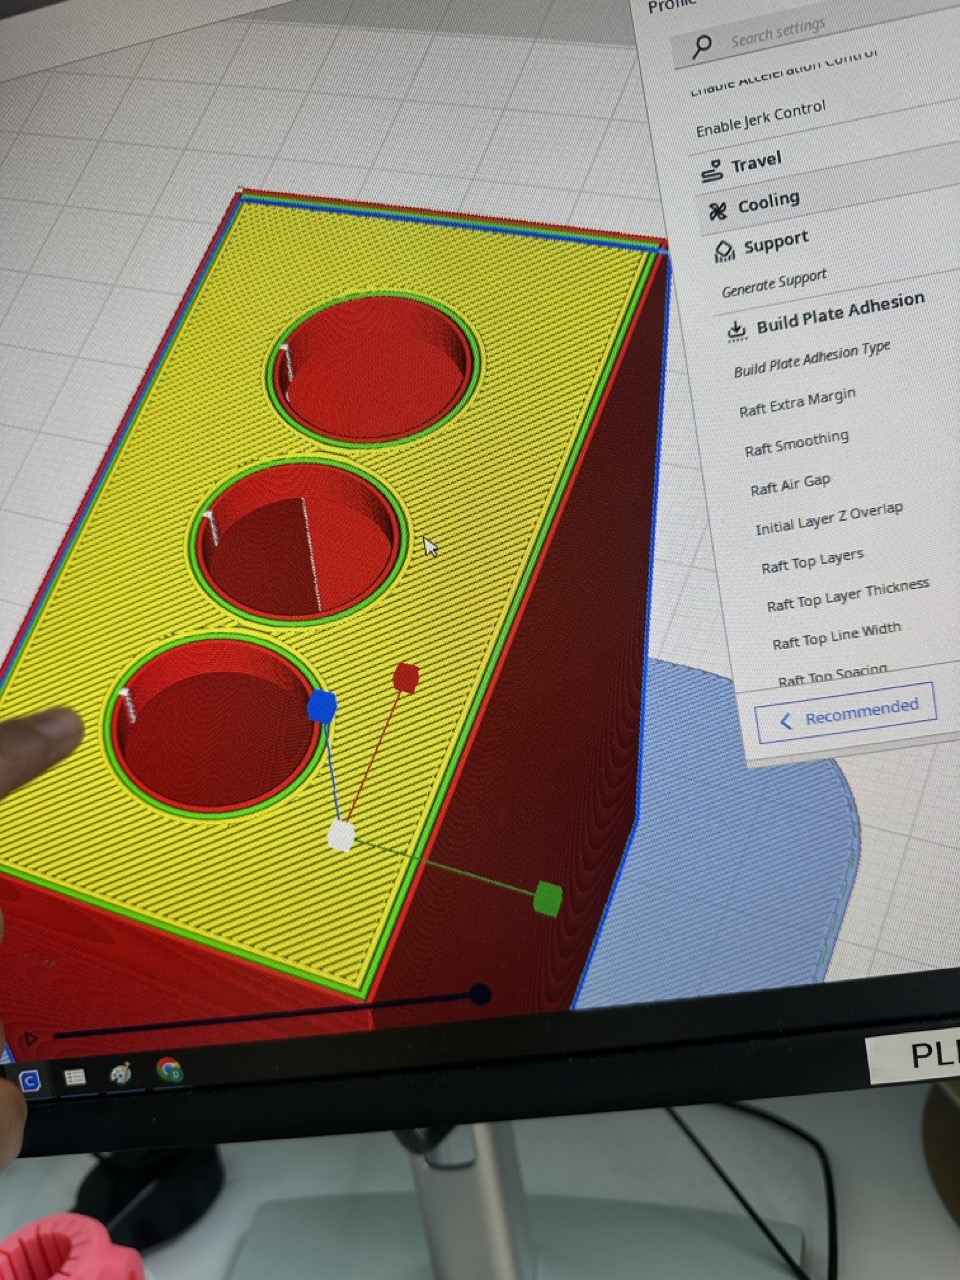
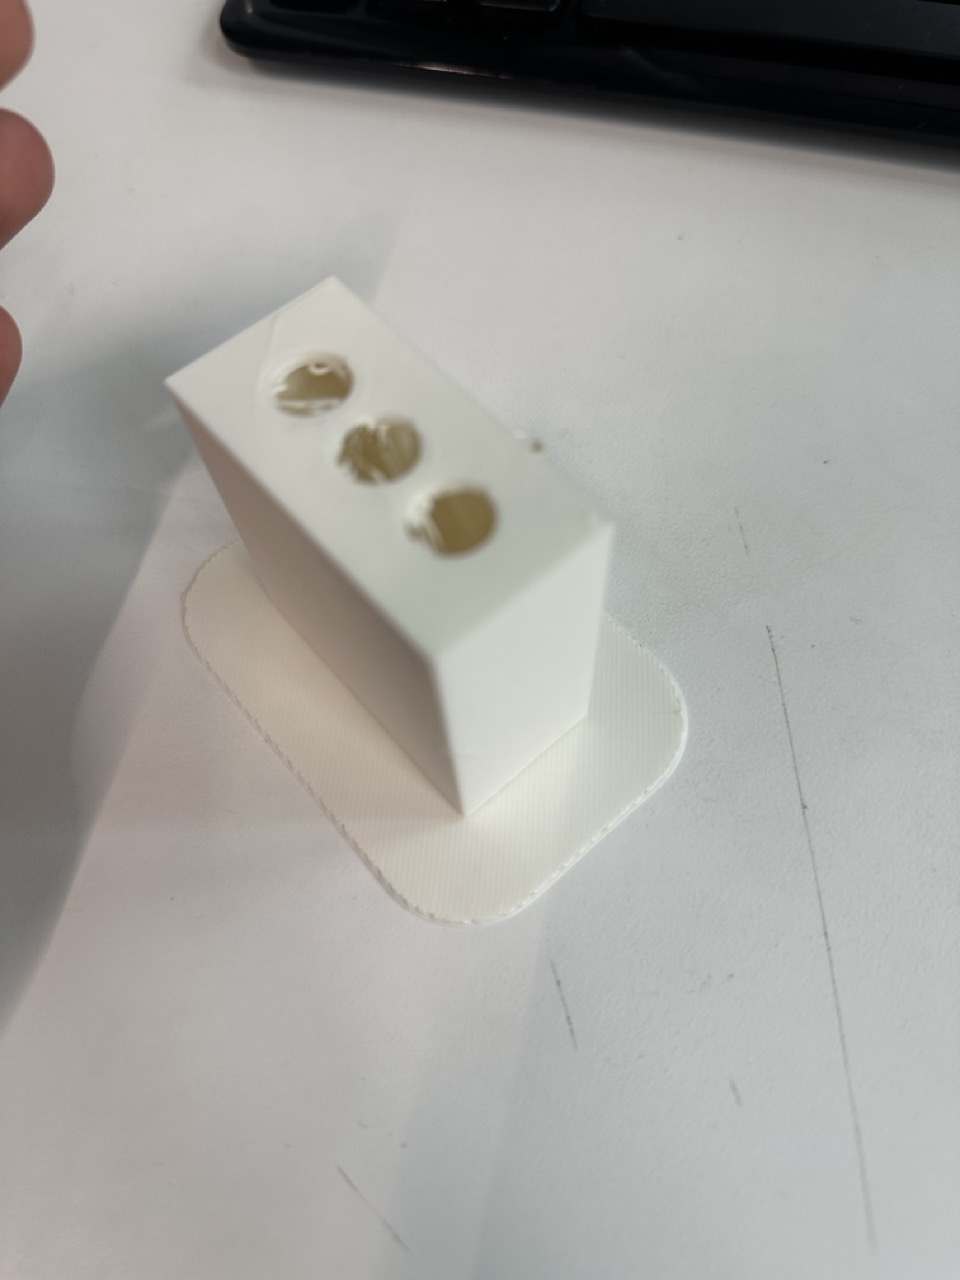
Although I was not sure how it would print after seeing the group project, I thought it was possible because after slicing it, the software showed that it would be printed with zig-zags, allowing the top to connect to something while printing and not crumble during the hole-making process. I let it print, and it came out pretty well. The only issue was a few haywire lines of plastic in the holes, which I could scrape out. Overall, it was a success.
More Advanced Printing
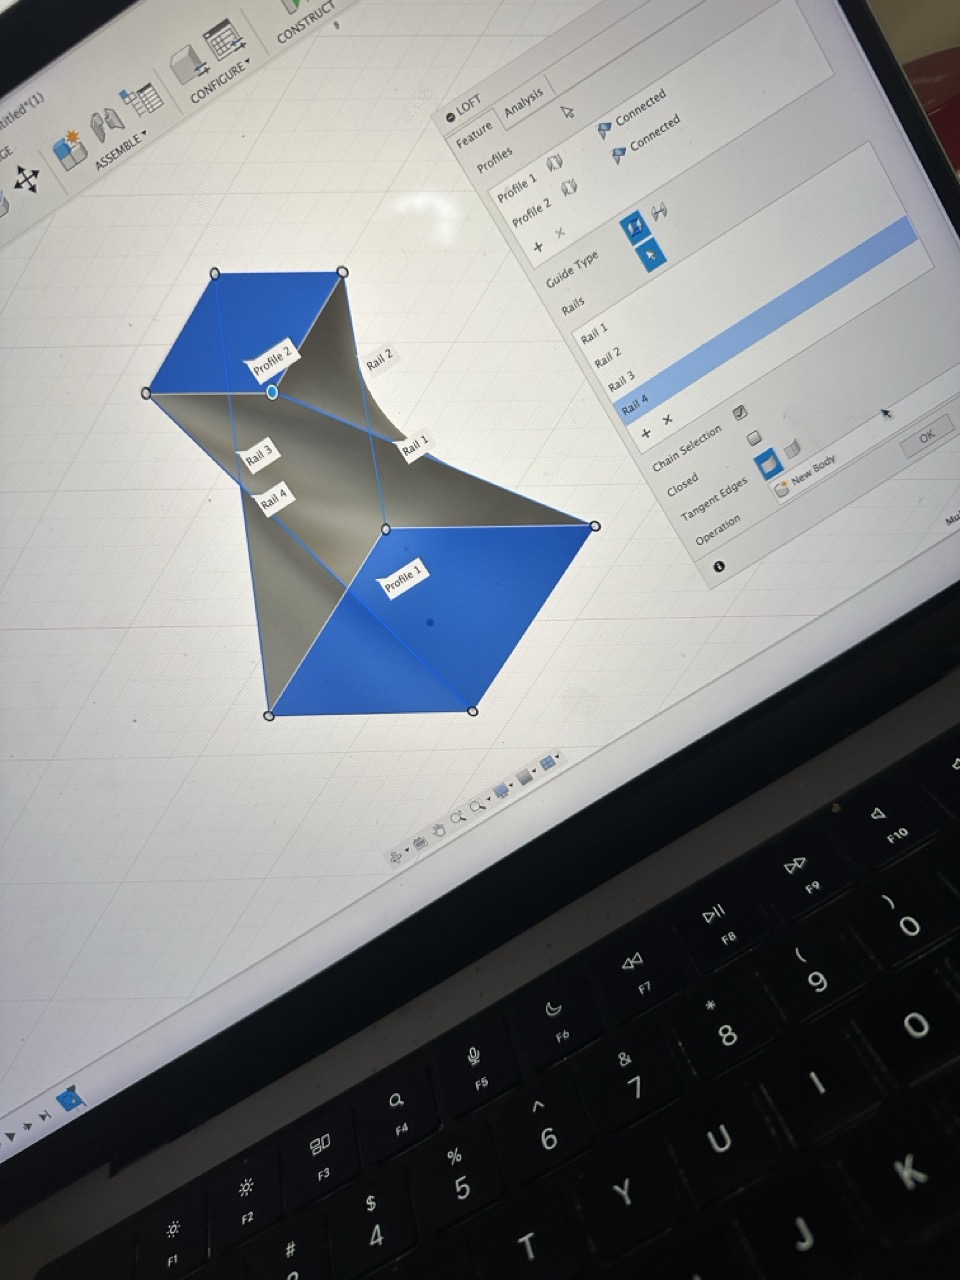
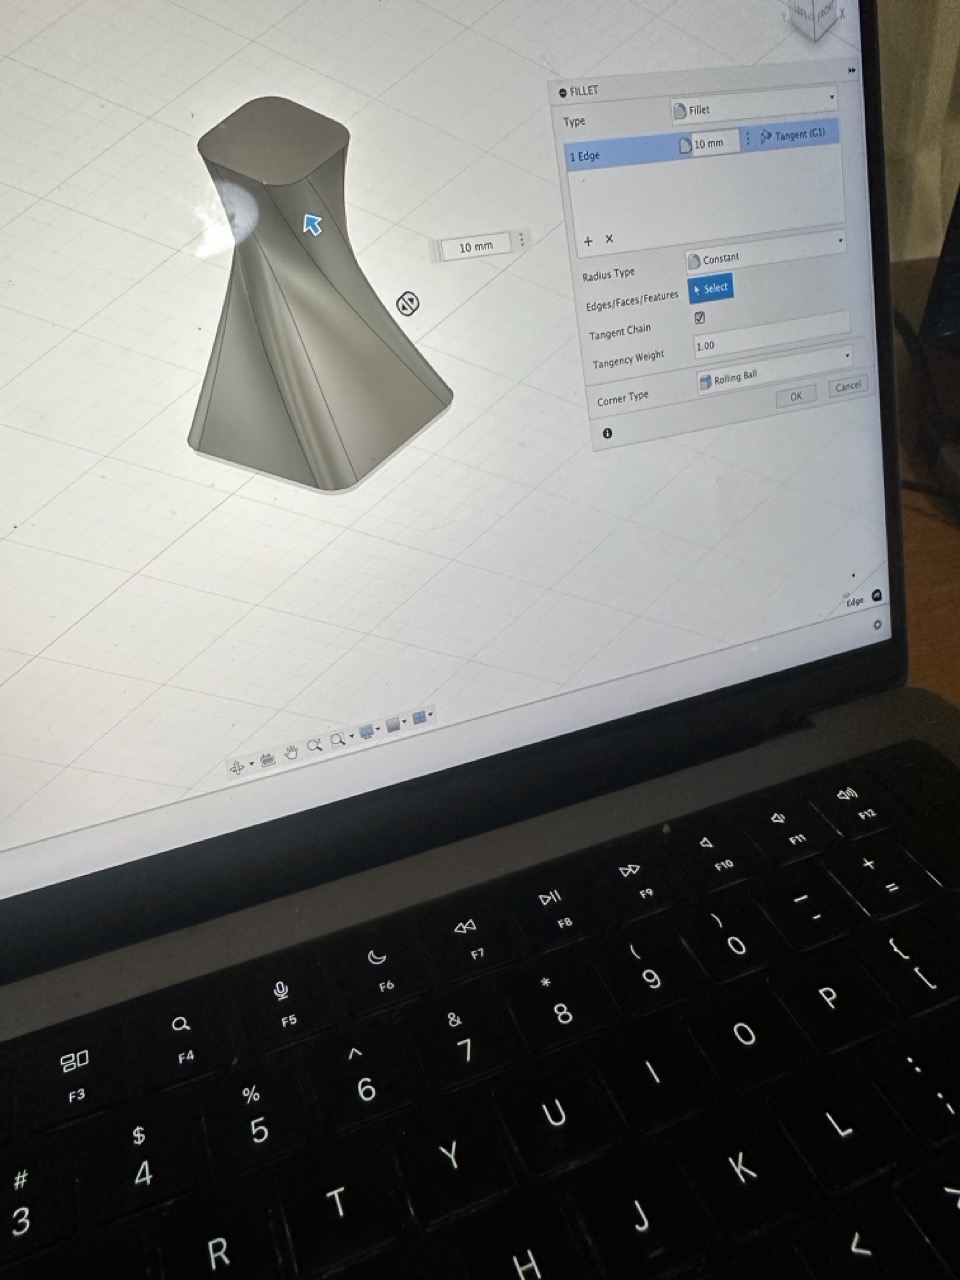
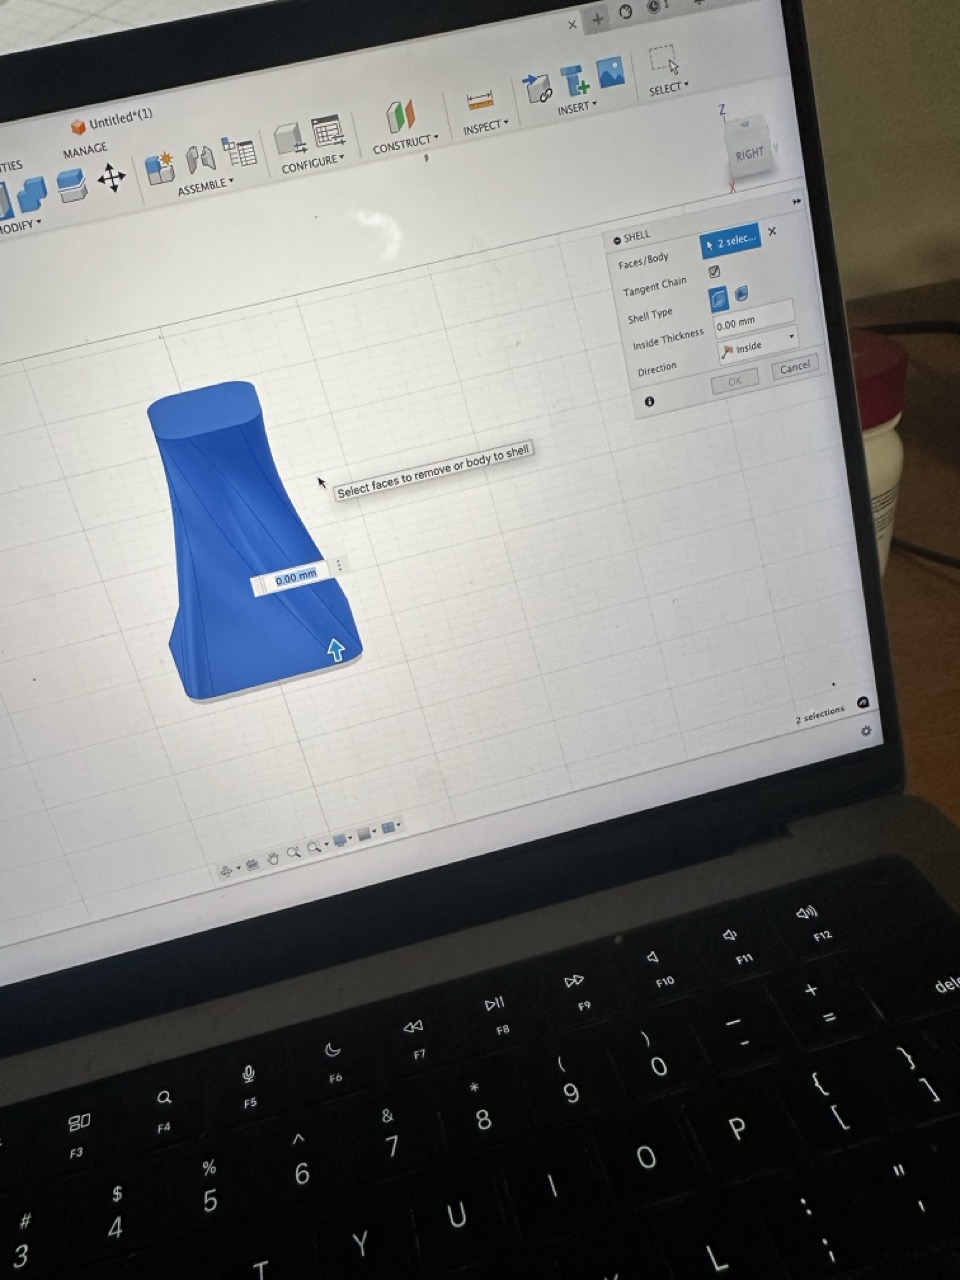
I then tried to make something a little more complicated because while my box was printing, I thought it might fail. I made a jar. I started off with a sketch that allowed 3D drawing. I then moved one rectangle above the other and connected the lines in a spiral fashion. I did this spiral design so that it could not be made subtractively. Next, I filled the walls along the lines. I then proceeded to fillet the sides to give it a circular look.
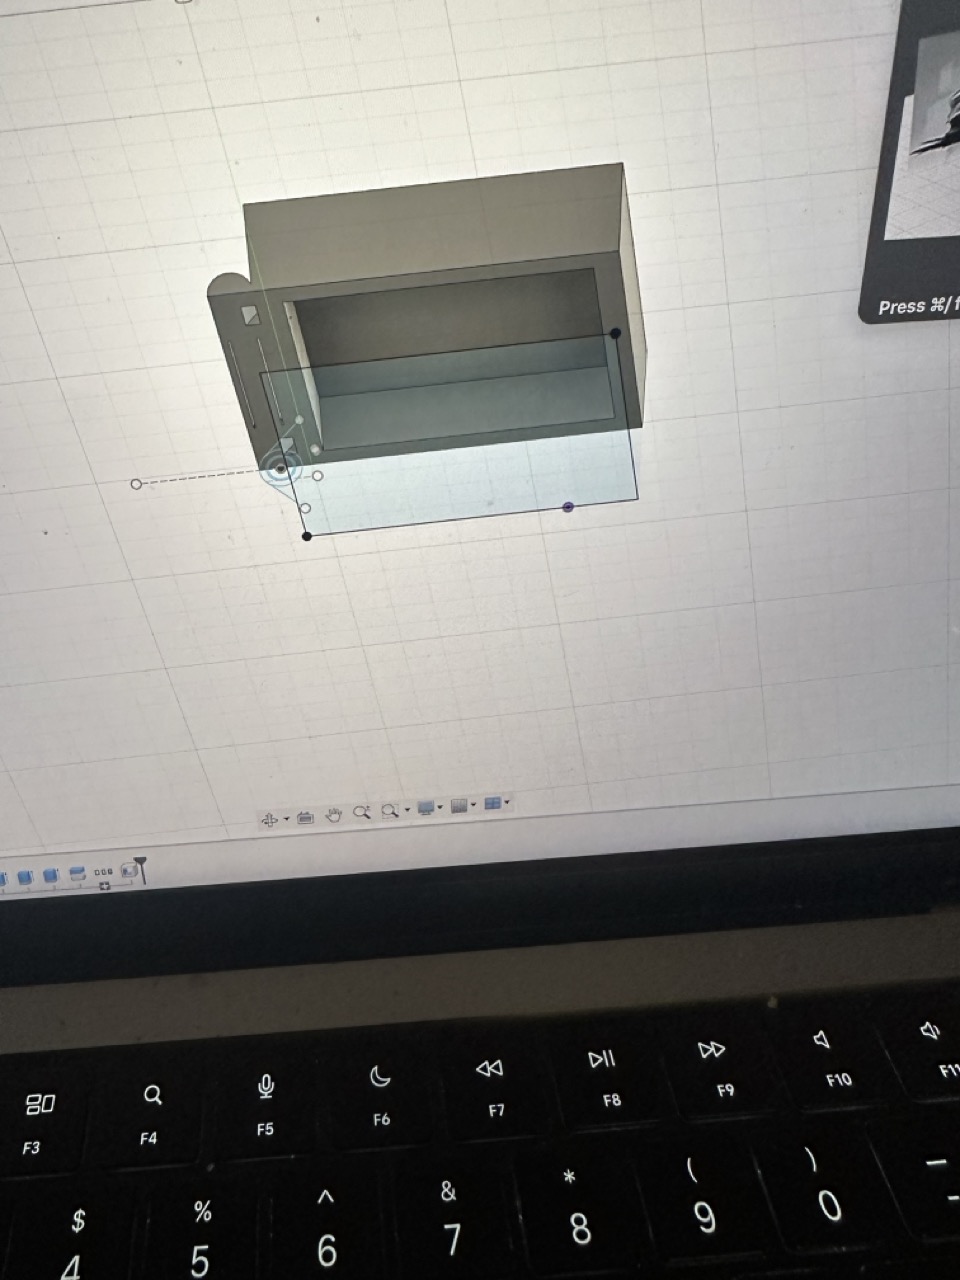
Later, I watched a YouTube video on how to make hinges in Fusion and applied that to the top of my jar to create a lid. YouTube Tutorial on Hinge Design

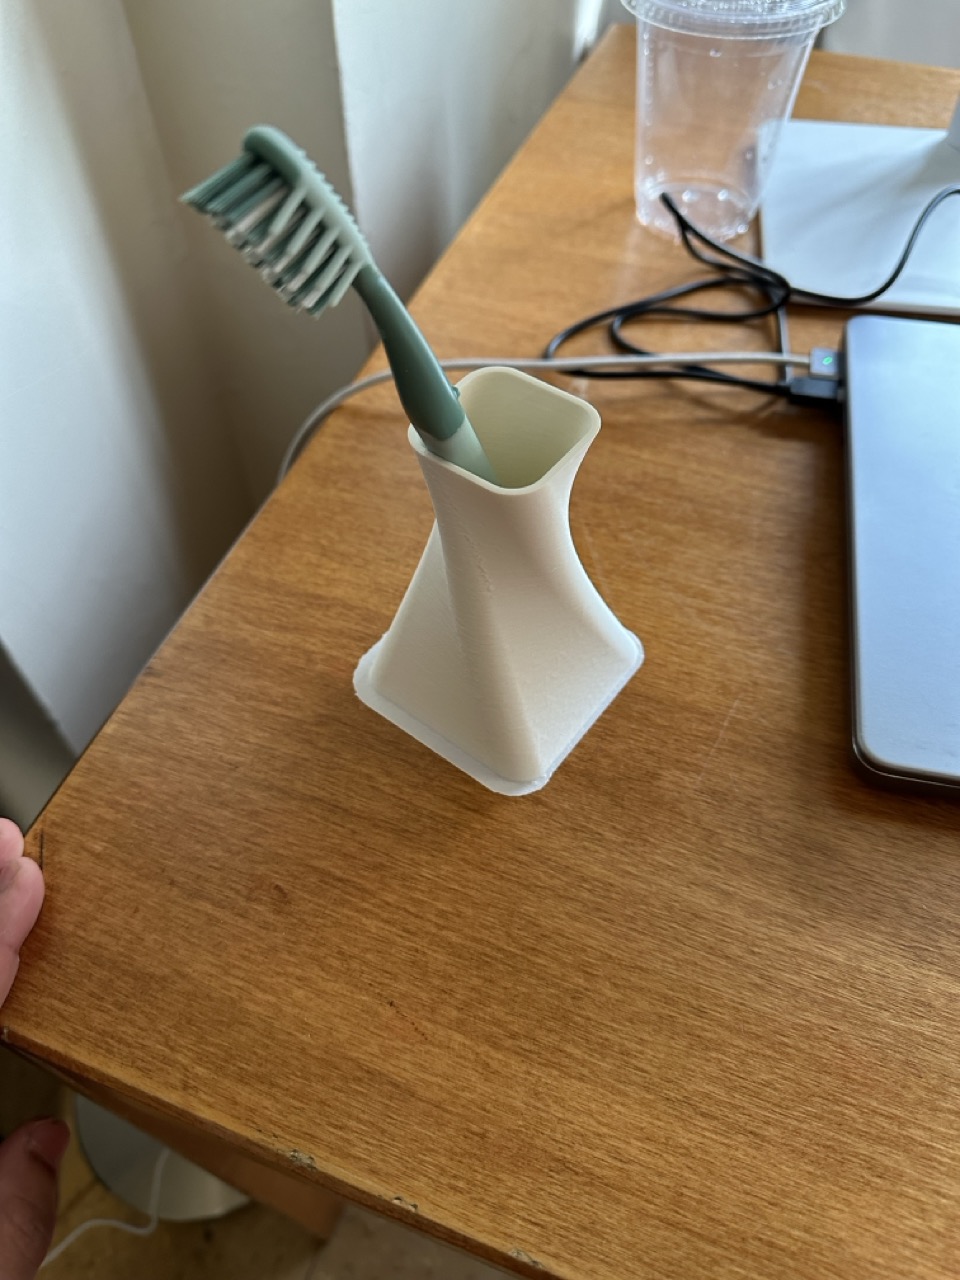
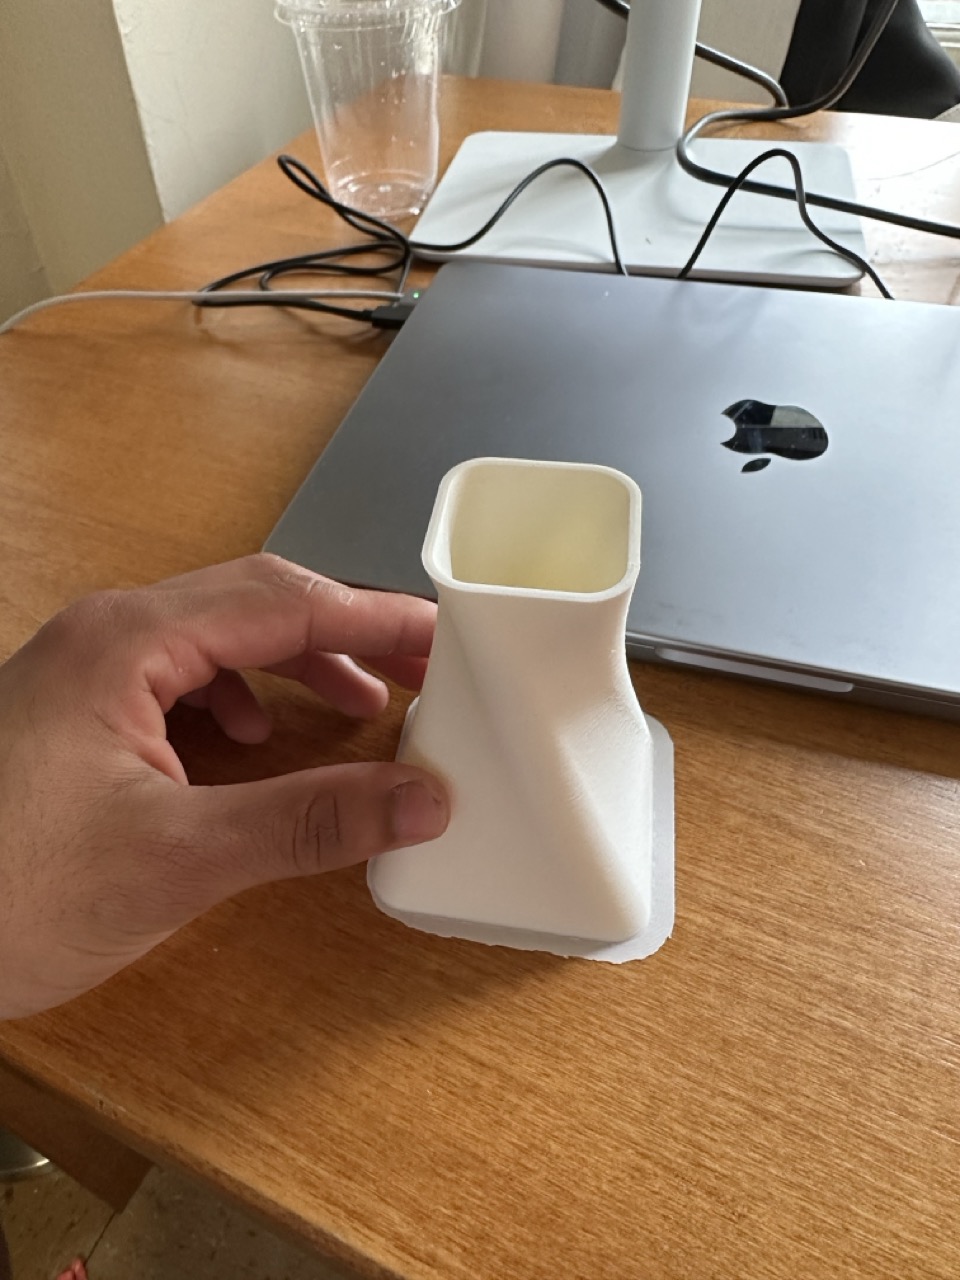
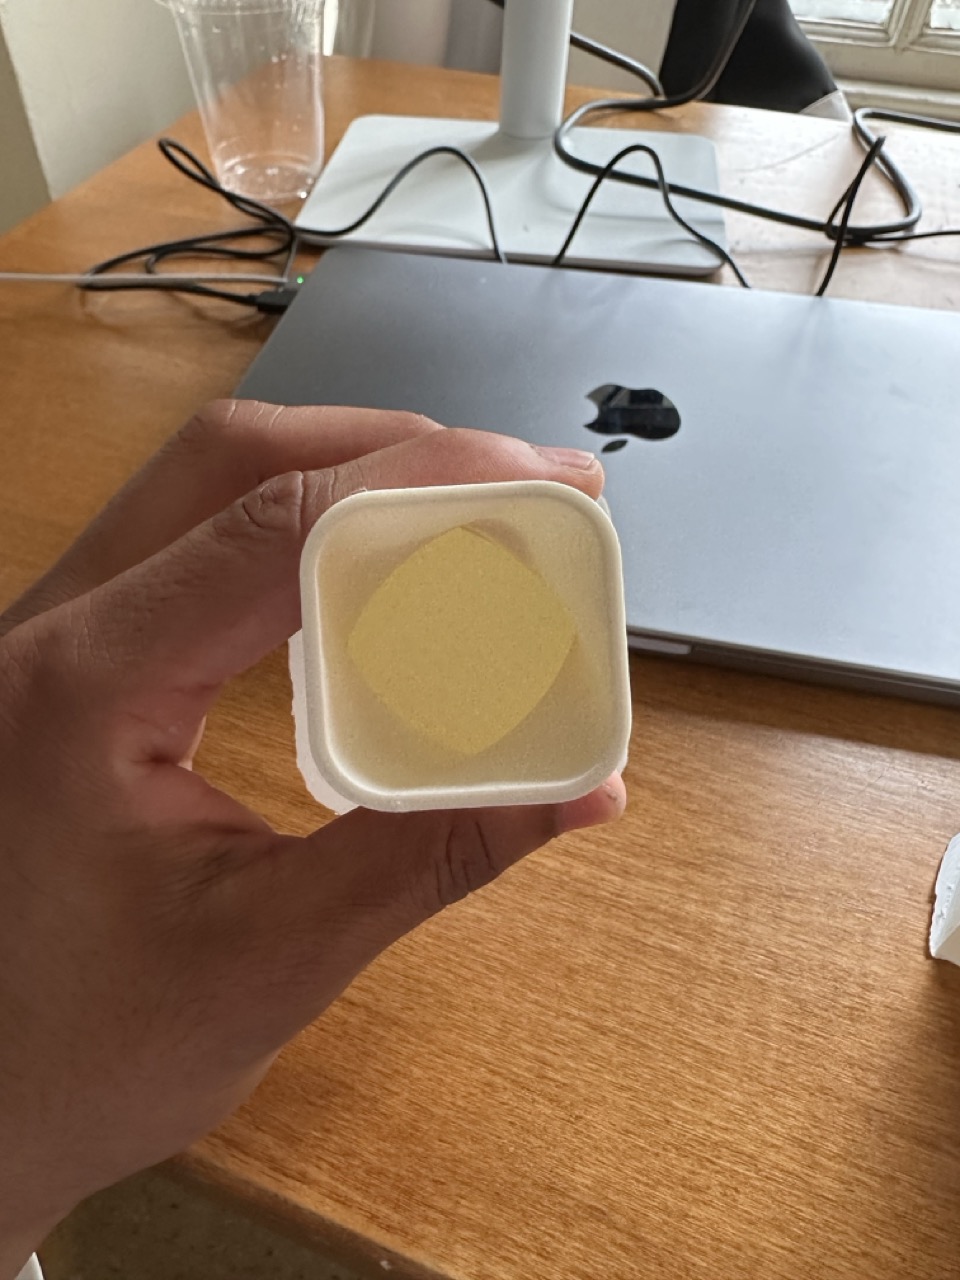
I printed both a version with a lid and without because I was unsure if the lid would work. The jar without a lid printed great, and the curves from the fillets looked quite nice. However, the jar with the hinges did not print correctly.
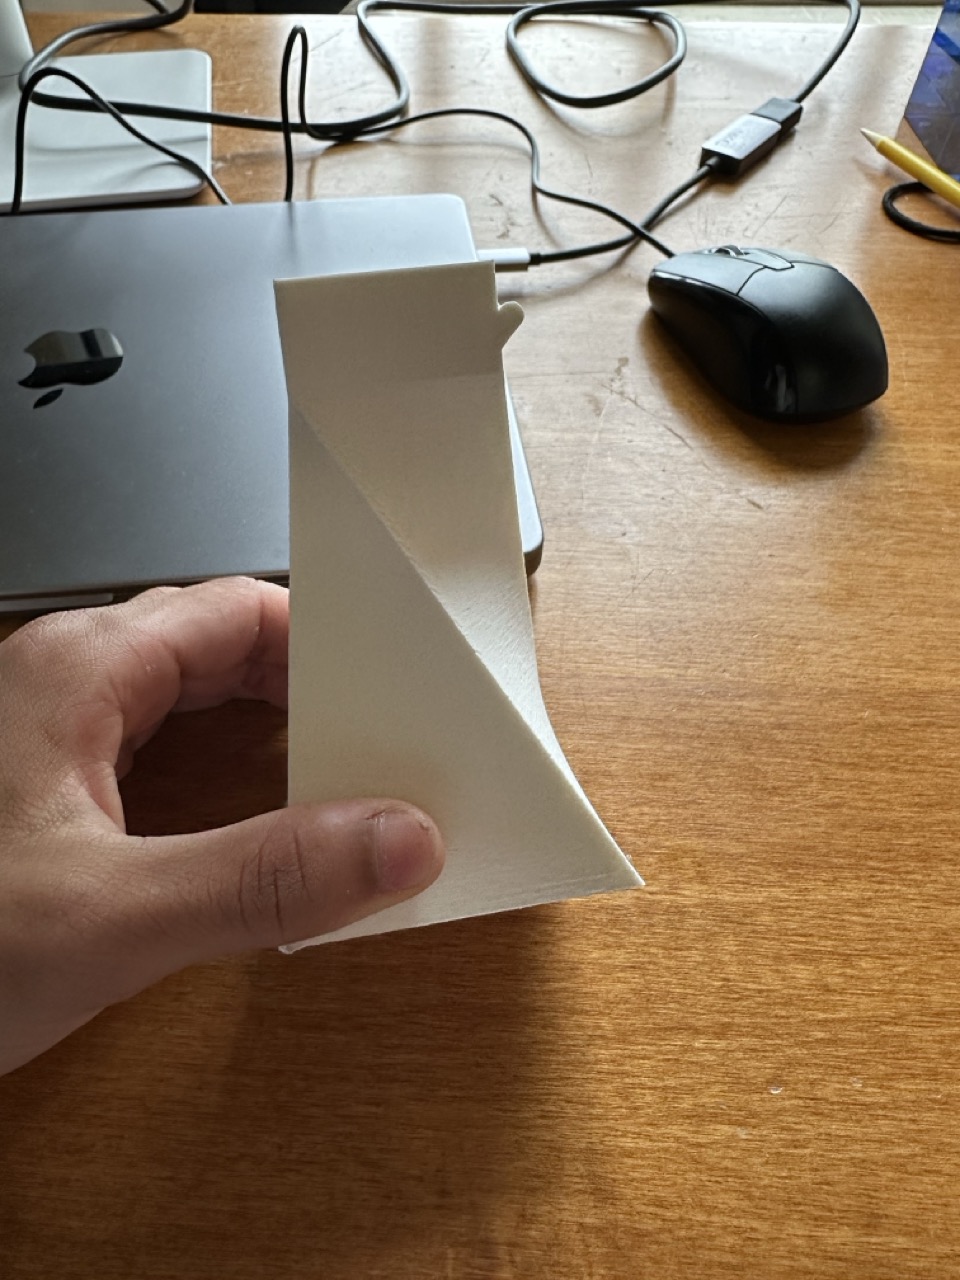
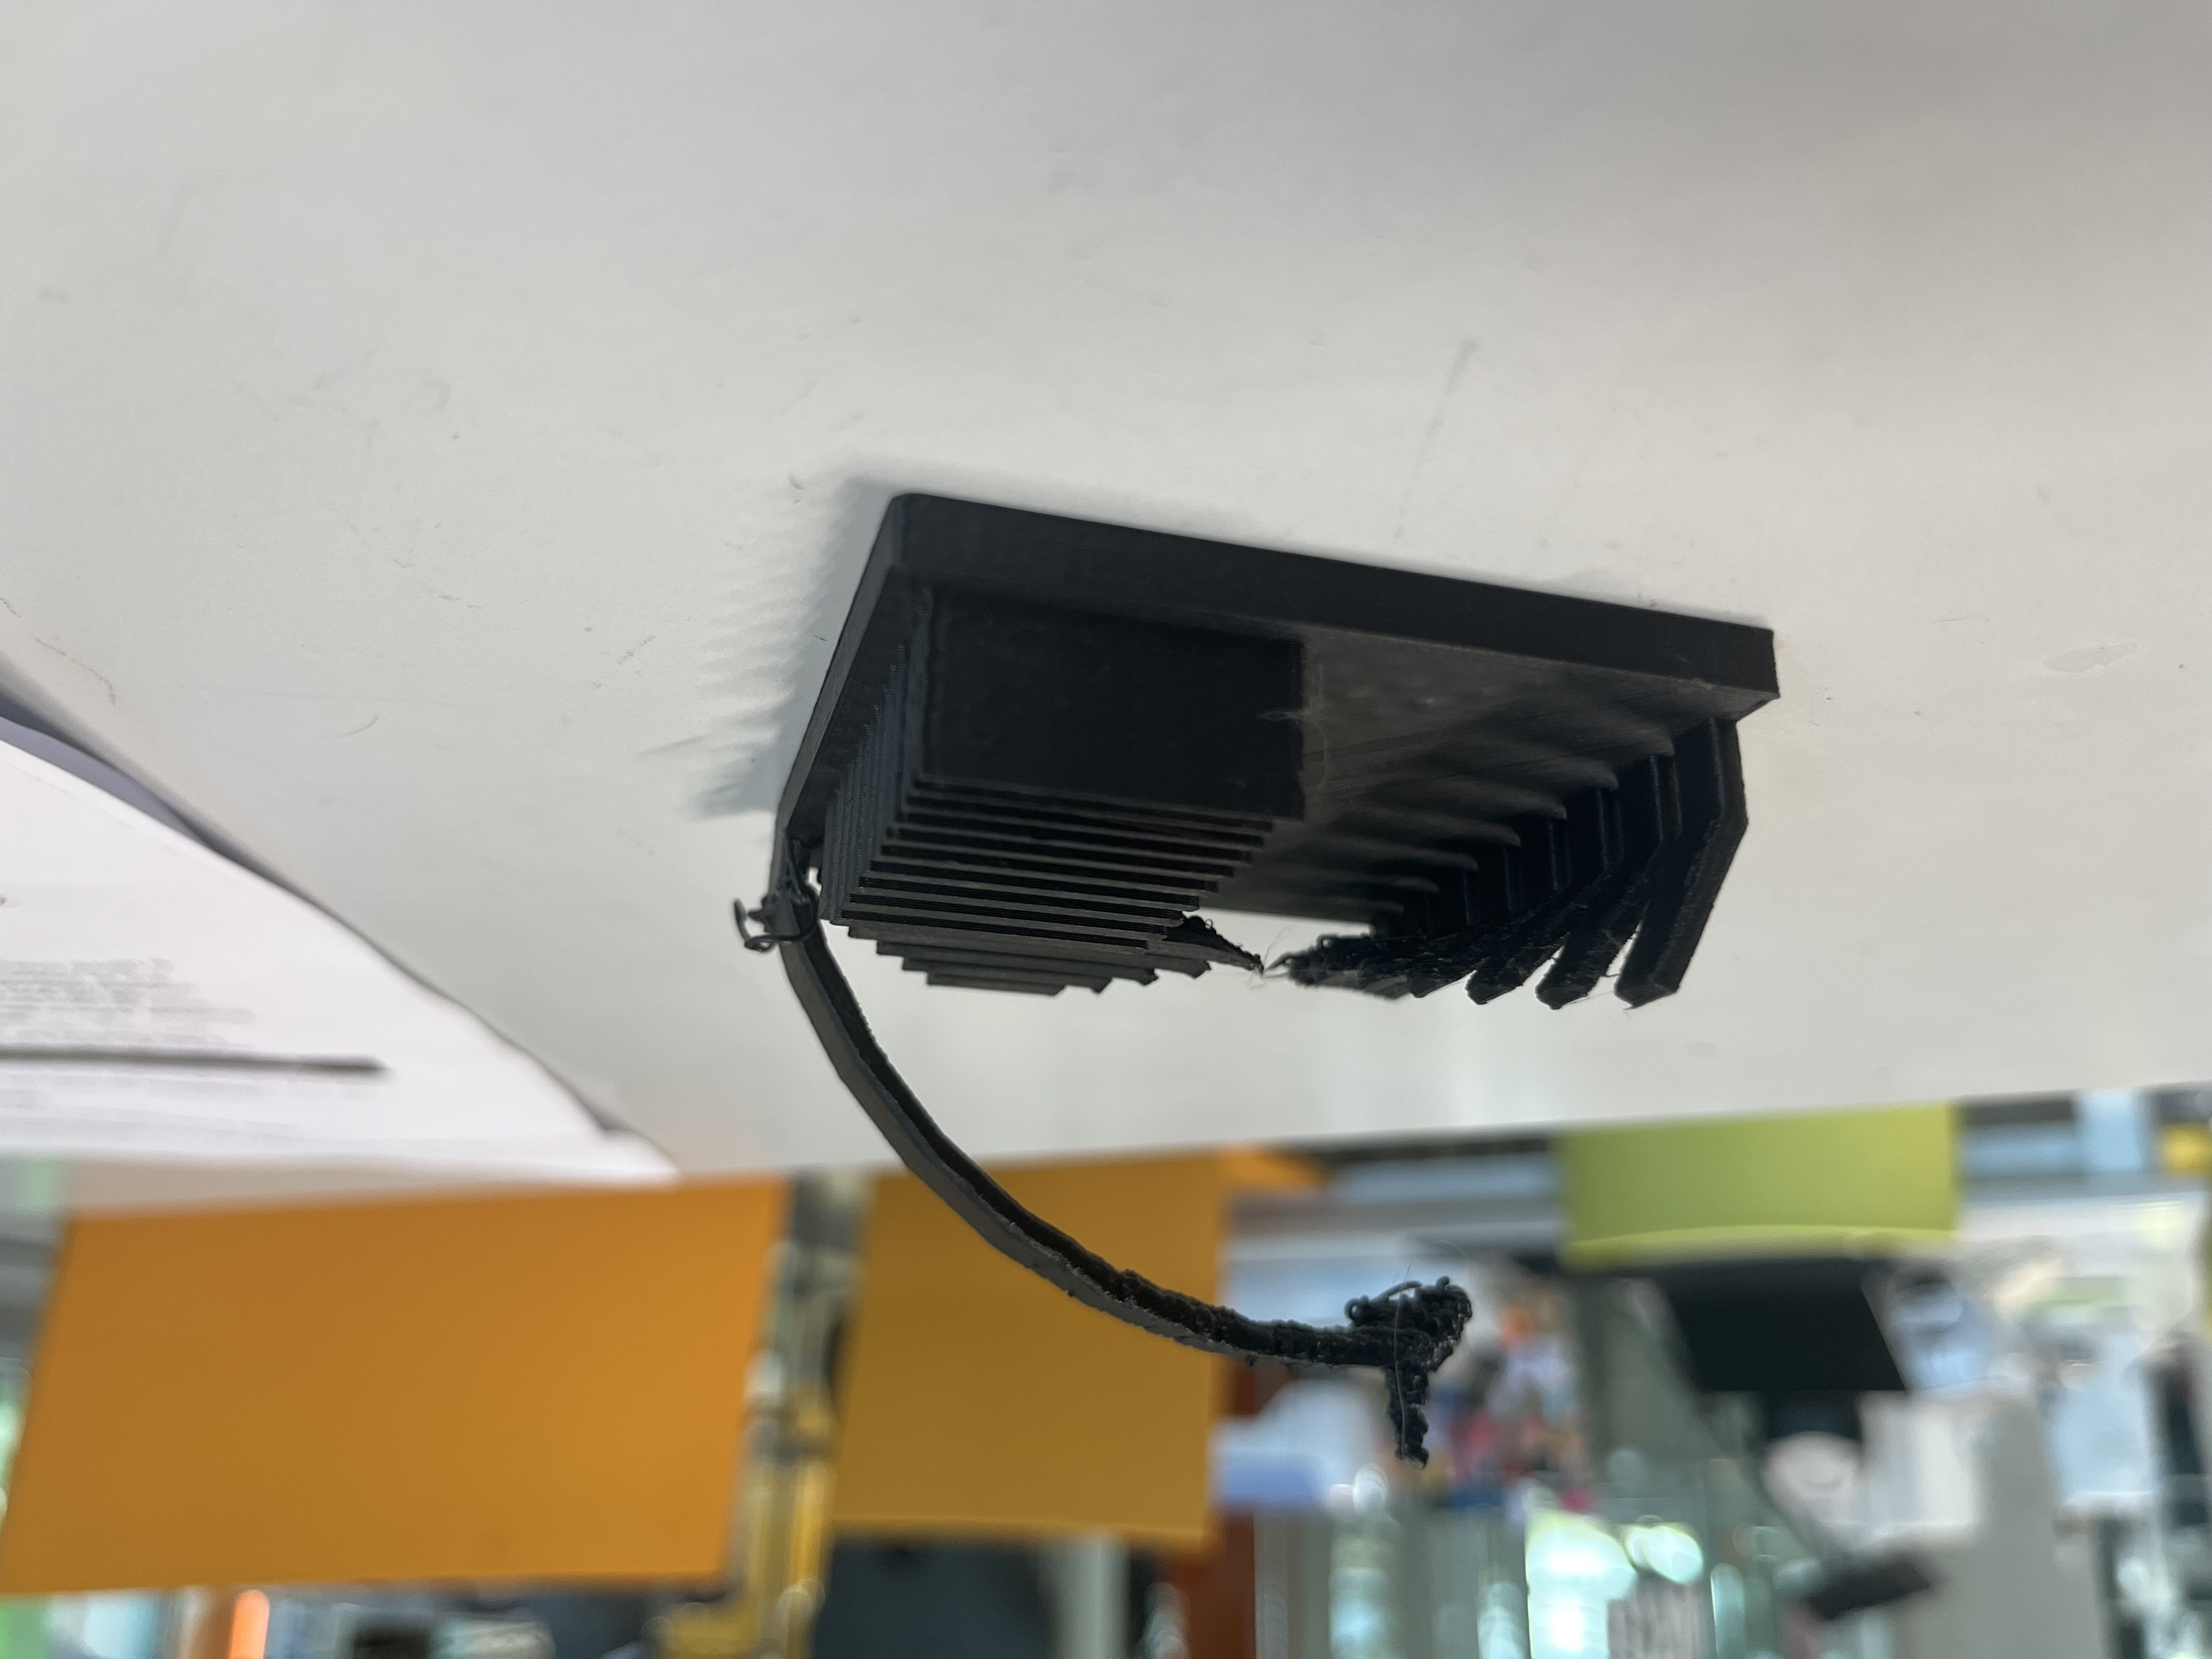
When looking at the side of the hinges, it is clear that I did not account for the inability of the 3D printer to print the separation between the hinge parts and the two lids while printing vertically. If I had more time, I would print it again, orienting the 3D printer to print the jar sideways. This orientation would allow the printer to successfully print the gaps between the hinge parts and the top and bottom of the lid. This inability is shown below with the hinge parts clearly looking messed up. However, this 3D print is definetly could not be the result of subtractive processes because it is completly hollow

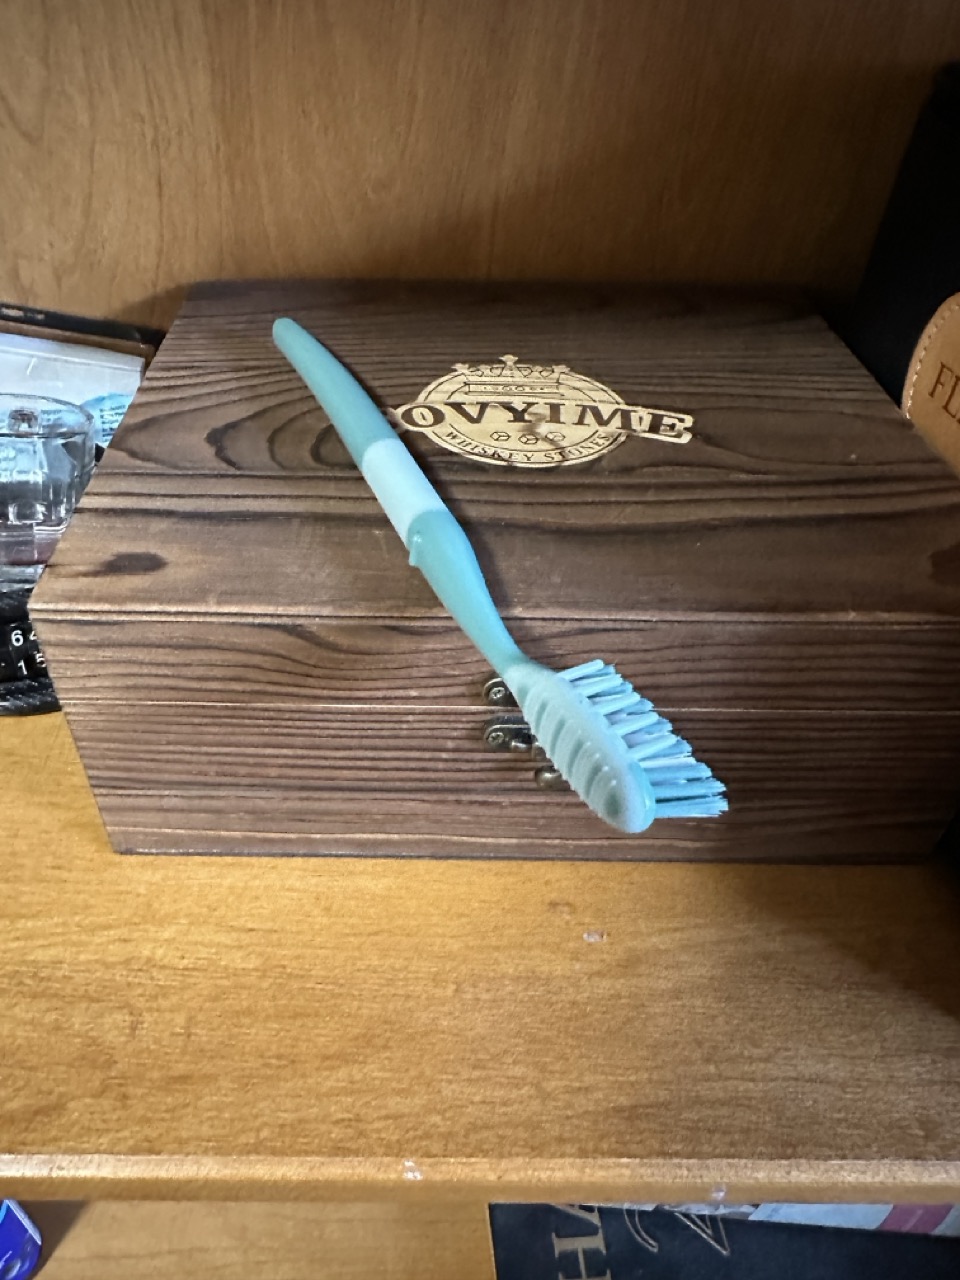
Nevertheless, I now have a cool jar to hold my toothbrush, instead of lofting it off a side of a counter to keep the brush clean.