Week 7 Documentation
Group Work Reflection:
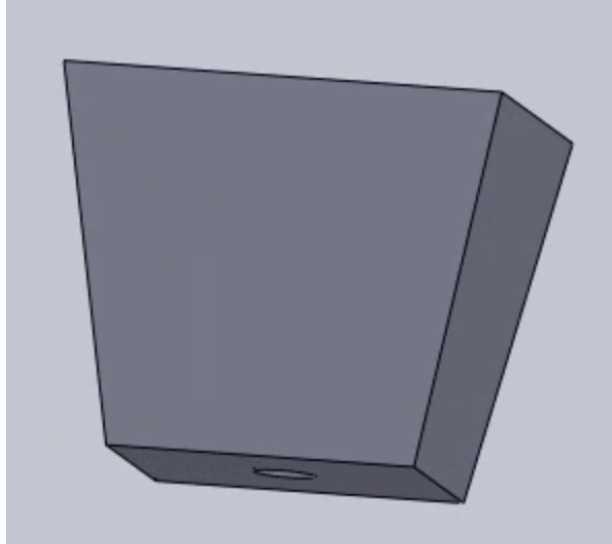
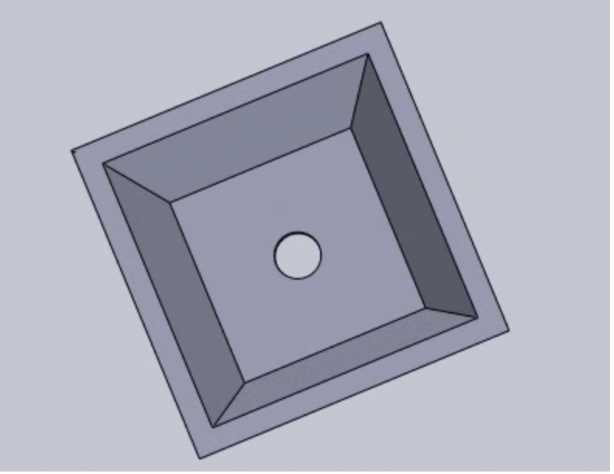
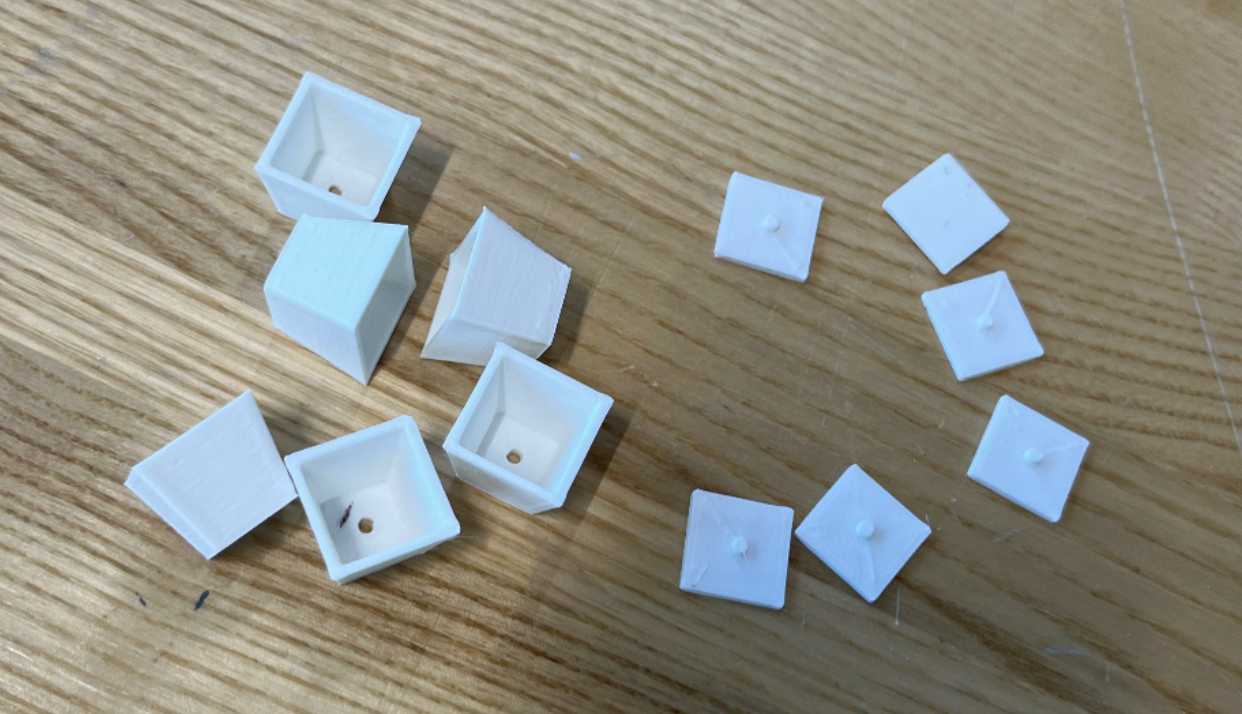
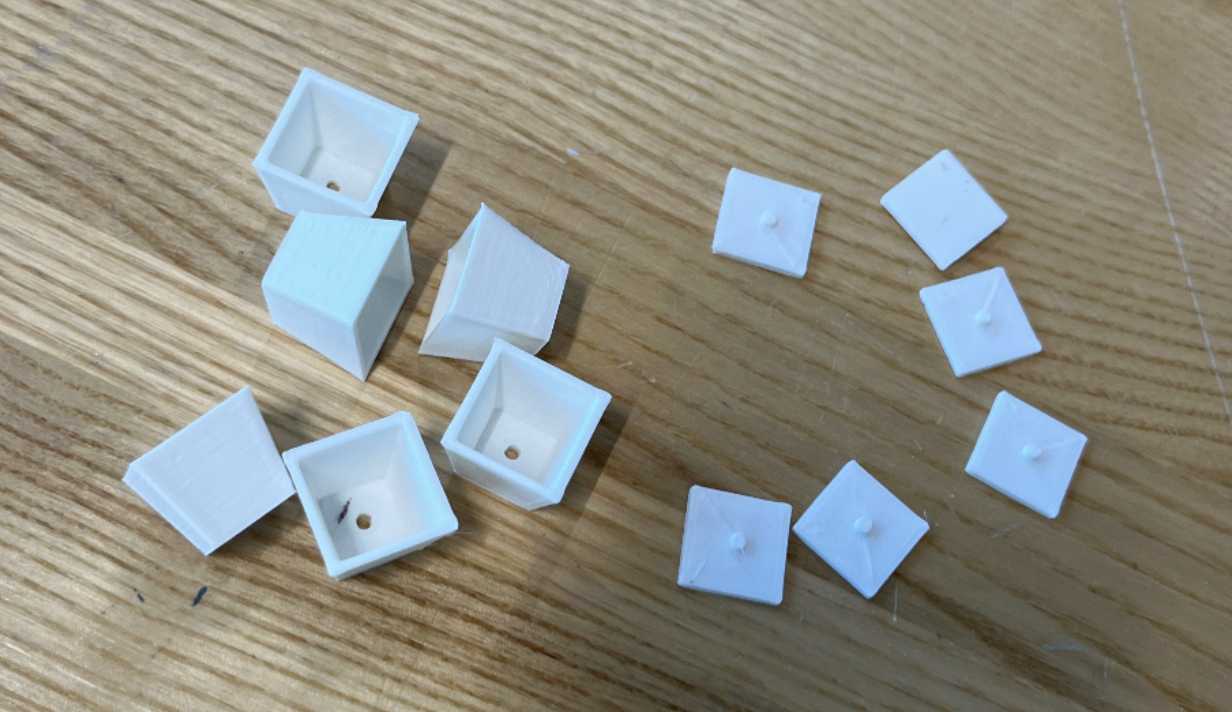
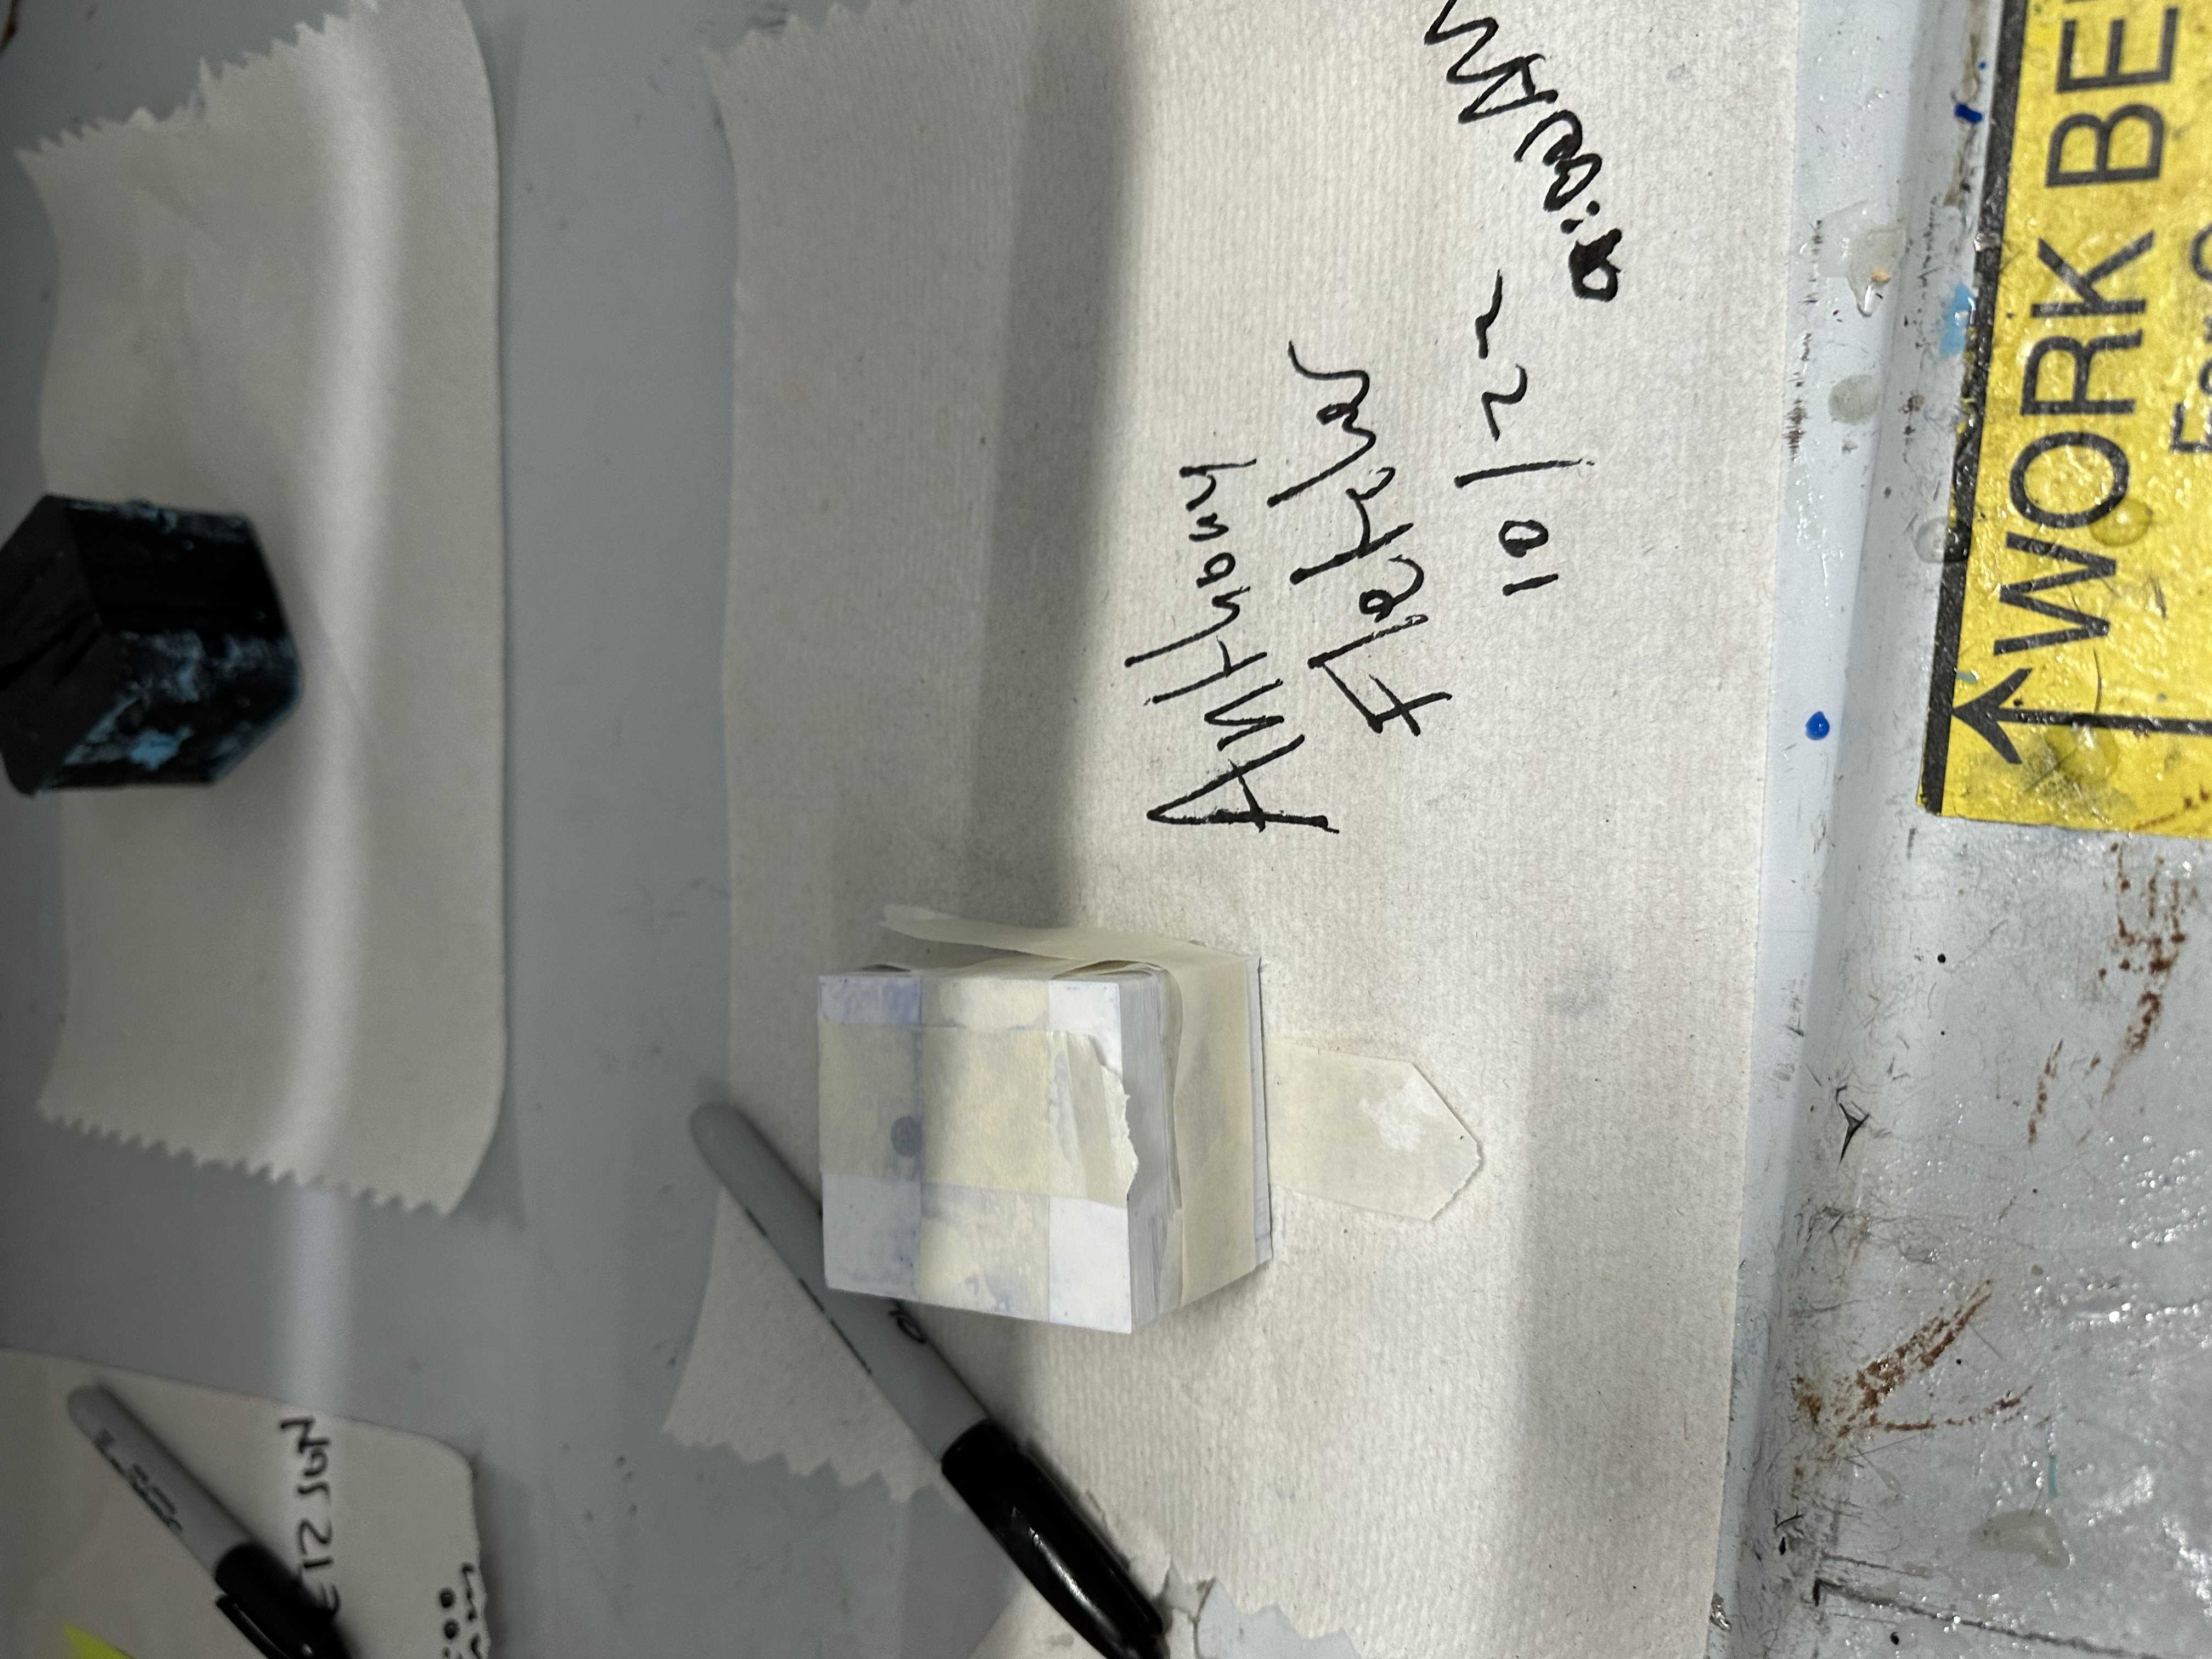
We made little square cups to test out the molding properties. They were 1x1x1 cm and had a draft to make it easy to remove.
These cubes are roughly 1x1x1 cm with a 10 degree draft angle for easy removal. There are small caps which fit over the bottom and seal the hole.
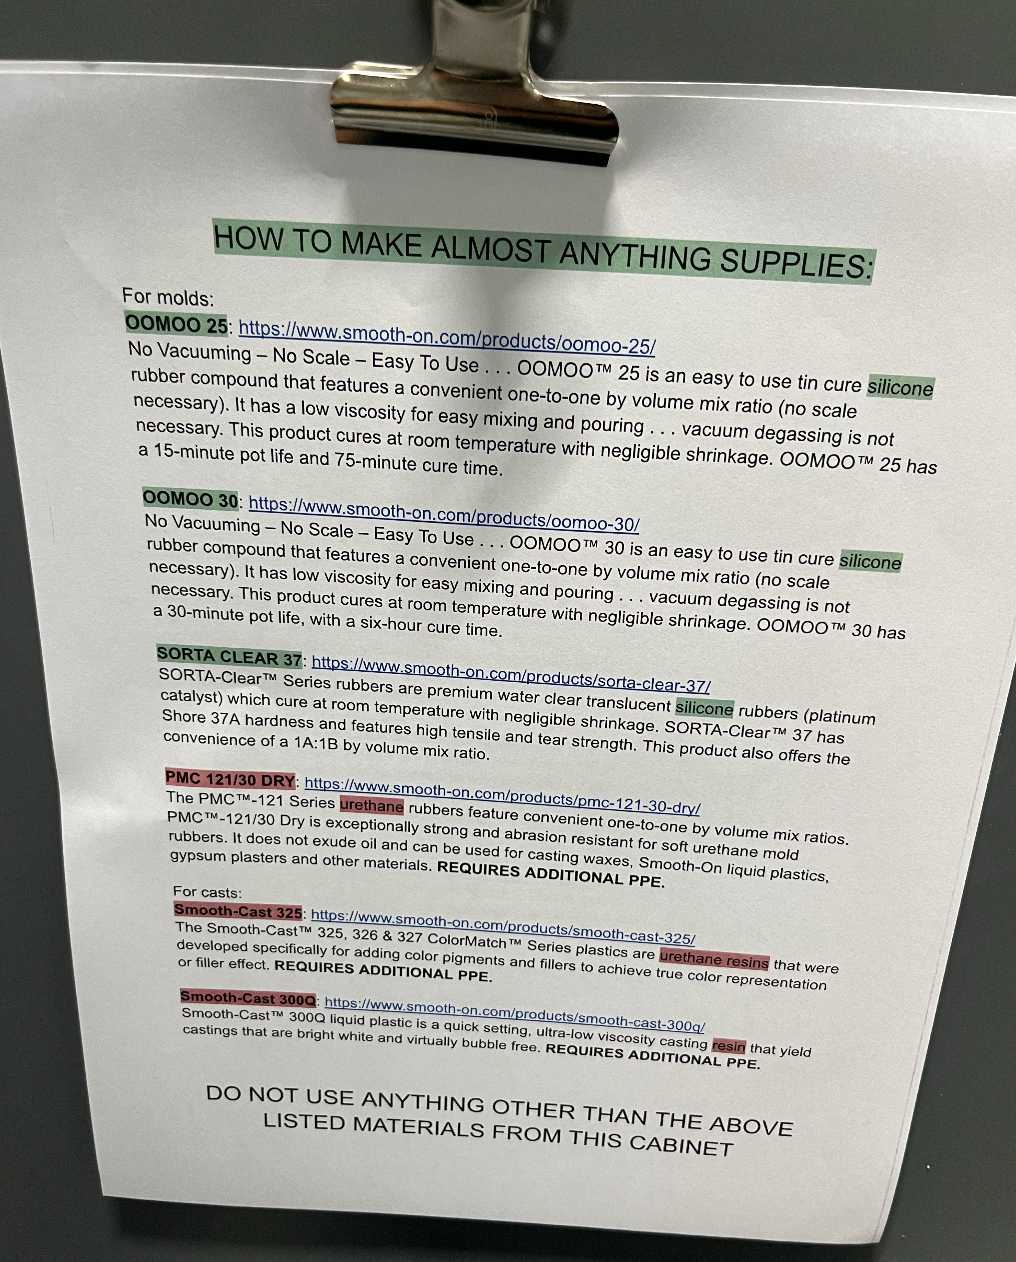
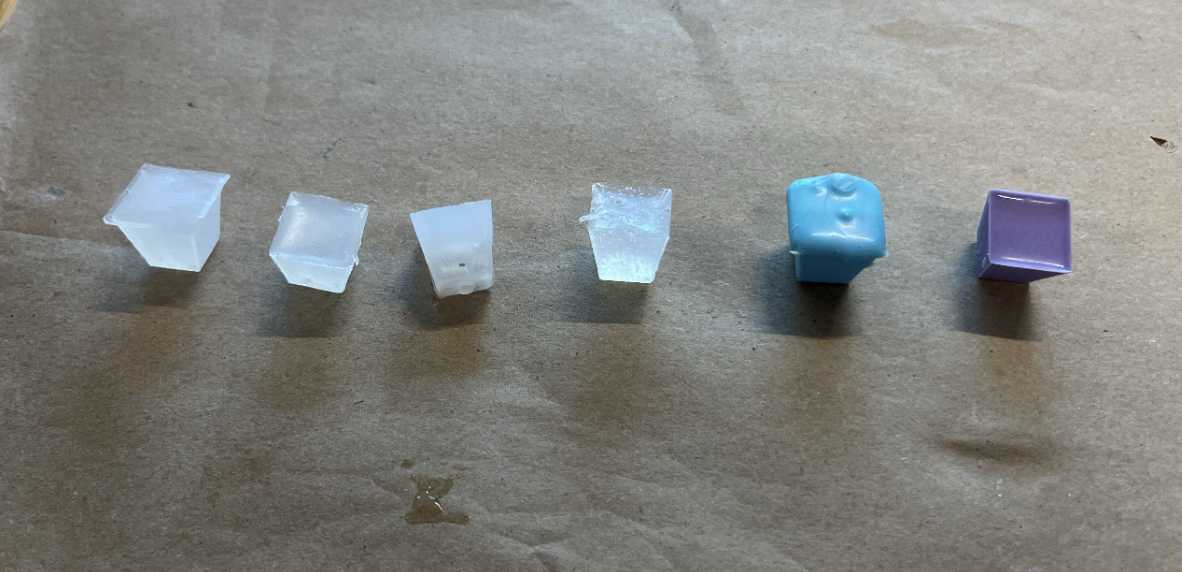
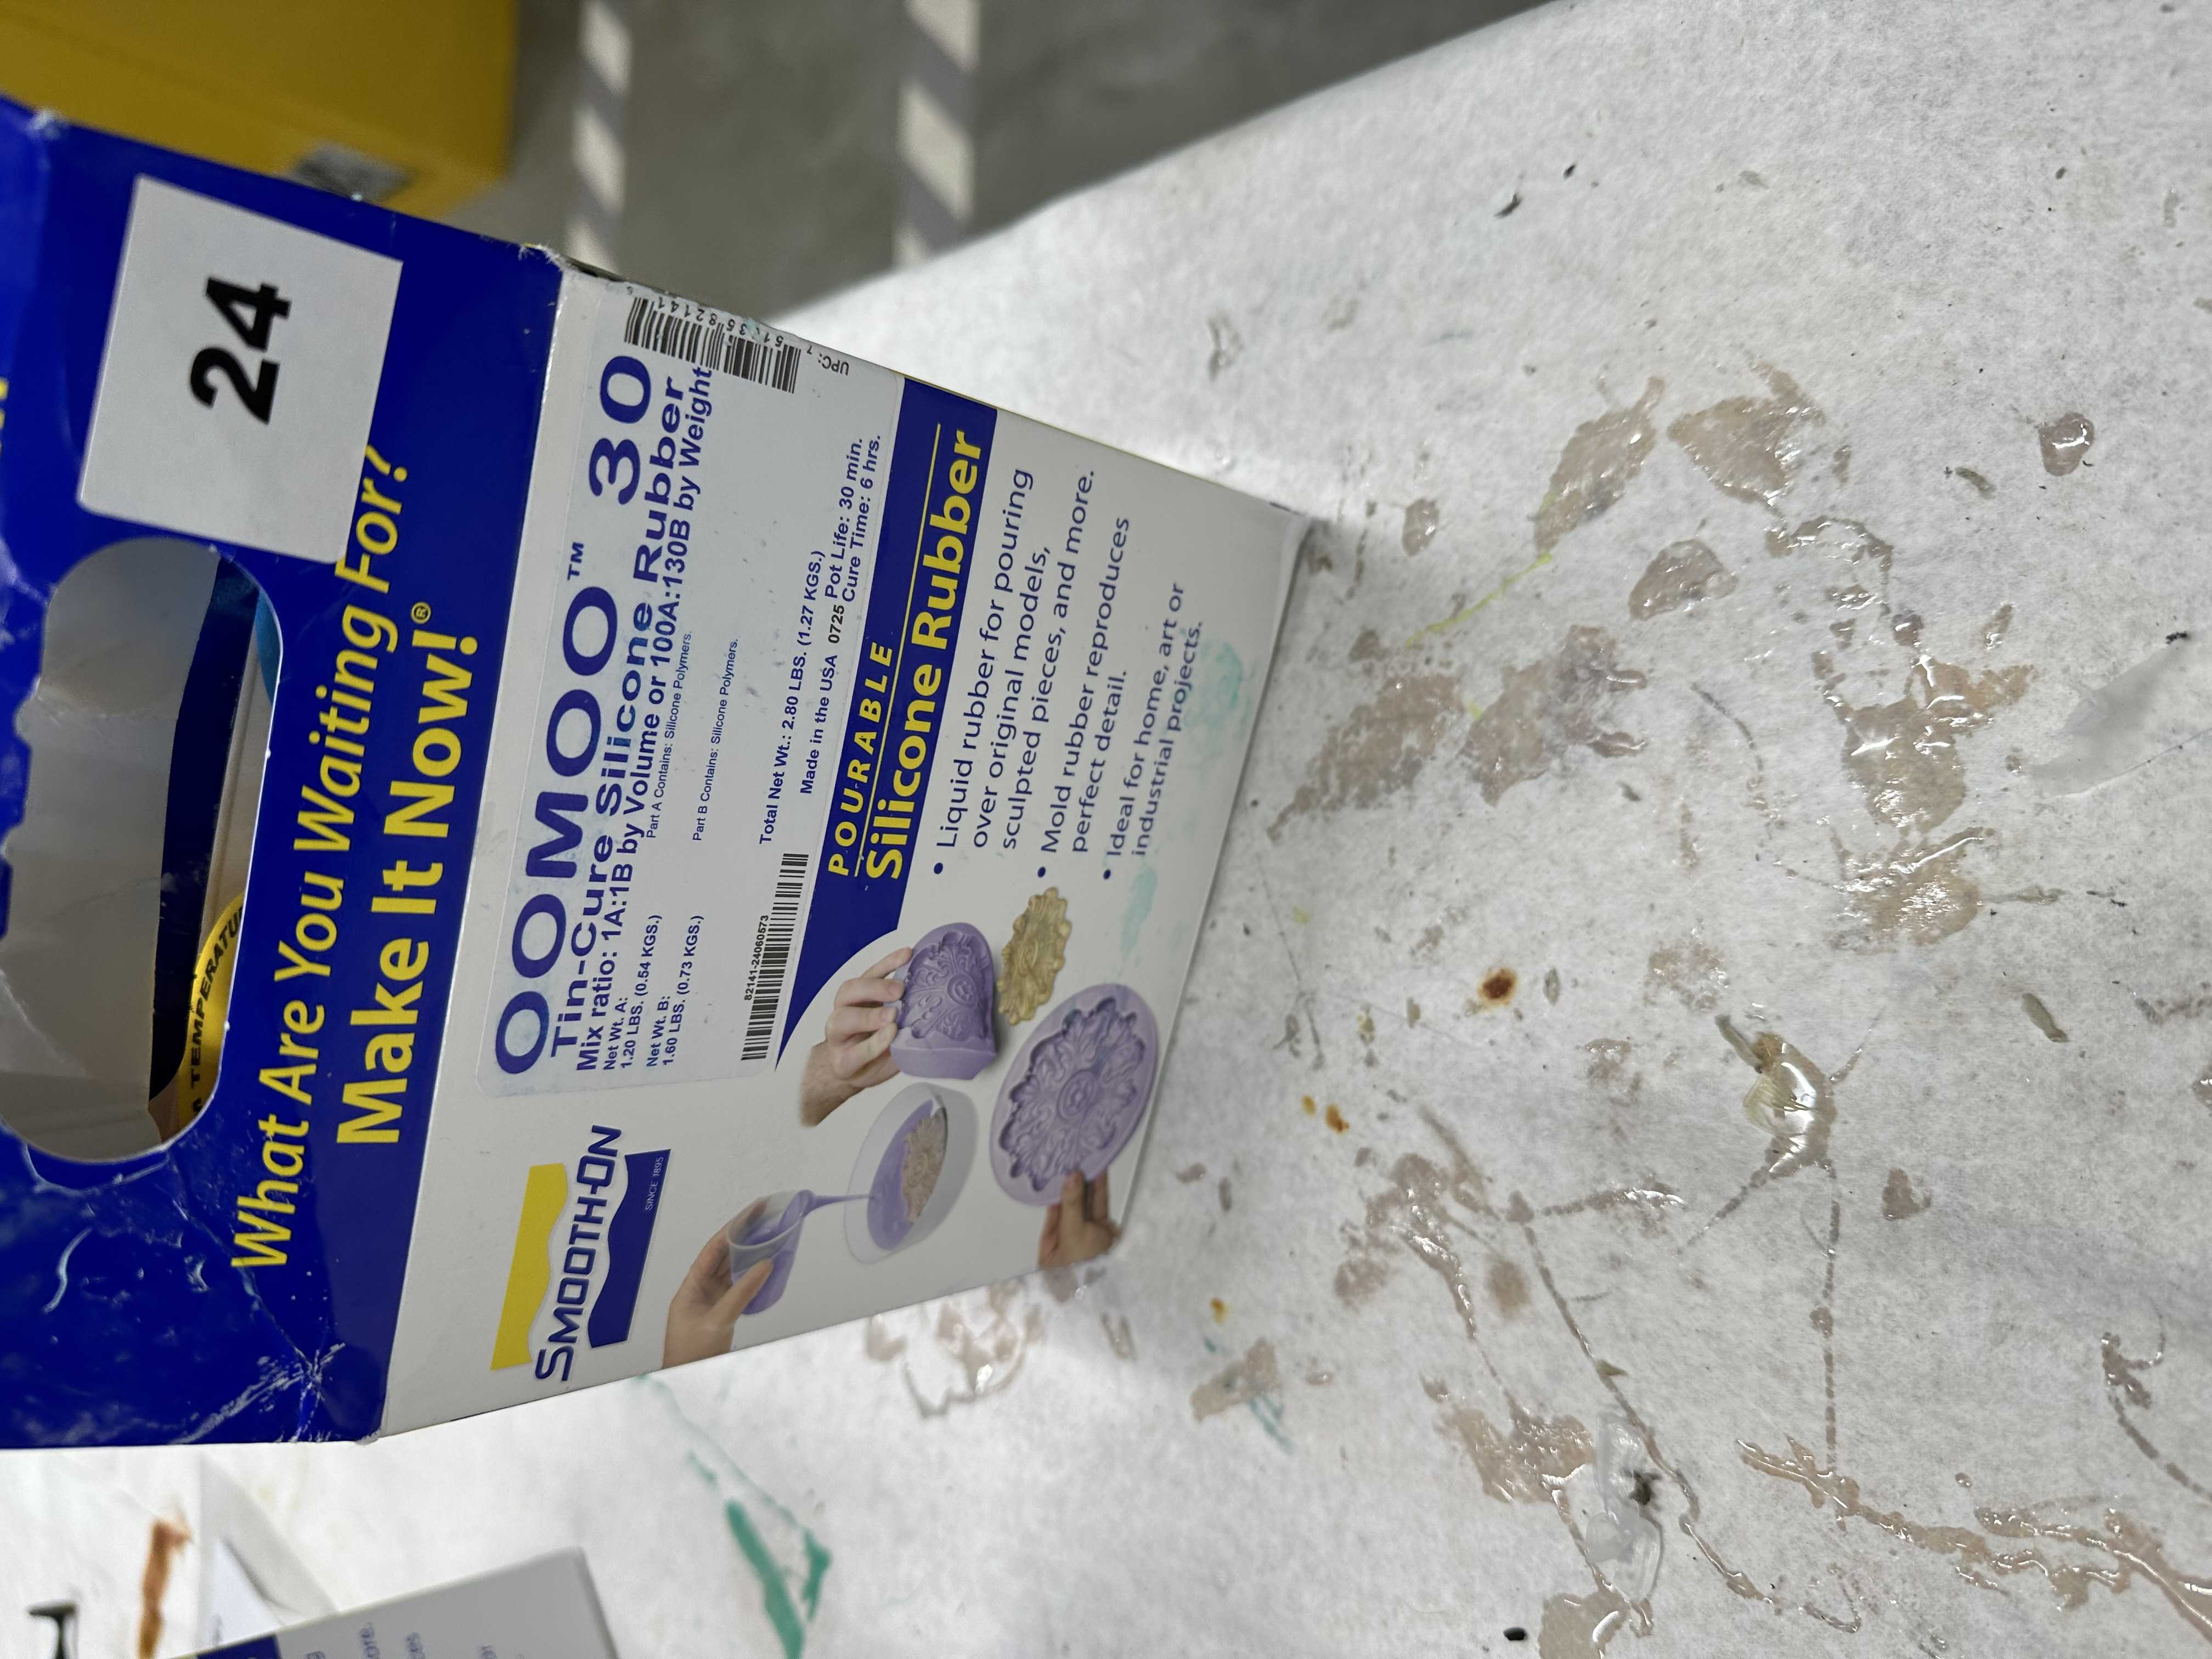
After reviewing the datasheets for each of the materials, the picture below highlights some of the ones for the materials we had in our lab. We used the following materials: Ecoflex 30, Ecoflex 50, Dragonskin, Sorta-Clear 37, Oomoo 25, and Oomoo 30. These are 1 to 1 ratios but have different working and curing times since they are different. They also produce different colors.
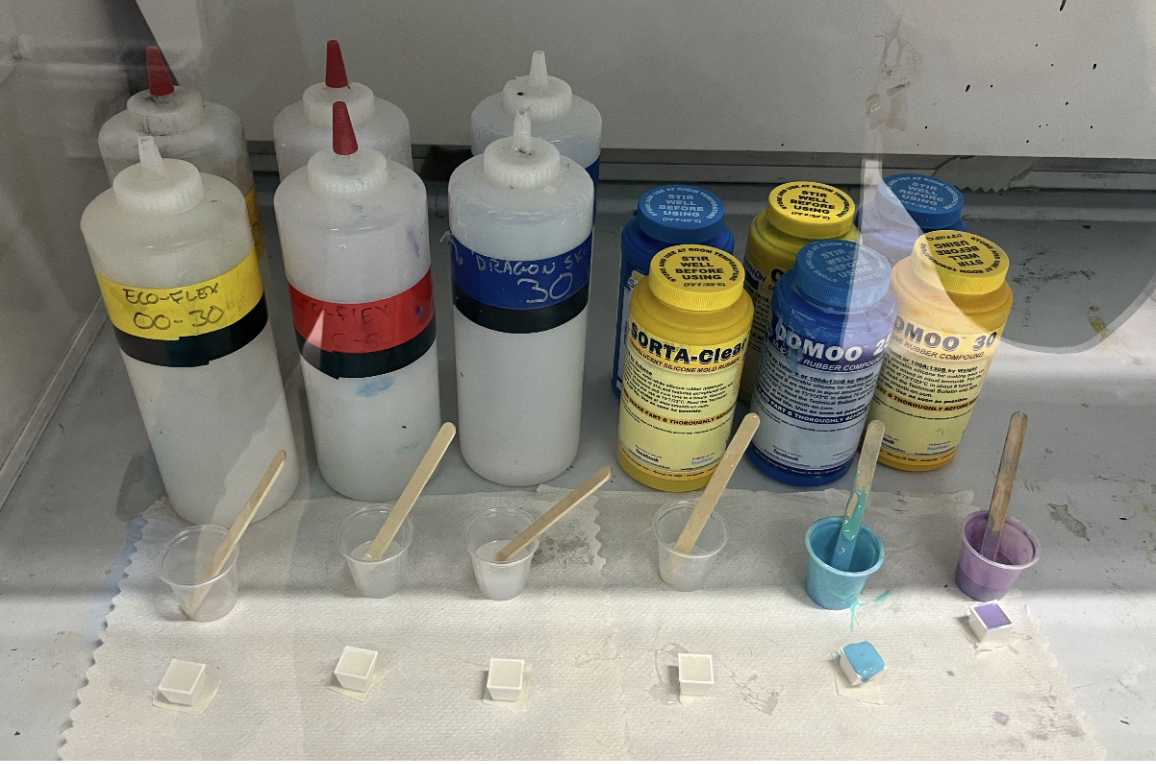
Each of them had different feels and stiffness. Ecoflex seemed to come out the best of the bunch. I ended up using this one on my personal mold as well.
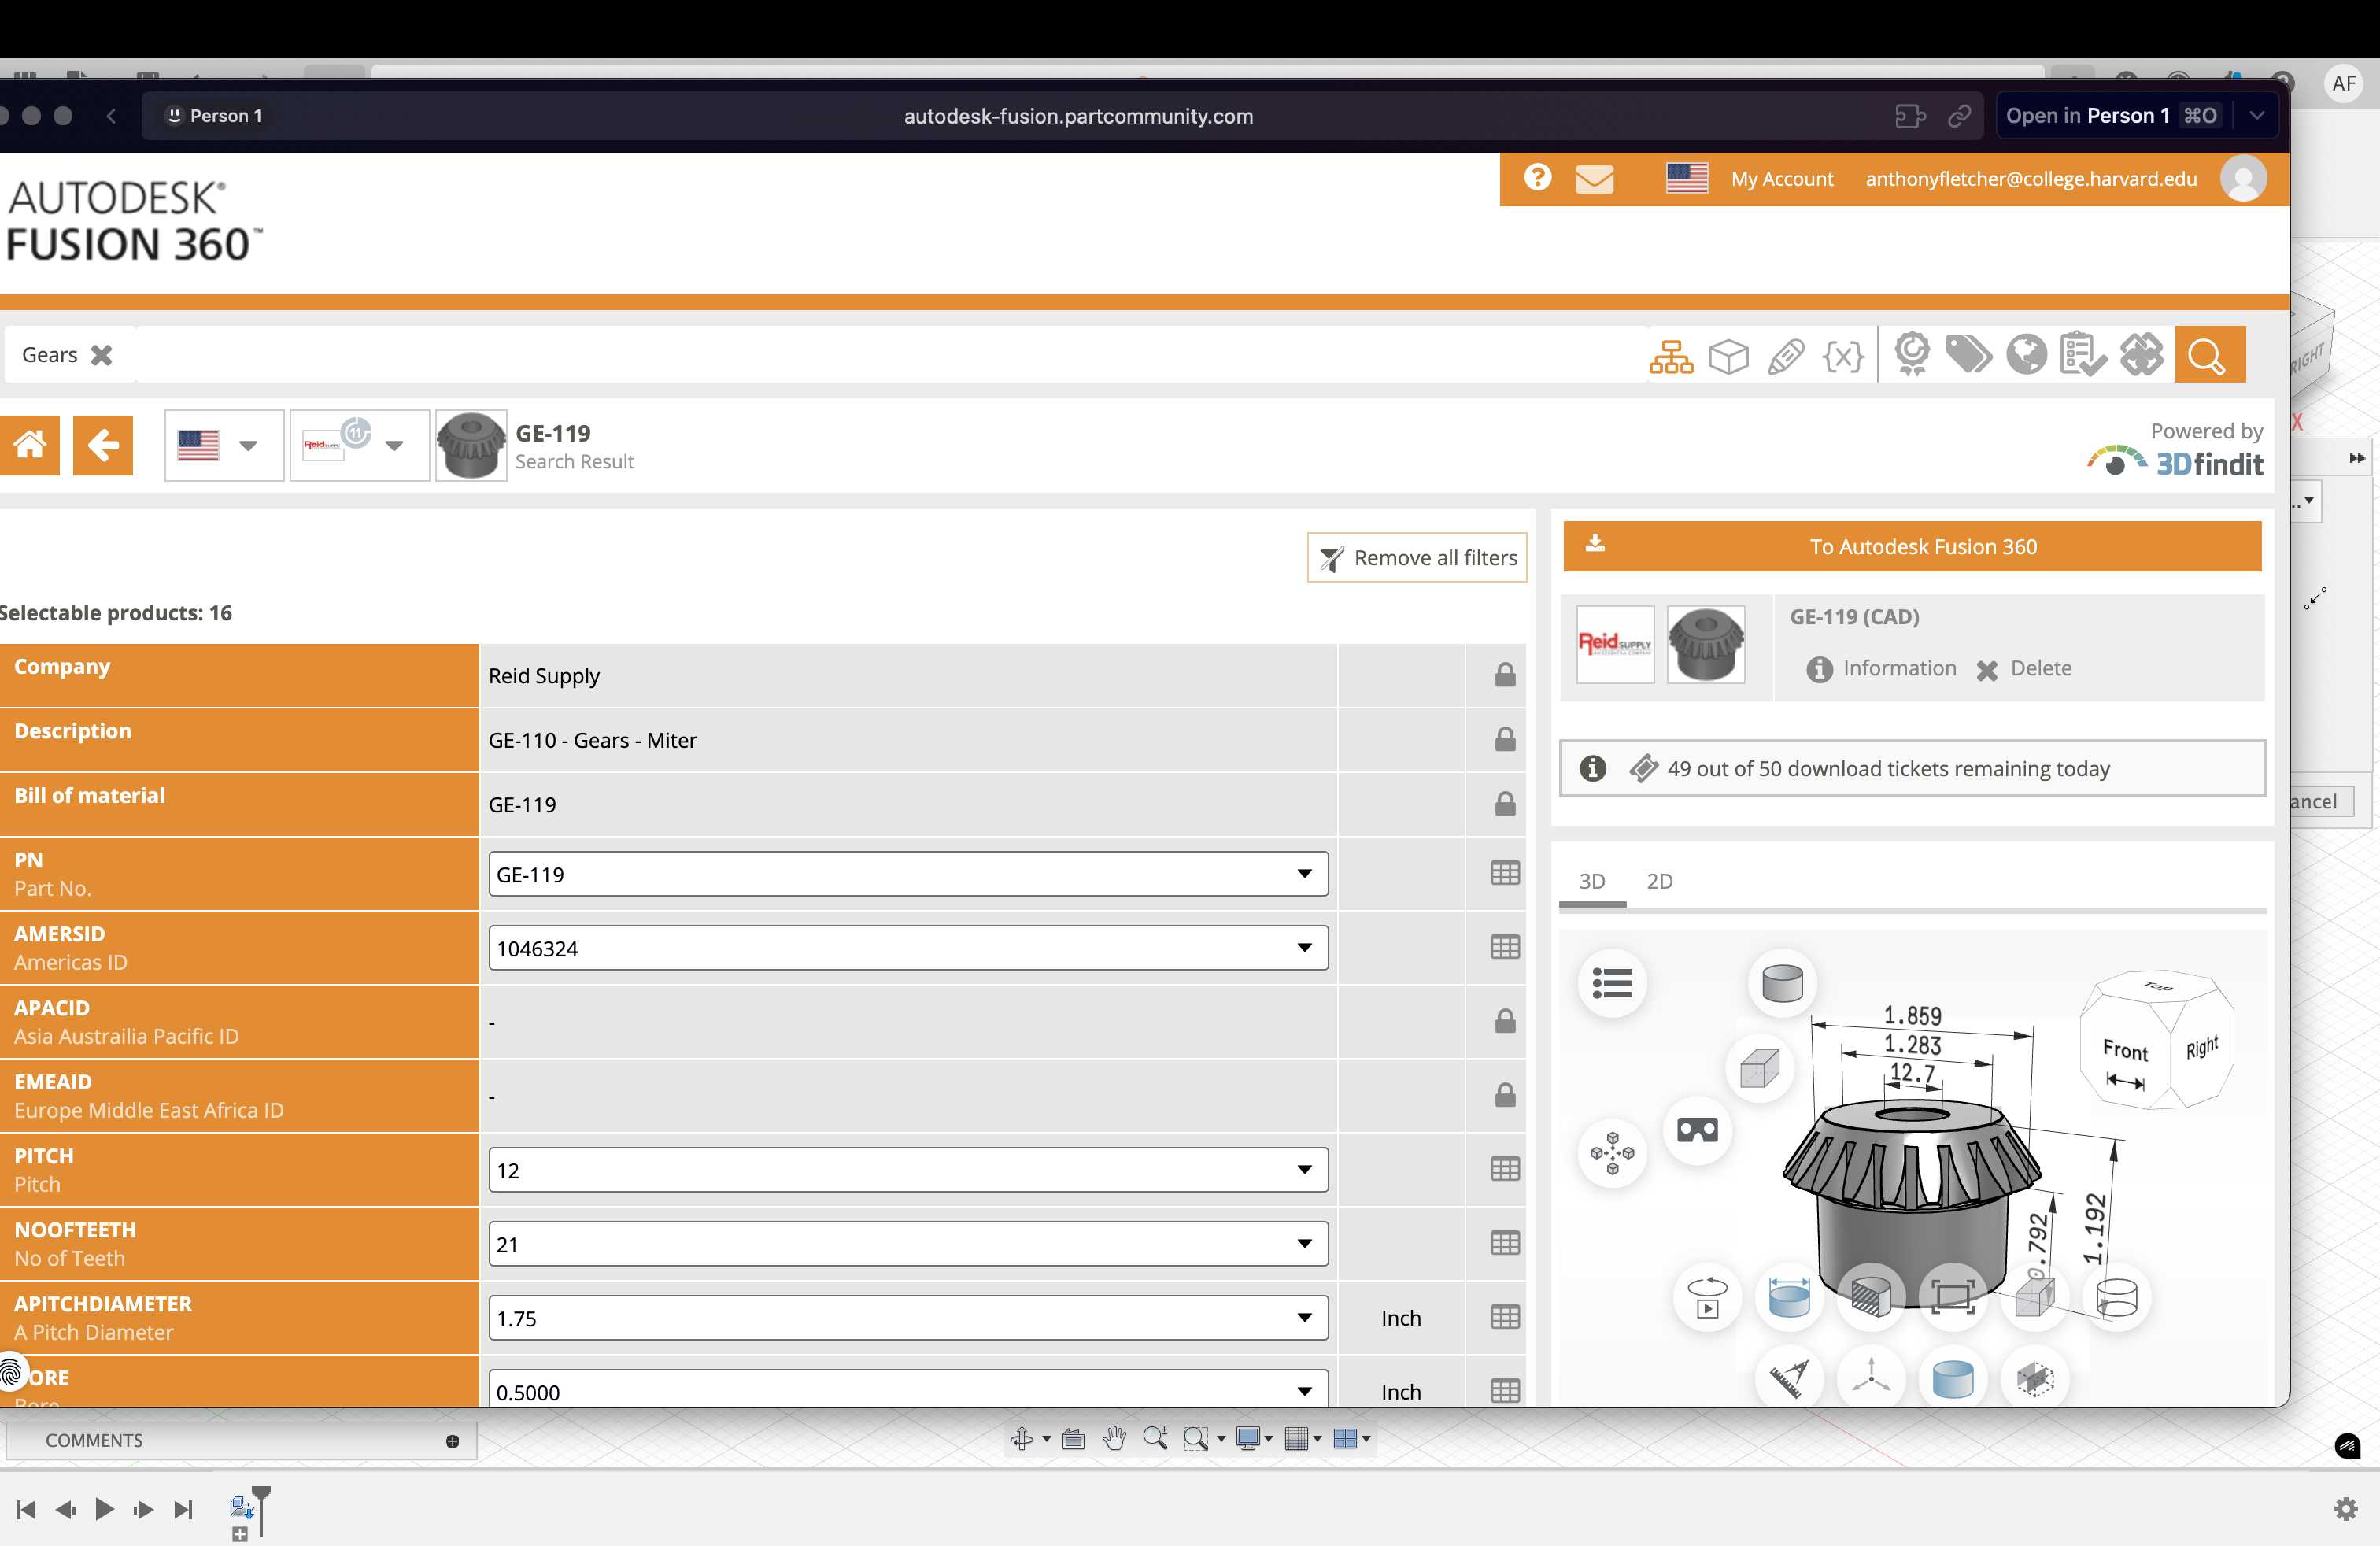
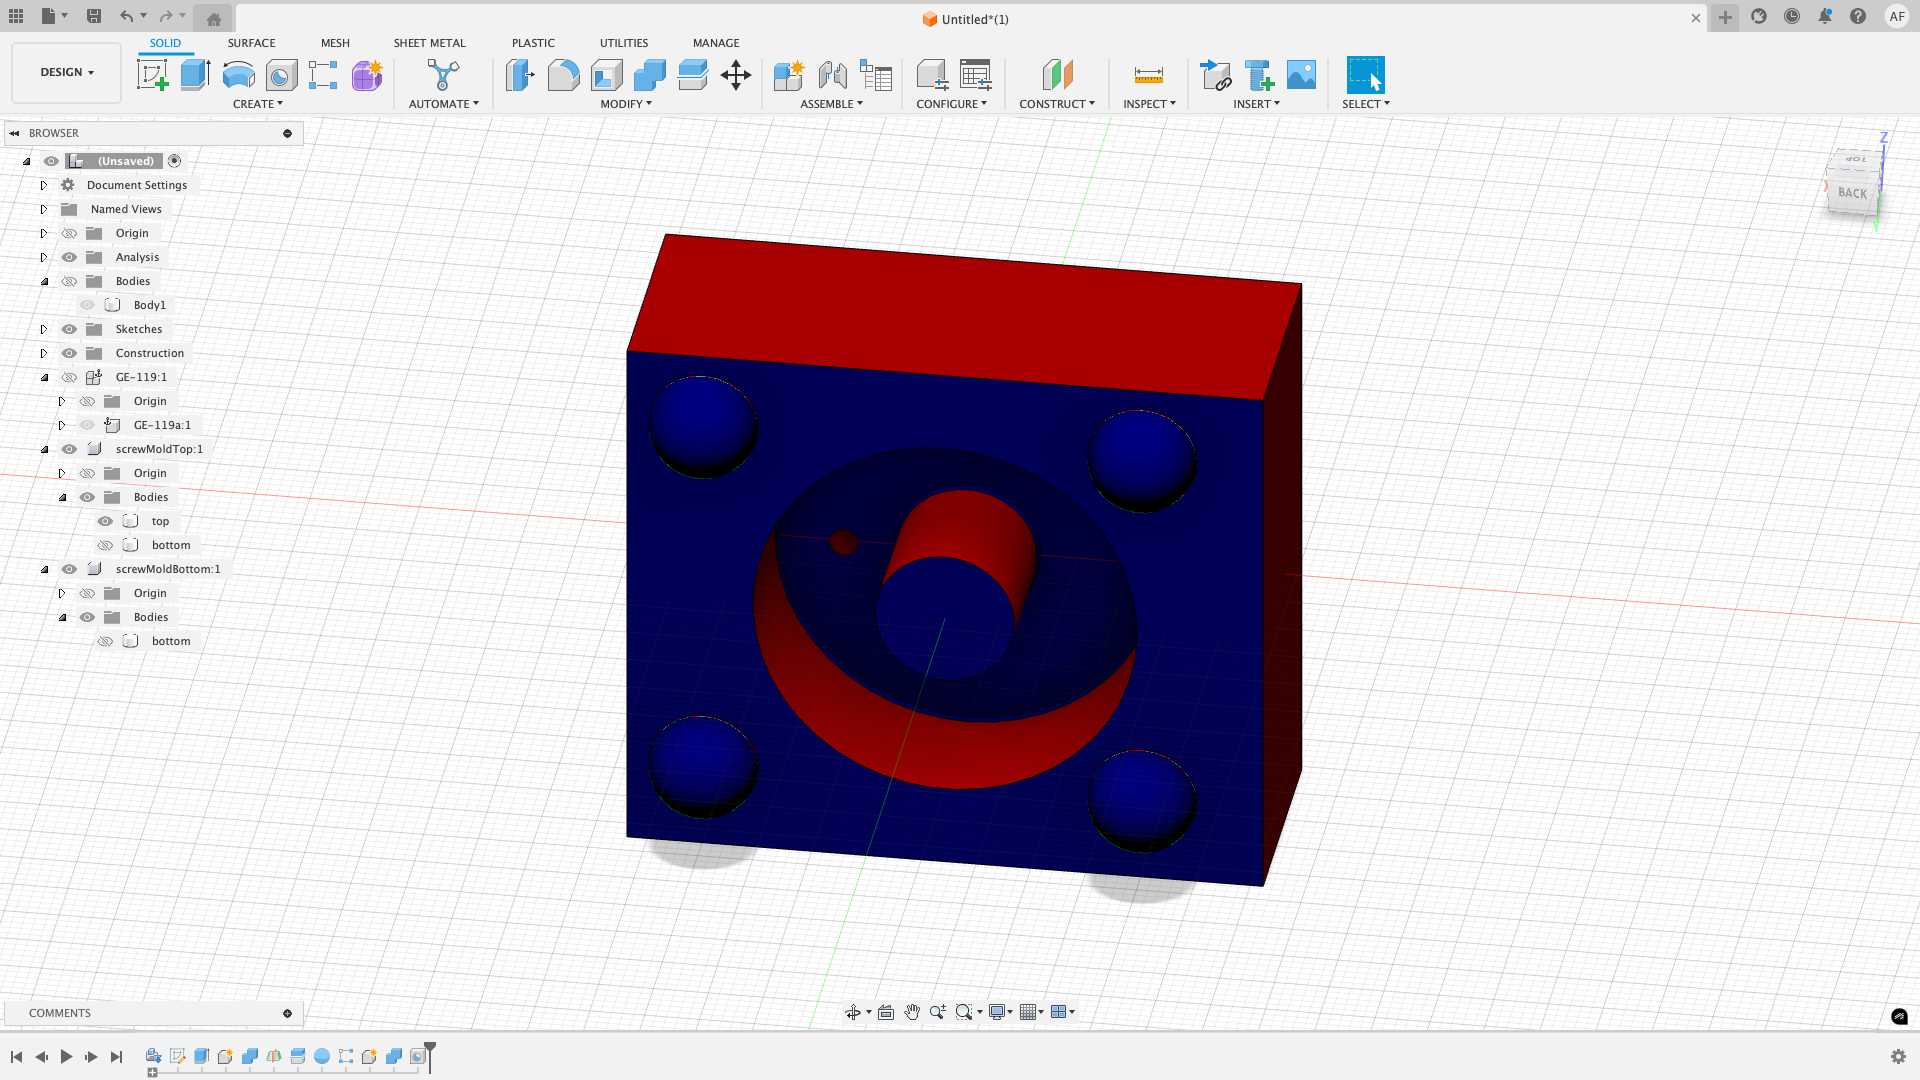
Overall, I thought this week was a pretty cool project and I can definitely see myself casting things in the future. For this week, I was unsure what to cast and thought it would be cool to play around with the parts in KiCad. So I downloaded a 3d file on the fusion import side of a gear because I thought it would be interesting to test how silicone can bend to odd textures.
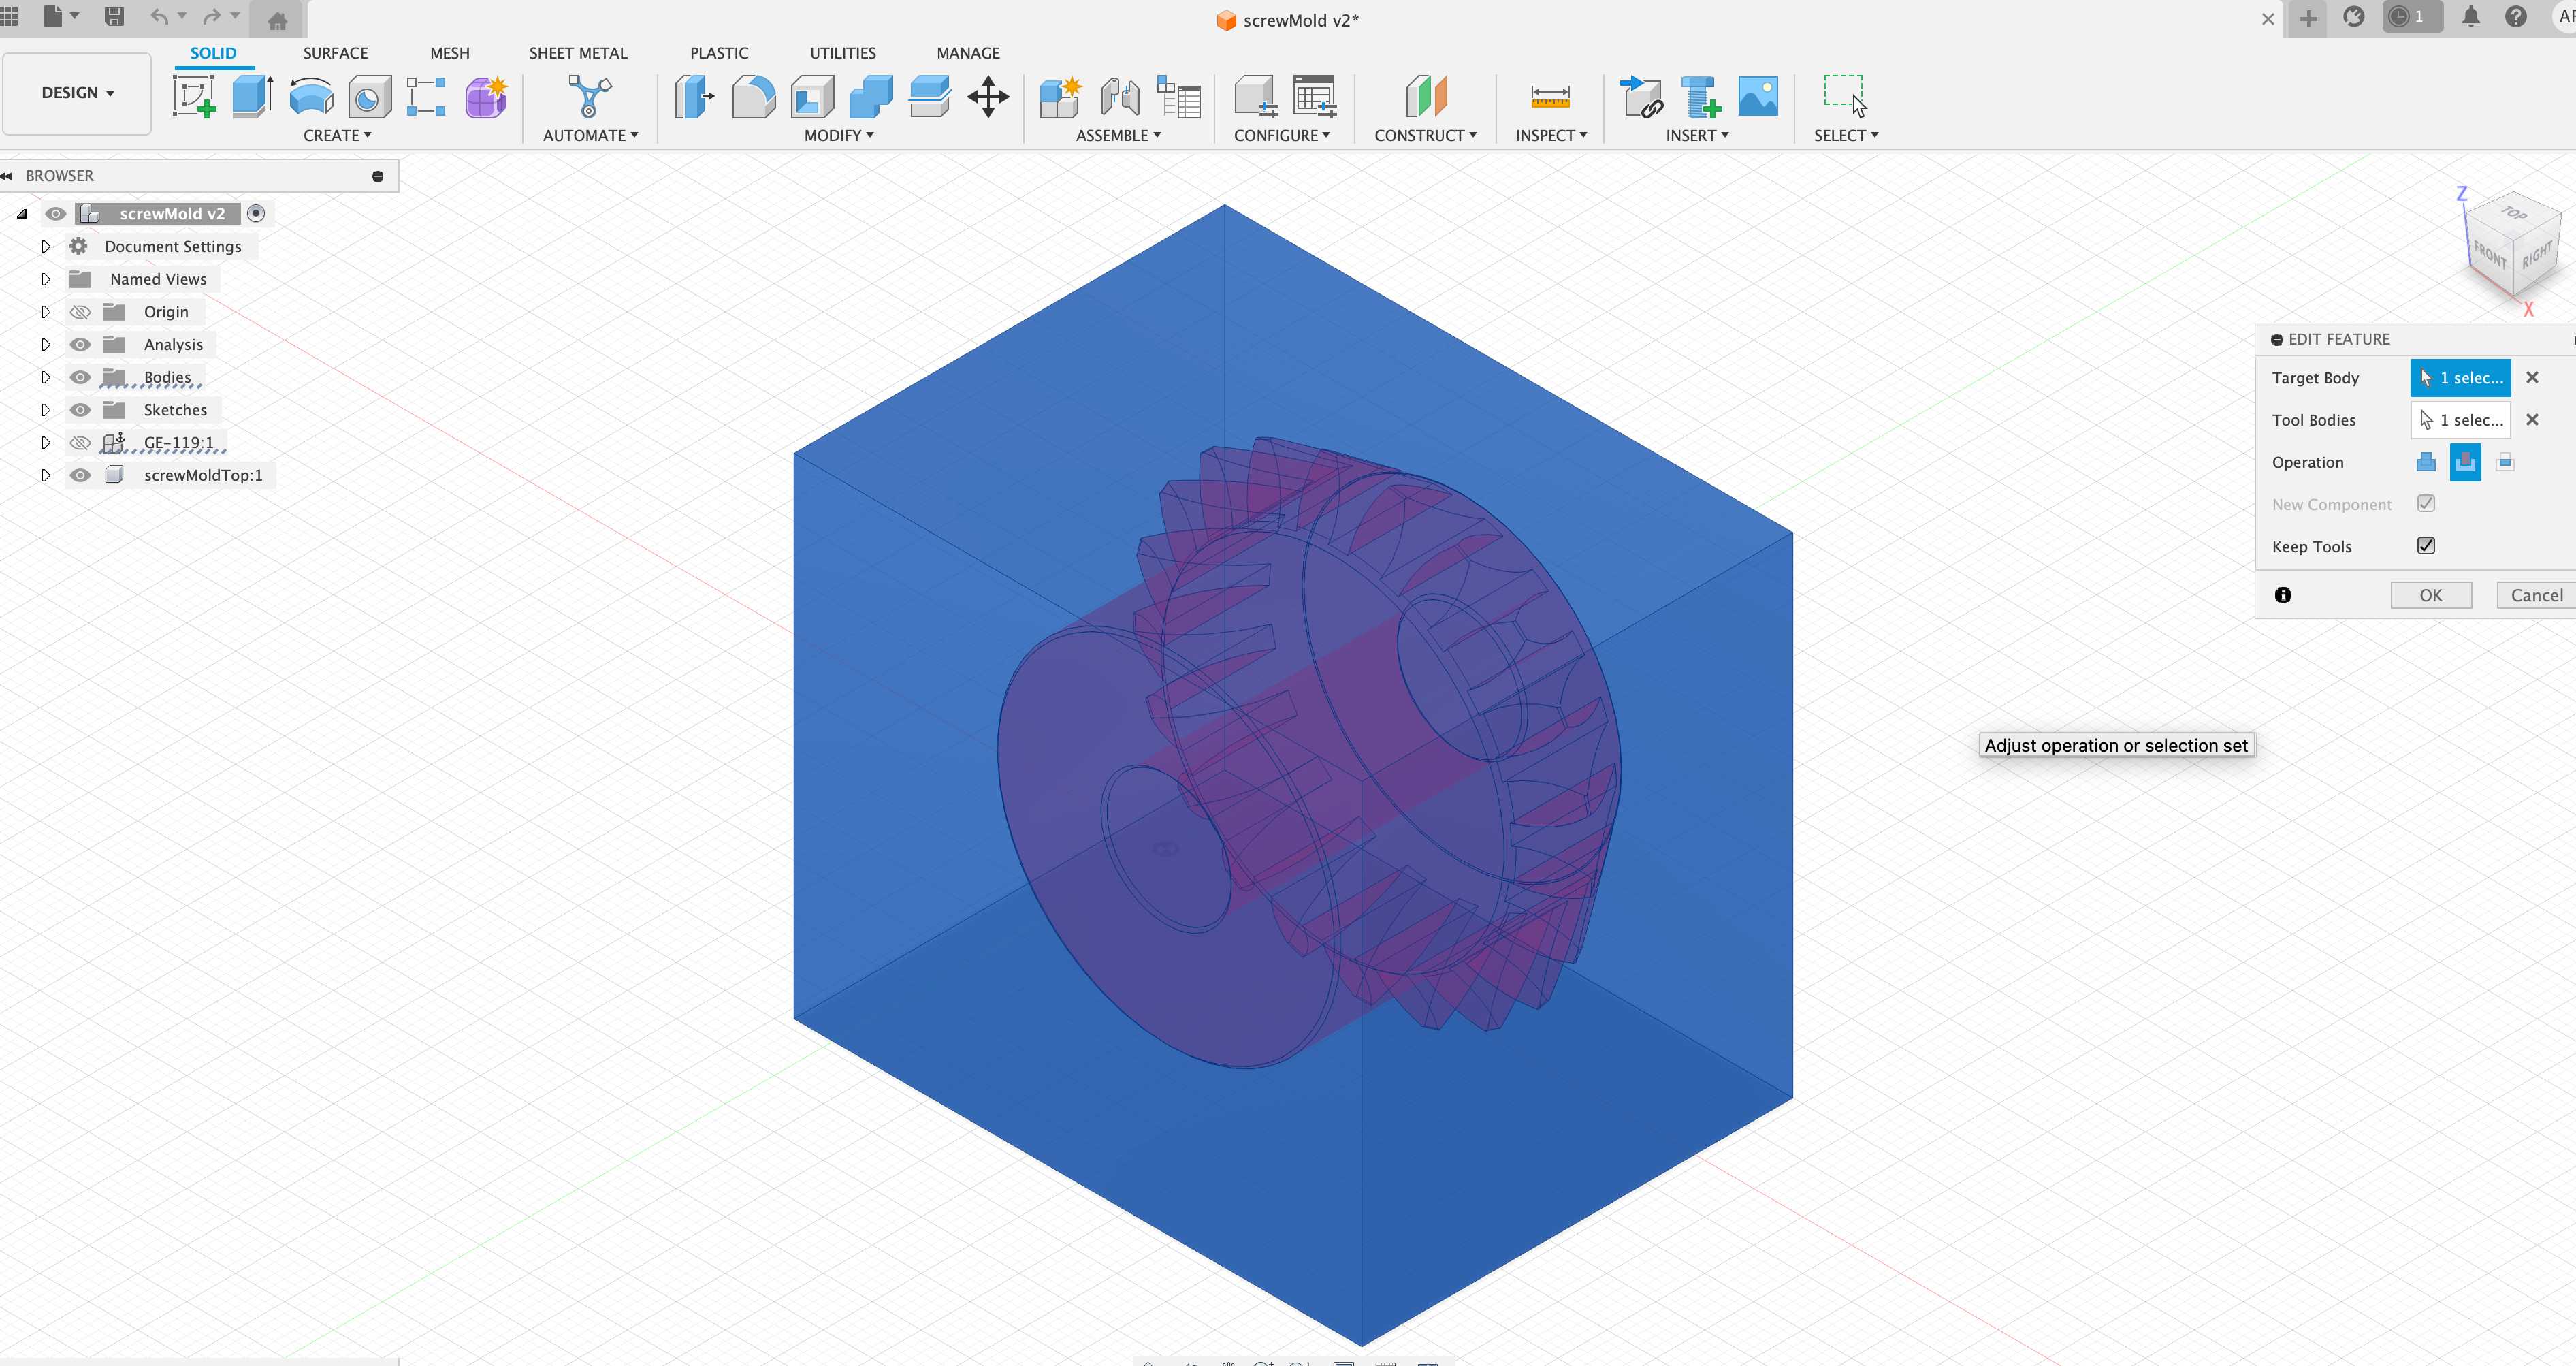
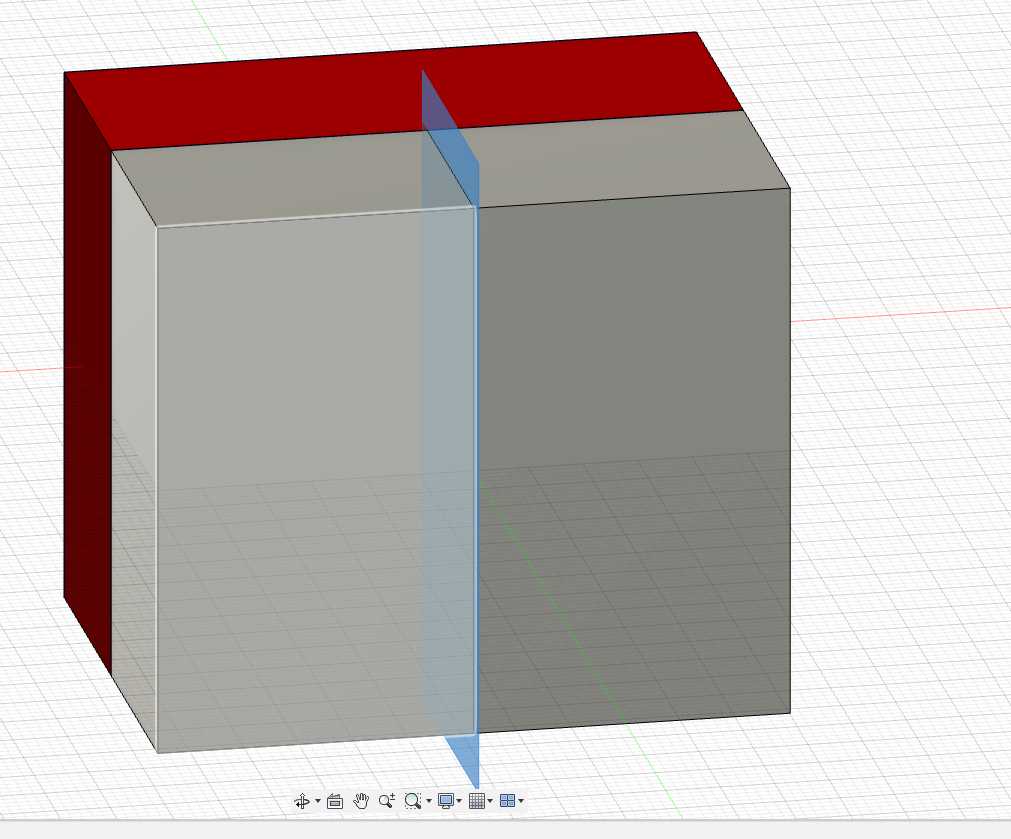
After I imported the file, I made a rectangle around it to act as the mold. Then, I constructed a midplane in the middle of the gear to be able to act as the top and bottom of my figure. I chose to have all the gear heads on one side because I was planning on using 3 parts to cast the mold. I figured I could then cut the gear side in half since it would be harder to get out of the mold.
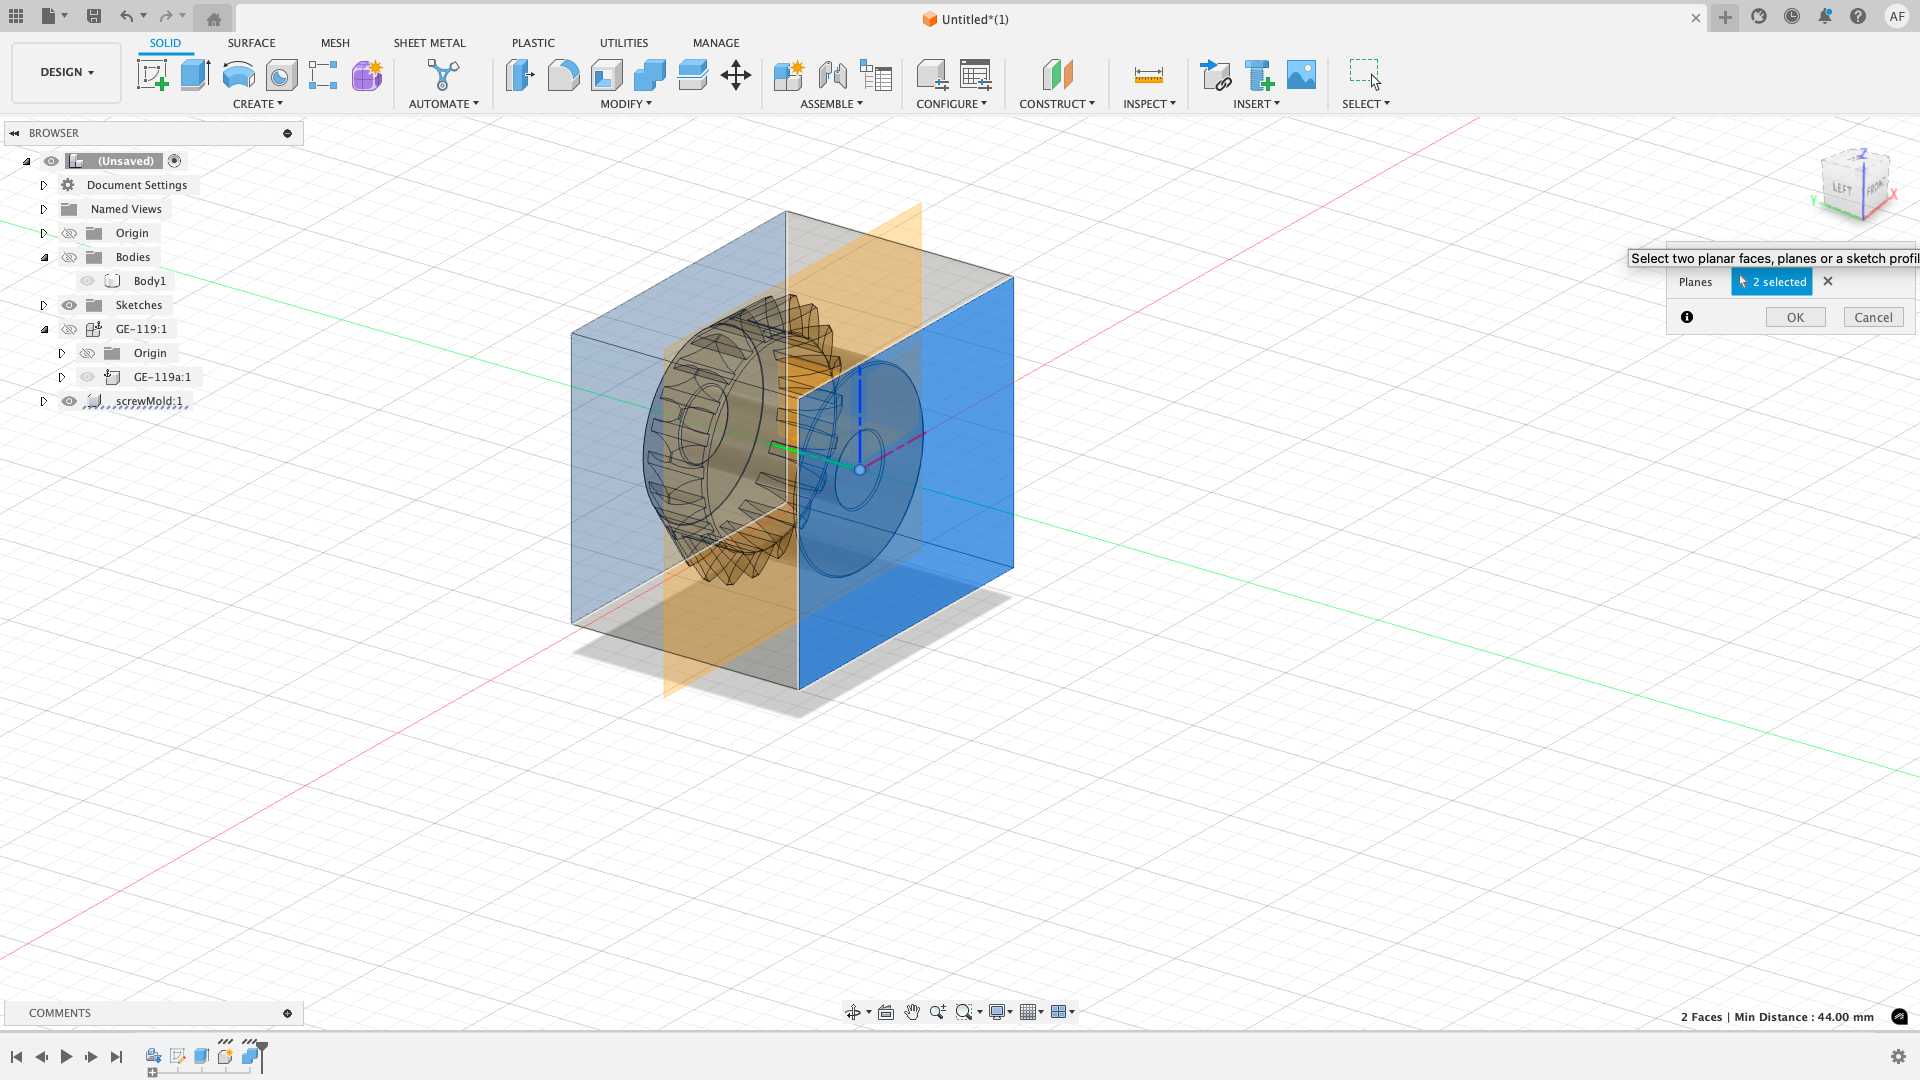
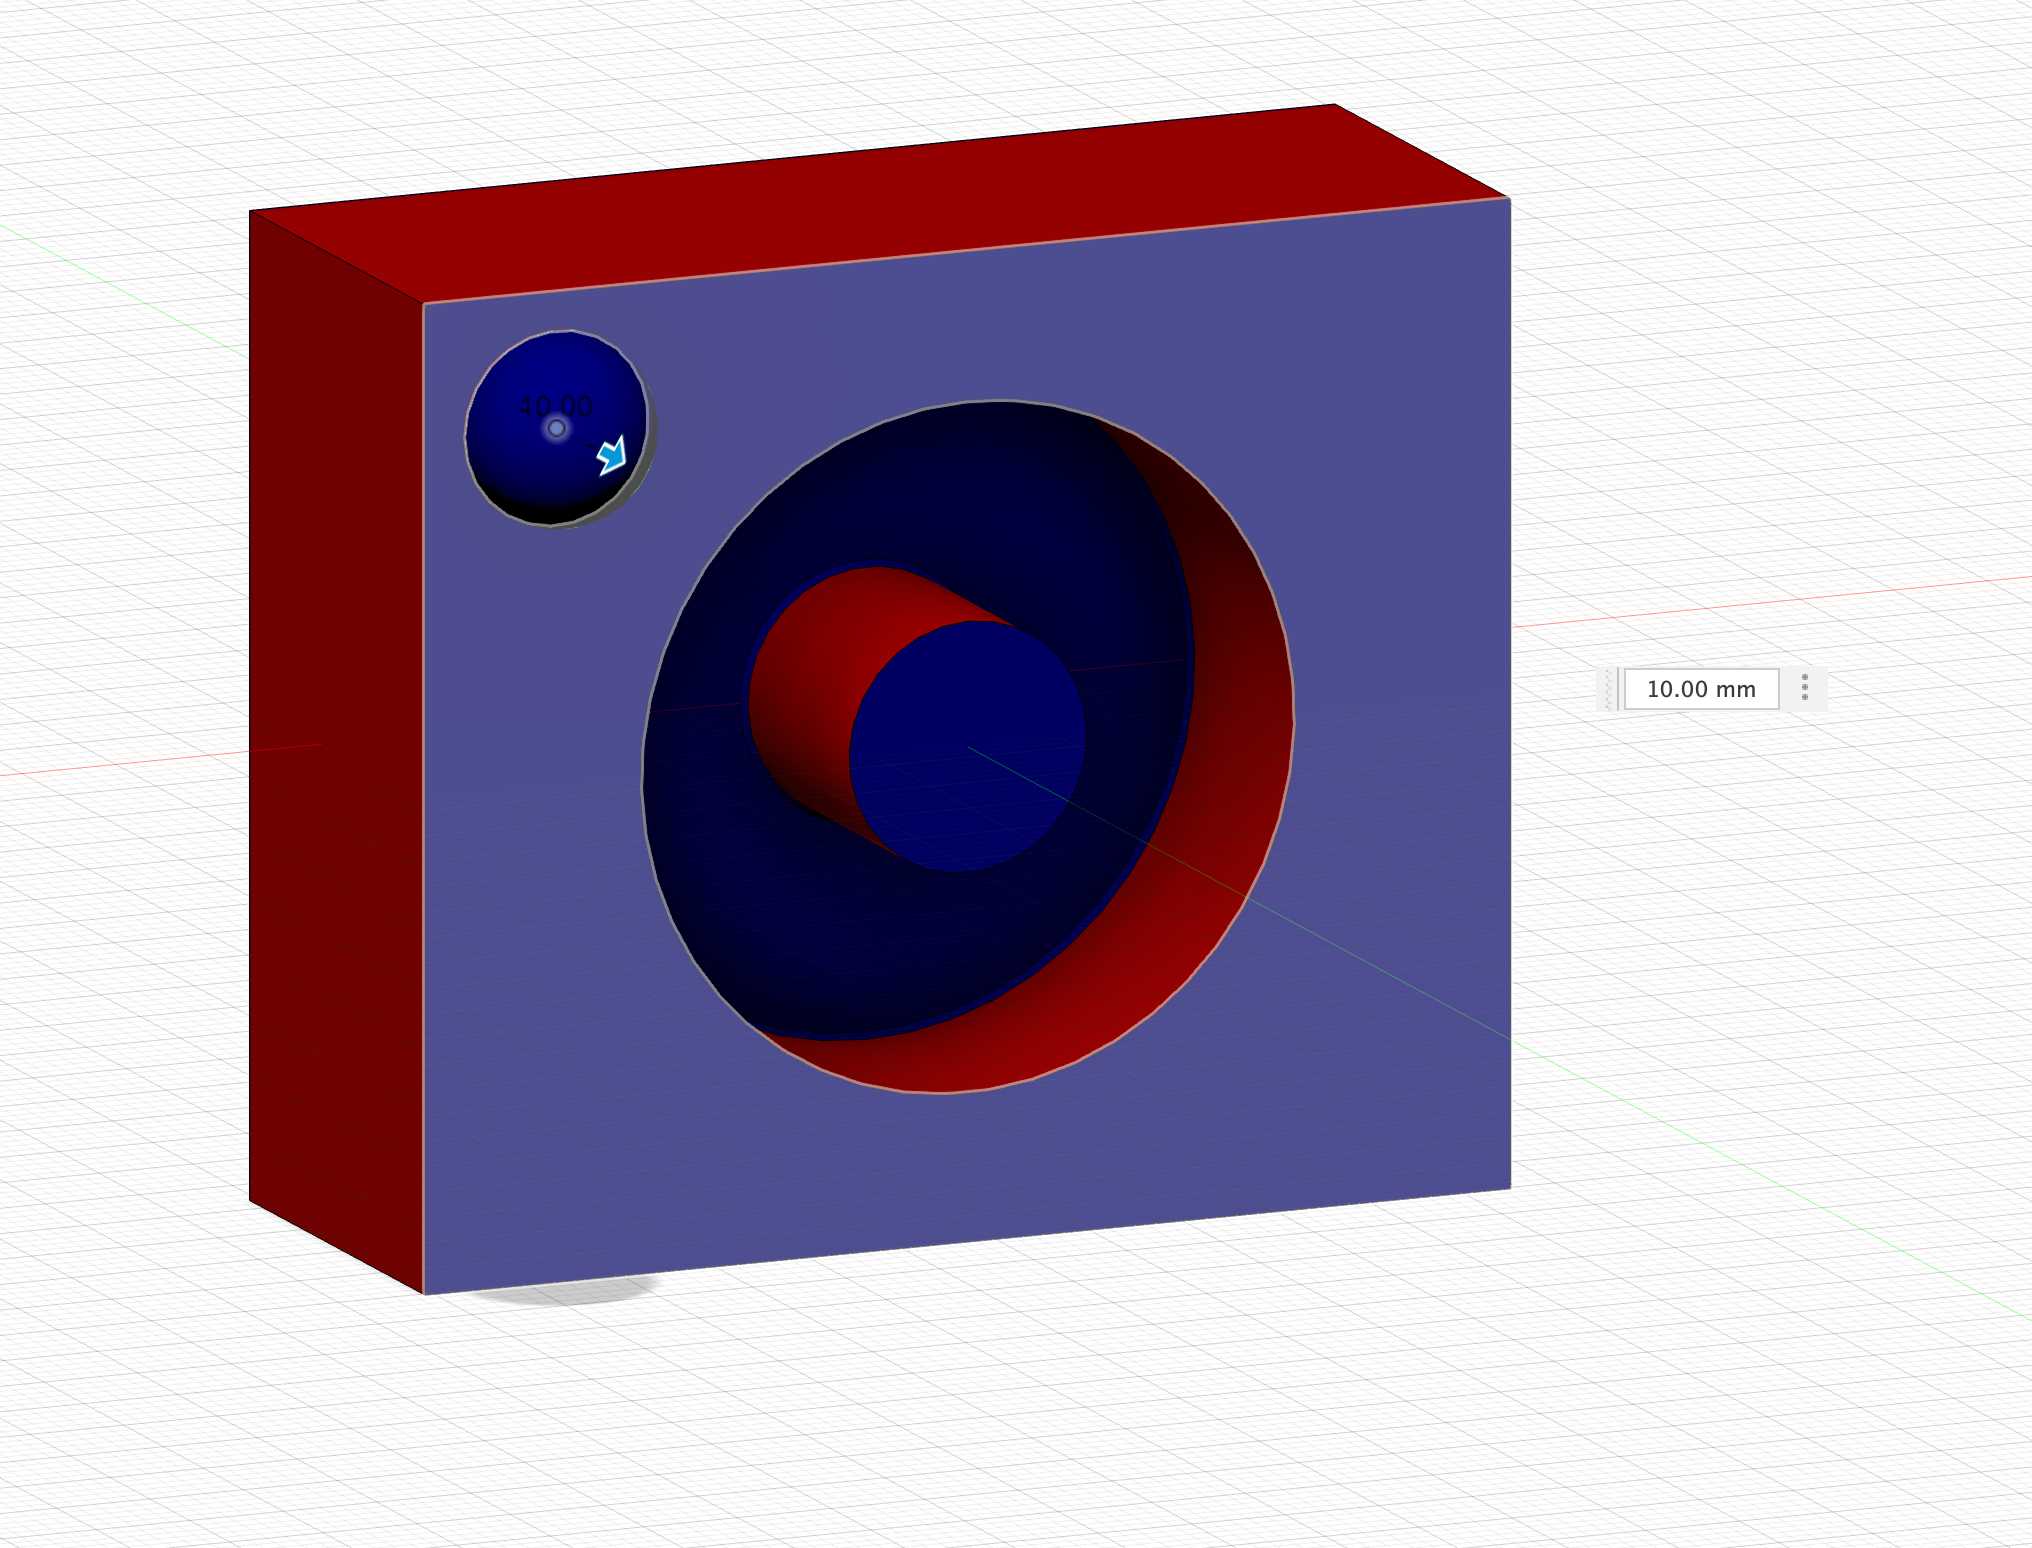
I then made spheres to act as the things that would help stick the top into the bottom of the mold. I did spheres because I thought I might break them if they were small rectangles. I then used a rectangle pattern to get them on four sides. Lastly, I cut the gear portion of the mold in half with a midplane to 3d print.
I did a 3d print of the top and bottom without cutting it in half and also one of the top portion cut in half. The 3d printer messed up the print a little bit for some reason but that is okay since I ended up using the half one anyway and figured it could still look interesting. I also did not have time to 3d print again. I think that this happened because of the orientation of the mold when I 3d printed it.
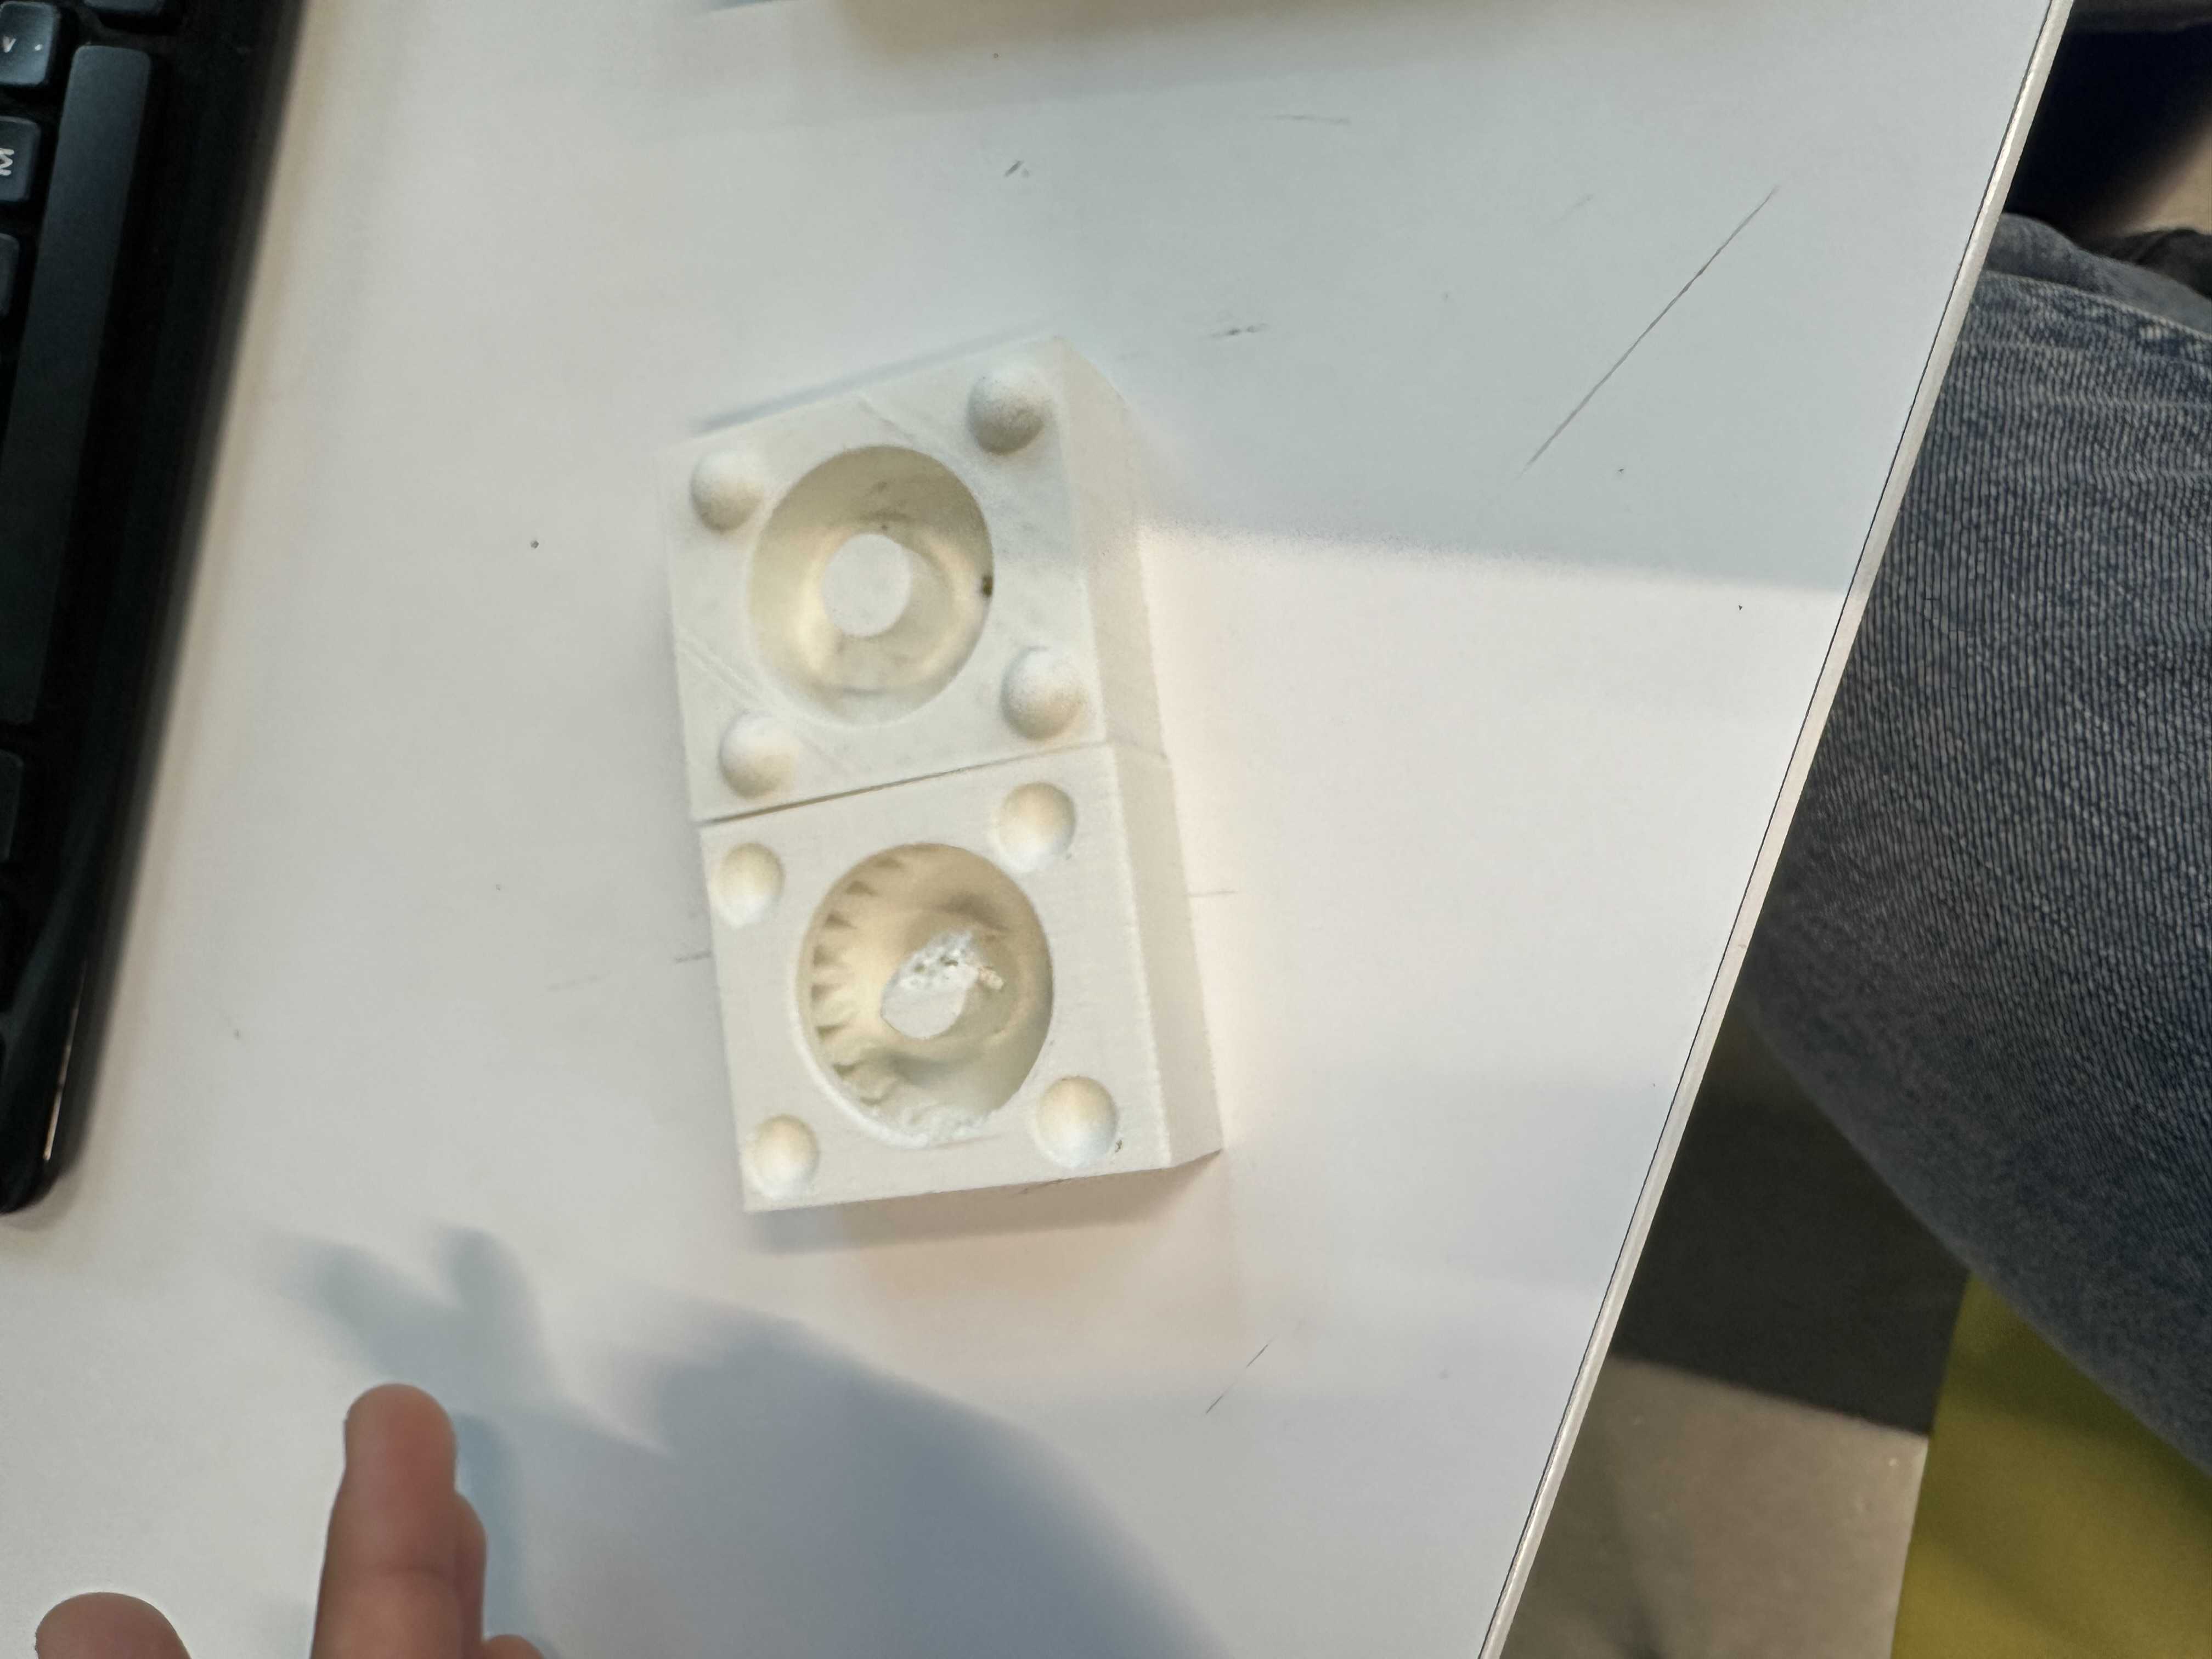

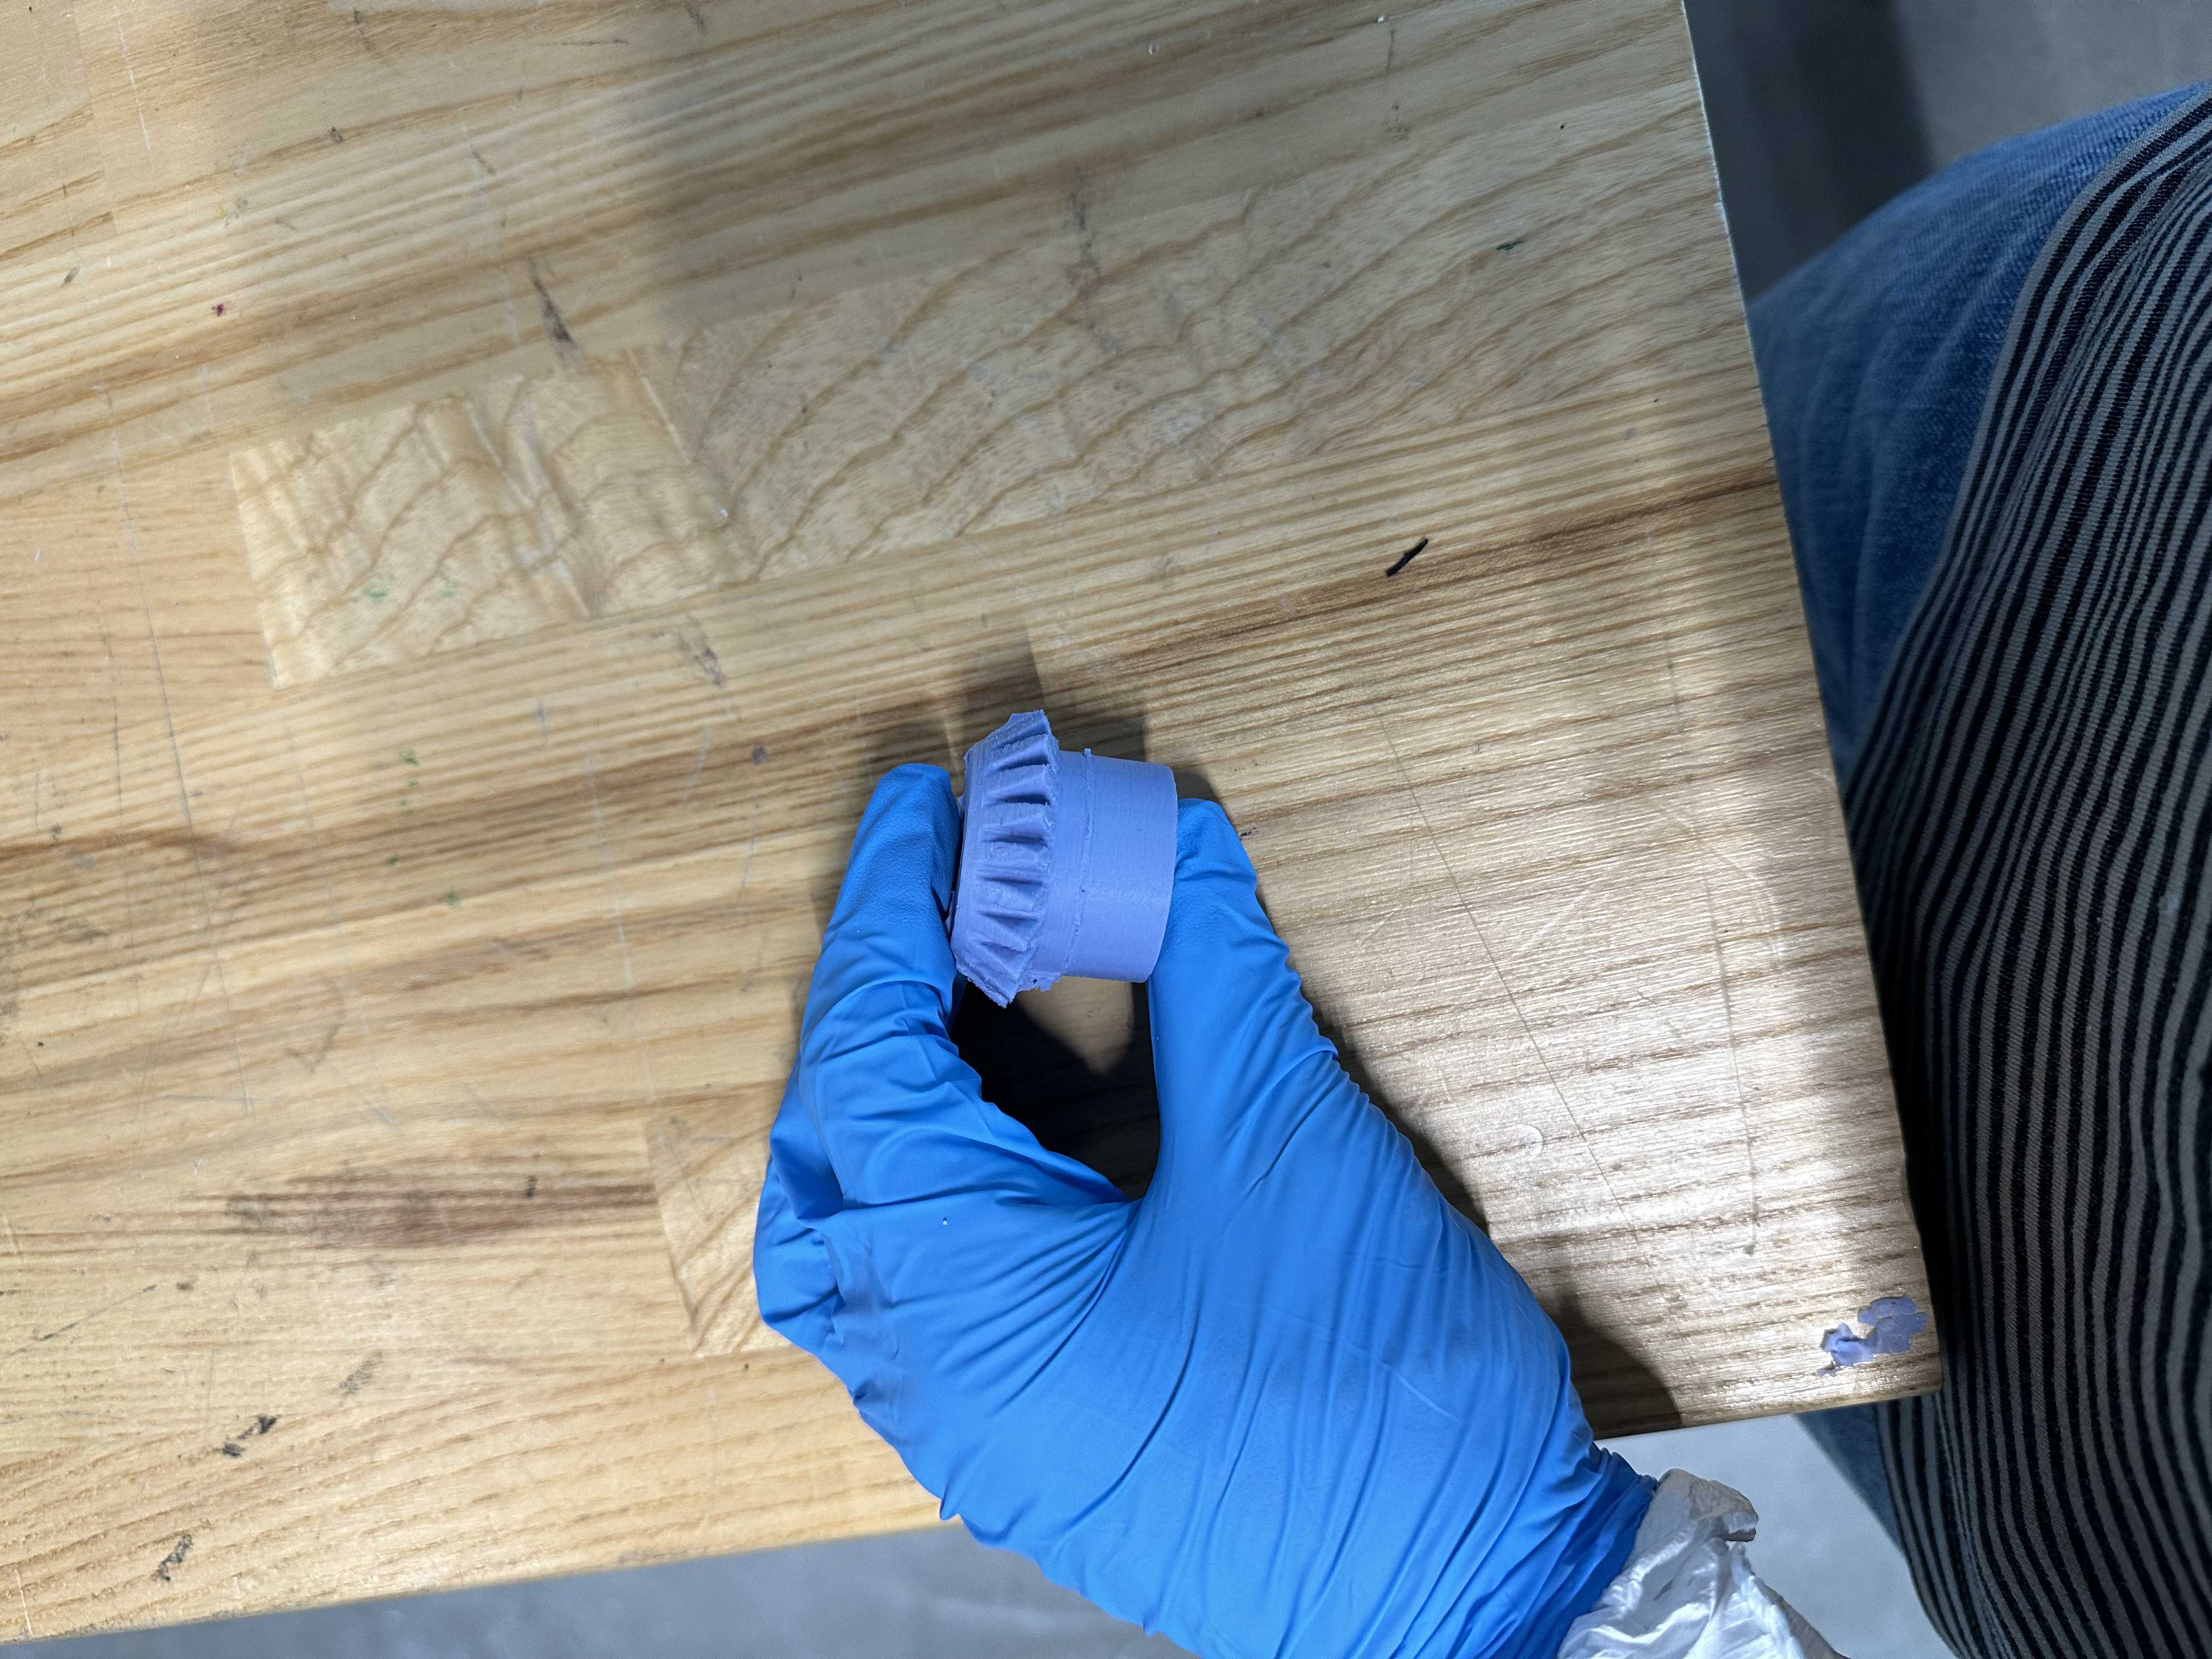
I decided to use the OOMOO 30 silicone because I wanted the mold to be purple. I poured half and half into a cup and then stirred. I used a syringe to get the mold juice in. I should also add that I added a hole into my 3d print to put the pourable into. I then wrapped the mold in tape so it sticks together and then let it cure. You can see the hole here a bit.
Lastly, I took my gear out of the mold after it cured. It looked pretty cool.