3d printing
This week our goal was to make something that could only be manufactured using additive manufacturiing. I also had a secondary goal of working with something that is a complaint mechanism.
So I did some research into complaint mechanisms and Leo showed me the work that is being done at BYU and I looked into a lot of their examples they had for compliant mechanisms and I wanted to get a prebuilt compliant mechanism working before I put own mechanism together
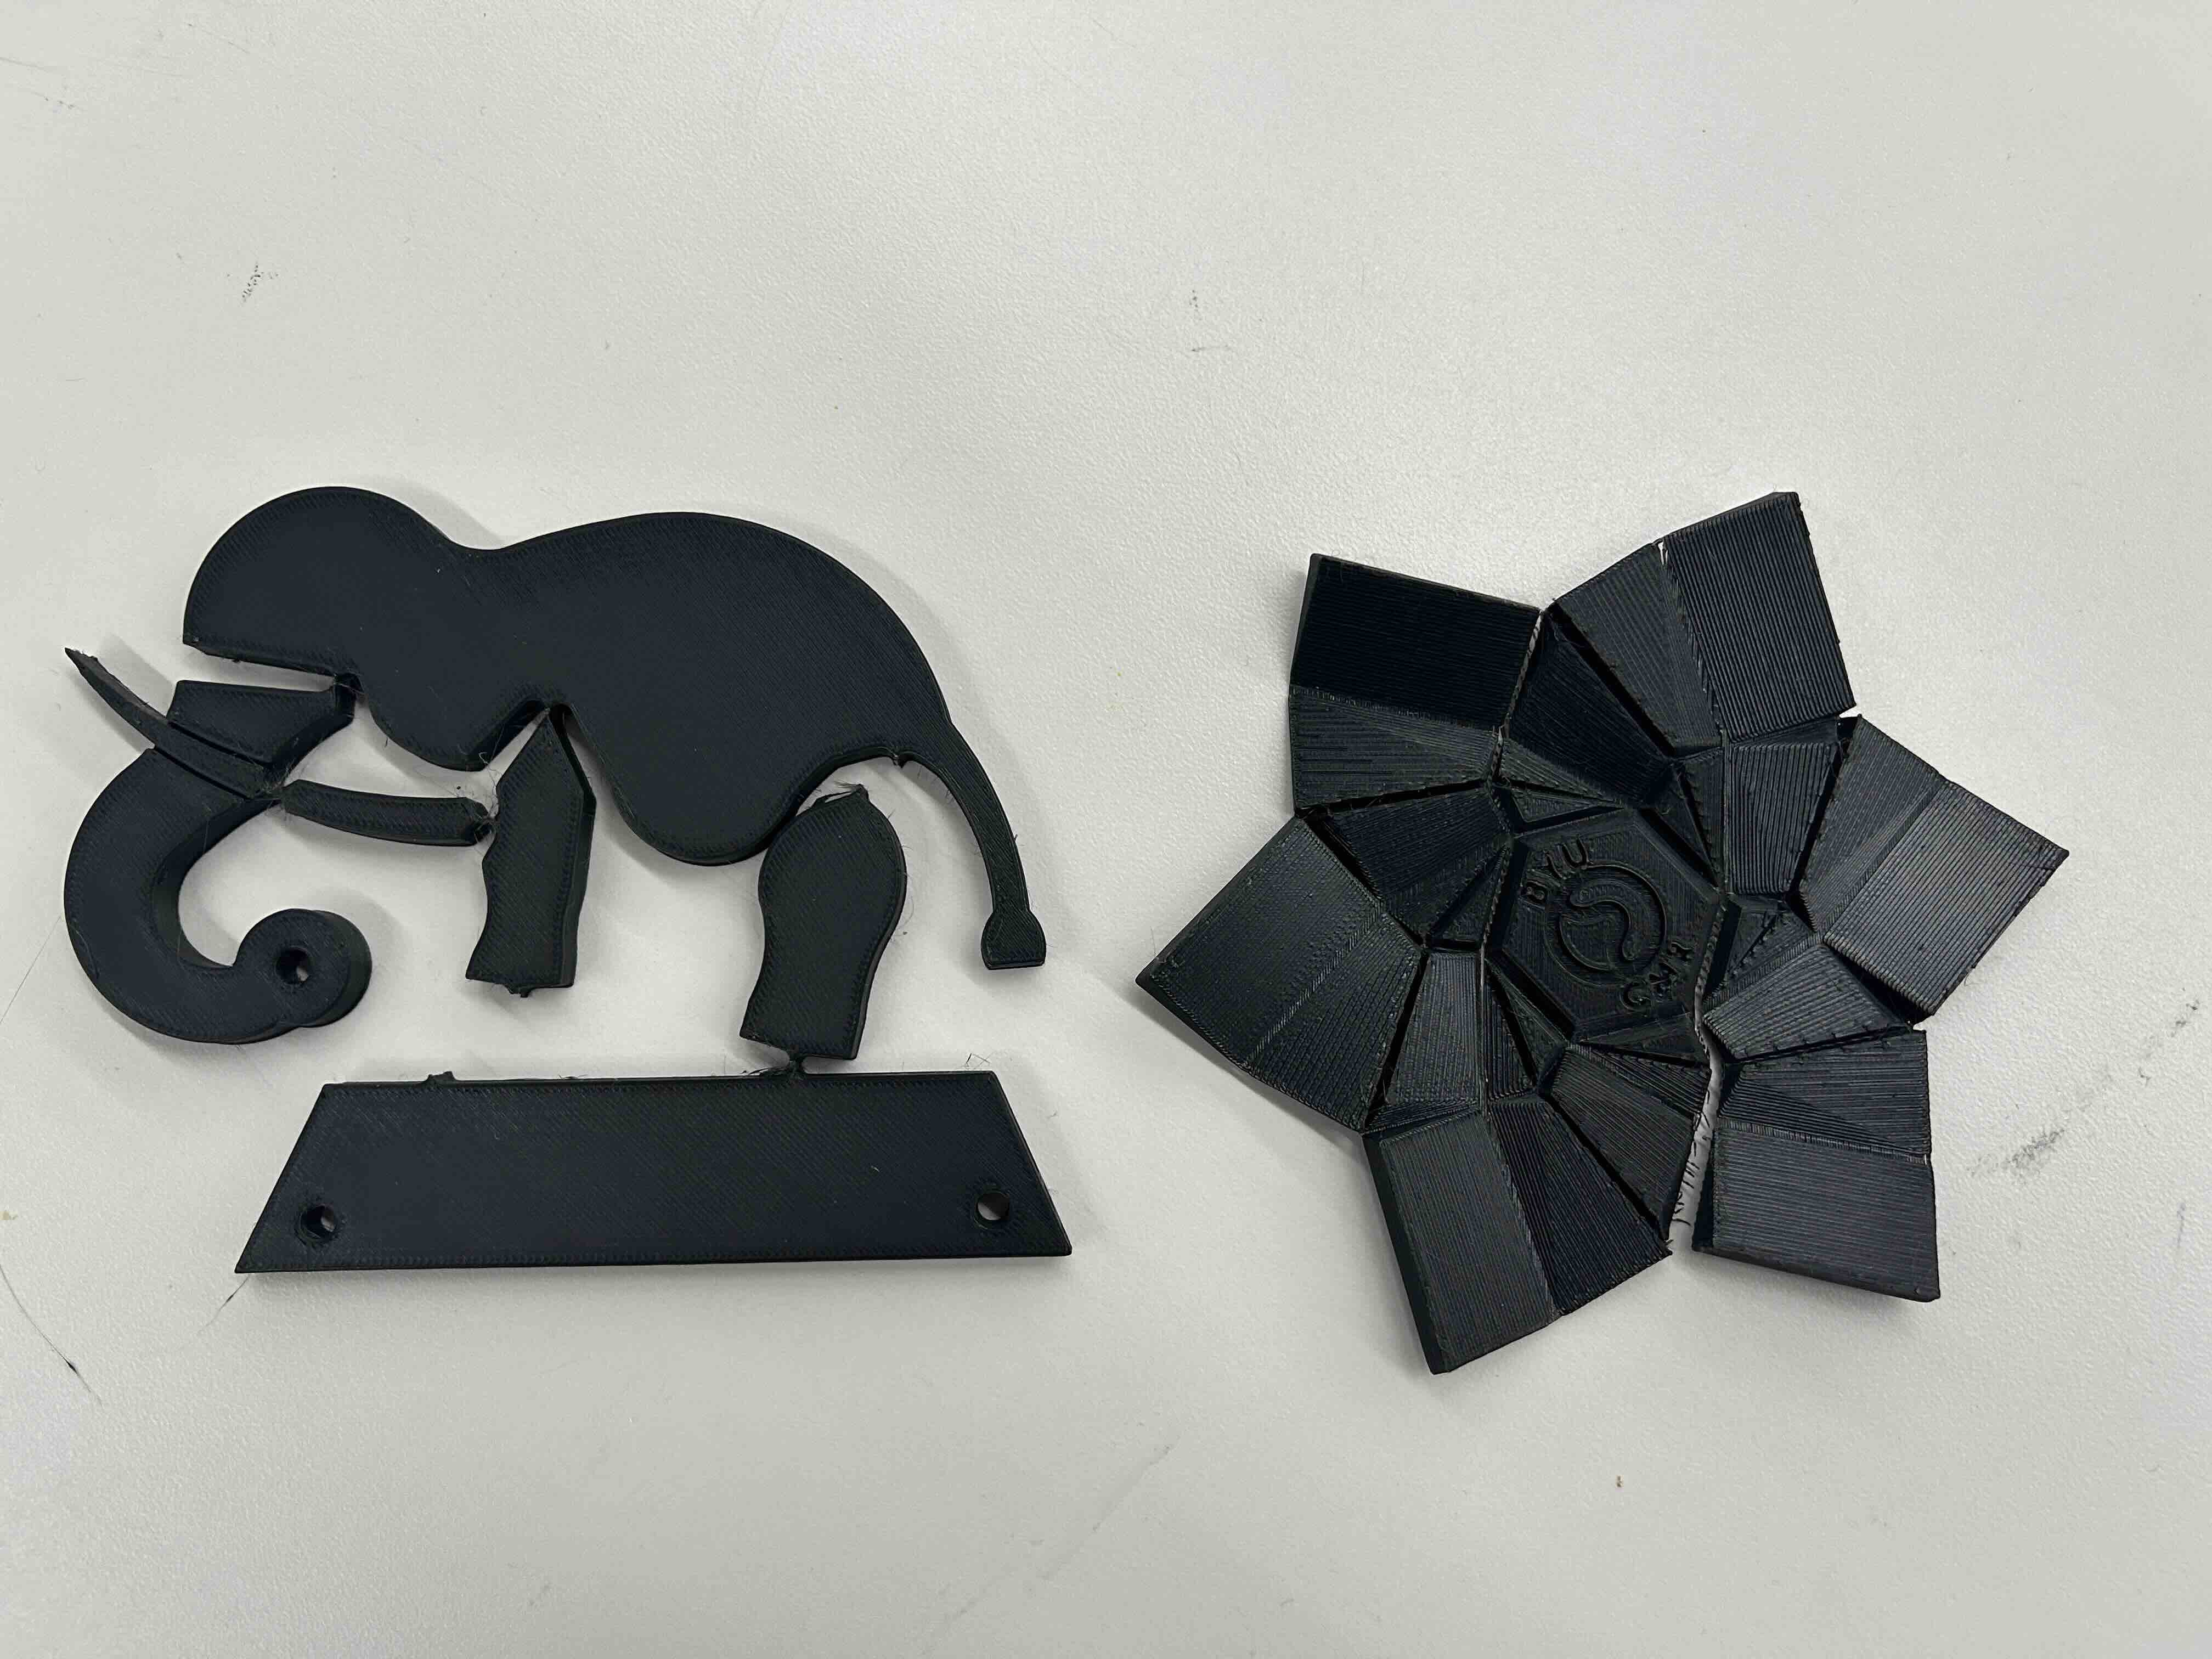
So at first I was having a lot of trouble with the printing out these mechanisms, I could not get most of the prints to perform the desired behaviors, and they would basically break if I looked at them. So I did some more research and learned that PLA is too brittle for work with most compliant mechanisms and a filament like PETG was a better fit
Since we did not have much PETG in the lab I had to reduce the scale of the project this week to smaller designs, but I was able to get a small compliant nerf blaster working which was all the confirmation I needed to prove that I could start designing my own
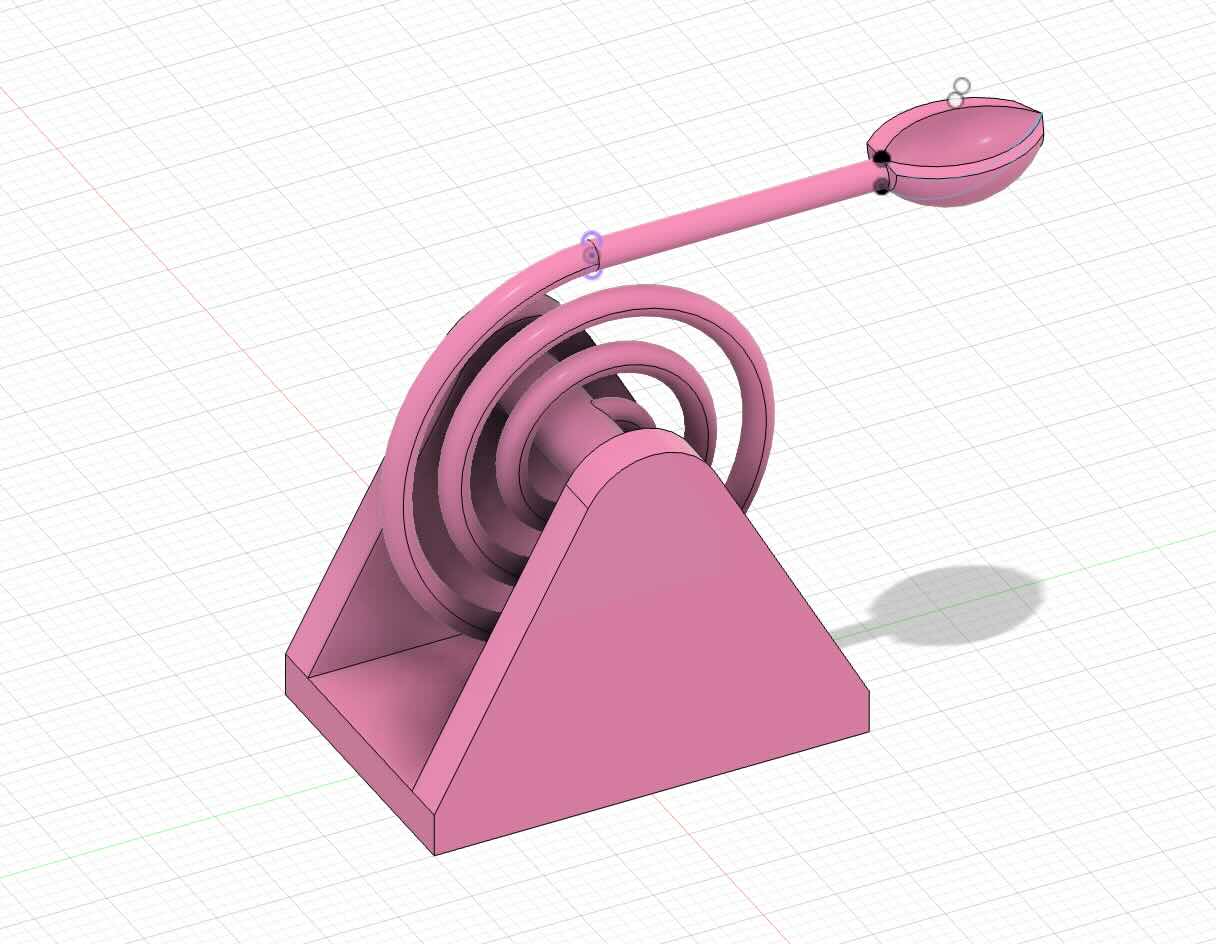
I was inspired by the nerf blaster to make something that flings projectiles, and I settled on making a compliant catapult. This was my first design. It had multiple coils to try give the catapult extra spring when I pulled it back. This version kind of worked in the sense that it would launch projectiles forward, but it had too major issues. One is that it looked much larger in CAD, and the catapult was actually much more fragile that expected as well as its resting position was too far back so it was sending projectiles upward much more than forwards
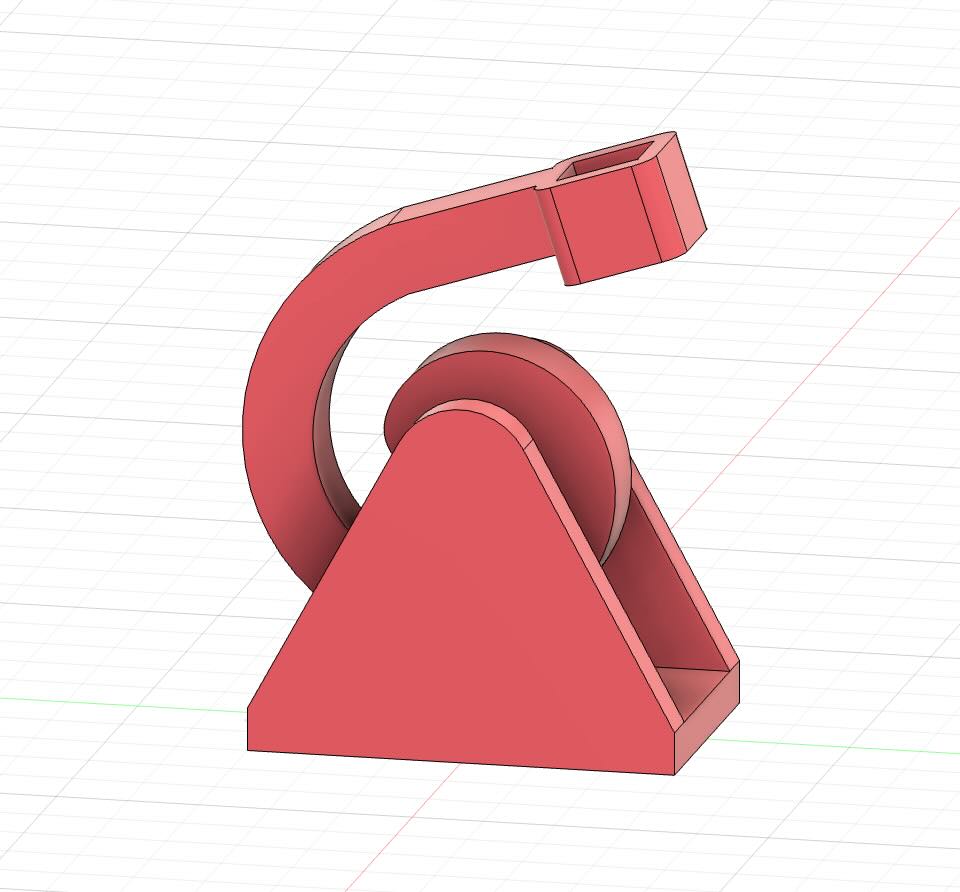
I took all of these improvements and put them together to create my final version of the catapult which had a much thicker cross section than the original catapult and its resting position was much farther forward. This version had a lot more spring too it than I expected and I may have flung a screw across the lab by accident
Improvements
One thing I would to learn after this week is how to simulate things like compliant mechanisms in Fusion 360, so if anyone has any ideas on how to do that. Also I definitely and pushing my fusion knowledge with curved shapes and definitely need to work on things that are not just straight lines and arcs
3d Scanning
For 3d scanning this week I used our revopoint scanner with revoscan. Just to get used to the software I used the default test statue. I placed the scanner in front of the spinning statue and clicked start scan. Scanning this object and converting it into a mesh was literally three button clicks and very intuitive.
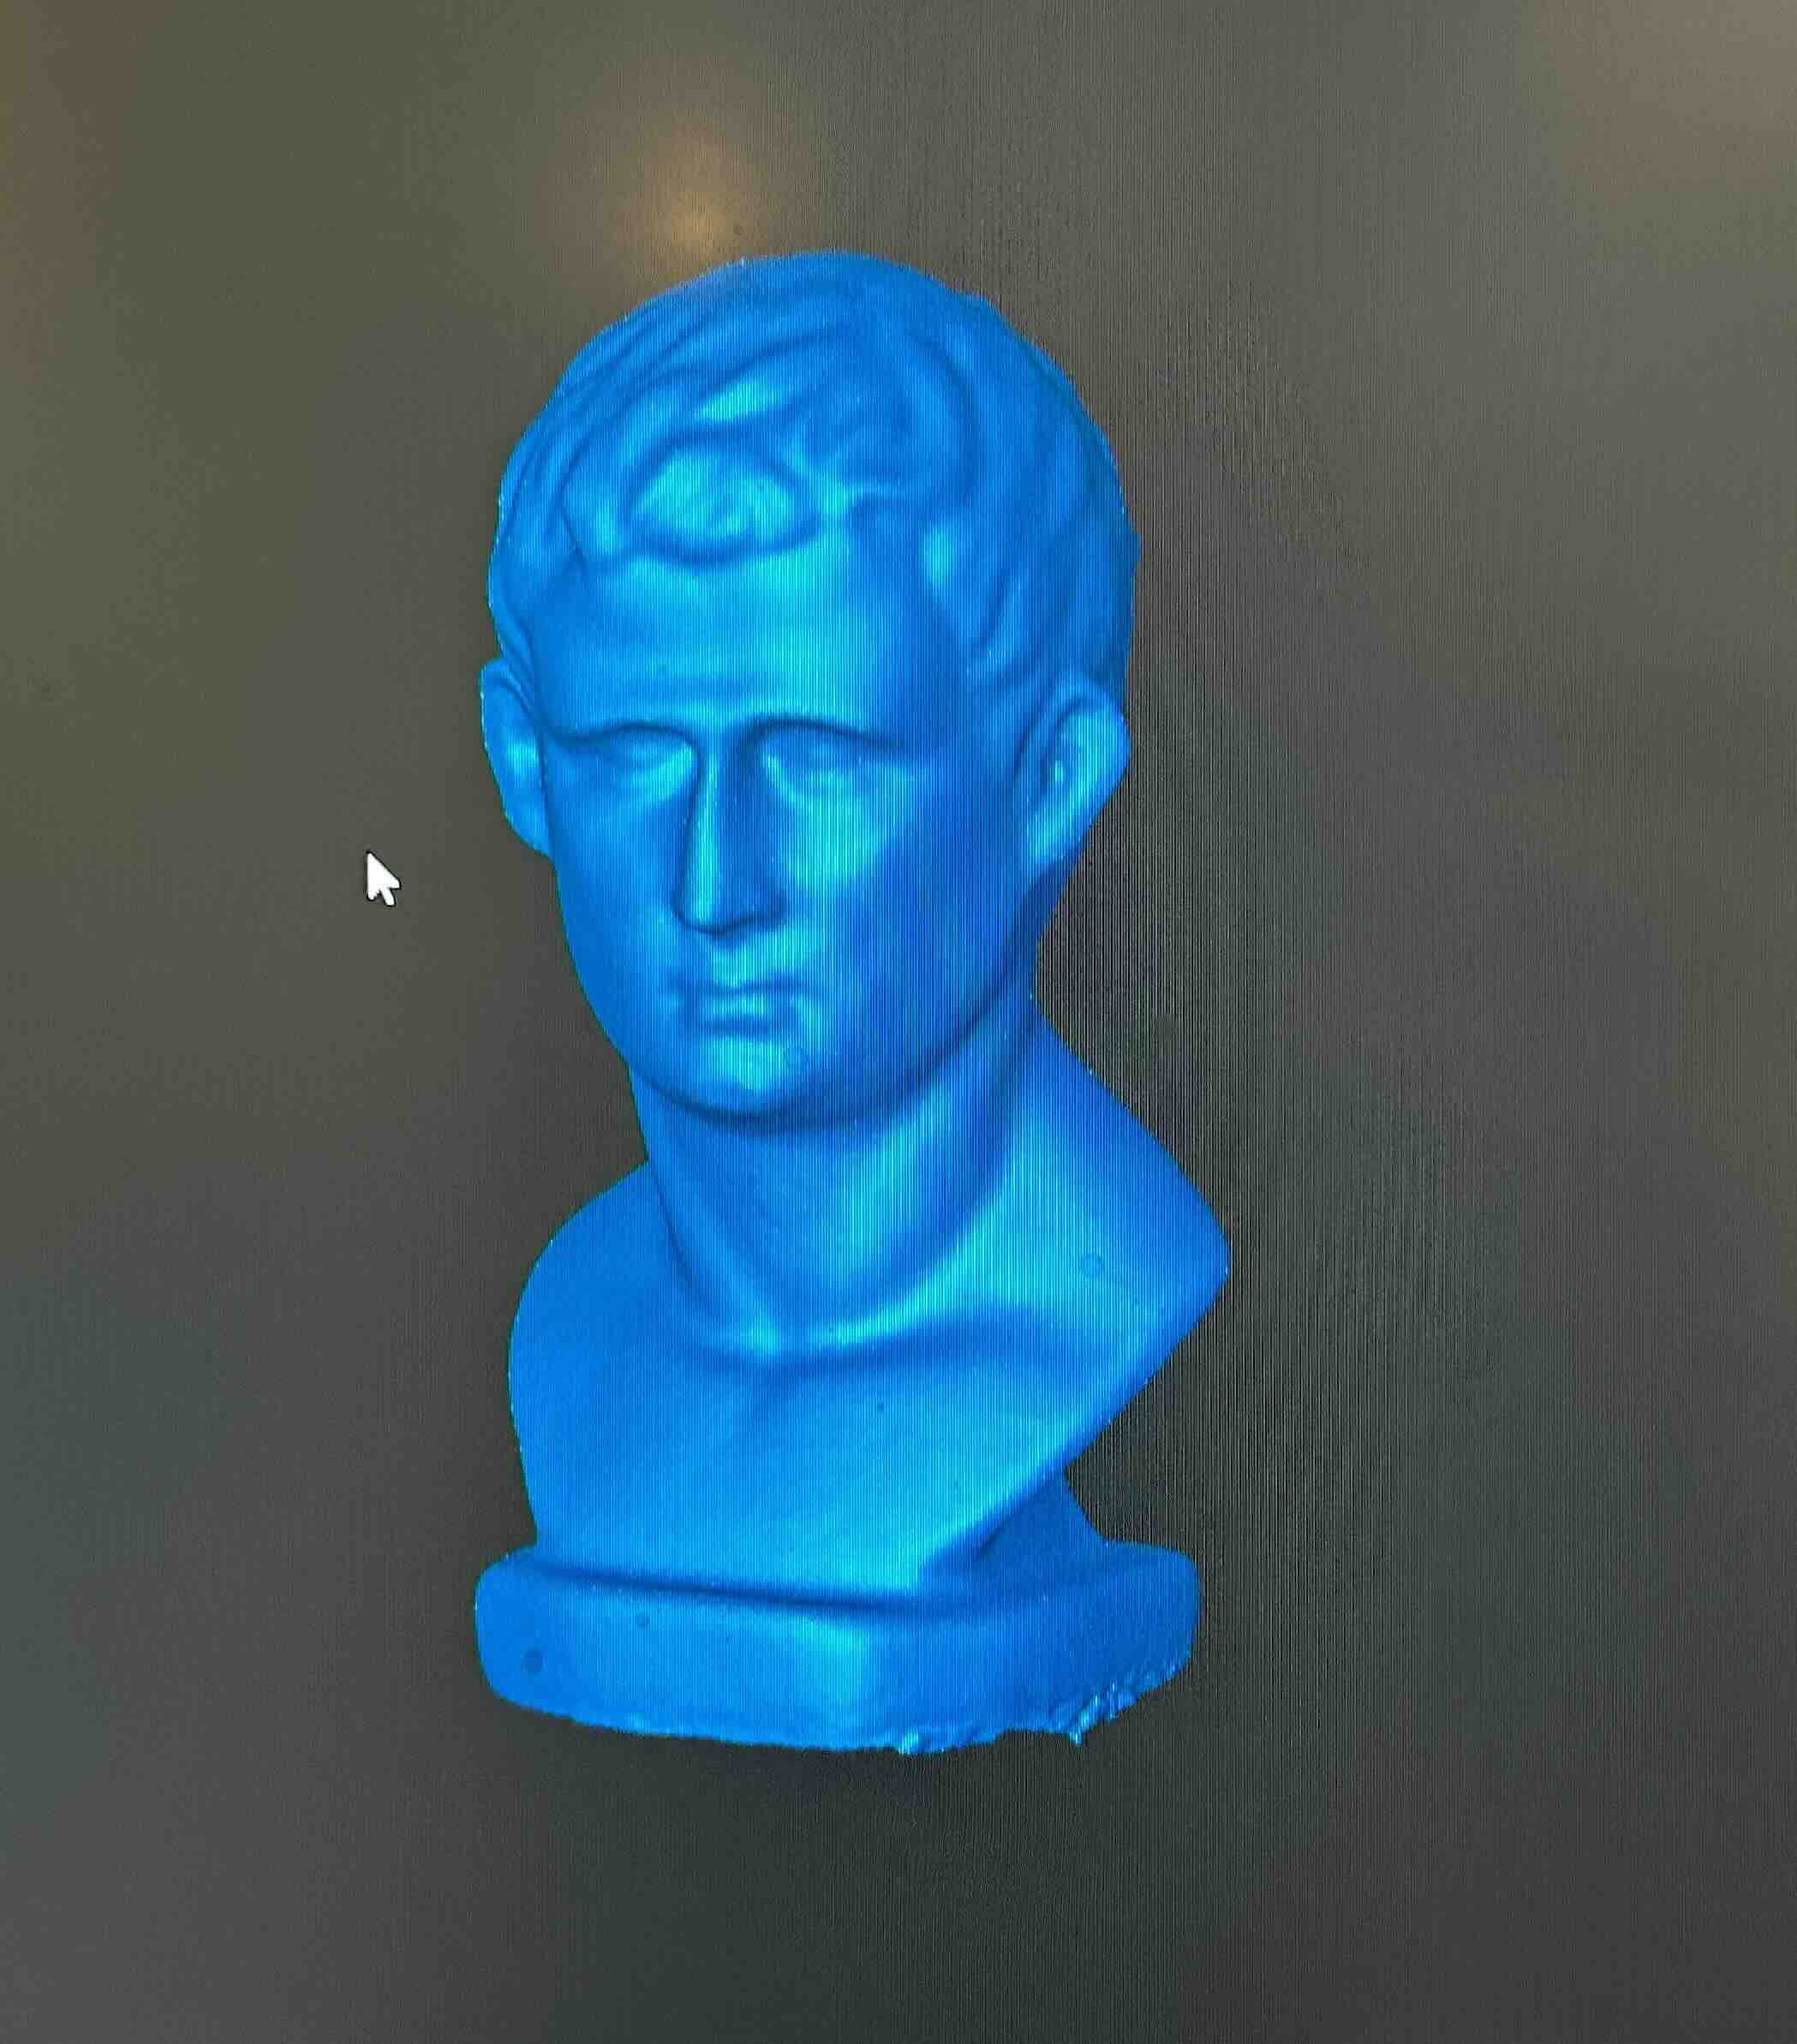
After that I had the confidence to scan my head, which was significantly harder. For this I ended up needing another person to help me get places like the back off my head. This also required multiple scans, and a tip I learned as I was scanning is that it is using feature tracking so if you are starting a new scan to fill in some details do not just got to the part of your object that is missing, but start with a part you have already scanned so the scanner can know where on the model you are scanning and then move to unscanned parts.
Also no matter how hard I tried I could not get the underside of my beard which is why it is just flat, and I do not fully know why it could never scan there
Group Assignment
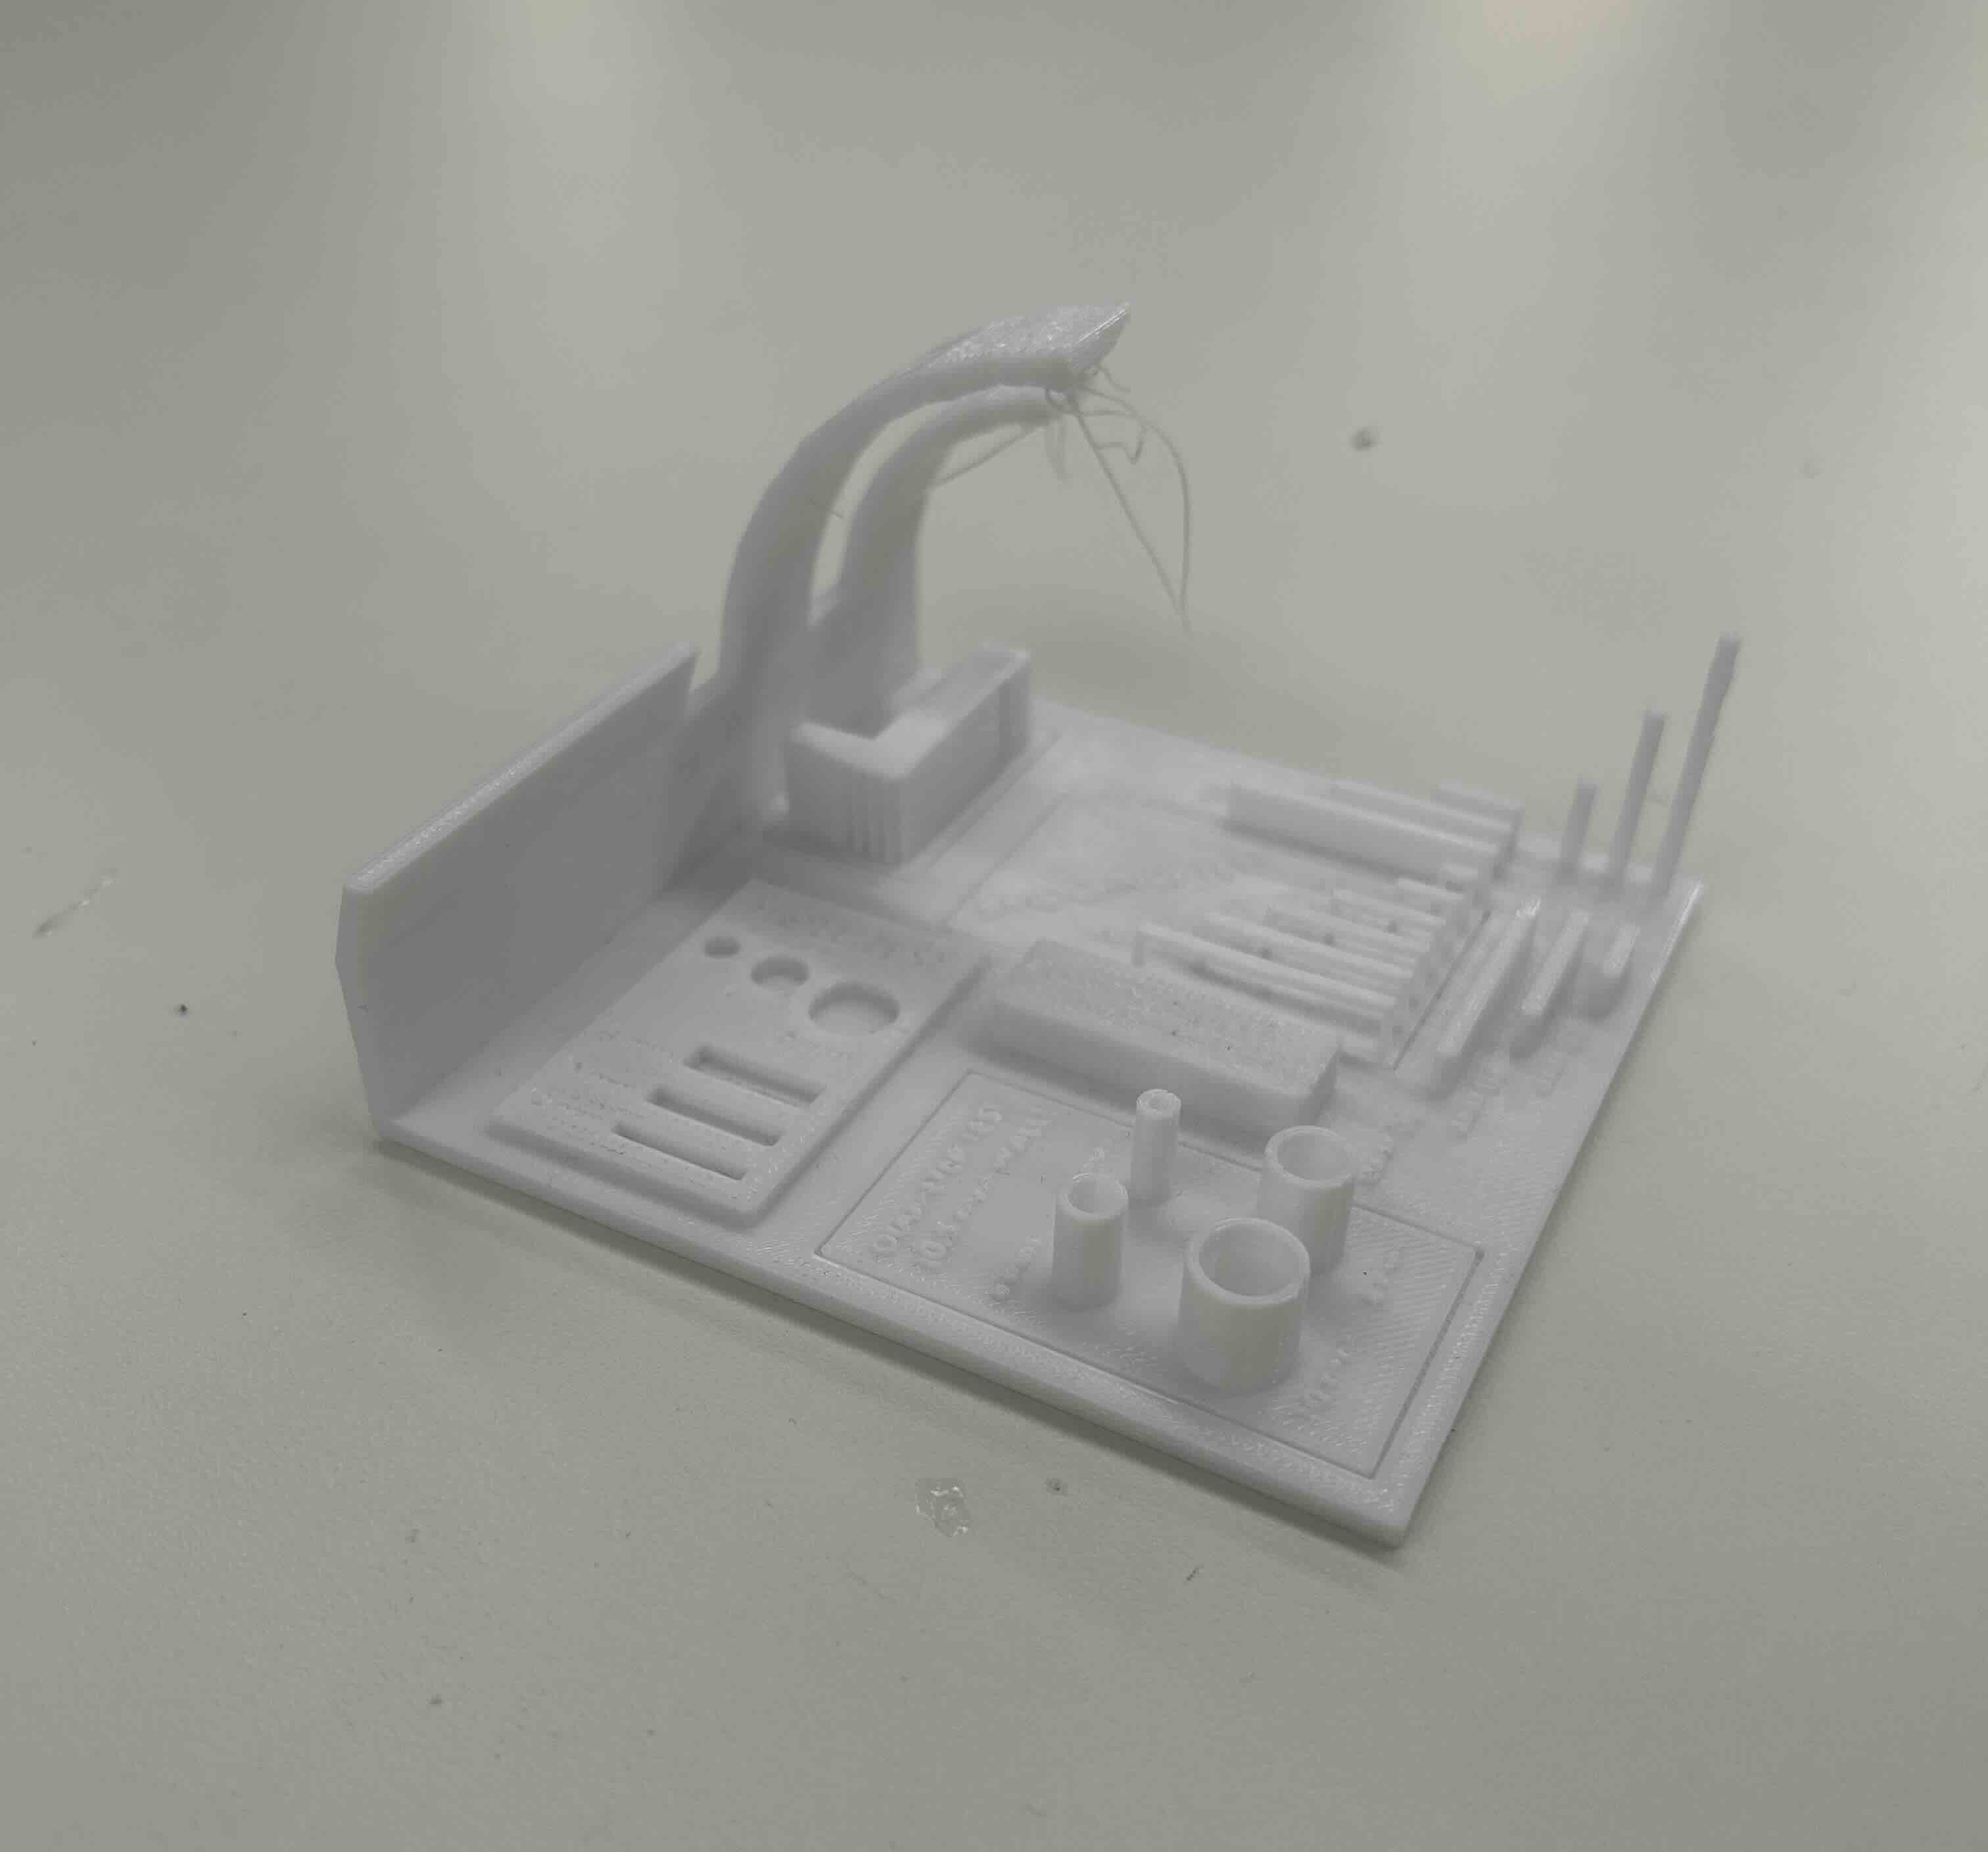
Ran this test print and it performed well for all of the tasks like bridging and for the different diameter holes. However, for overhangs more than 60 degrees there was some spaghetting