Week 7: Molding and Casting
xdd44, Oct. 22, 2024
Mold Test (Group work with architecture section)
We used Oomoo 25 provided by arch shop for silicon mold. It consists of A and B parts, to be mixed 1:1 by volume or 100:130 by weight. The pot time is 15 min and the cure time is 75 min. It's super easy and everyone did it correctly, so I'll just skip descripting it here.
For casting material, I bought JANCHUN Crystal Clear Epoxy Resin from Amazon. It also consists of two parts to be mixed 1:1 by volume. Howver, the times are confusing: 8 hours for demolding, 12 hours for touching, 24 hours for fully curing... So I just mixed them and leave it in cup overnight.
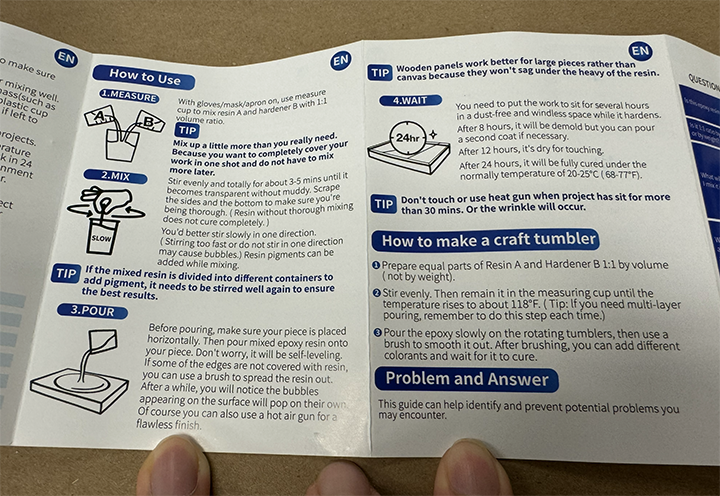
Manual for my resin
I poured and mixed it at around 9pm, and came back 11am the next day. So that's around 14 hours. I tore the cup apart to get the material out. Most of the material had been hardened, while the bottom layer was still a bit soft and sticky. This should be fine for the parts I'd like to cast.
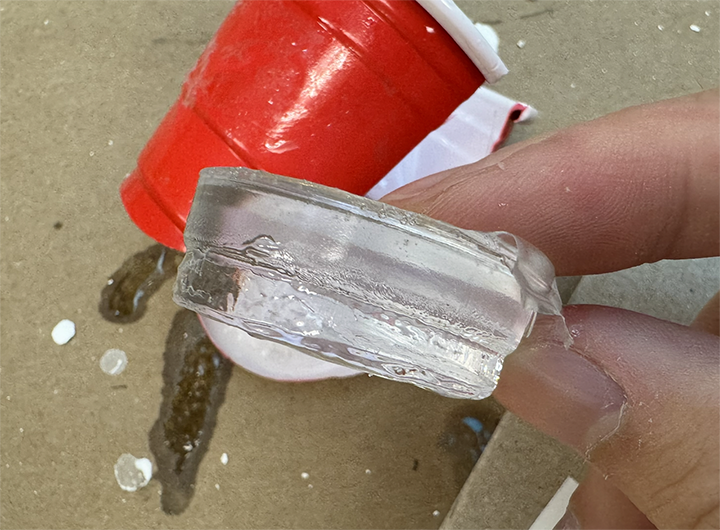
Test cup
Cast a part
This week happens to be my architecture studio's mid review week, and I'm busy making models for my design project. My project has two irregular-shaped ceiling windows, and I realized I can cast it with clear resin.
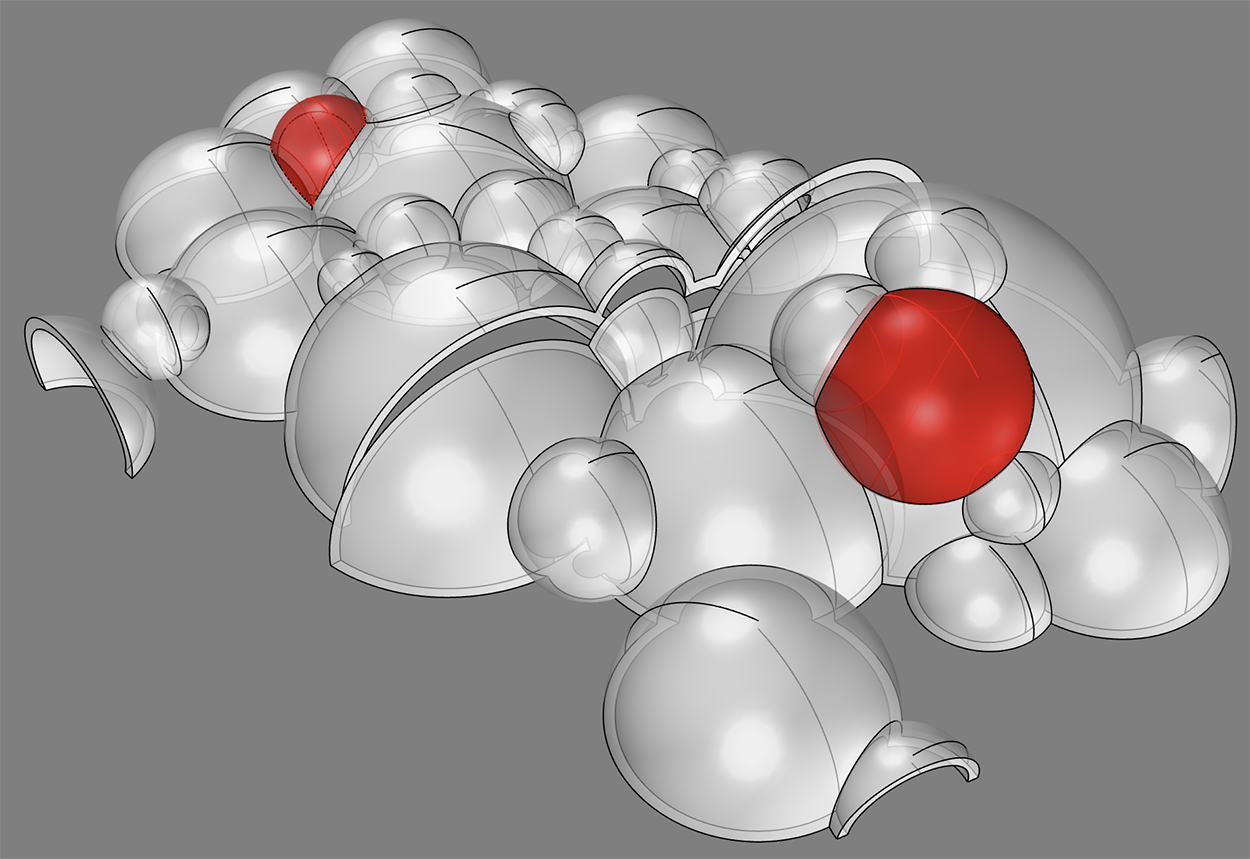
My architecture design model "cloud building", red part denoting "windows" to be casted
Since my time is tight, and the parts are not big, I decided to simply 3d print my positive mold for silicon. I put the two parts in same mold.
3d printing with 0.2mm layer height looks fine, except the sharp tip being a bit too soft.
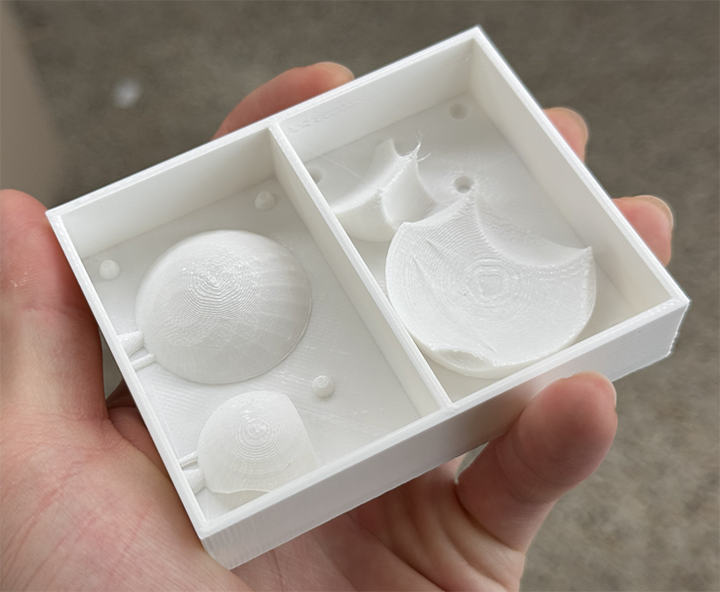
Positive mold for silicon
Unfortunately arch shop only has large unmarked cup left. So I estimated the volume and marked on stirring stick to get 1:1 volume of A and B parts.
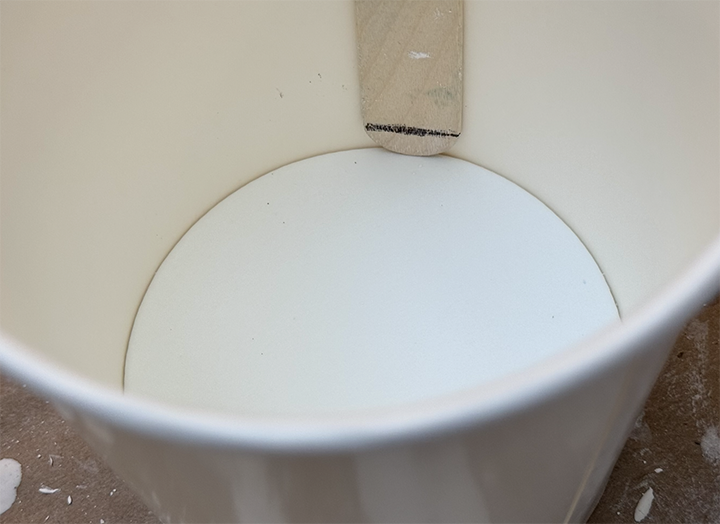
Volume Mark
Even worse, I poured too much bubble...

Volume Mark
I heard such "half liquid" flows better when vibration applied, but I didn't have any tool, so I downloaded a phone vibrator (?lol). But it turned out my phone was just weaker than I knock it manually with a scissors handle.
The funny phone vibrator app I got
The result is better than I expected. There's no bubble at all at the cast side, and the shape is captured precisely by silicon. Unfortunately my 3d printing is too rough that the printing layers are captured as well.
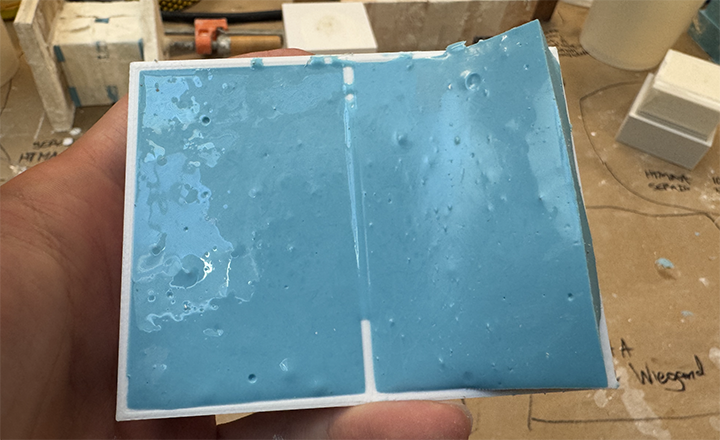
The mold with bubbles successfully remove and 75min cured
Cast side, successfully captured the shape
I started to pour my resin, and immediately I realized a problem: the air hole was too close to the pouring hole. Both holes were covered and the resin couldn't go down at all.
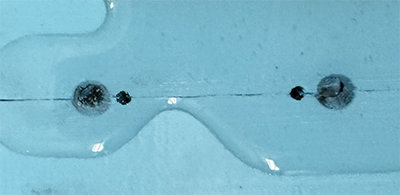
Holes covered by resin
Then I realized I can squeeze to got air out and suck resin in. It was slow - took me half an hole to fill up the space - but working.
Squeezing the mold
The next day, I demolded and got what I wanted! They are rough, but they fit my model well.
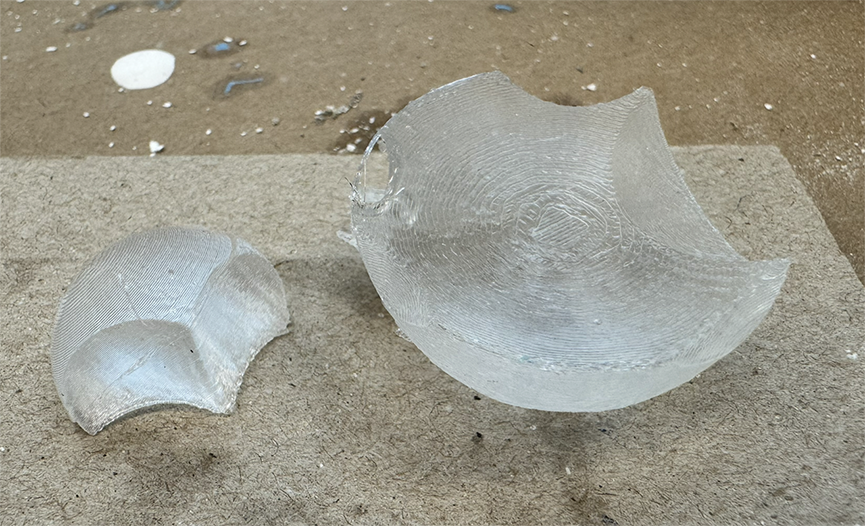
Demolded parts

Parts fit to my model