Laser cutting
This week I wanted to make a mongolian yurt 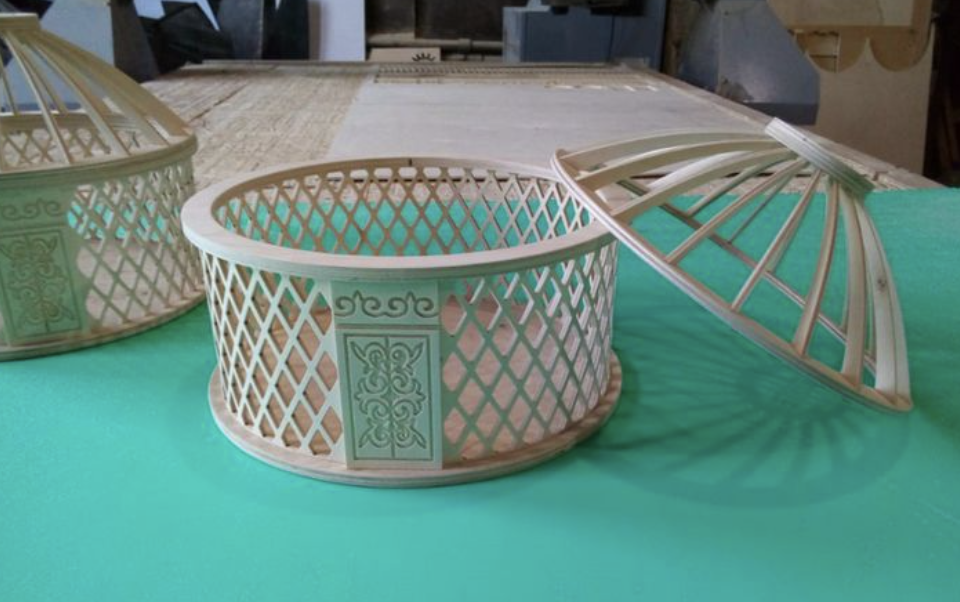
I started by designing a circle with 6 different notches in solidworks. 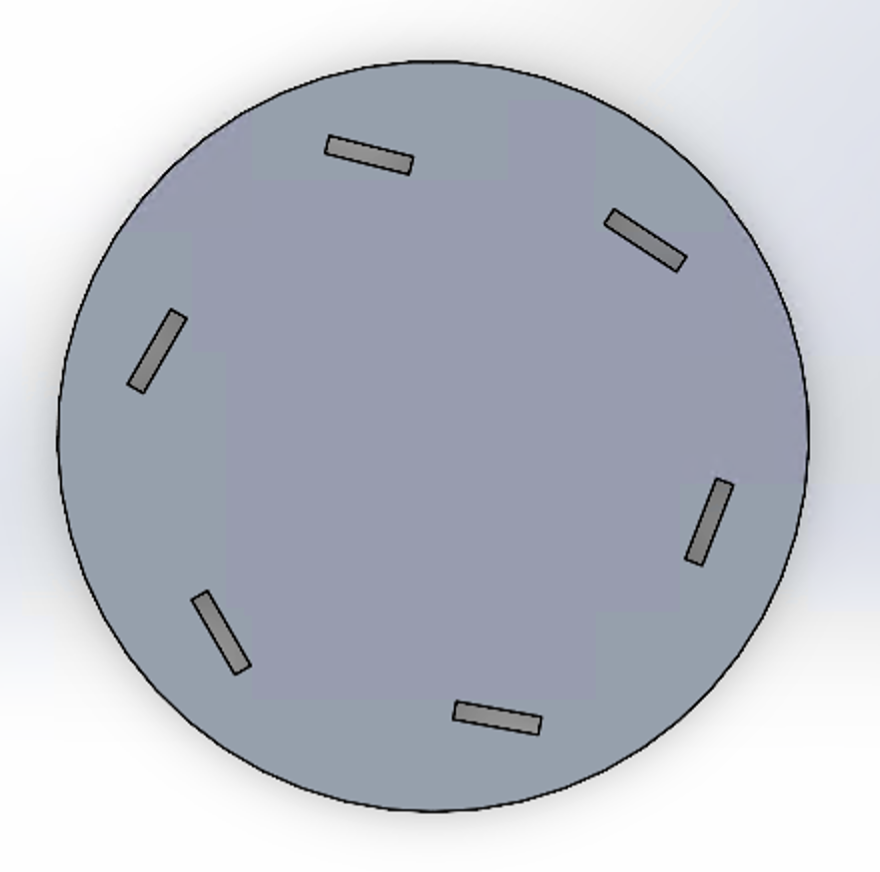 . This was immediately confusing as someone who has no prior design experience. Particularly I noticed I couldn’t actually use circular pattern functions in solidworks to make this particular design. Specifically, I could select the center of the circle as the point of rotation, but then it forces me to use one of the edges of the square notches to rotate, instead of being able to rotate with the center of the square. After many attempts with the course TA, I decided to make the 6 notches individually, by defining the angles (60deg) between each pair and make sure they are equidistance to each other.
Then I moved on to designing the sides of the yurt.  . This was a bit time consuming as the pattern was complex and there were many relationships to define. Once I had the first column of diamonds designed, I used mirroring to flip it on the other side. Then I designed two more columns of the diamonds and used linear patterning to duplicate them.
I then needed to create prutrusions so that the sides can press fit into the notches of the circular base. This proves to be difficult too as solidworks does not have an easy functionality to calculate what the distance of the square must be in order for it to be rolled up and assemble nicely into a notch on a circle (and take into consideration of the angles as well). And furthermore, I wasn’t quite sure whether the cardboard will actually roll up. I believe sheet metal part design in solidworks will allow me to design this but given limited time, I will come back in coming weeks to revise it.
For this week’s assignment, I then adapted the circle into a simpler new design. 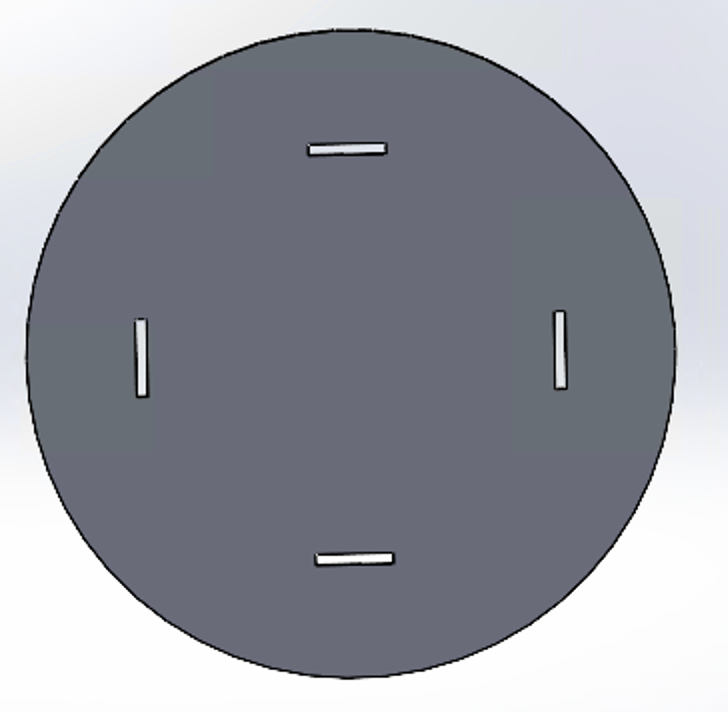 . This circle is now much simpler and it will accompany 4 sides.
 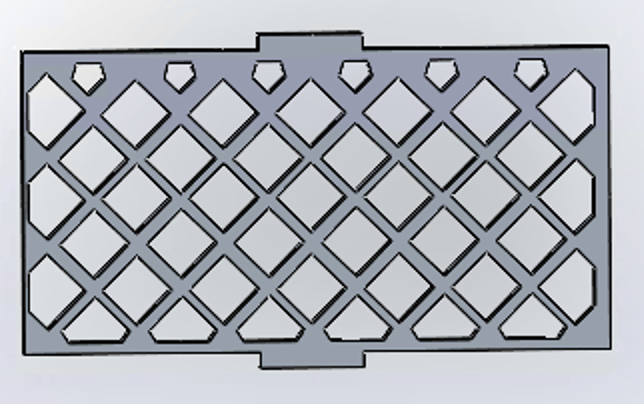 . Basically this will allow me to just press fit 4 sides to create a squared arena on the circle, and I mirrored the notch so that another circle can be cut and assembled on the top of the sides.
When laser cutting, I noticed another issue, the cardboard was not as thick as the short side of square notches on the circle is, and they must be identical in order for the press fitting to work. 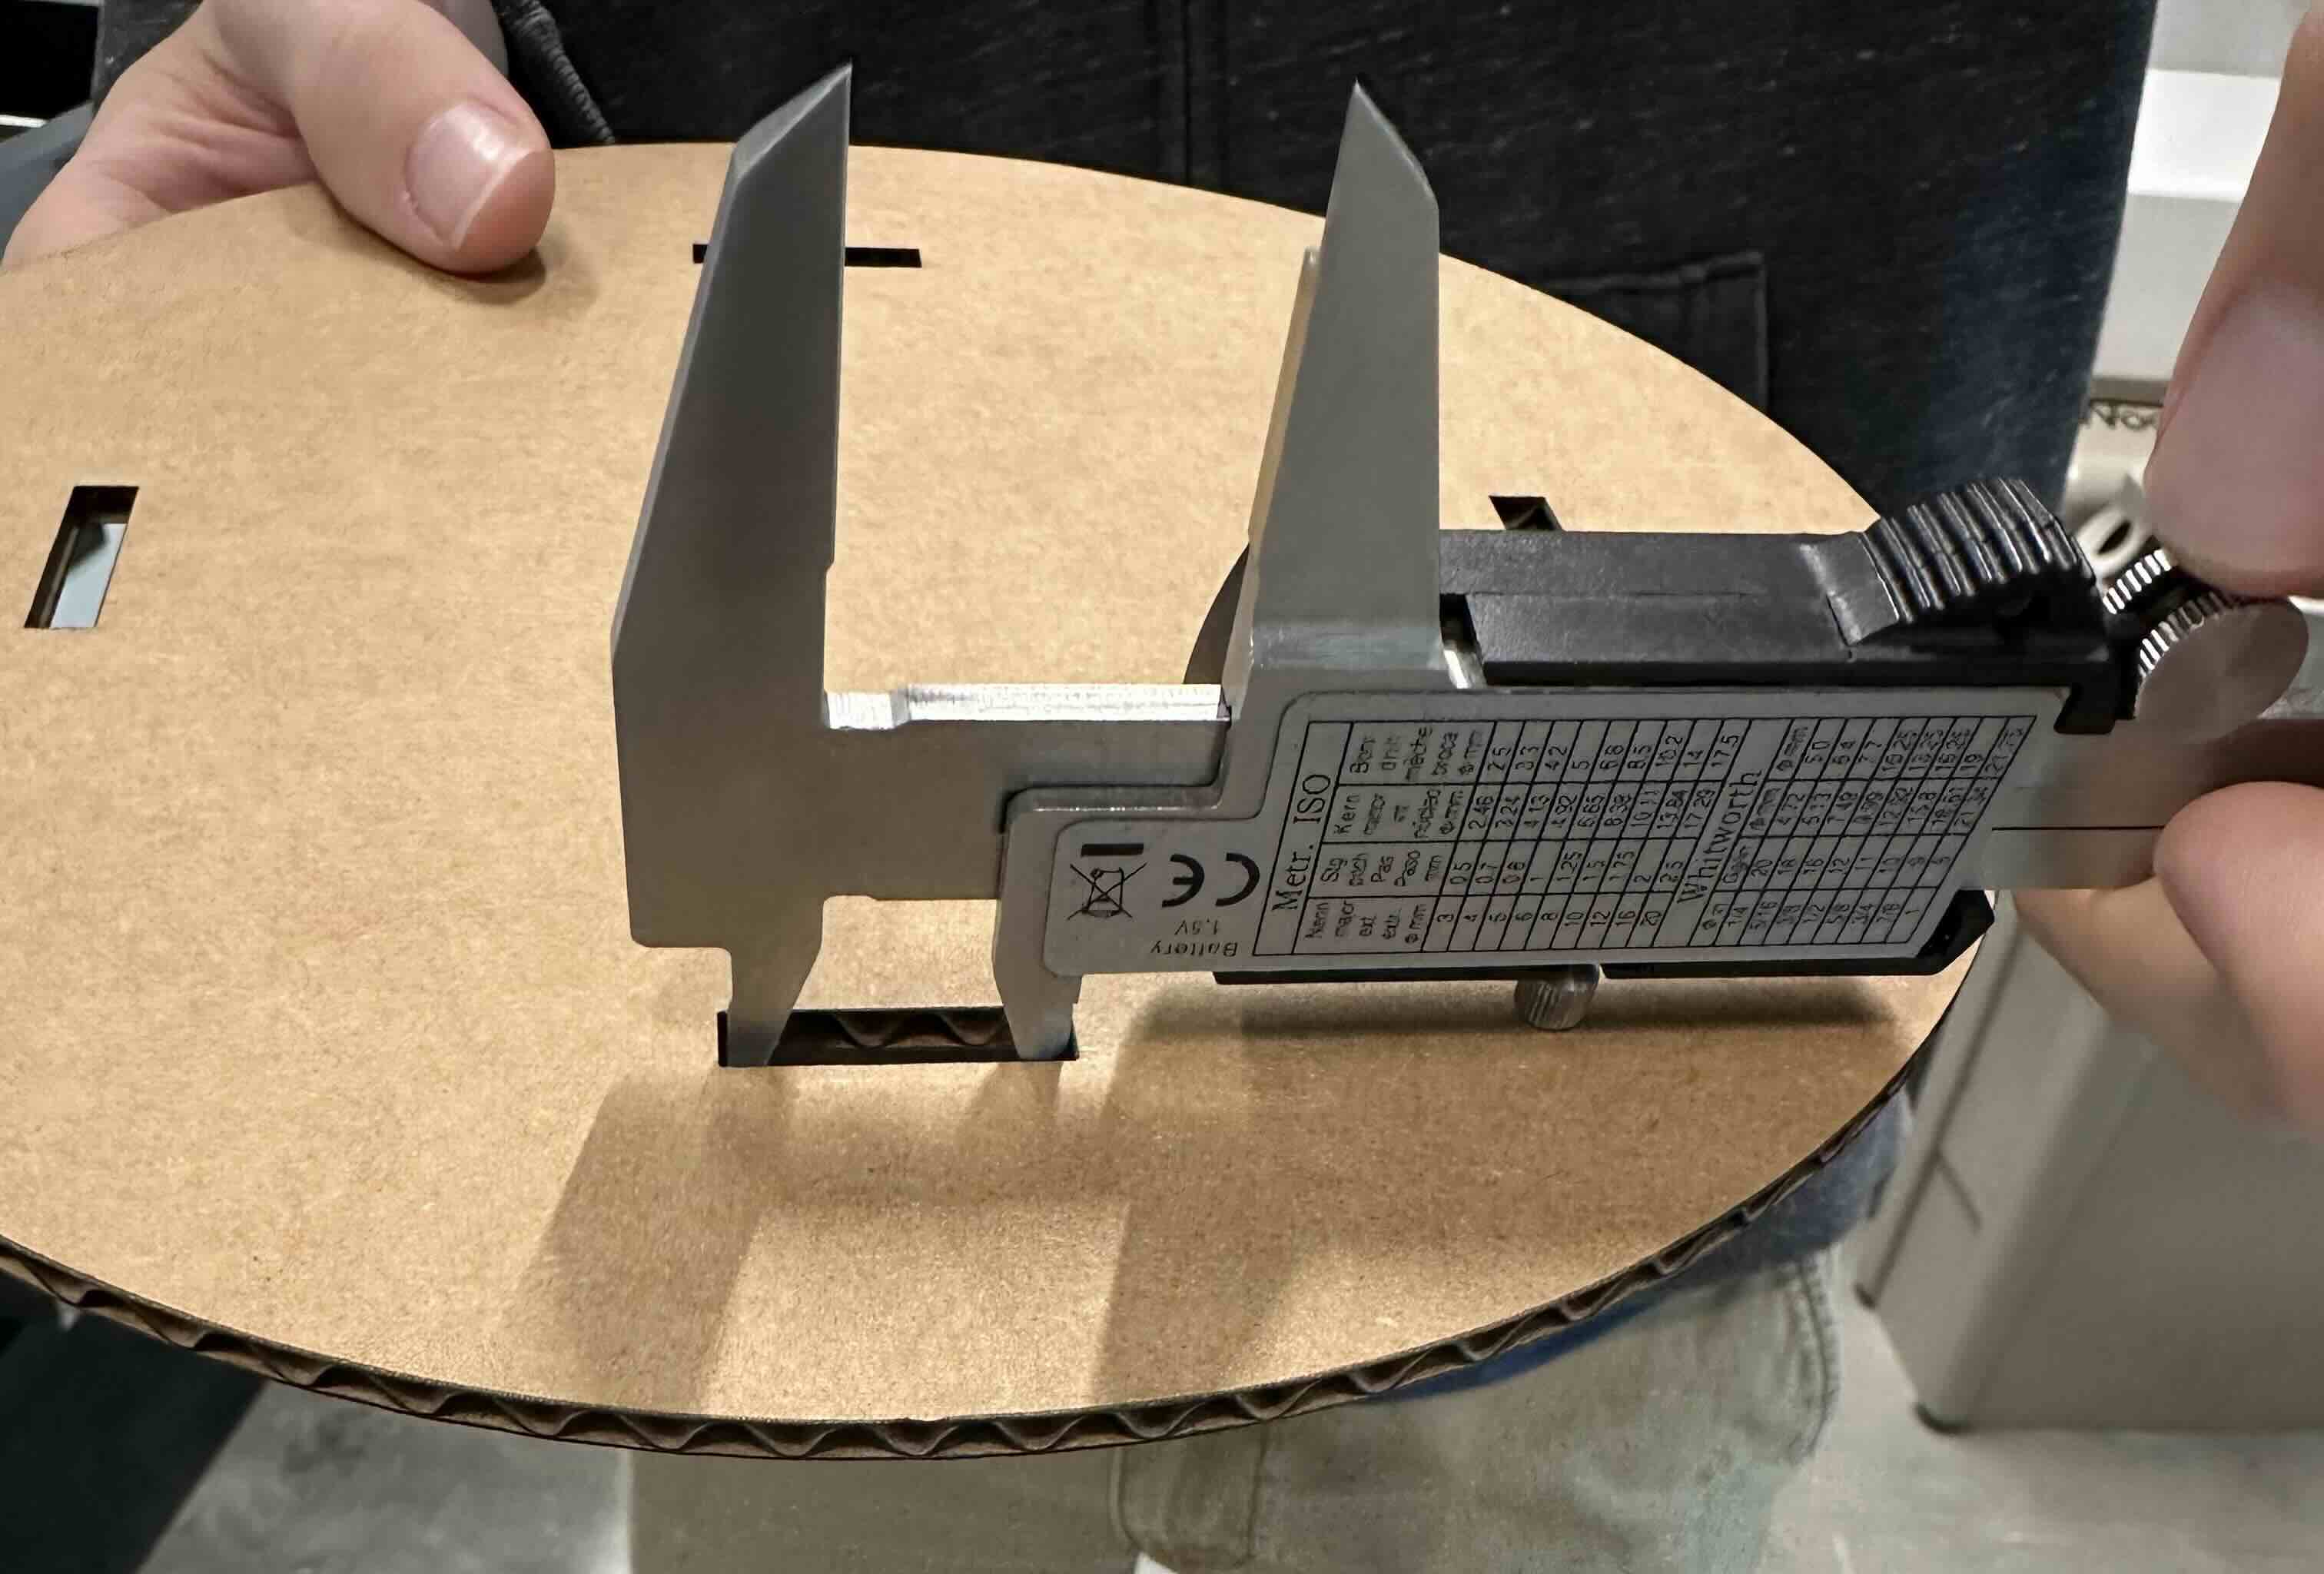 . So I adjusted the CAD and tried it again. During this final process everything worked surprisingly well because I had adjusted the laser setting to be 83% power with 65% speed but previously I had tried 100% power with 60% speed fire had happened.
 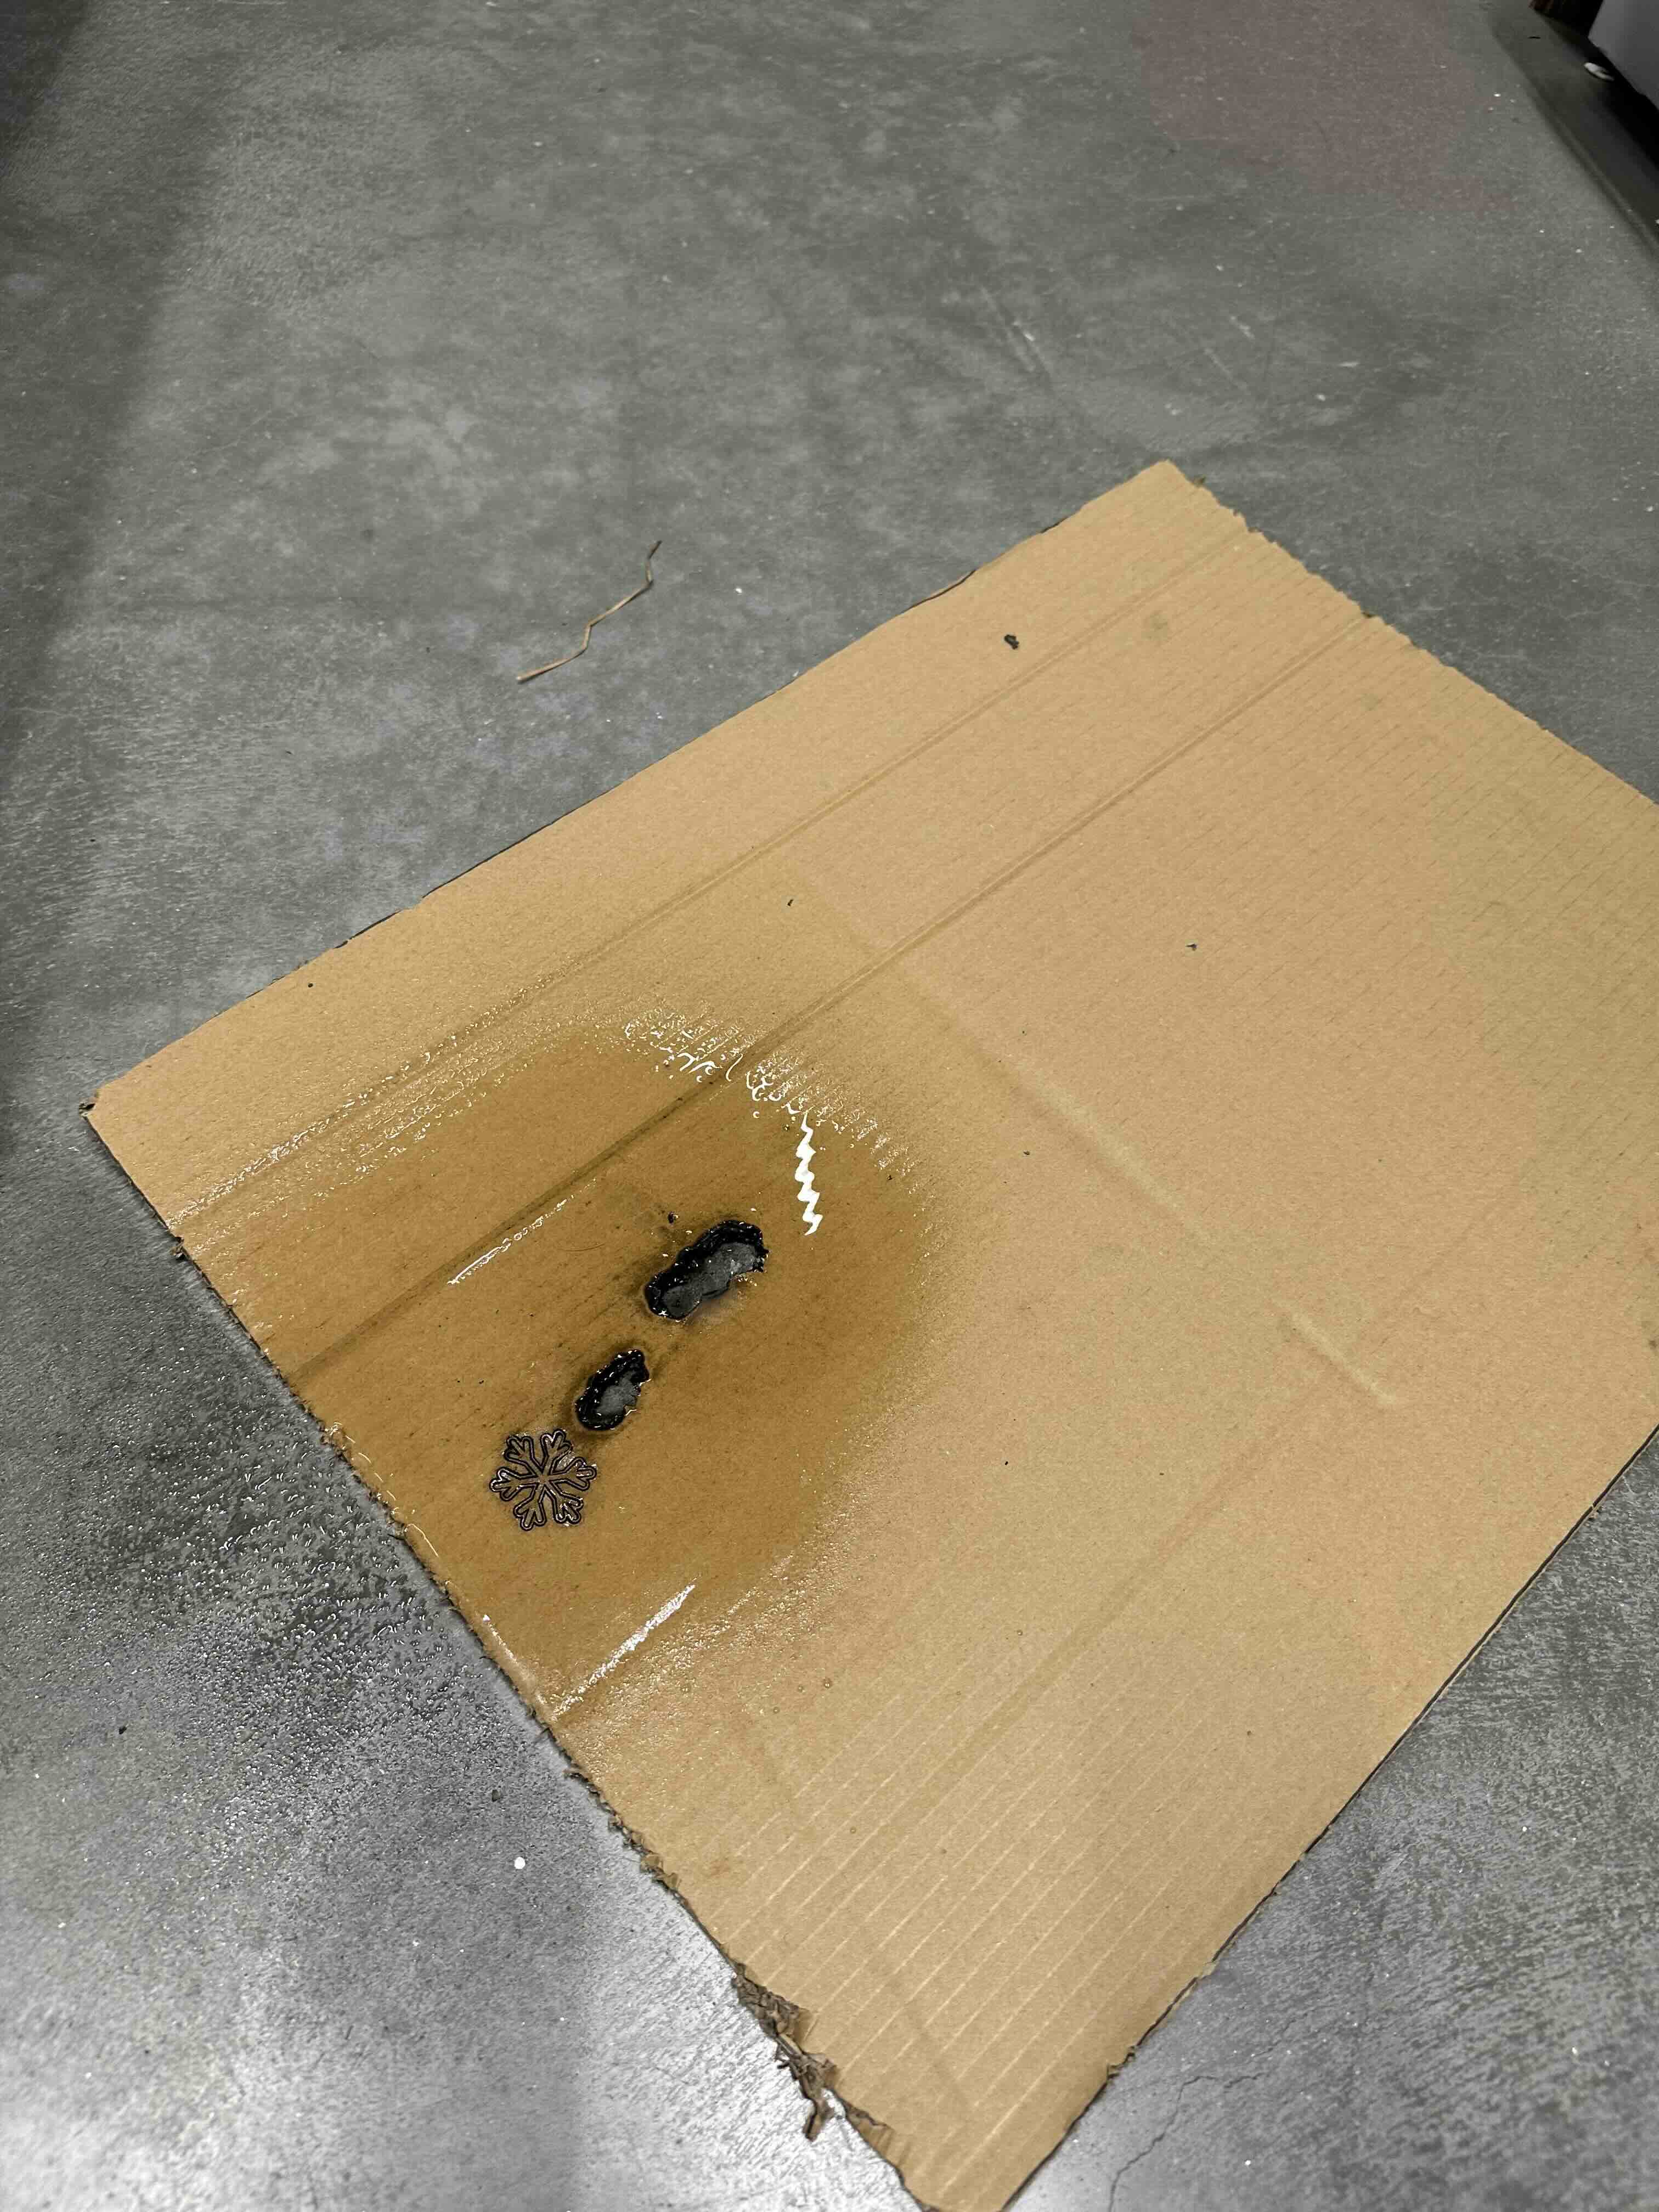 , so finding the right settings for a laser is important.
Finally, the assembly looks as such. 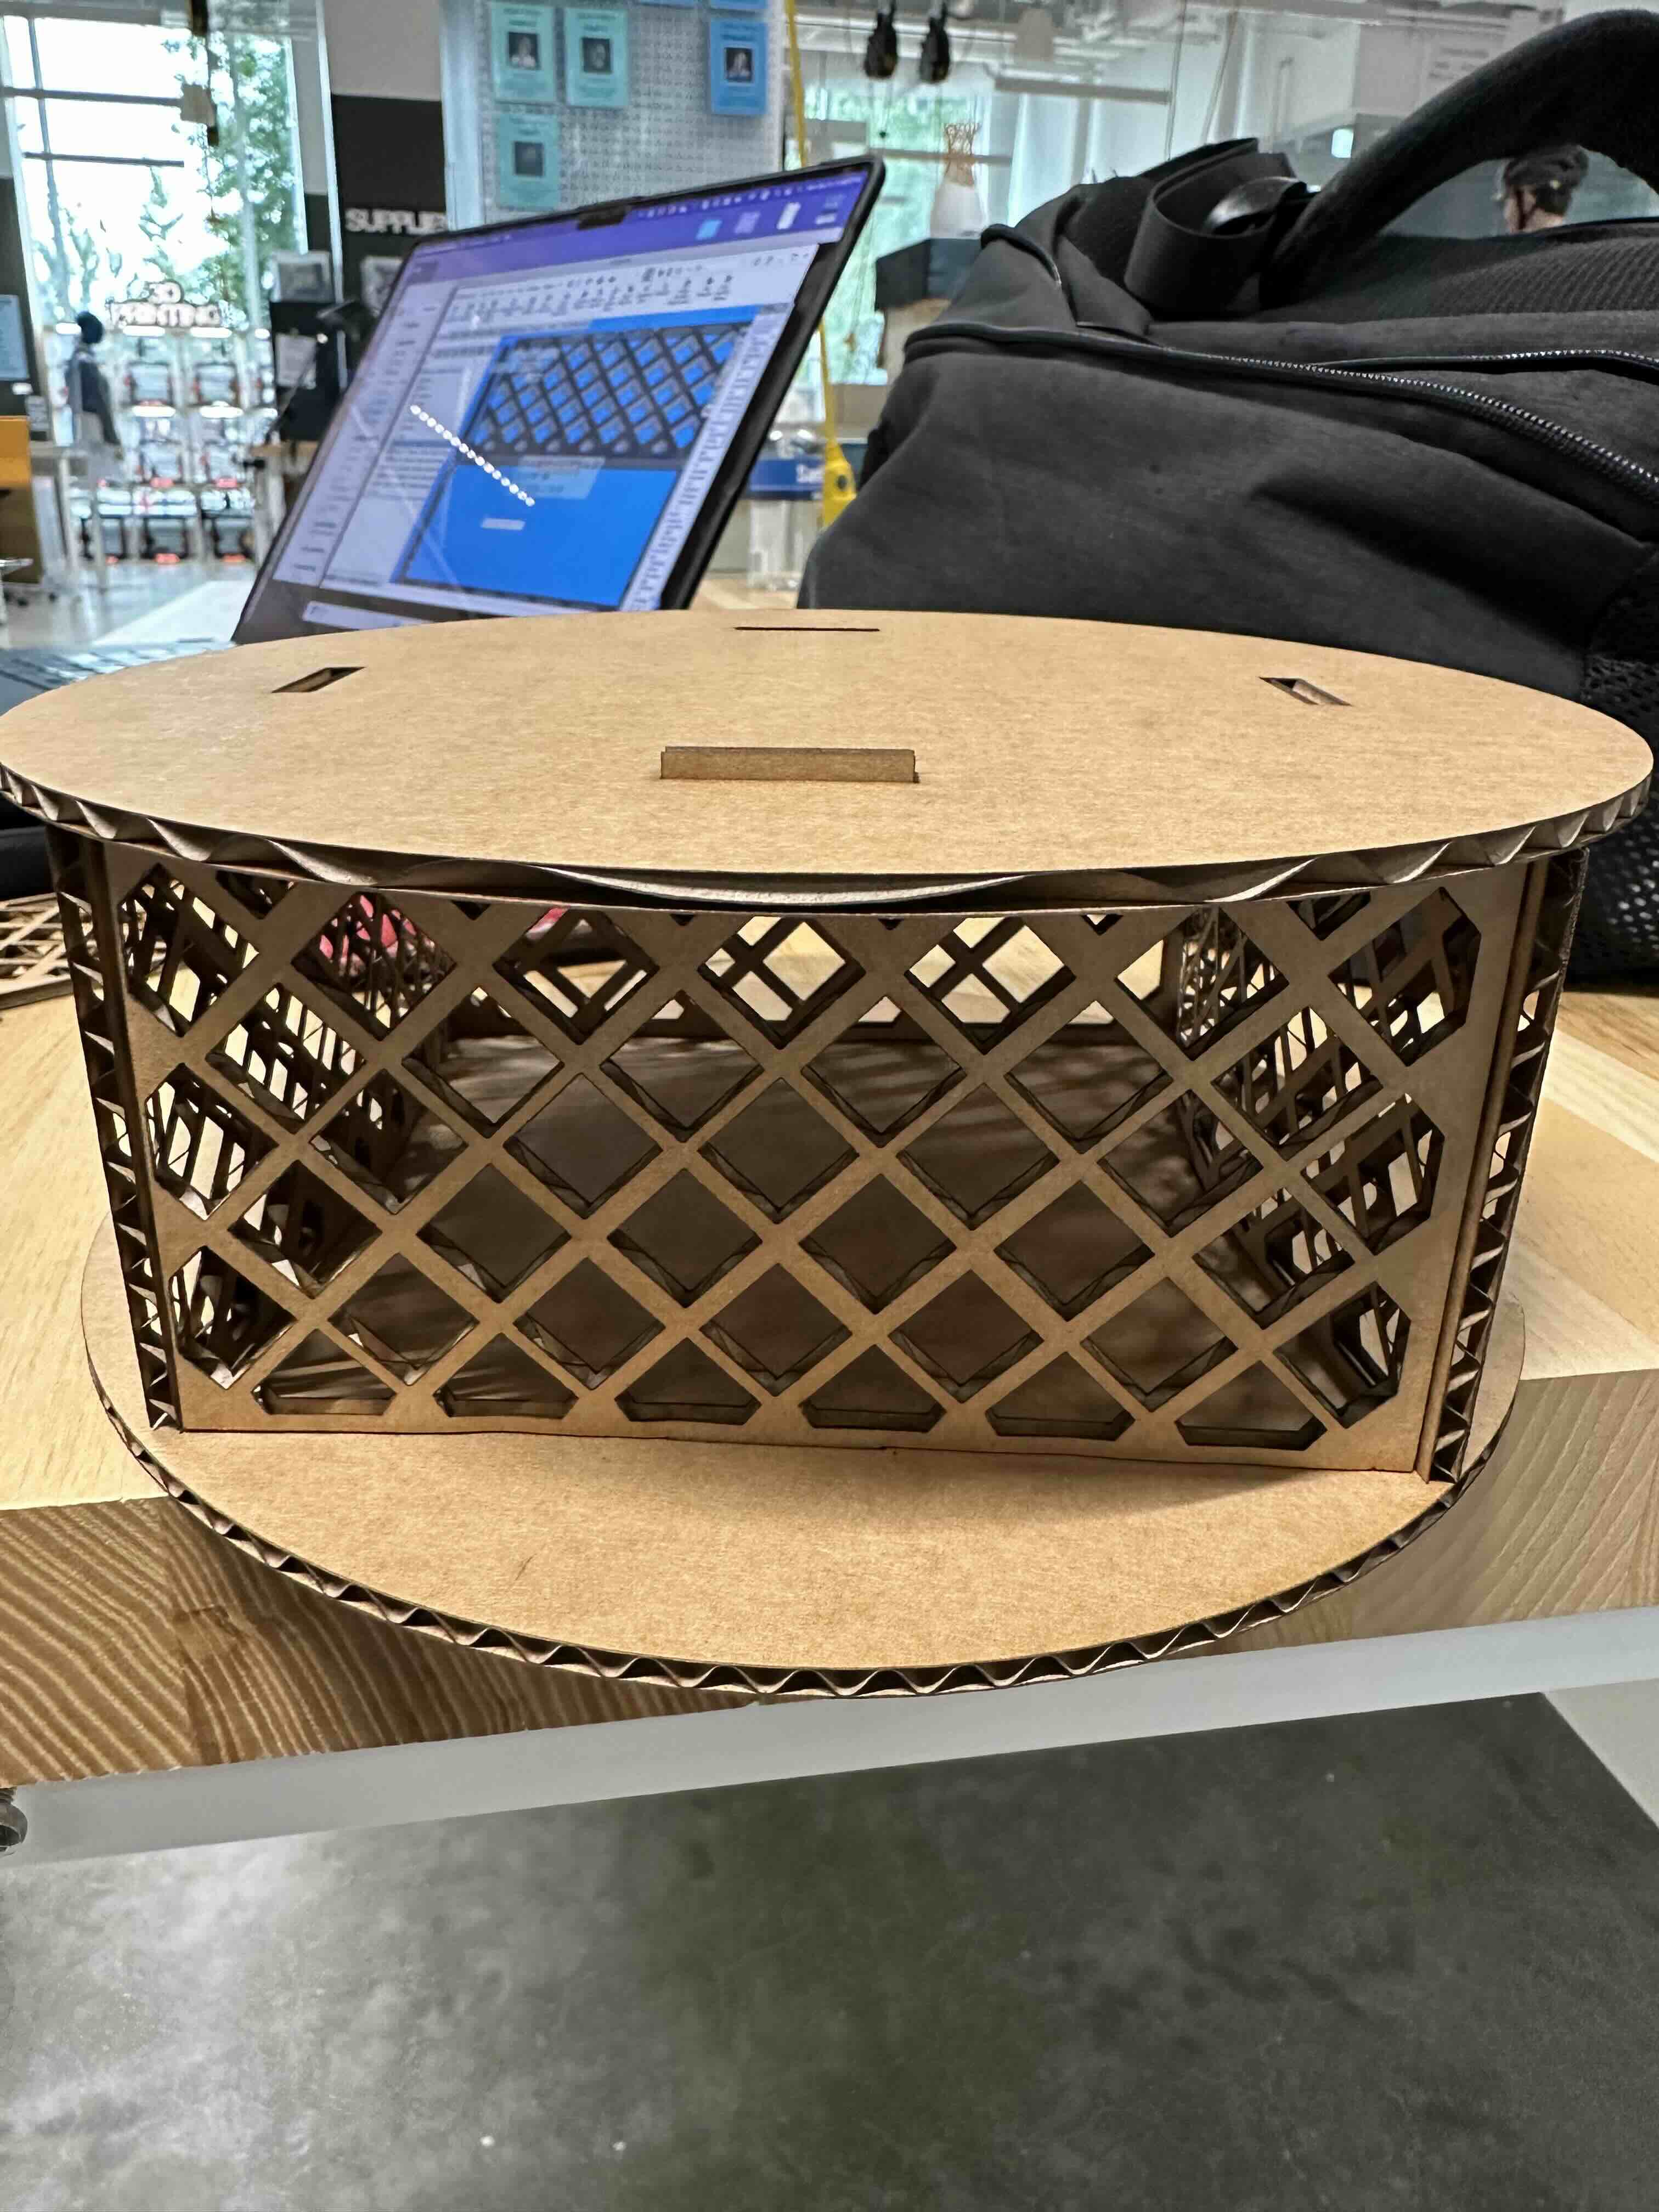 , again it is not really what I wanted so I will come back to attempt the circular sides again with sheet metals.
Vinyl cutting
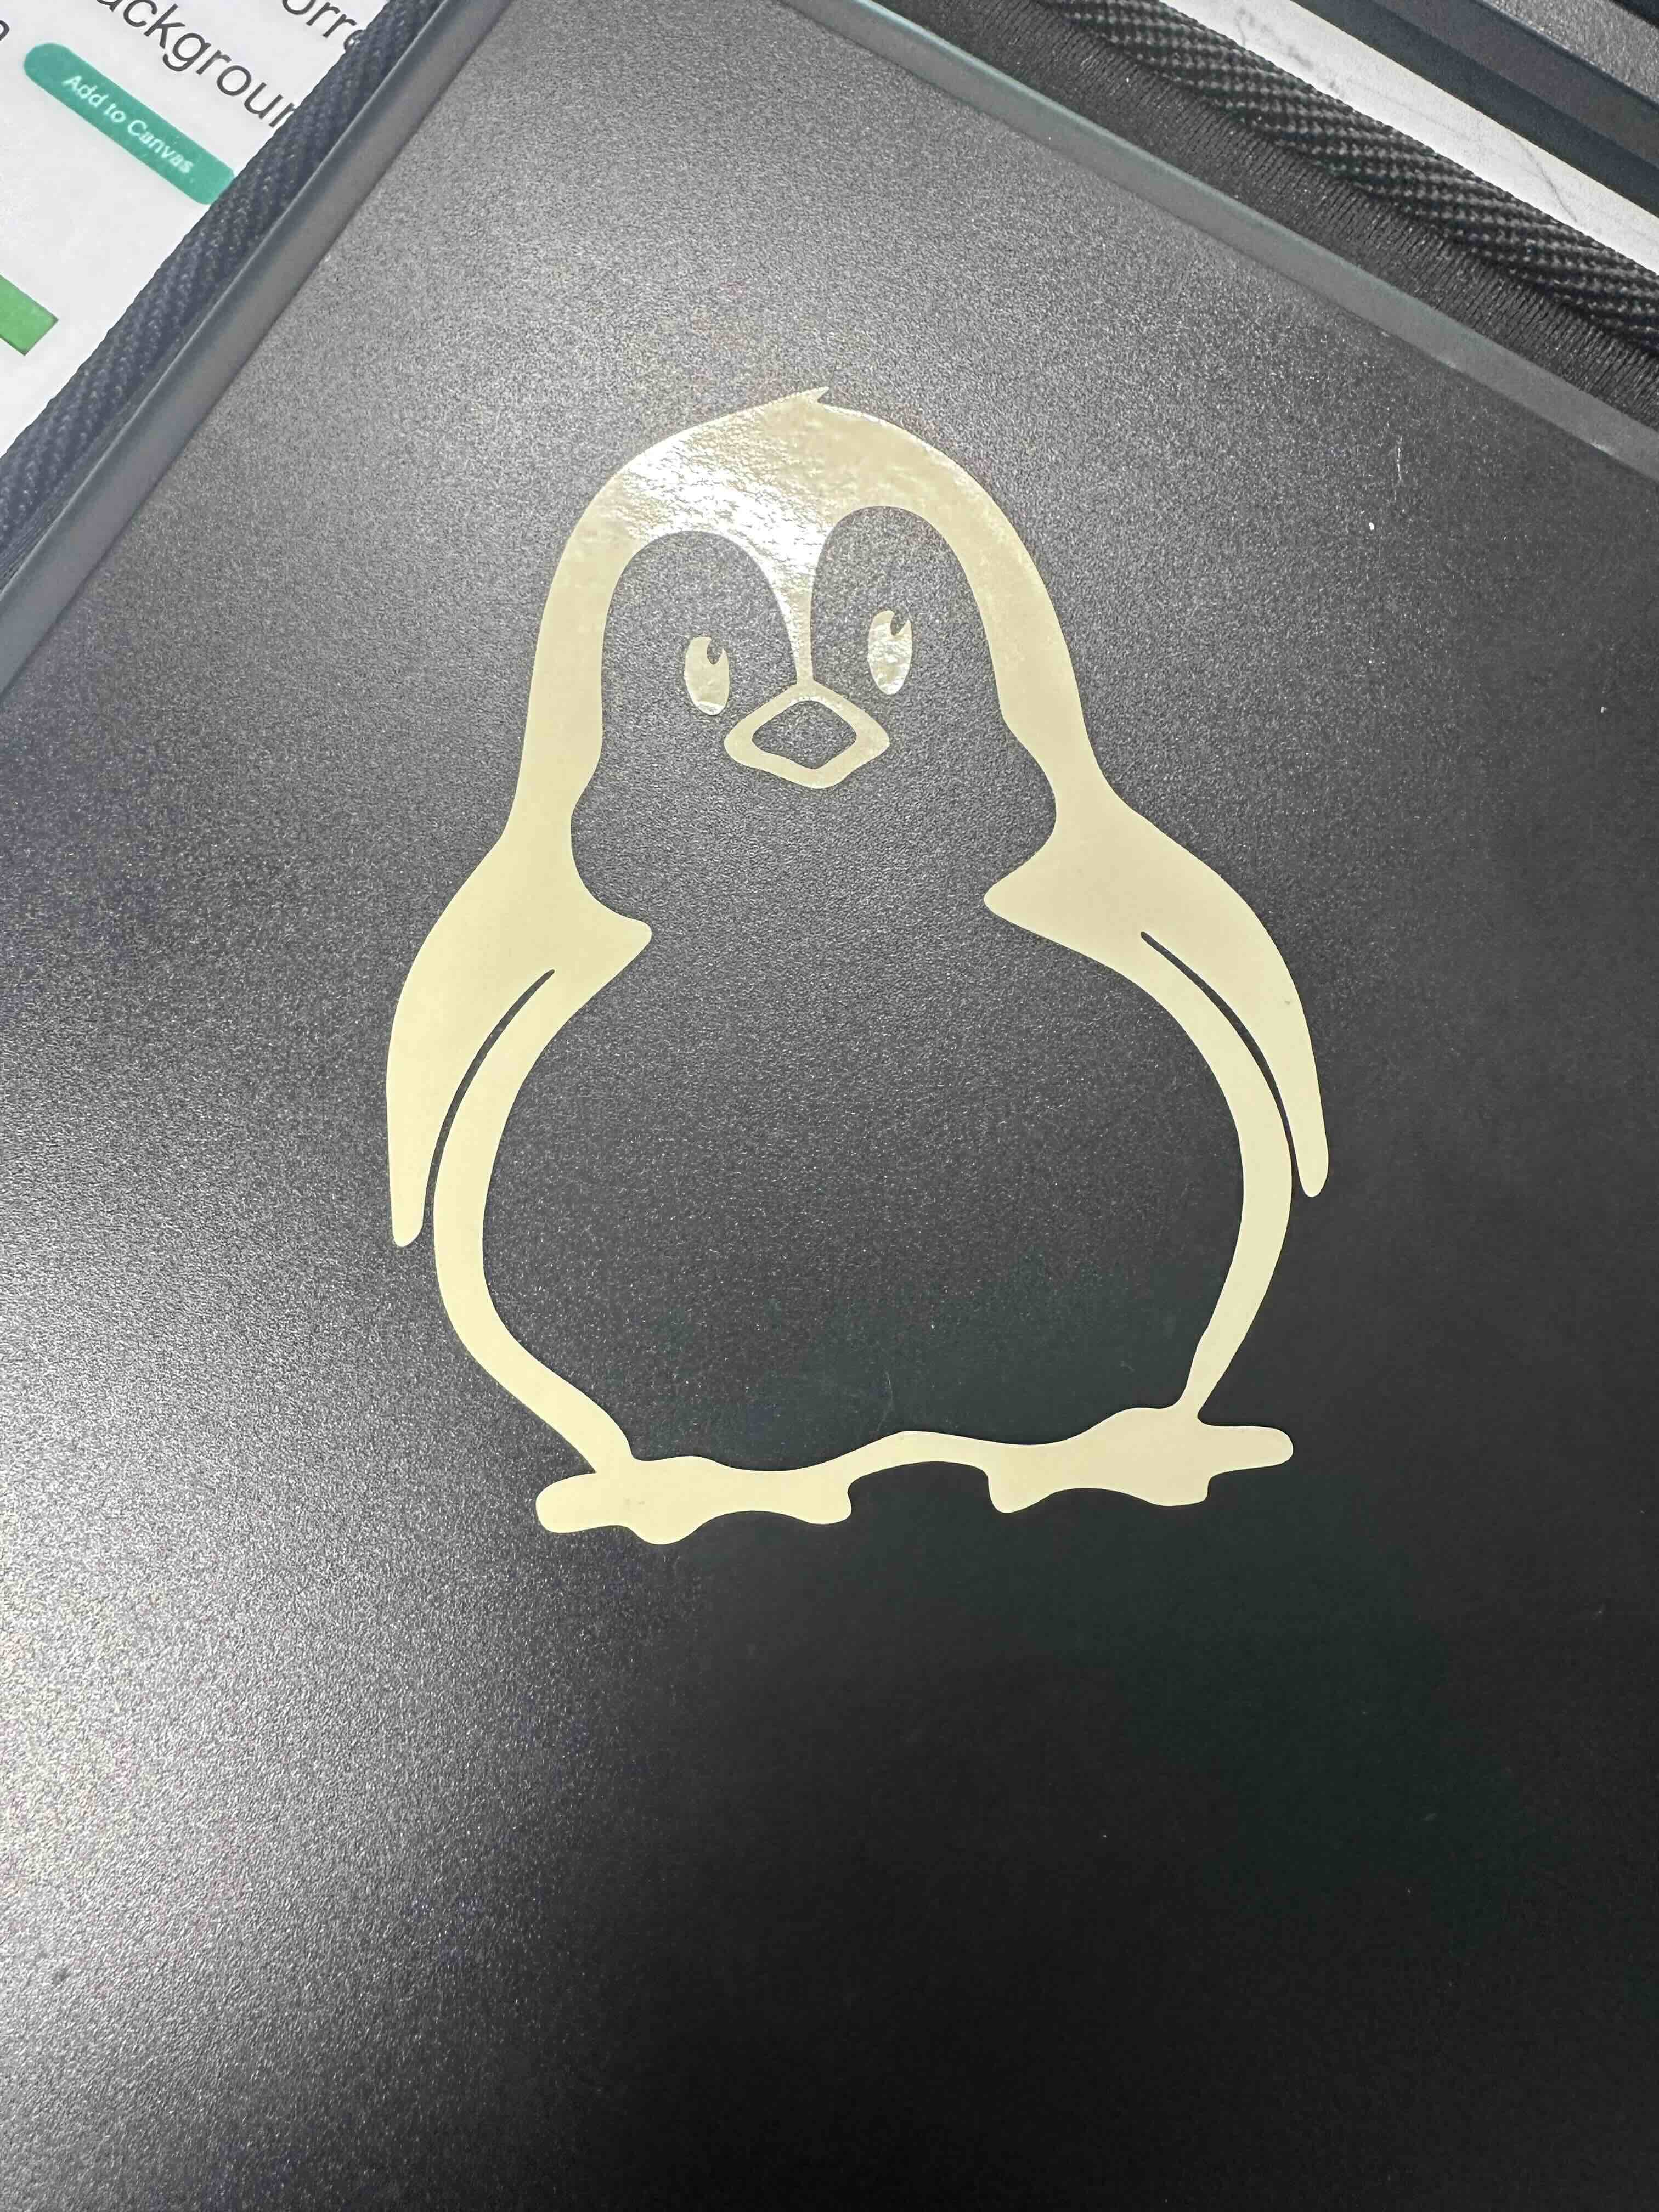
For this week’s vinyl cutting, I decided to cut myself a cute penguin laptop sticker.  .
.
While I thought it would be straightforward, this did not work immediately either, as shown below. 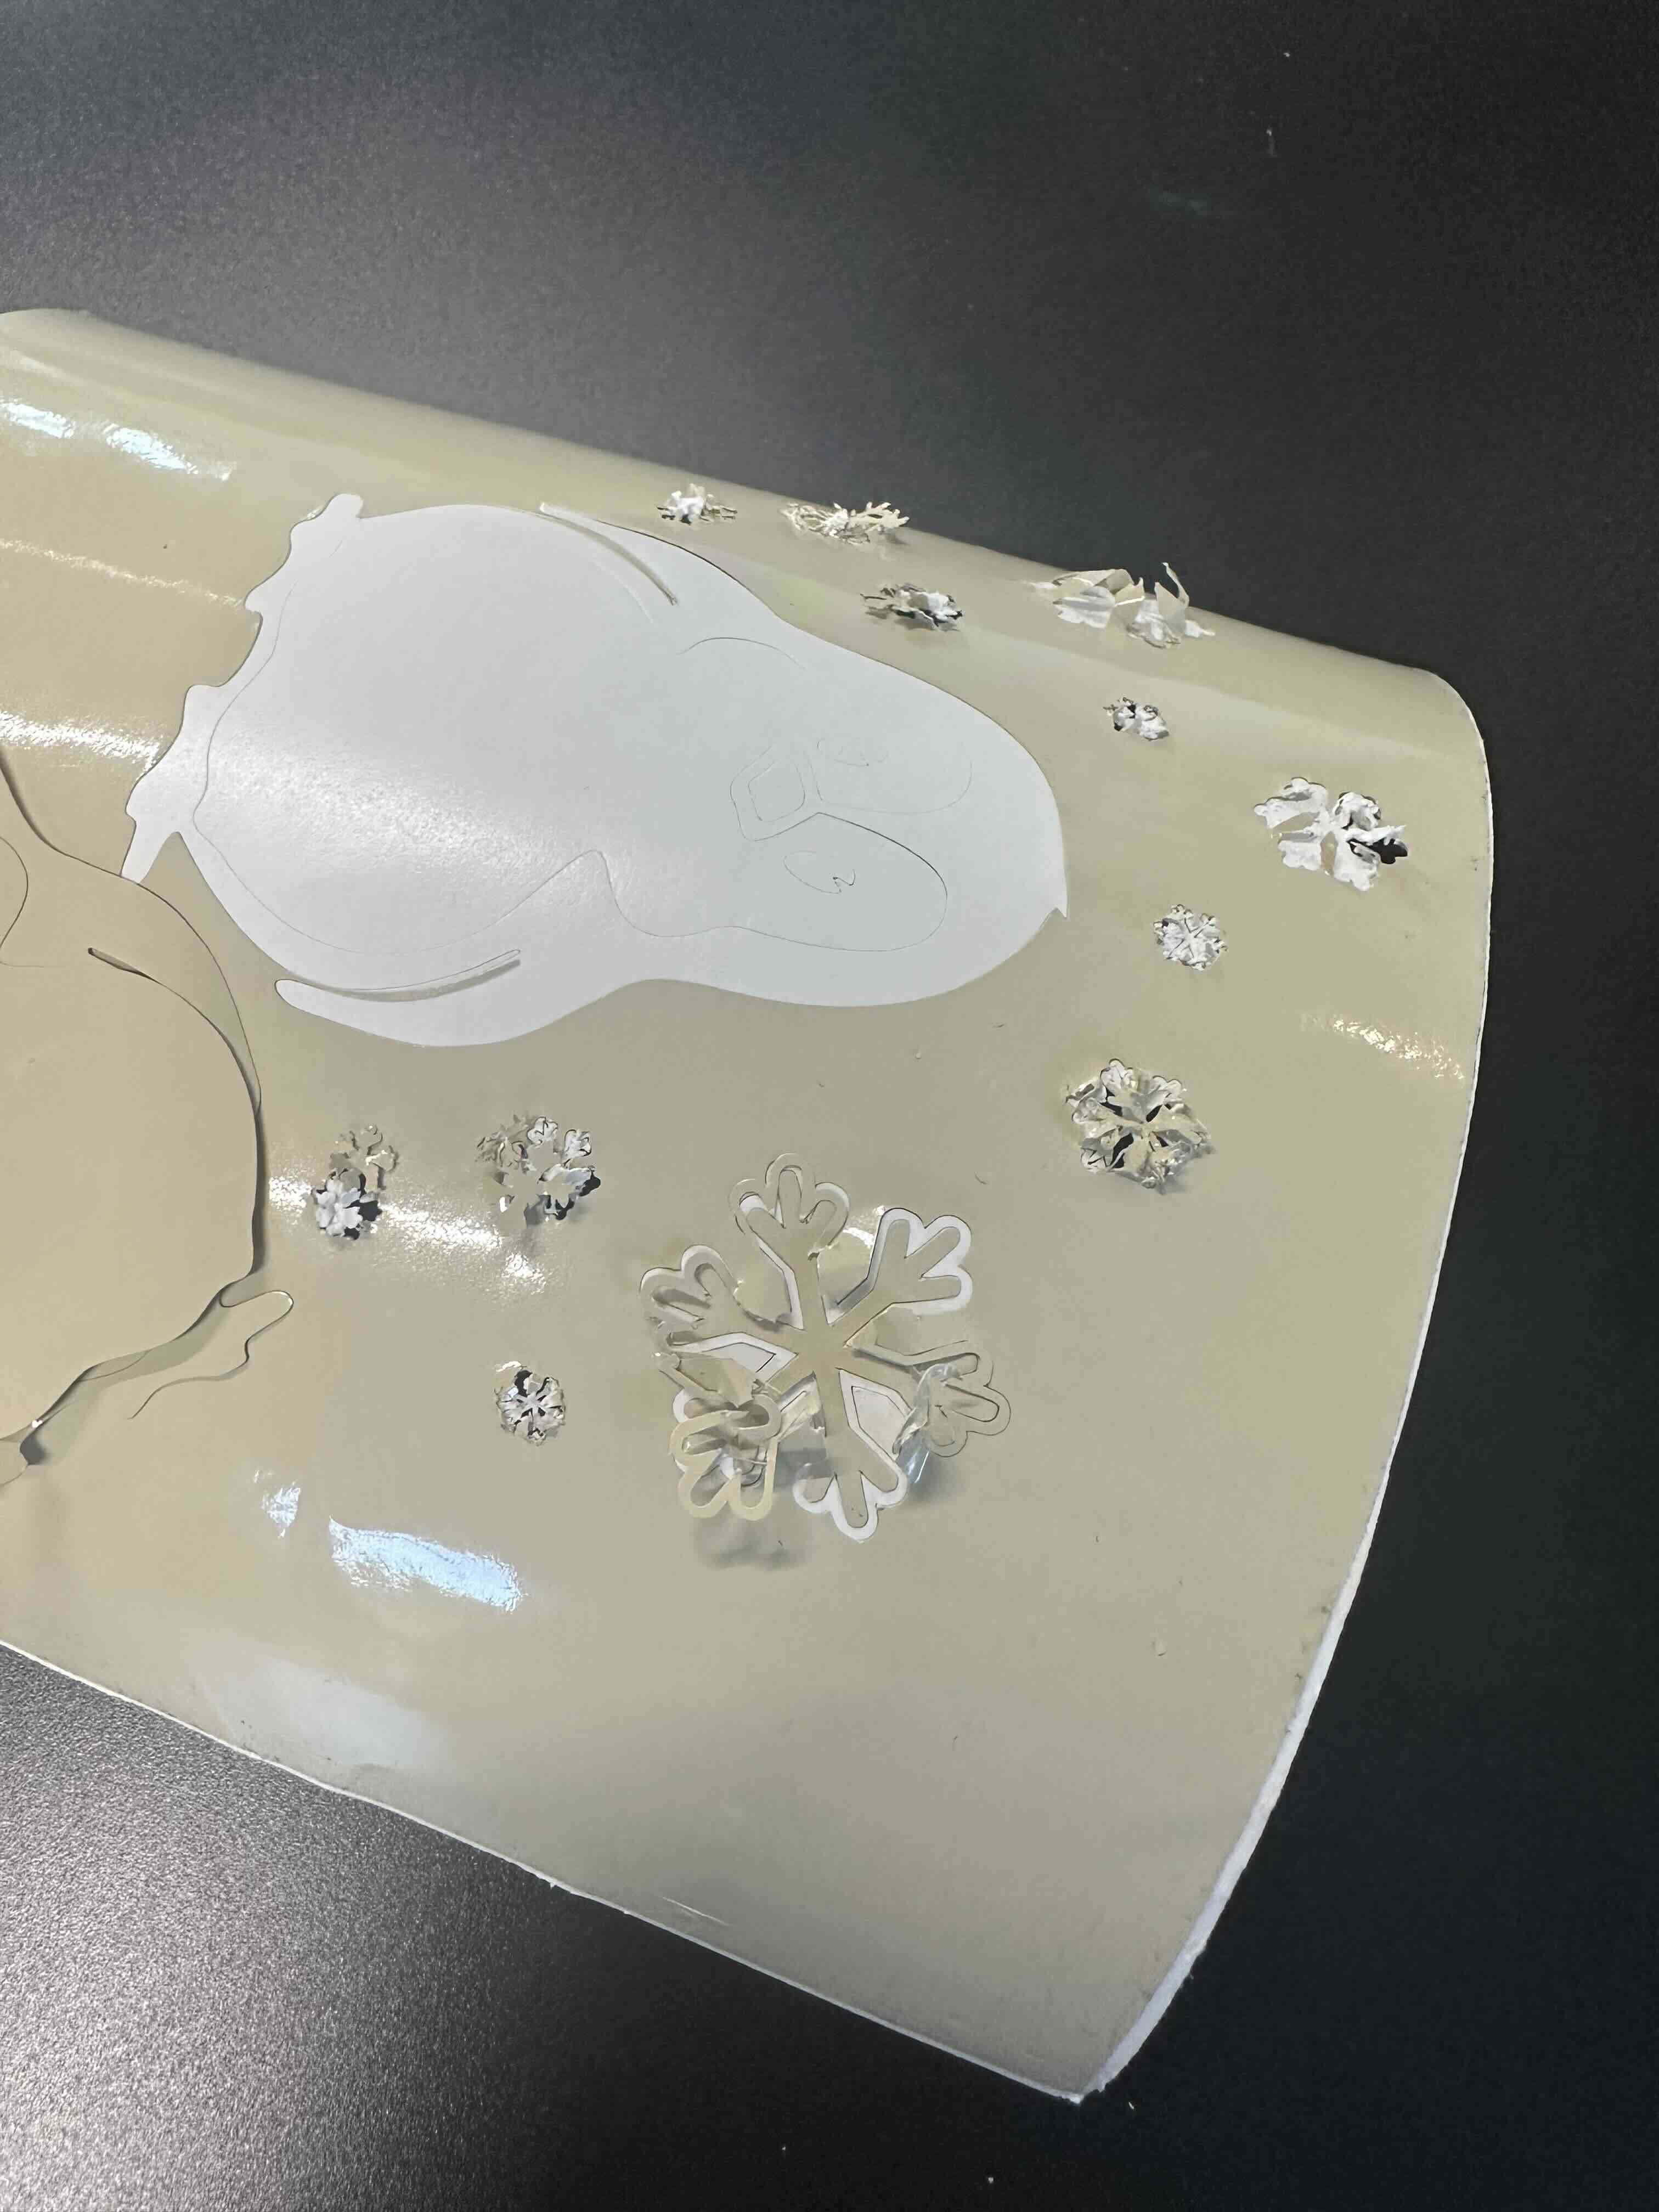 . The problem may be that the speed of the blade is too fast for patterns as delicate and intricate as a snowflake (same problem happened on the laser but I did not show you here).
Eventually I cutted with just the penguin body. 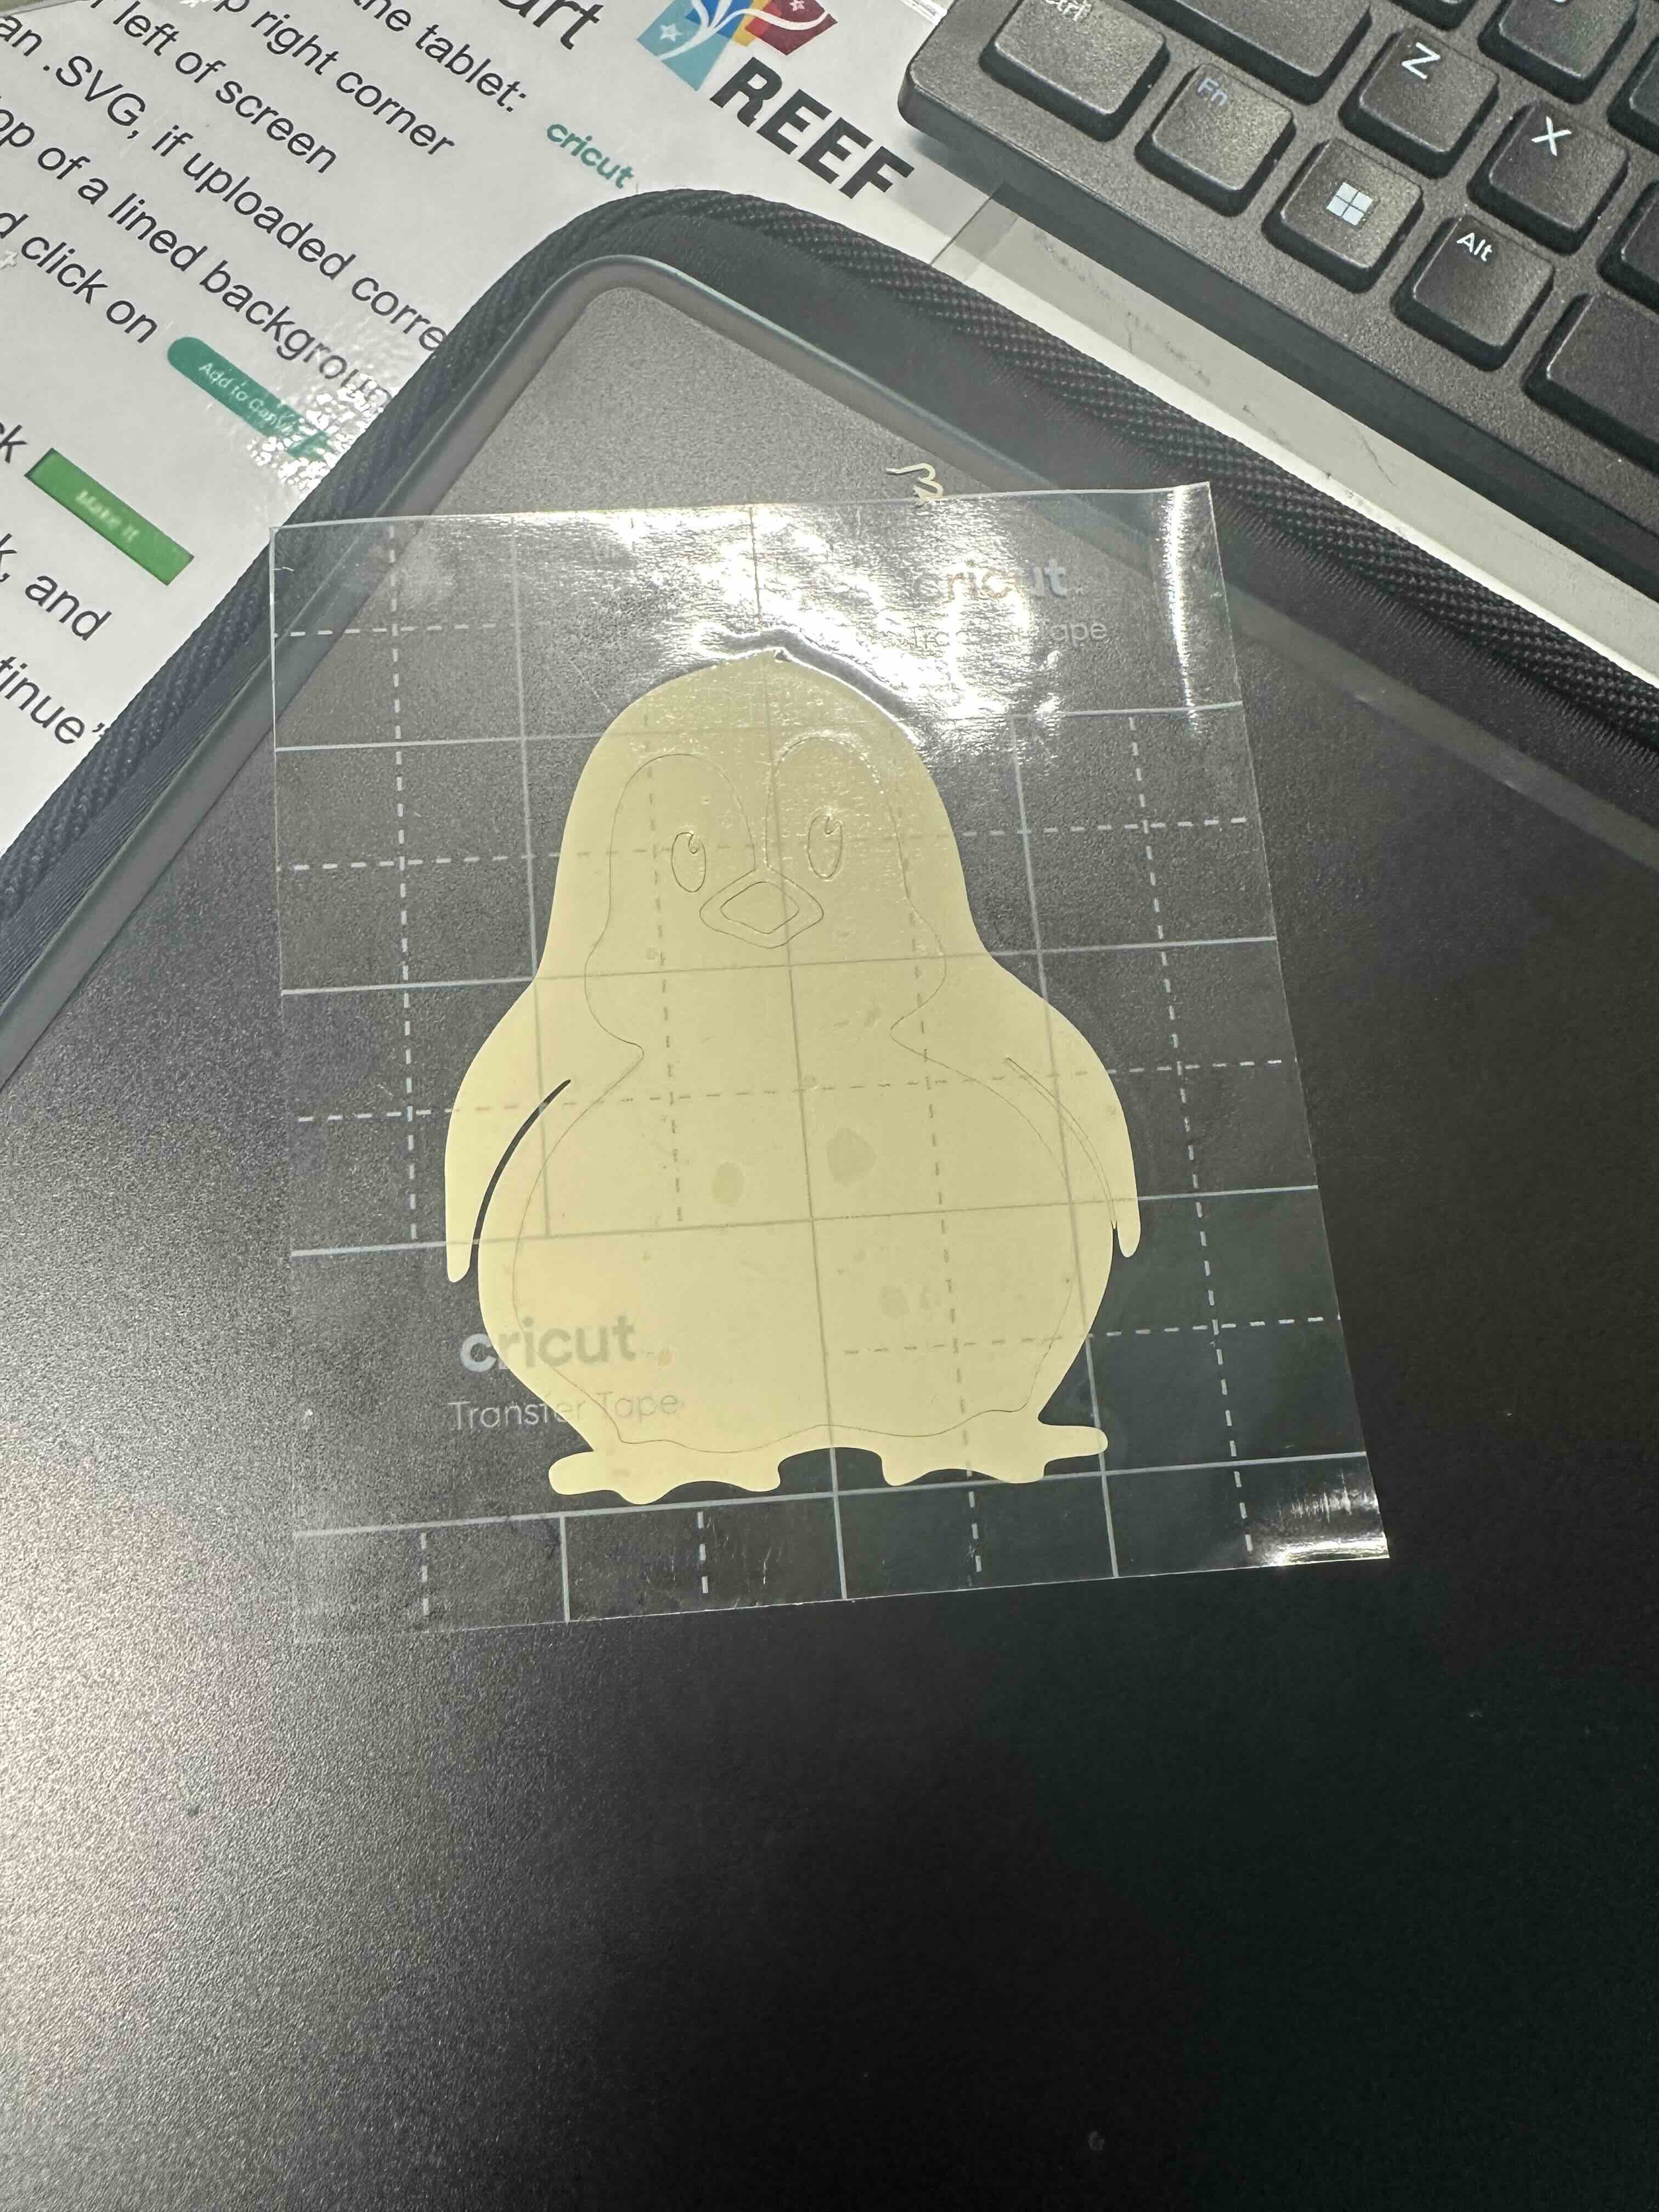 and after a satisfying peel, it is now on my laptop.