𓍊𓋼𓍊 Beatbeatbox 𓍊𓋼𓍊
Sometimes in life you just want to be a frog.
My final project for HTMAA 2024 is a series of small devices that relate to one another, play samples and are completely integrated, self-contained and wireless.
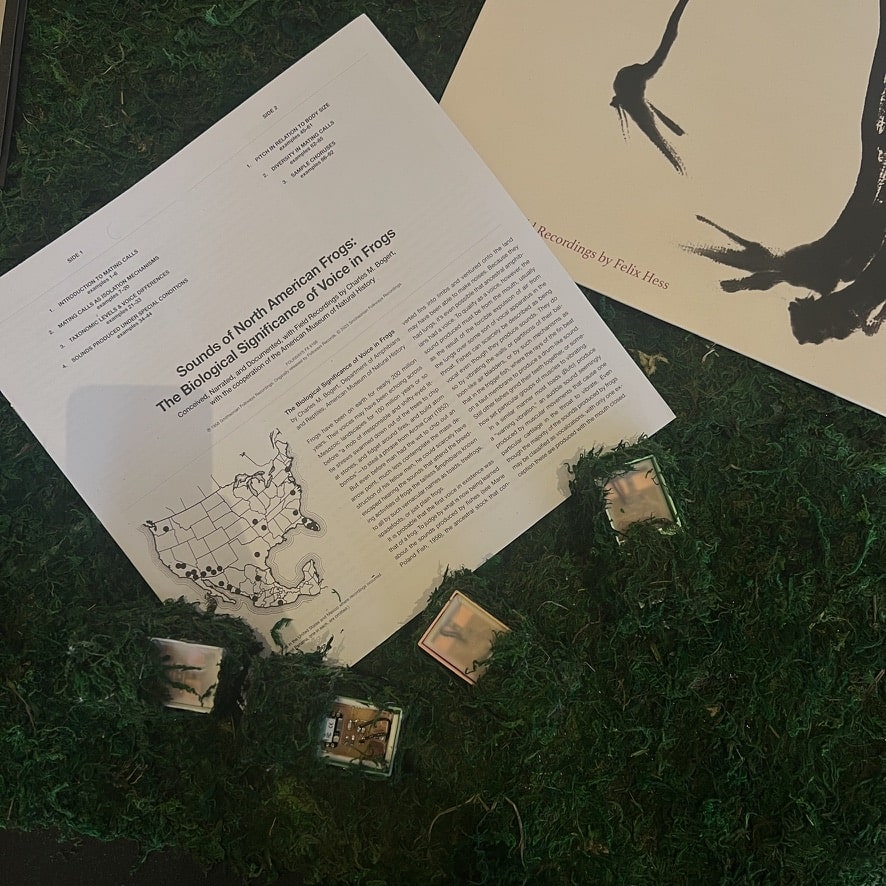
Additionally the samples that they play are a collection of frog samples from the regions of northern America.
𓍊𓋼𓍊BACKGROUND𓍊𓋼𓍊
Taking HTMAA this year was a very strange experience, and honestly one accompanied with a lot of disappointment in myself.
When taking Fabacademy 2023, it consumed my whole life for 6 months.
I was in the FabLab every day and if I’m honest it did change my life.
I owe so many changes and experiences in my life to that course.
But this term, taking it again was a strange experience of wanting to go deeper into everything
I didn’t get to explore before and also failing to live up to my own expectations,
and failing at manifesting the time-management I envisioned to myself while trying to fully experience
the new infrastructure I have been privilaged to experience.
It was difficult to let the class consume me again, so I didn’t.
But this detachment lead to a distance it not letting myself engage with it as fully as I had allowed myself previously.
I think usually students engage with it upon repetition through teaching it-
and I have found this experience more fullfilling because in that capacity you do allow yourself to go deeply into topics again.
𓍊𓋼𓍊Concept𓍊𓋼𓍊
To confront some of my disappointments in the previous year I wanted this years project to be something small but robust and wireless.
I also wanted this to be improvable in clear steps, well integrated and most importantly I wanted multiple boxes that could become a clear kit for future students and a learning possibility.
The **beatbeatbox** is a clear and compact kit that uses the onboard flash memory of the ESP32 to its fullest, as well only includes components from the Fab-library. The sound sample can be anything you would like as long as it’s fairly short. And most importantly once I figured out every step and simplifying it back down became very interesting.
I wanted this to be a completely replicable device for any skill level- which doesn’t require any any student to source additional components. It can be done with any type of speaker.
The core conflict within myself that I wanted to address was “do not over-engineer”.
Parts
Microcontroller: XIAO esp32c6.
Speaker: SPEAKER 8OHM 3W TOP PORT 91DB
Resistors:
1 x 1kOhm
1x 10K ohms
1x 100 ohms
LED: 1 surface mount LED, of your choice
3D printing Filament.
1 lipo battery: 3.7V 800mAh
Total cost of singular device: aproximately 20 Dollars.
Cost can be brought down by using even cheaper components.
And an even simpler micro-controller but in this case the skill level for the circuitry will increase
- so it depends on the age of the children you are trying to teach, and the speed of the workshop.
𓍊𓋼𓍊Concept𓍊𓋼𓍊
Microcontroller Page:
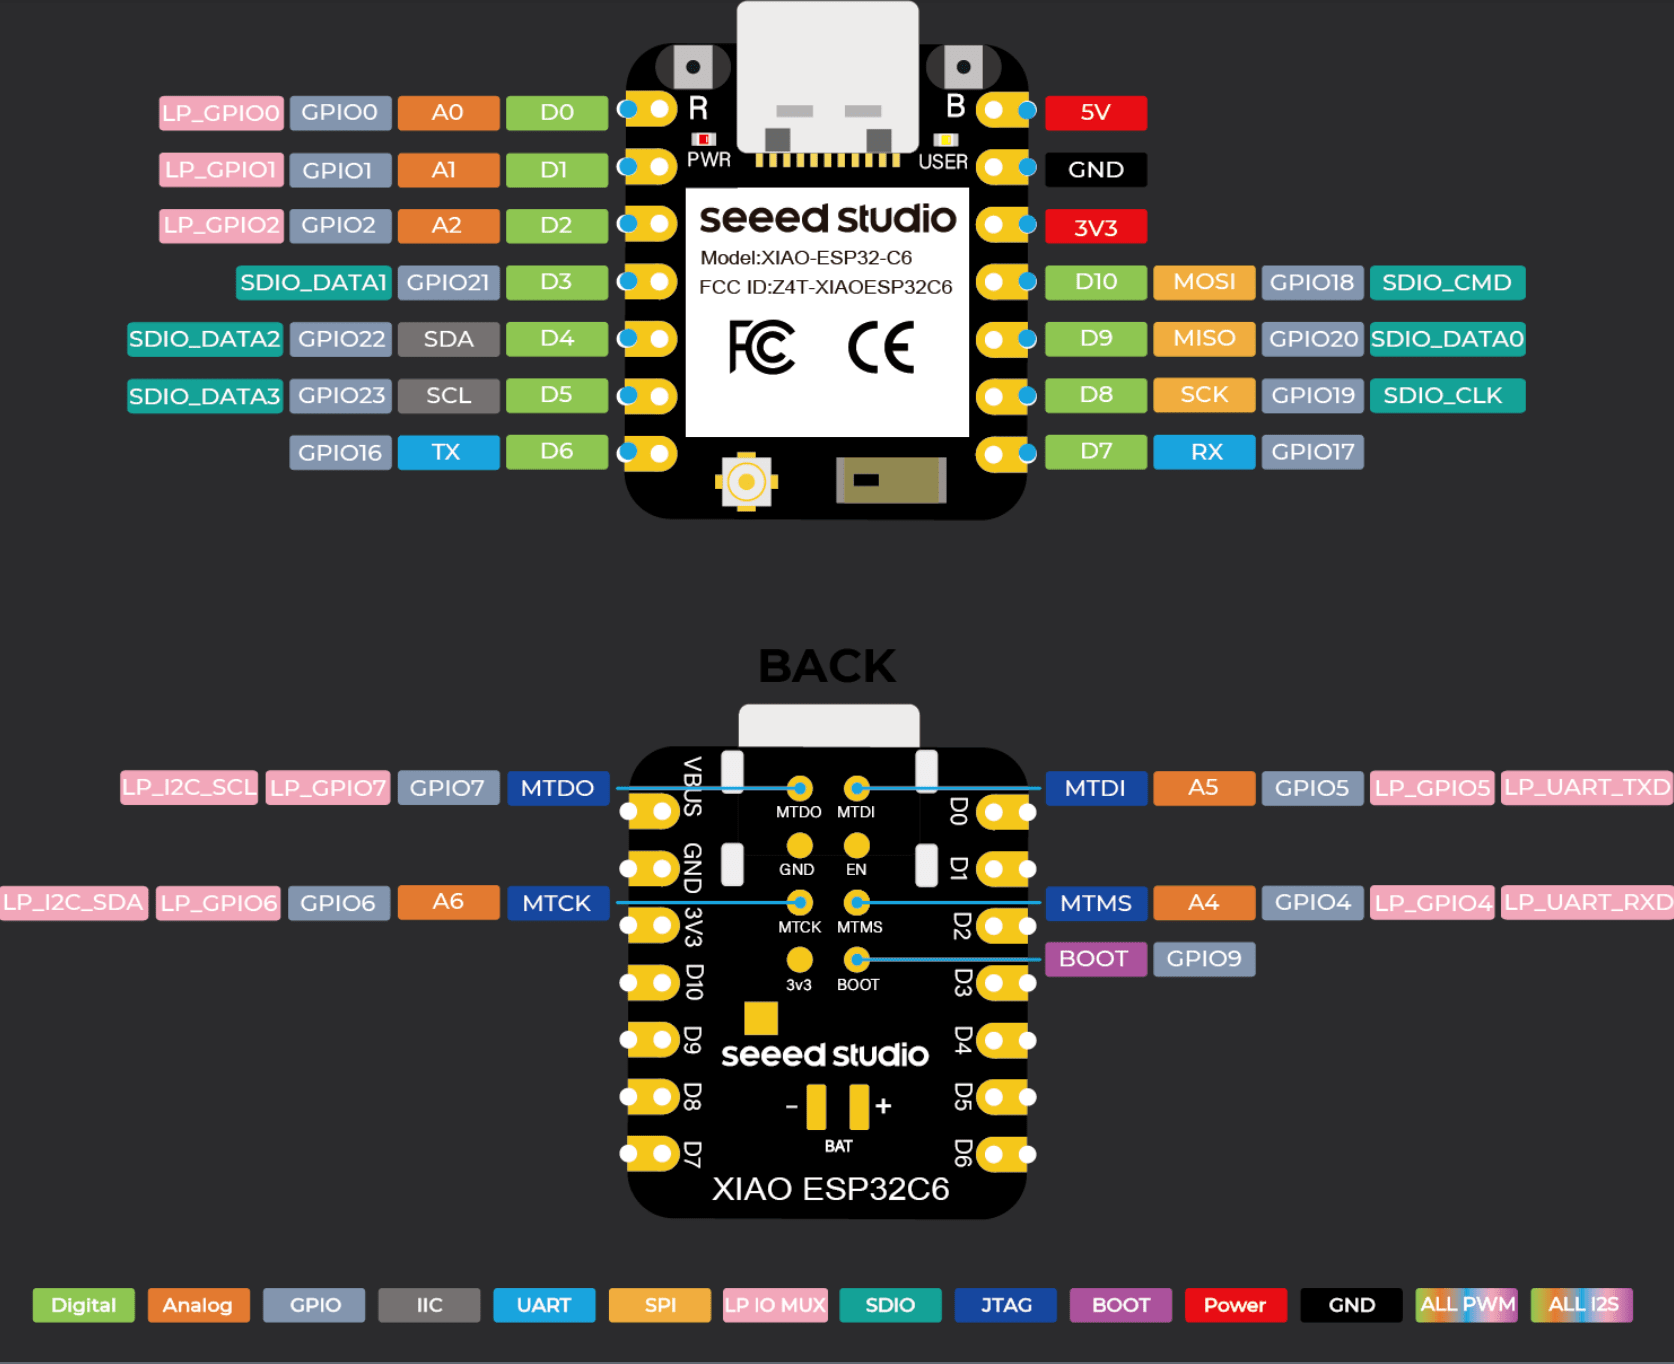
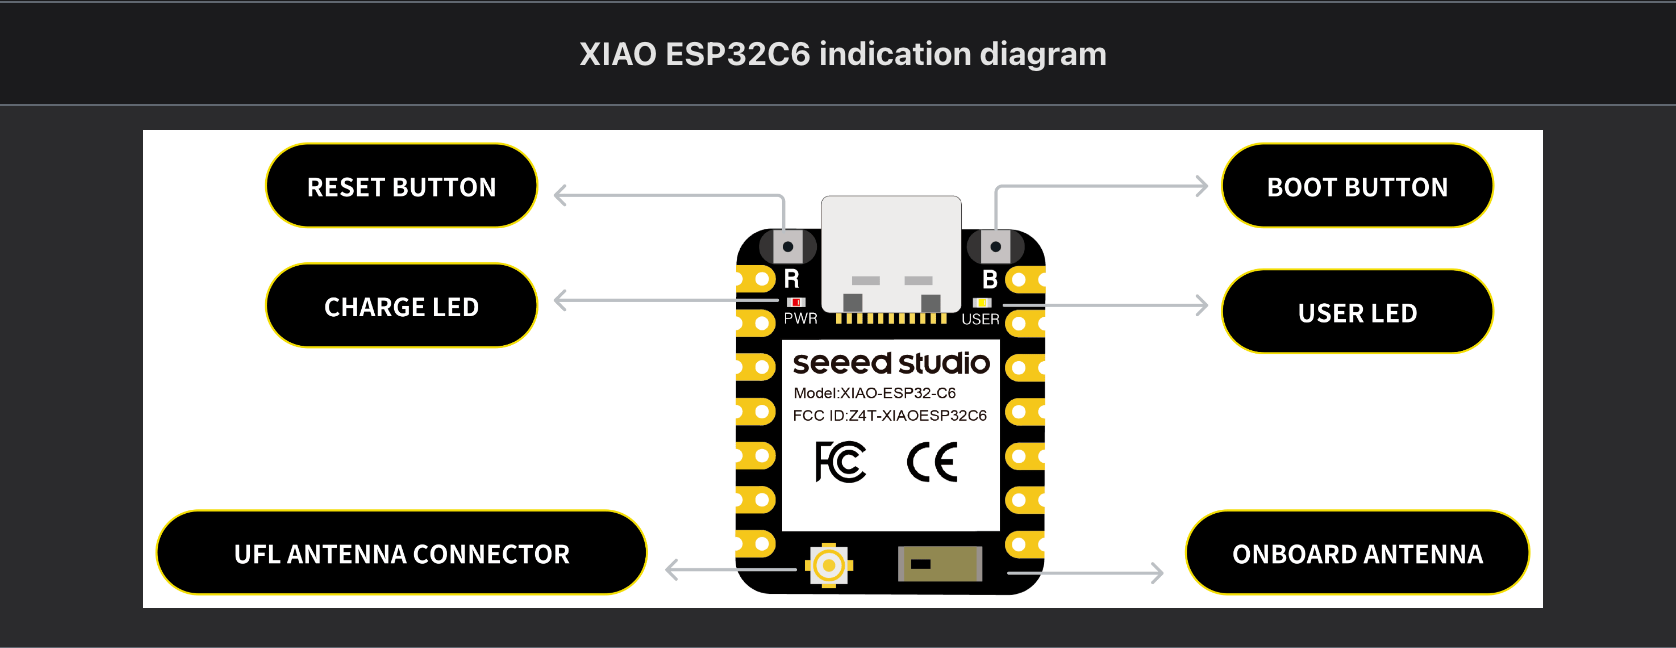
Seeed Studio - XIAO ESP32C6
I chose the XIAO esp23c6 because the c6 as opposed to the c3 no longer required the external antenna. The c6 was released in May of 2024- so if you use a different micro controller come adaptations to the code might have to be made.
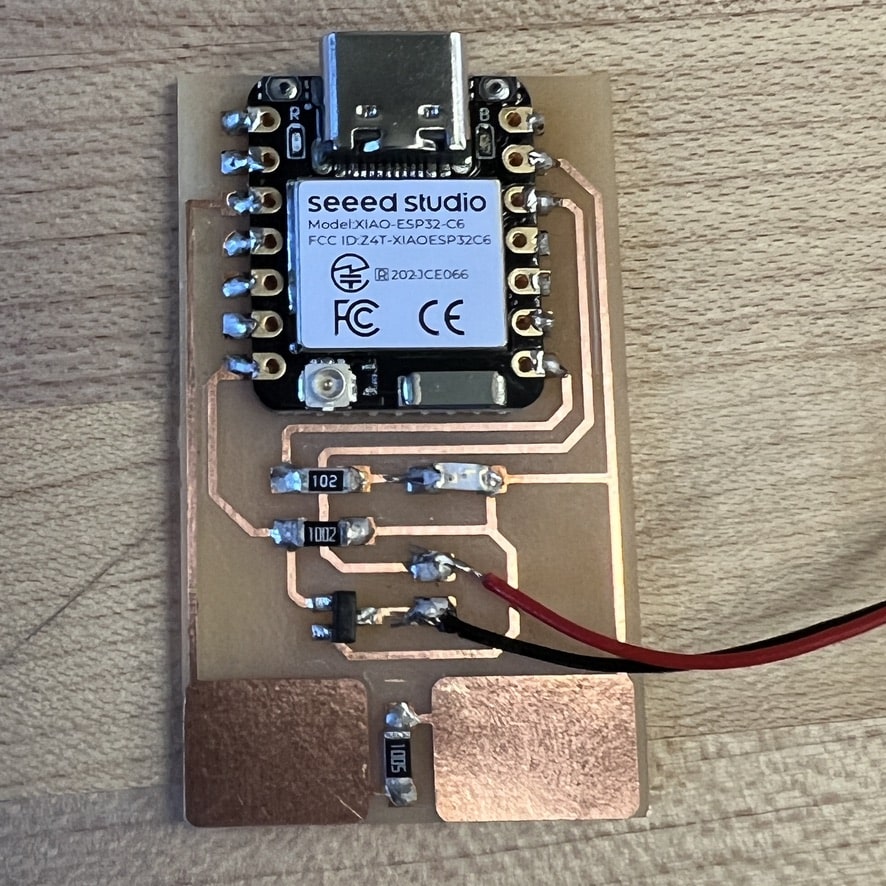
I designed the board in Ki-Cad, to function with touch capacitance:
Again the aim was to not over-engineer.
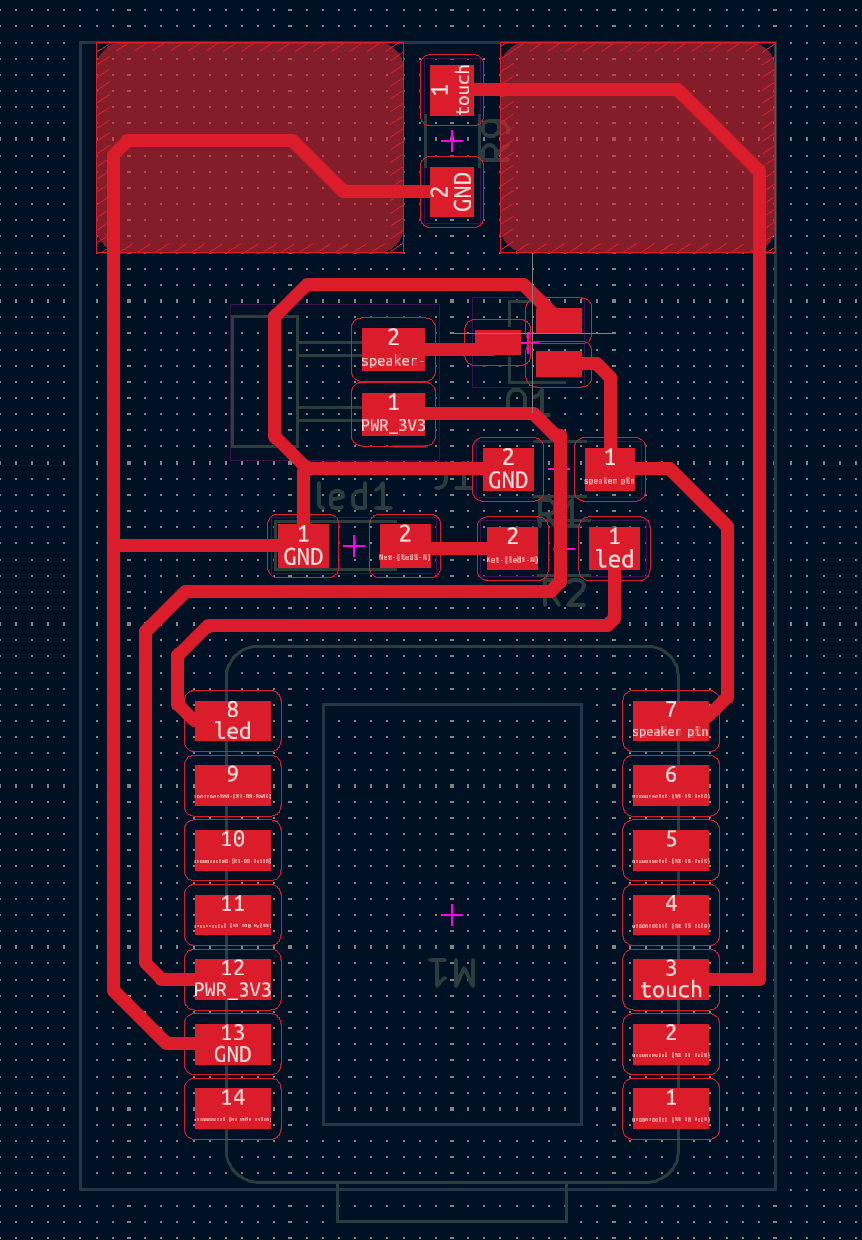
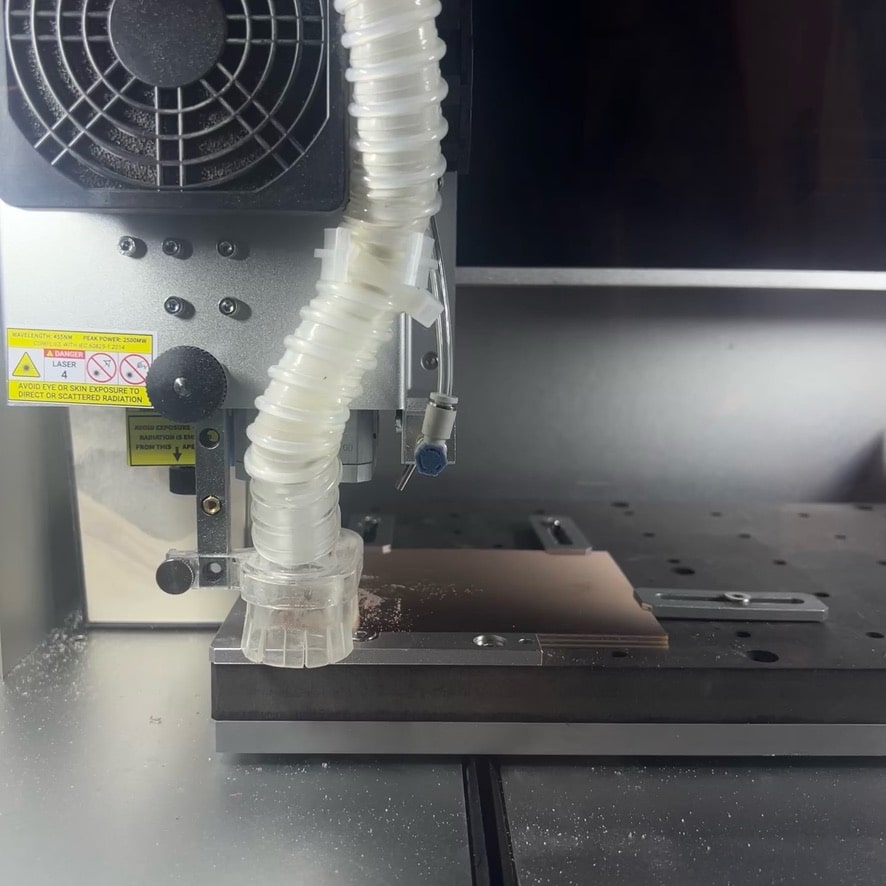
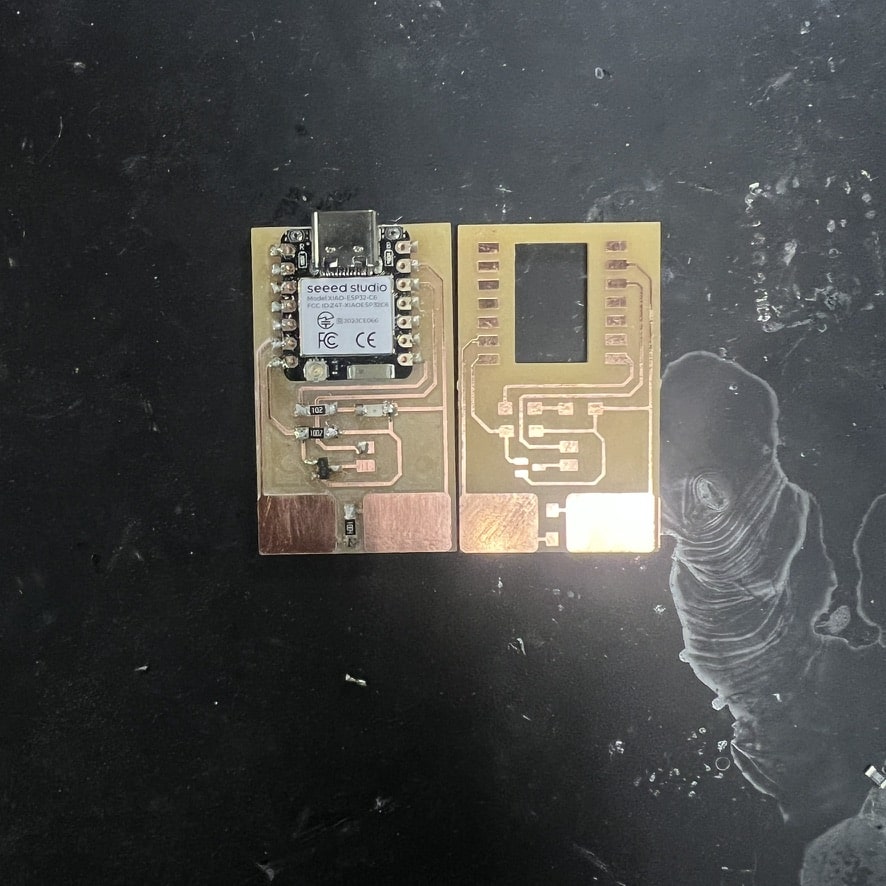
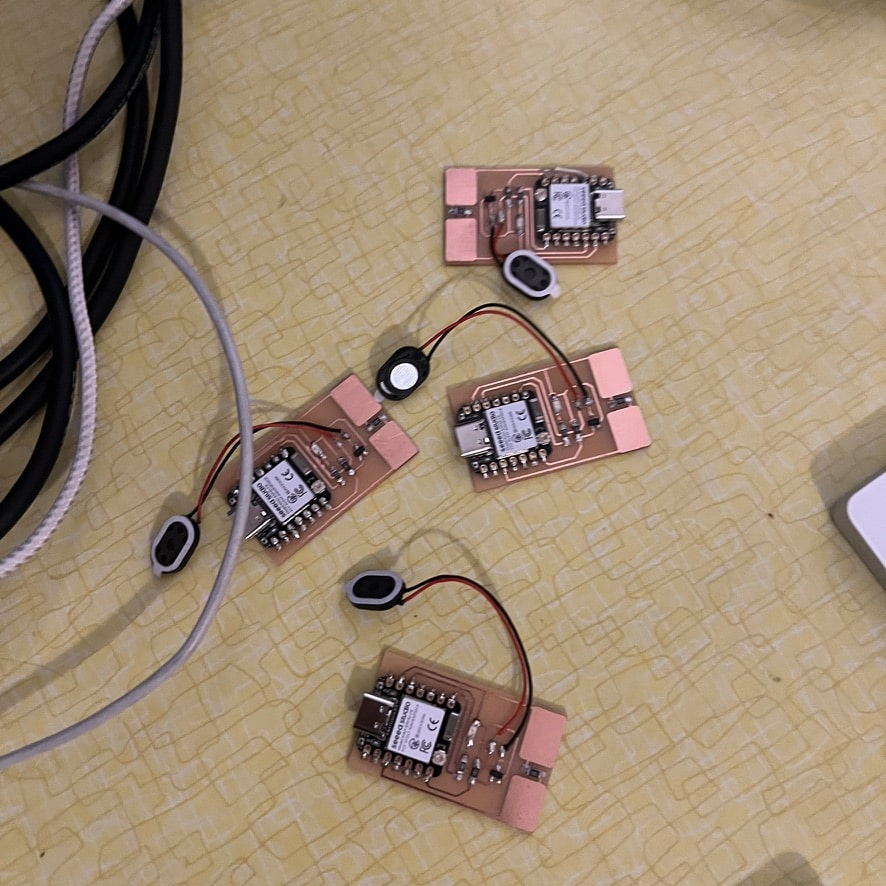
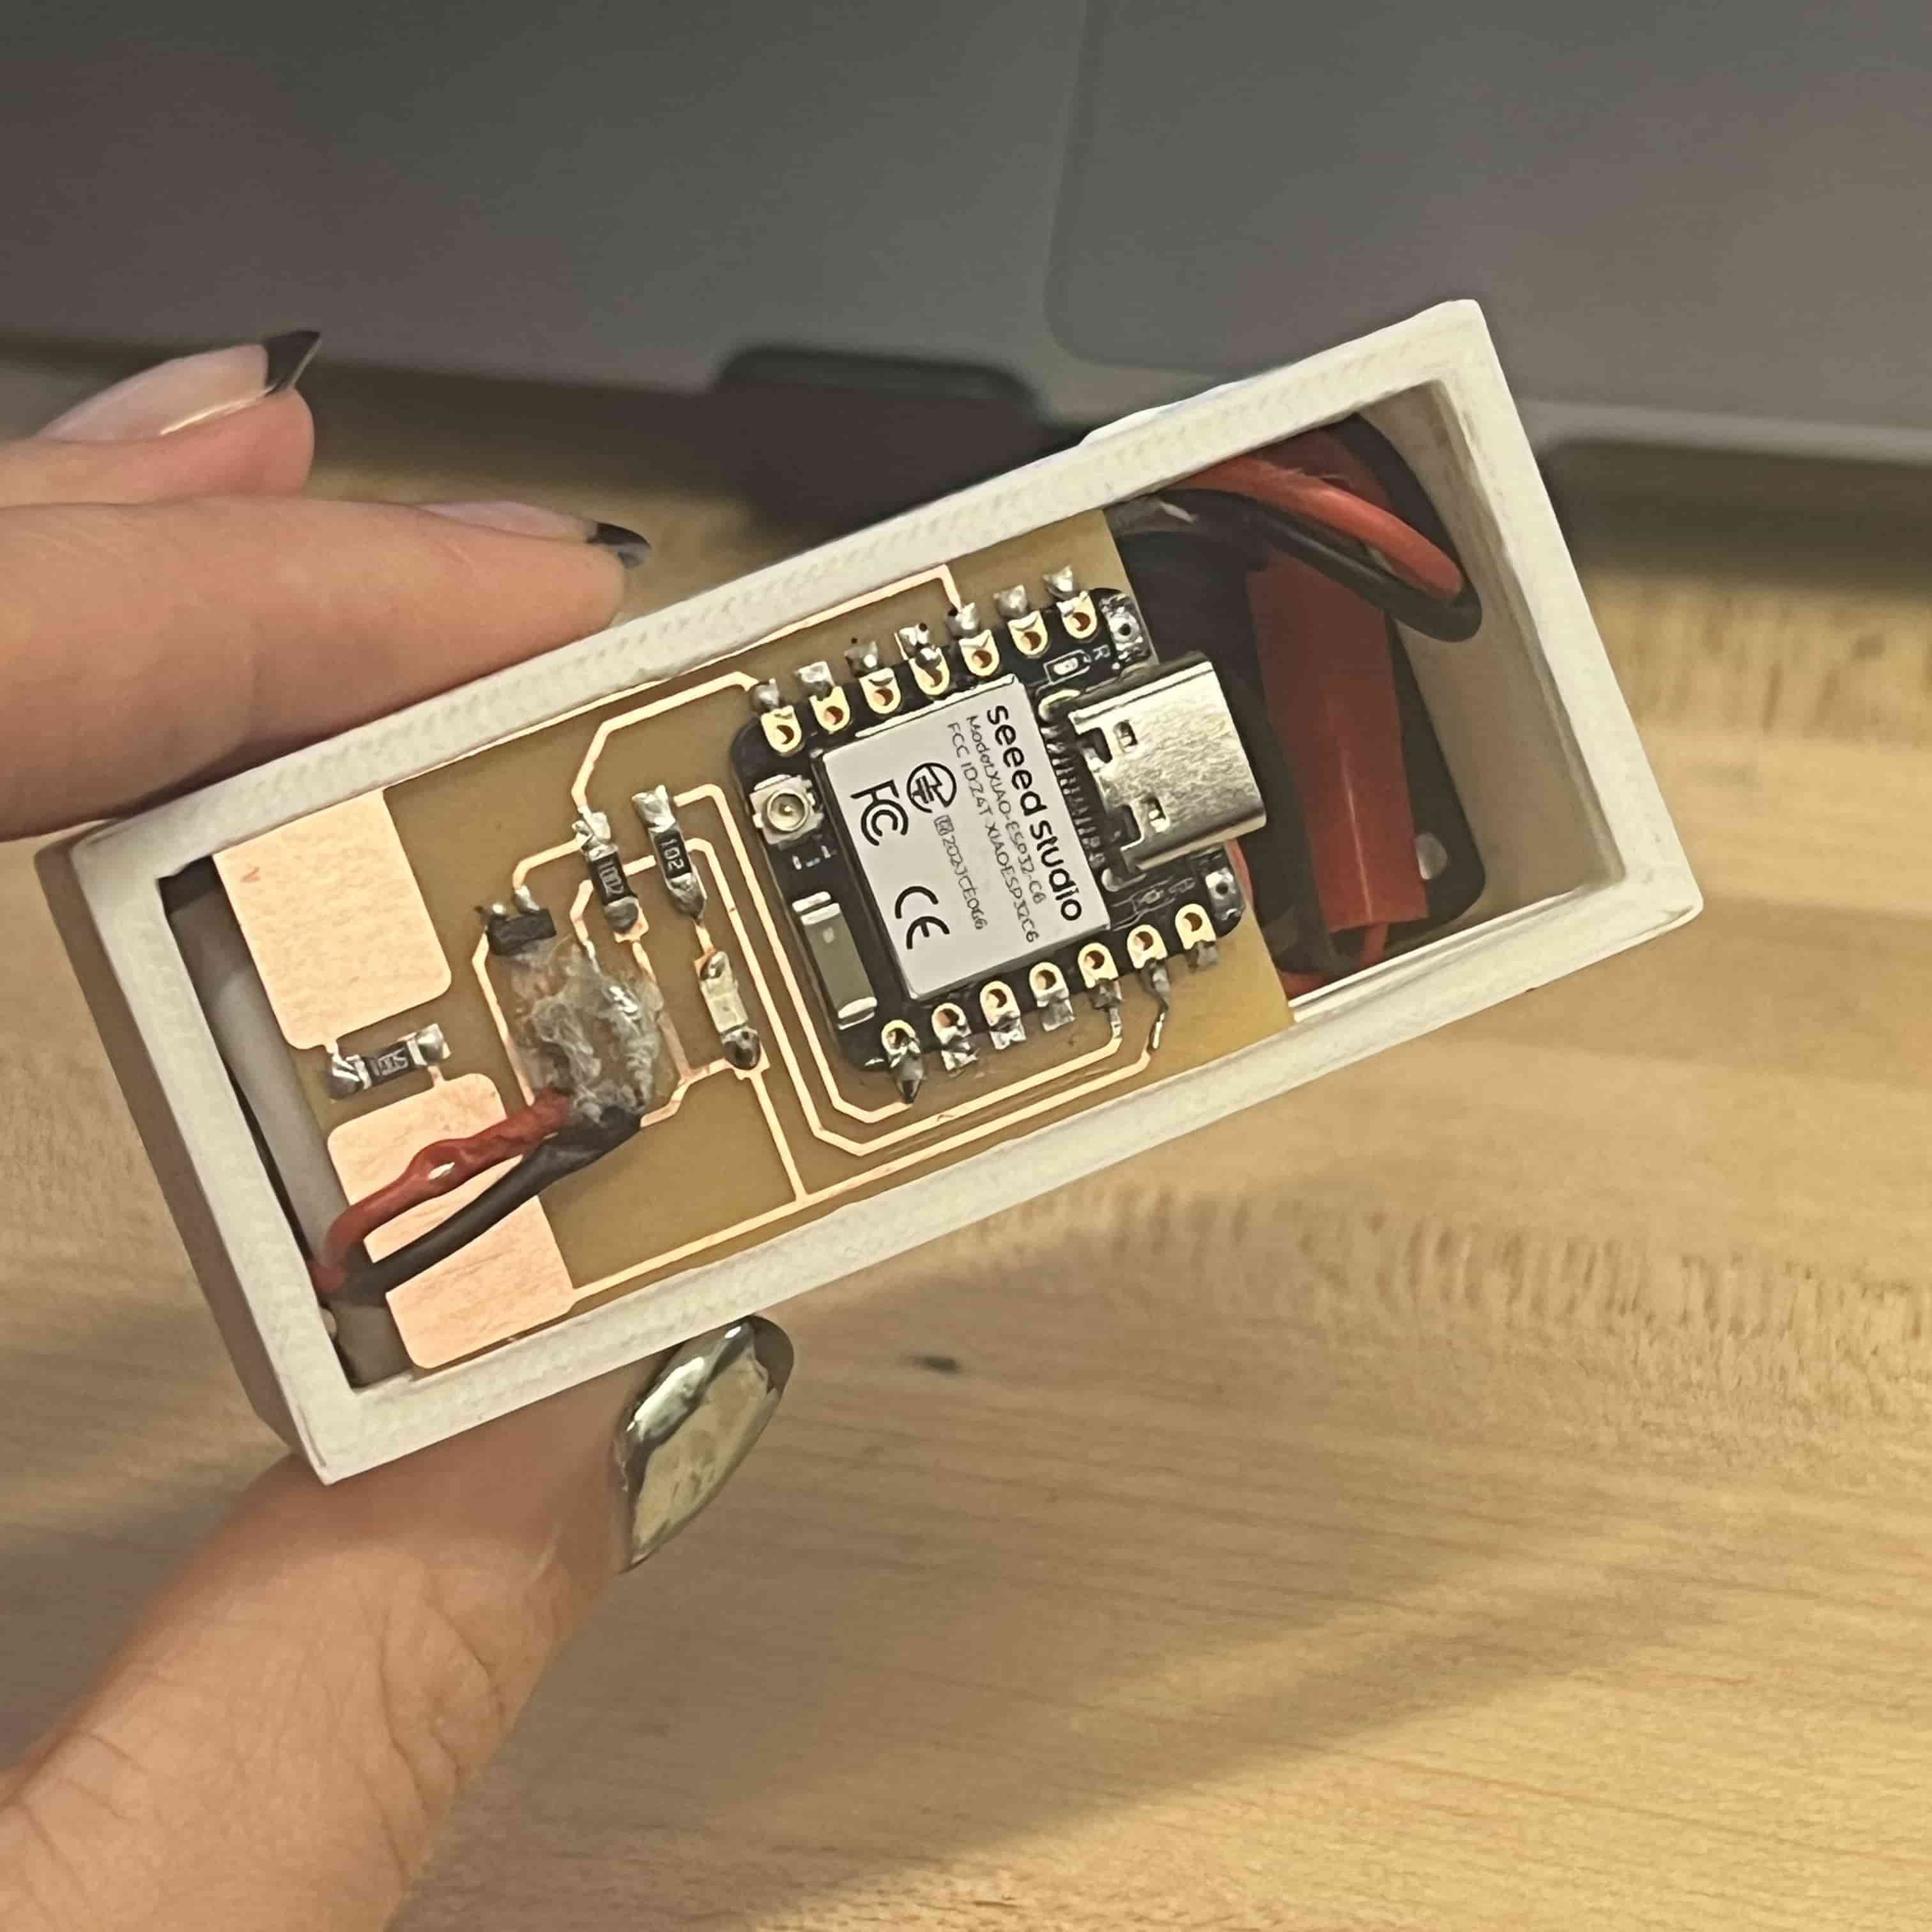
Then I milled and soldered the board. I decided to wire the speakers directly to the board thinking ahead to the integration of the project and how I was planning to package it.
𓍊𓋼𓍊Touch capacitance𓍊𓋼𓍊
For my input and output I continued to use the touch capacitance that I explored in those weeks, because I still consider it a beautiful interactive medium. I wanted to avoid using a button in part because I wanted to keep the part list small. and in part because I like interactiveness which touch capcitance allows for.
The pads seen on the board are where the touch is performed. I was calibrating it to wor with the battery power, and for it to work only when the user continuously
holds the touch-pad on the board.
Addendum
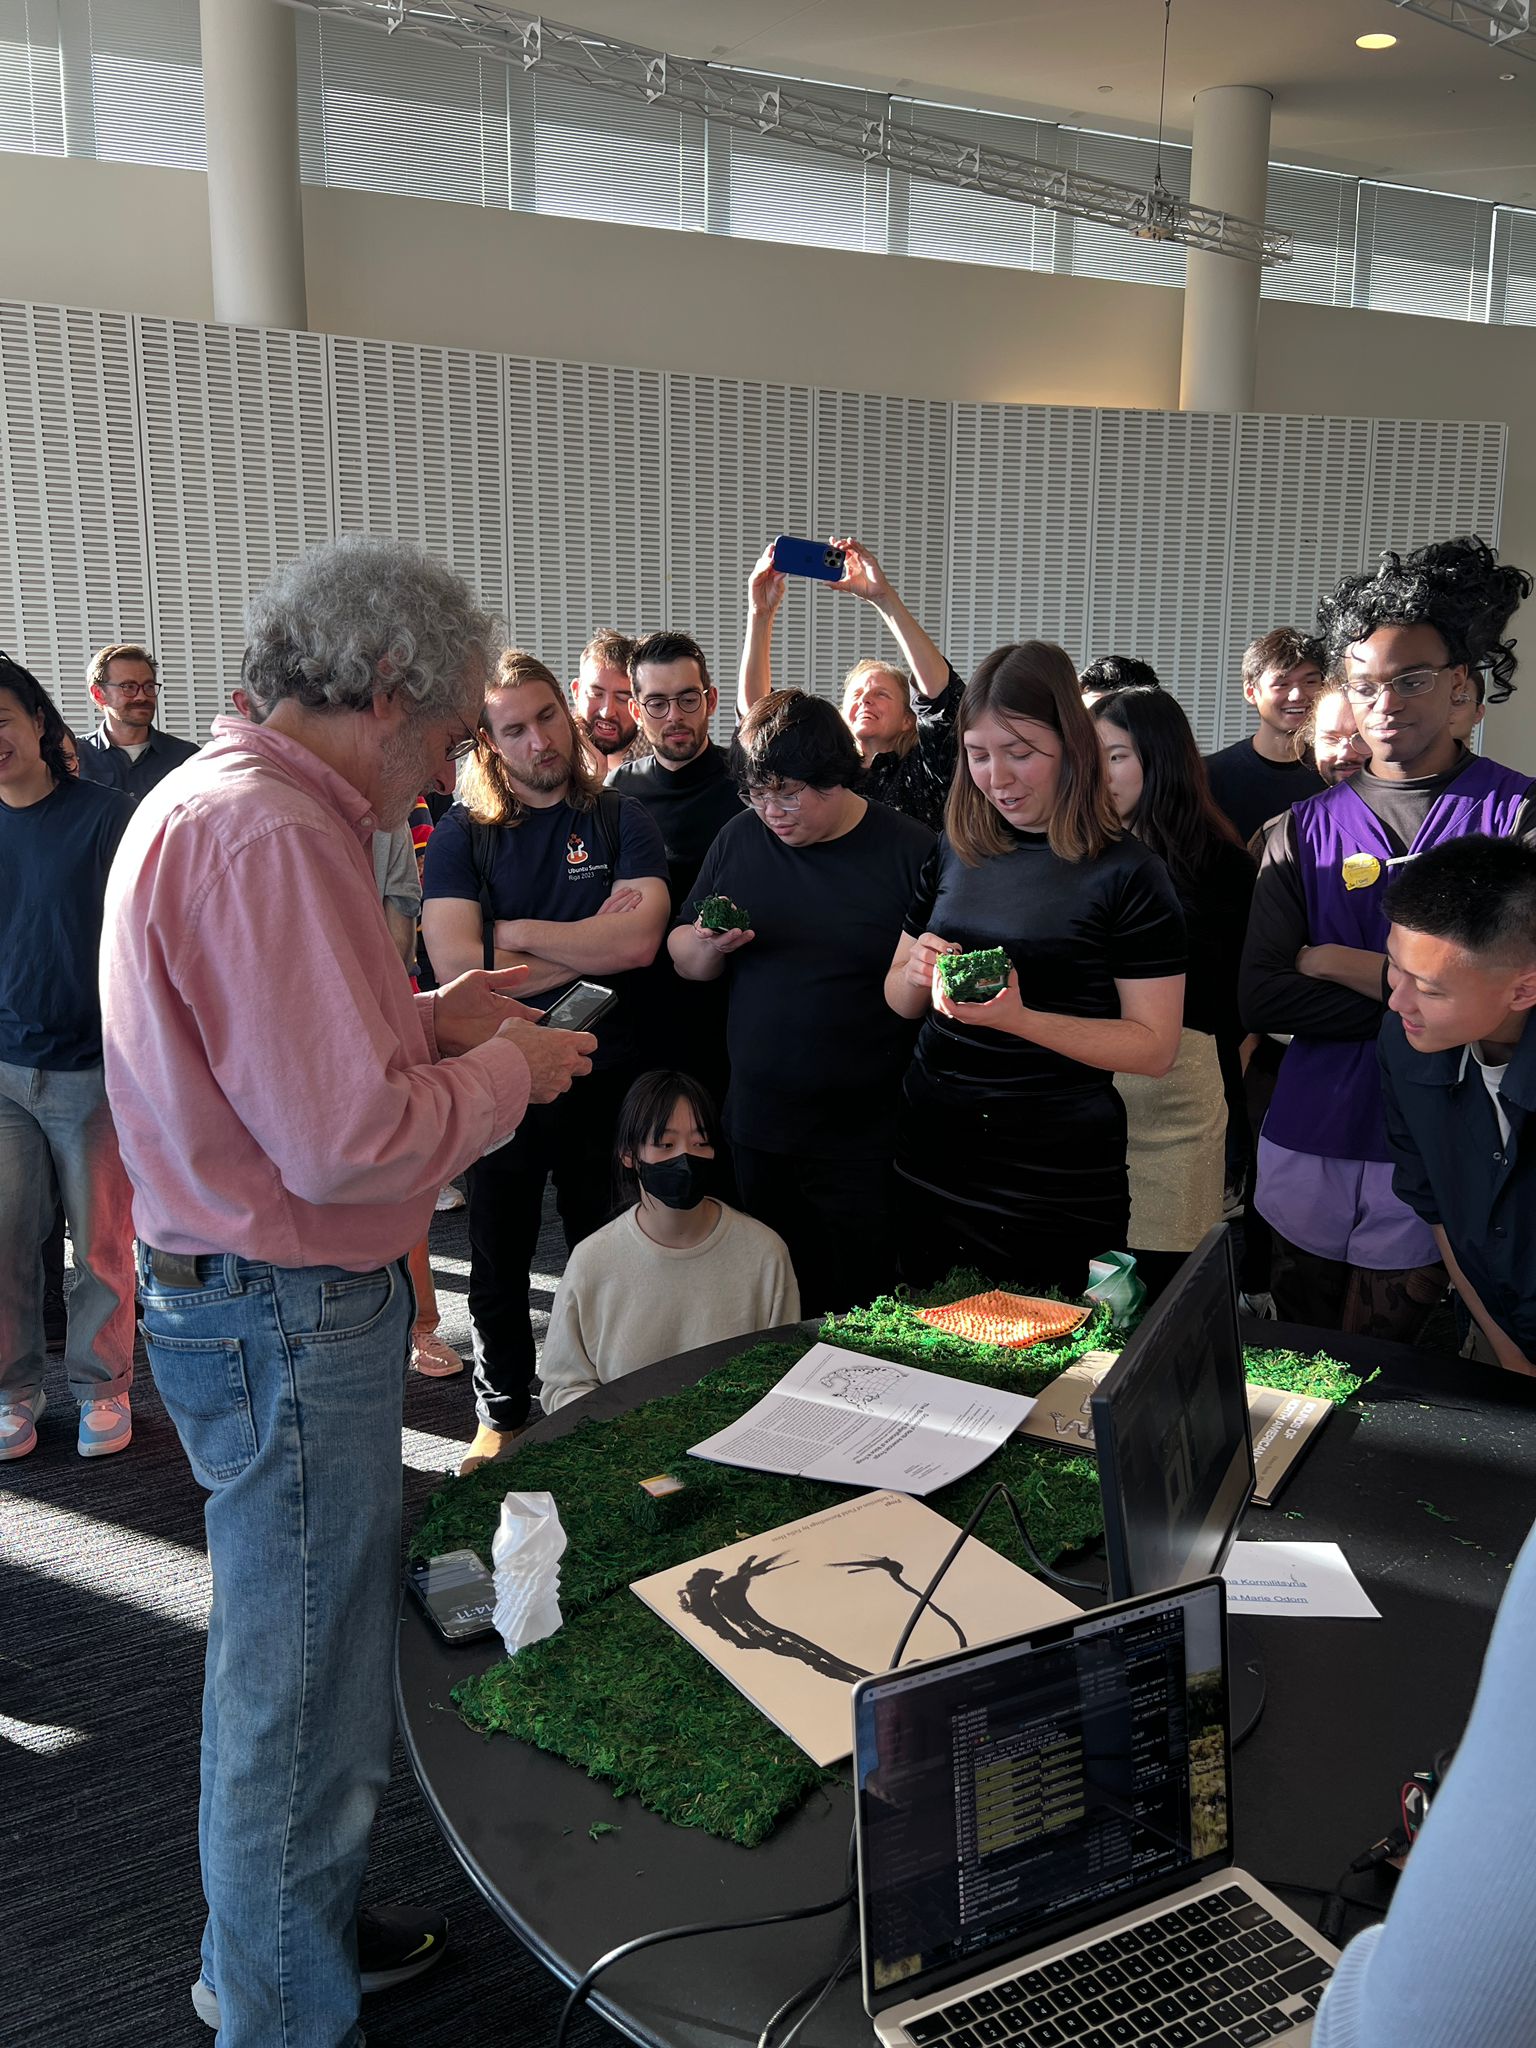
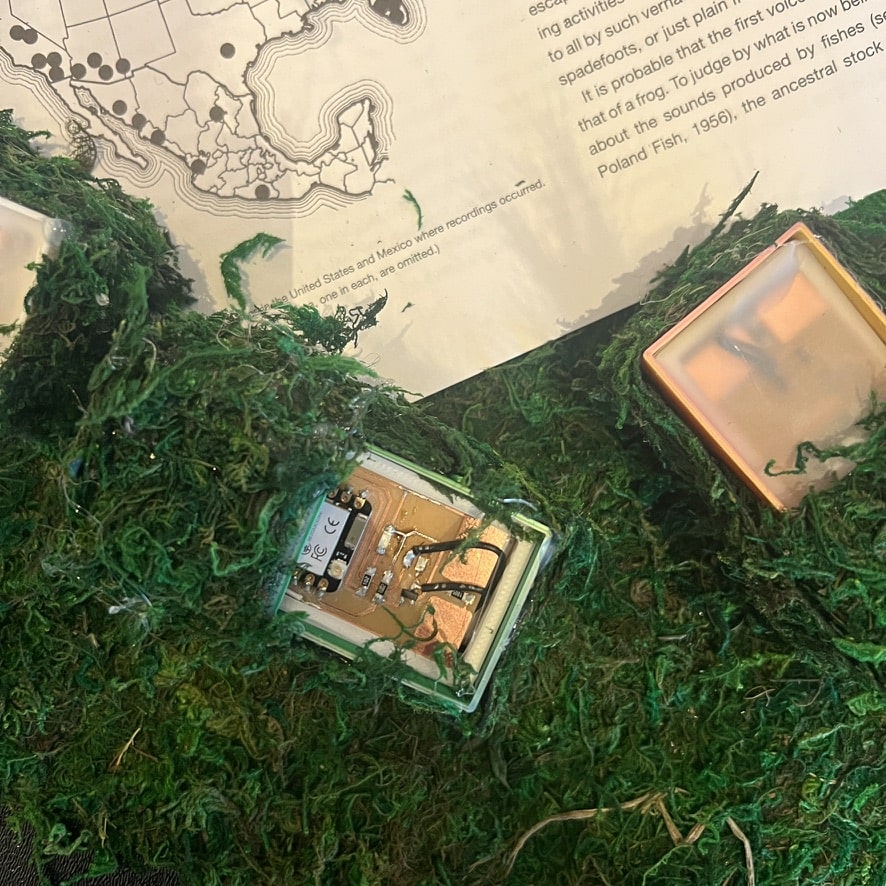
During the presentation a very interesting problem occurred. The boxes were laid out on the table, where the sun heated them up.
This changed the parameters of the touch-capacitance thresh-holds and meant that the boxes started chirping by themselves as if by ghost-like intervention.
While in the moment disturbing, I found this really beautiful for a future site-specific Art piece which takes into a account the temperature fluctuations around an art-piece. making it operate independently once certain external influences change the way the sensors operate based on ghost like serendipity.
𓍊Sound Samples𓍊𓋼𓍊
For this particular case I took the sound samples from a Smithsonian vinyl record which featured all the sounds of the Frogs of North-America.
This is in part because it interestingly showcases the use of the boxes as a beat-sampling machine. but also because it was a fun challenge in sampling and reducing a complex sample to encoded onto the limited memory of the micro controller.
1. First we sampled the sound.
This we did using abelton. Recording straight into it and creating 10 second long wav files.
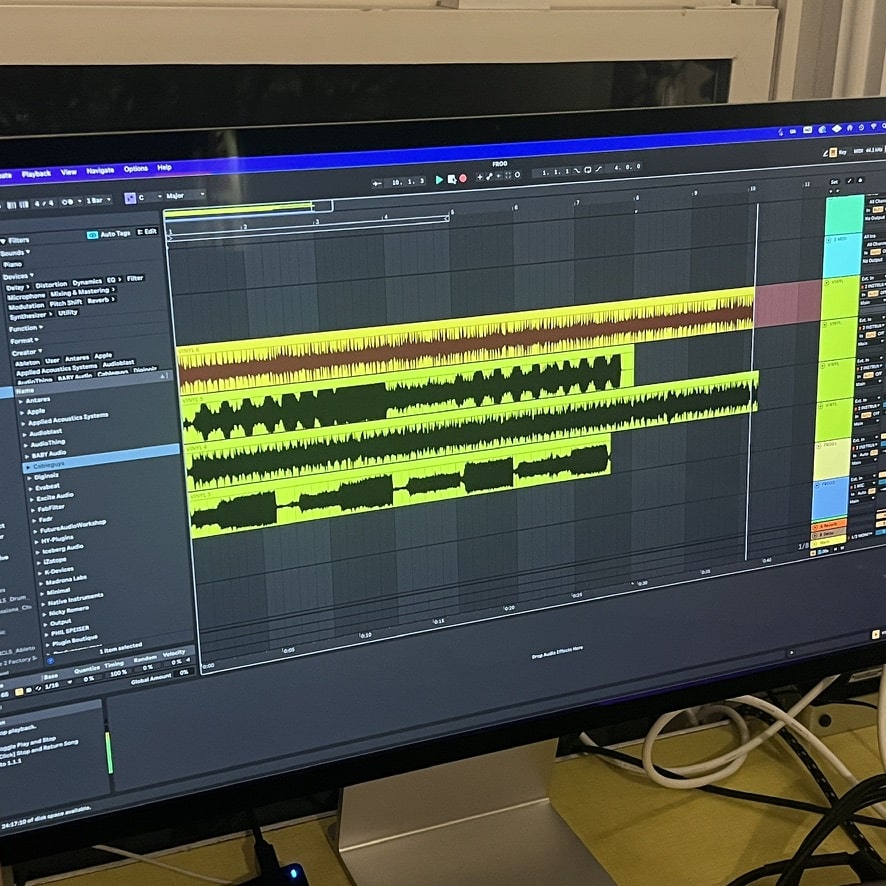
After this I exported an 8-bit .wav file
2. Two I ran this python script to turn it into a usable encoding. The pyhton script then directl makes a .h file which willl look like this
3. I referenced this encoding in the IDE.

For this to work this requires nested folders shown here:
Have a folder which will feature the python code file as well as the .wav file. I also put my IDE folder in there for ease of searching.
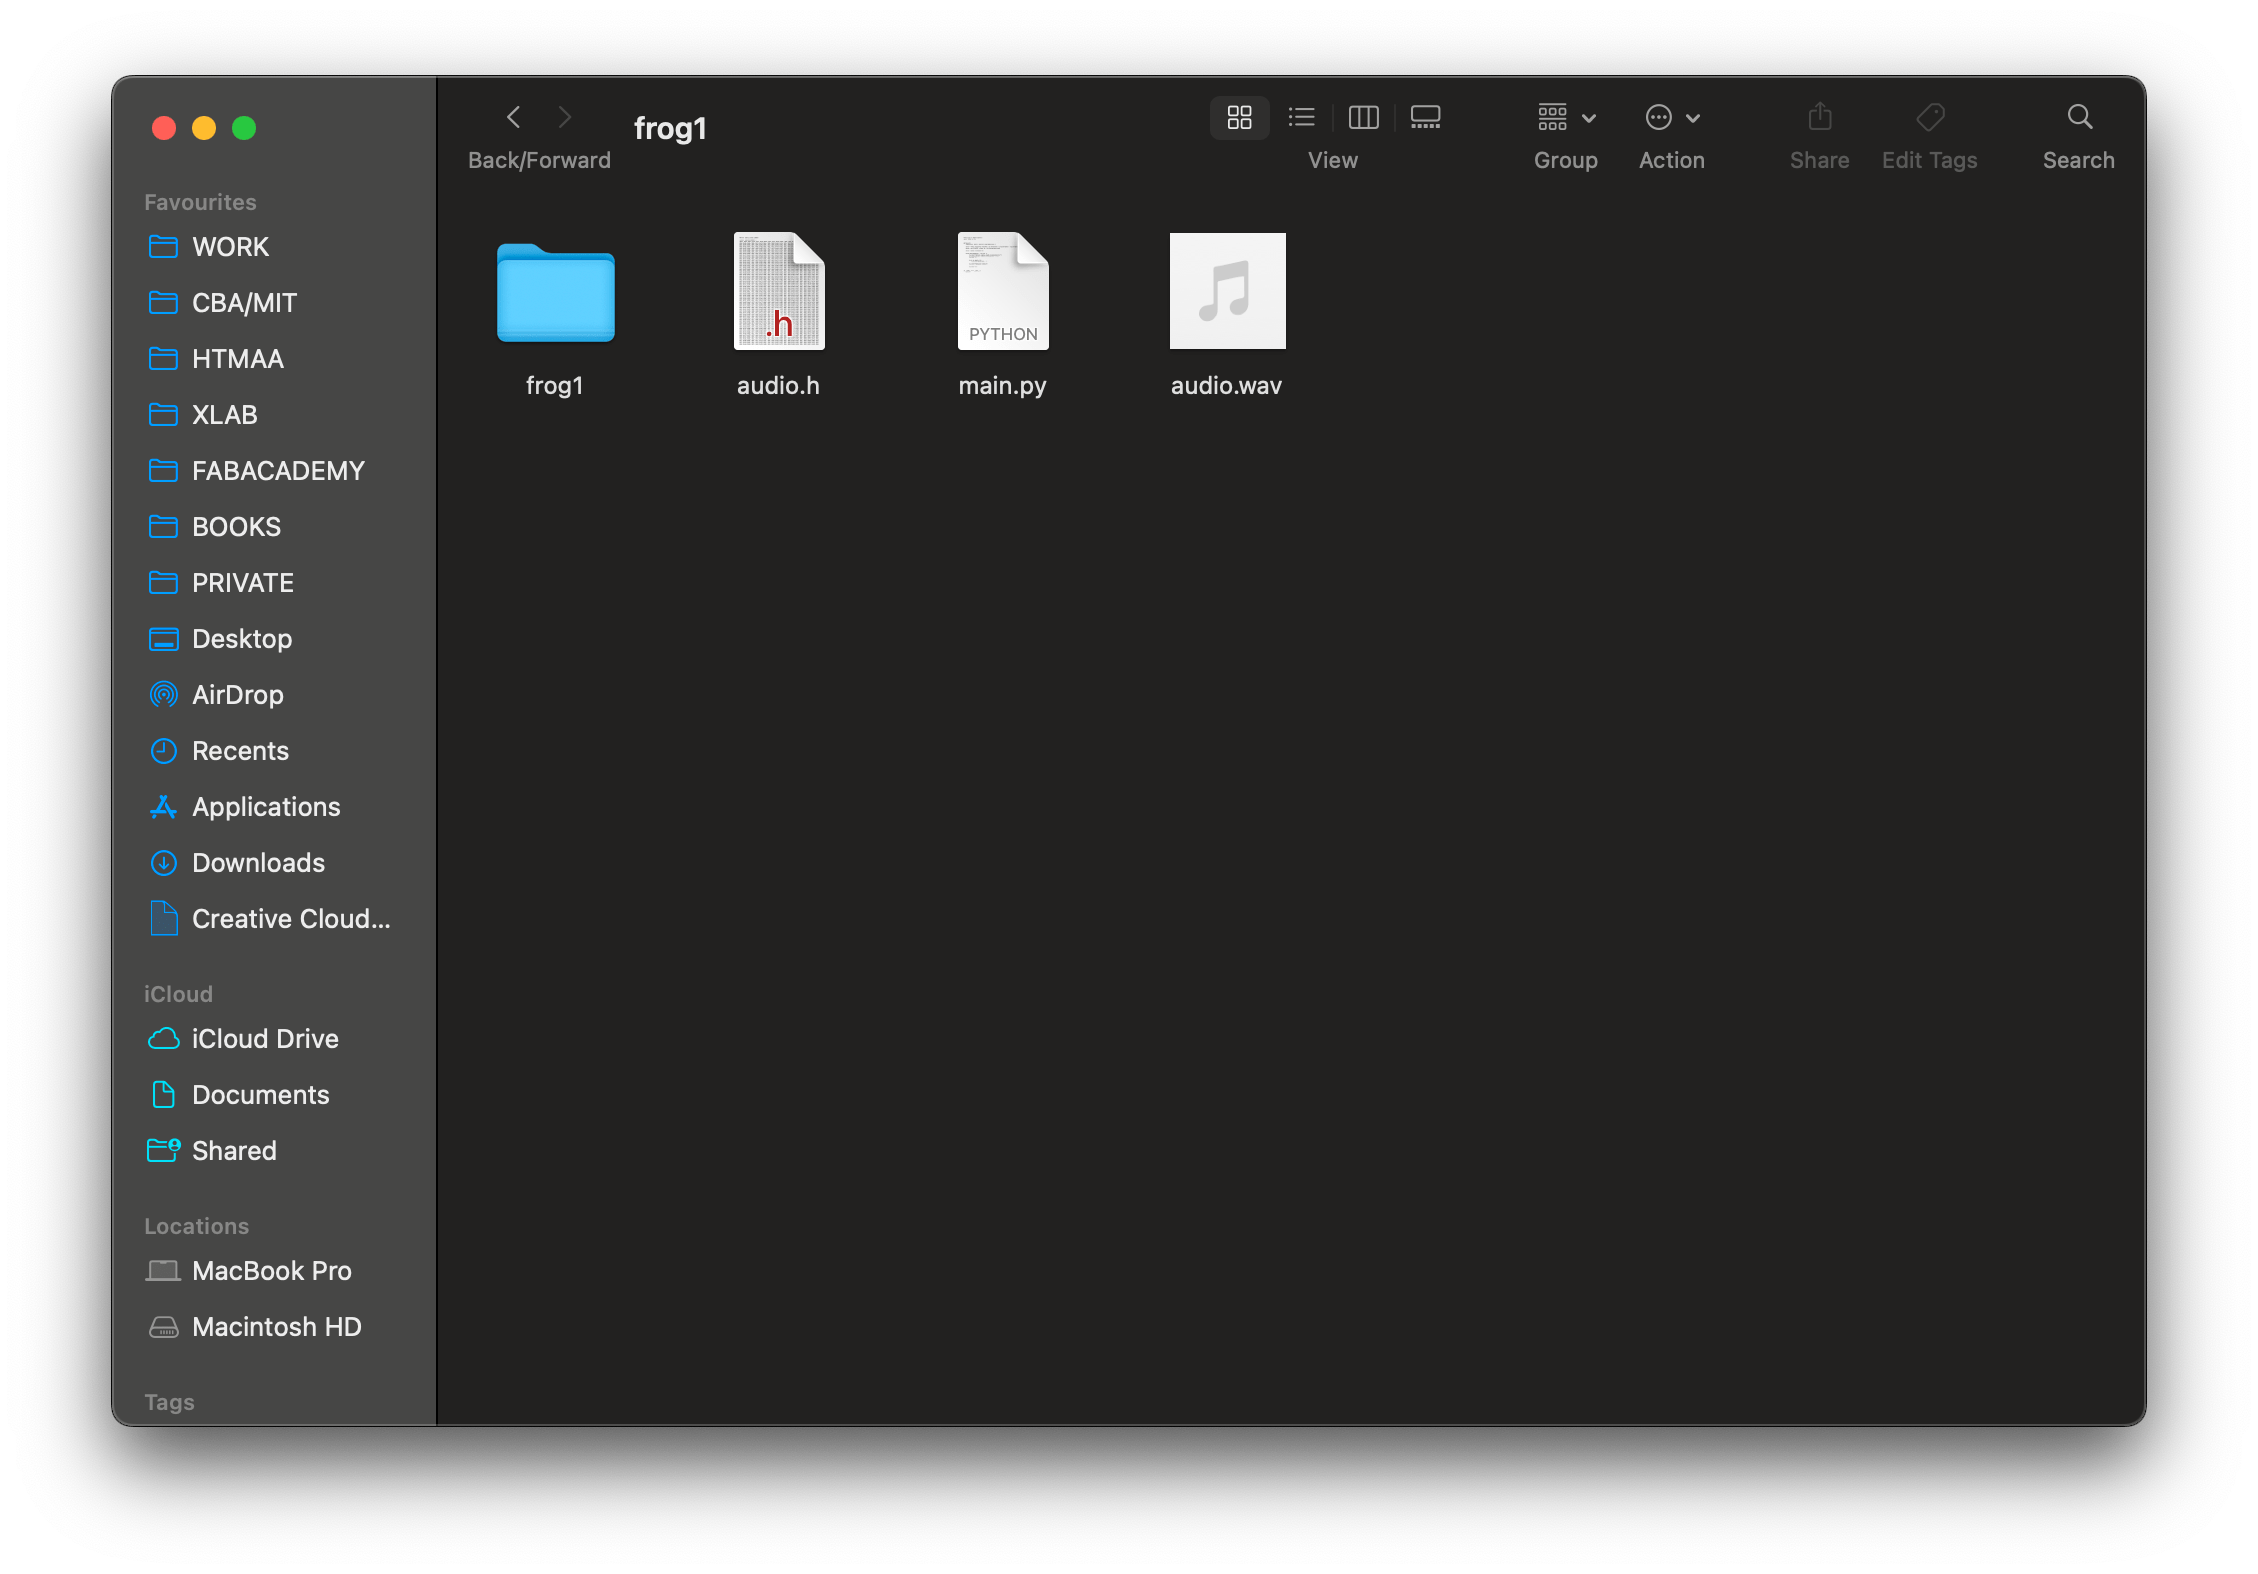
and then i need to put the audio.h after the python code generates it, also into the IDE folder. I rename it to samples.h
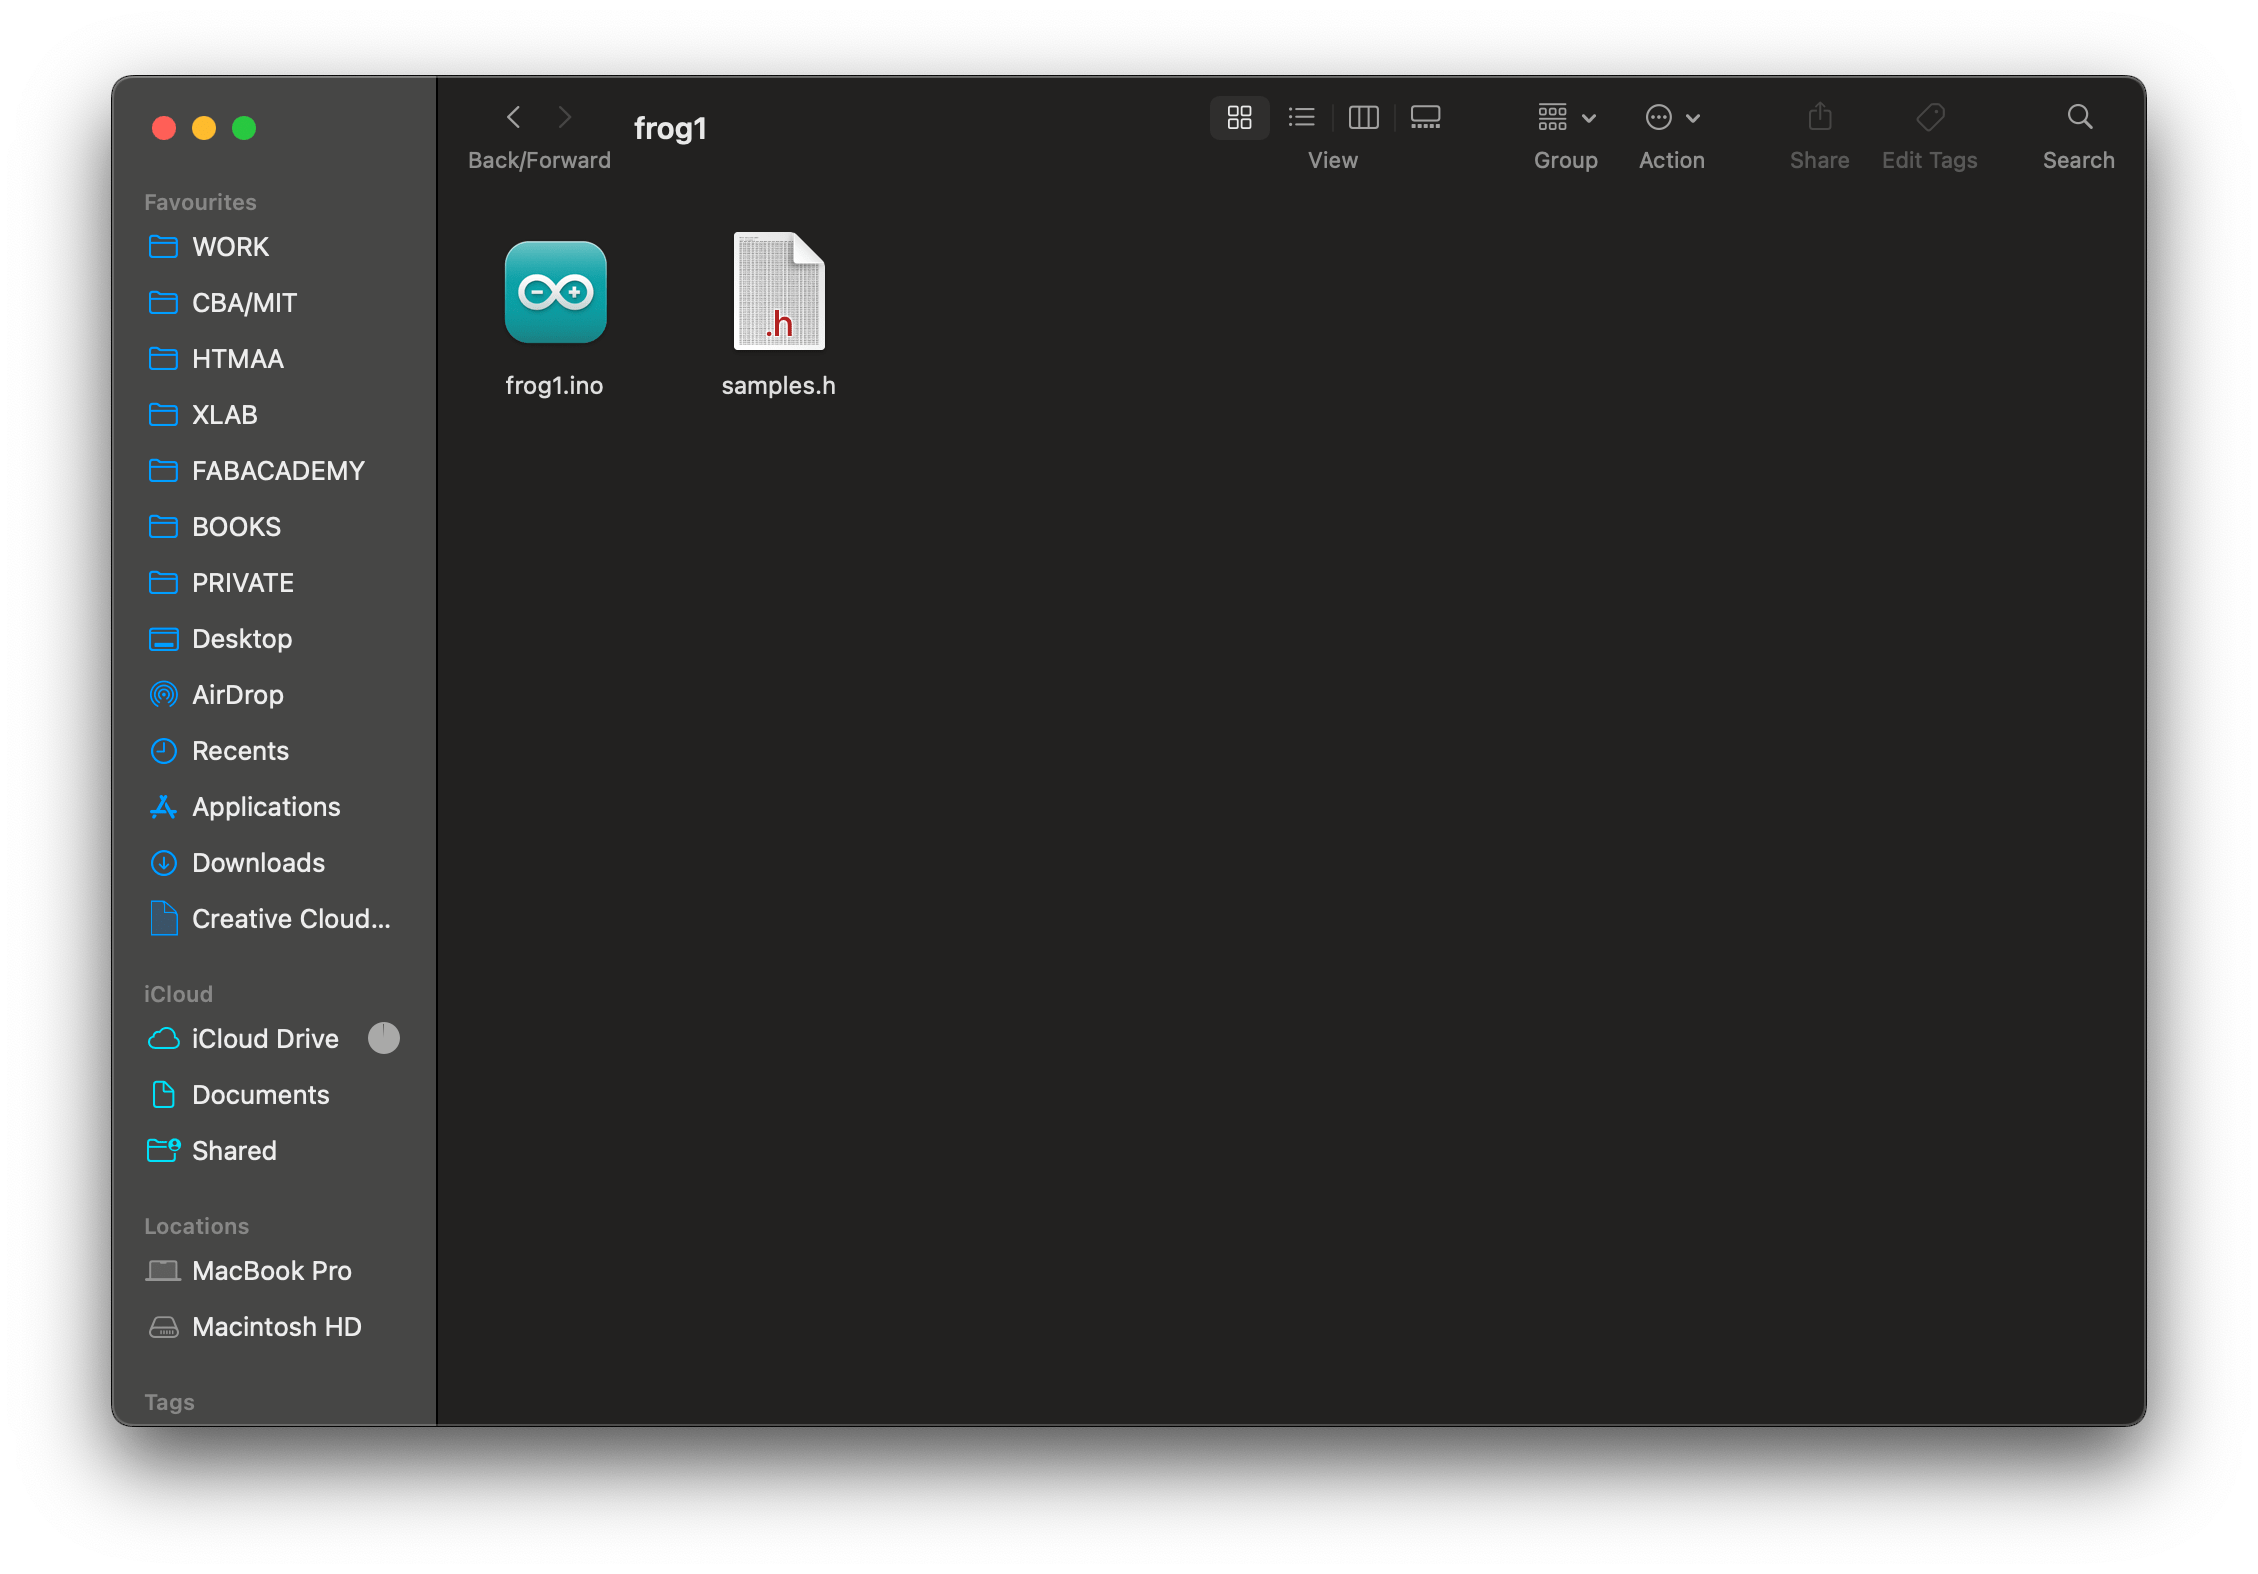
𓍊Programming𓍊𓋼𓍊
The programming was a surprisingly hard task in this instance, as I was using the full extend of the controllers ability to simultaniously run the touch capacitance and the sample.
it makes me wonder if it would have been easier with a button.
Here is a full break -down of the code.
I had to ask eyal for some help when it came to playing back the sample and the touch capacitance as the chip got overloaded and apparently the fix for this was the increase the time between each pin reading so its not running so much.
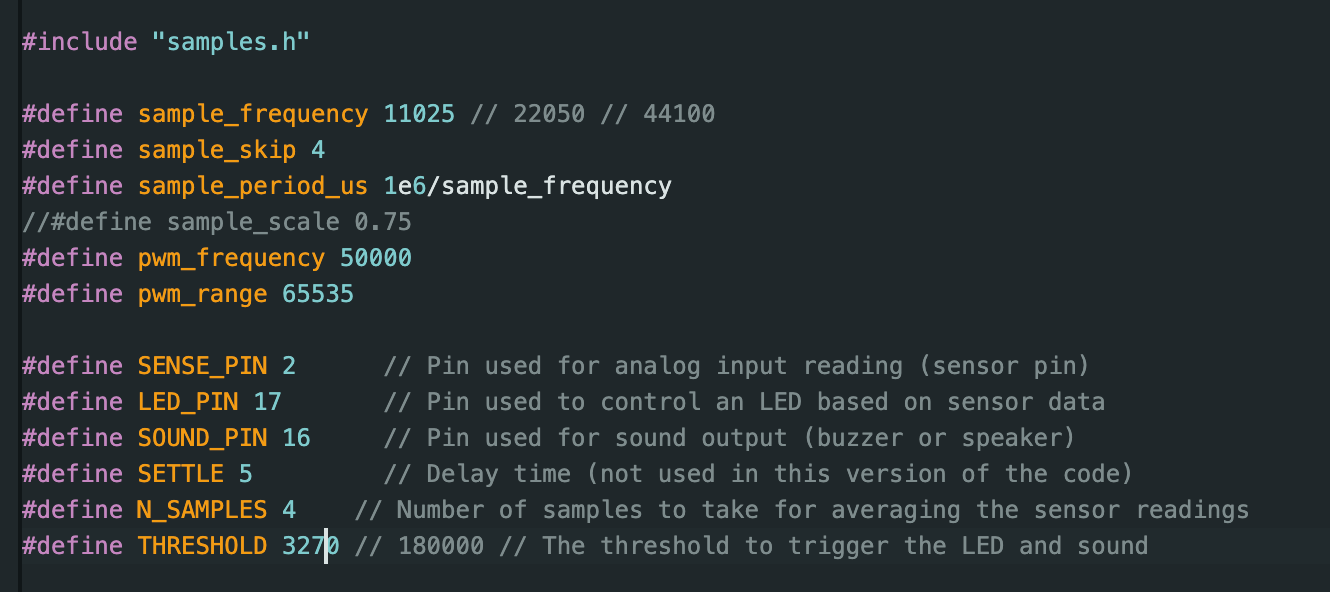
For future use and for myself because figuring out this code took me a day I asked chat gpt to annotate it for me. So that I could when looking back on it, understand better what I did myself.
  #include "samples.h" // Header file containing sound data and related definitions.

#define sample_frequency 11025 // Sound sample frequency in Hz.
#define sample_skip 4          // Number of samples to skip for playback speed adjustment.
#define sample_period_us 1e6/sample_frequency // Time interval between sound samples in microseconds.
#define pwm_frequency 50000    // PWM frequency for sound output.
#define pwm_range 65535        // PWM range for the sound output signal.

#define SENSE_PIN 2            // Pin used for analog sensor input.
#define LED_PIN 17             // Pin controlling an LED.
#define SOUND_PIN 16           // Pin used for sound output (e.g., a buzzer or speaker).
#define SETTLE 5               // Delay time (not used in this version of the code).
#define N_SAMPLES 4            // Number of sensor readings to average.
#define THRESHOLD 3270         // Sensor threshold value to trigger LED and sound.

void setup() {
  // Set up serial communication for debugging at a baud rate of 115200.
  Serial.begin(115200);

  // Configure the resolution for analog reads to 10 bits (values range from 0 to 1023).
  analogReadResolution(10);

  // Set up LED and sound pins as output pins.
  pinMode(LED_PIN, OUTPUT);
  pinMode(SOUND_PIN, OUTPUT);

  // Attach the sound pin to a PWM channel at the specified frequency with 8-bit resolution.
  ledcAttach(SOUND_PIN, pwm_frequency, 8);
}

// Global variables to store sensor data, timing, and states.
uint32_t t0 = 0;           // Last time a sound sample was played.
int64_t sensor = 0;        // Accumulated sensor value.
uint32_t sensor_count = 0; // Counter for the number of sensor readings.
bool isPressed = false;    // Flag indicating whether the sensor threshold is exceeded.
uint32_t t, count = 0;     // Timing variables and sample index.
uint32_t last_sense = 0;   // Last time the sensor was read.

void loop() {
  // Get the current time in microseconds.
  t = micros();

  // Check if 100 microseconds have passed since the last sensor read.
  if ((t - last_sense) > 100) {
    last_sense = t; // Update the last sense time.

    // Drive the SENSE_PIN high to charge capacitance, then switch to input mode.
    pinMode(SENSE_PIN, OUTPUT);
    digitalWrite(SENSE_PIN, HIGH);
    pinMode(SENSE_PIN, INPUT);

    // Read the analog value from the sensor pin and accumulate it.
    sensor += analogRead(SENSE_PIN);
    sensor_count += 1;

    // Process sensor readings when enough samples are collected.
    if (sensor_count > 8) {
      Serial.println(sensor); // Debug: Print the accumulated sensor value.

      // Check if the sensor value exceeds the threshold.
      if (sensor > THRESHOLD) {
        isPressed = true; // Set the pressed state to true.
      } else {
        isPressed = false; // Set the pressed state to false.
      }

      // Reset sensor data and counter for the next cycle.
      sensor = 0;
      sensor_count = 0;
    }
  }

  // If the sensor is pressed (threshold exceeded), activate outputs.
  if (isPressed) {
    digitalWrite(LED_PIN, HIGH); // Turn on the LED.

    // Play sound if enough time has passed since the last sample.
    t = micros();
    if ((t - t0) > sample_period_us) {
      t0 = t; // Update the last sound sample time.

      // Output the next sound sample to the sound pin.
      analogWrite(SOUND_PIN, frog1[count]);

      // Increment the sample index, skipping samples if needed.
      count += sample_skip;
    }

    // Reset the sample index when the sound playback completes.
    if (count > sample_length) {
      count = 0;
      delay(100); // Short pause before repeating the sound.
    }
  } else {
    // If the sensor is not pressed, turn off outputs.
    digitalWrite(LED_PIN, LOW); // Turn off the LED.
    analogWrite(SOUND_PIN, 0);  // Stop sound output.
    count = 0;                  // Reset sample index.
    t0 = 0;                     // Reset timing for sound playback.

    delay(2); // Small delay to reduce CPU usage.
  }
}
𓍊𓋼𓍊Integration𓍊𓋼𓍊
Intergration was the name of the game in this Final Project. The point was to make something so robust and compact that no amount of dropping would make it break.
I wanted everything to be save. So I designed a two part 3D print.
3D DESIGN
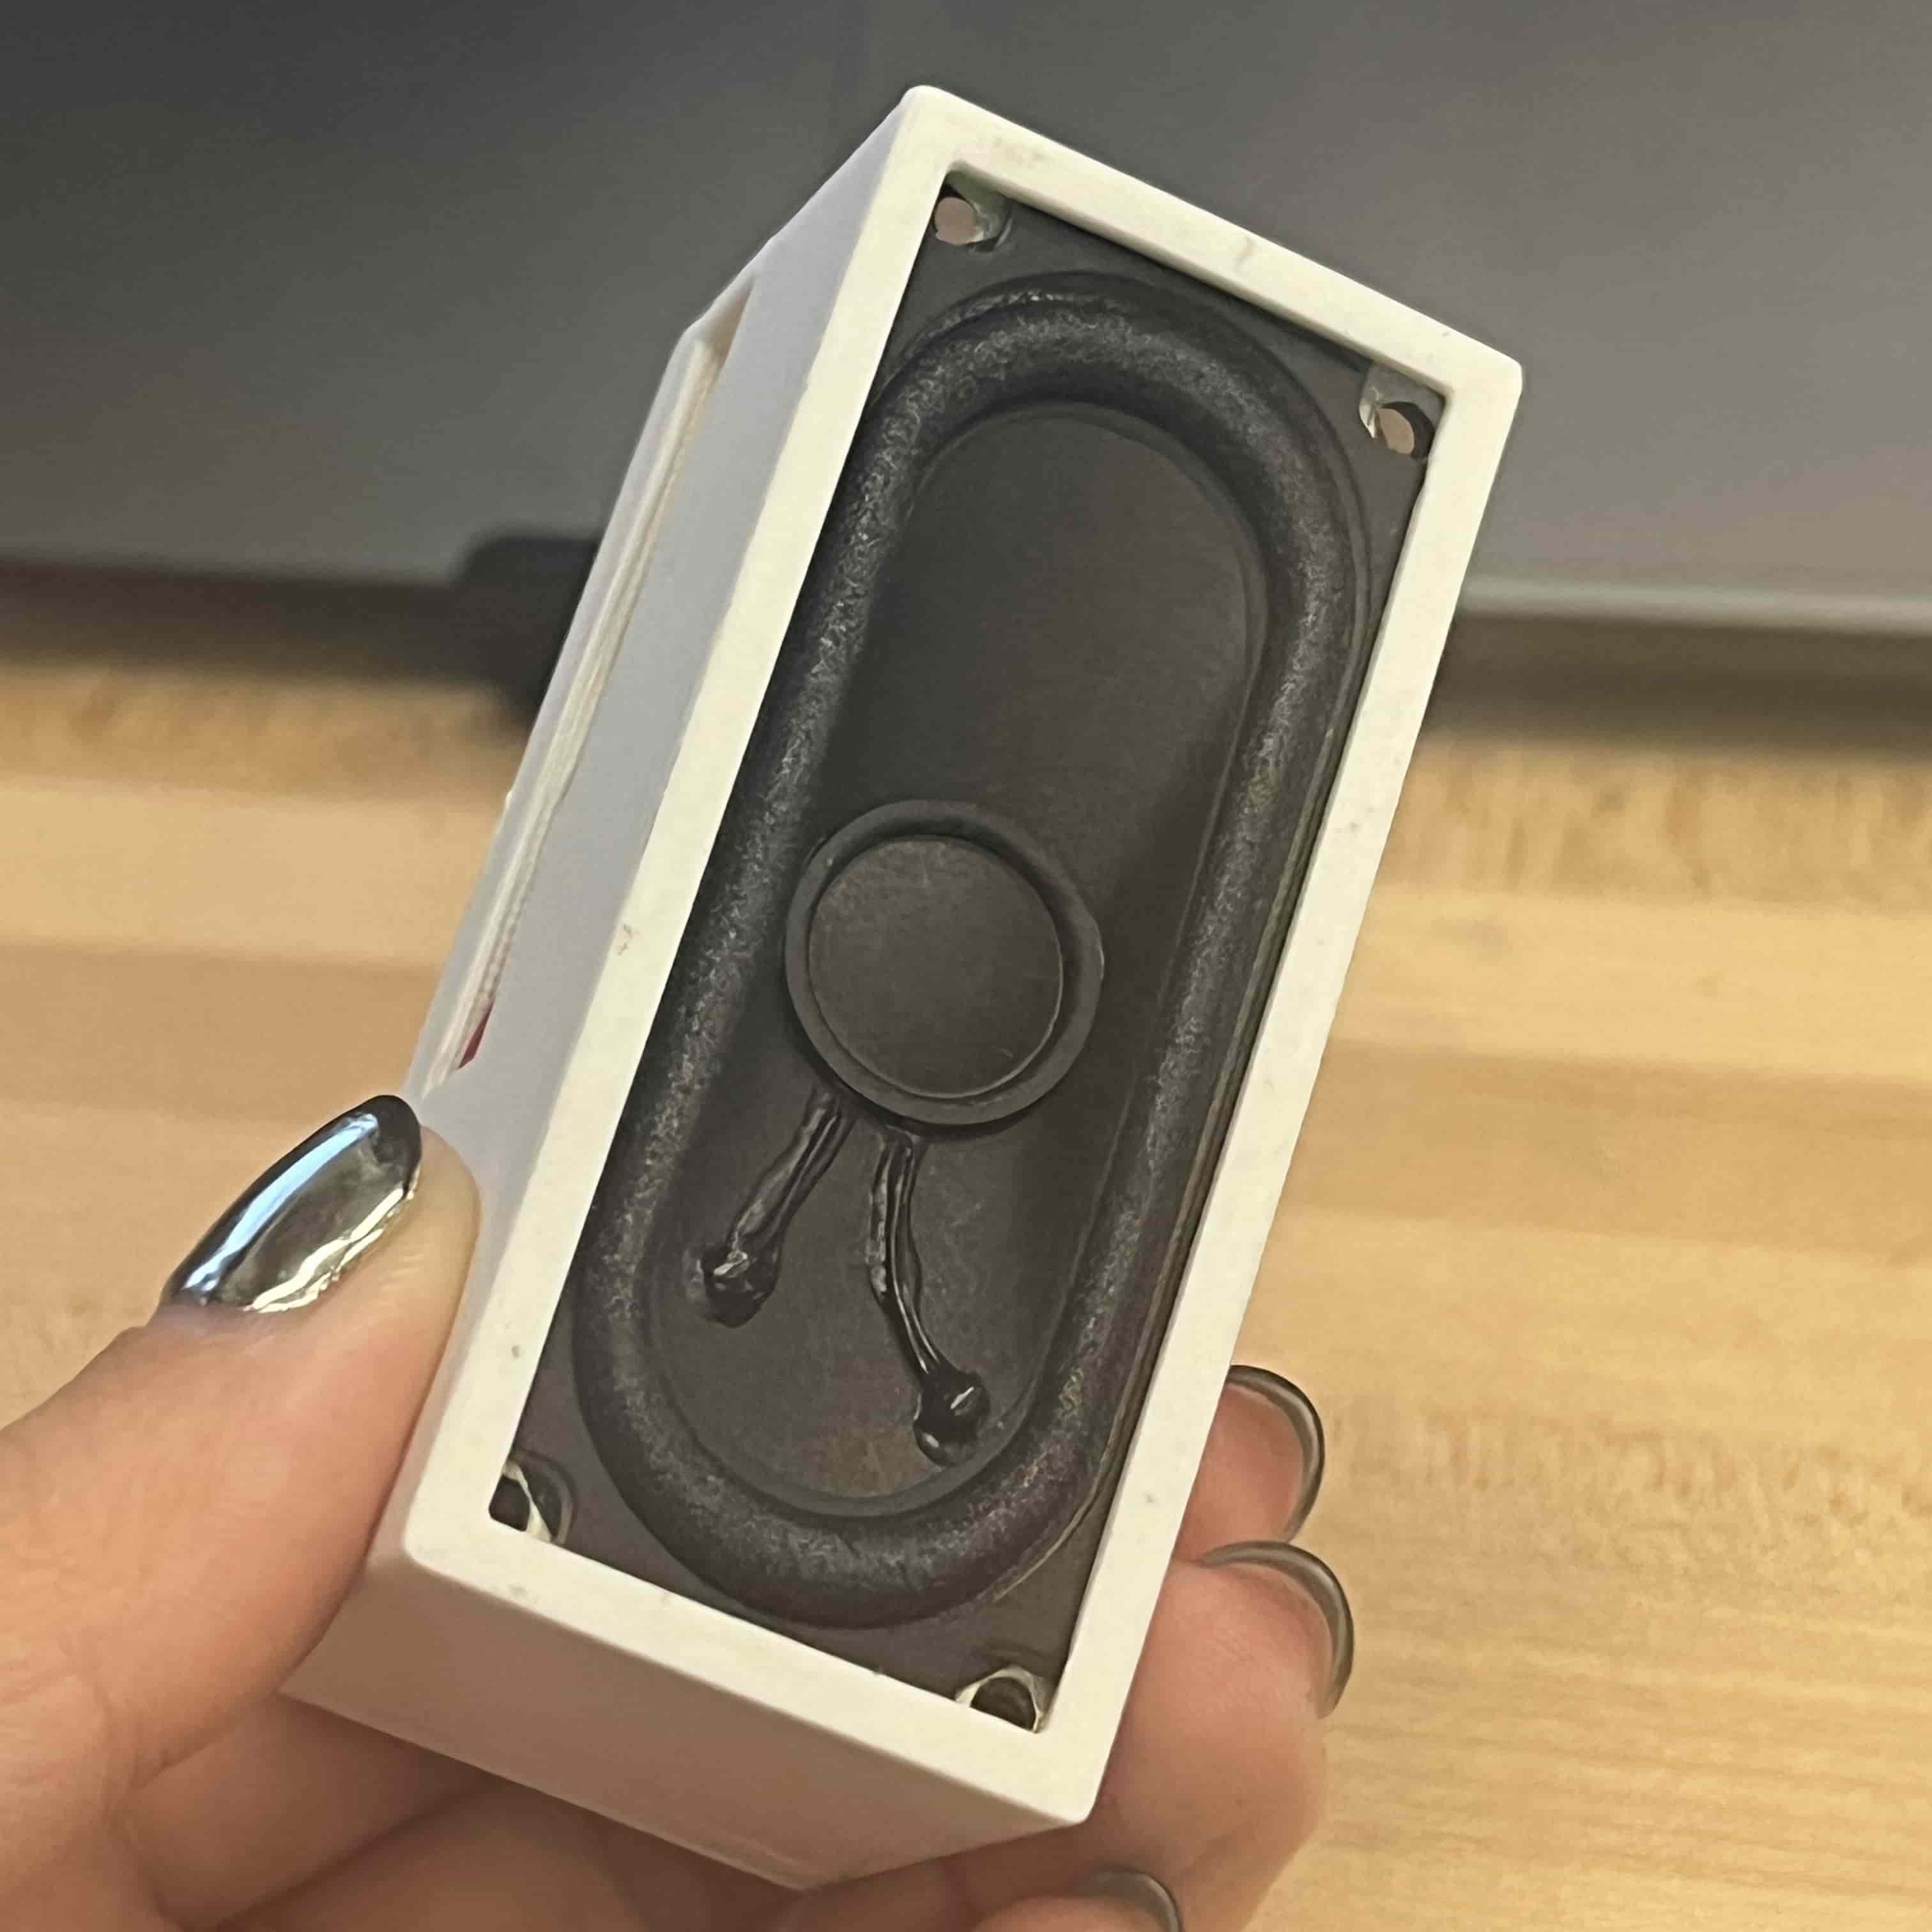
The inner part featured a little shelf for the pcb to slot into, and was designed directly for the speaker to fit into.
The box was also exactly big enough to fit the speaker, the battery and the board, so that everything is snug and there is no wiggling.
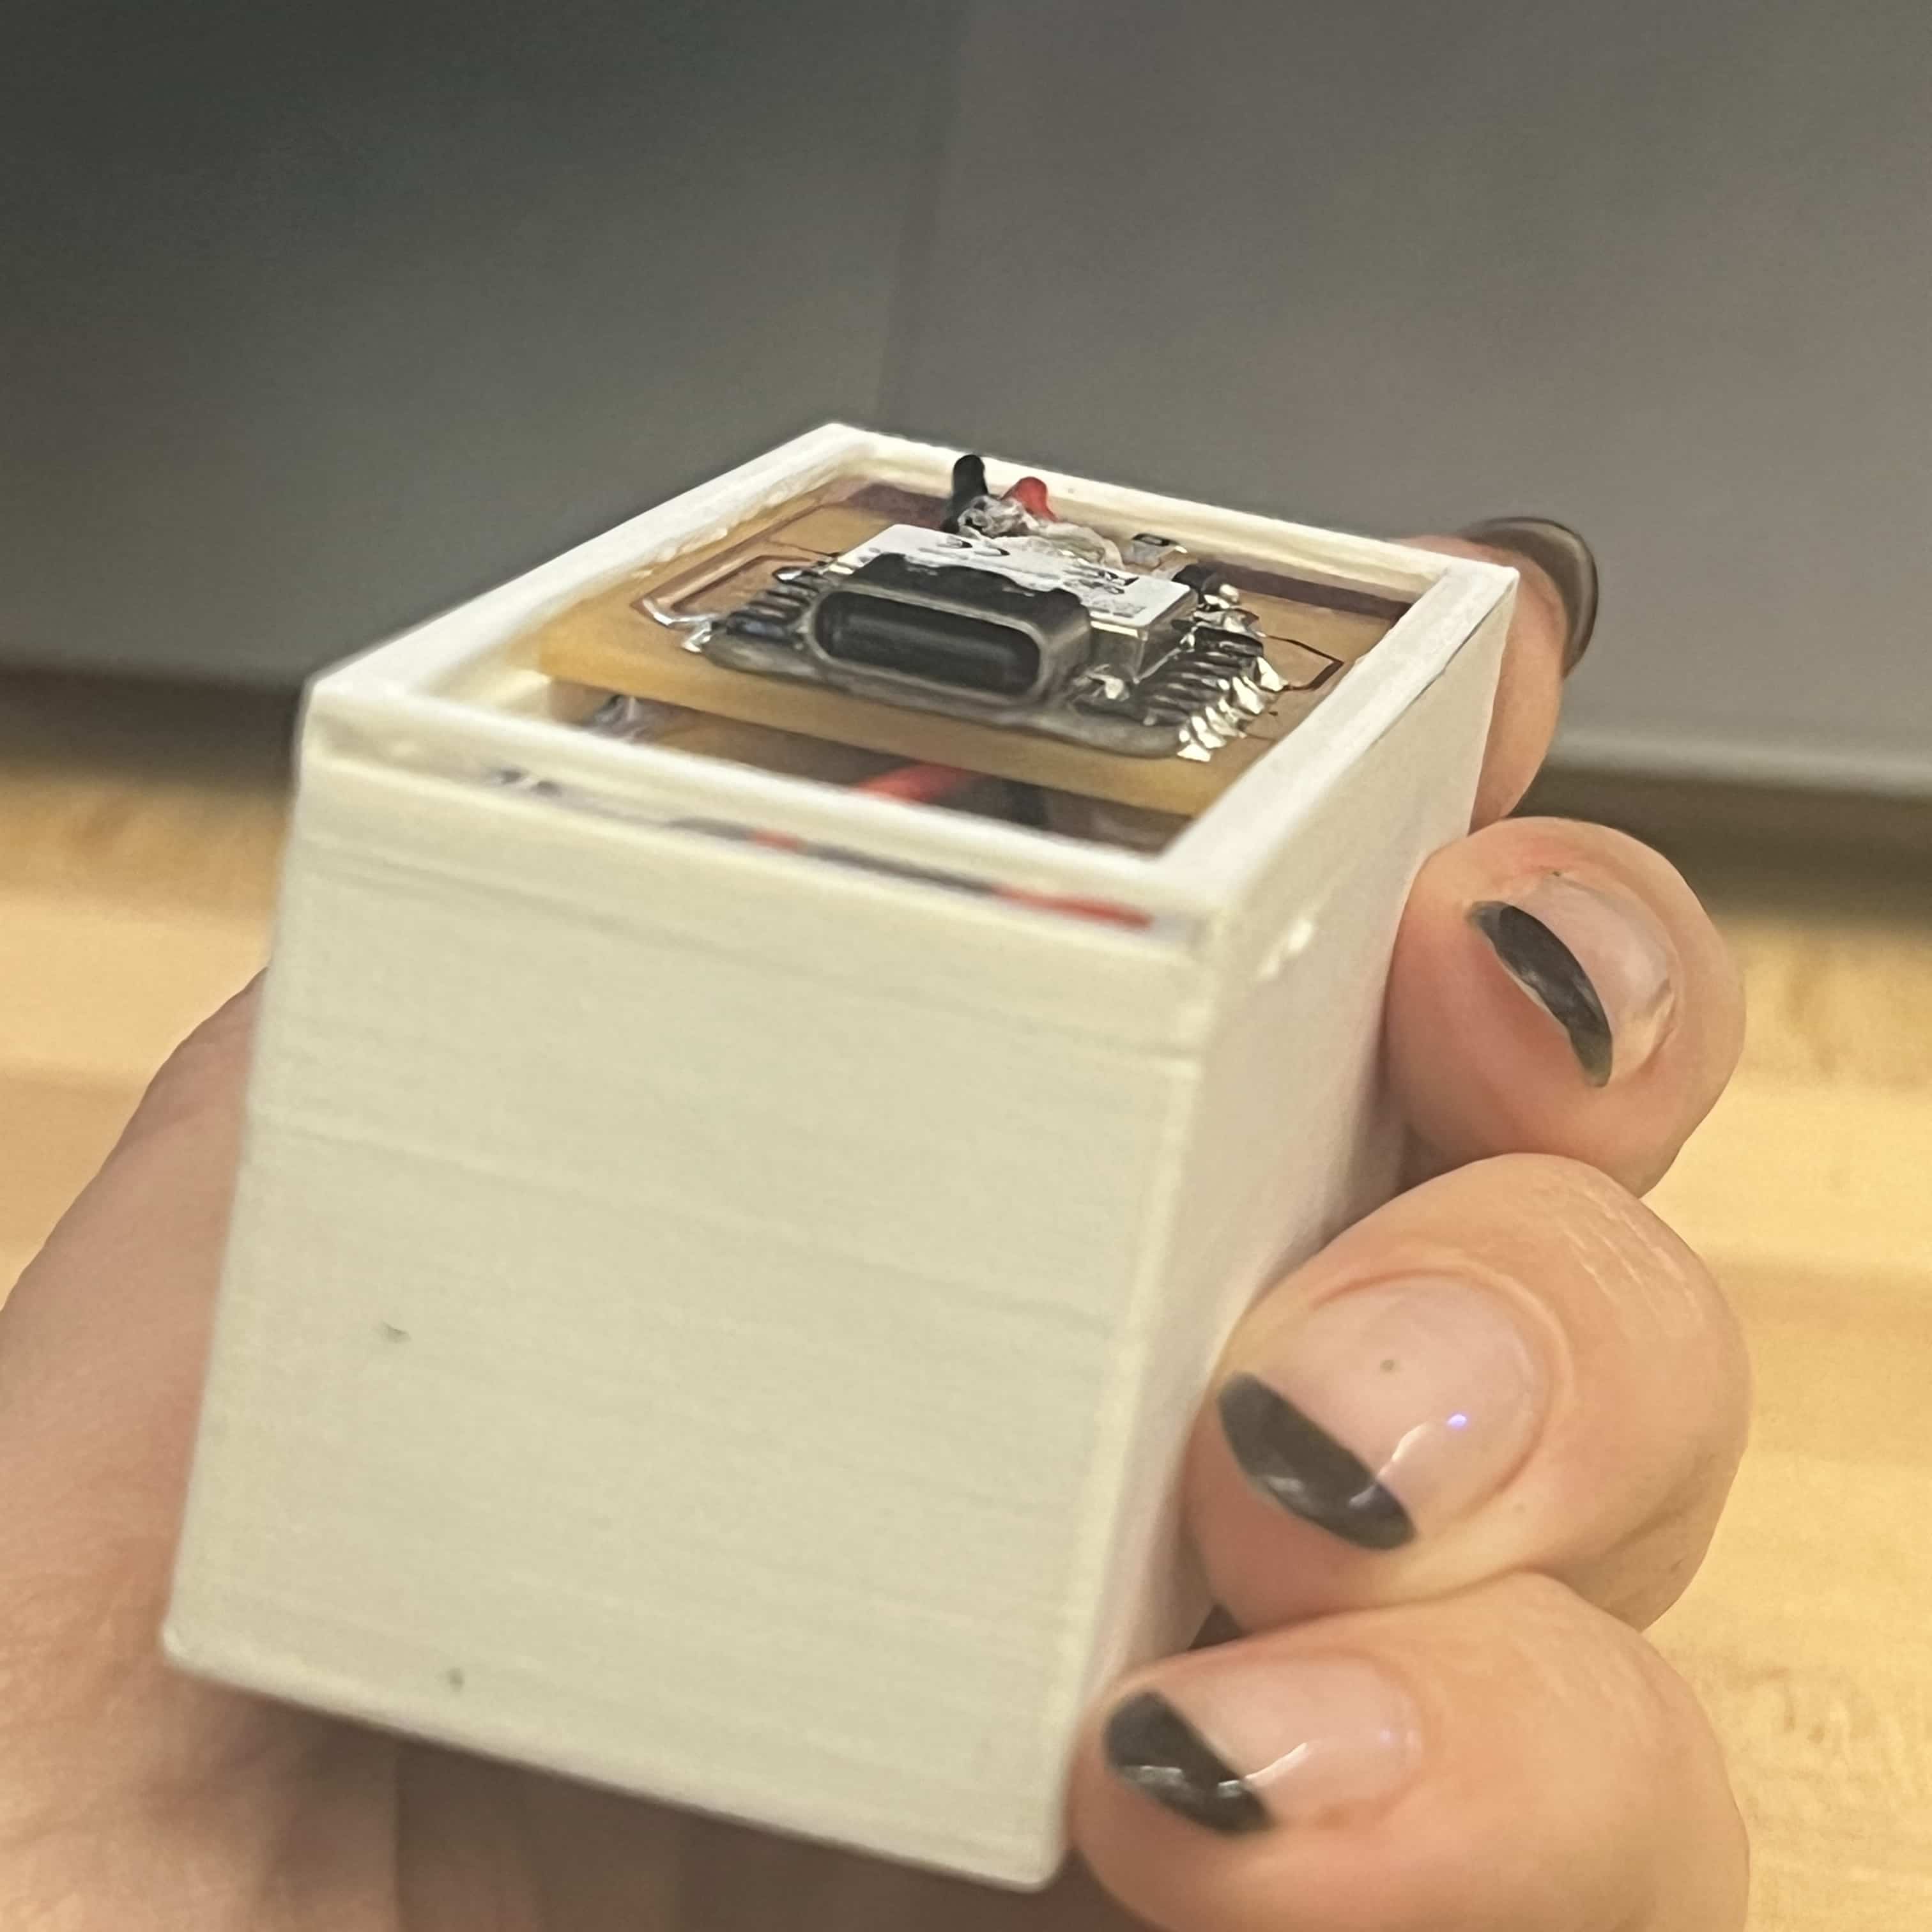
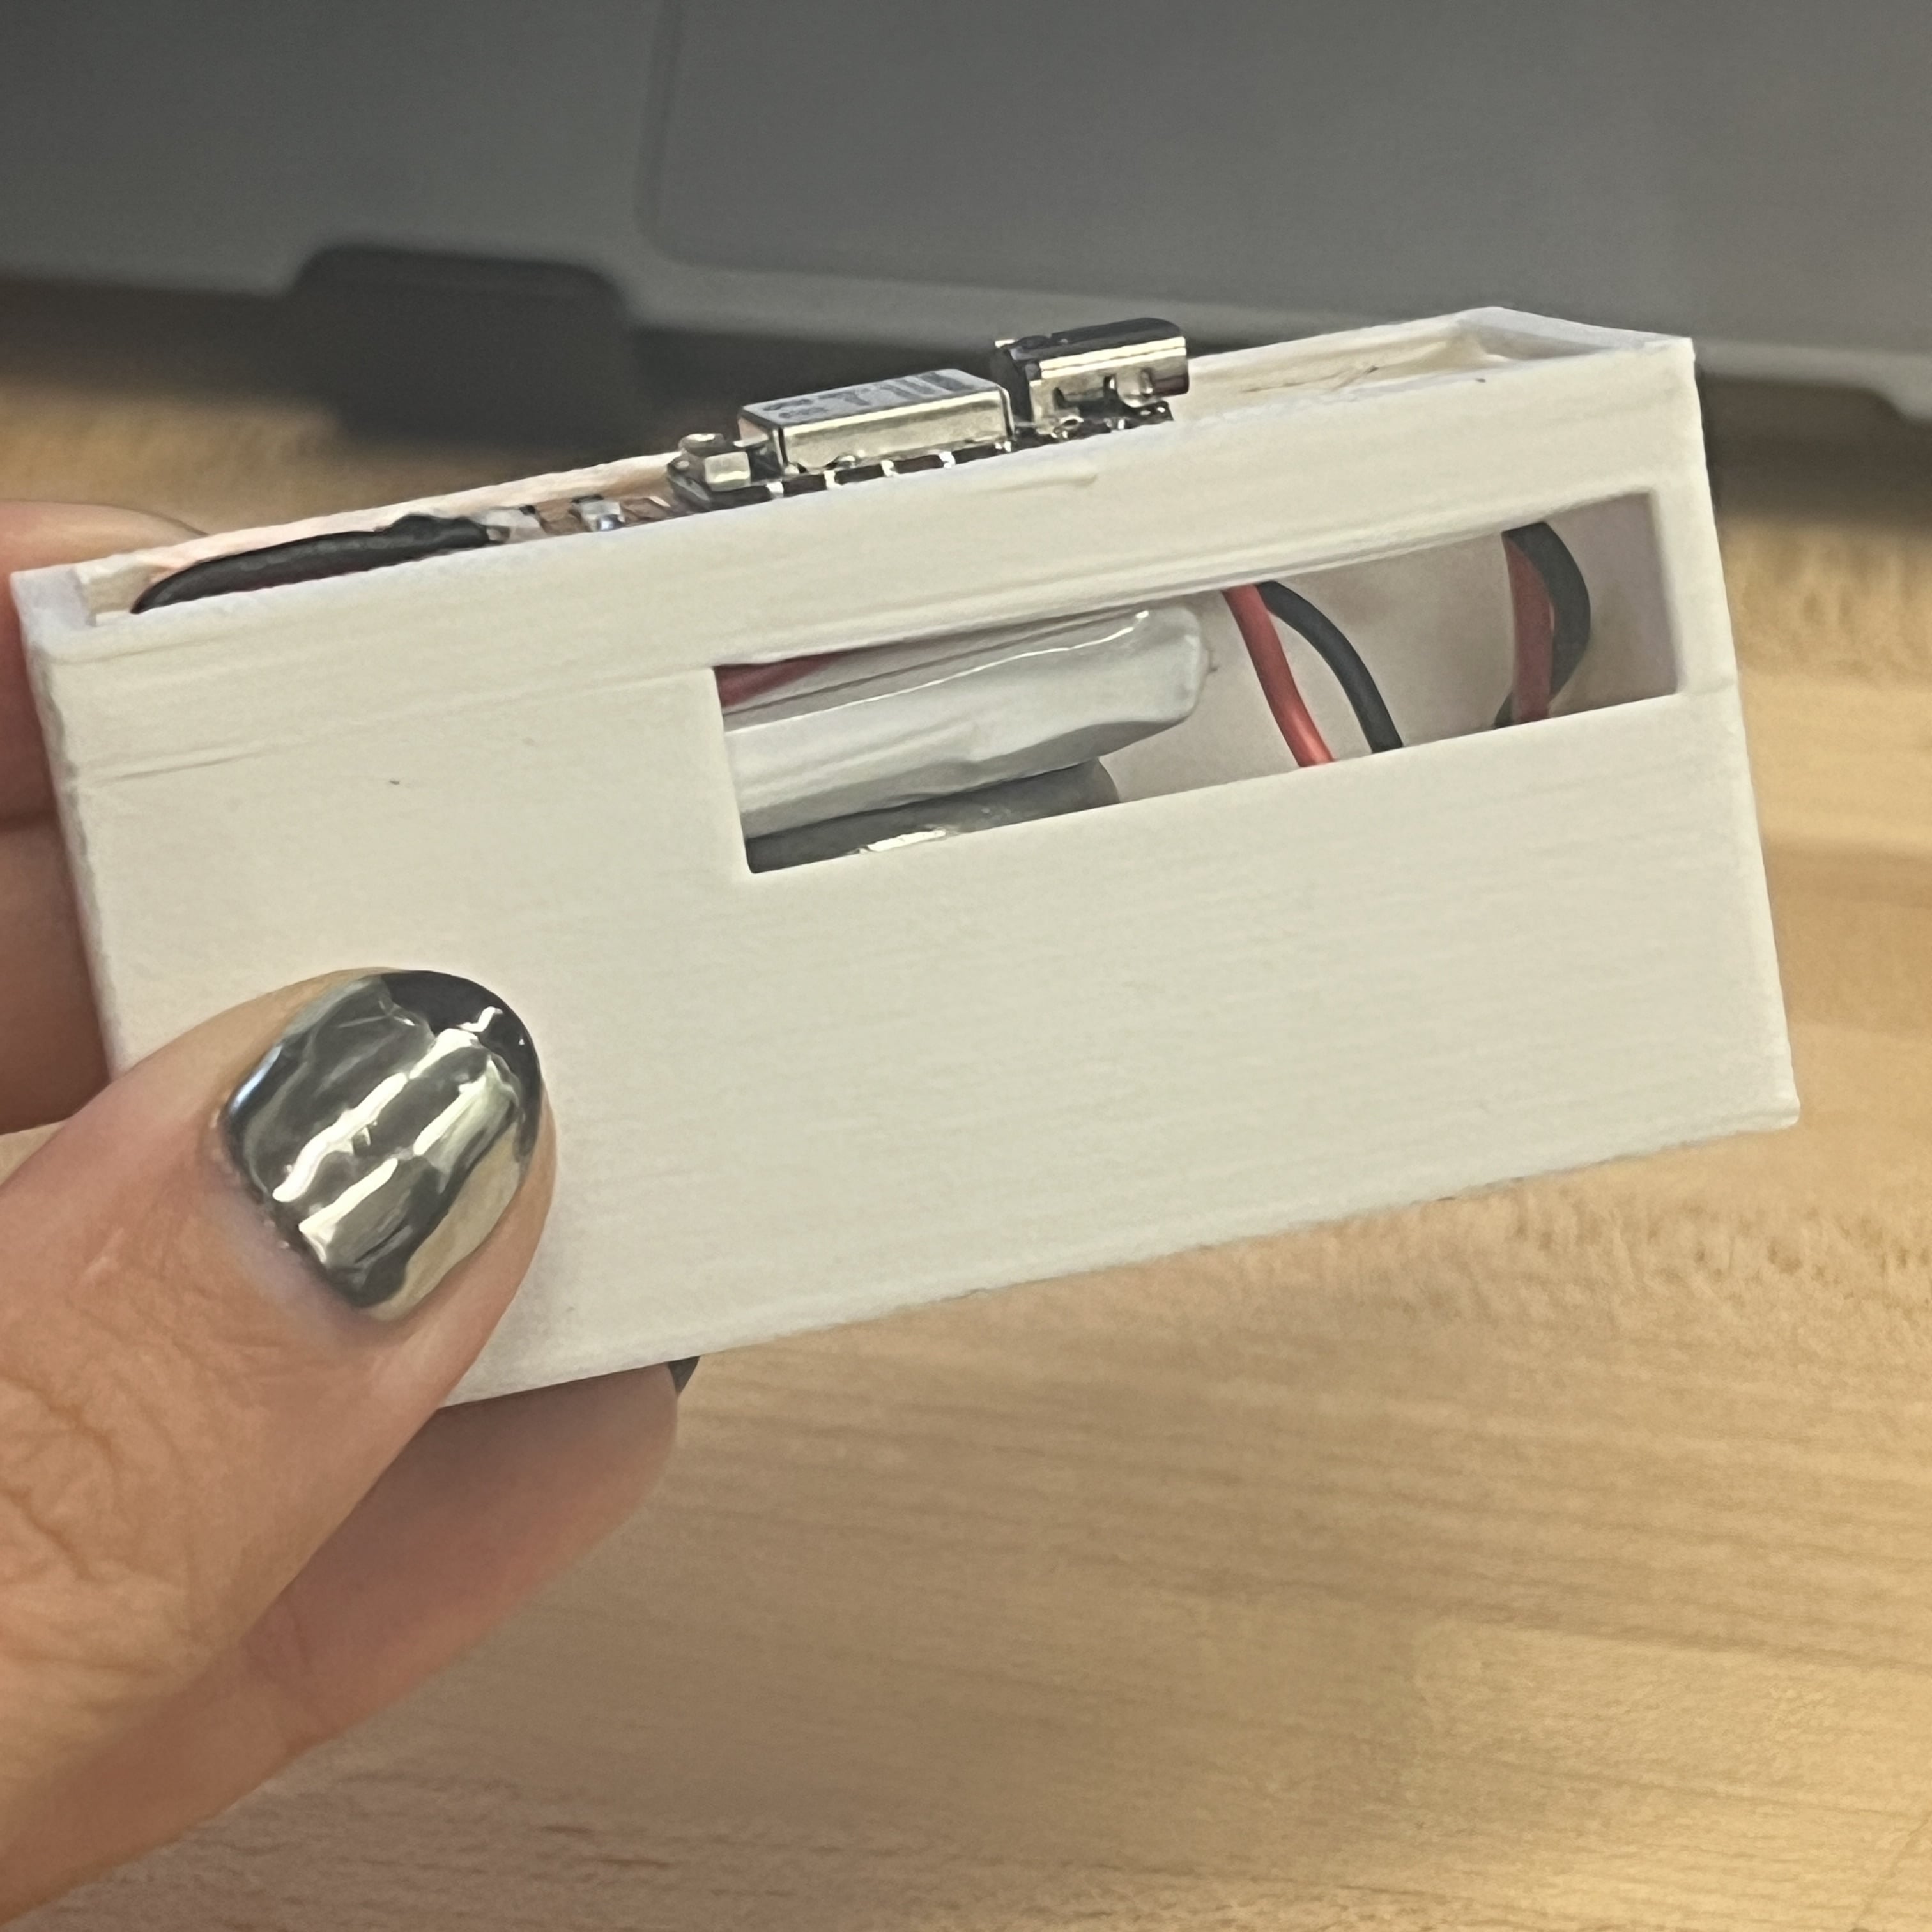
the 3D CAD:
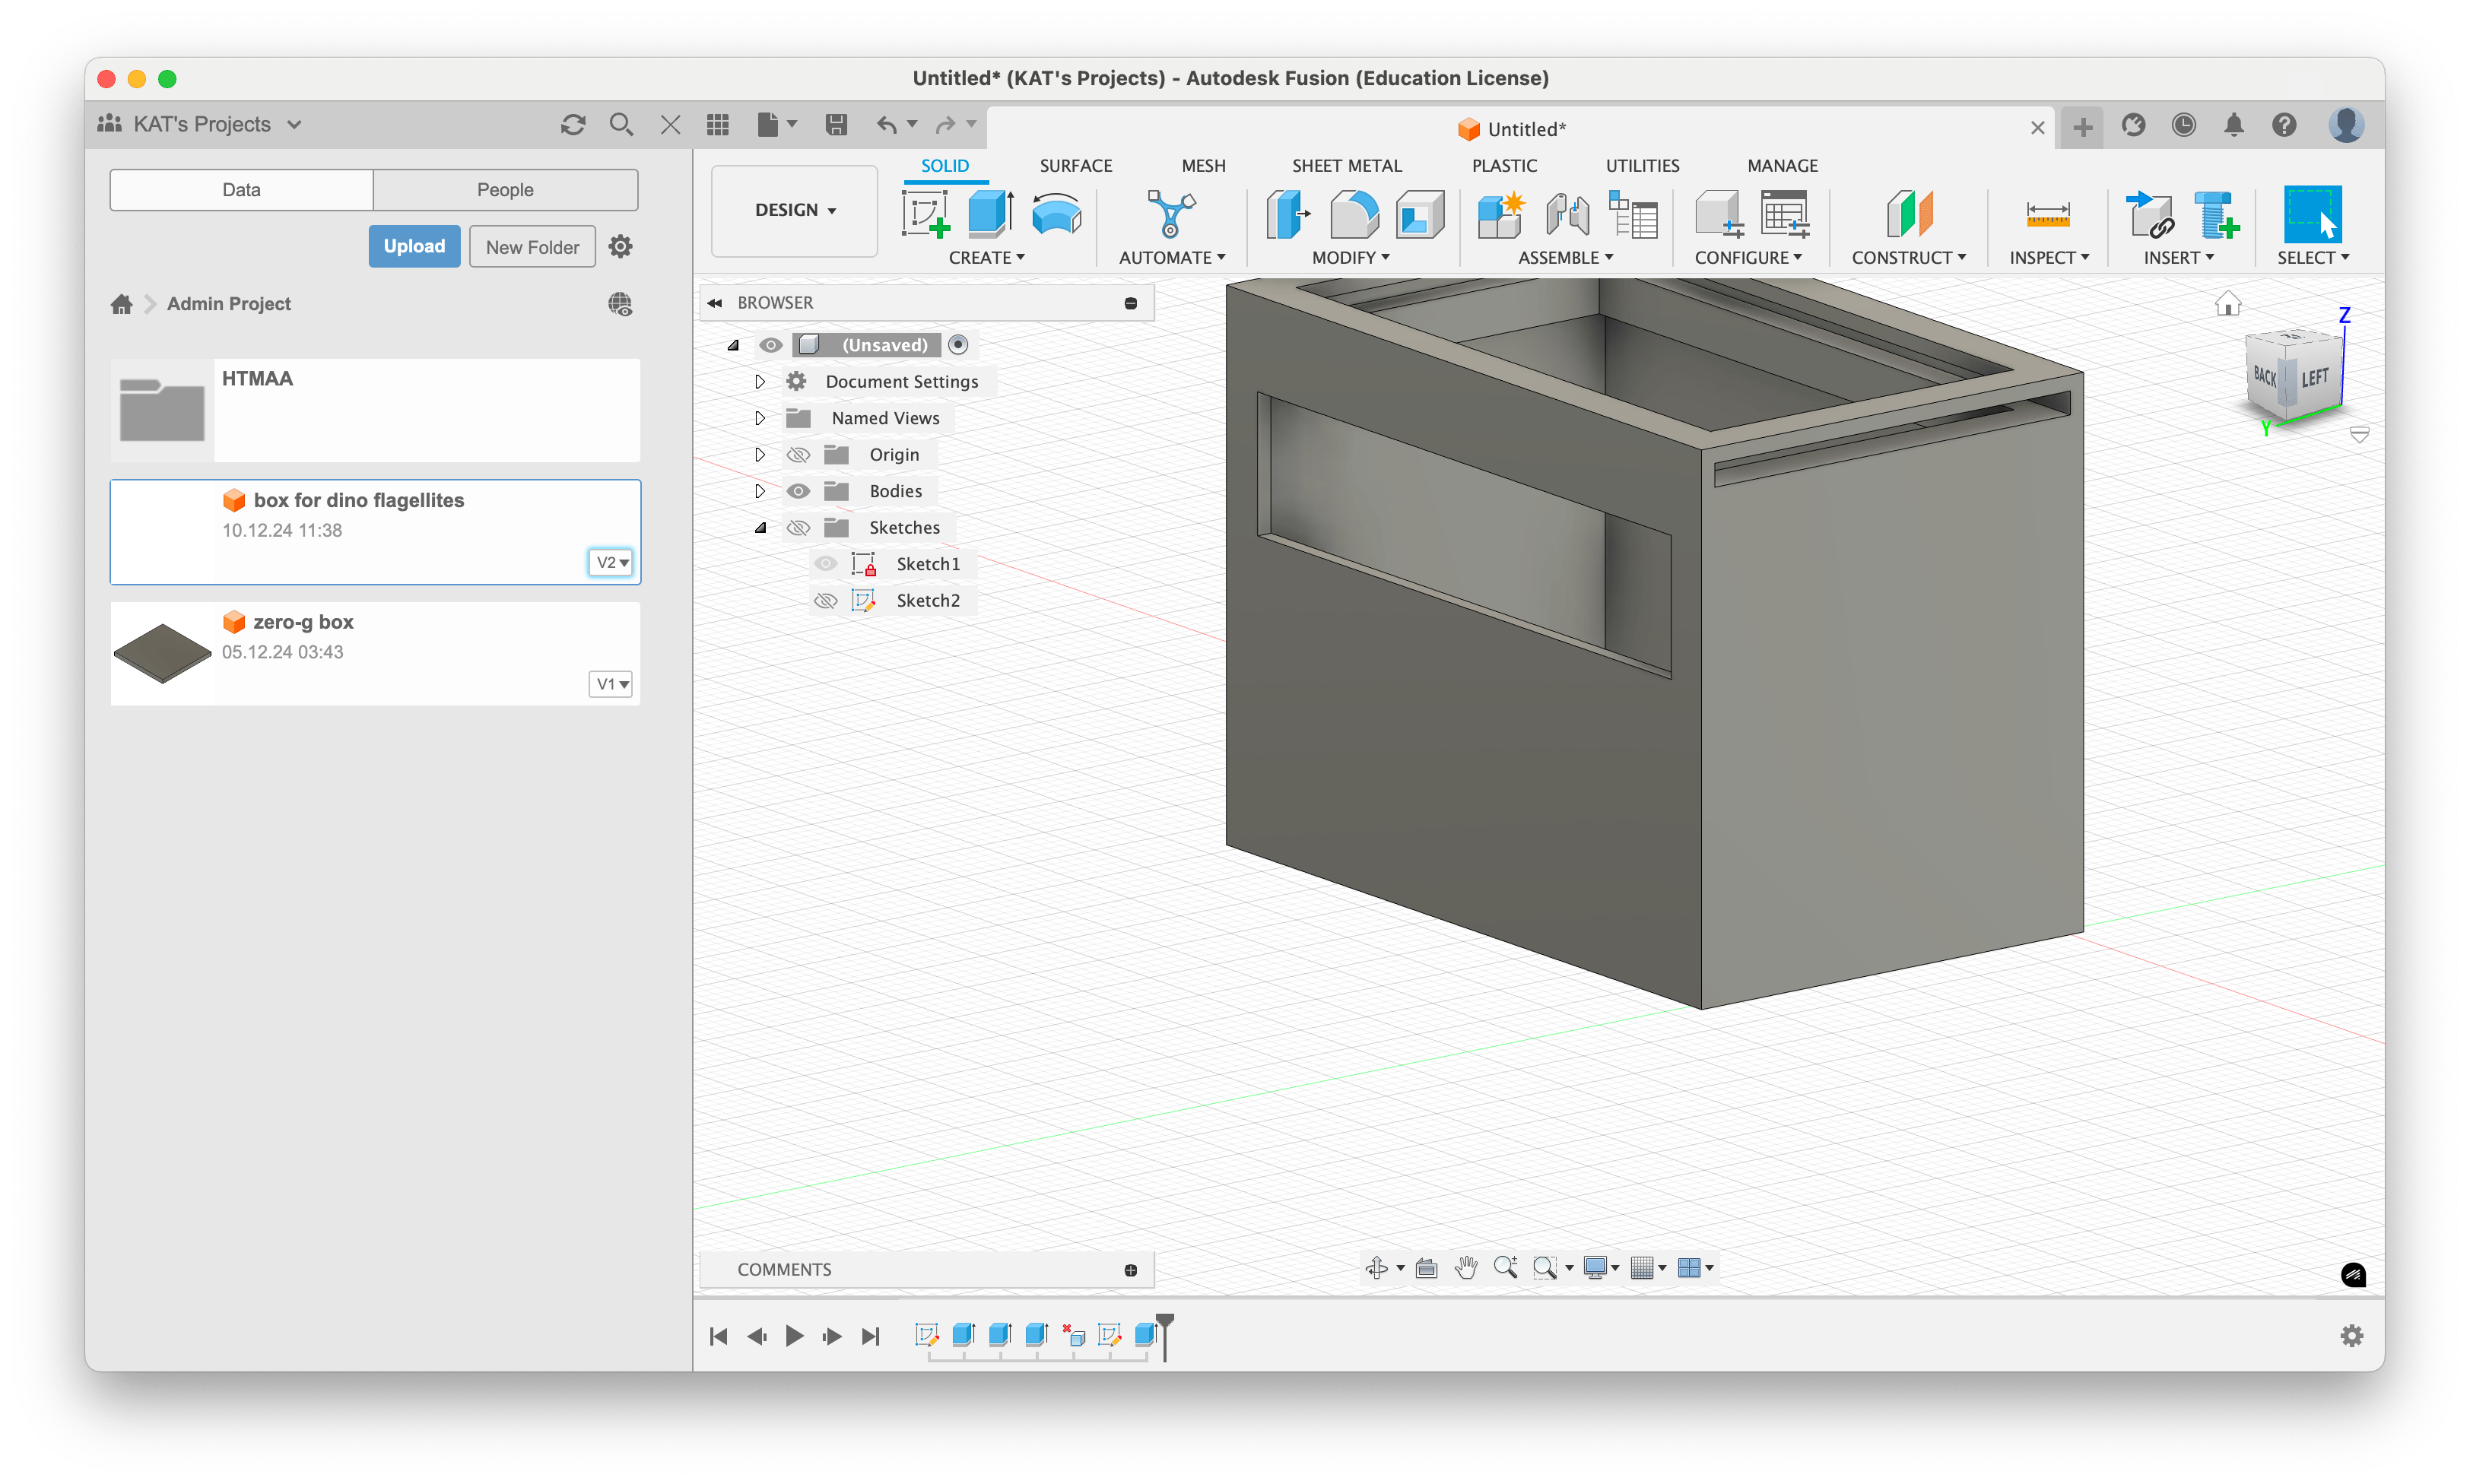
For the Outside box I simply made a tight outside shell that fit the inside box very well.
𓍊𓋼𓍊QUESTIONNAIRE𓍊𓋼𓍊
What does it do?
the are multiple small boxes, fully integrated and battery powered playing frog samples from the northeren US because sometimes you just want to be a frog.
Who's done what beforehand?
There was a device once called sushi beat, with a similar form factor which plated beats but they werent fun and you couldnt reload the samples for the frog beats and they didnt sync to each other
What sources did you use?
What did you design?
the box, the board, the touch sensor, the sounds in terms of the integration into the process.
What materials and components were used?
Please see the BOM listed higher in the documentation
Where did they come from?
mostly the fab inventory
How much did they cost?
around 20 dollars
What parts and systems were made?
everything that wasnt a speaker or a flat-surface part
What tools and processes were used?
additive fabrication processes,
electronics design and production,
embedded microcontroller design, and programming,
system integration and packaging
What questions were answered?
How to be frog, How to
What worked? What didn't?
everything worked about from the netwworking - I wanted all the boxes to talk to each other from stuff I learned in the networking week. but you can see how I networked with the same board in those weeks
How was it evaluated?
it was a frog box. It made sound. I dropped it MANY MANY MANY TIMES. and it survived.
What are the implications?
we are now all frogs. and sometimes you just want to sit by the pond. and be a frog.