Week One: Computer Controlled Cutting
Traditionally computer controlled cutting is about making things on the lastercutter. In this week I designed little Cat's on the lasercutter, but also I decided to learn the Fablight. For metall lasercutting.
Lasercutter
First, lets briefly talk laser cutting. we did this before. We know press-fit kits; kerf; etc. !
For the group assignment we all did the kerf check, Jonny led. And I shared this kerf-tool from japan which was fun.
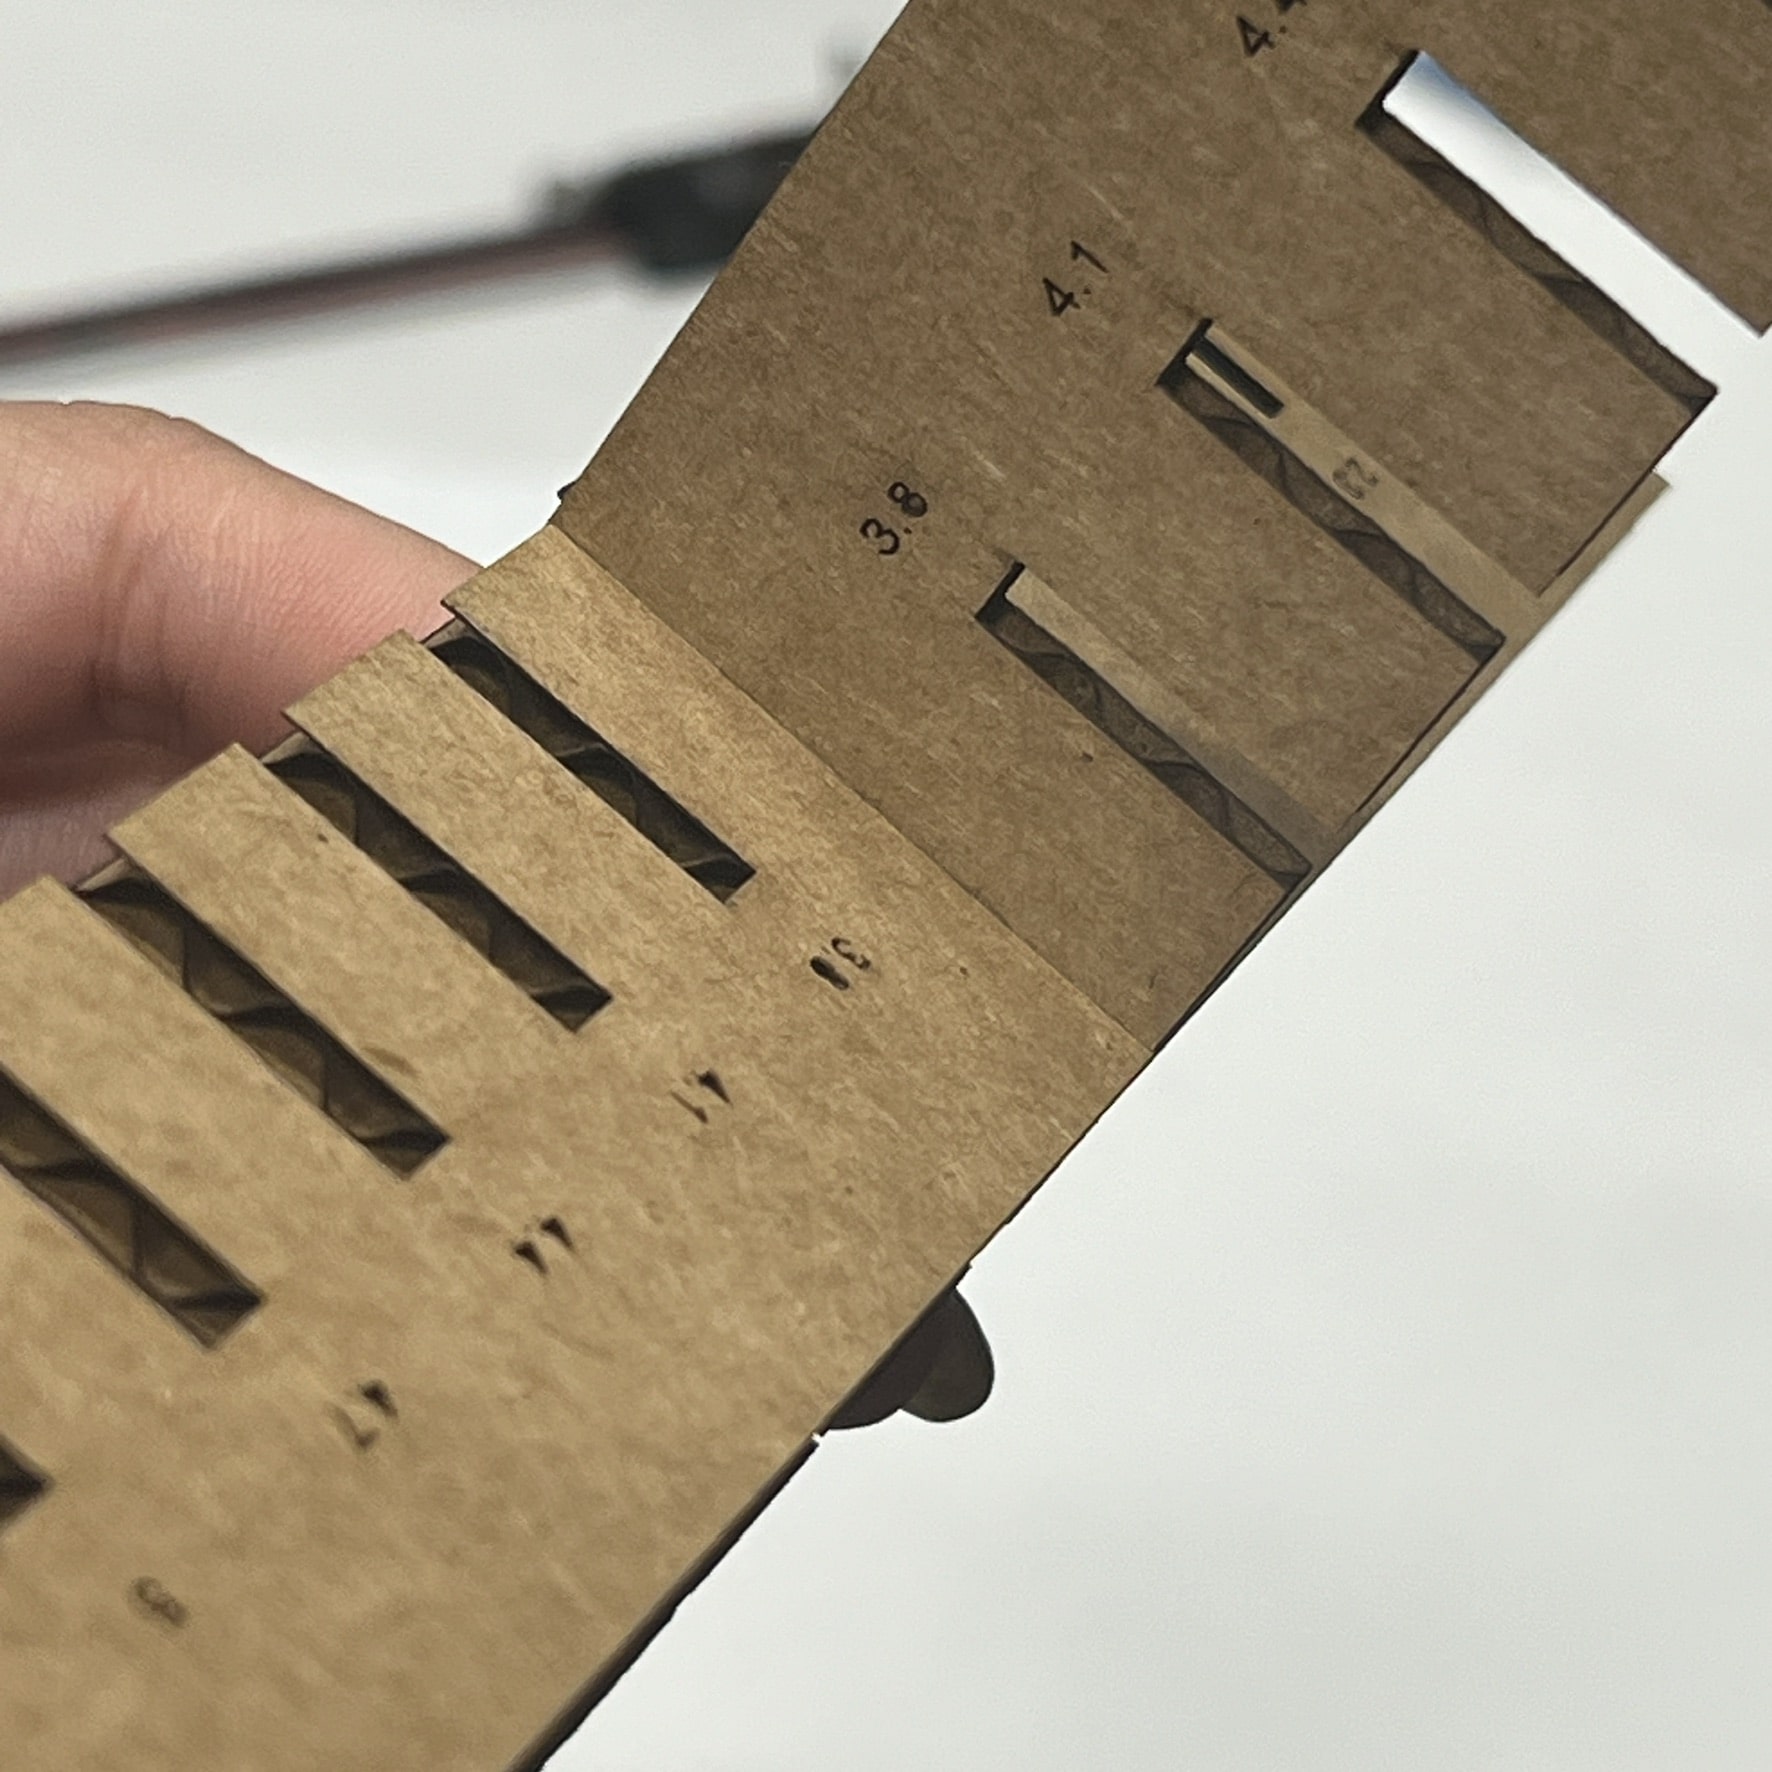
KERF TOOL
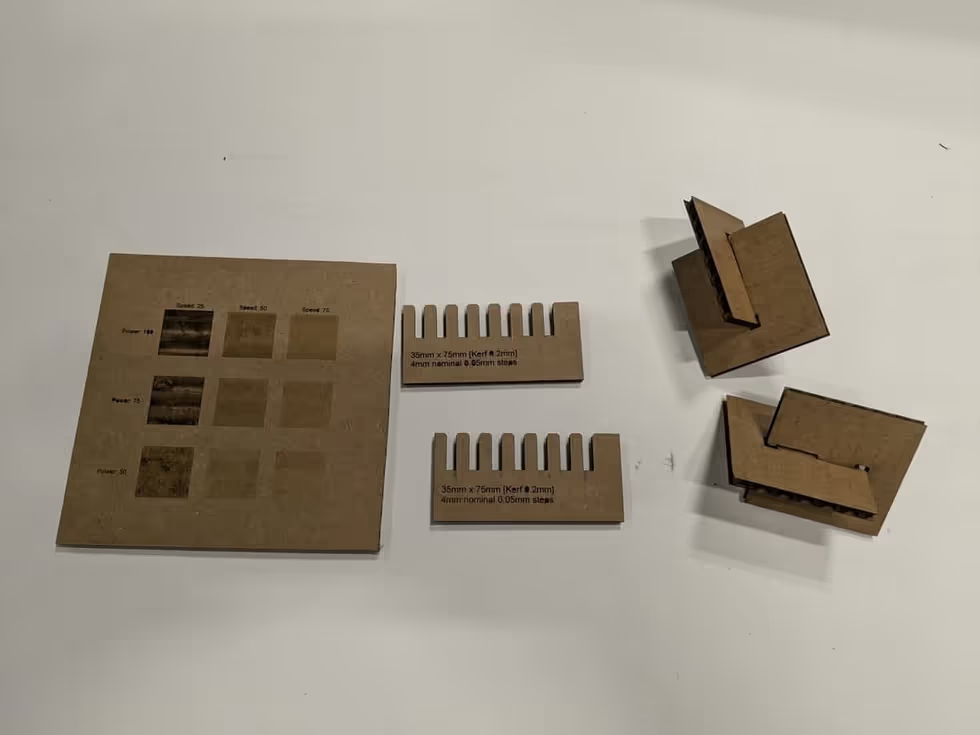

for my Pressfit case I made little 2D cubist paintings that can be re-assembled randomly into different types of sculptures.
Also it was good to remind myself of the lasercutter specific to this lab.
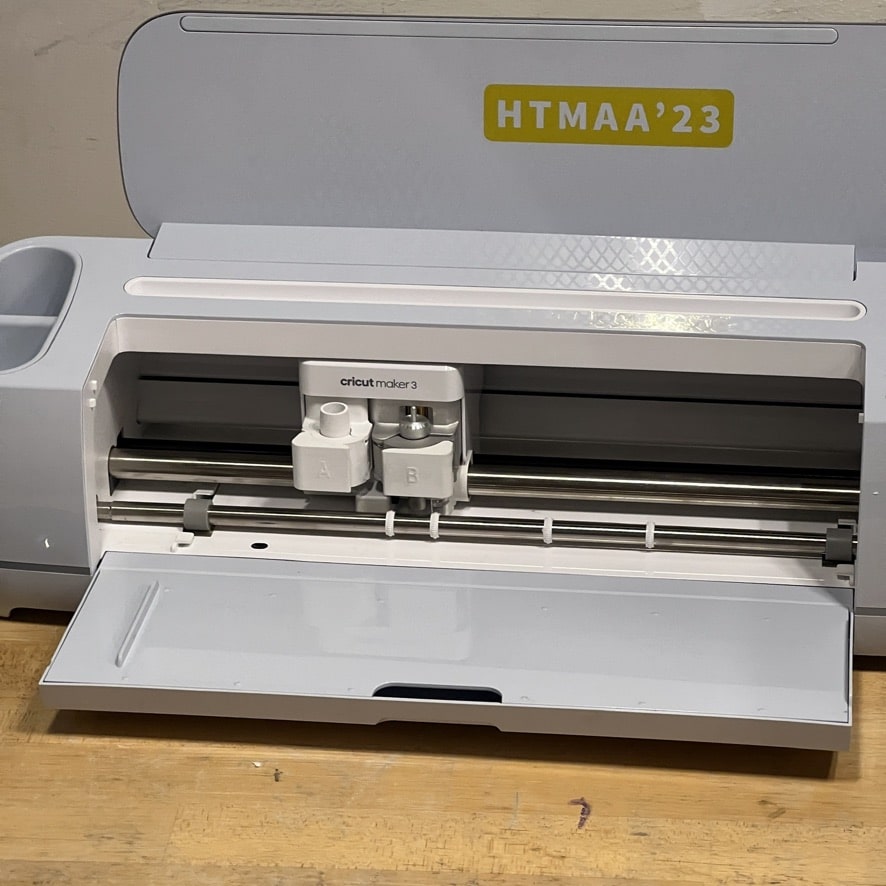
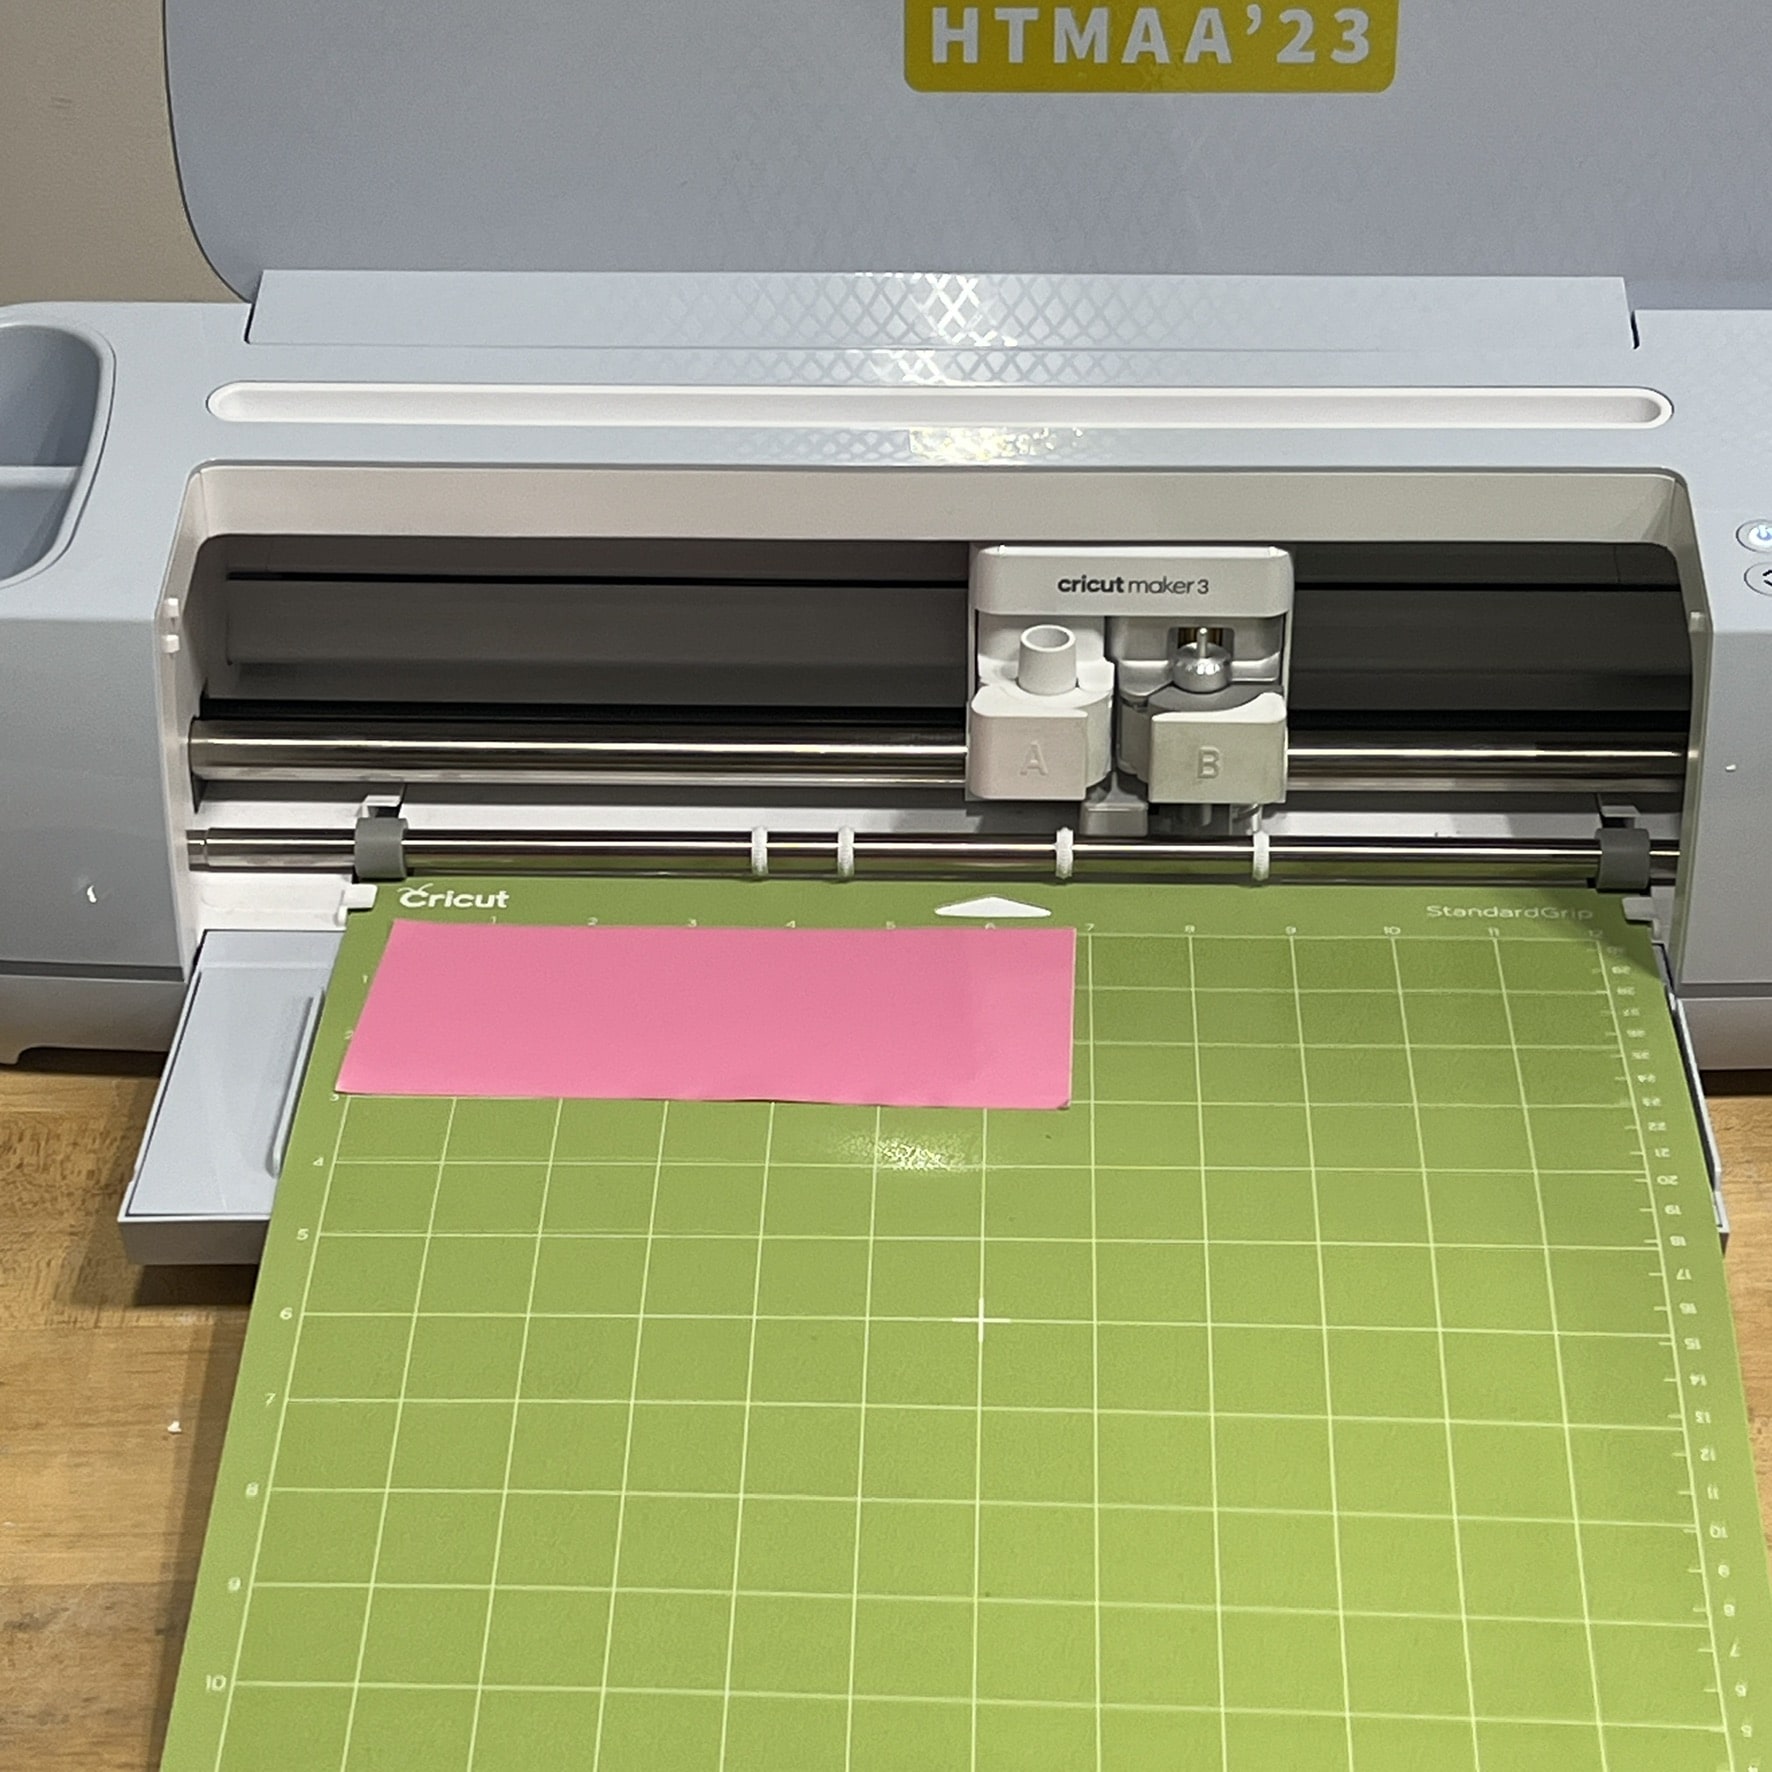
I also help Franscisco to make this sticker on the Cricut.

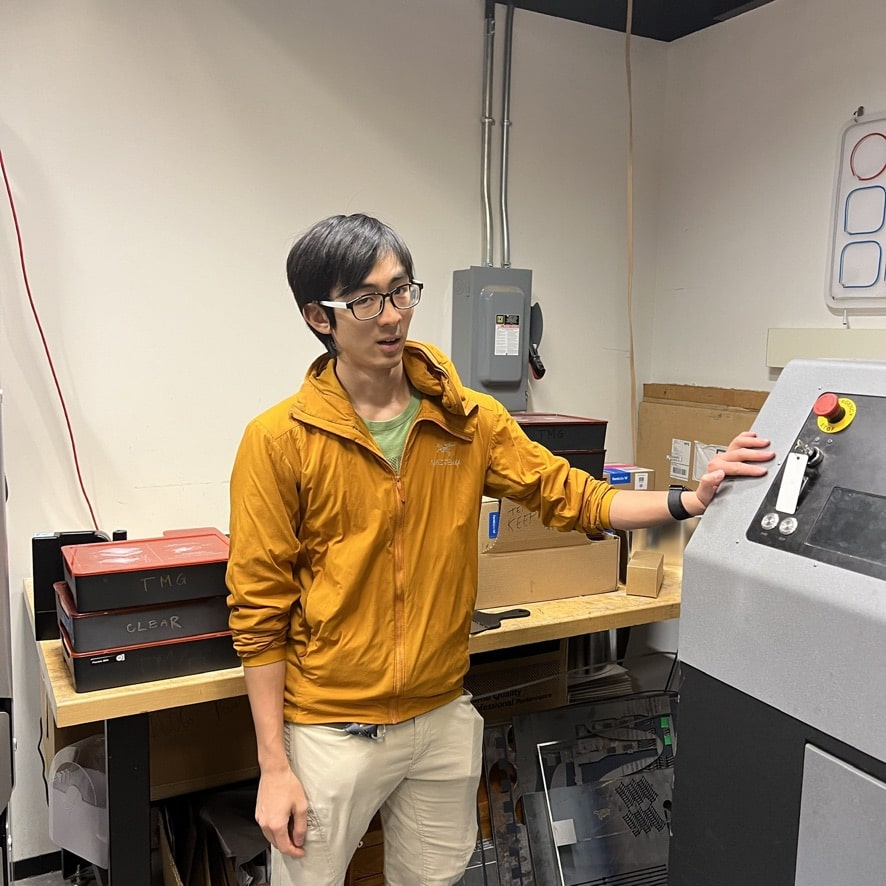
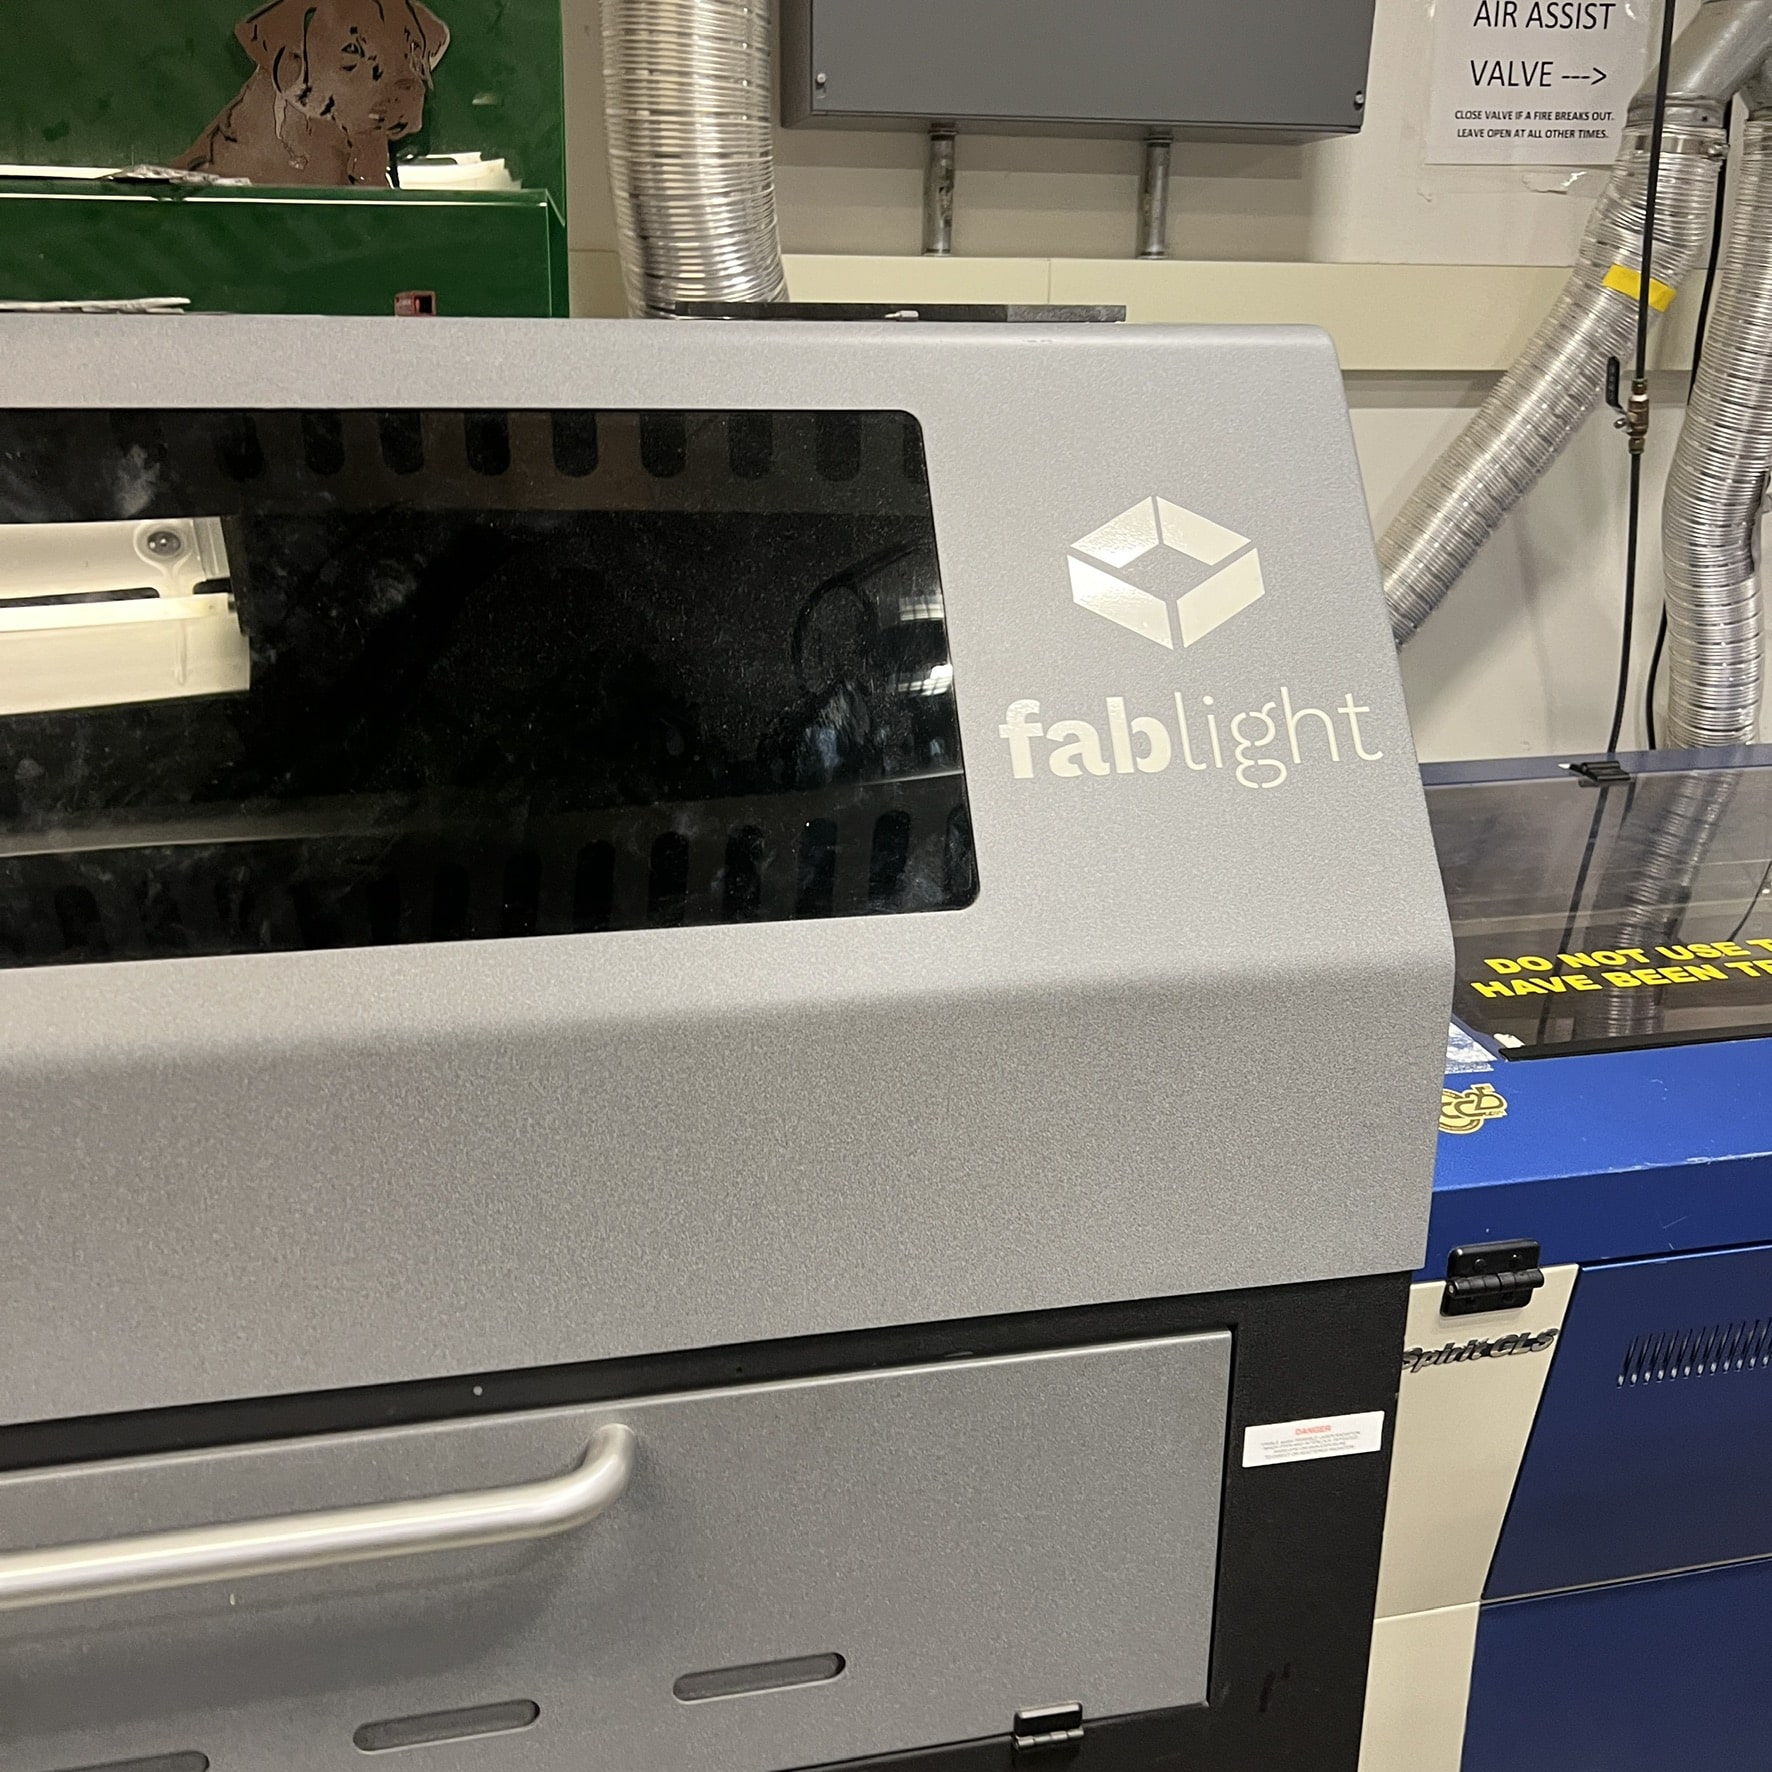
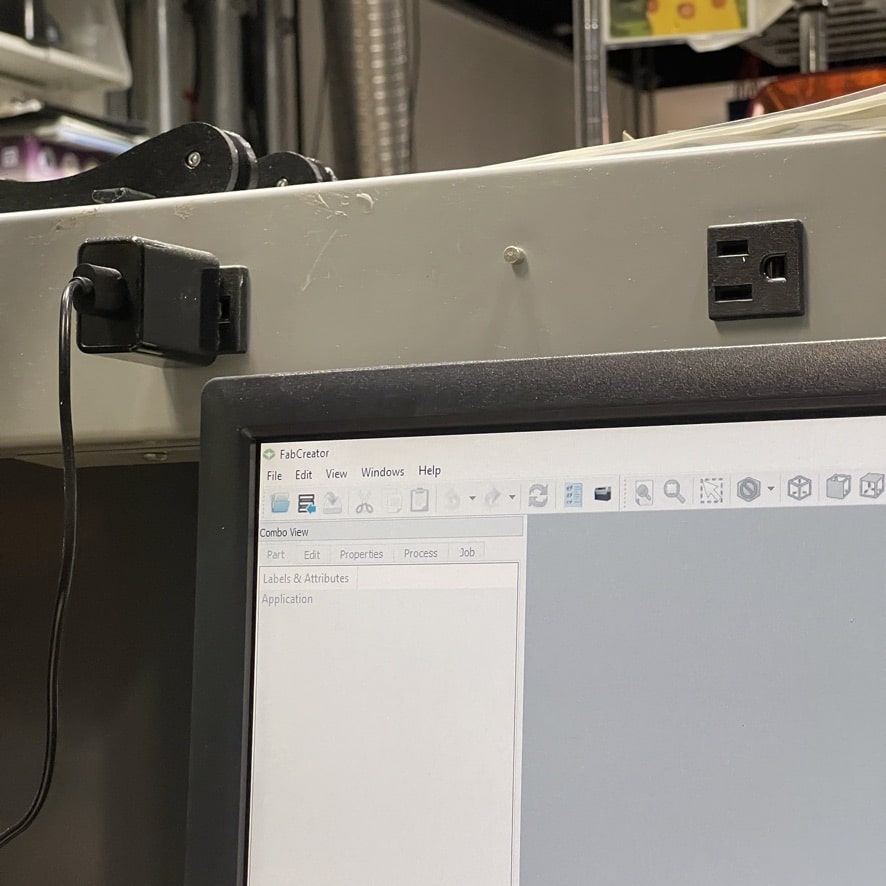
FabLight
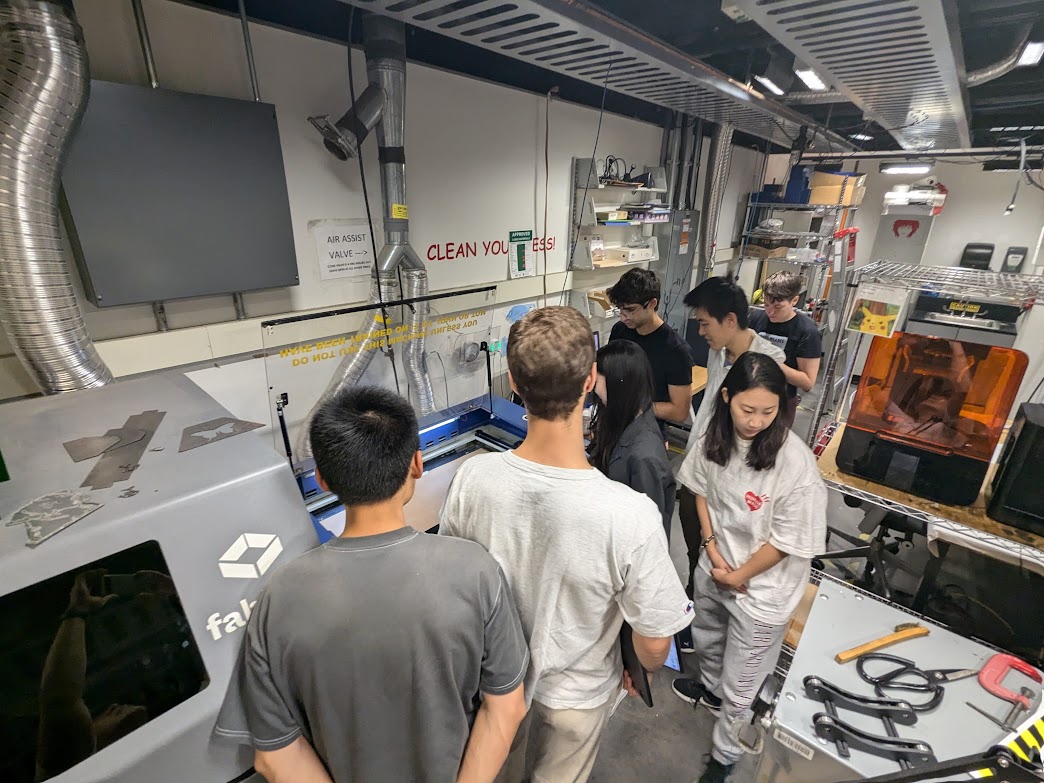
Alan was kind enough to teach me the Fablight!!
This was a fun and overwhelming process;
Note: I have since used it a couple of times and the process got easier and easier very quickly, but it was fun to get to know. And I didn't properly document the other times.
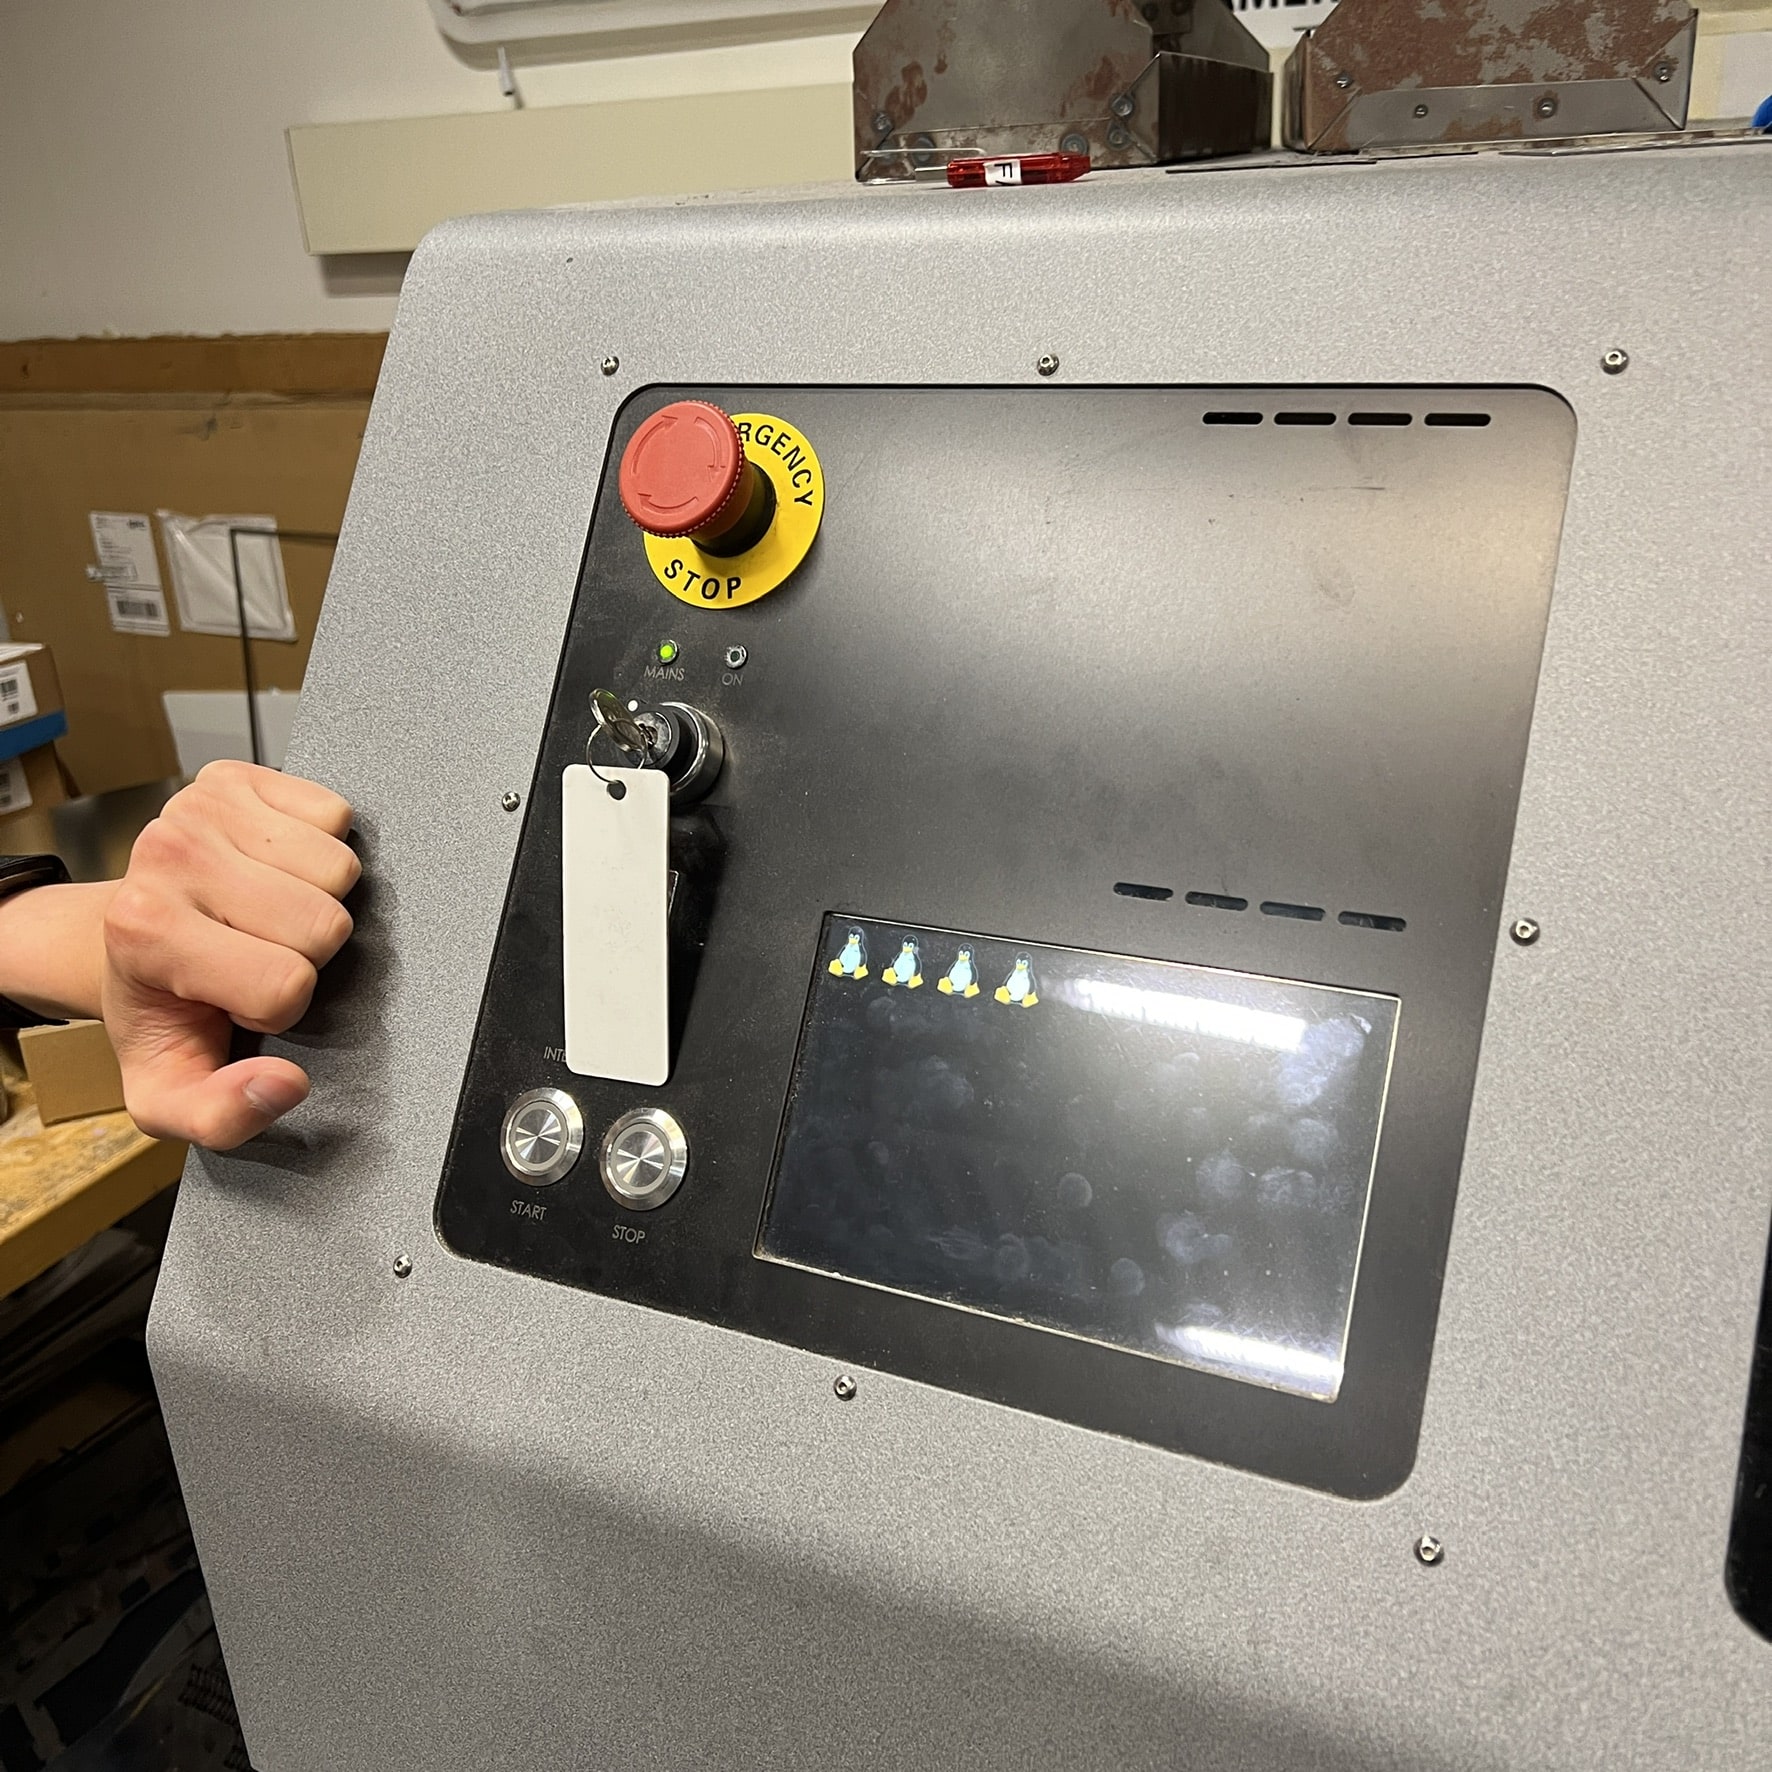
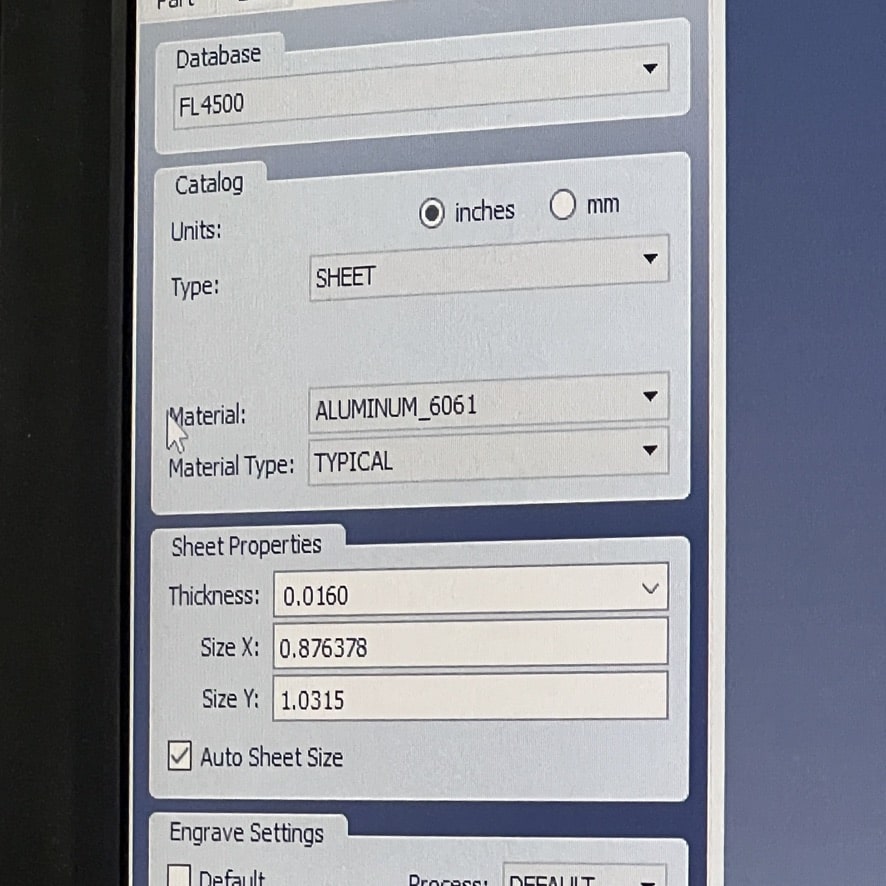
So this will be a rapid fire picture show with a couple of notes.
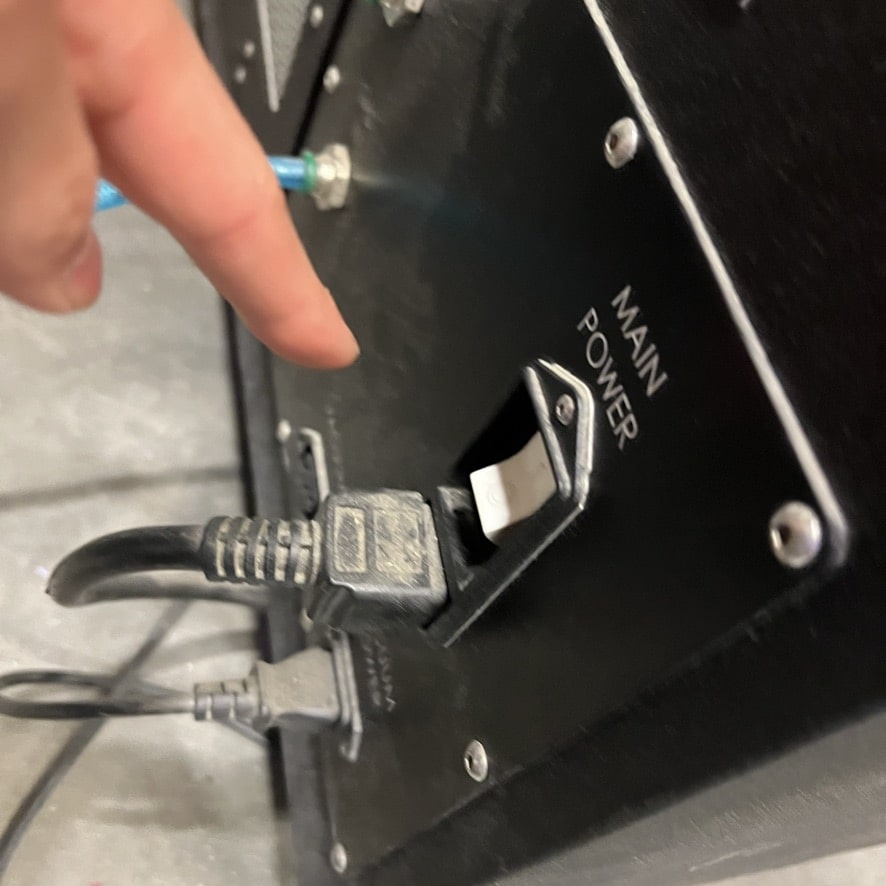
TAB YOUR FILES! Otherwise they end up in the metall GRAVEYARD.

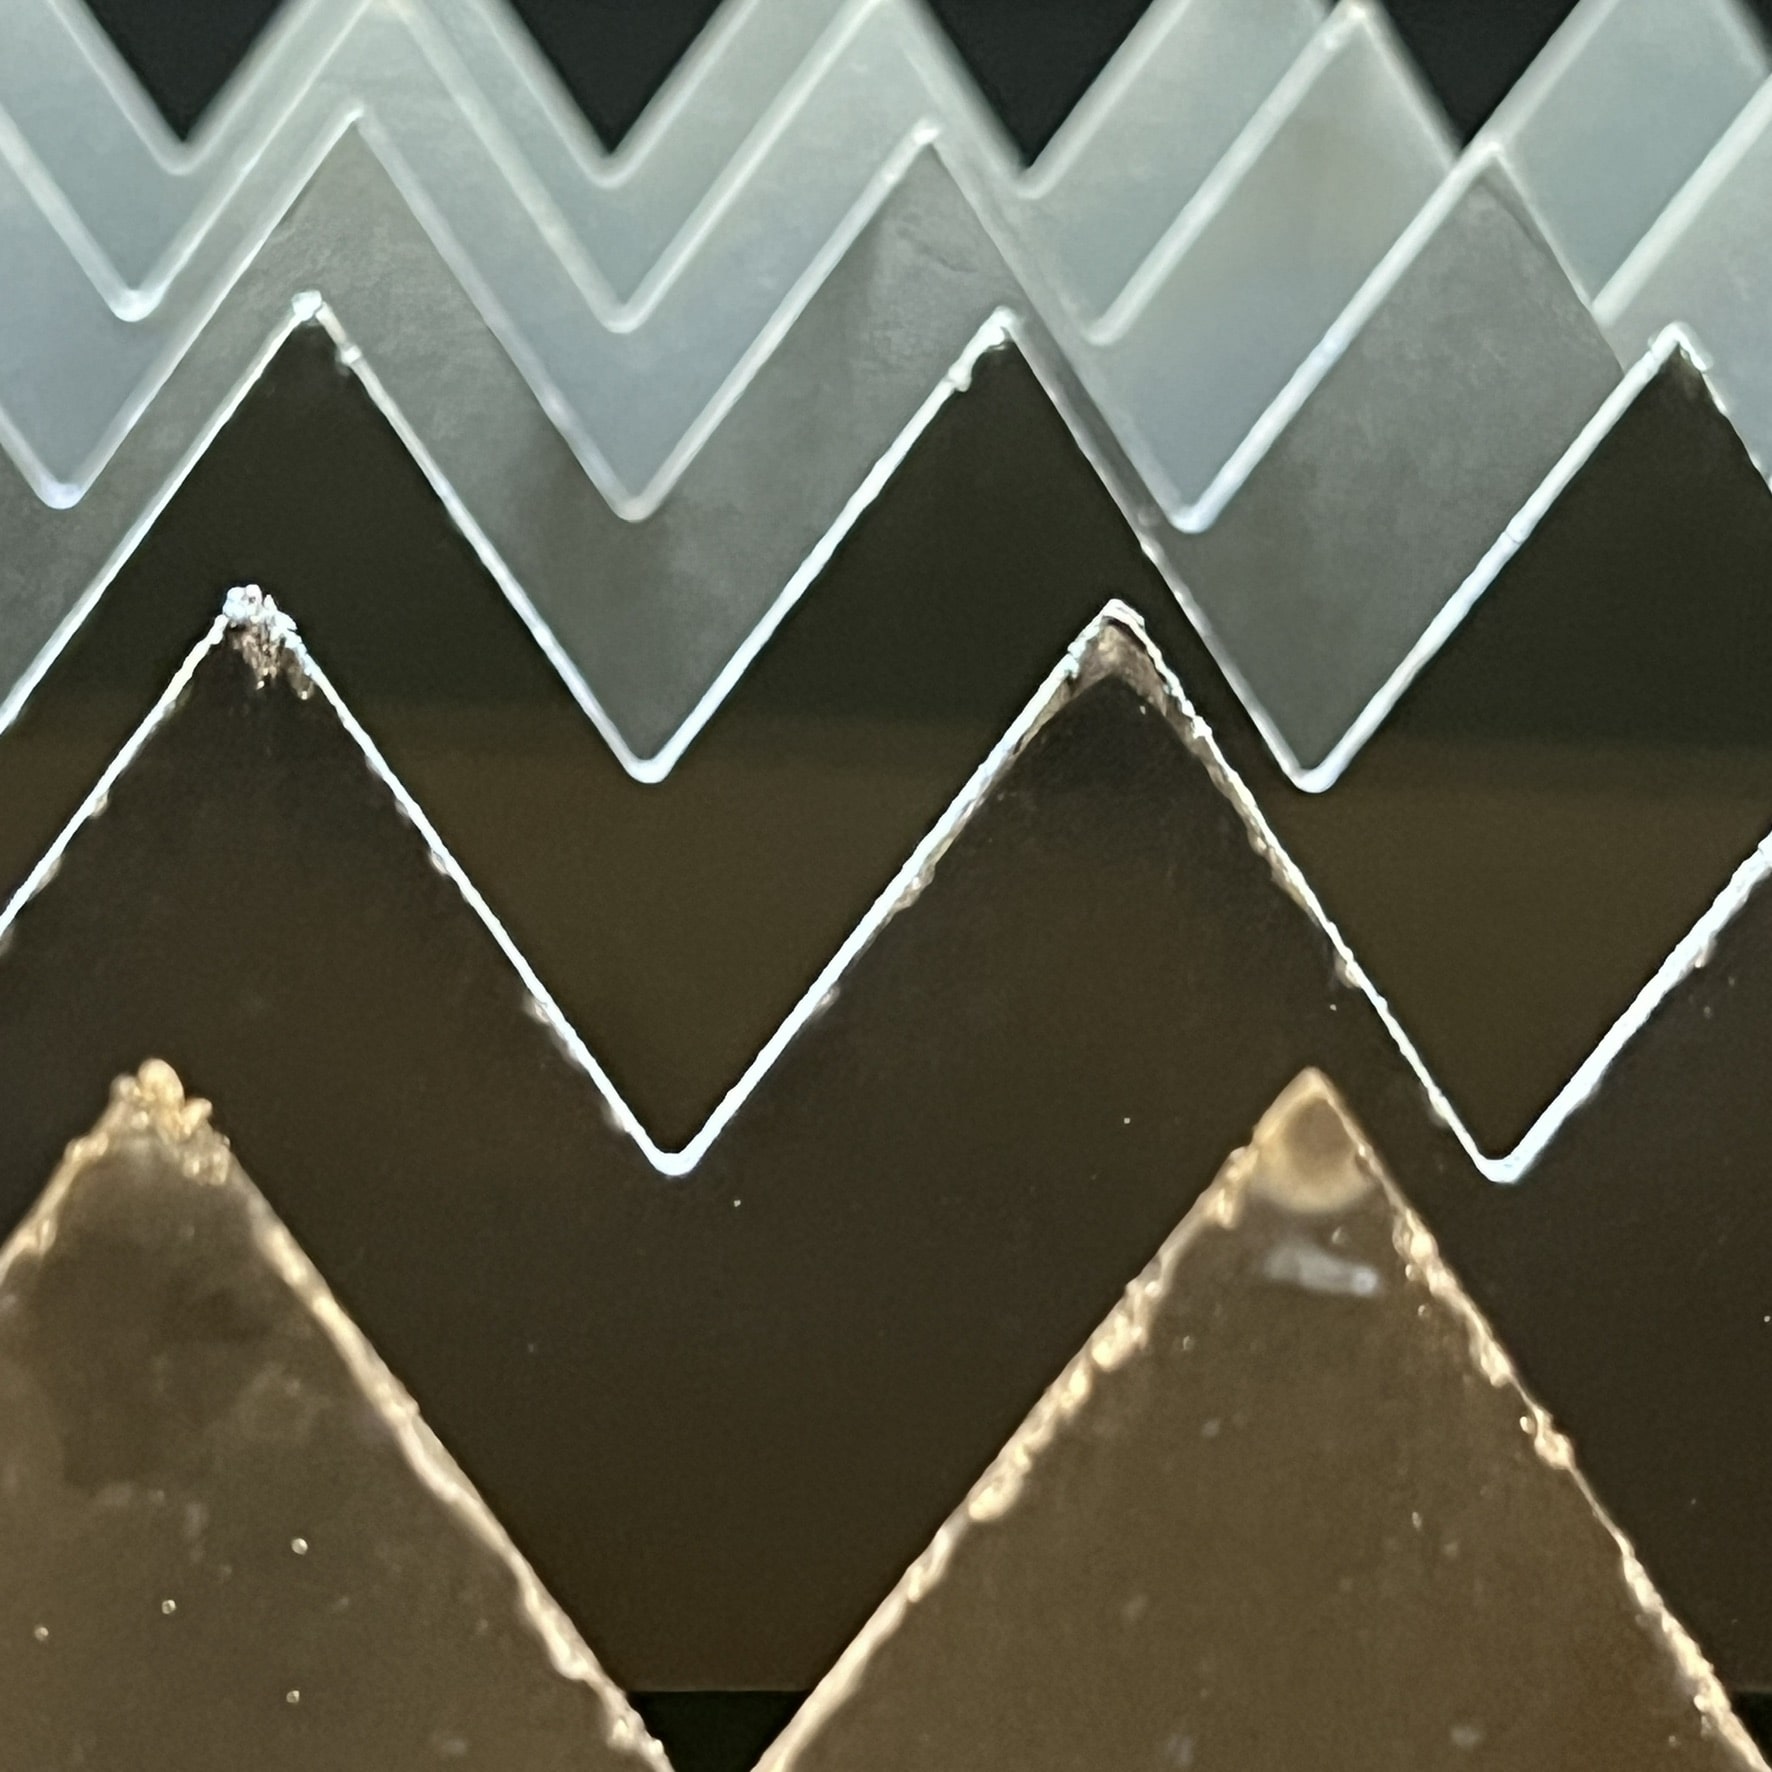
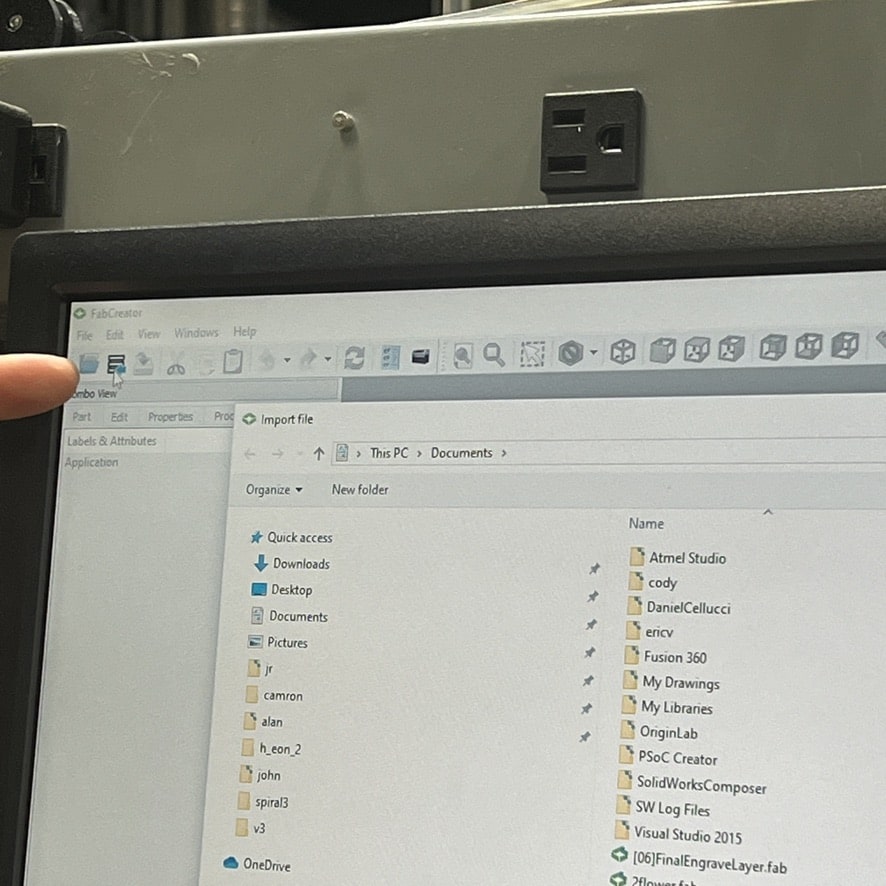

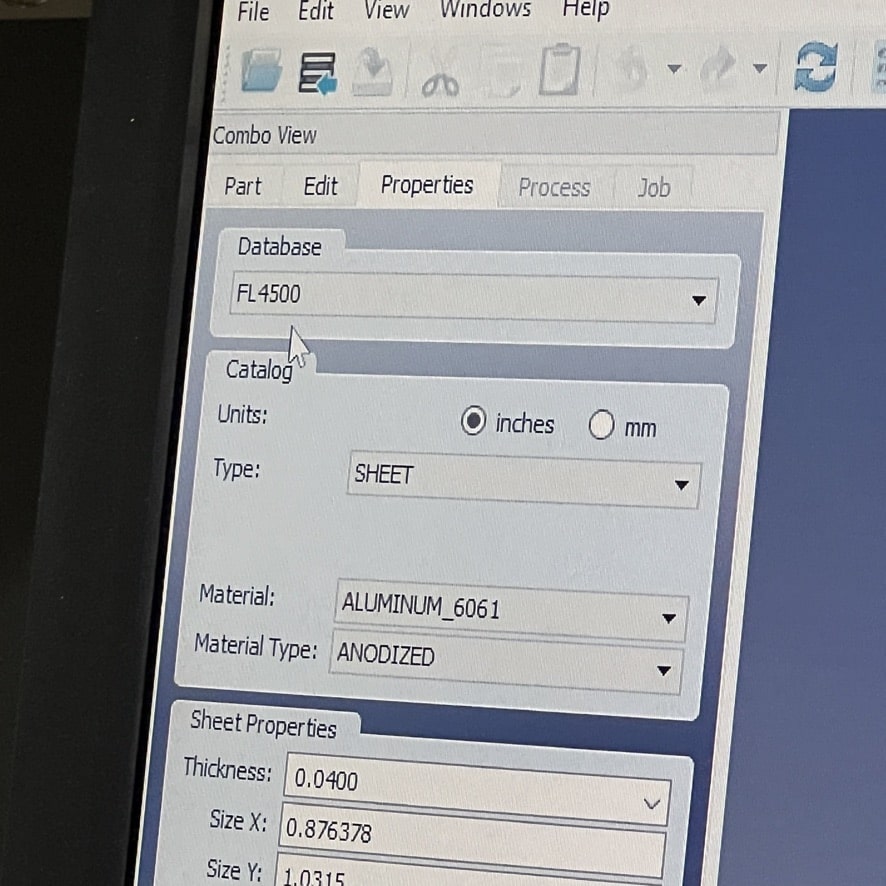
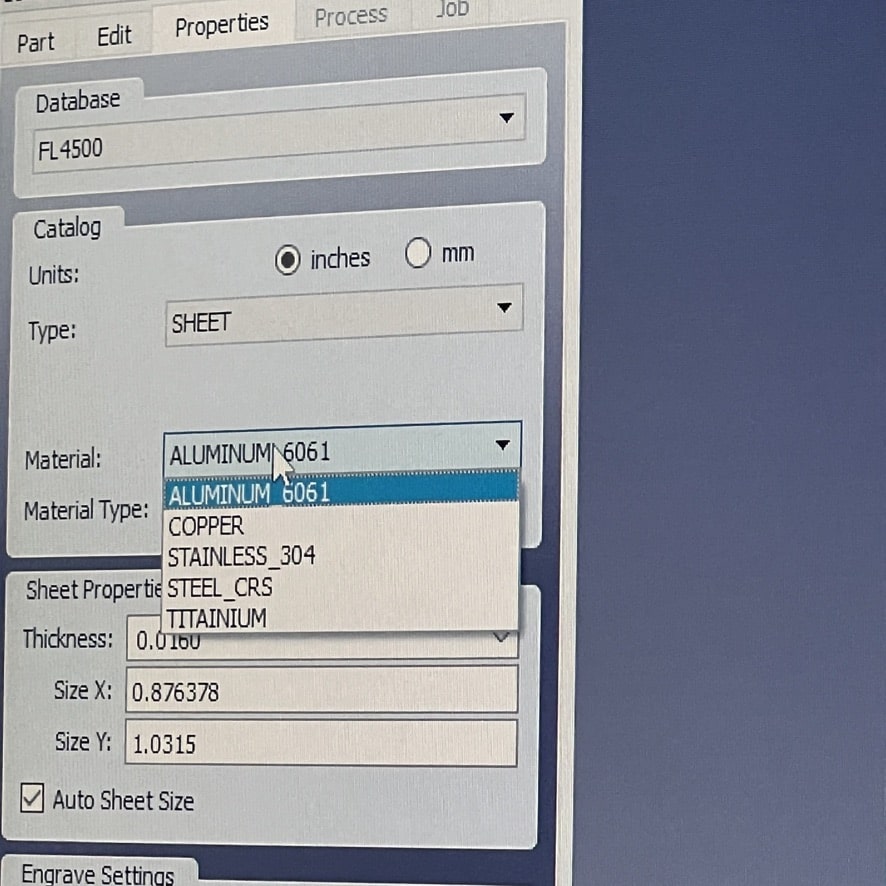
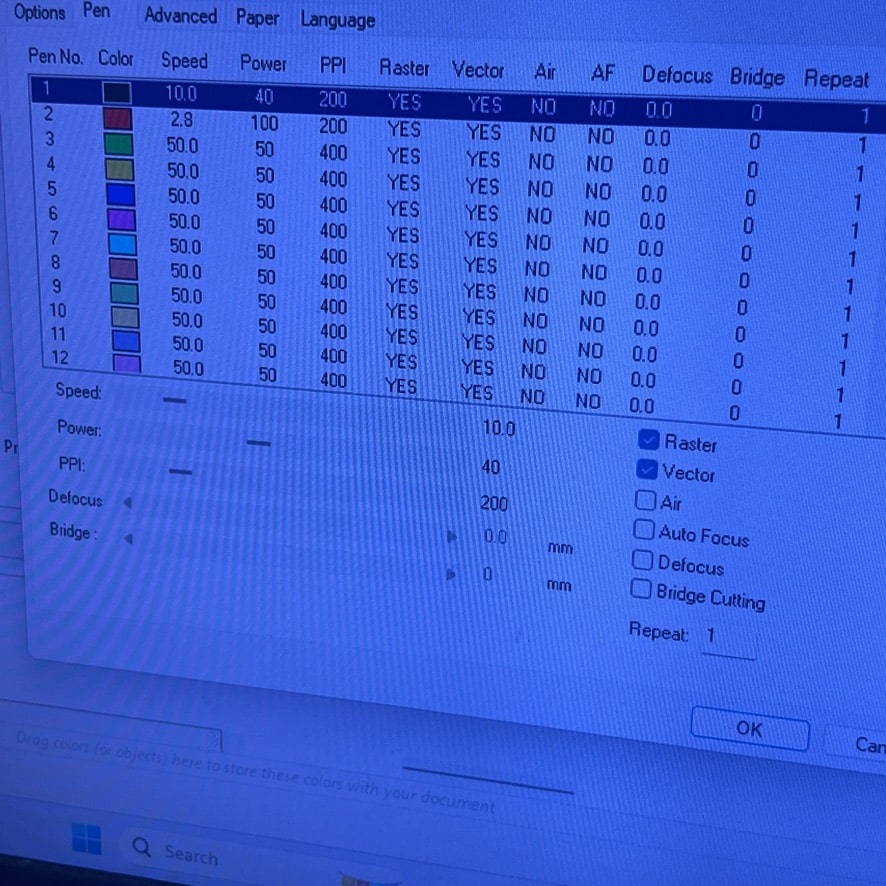
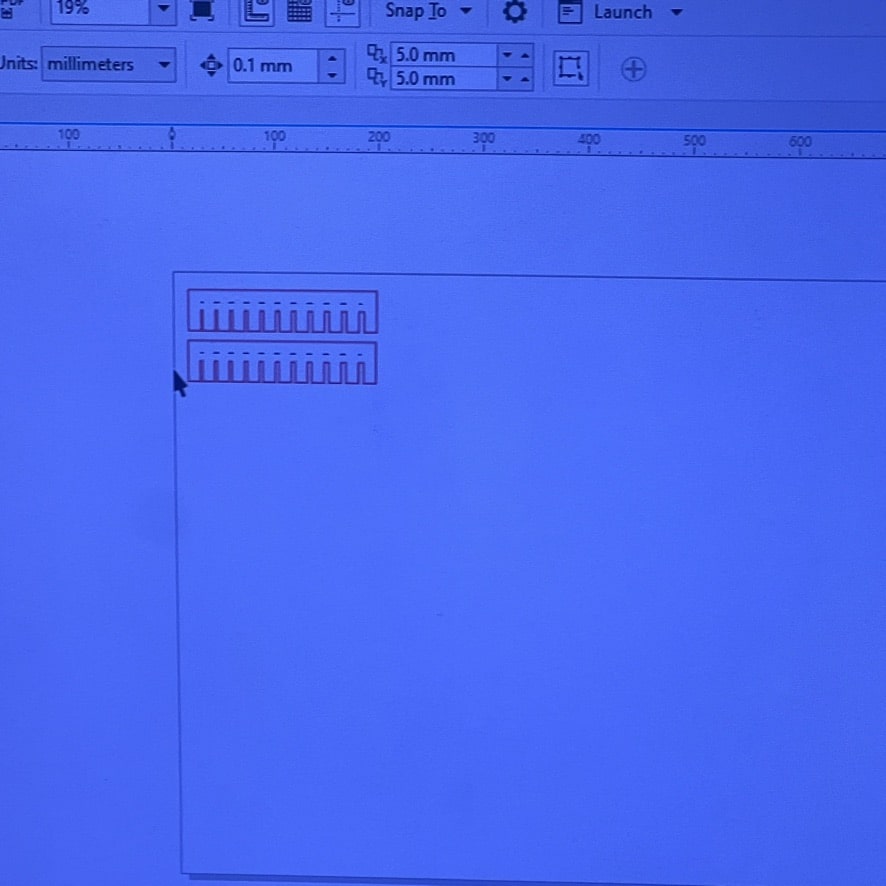
After the showed it to me using some of the files he was working on, I made my own files to try and cut.
/Screenshot 2024-12-08 at 19.59.34-min.png)
/5B4B9101-28D6-46E0-8CA0-9CC32128D72D_1_105_c-min.jpeg)
/342CE1D7-5C79-4BE5-894F-3BC5FBEED935_1_105_c-min.jpeg)
/342CE1D7-5C79-4BE5-894F-3BC5FBEED935_1_105_c-min.jpeg)
/155C6471-2B25-4FD5-BFAF-1B14ED11539A_1_105_c-min.jpeg)
/95B21D44-8BE6-4559-8EB5-9B13B0F9B683_1_105_c-min.jpeg)
/4219FD79-CB34-45A6-9D79-793129803ECE_1_105_c-min.jpeg)
/2794EEBC-A486-4780-A057-07B32E20D485_1_105_c-min.jpeg)
It is really important to tighten down the material before you cut.