Week SEVEN: INPUT DEVICES
Lets talk about input devices.
This week we milled a board using the XTool. Because I realised in my previous design I was using a pin for the touch-capacitance that wasn't able to do the capacitance.
For this week I really wanted to look at capacitive touch. When I was doing Fab23 I focused on various light sensing.
I exported the grb file and used Quentins grbr to img process to create vectors.
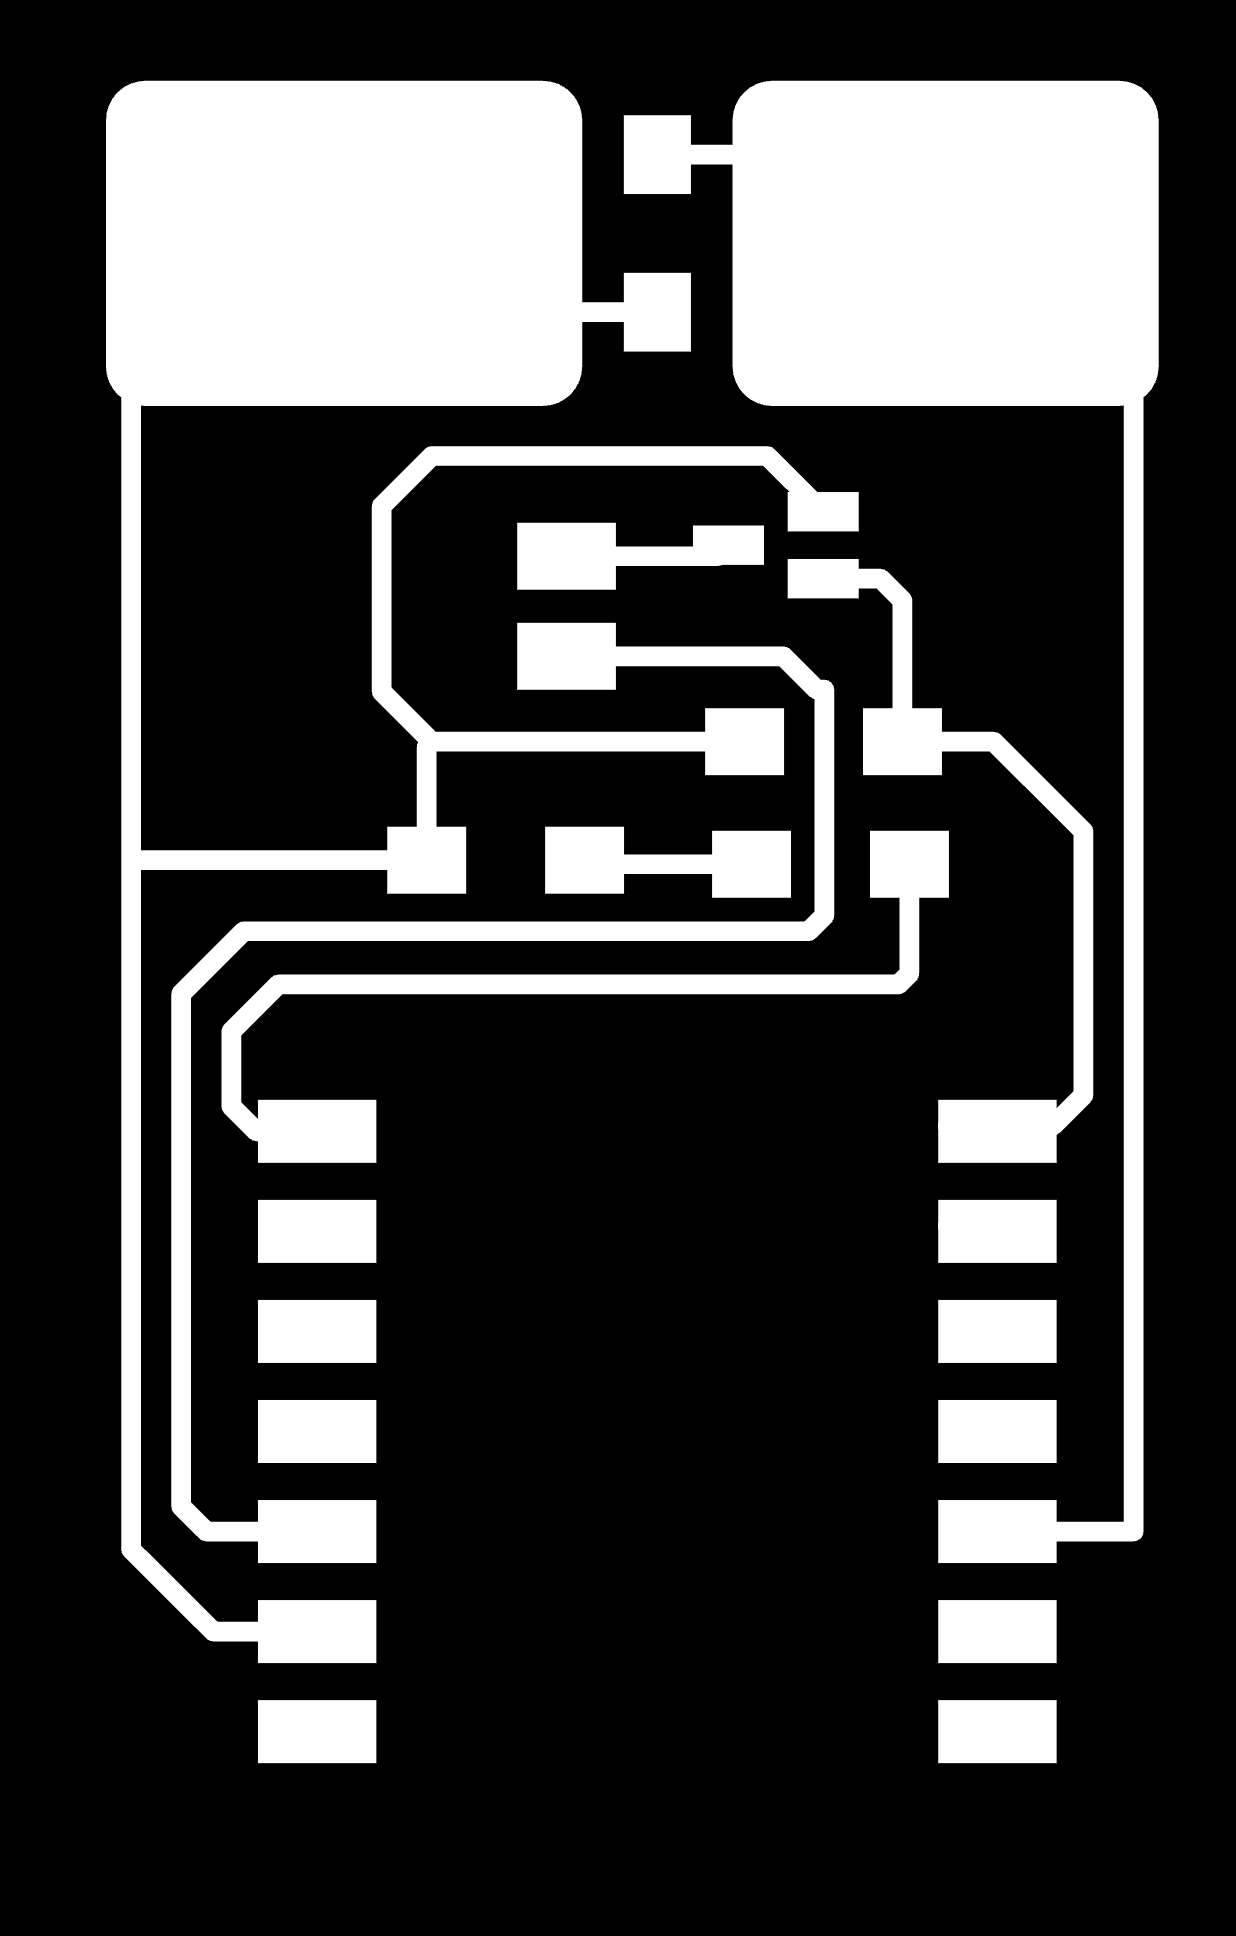
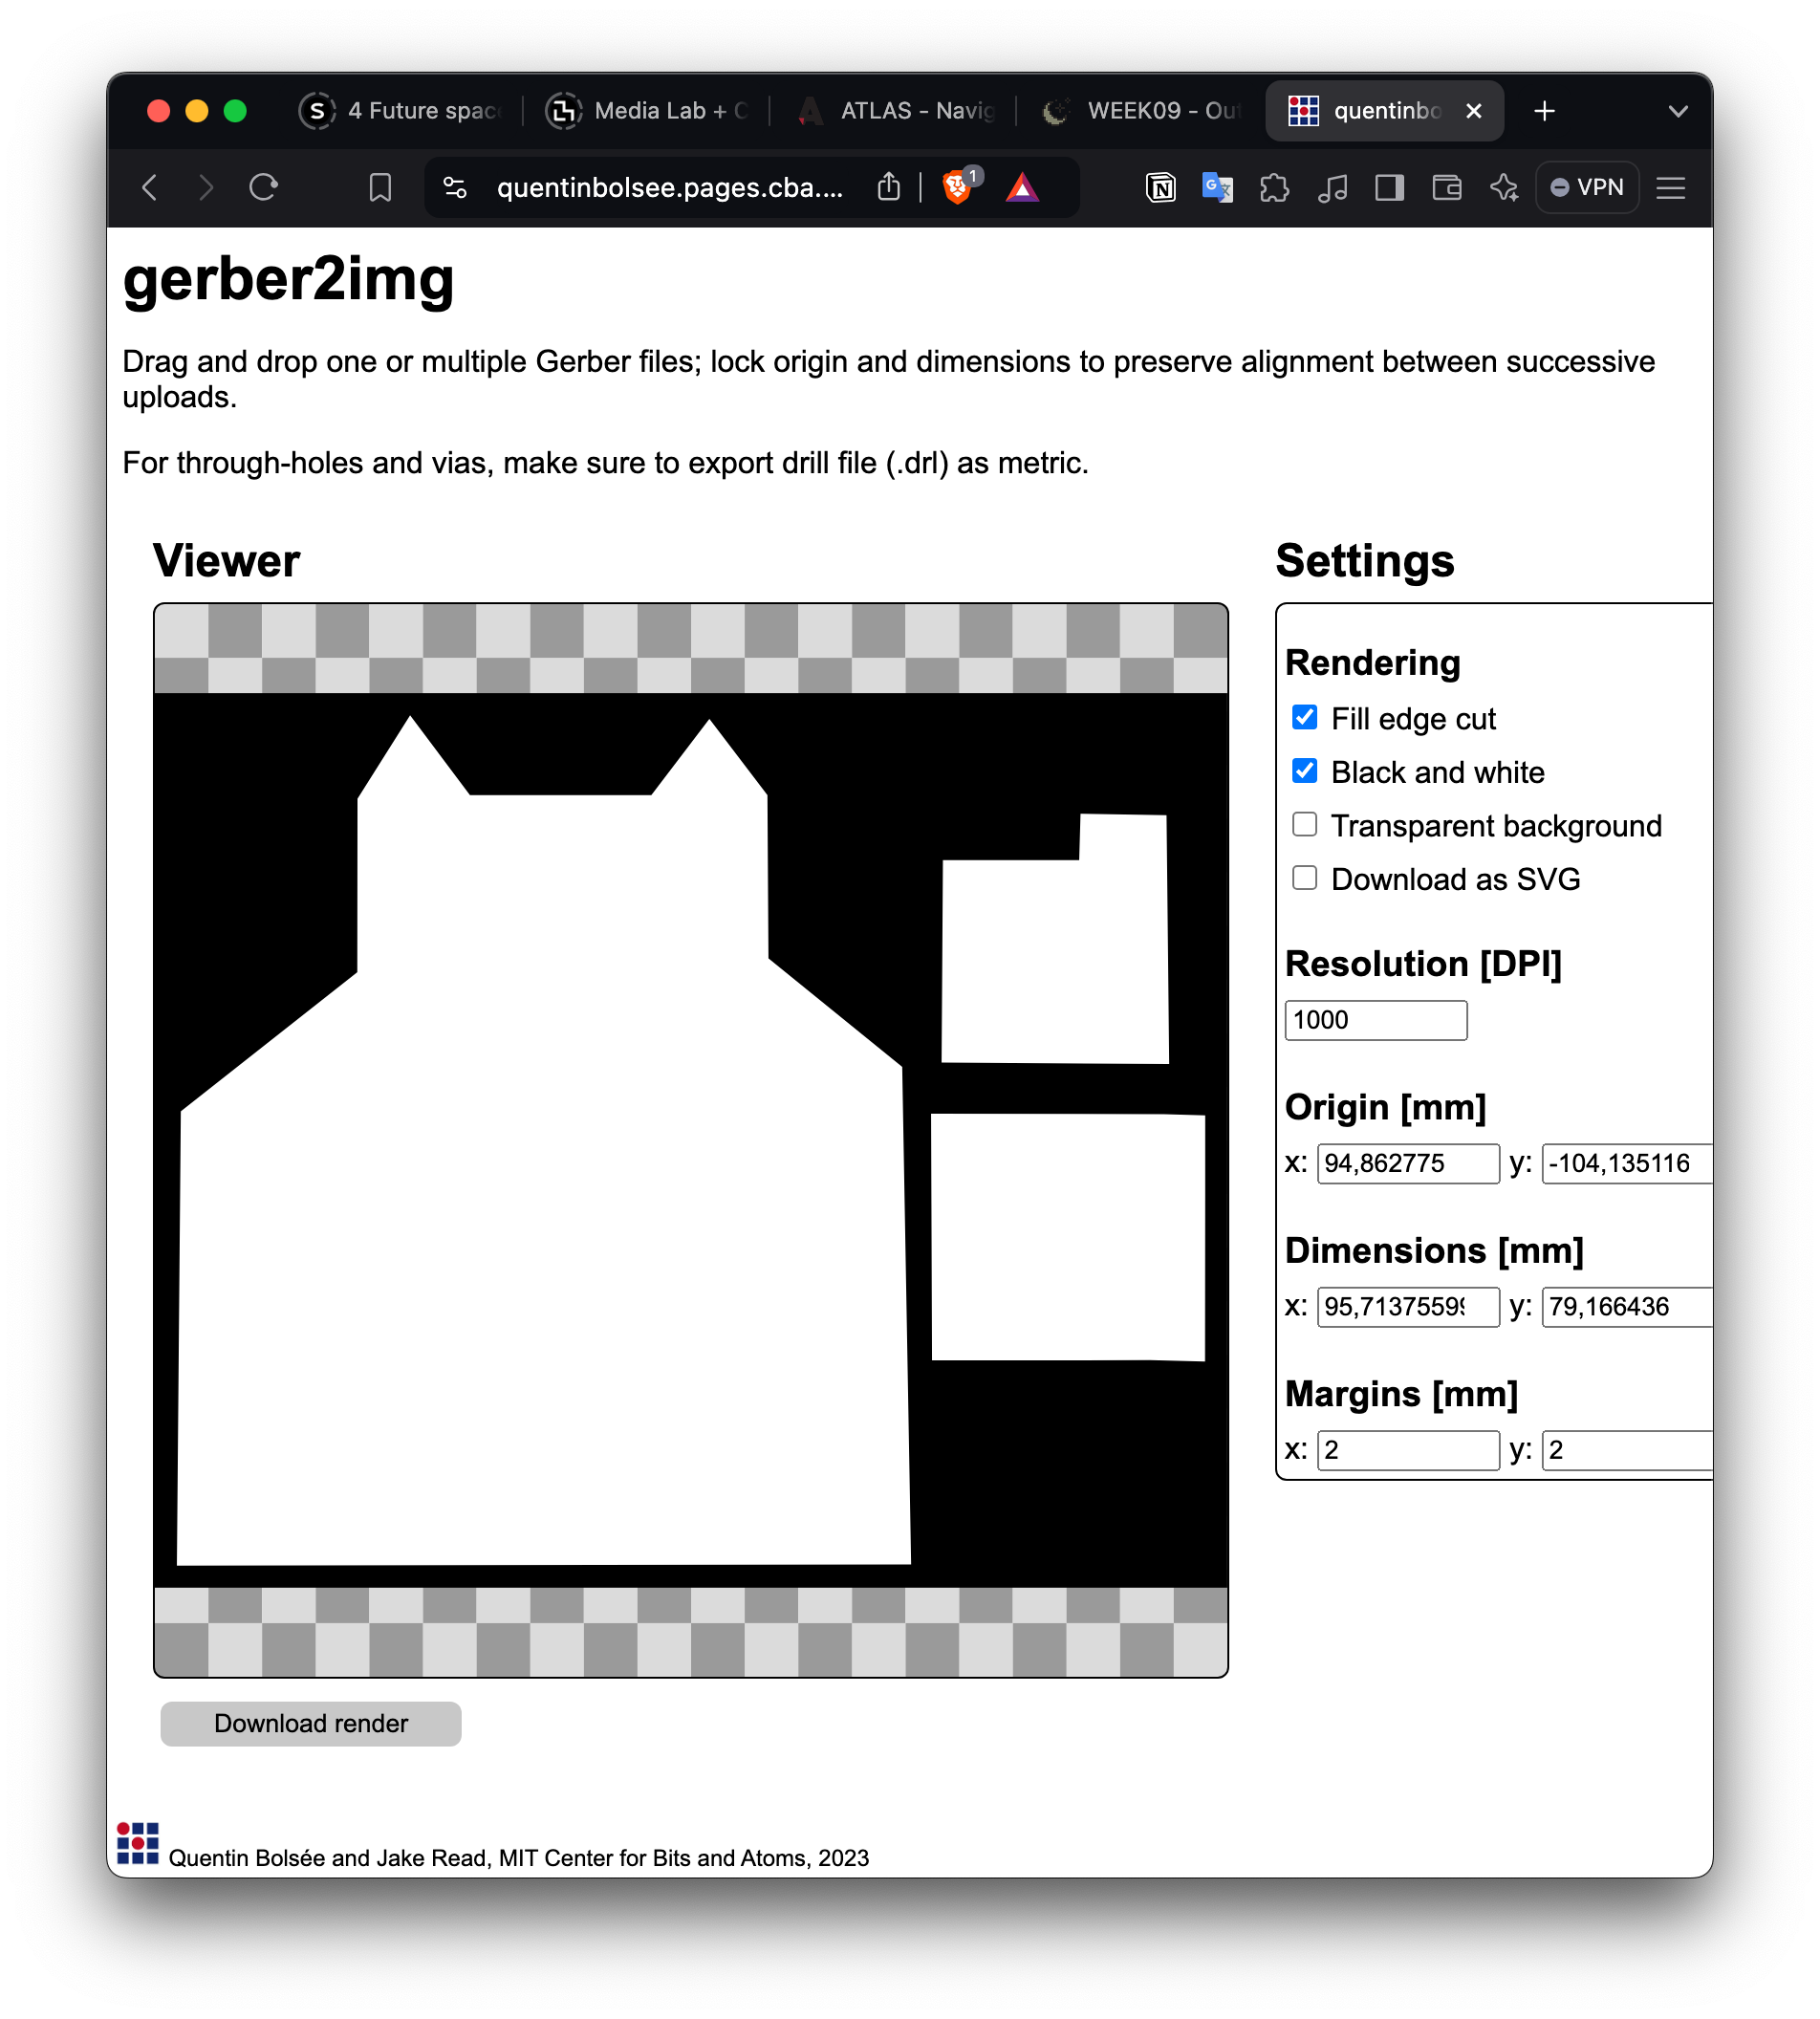
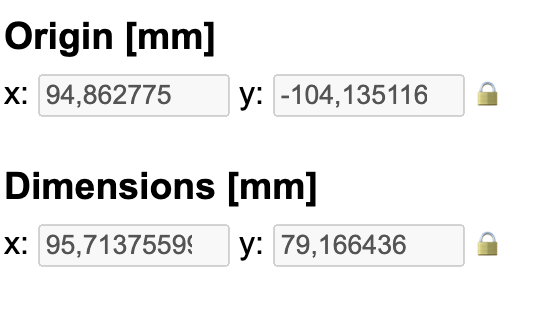
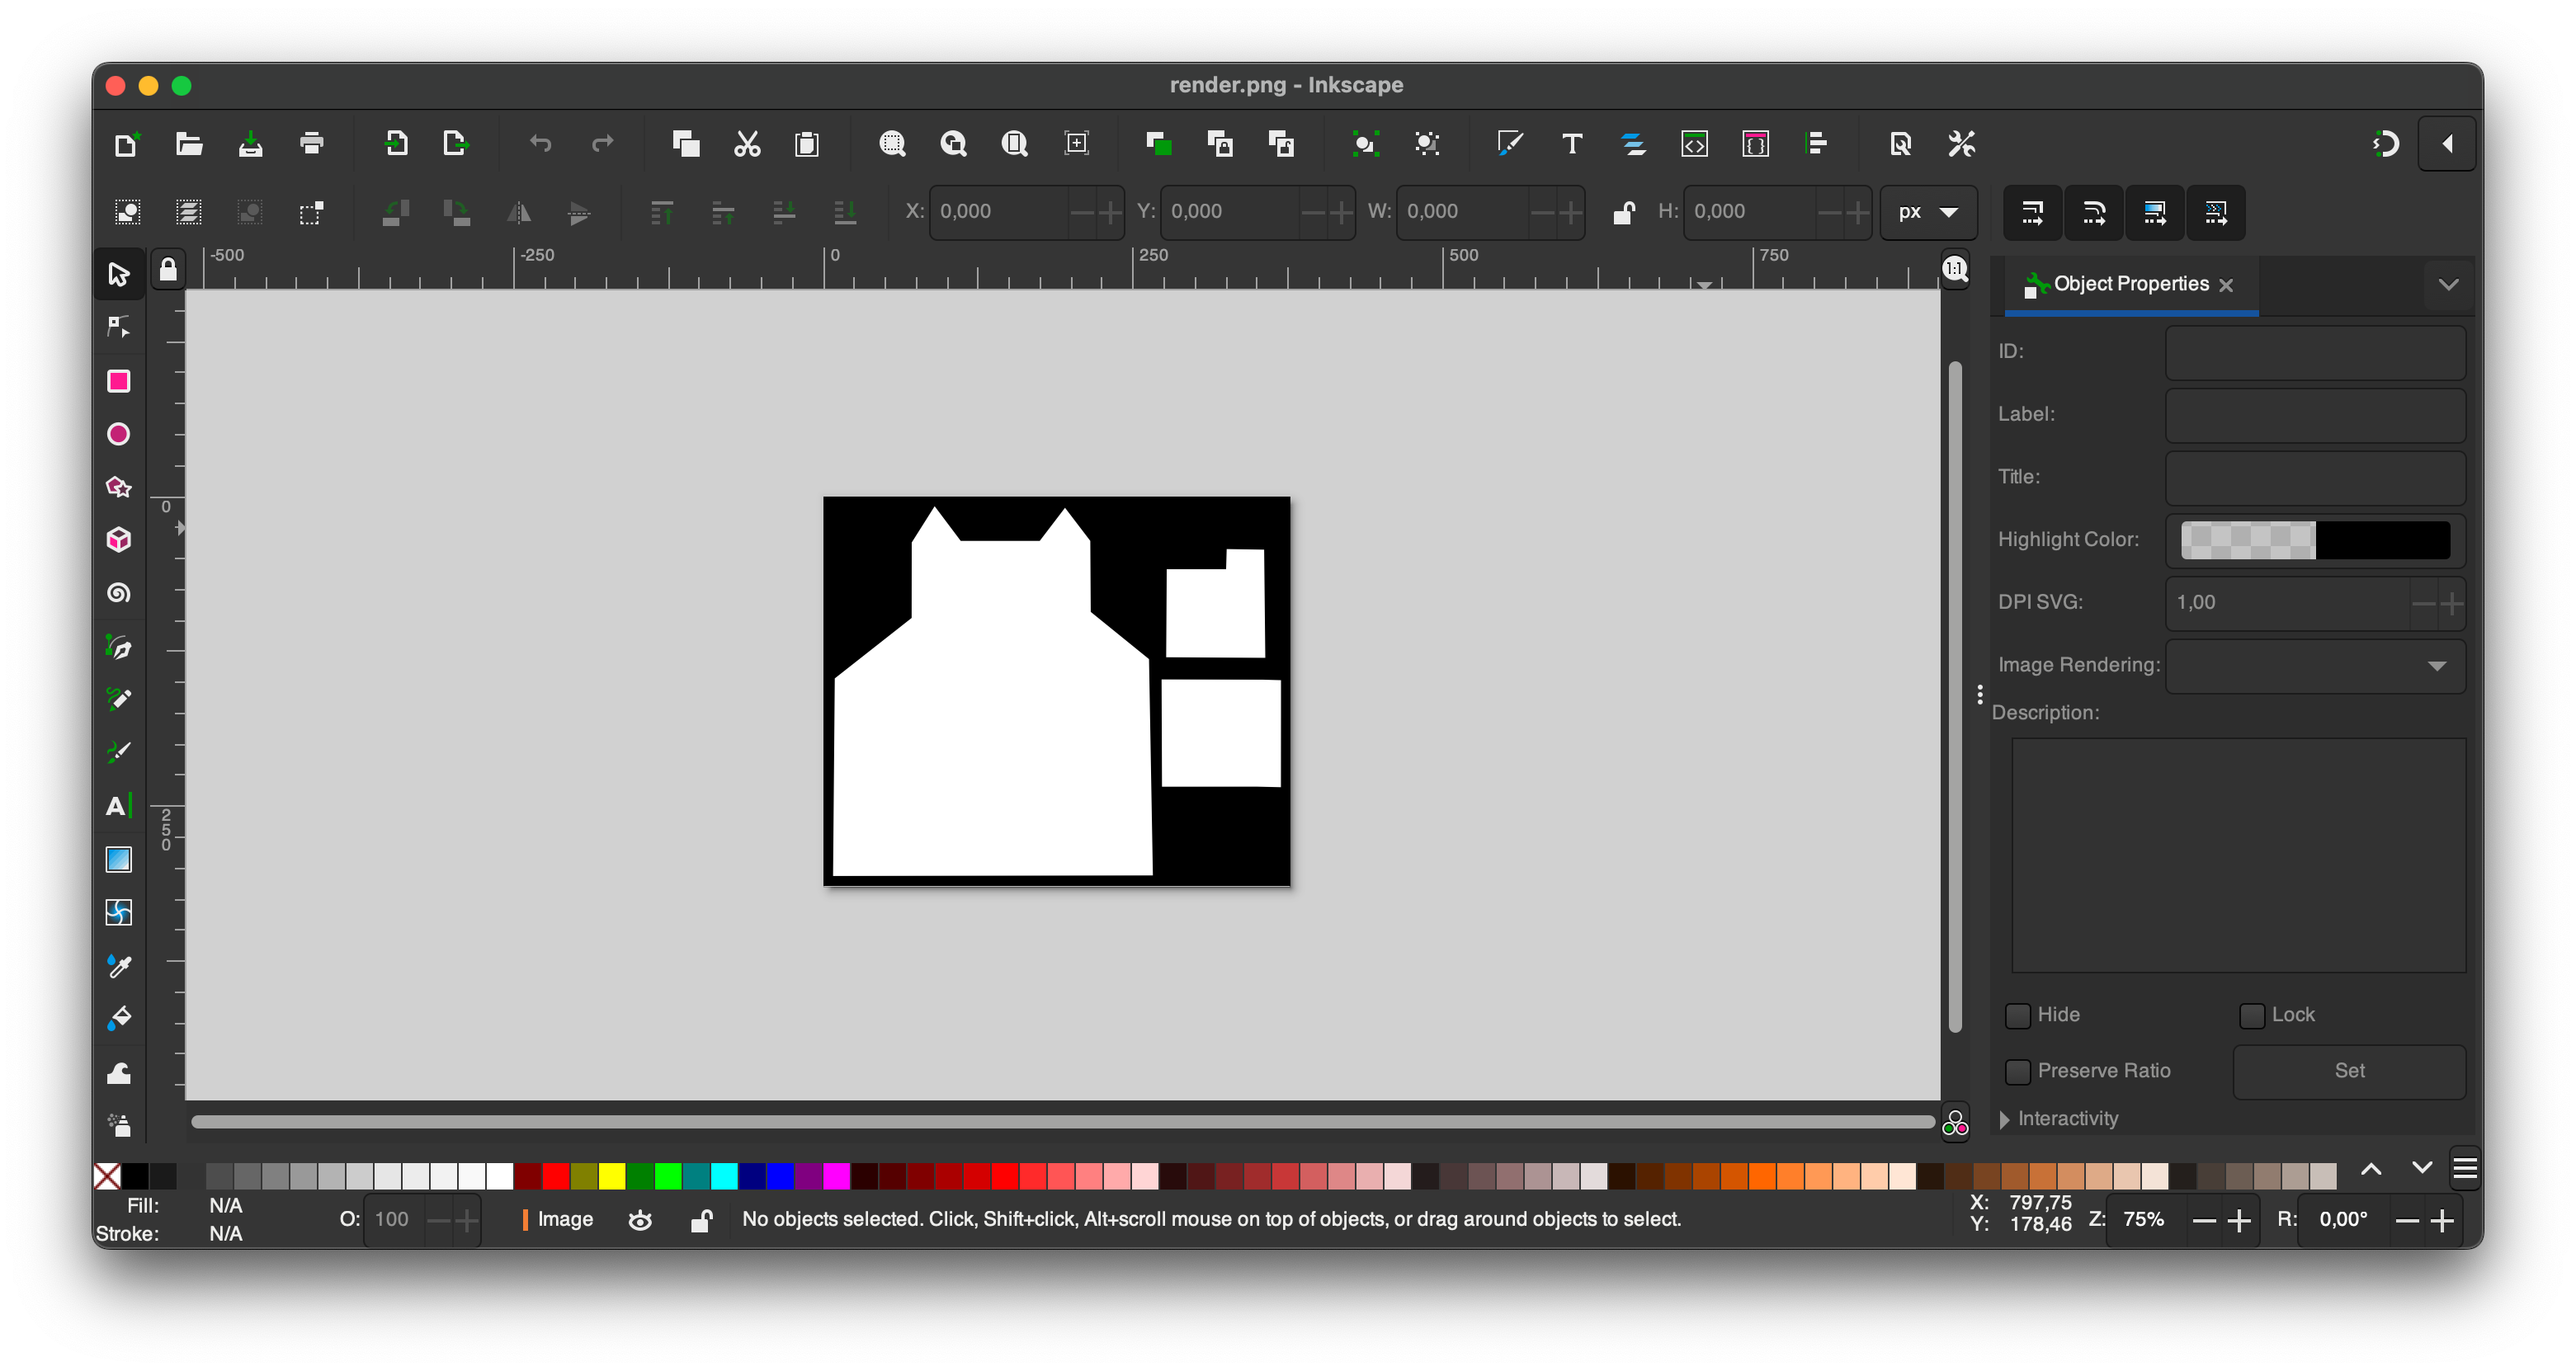
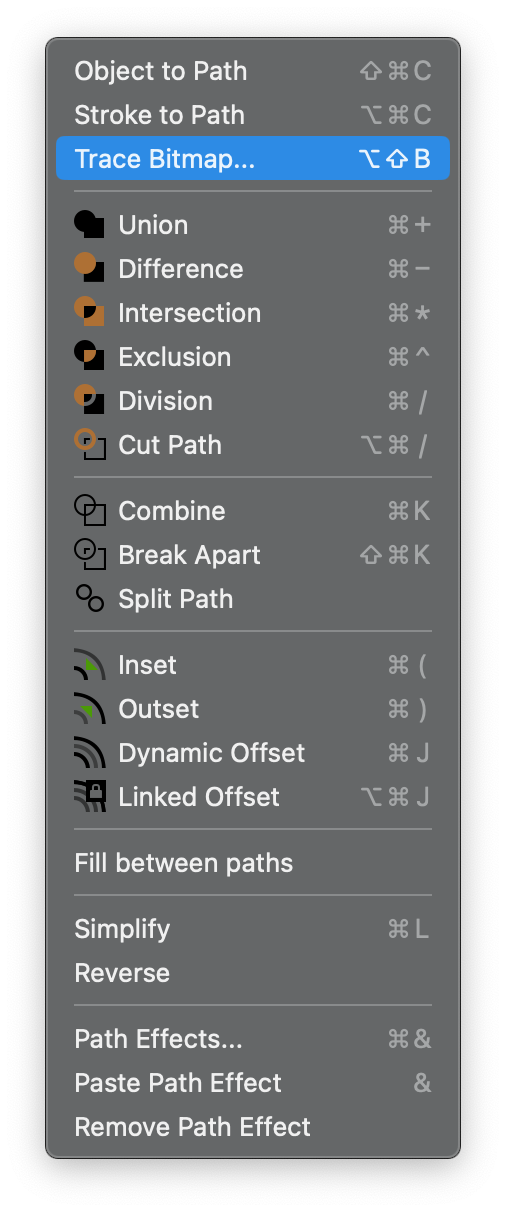
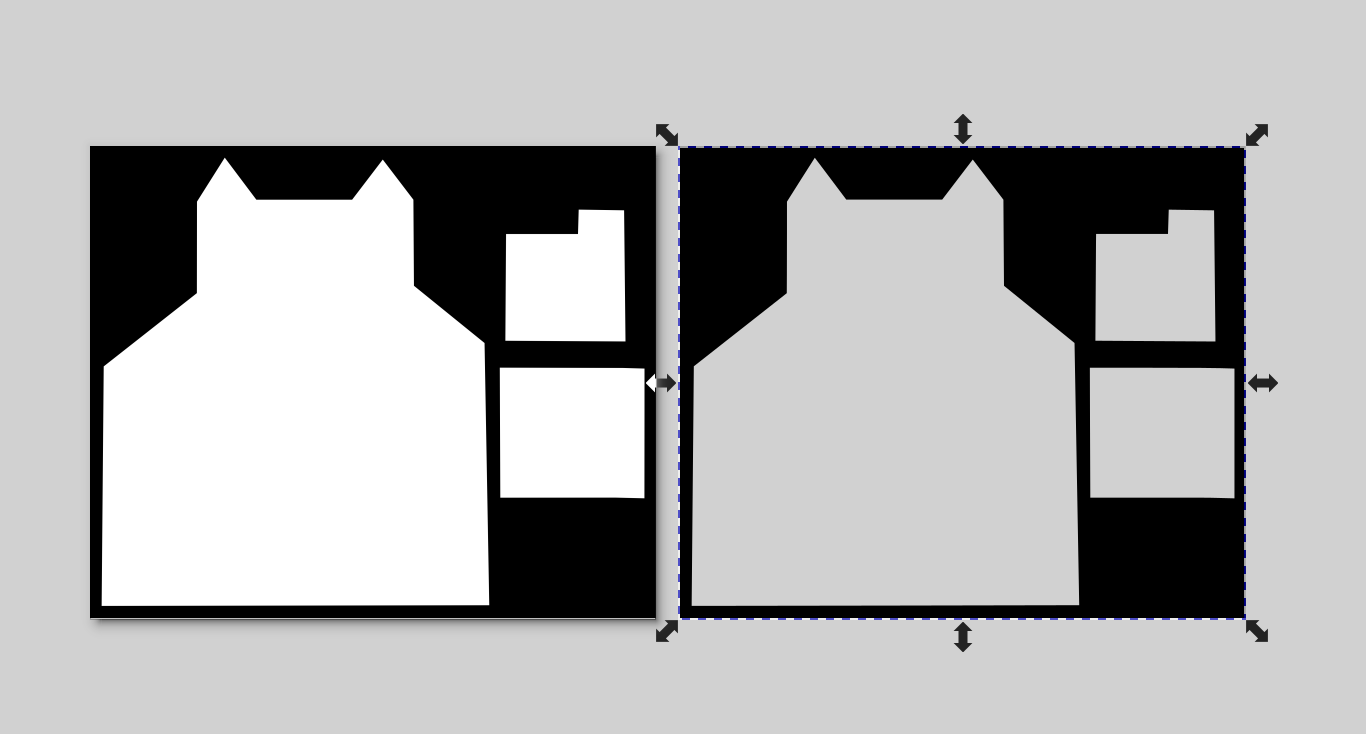
I got ready to mill on the x-tool. But Alan wasn't around to teach me that evening. And when he thaught me later. I forgot to document it.
𓍊𓋼𓍊Touch capacitance𓍊𓋼𓍊
Lets talk touch capacitance. This what I plan to use for my final project because I would really like to explore all the various posibilities of using it. It can replace buttons but also find alot of other utility in the various integrations.
  void setup() {

    Serial.begin(115200);


    analogReadResolution(10);


    pinMode(LED_PIN, OUTPUT);
    pinMode(SOUND_PIN, OUTPUT);
  }

  void loop() {

    int64_t count = 0;


    for (int i = 0; i < N_SAMPLES; ++i) {

      pinMode(SENSE_PIN, OUTPUT);
      digitalWrite(SENSE_PIN, HIGH);  // Drive the pin high to charge any capacitance on the pin


      pinMode(SENSE_PIN, INPUT);


      count += analogRead(SENSE_PIN);
    }


    if (count > THRESHOLD) {  // If count exceeds 180,000 (a threshold for sensor readings)

      digitalWrite(LED_PIN, HIGH);


      tone(SOUND_PIN, 1000);  // Play a 1000 Hz tone (you can change the frequency as needed)
    } else {

      digitalWrite(LED_PIN, LOW);


      noTone(SOUND_PIN);  // Stop any sound that is currently playing
    }


    Serial.println(count);


    delay(2);
  }
So I used this code to also operate a buzzer in the next week for output week. But it works well.