Week 2
Computer-Controlled Cutting
Part 1: Laser Cutting Puzzle Shapes
Goal: characterize your lasercutter's focus, power, speed, rate, kerf, joint clearance and types.
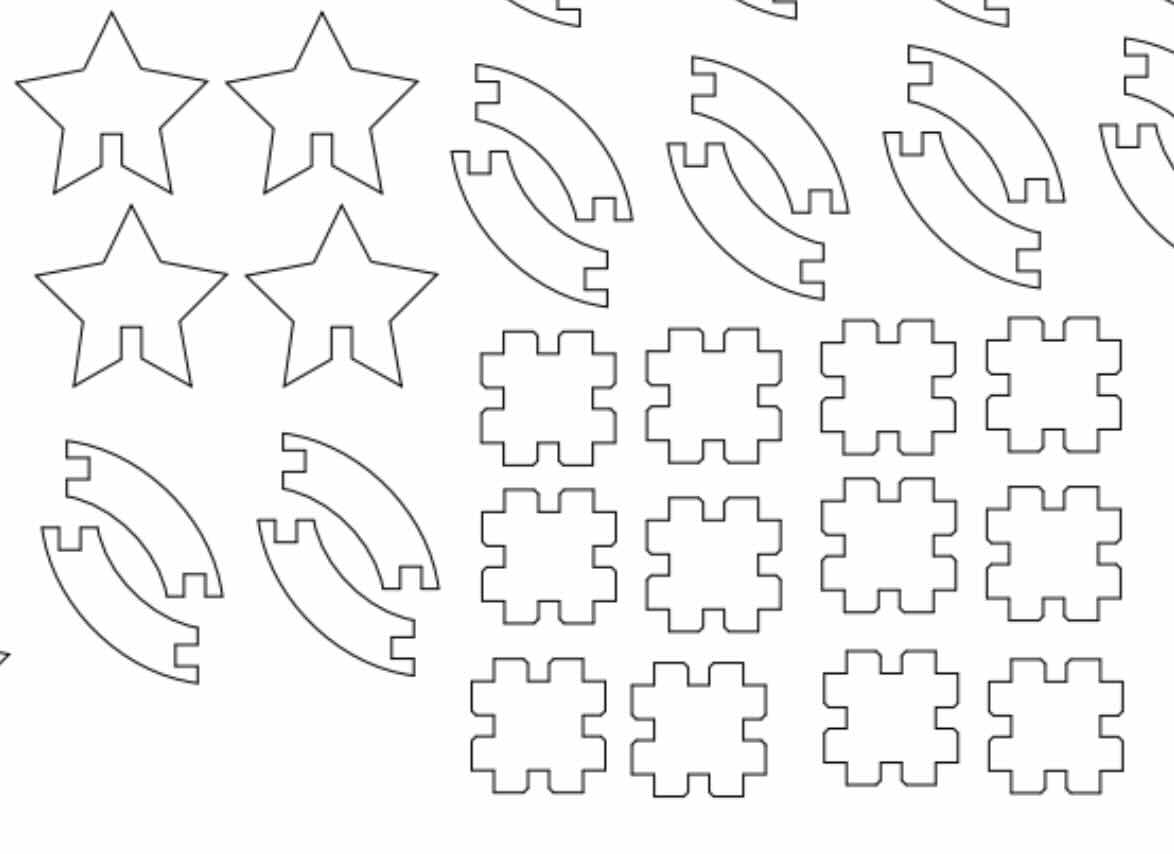
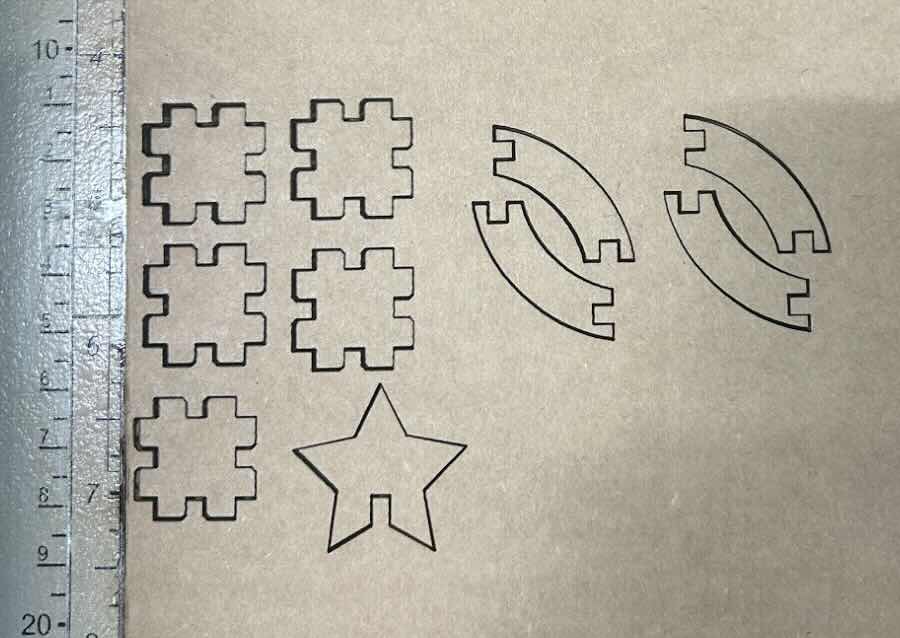
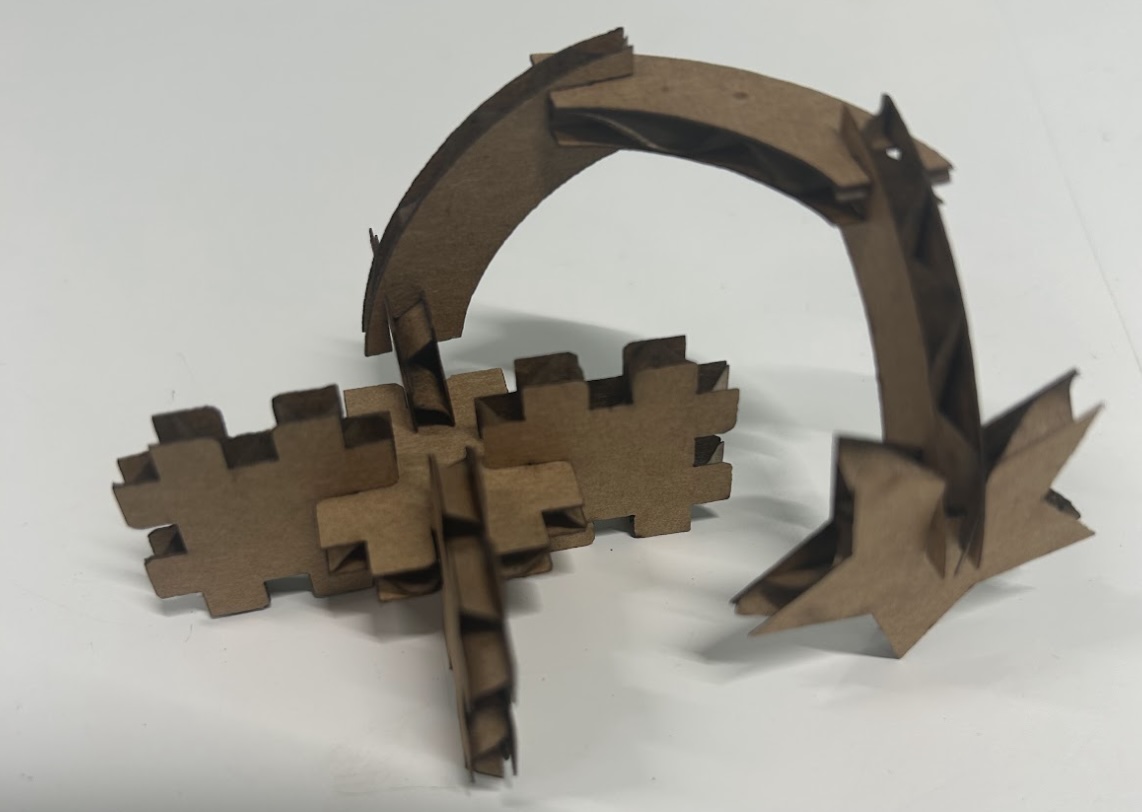
I worked with a group on this first part. It was our first time experimenting with the laser cutter, and we approached this group assignment through cutting some basic cardboard shapes with the laser cutter. Since the material was cardboard, we used the settings: 65 speed, 100 power, 5000 frequency. We measured the width of the cardboard to be 0.150 inches (1/8 inch), so chose to use this value for the joint width. Using Adobe Illustrator, we created a simple .svg file with a few different shapes (shown below), and assembled these into a 3D object!
Part 2: Laser Cutting Main Project
Goal: design, lasercut, and document a parametric construction kit
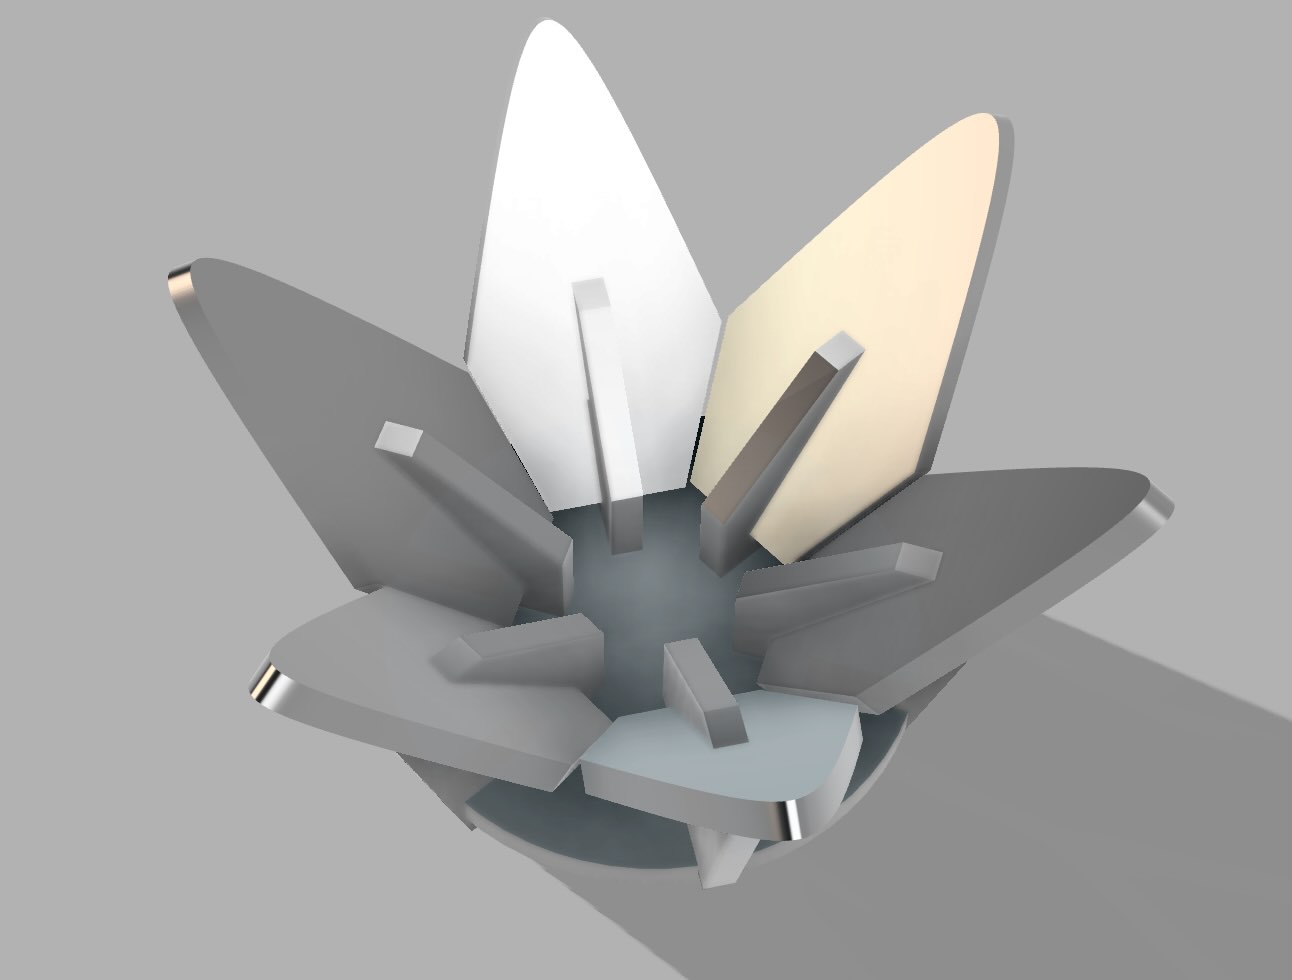
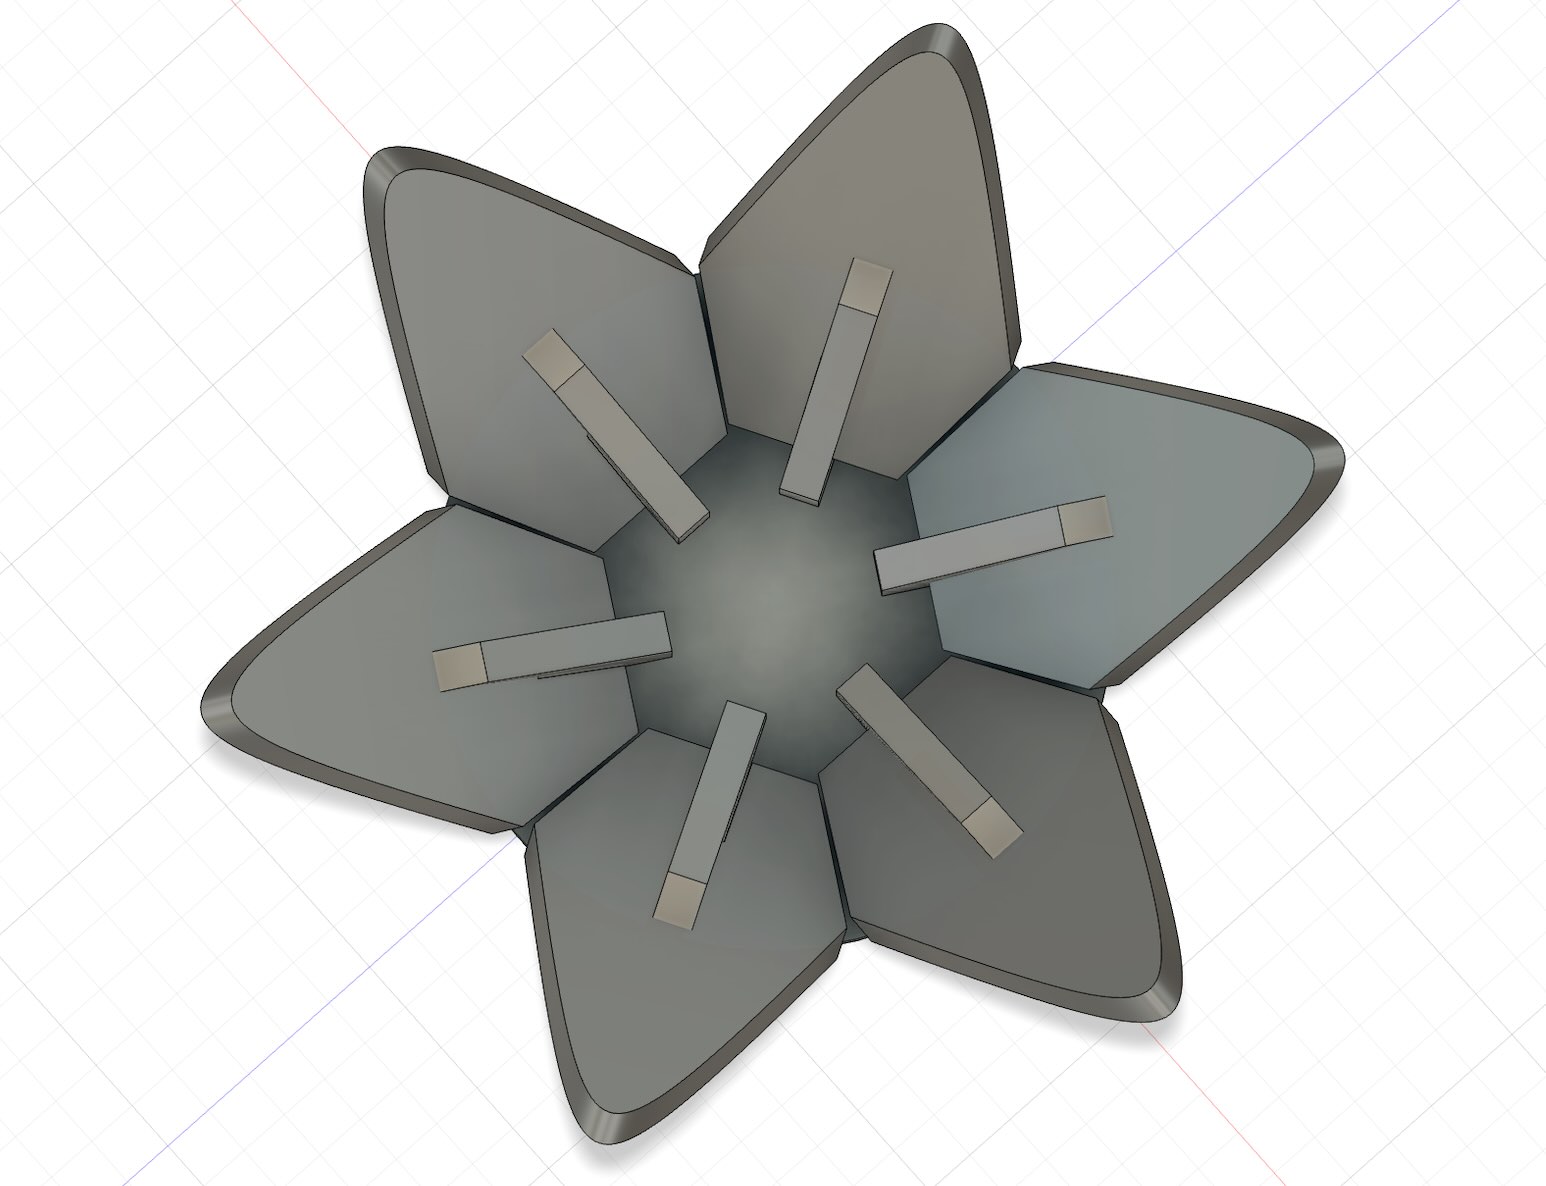
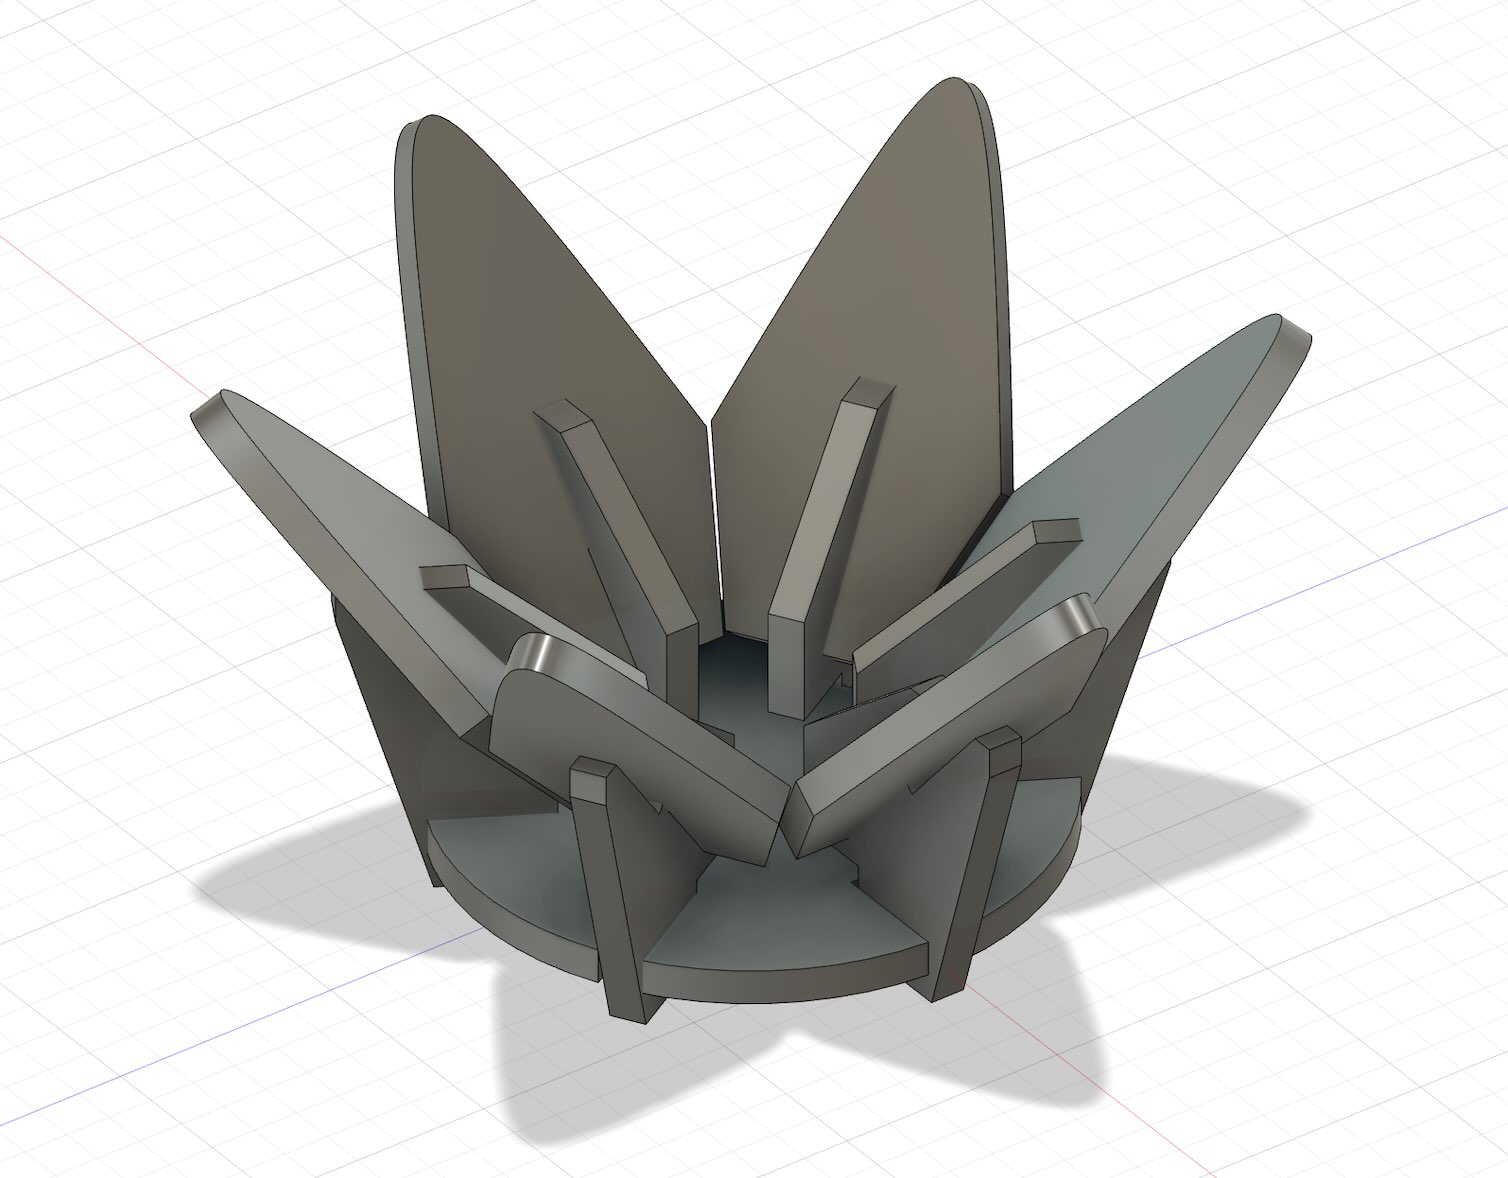
For this project, I wanted to get more experience with CAD for more complicated shapes and angles, so I chose to make a parametric construction kit for a flower (inspired partially by the viral Lego roses). I started with a quick sketch, outlining the general shapes I'd need to assemble the flower. I then used Fusion 360 to create the 3D model--once again using joints with a width equal to the thickness of the cardboard at 0.15 inches. I quickly saw how valuable parametric design is, since I needed to resize, change angles, and generally adjust the base sketches many times to get the final product. Having fully constrained shapes made this process a lot easier. Below is the final CAD rendering.
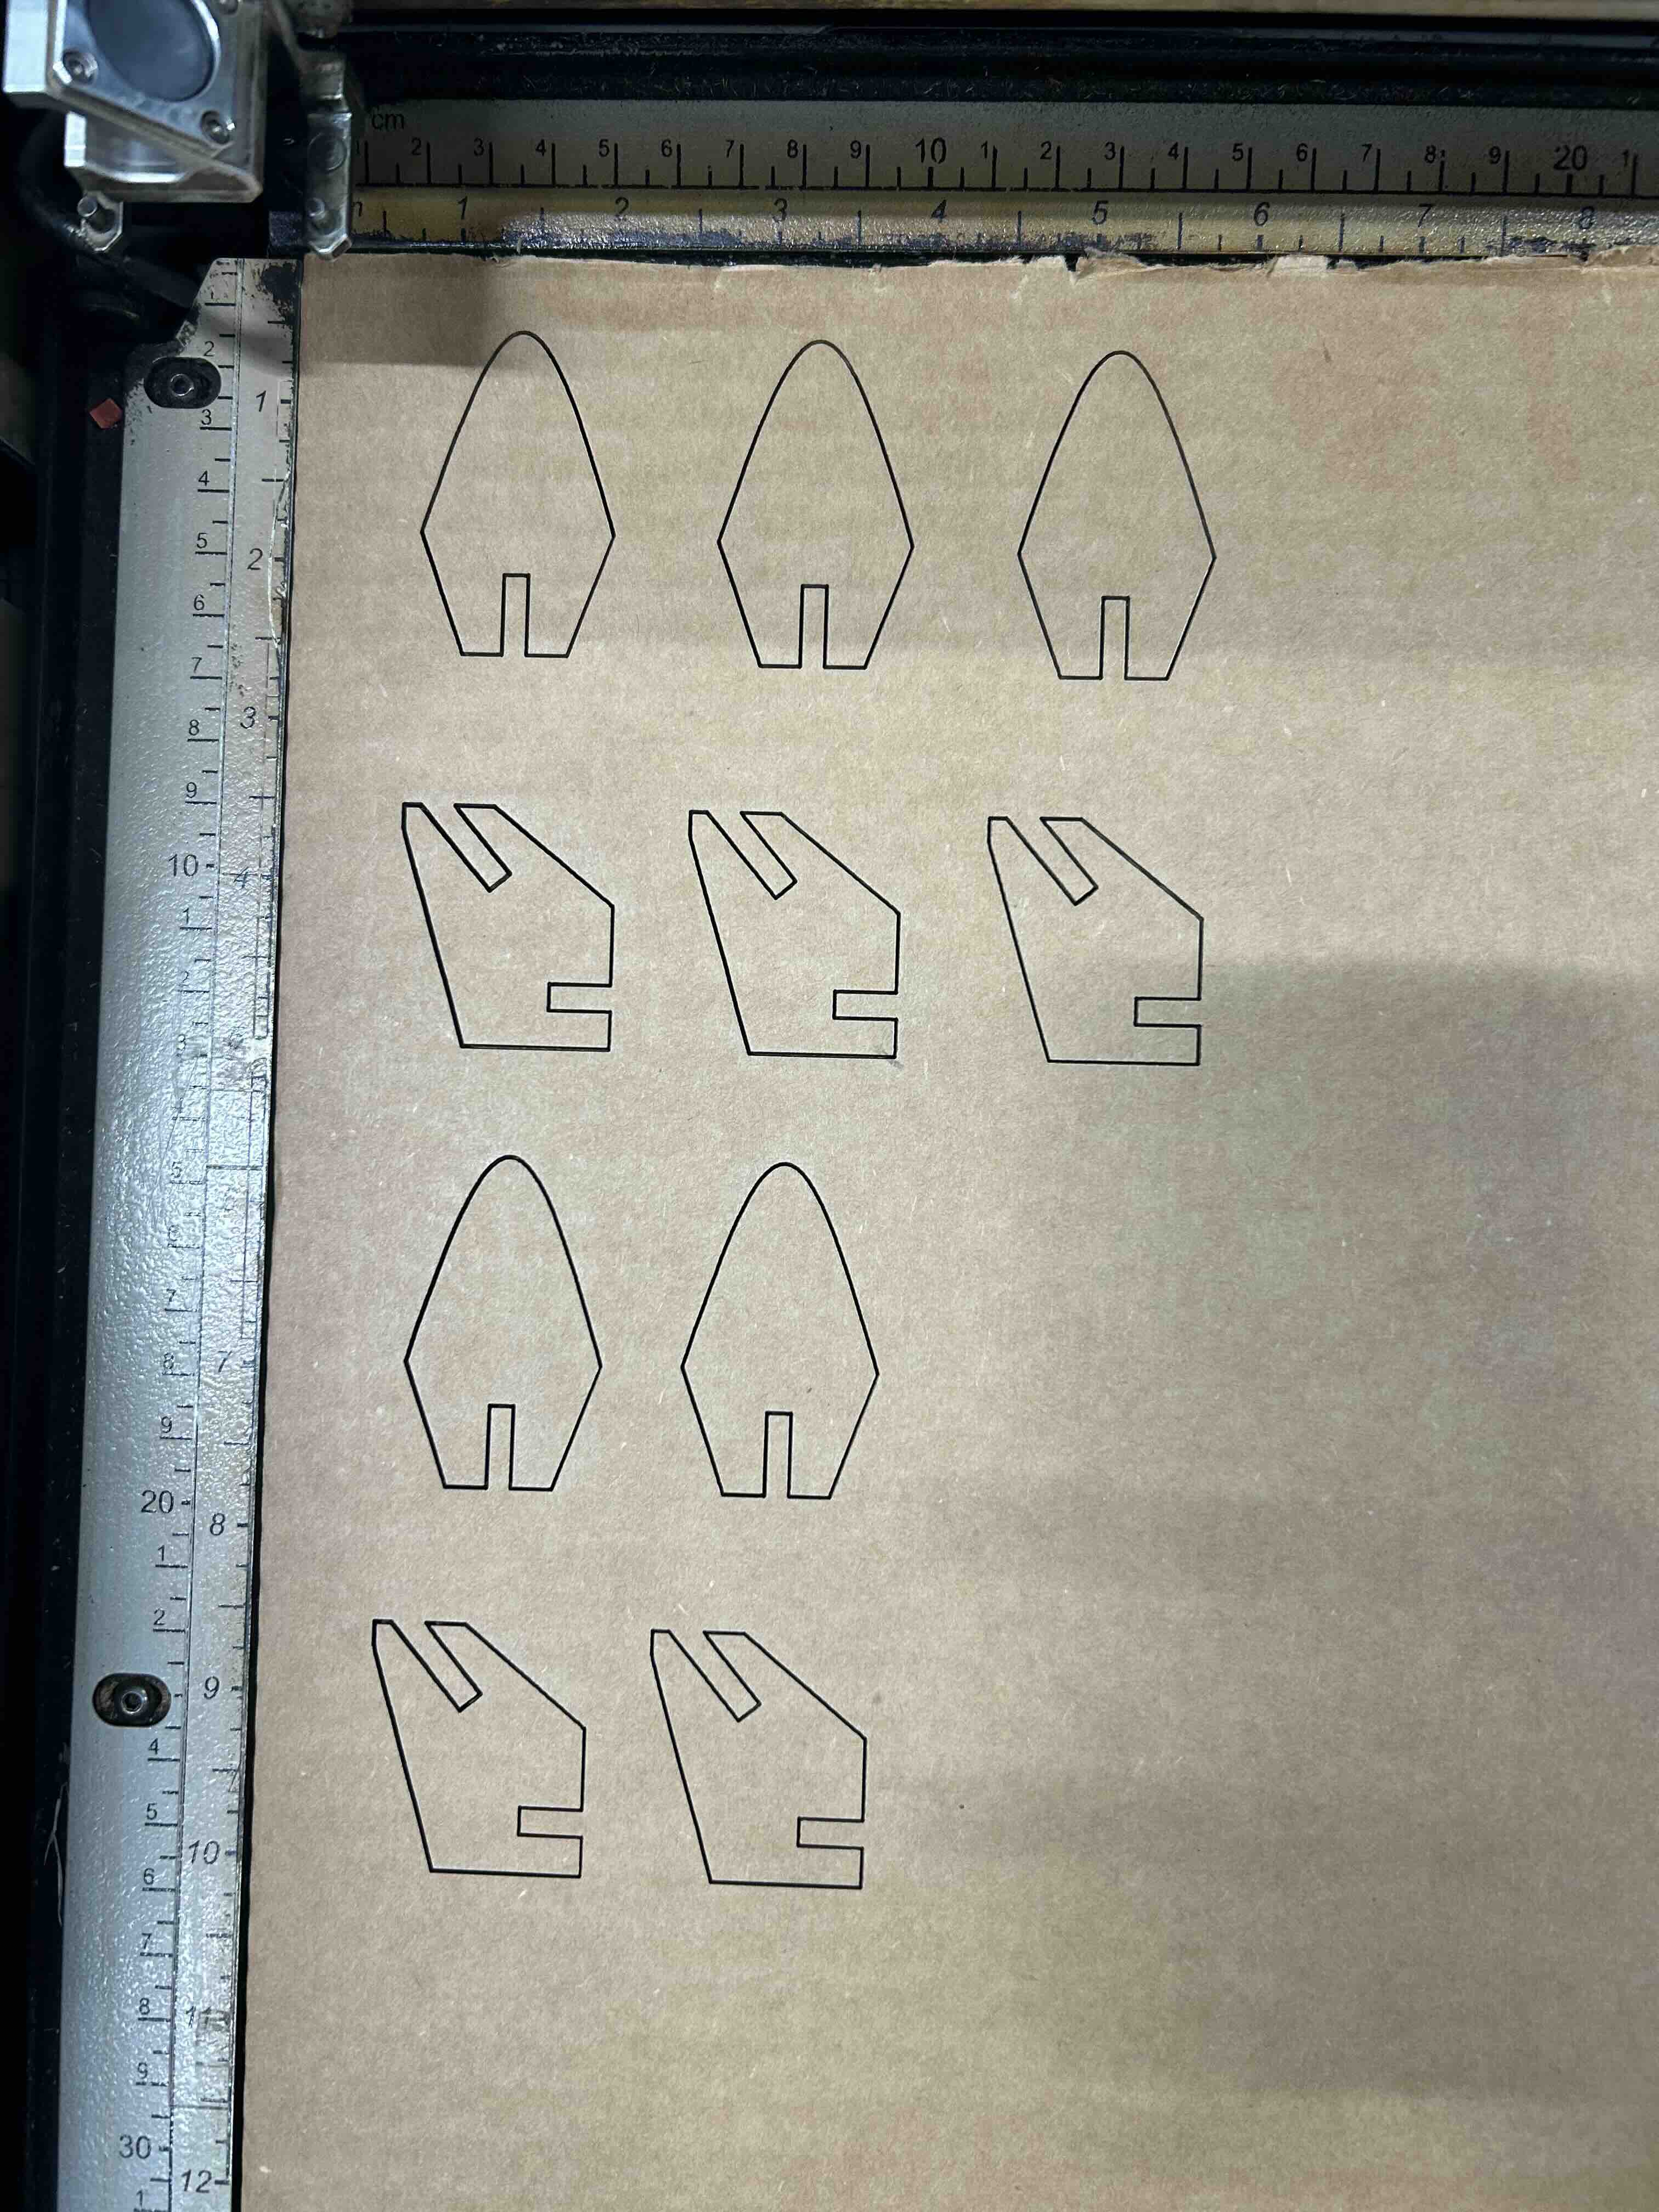
Next, I needed to cut out the base shapes using the laser cutter. I exported each of the core surface shapes (the skteches) as .dxf files, which could then be imported into Adobe Illustrator to connect to the Laser printer. For some reason, the dimensions from Fusion weren't preserved in the exported .dxf files, so I had to manually adjust the size of each shape in Illustrator by maintaining the overall height/width ratios and benchmarking the size against the width of the cardboard. I then cut out the shapes using the same settings as I'd previously done with the general puzzle shapes above. Because the cardboard was somewhat bowed, the laser cutter didn't cut all the way through the cardboard on some of the shapes further away from the corner: so I had to do a reprint with slightly high power.
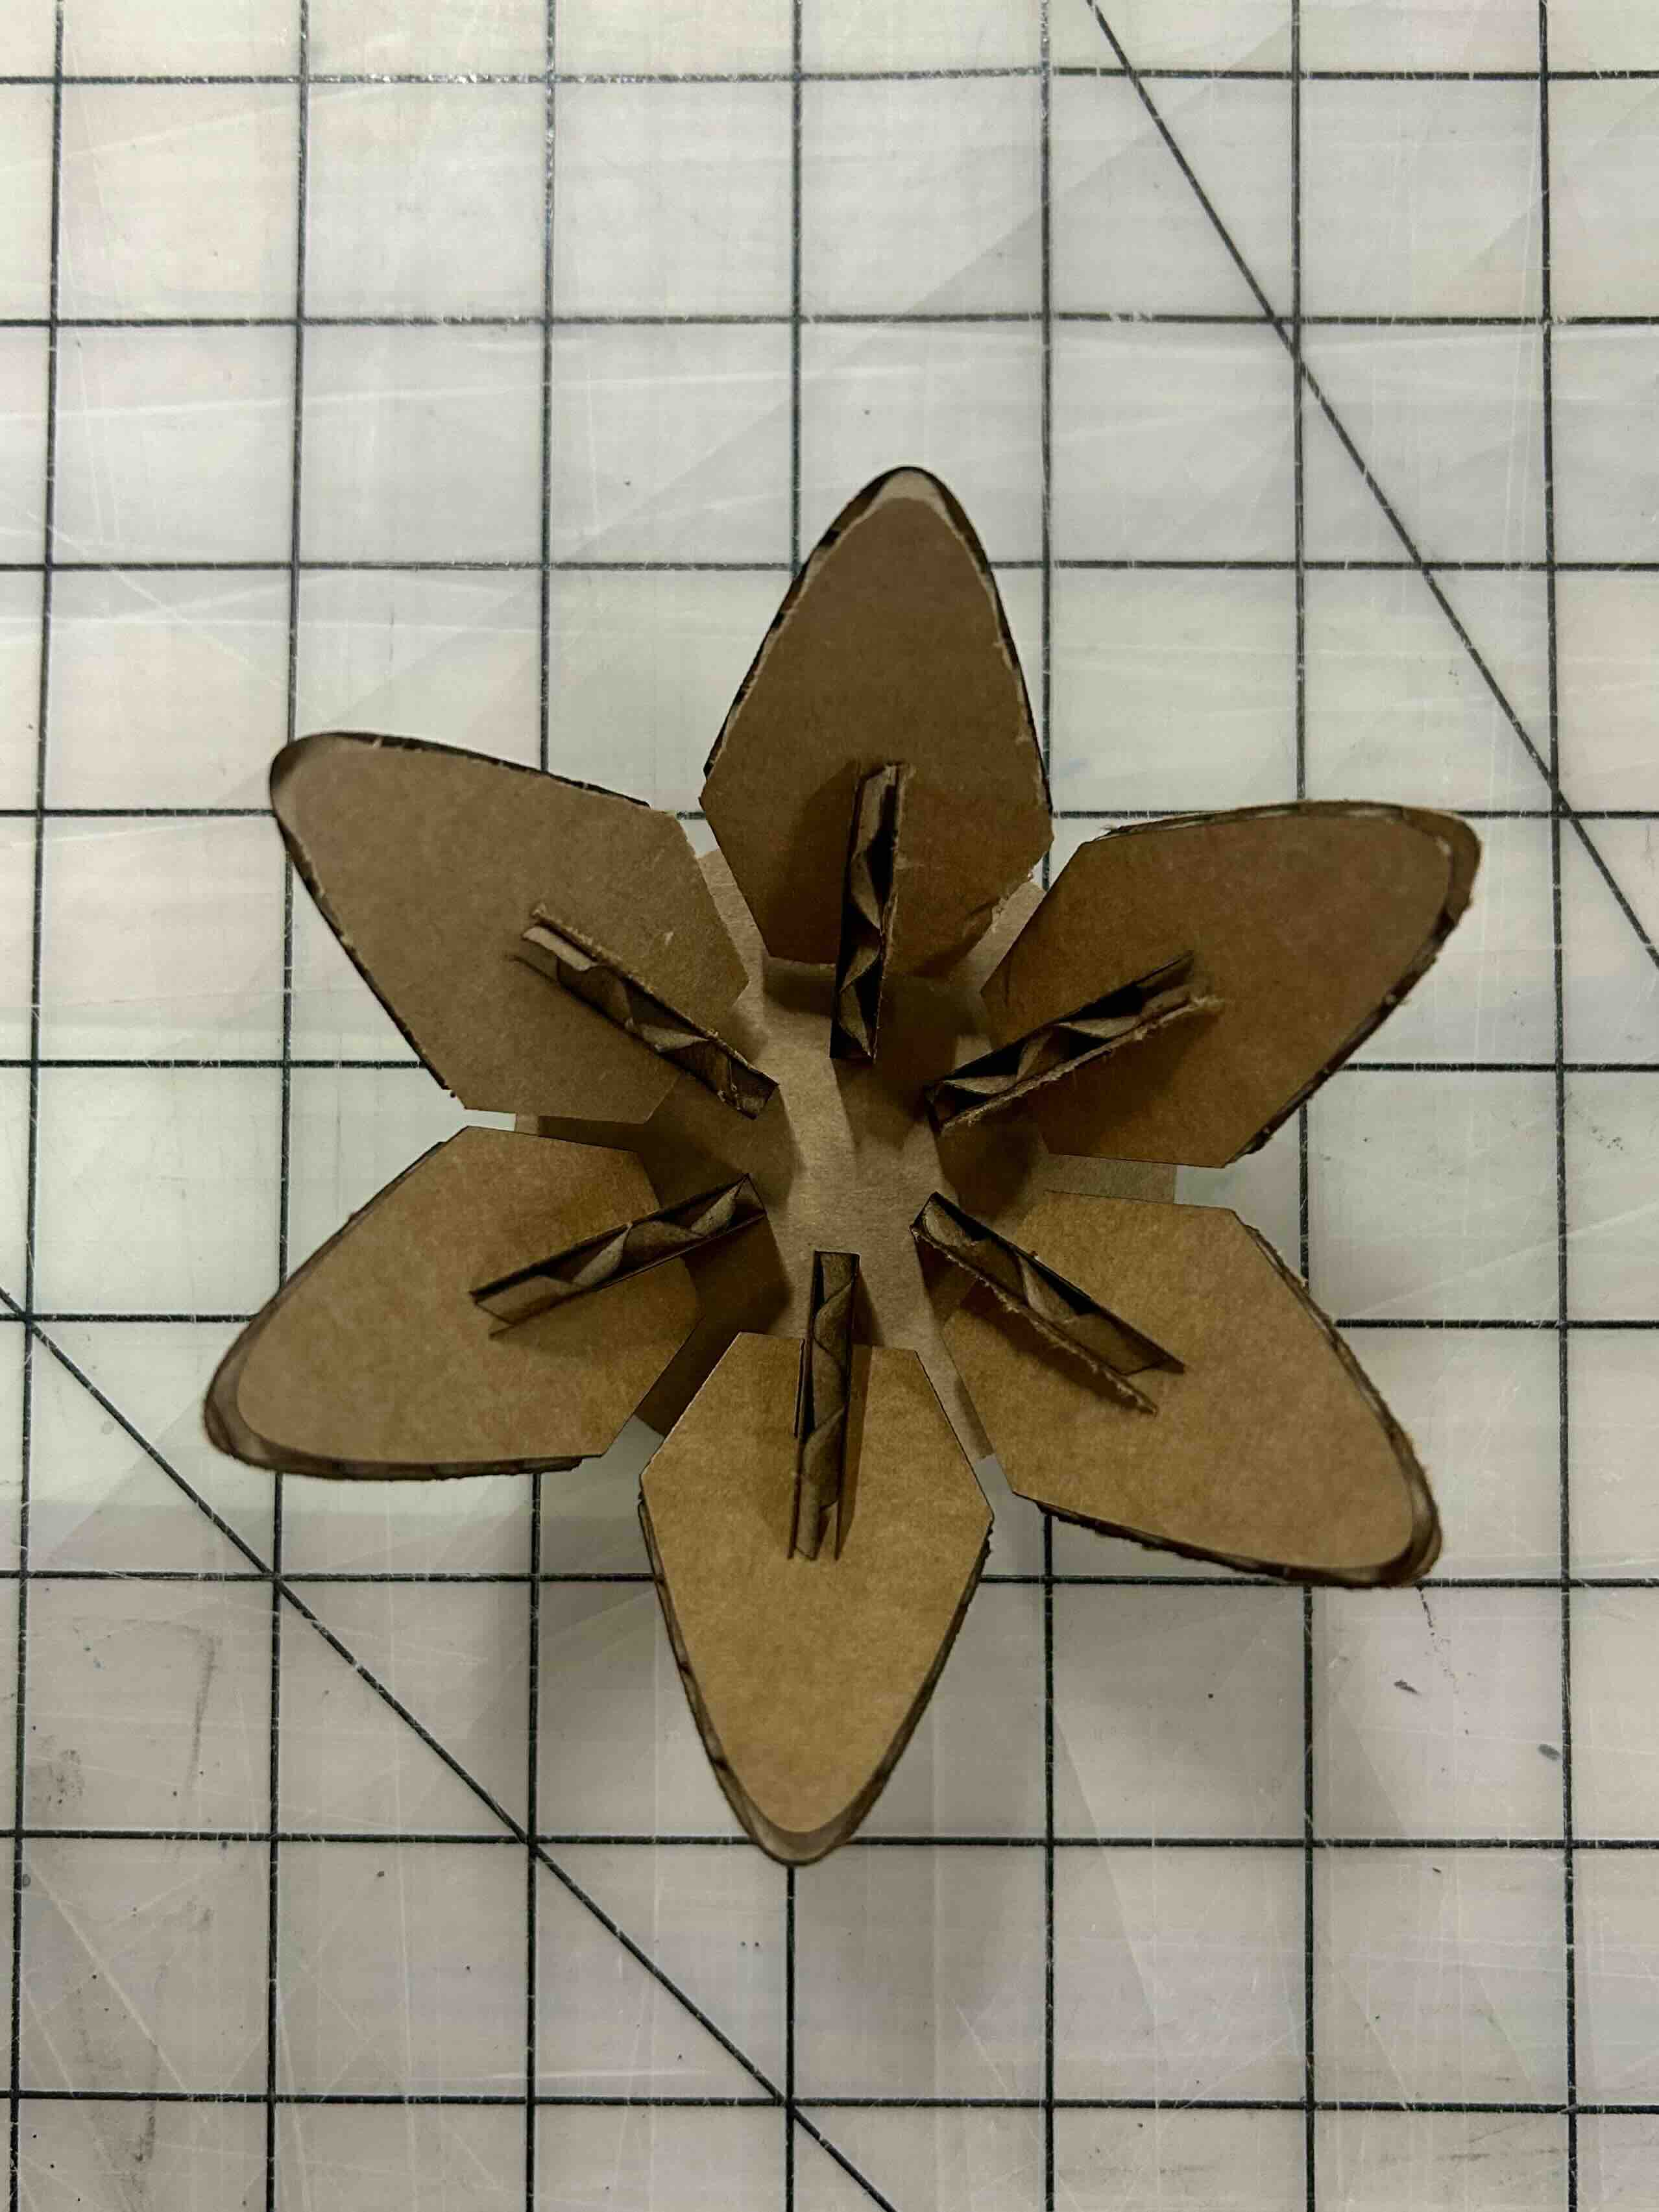
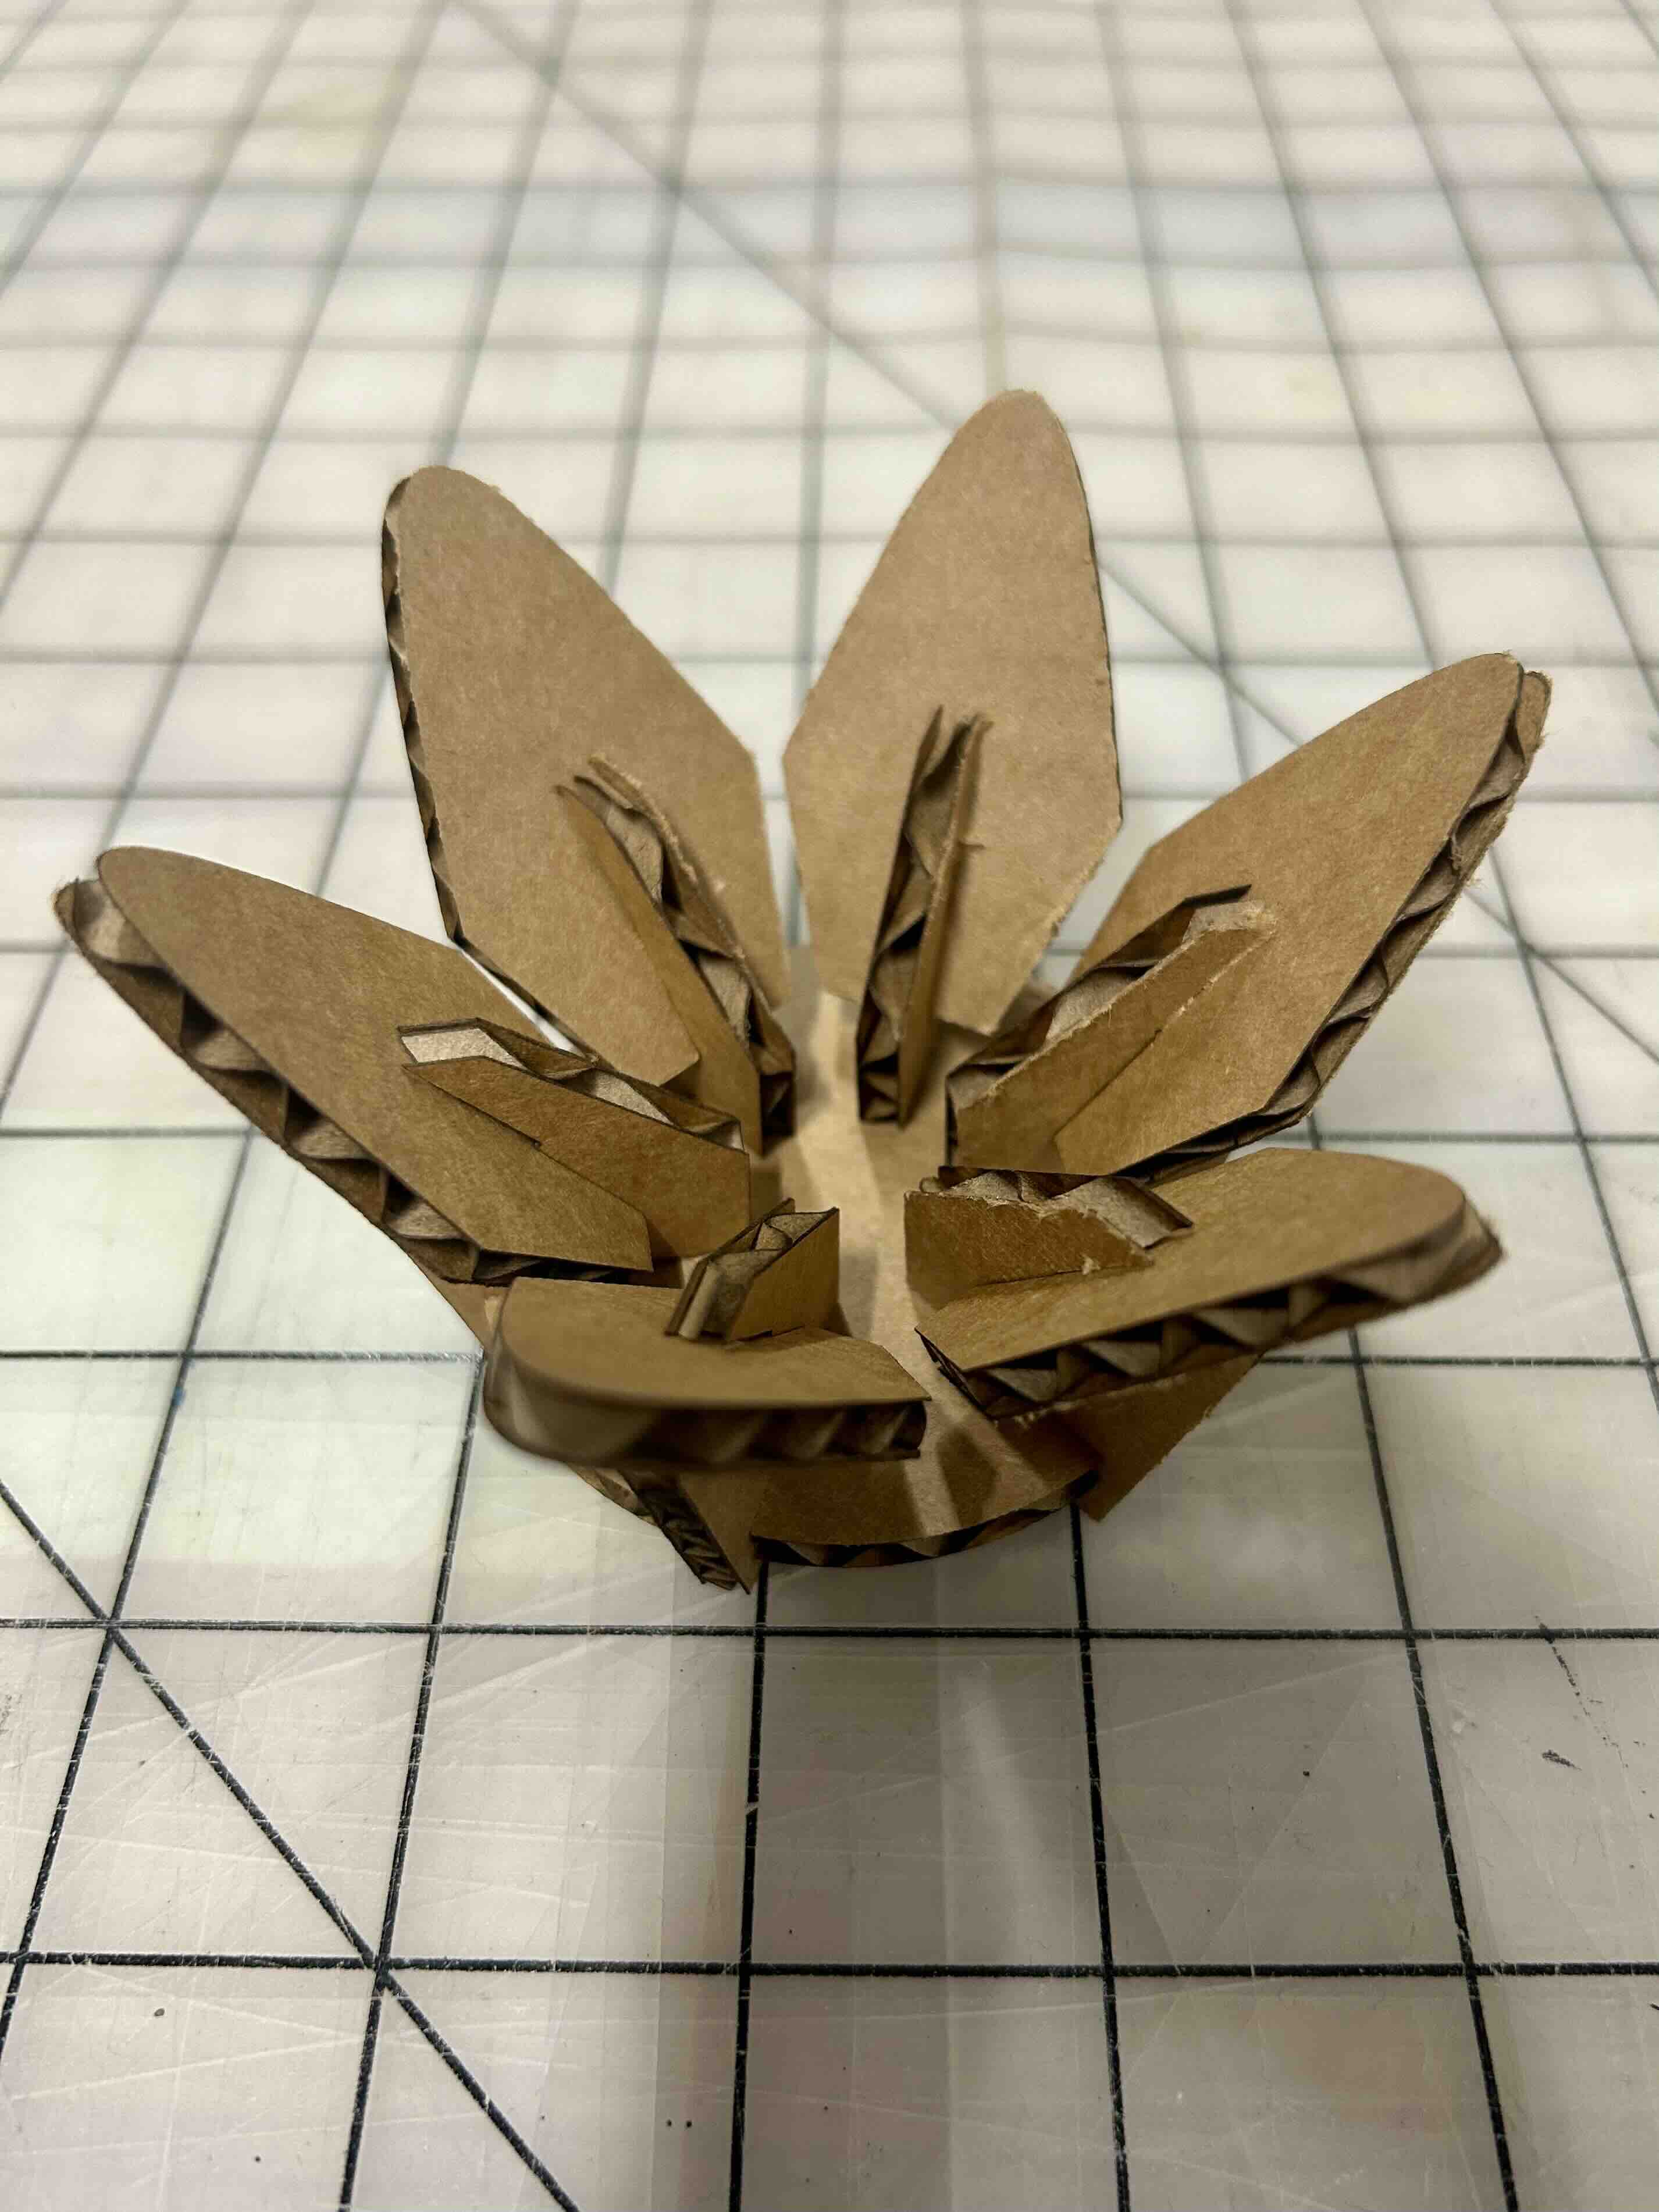
Finally, I assembled the flower. The joints fit together great and--while it admittedly looks a bit closer to a decorative bowl than a flower--you can see how it turned out below :) Overall, this project was a great chance to dig deeper into Fusion/CAD for the first time and experiment more with the laser cutter.
Part 3: Vinyl Cutting
Goal: cut something on the vinylcutter
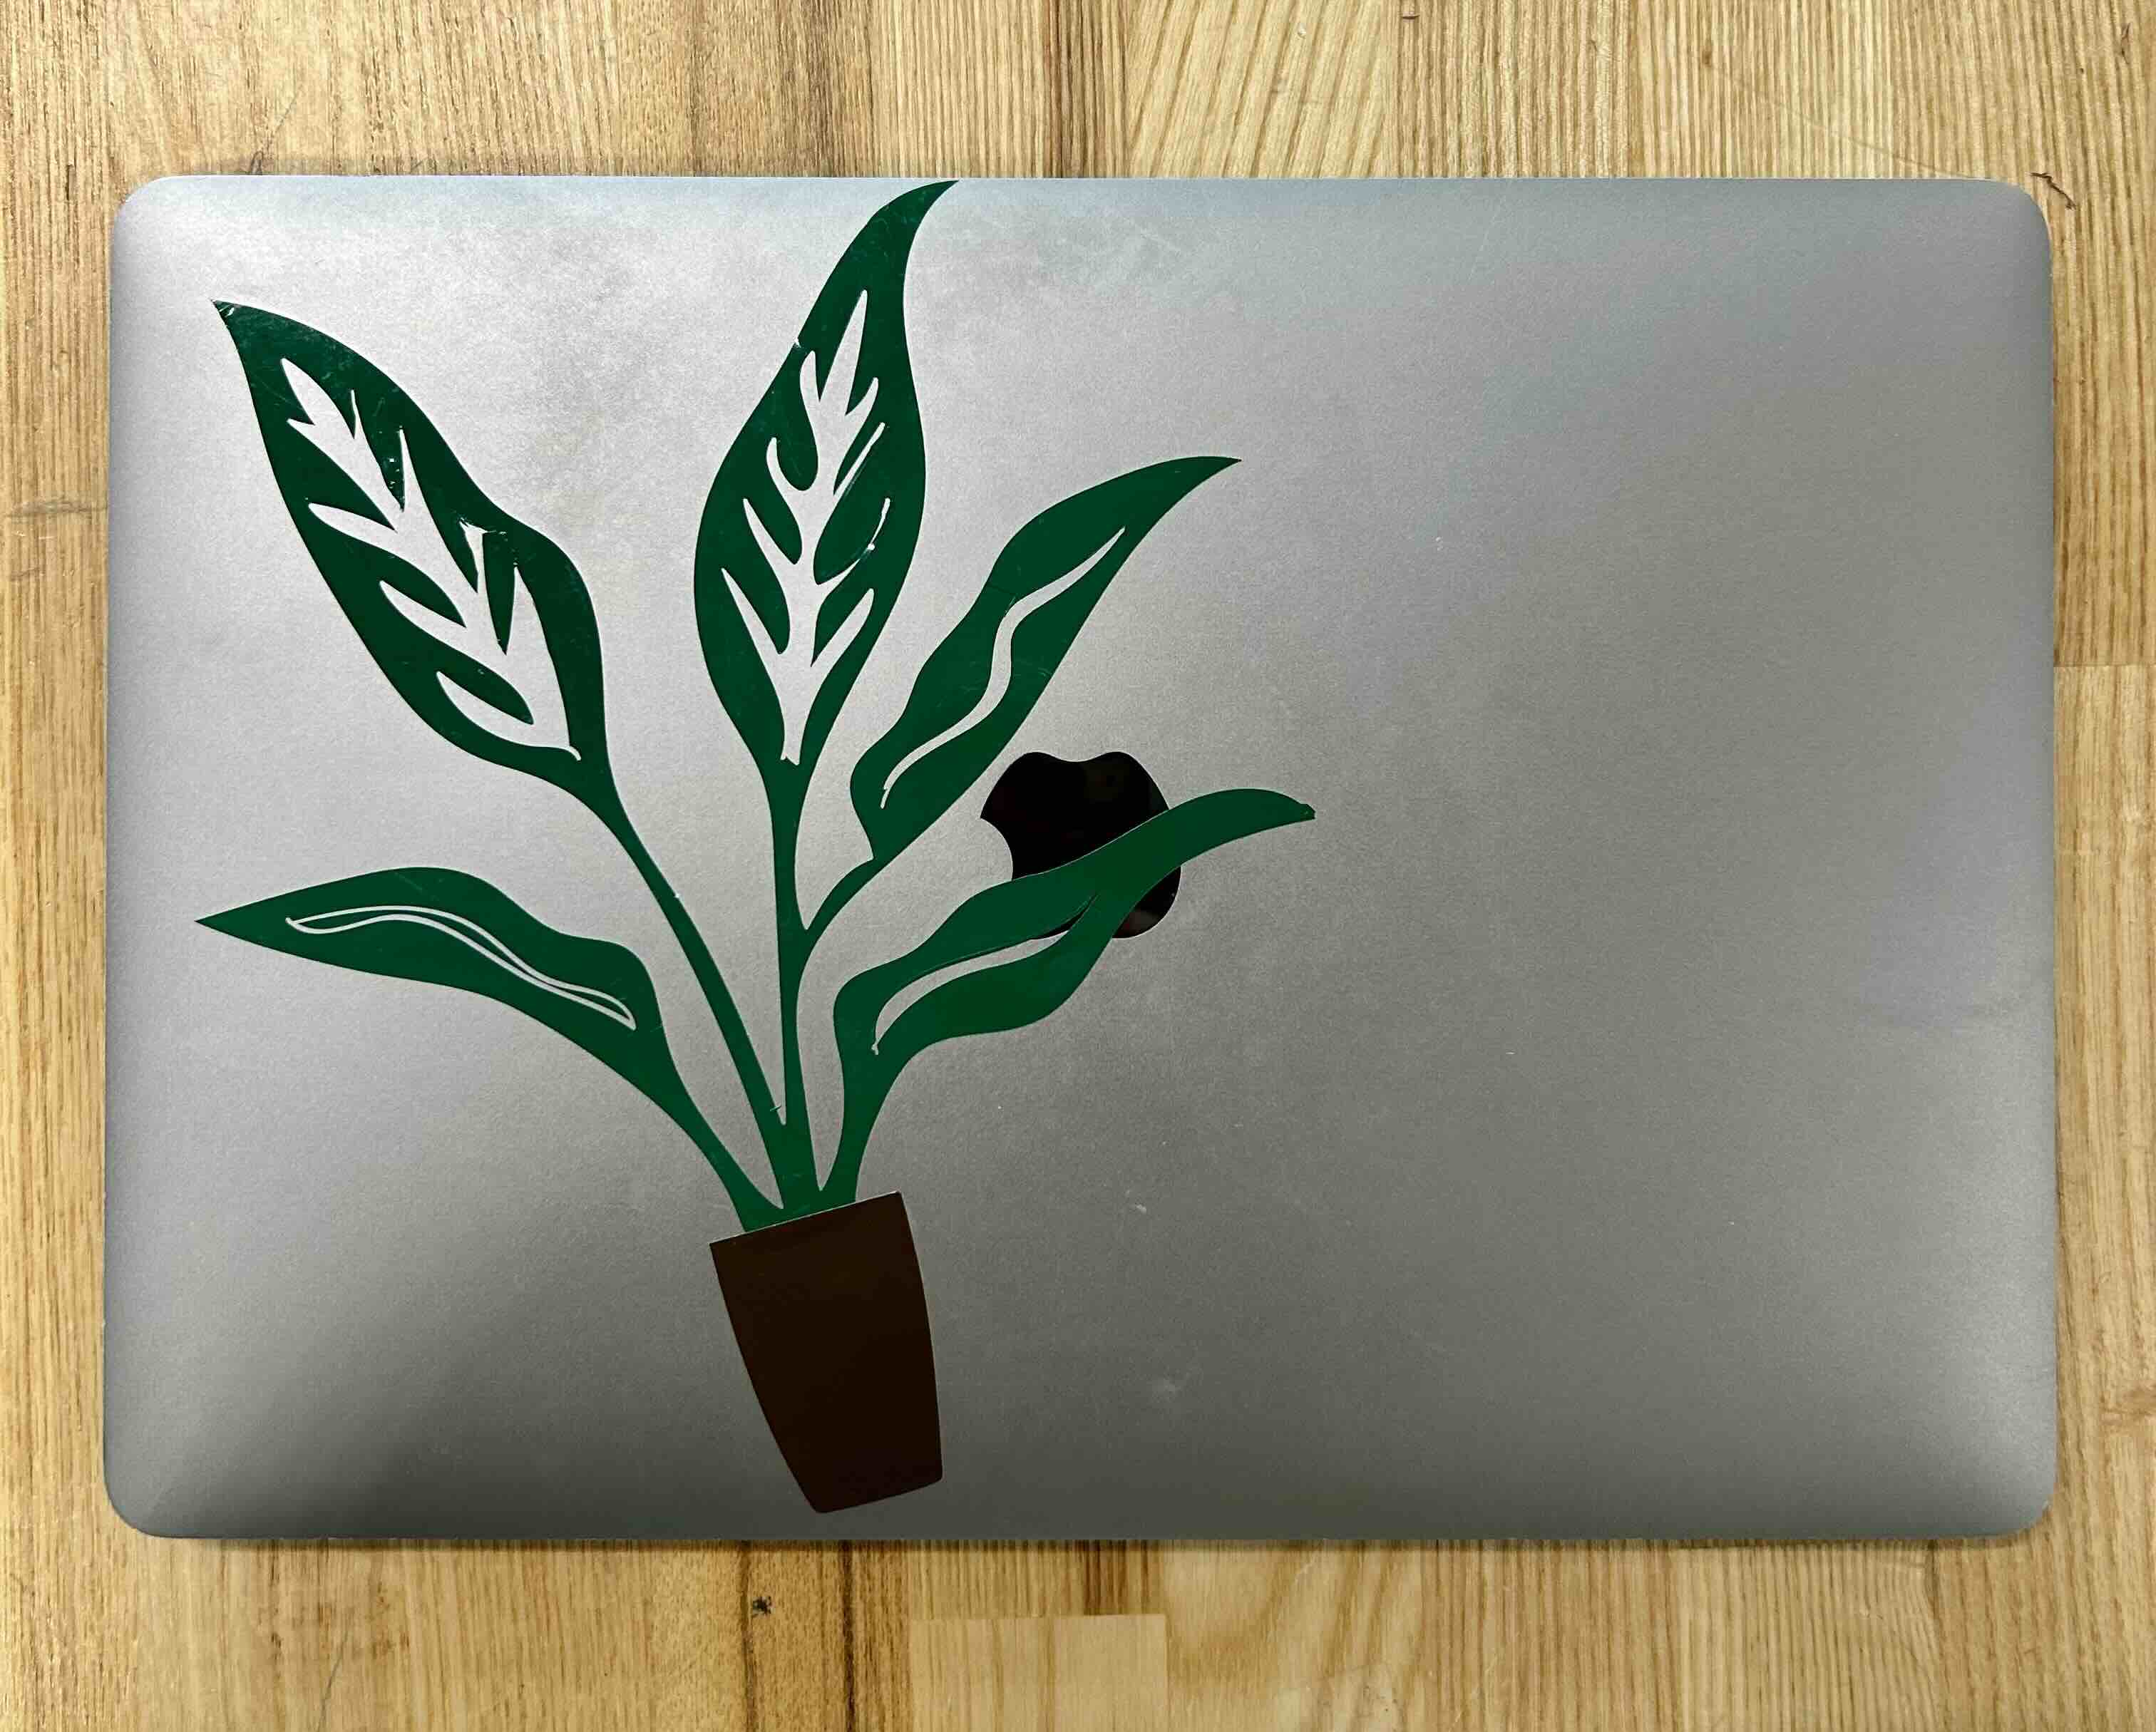
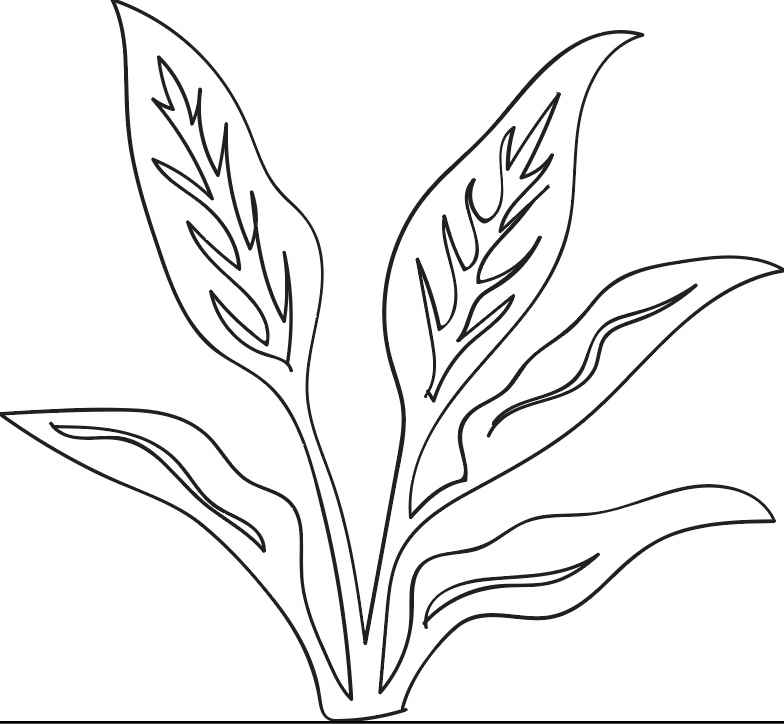
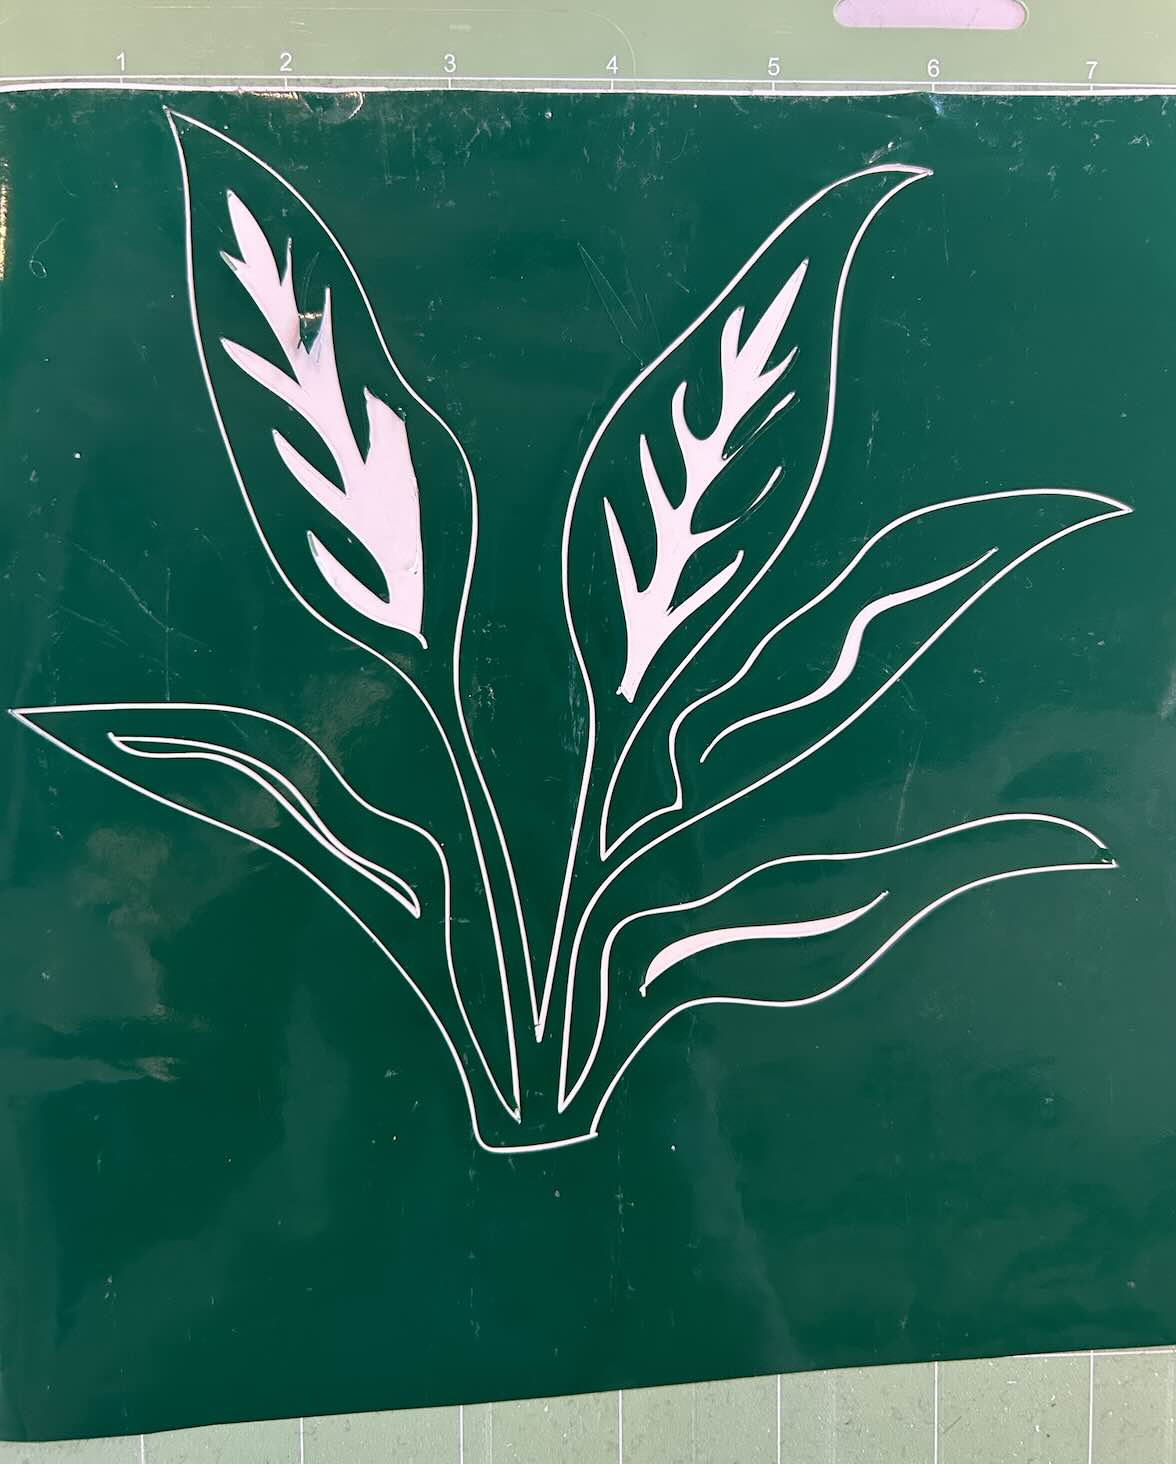
For the last part of this week's crash course on computer-controlled cutting, I chose to make a laptop sticker with the vinyl cutter. Sticking with my plant theme from laser cutting, I designed a bird of paradise plant sticker using Adobe Illustrator. In the first cut, the lines were too close together because the image was quite small, so the vinyl cutter ended up shredding the image.
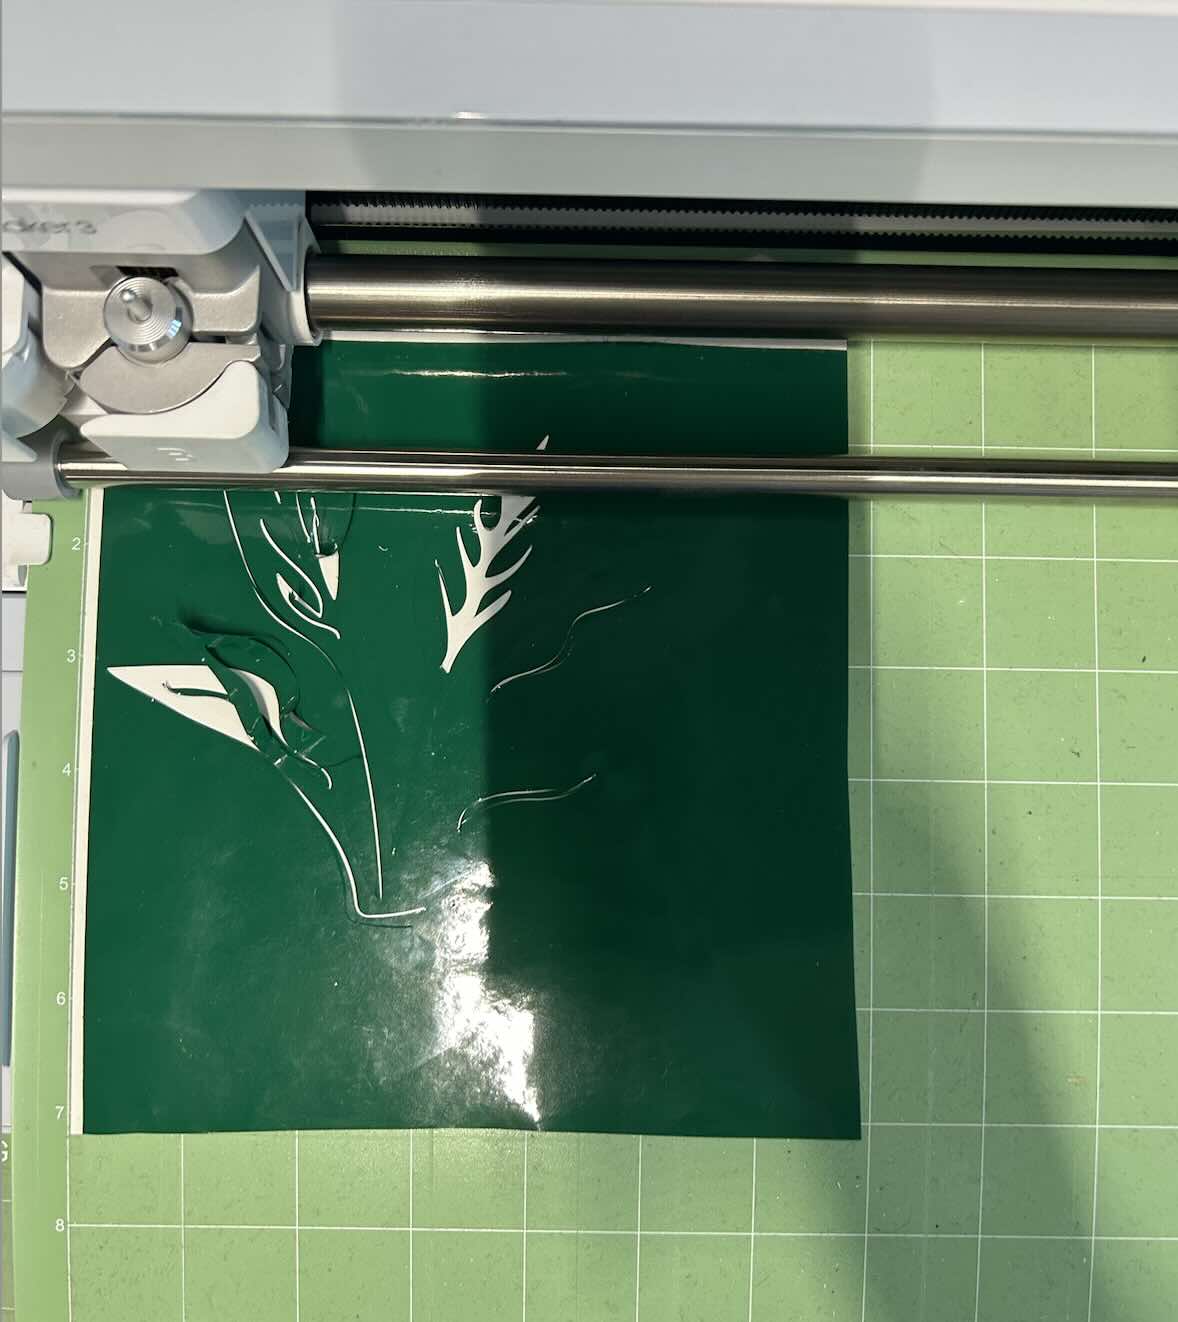
After adjusting the image to be larger and adjusting some of the lines to be spaced out further from the edges, I was able to get a clean cut!
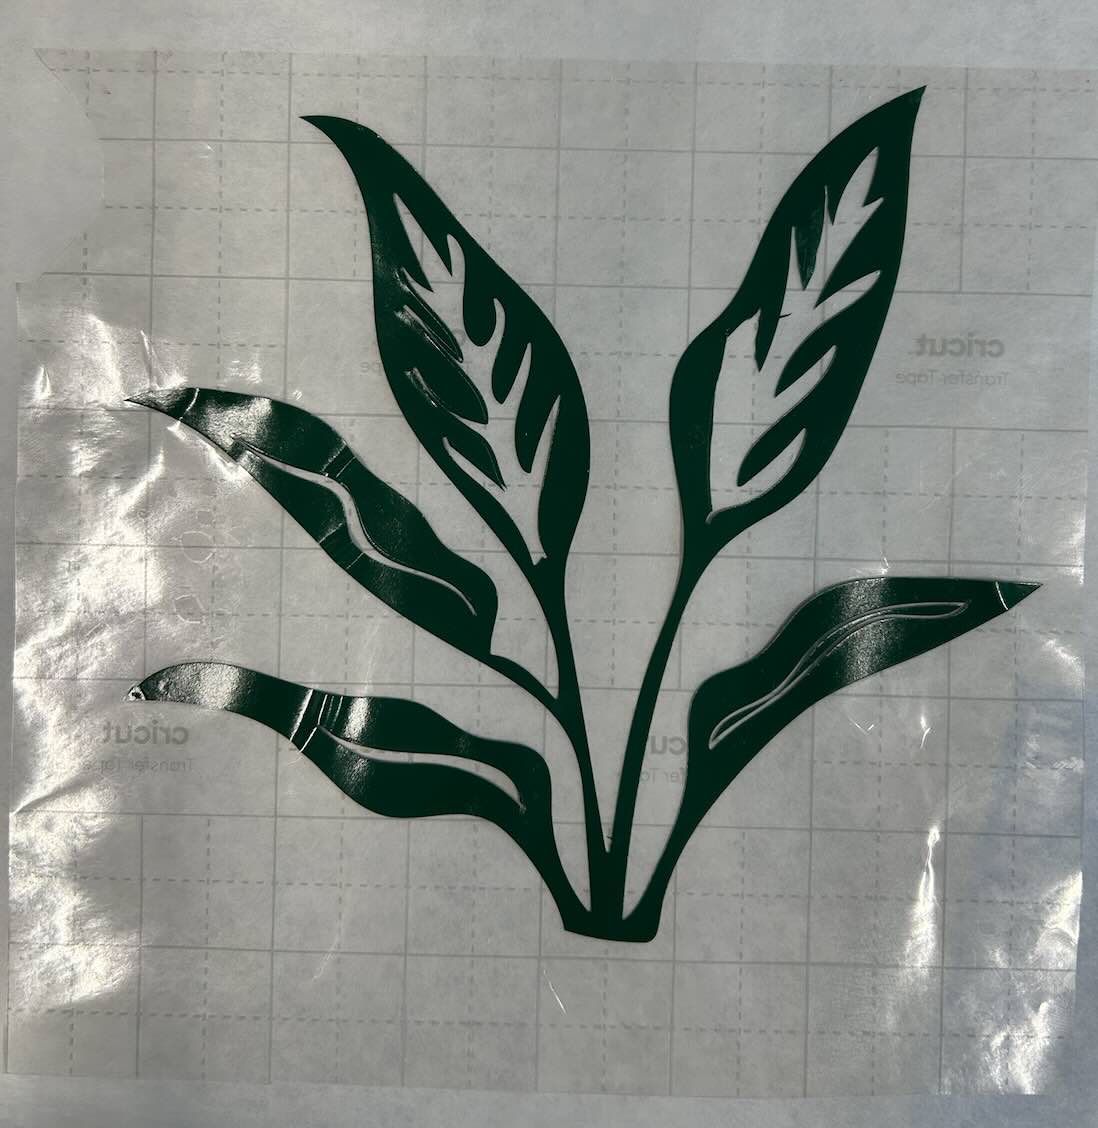
I cut out a simple vase shape on a different color vinyl, and transferred the end result to my computer.
