Week 4
3D Printing
Part 1: Printing Test
Goal: test the design rules for your 3D printer(s).
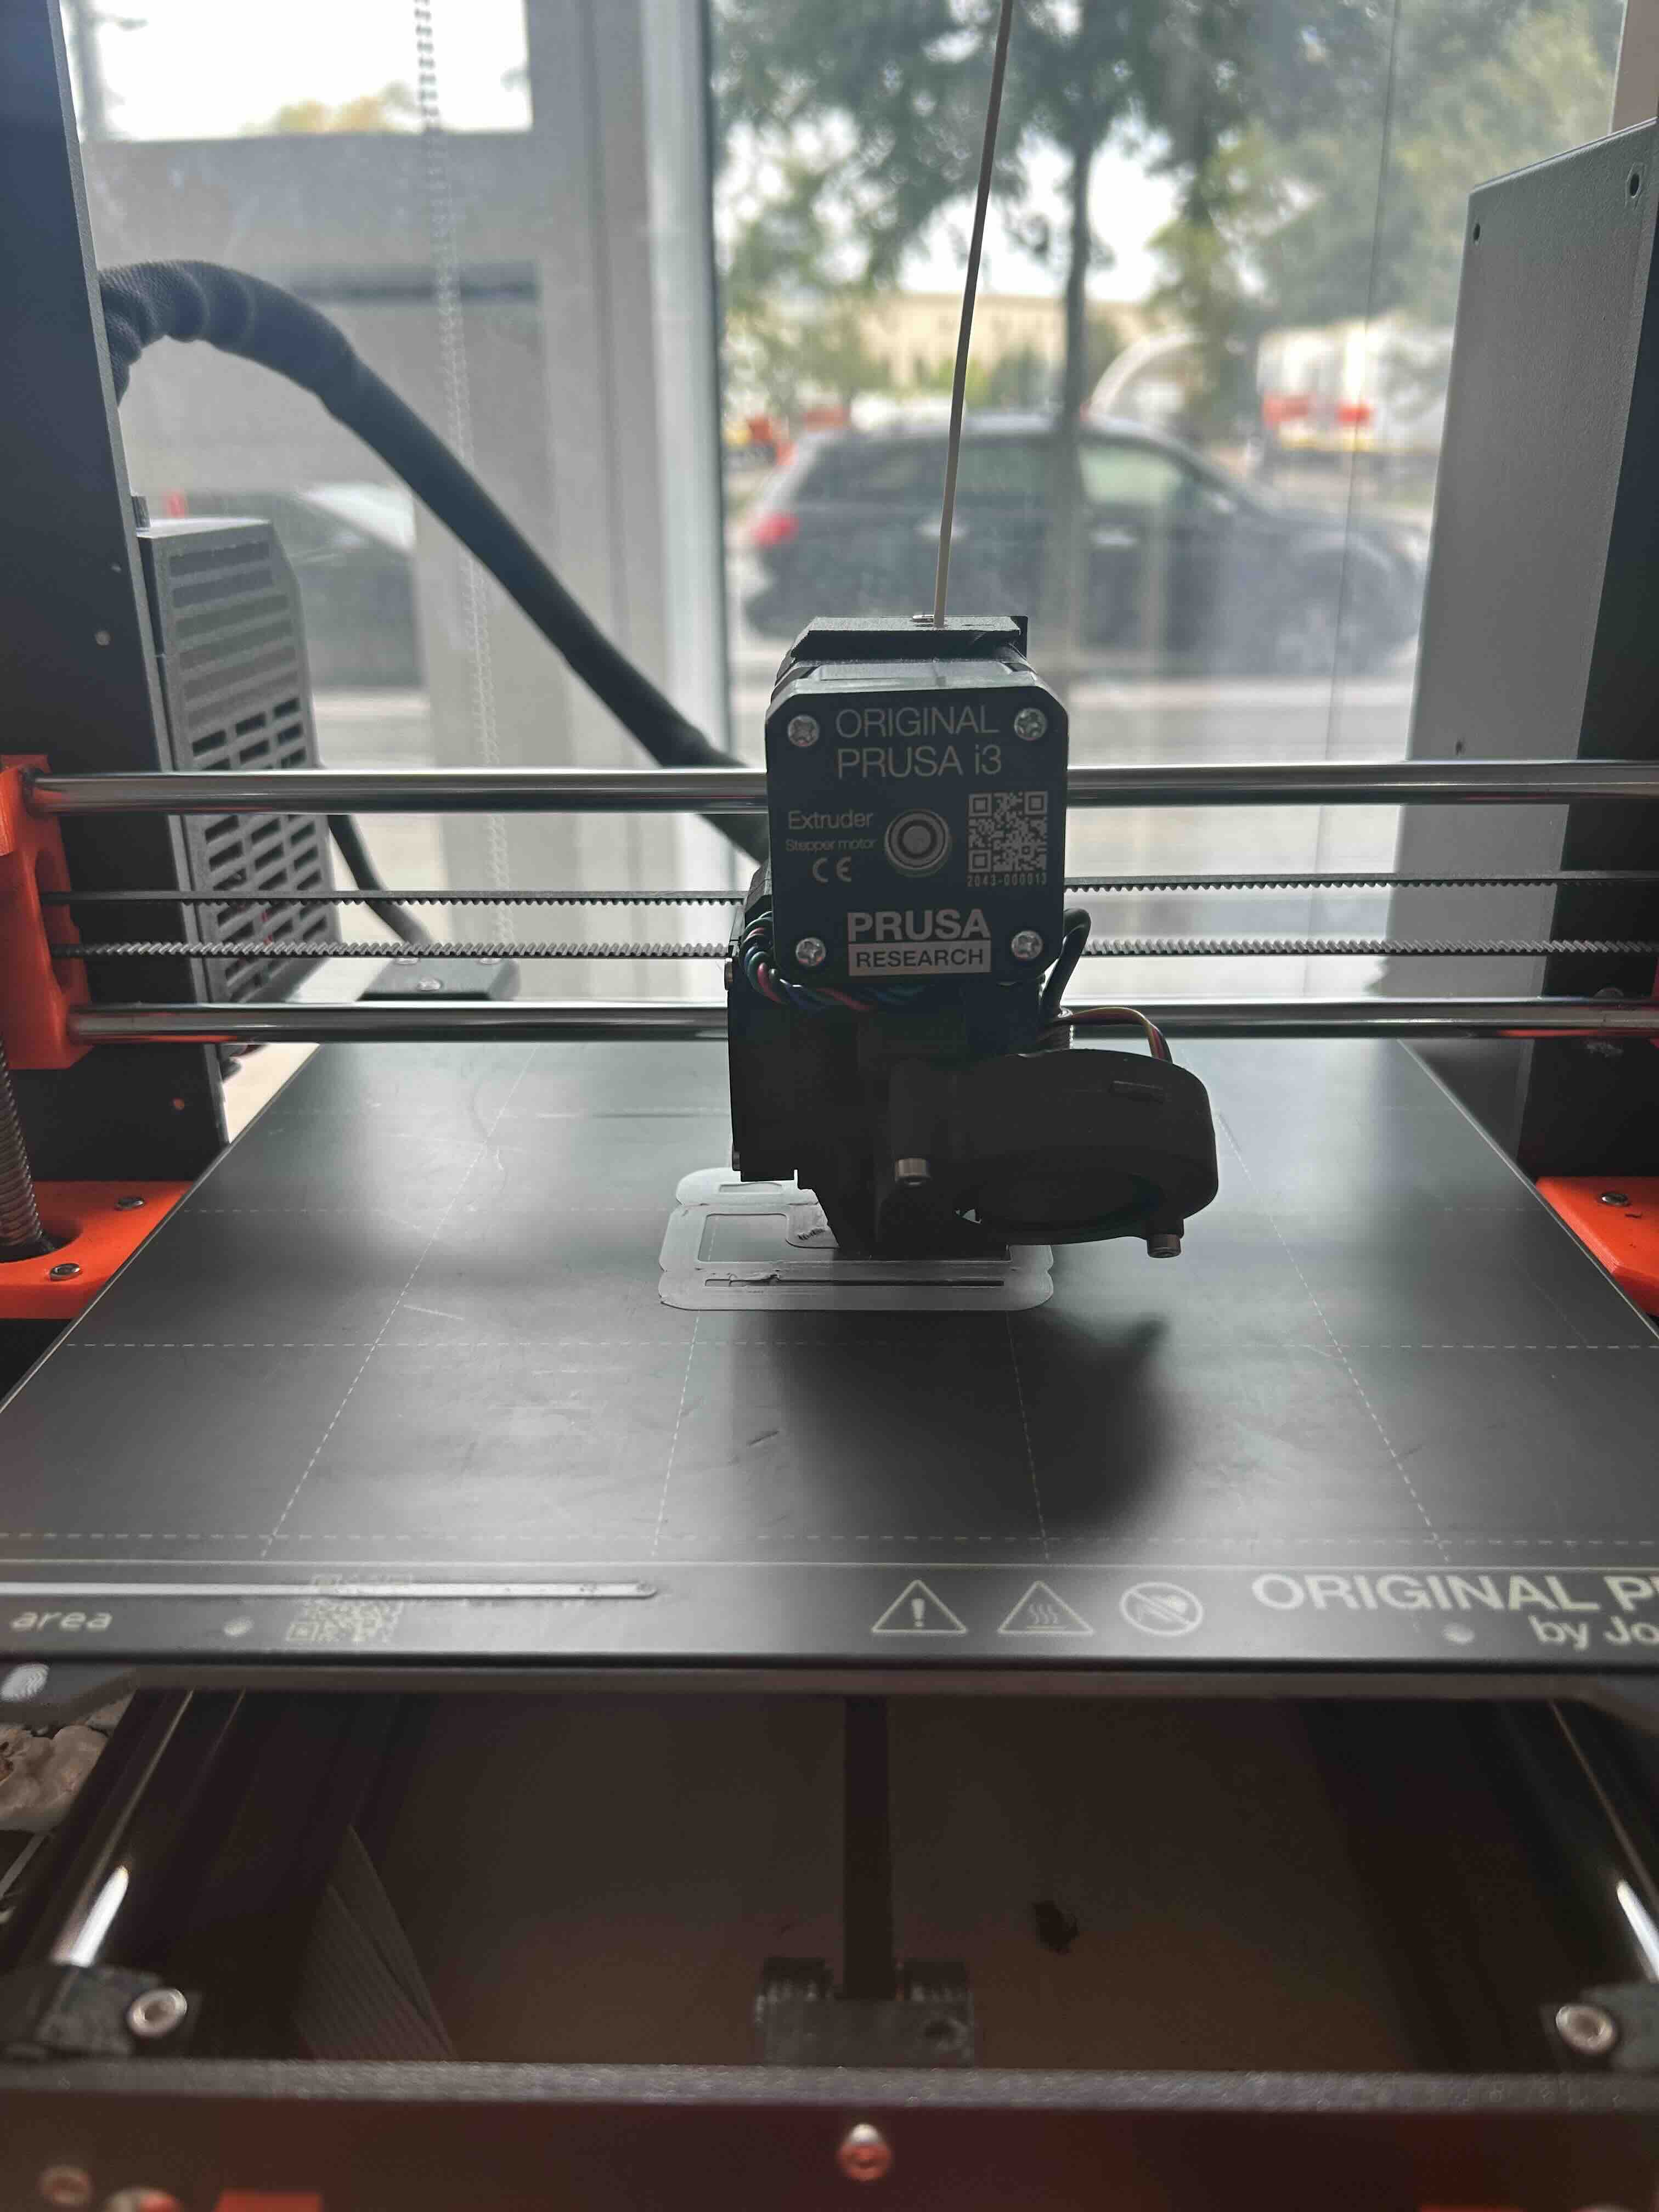
This was the group project for this assignment, and we found a print on Thingiverse to test the design rules for the printer (Prusa MK3S). You can find the print here. Our first attempt at using the printer didn't go so well--the print didn't stick to the mat, causing the filament to get tangled pretty quickly. We tried again, this time changing the settings to reduce the printing speed at the beginning of the print until the first few layers were fully down. This worked much better, and you can see the print progressing below.
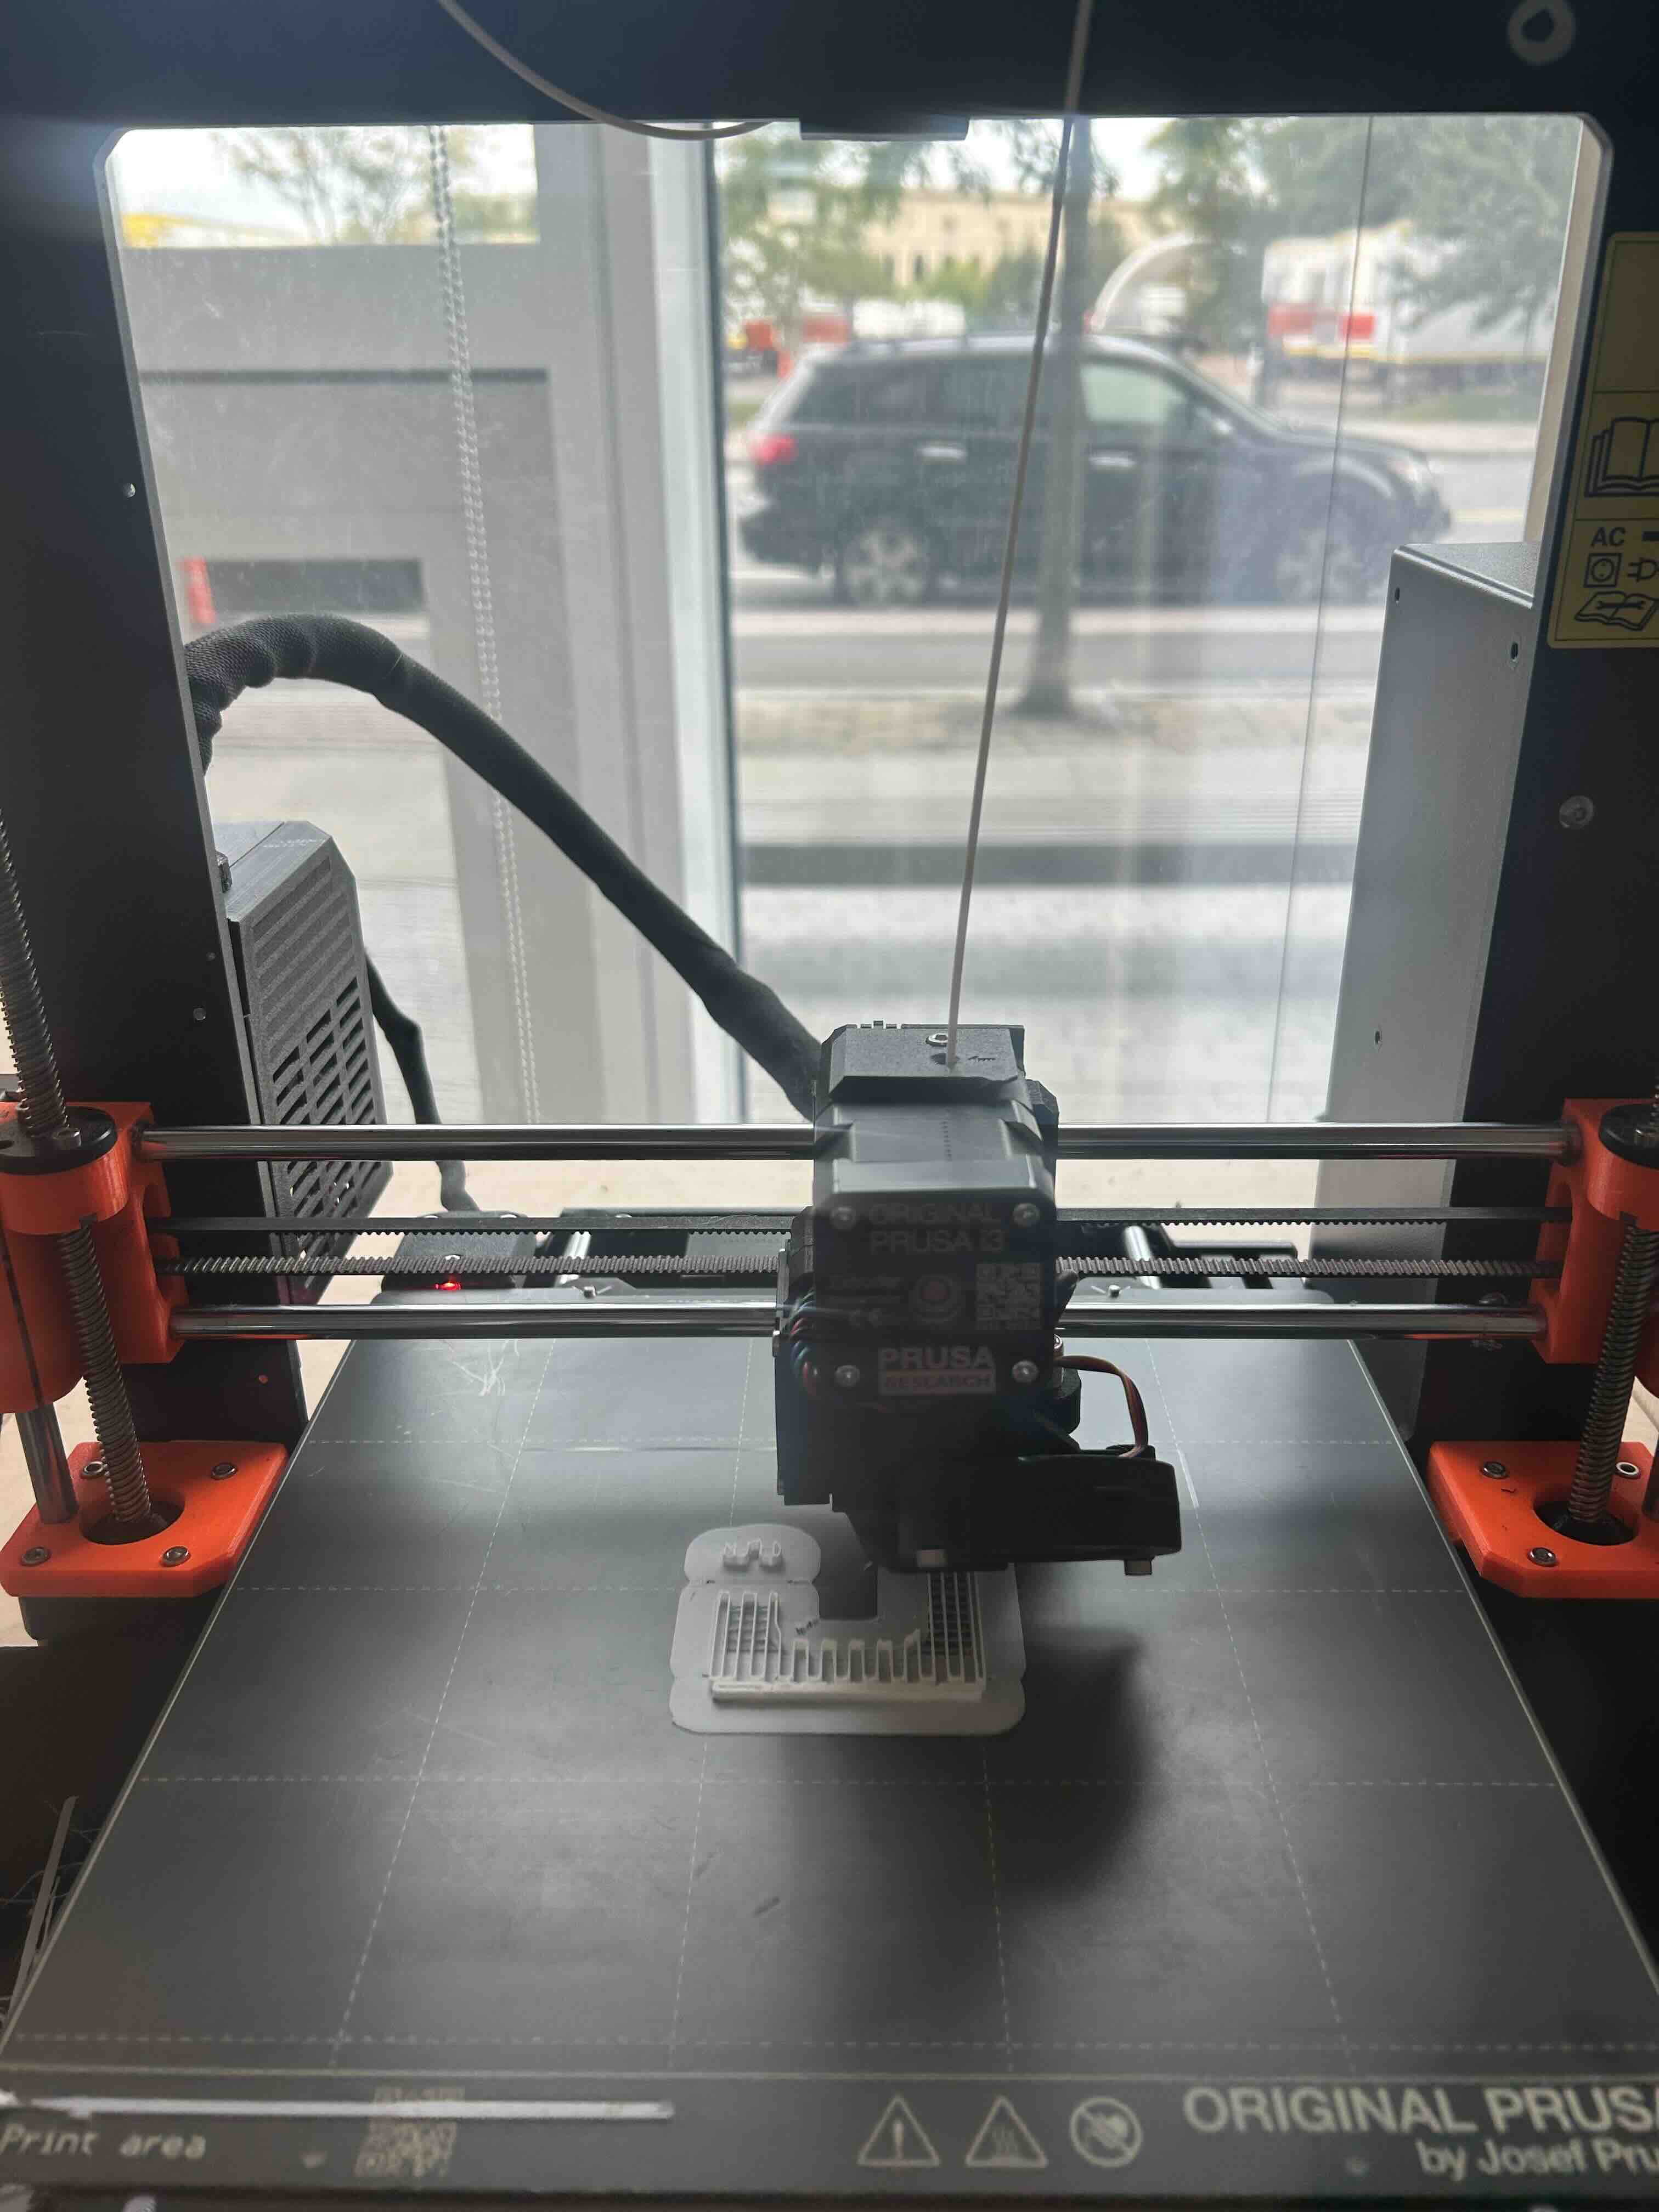
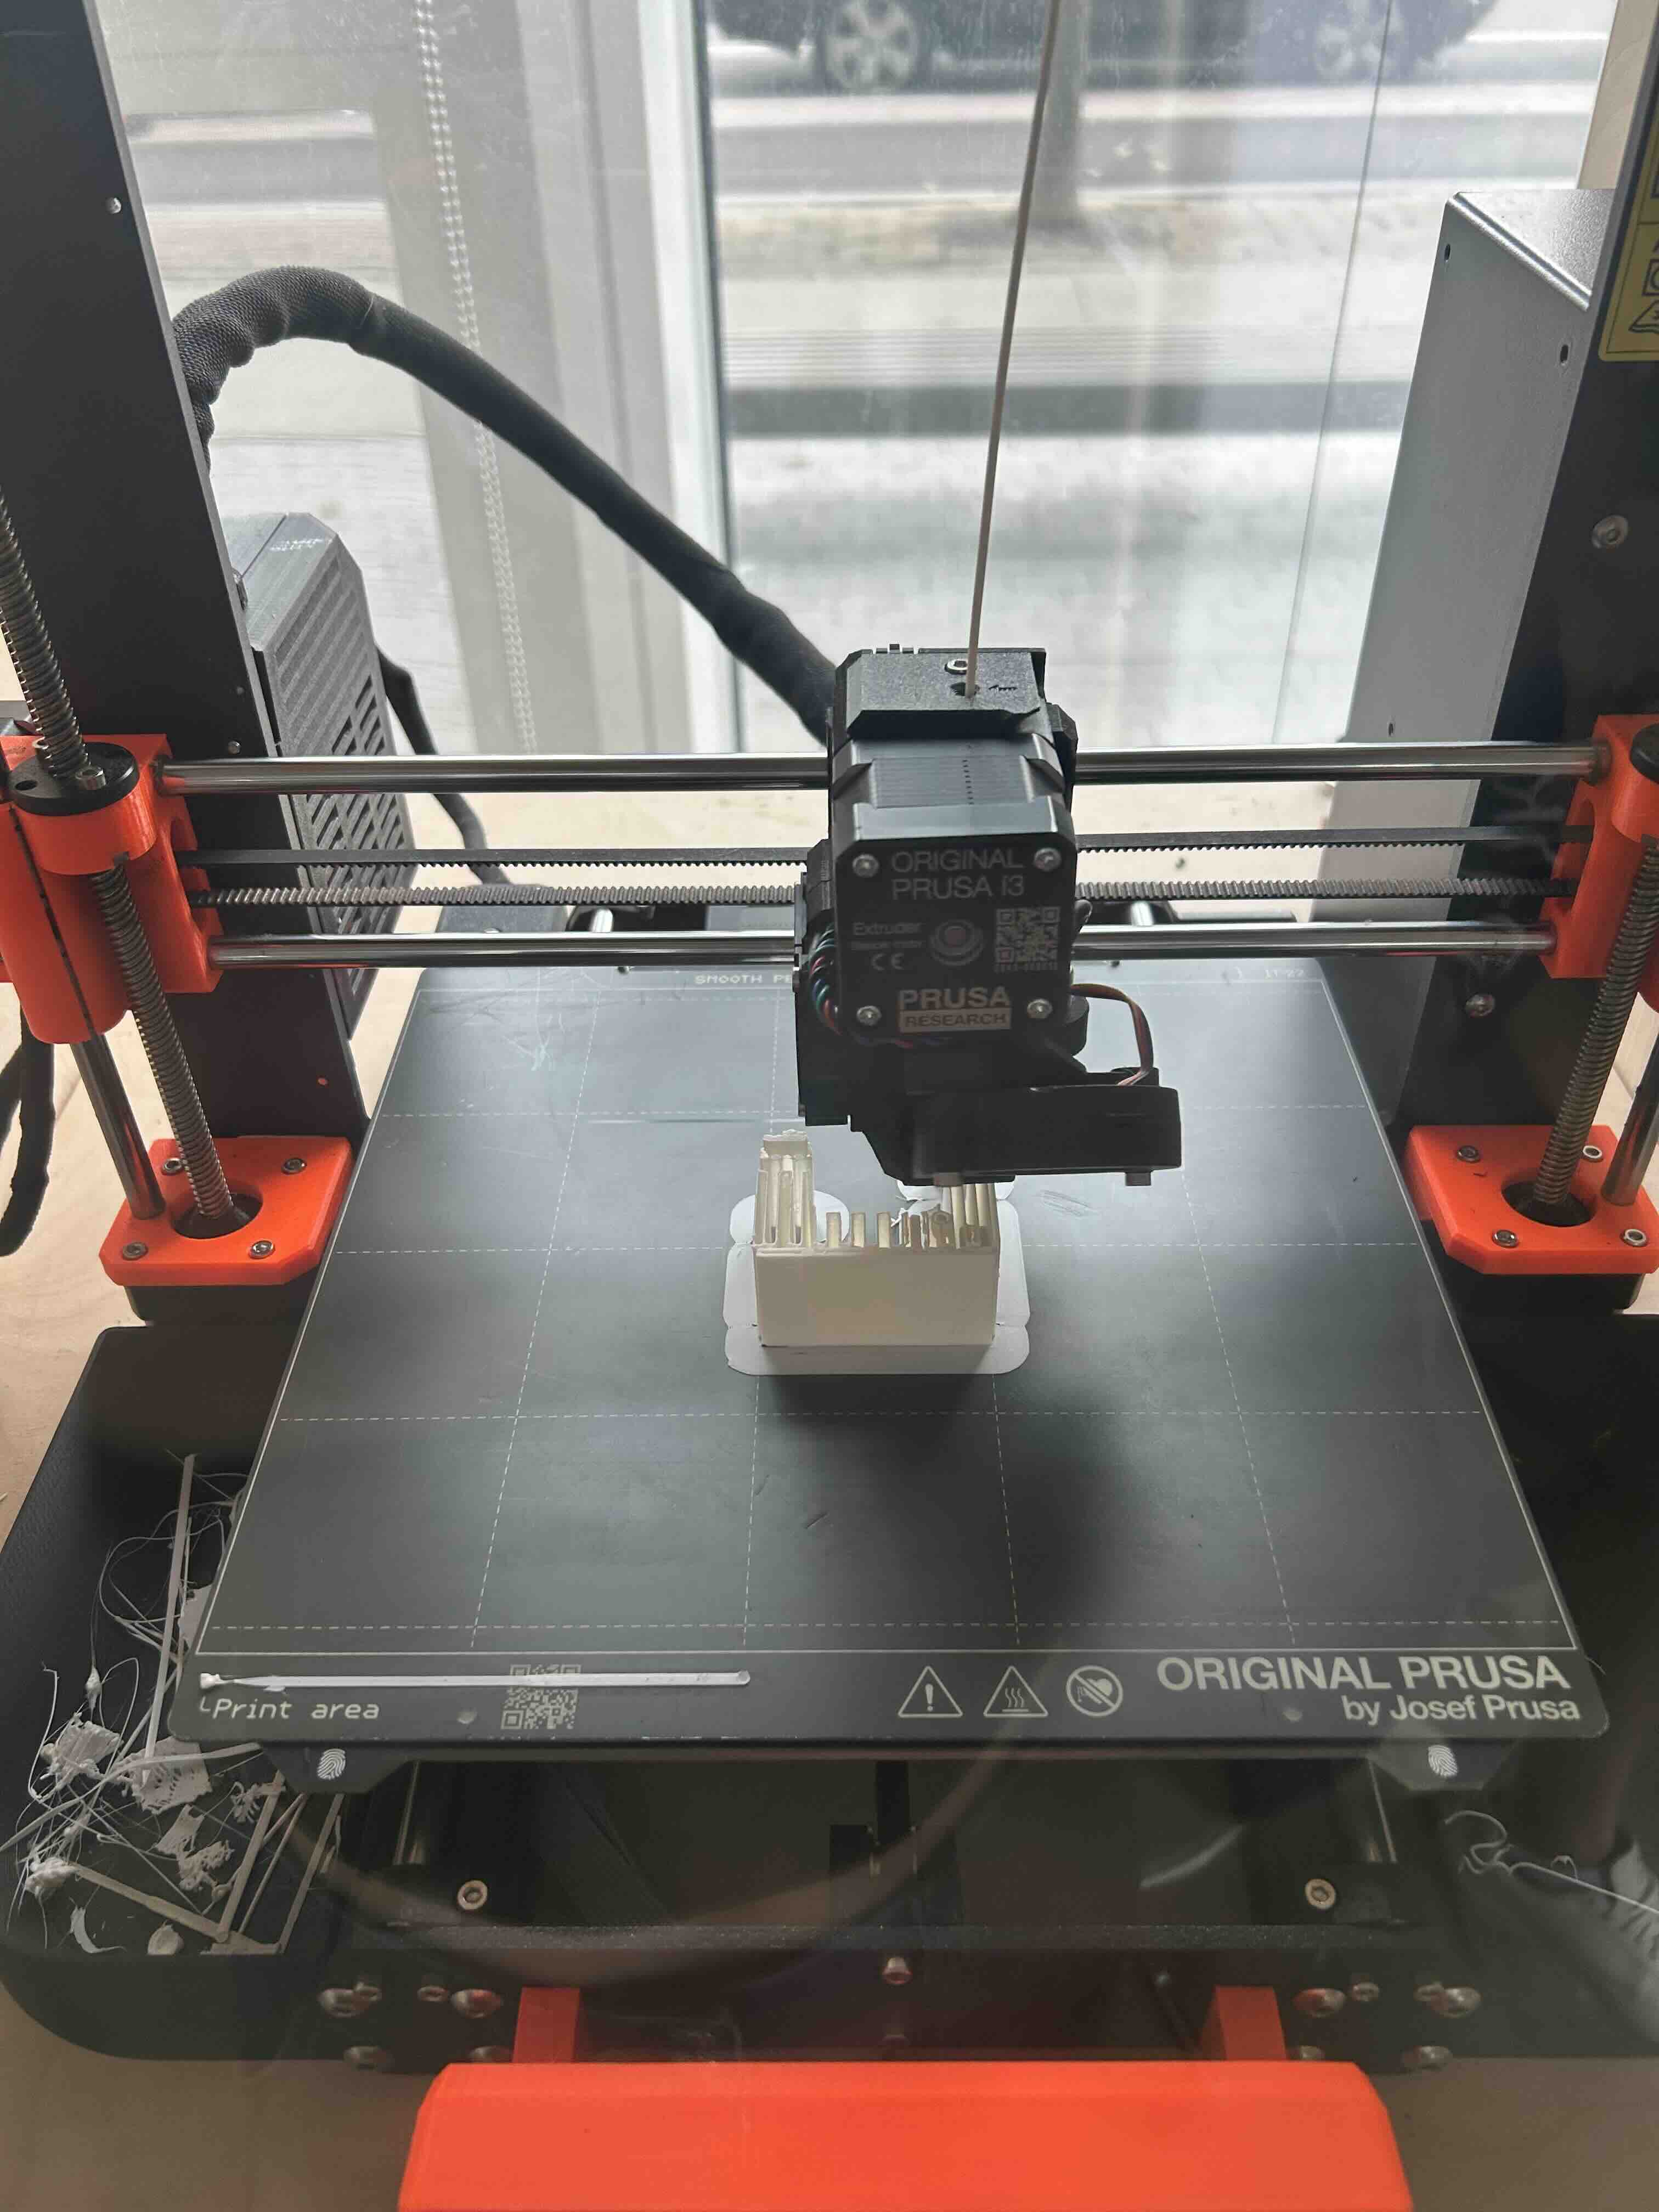
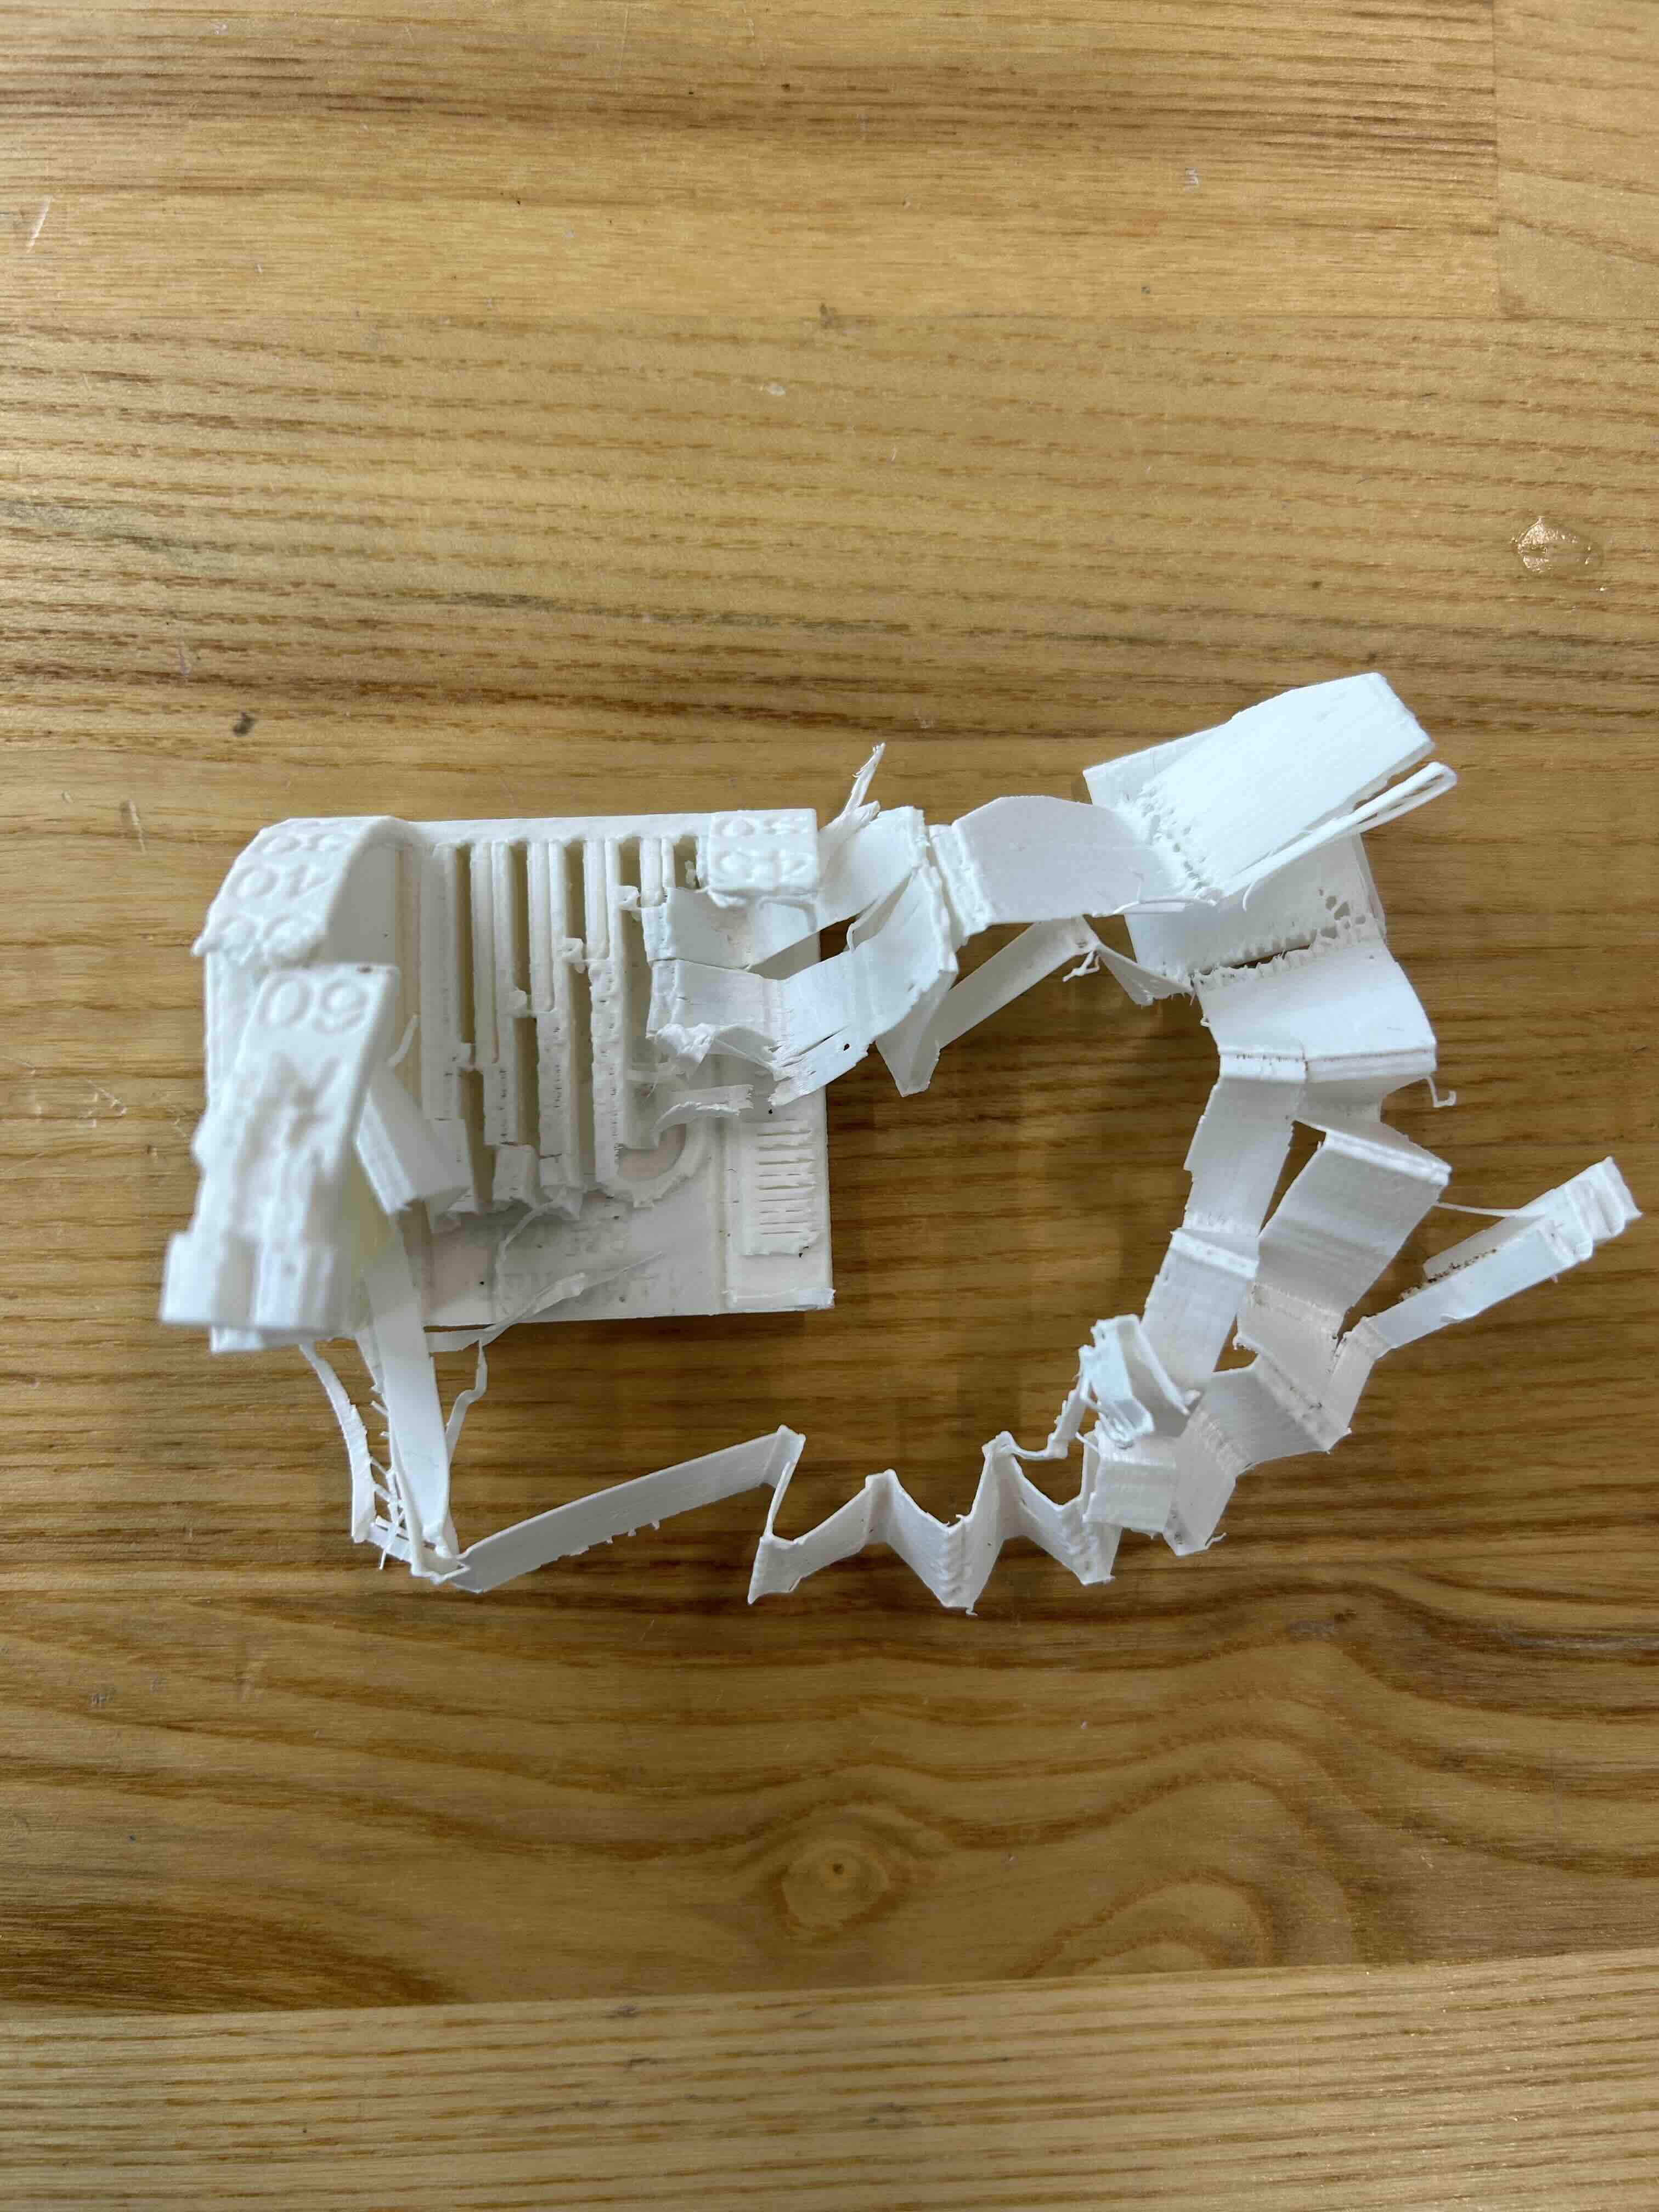
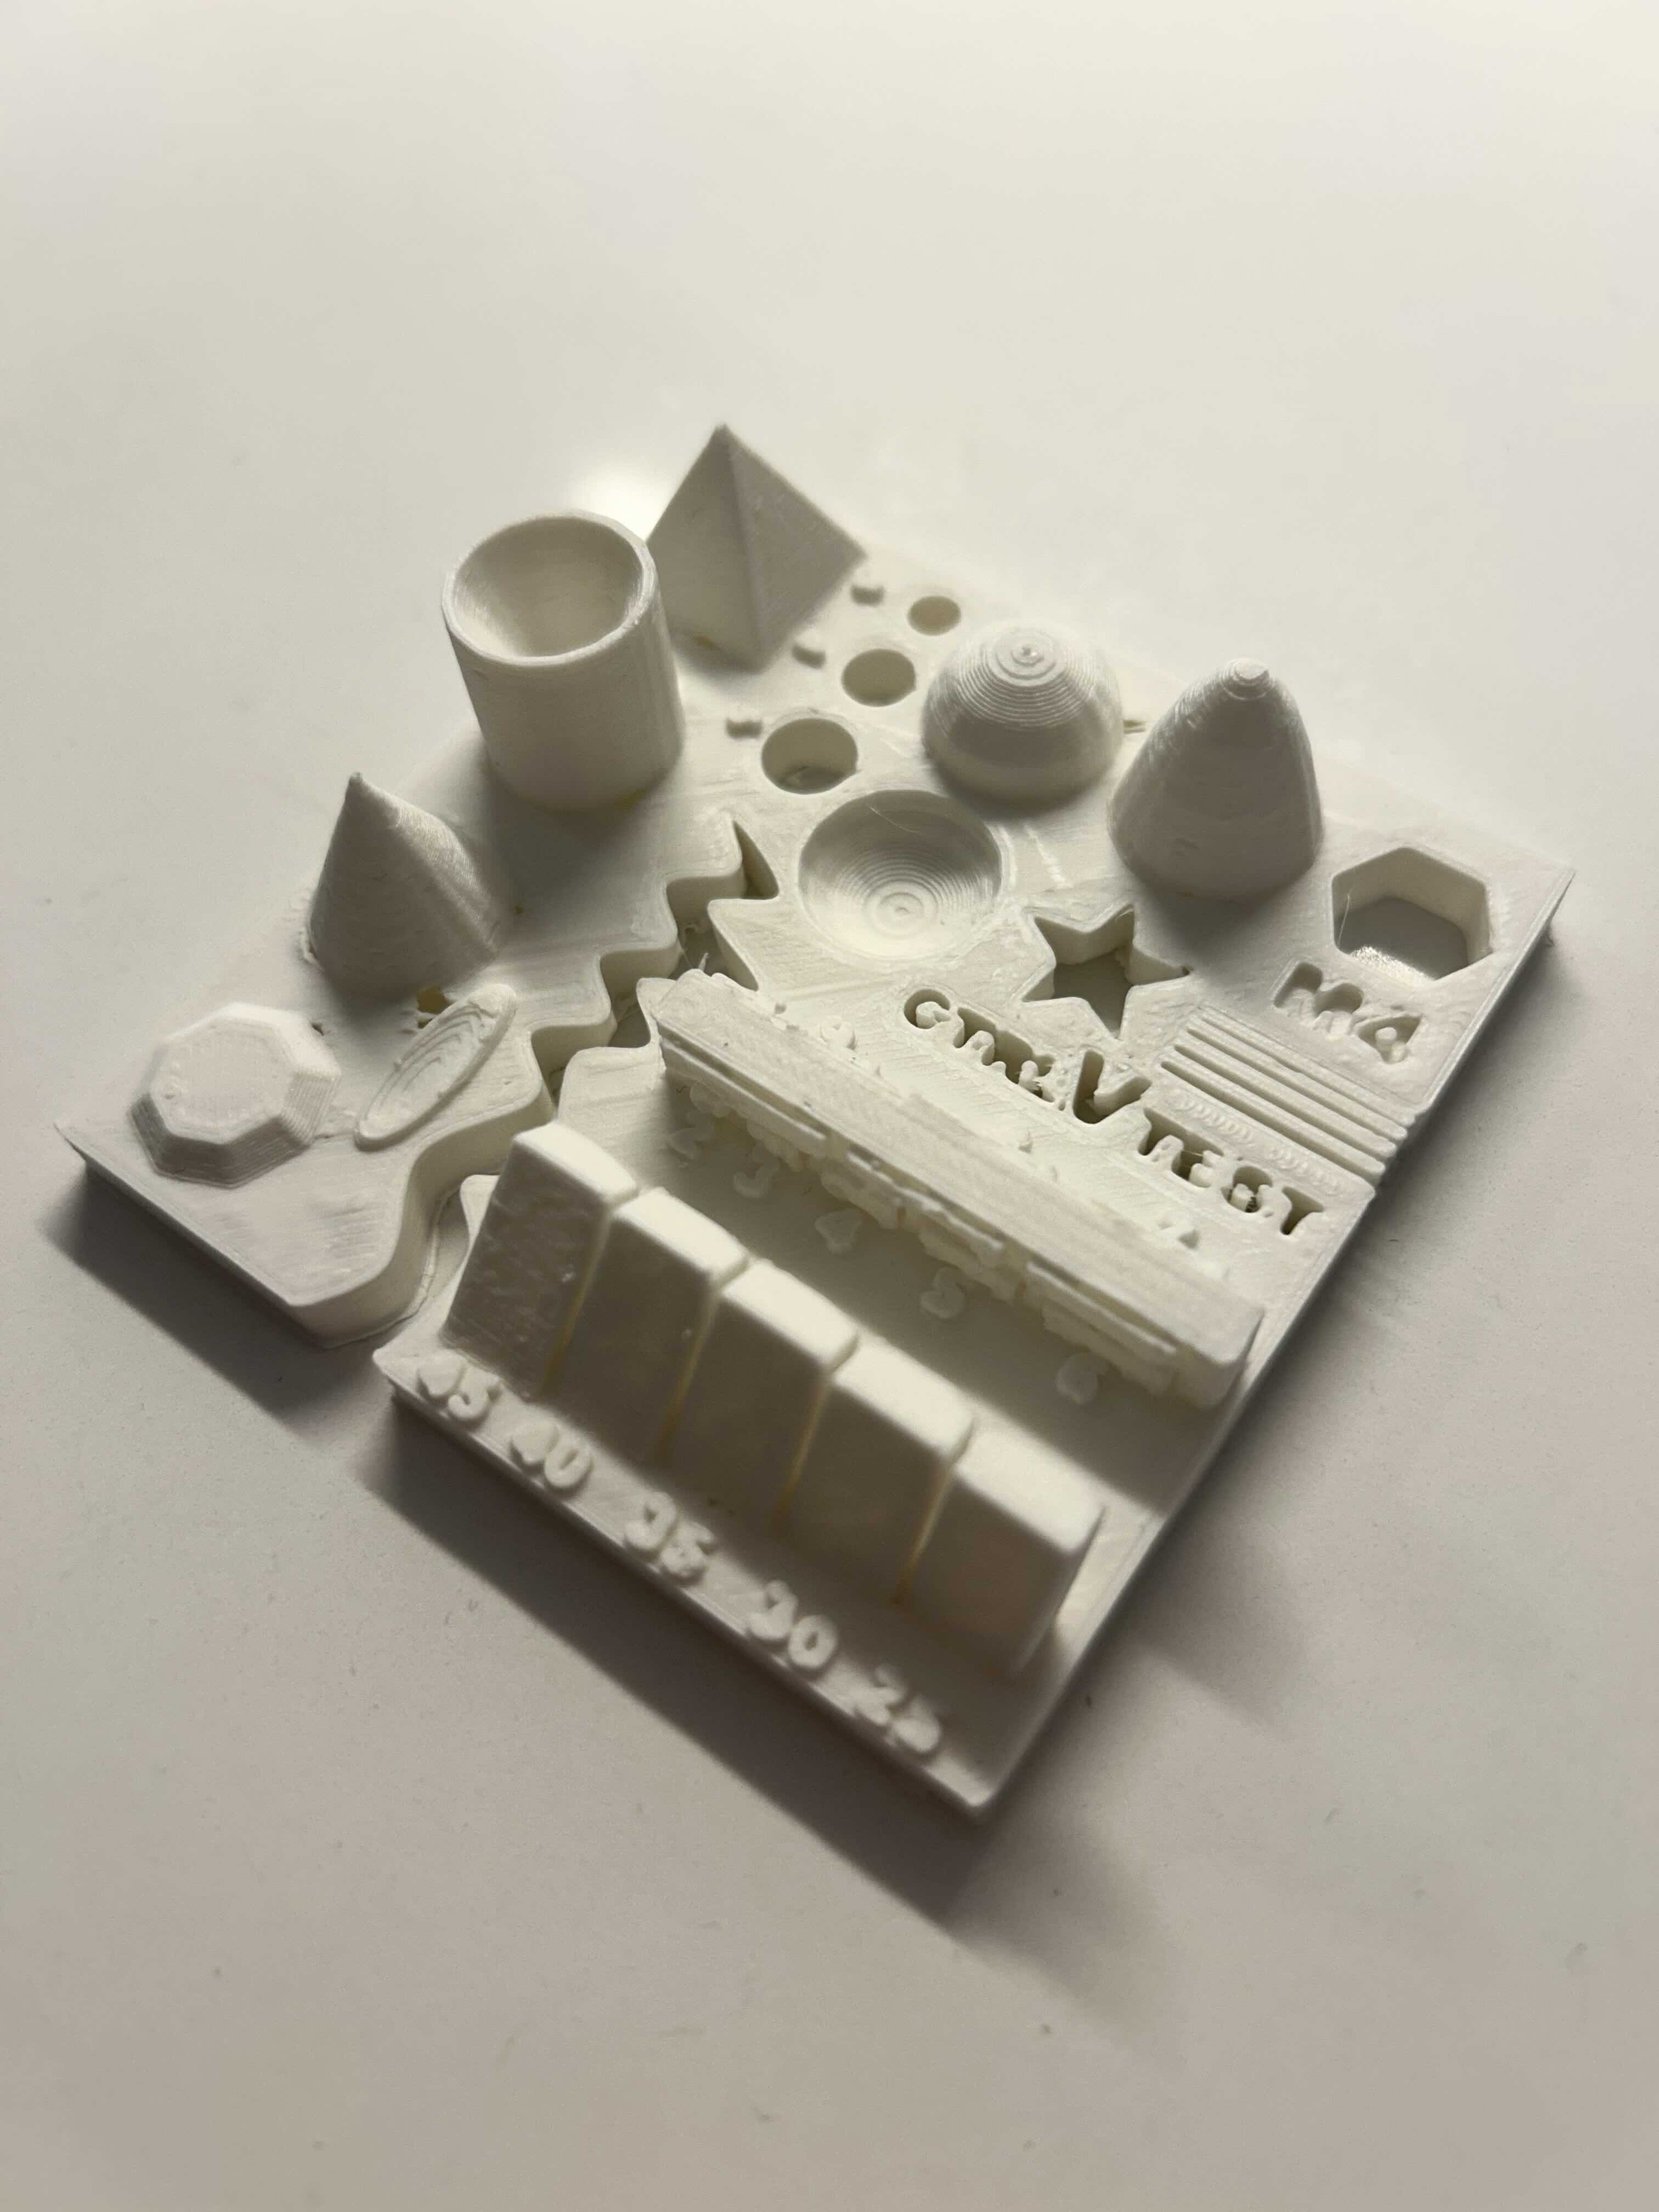
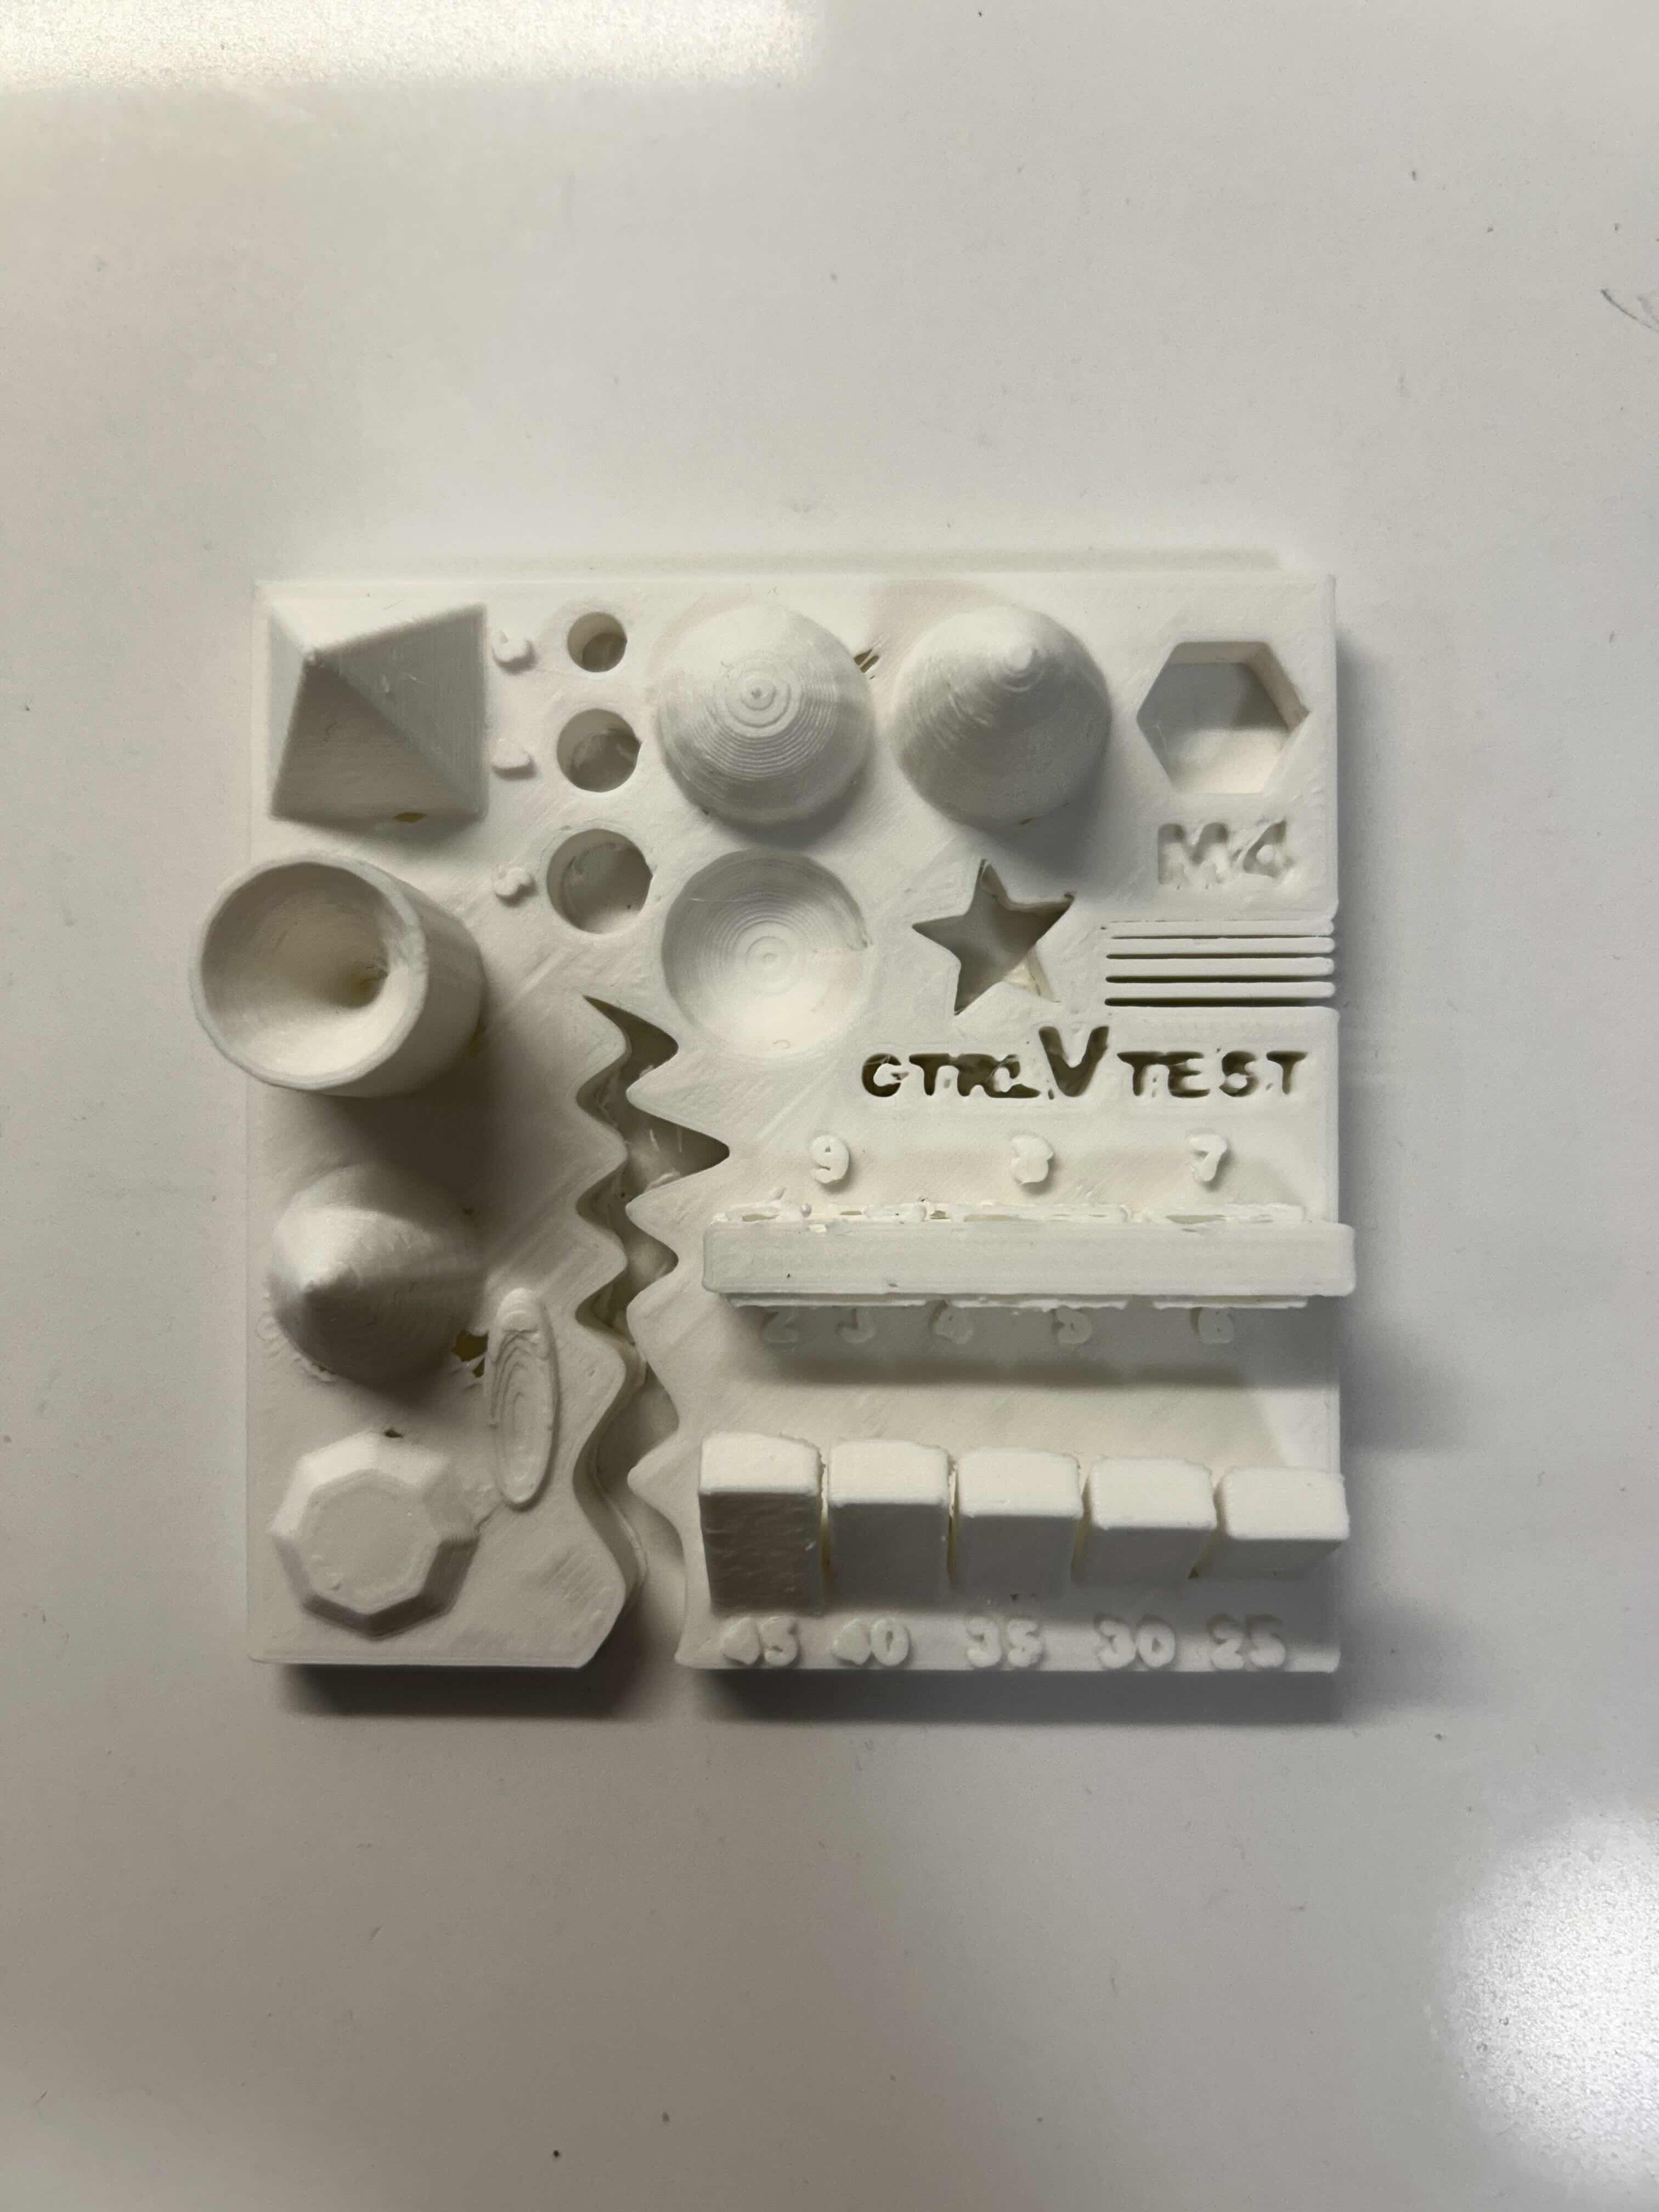
After about two hours, we had the final print! It *sort of* worked... on one of the overhangs, the base came up off the mat a little bit, causing part of the overhang on the right side to be misaligned. The were also a LOT more supports than we expected, based on the normal printer settings.
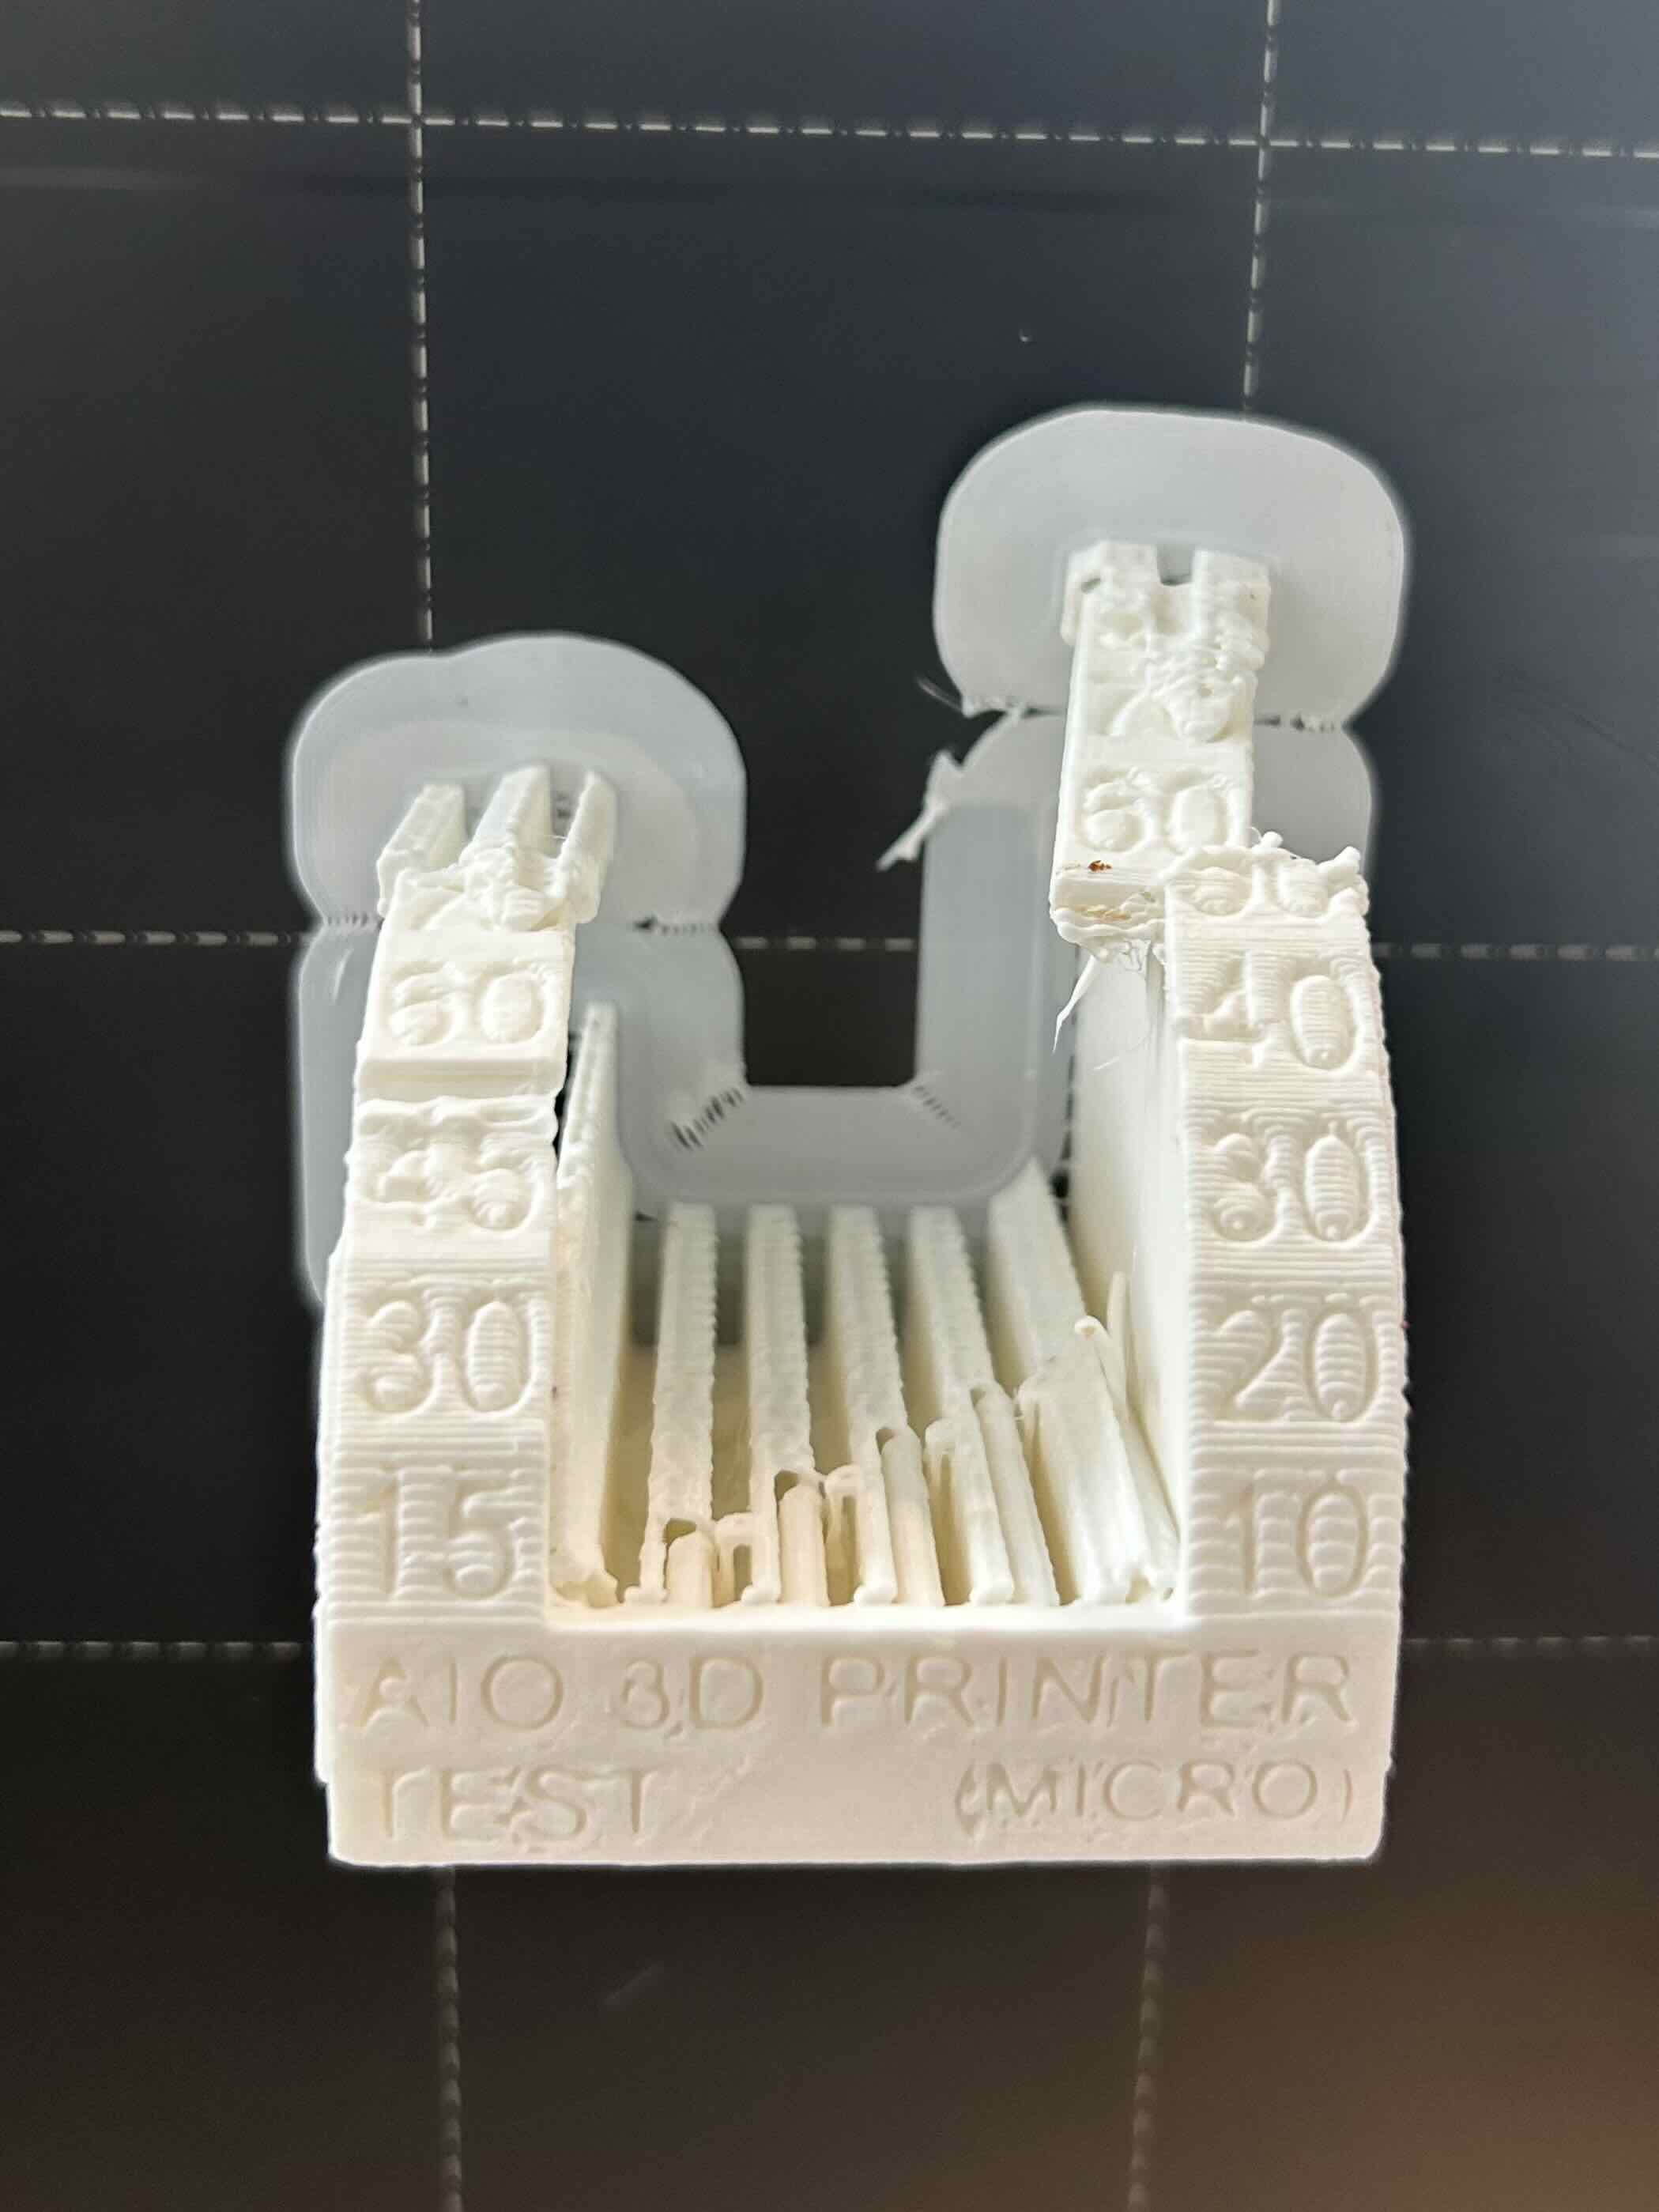
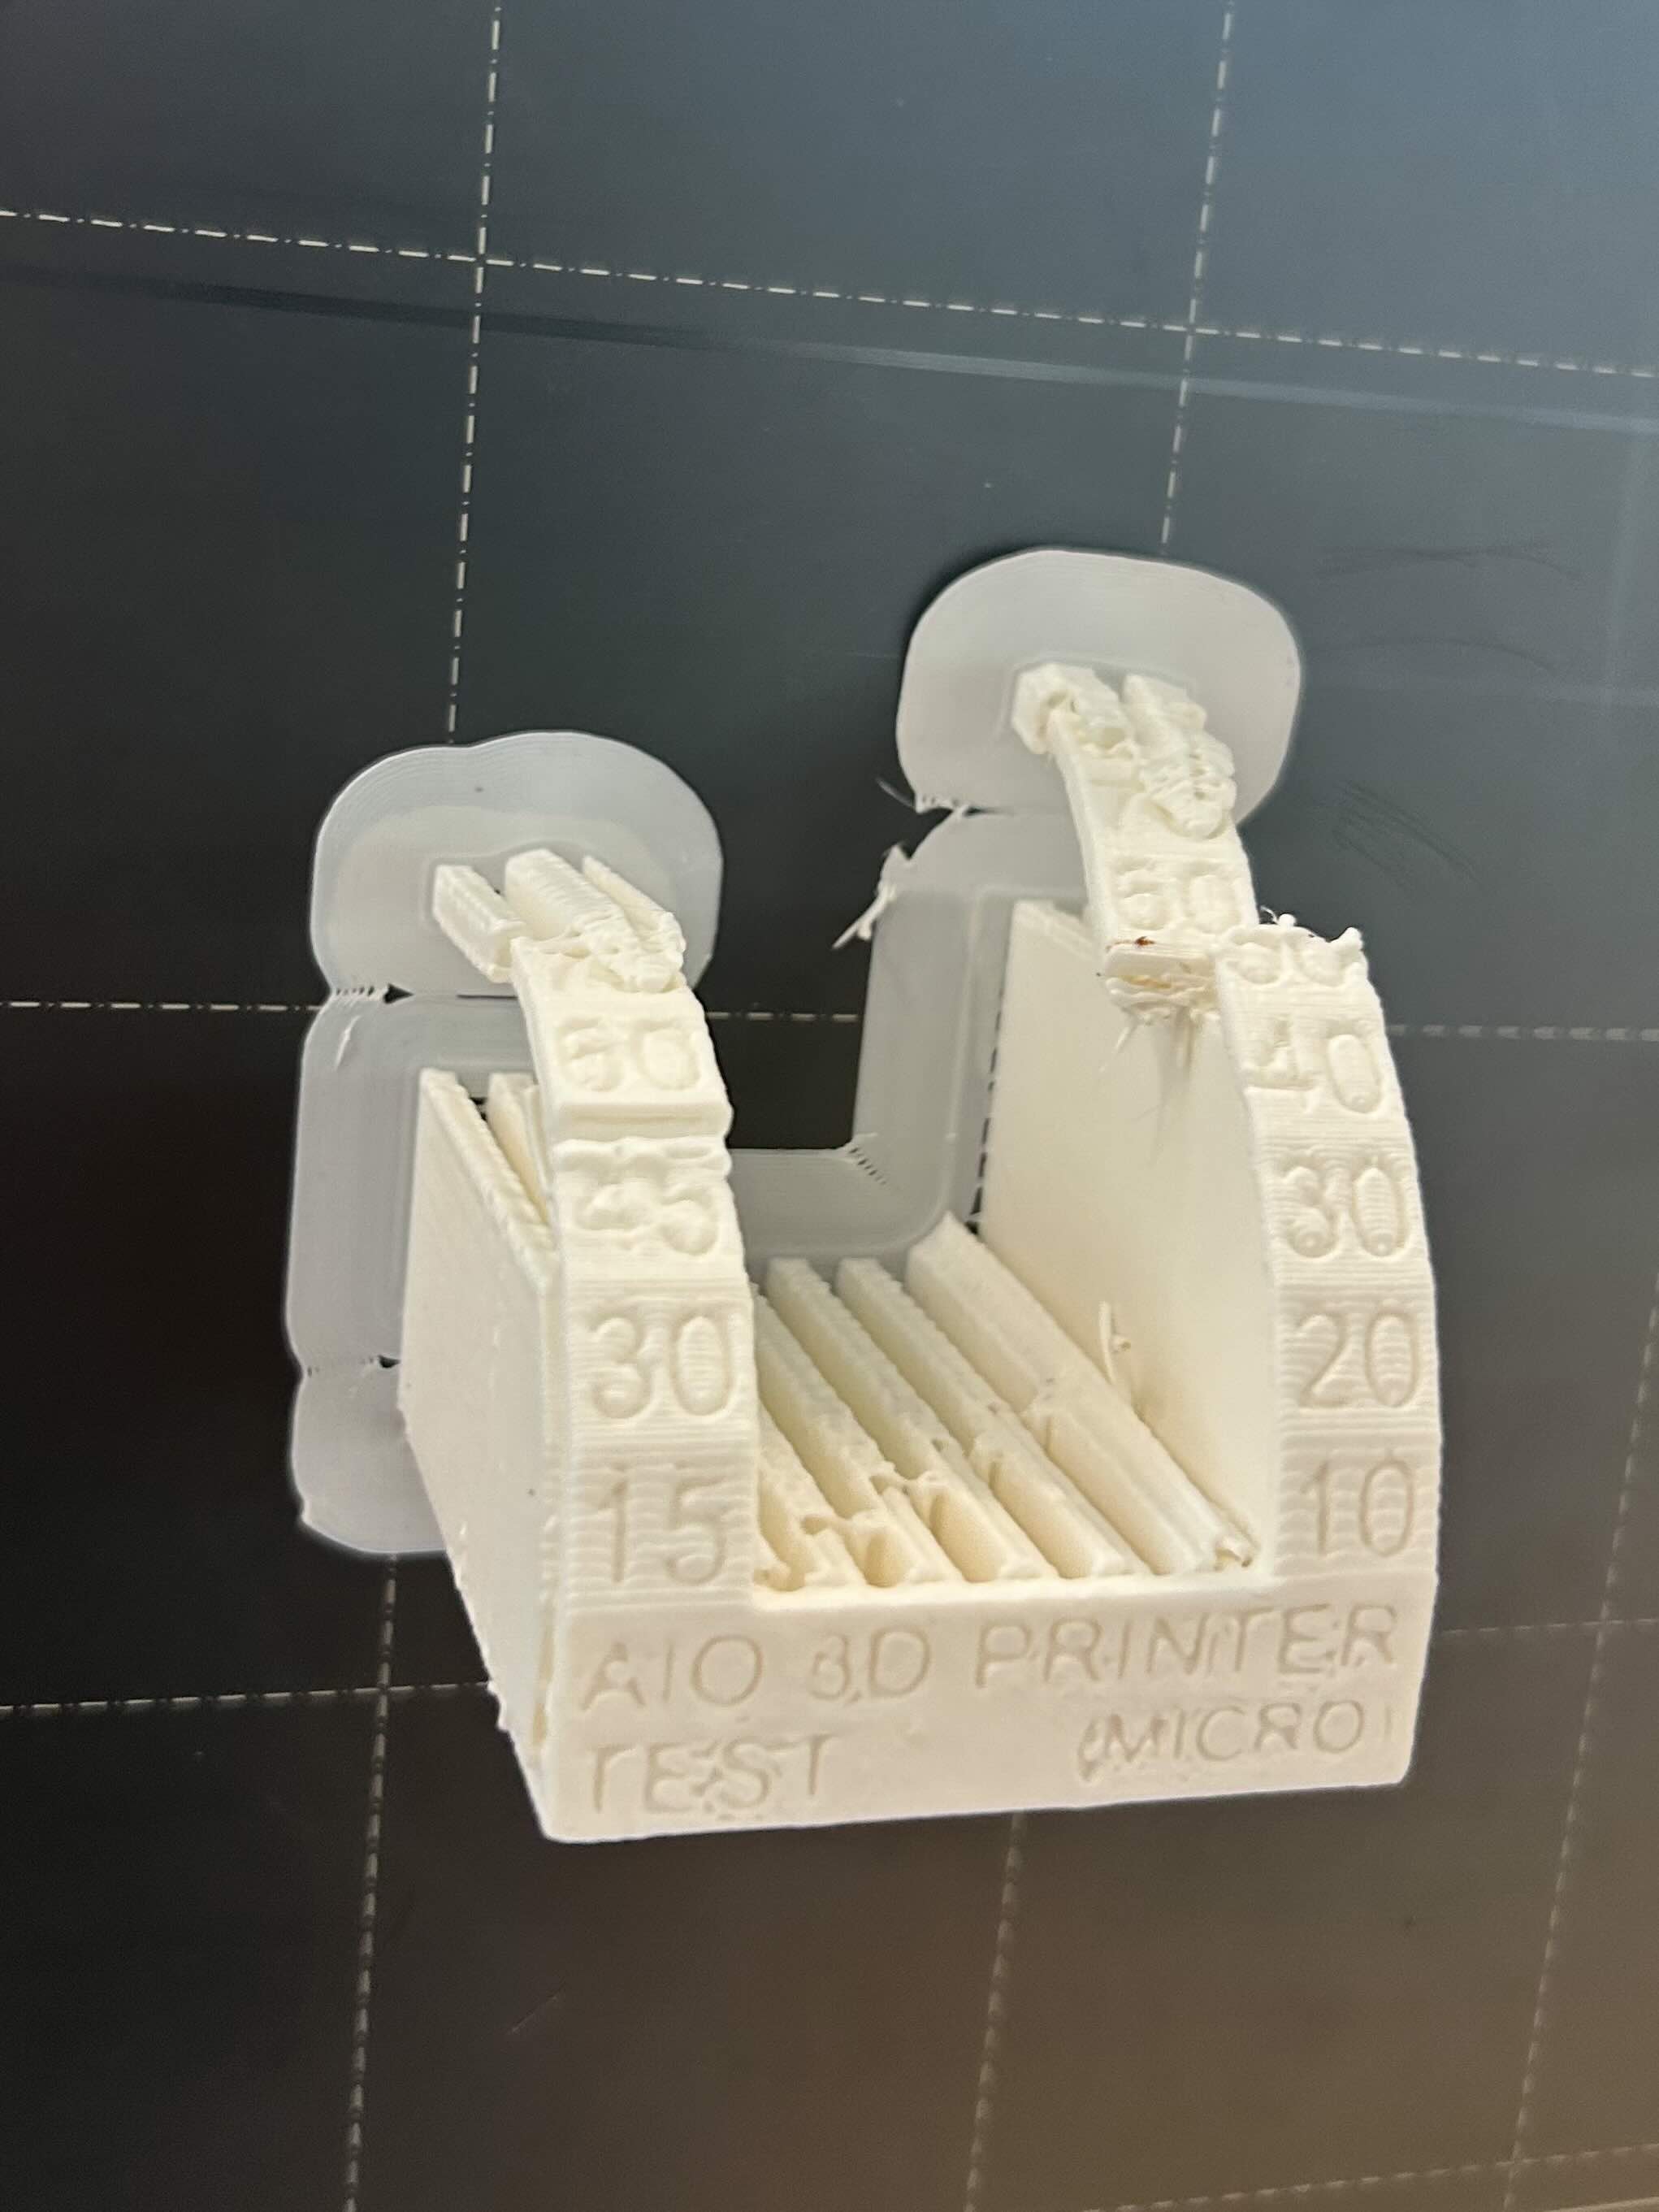
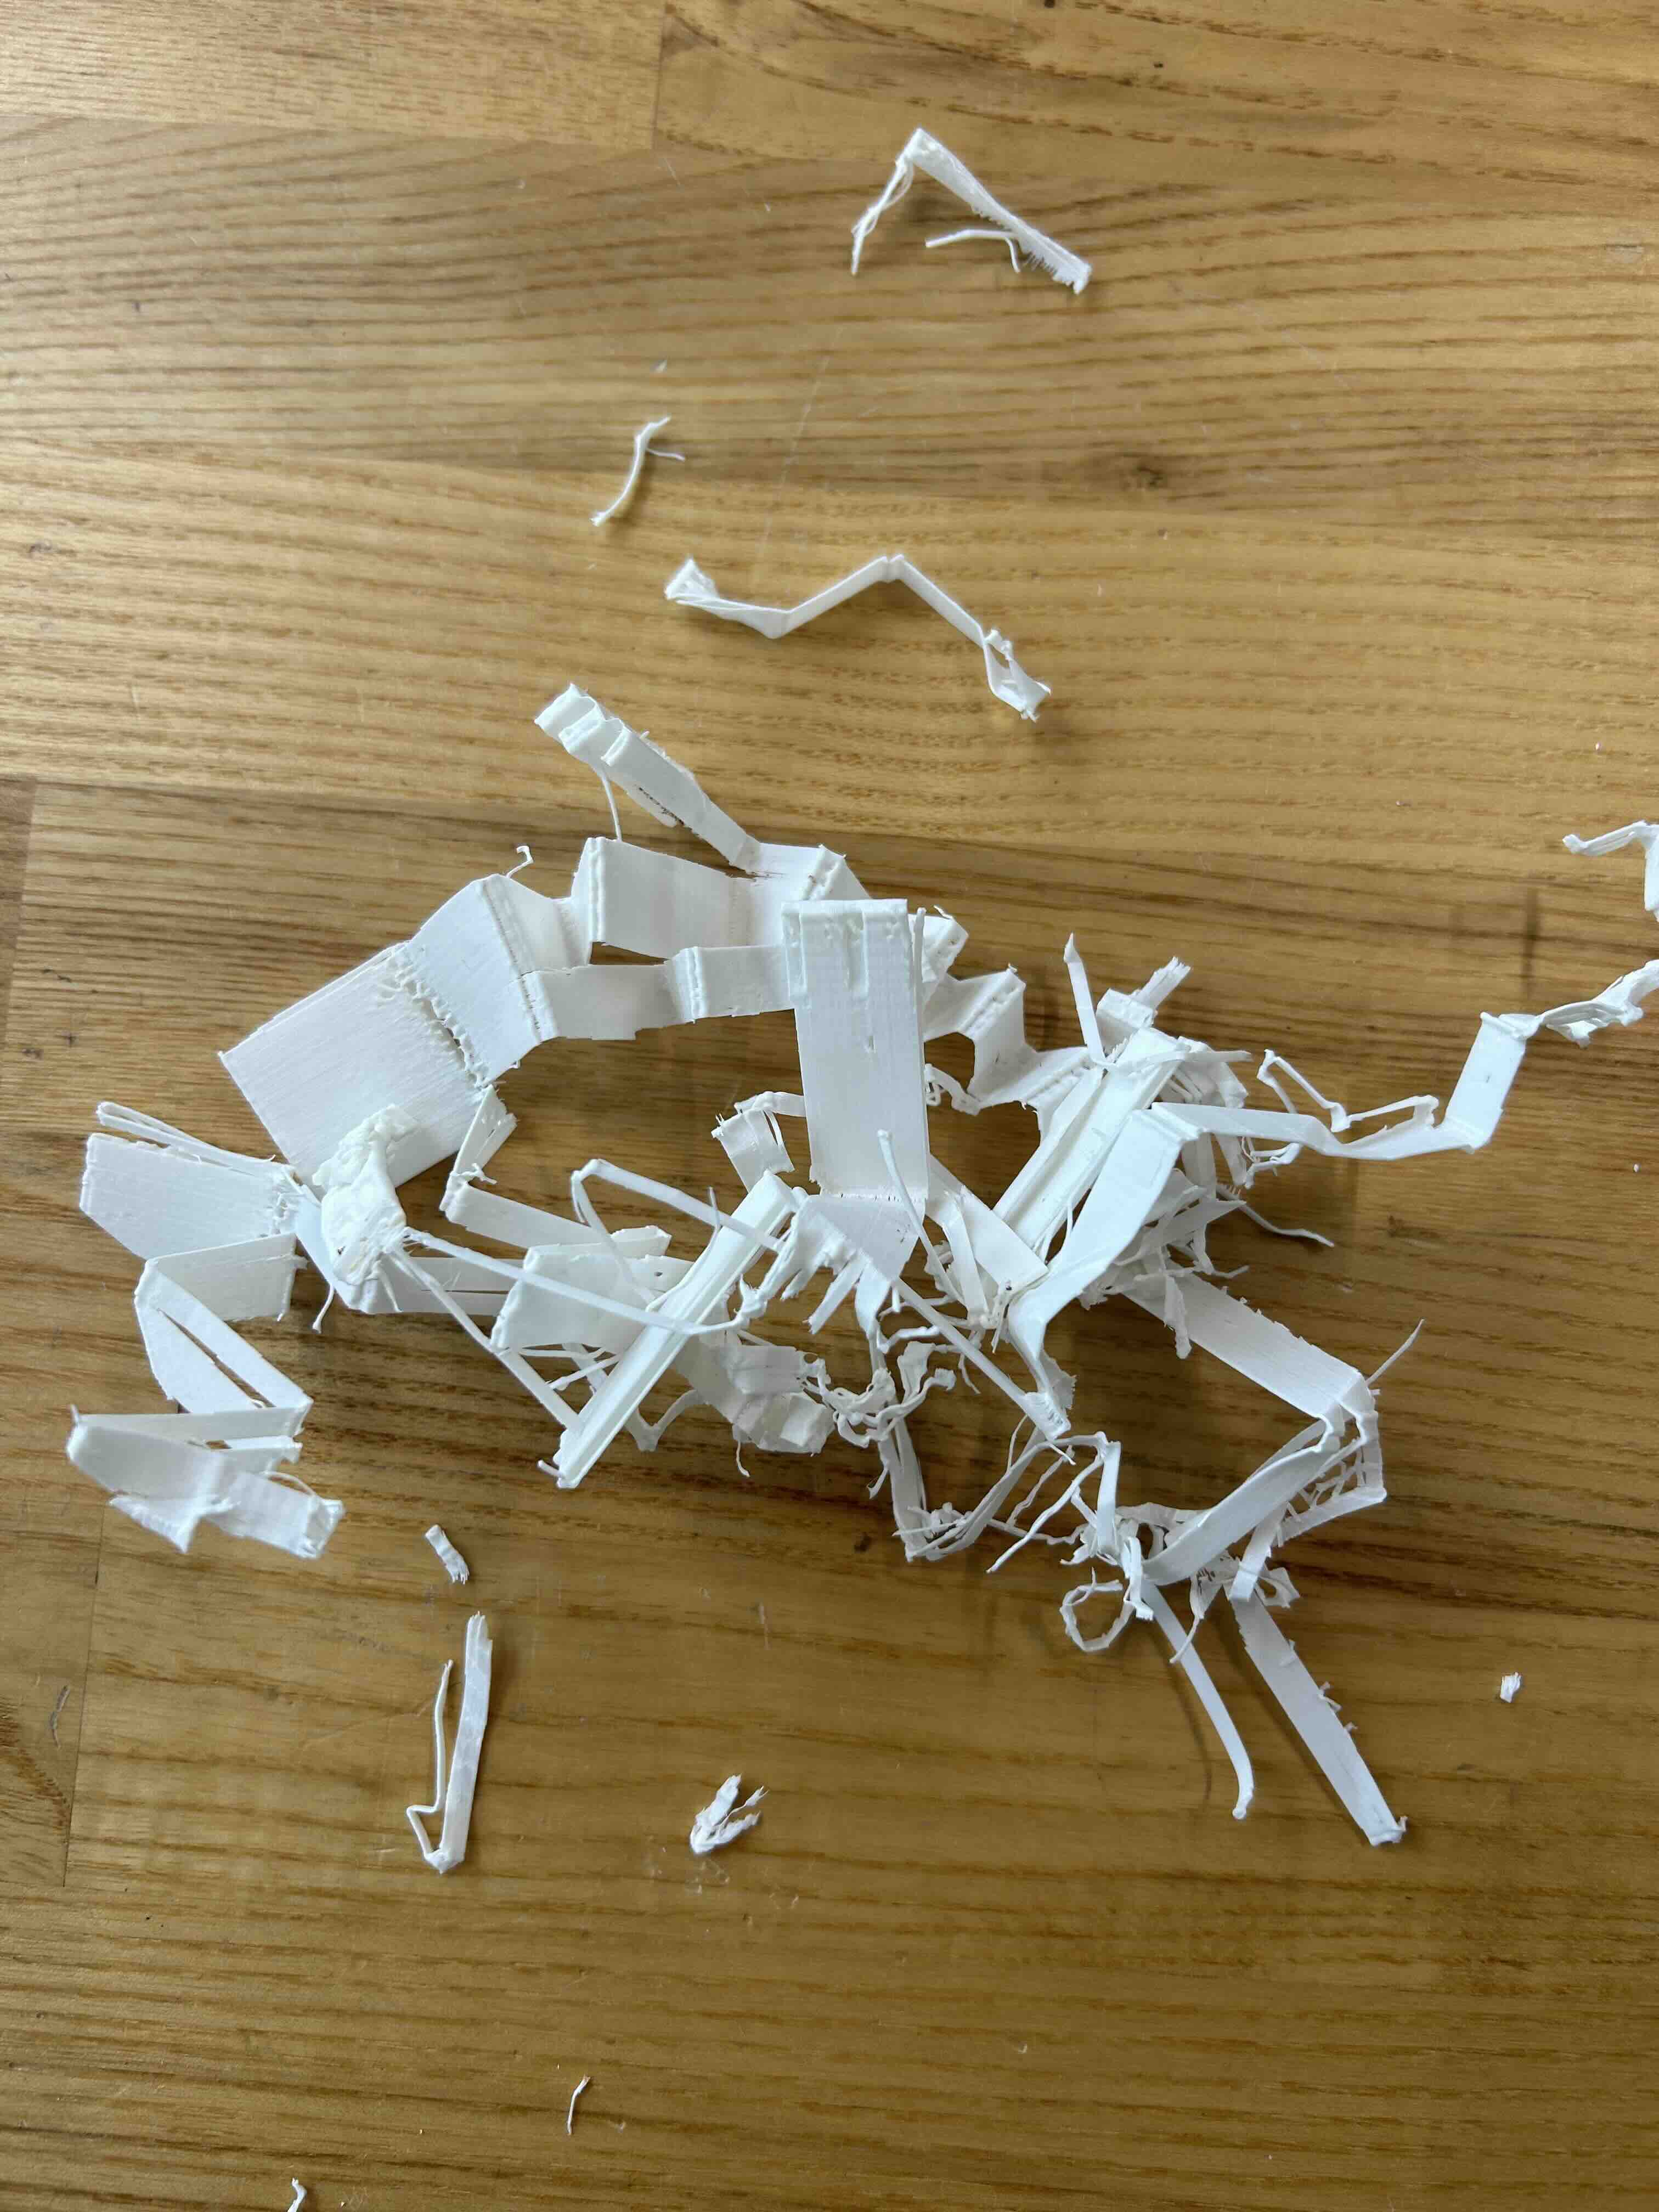
It took a while to remove all of the supports, which covered pretty much all of the actual printer tests on the bottom of the print--you can see how much we removed below.
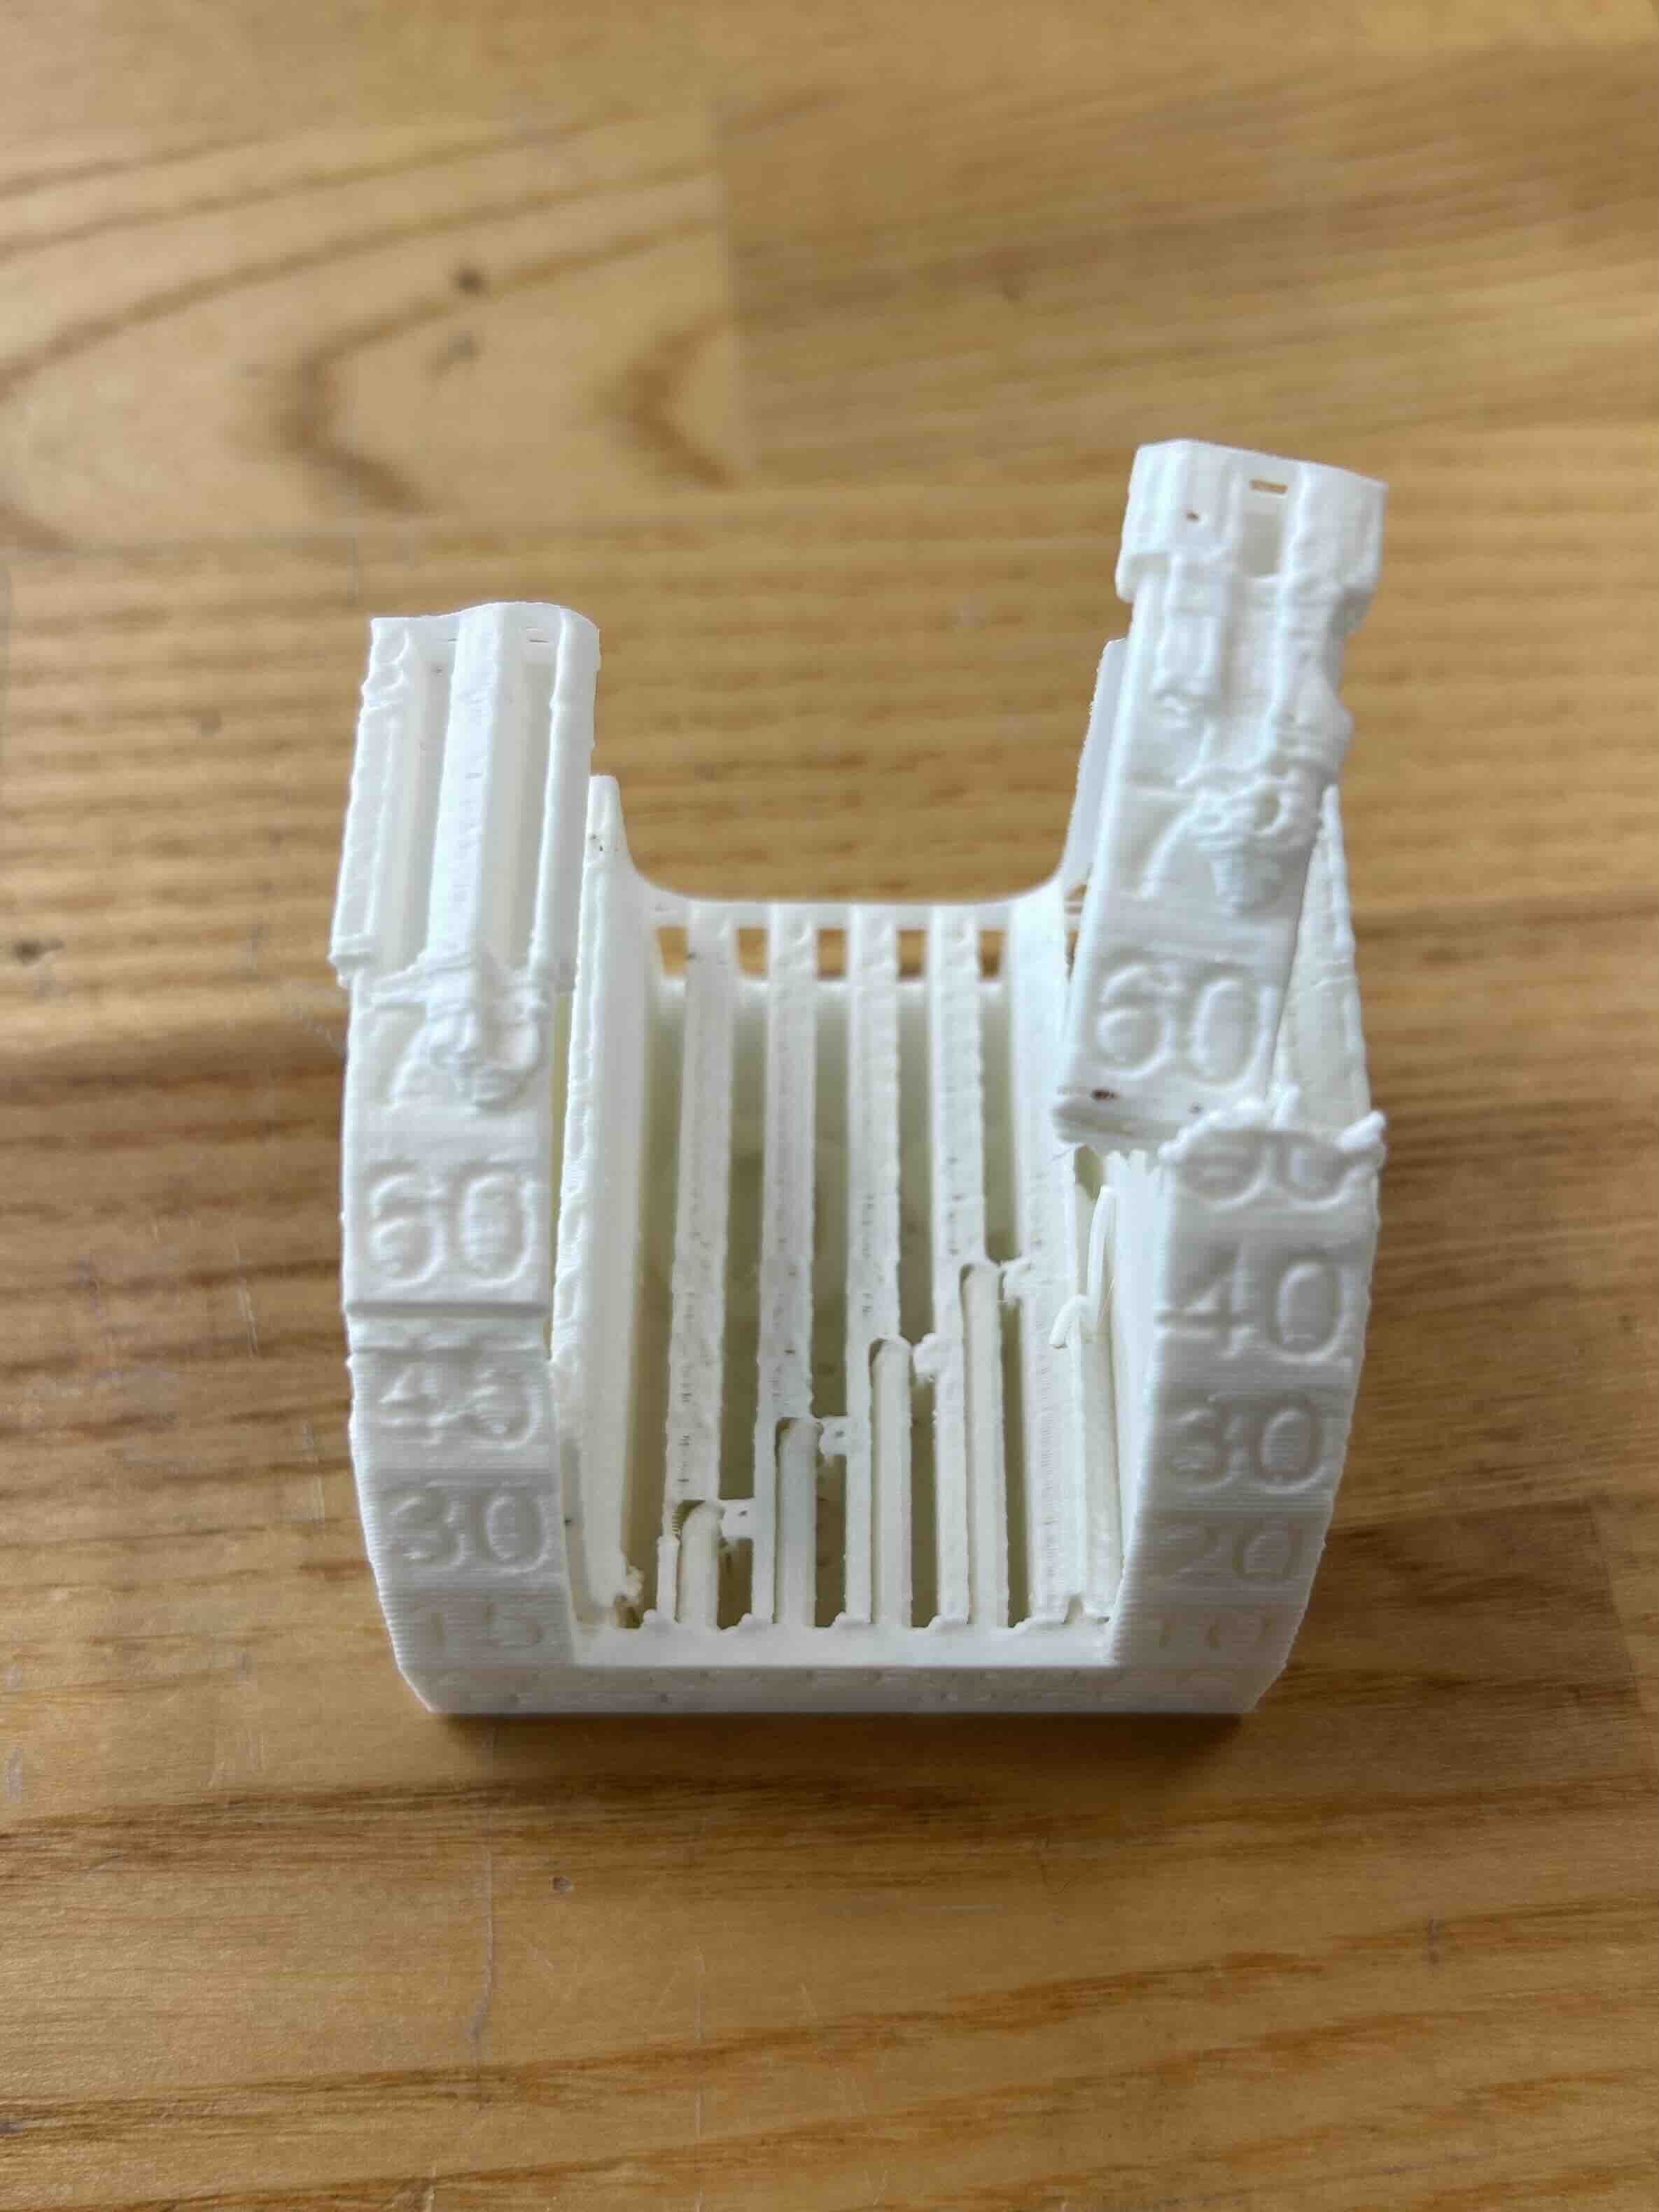
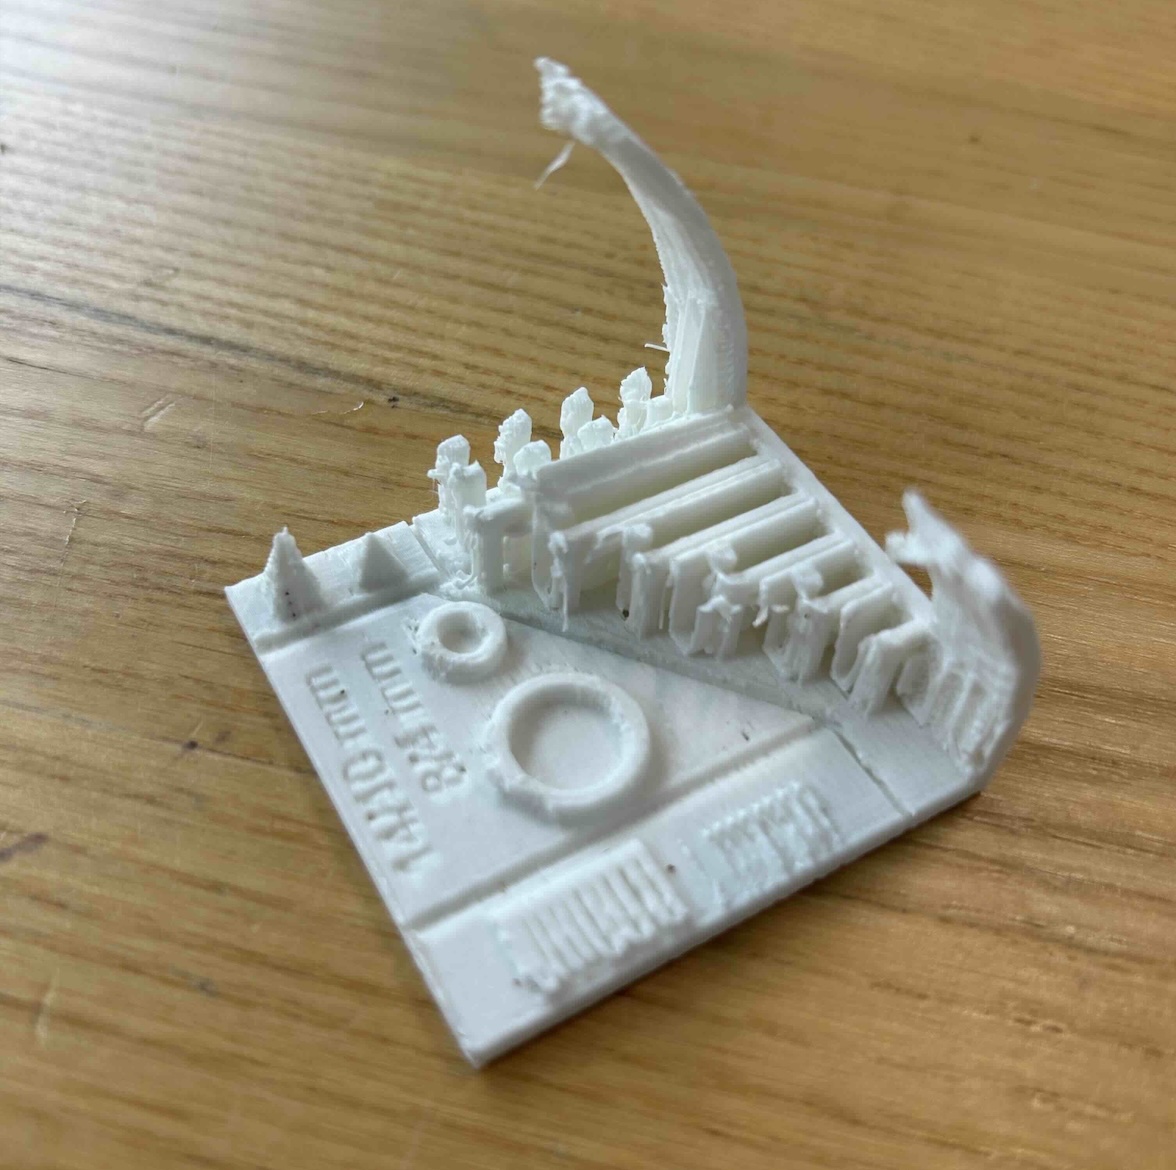
Finally, we uncovered the main print! It's still a bit messy--we didn't manage to get off all of the supports around the smaller parts of the prints, but all of the shapes are visible... we also broke off some of the overhangs on accident in the process. Below is the end image, compared to what the print was supposed to look like. We can see that the precision/tolerance isn't great based on the printer and printer settings, but we're still able to get relatively small shapes to show up.

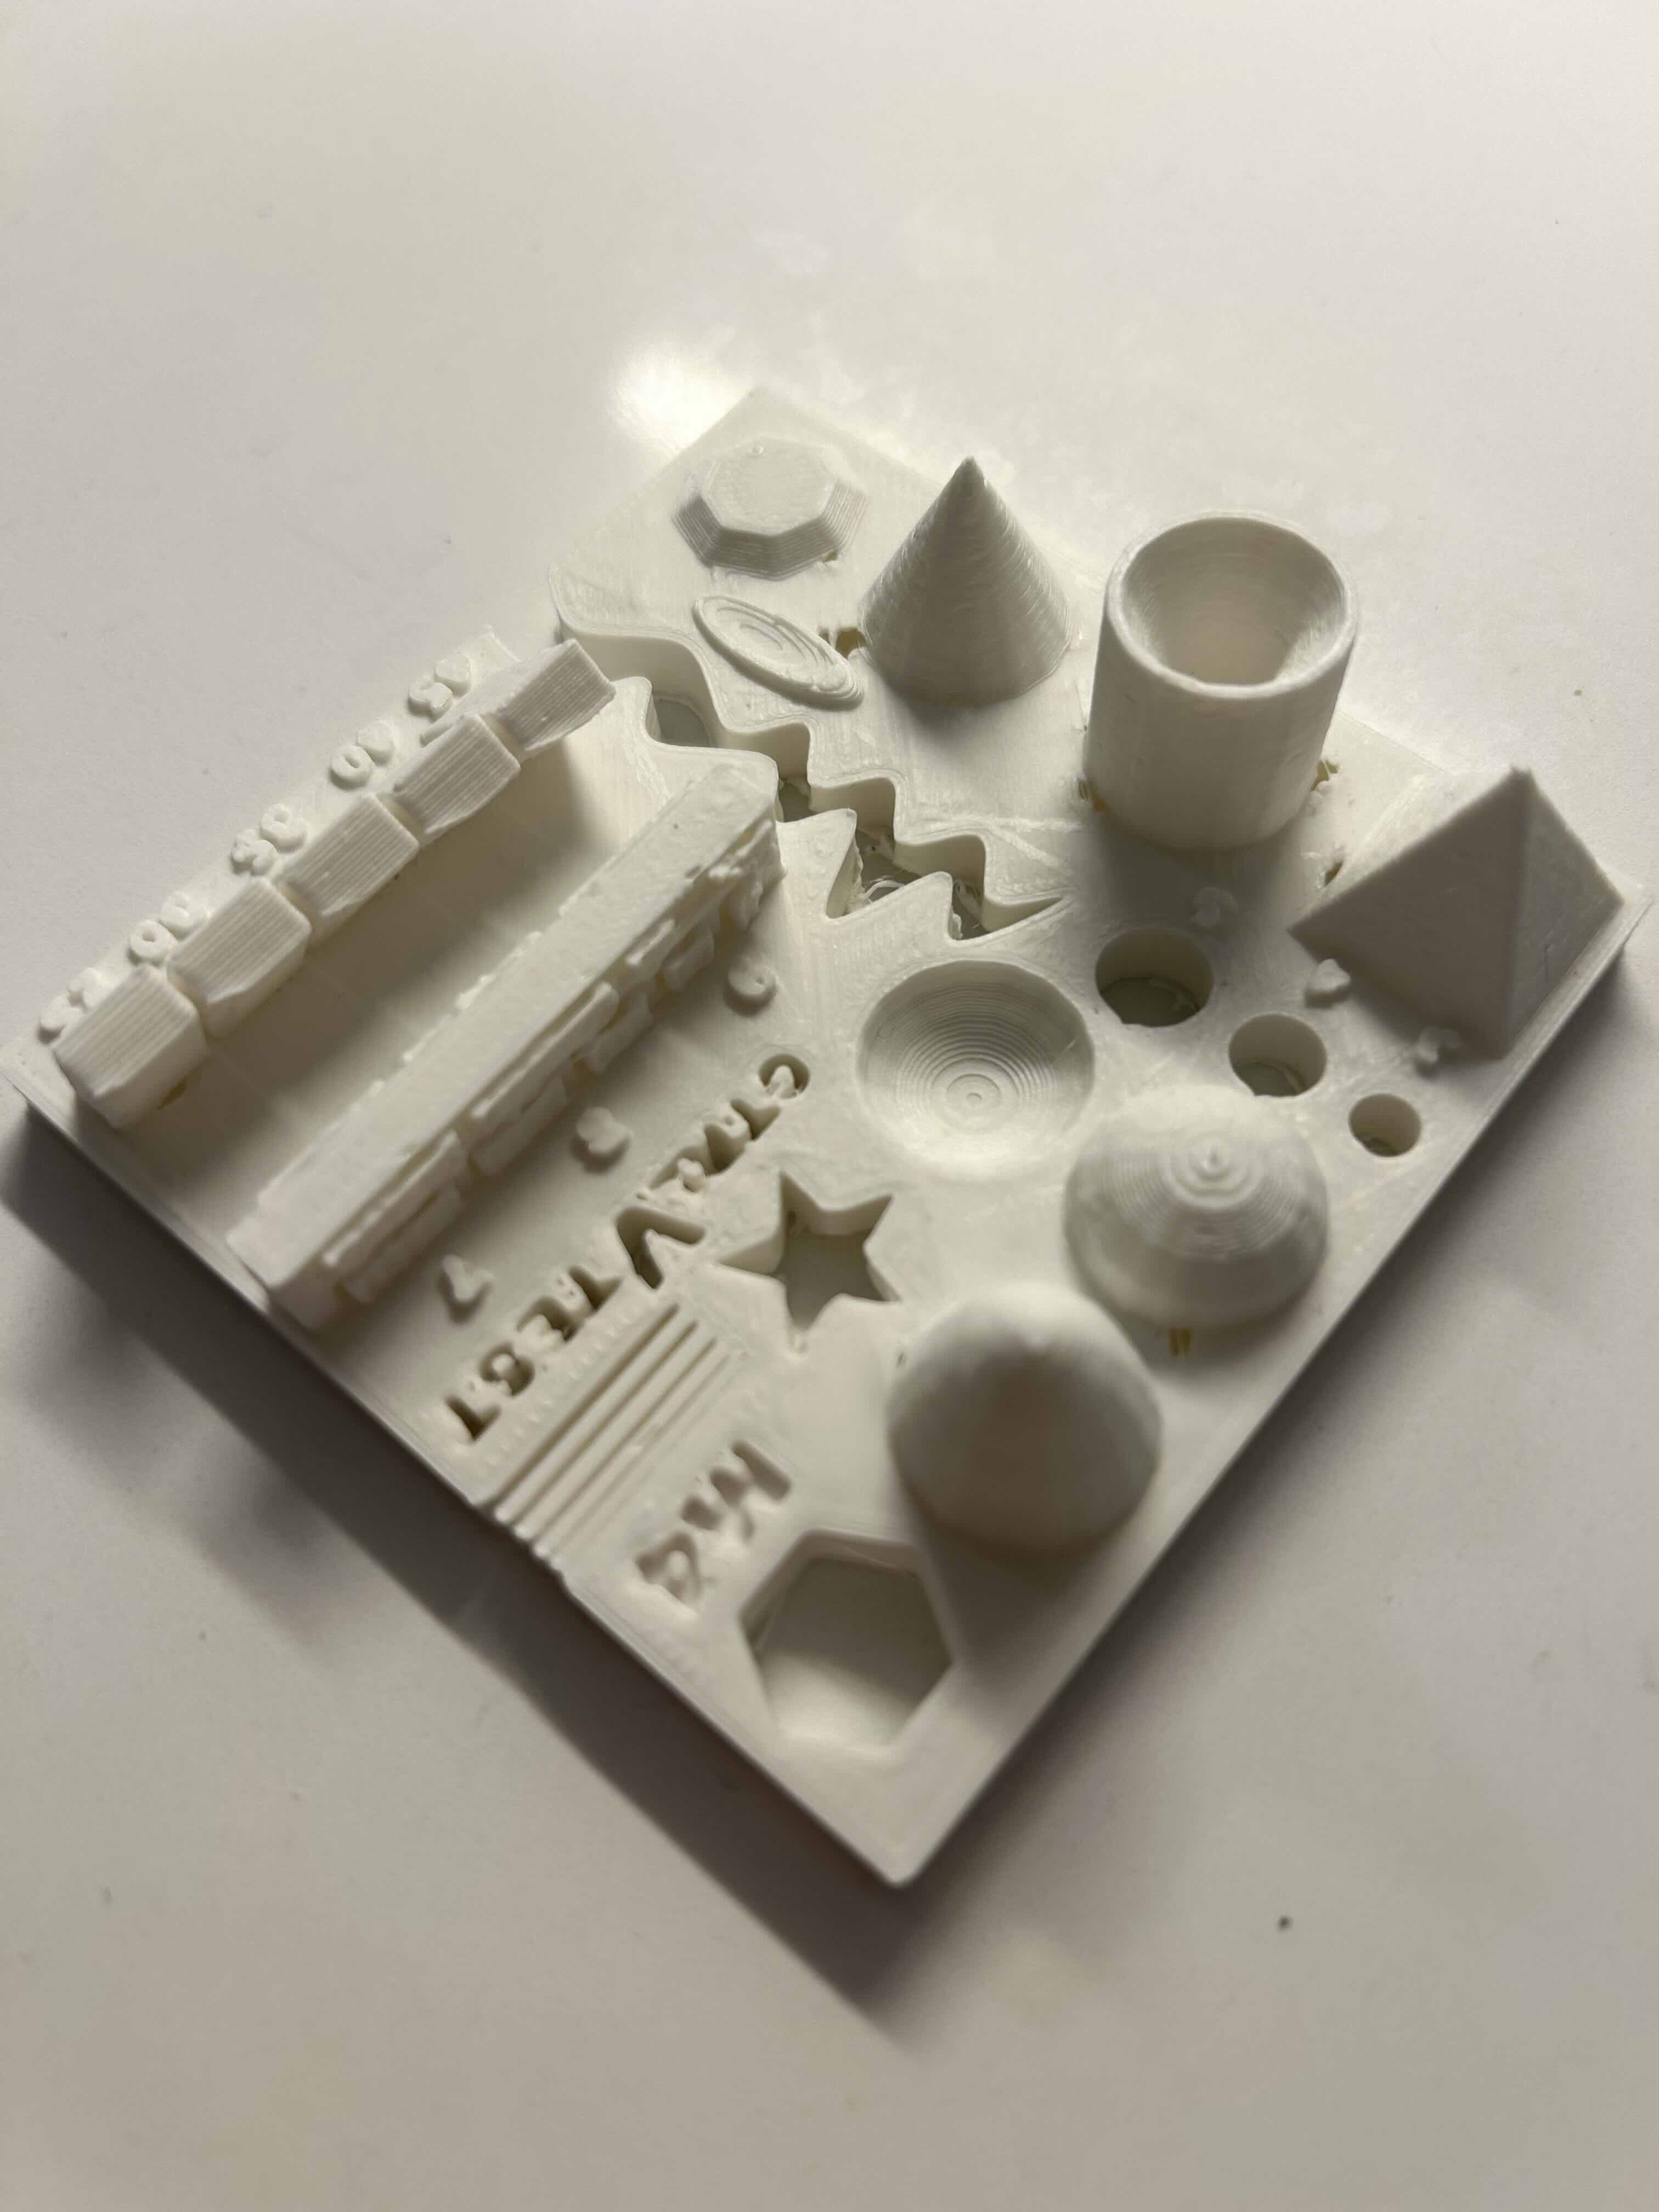
We also printed a second test case from this. It turned out a lot better--but was also a bit less complicated and didn't have many supports at all. The quality still wasn't great, but it gives a good sense of how precise this printer can get.
Part 2: 3D Print Something
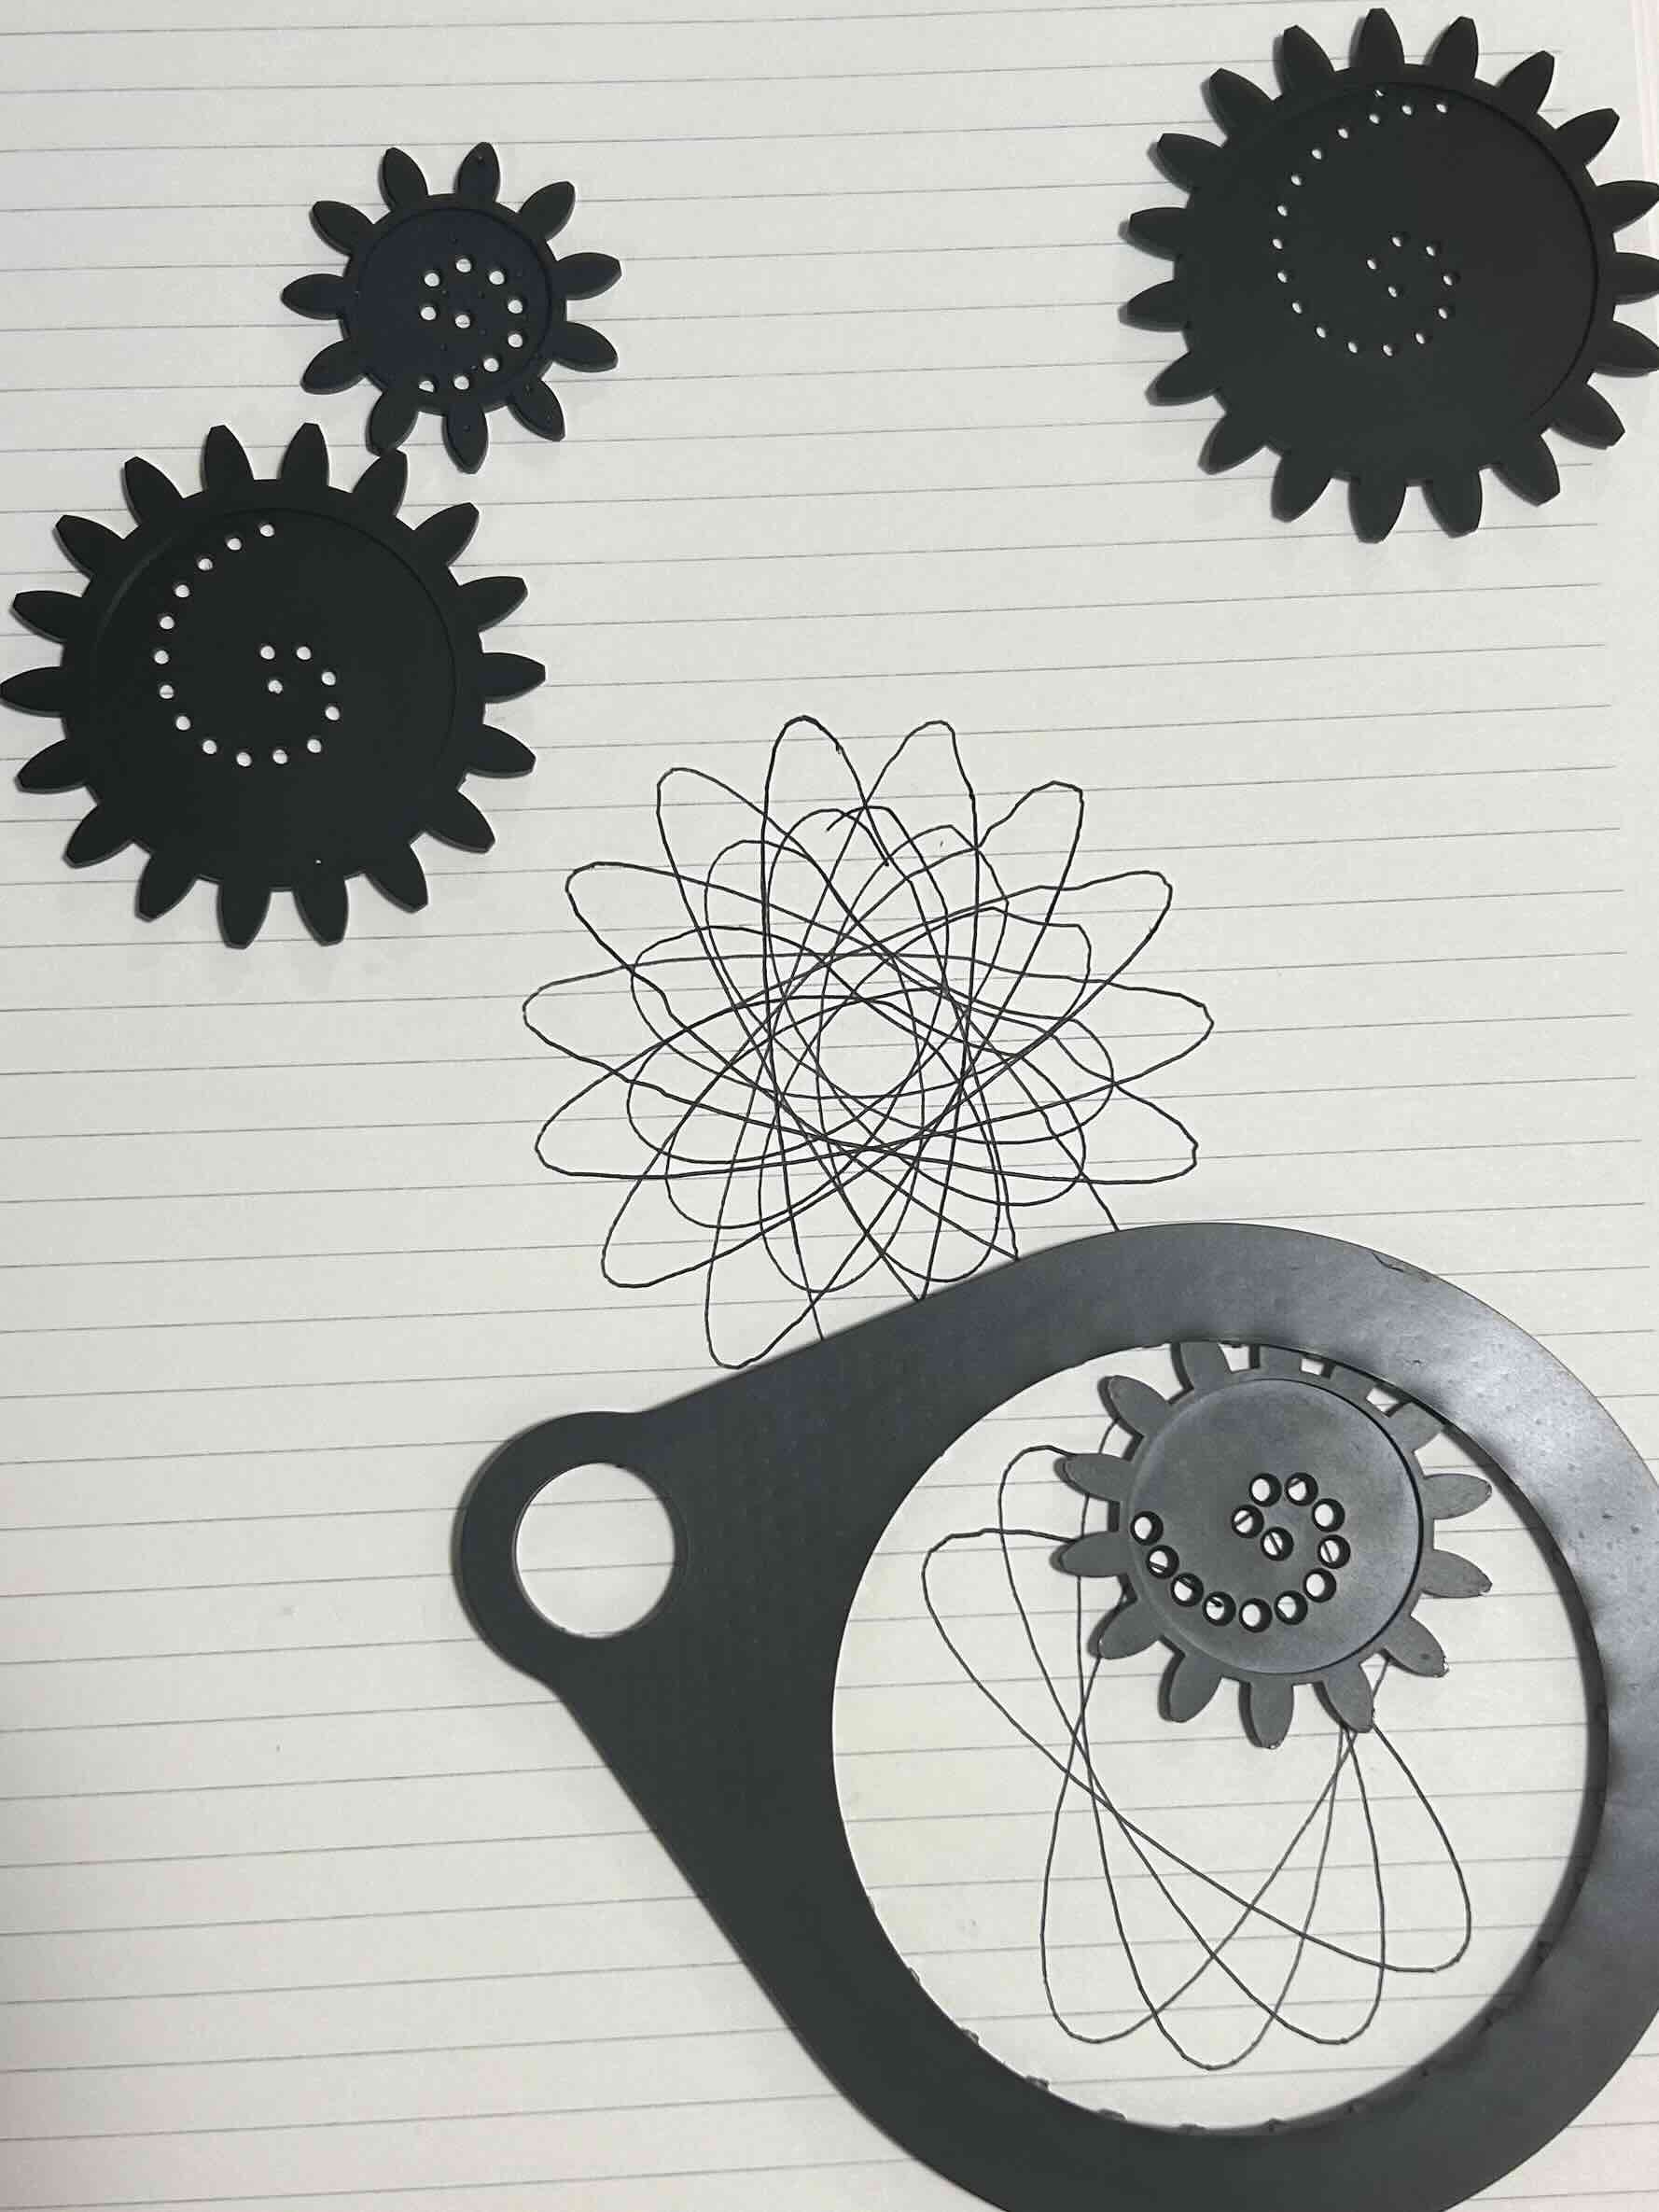
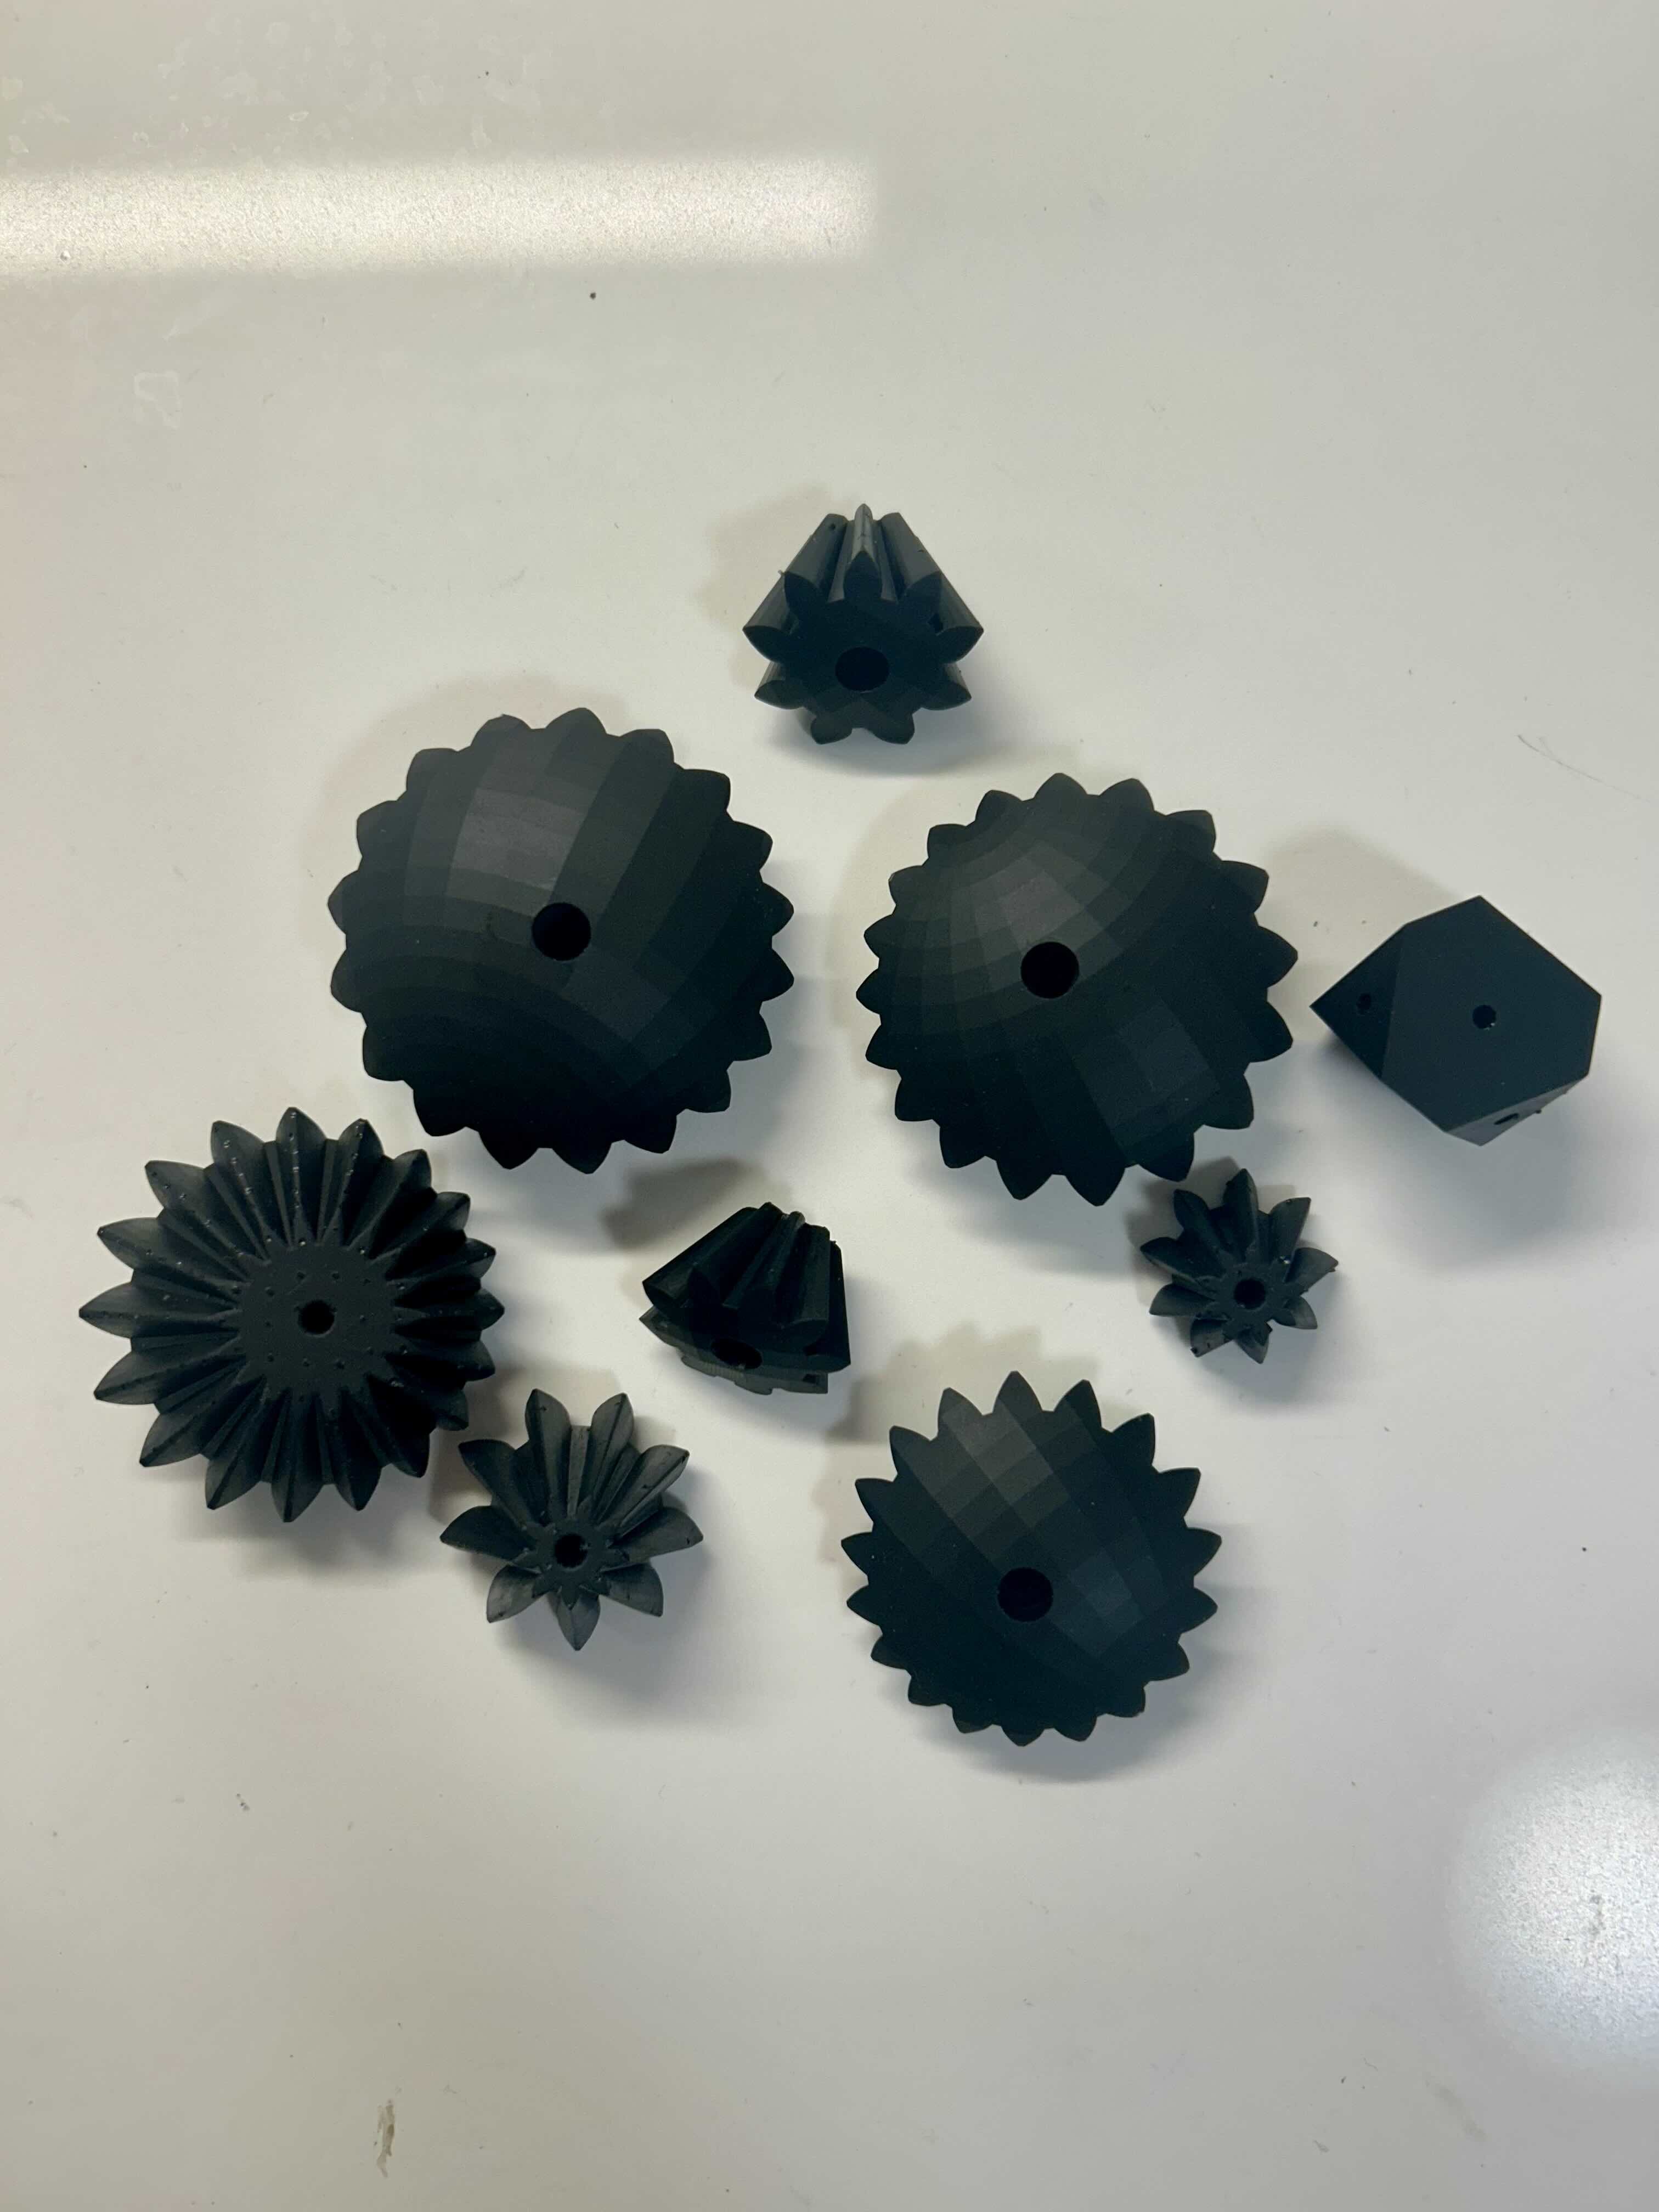
For this part of the assignment, I had access (through a friend) to a much higher quality 3D printer, a Formlabs resin based printer. I was quite surprised by how much better these prints were, and by the way that this printer was able to make shapes to such a high degree of precision. It was a great opportunity to learn about how to use different types of 3D printers, as well as to understand how the material and printing process can impact the final product. It also gave me more practice with orienting an object for 3D printing. I printed off a couple different designs I found on Thingiverse, found here, here, and here. The supports broke off a lot easier + more cleanly for these prints (compared to the Prusa MK3S)--but I broke them off after curing (should have done this first), which may have made curing not work quite as well and left some marks on the print.

Later in the semester, I ended up designing and 3D printing a mold for molding/casting week and some internal supports for my final project--you can find the relevant documentation on each of those pages.
Part 3: 3D Scan Something
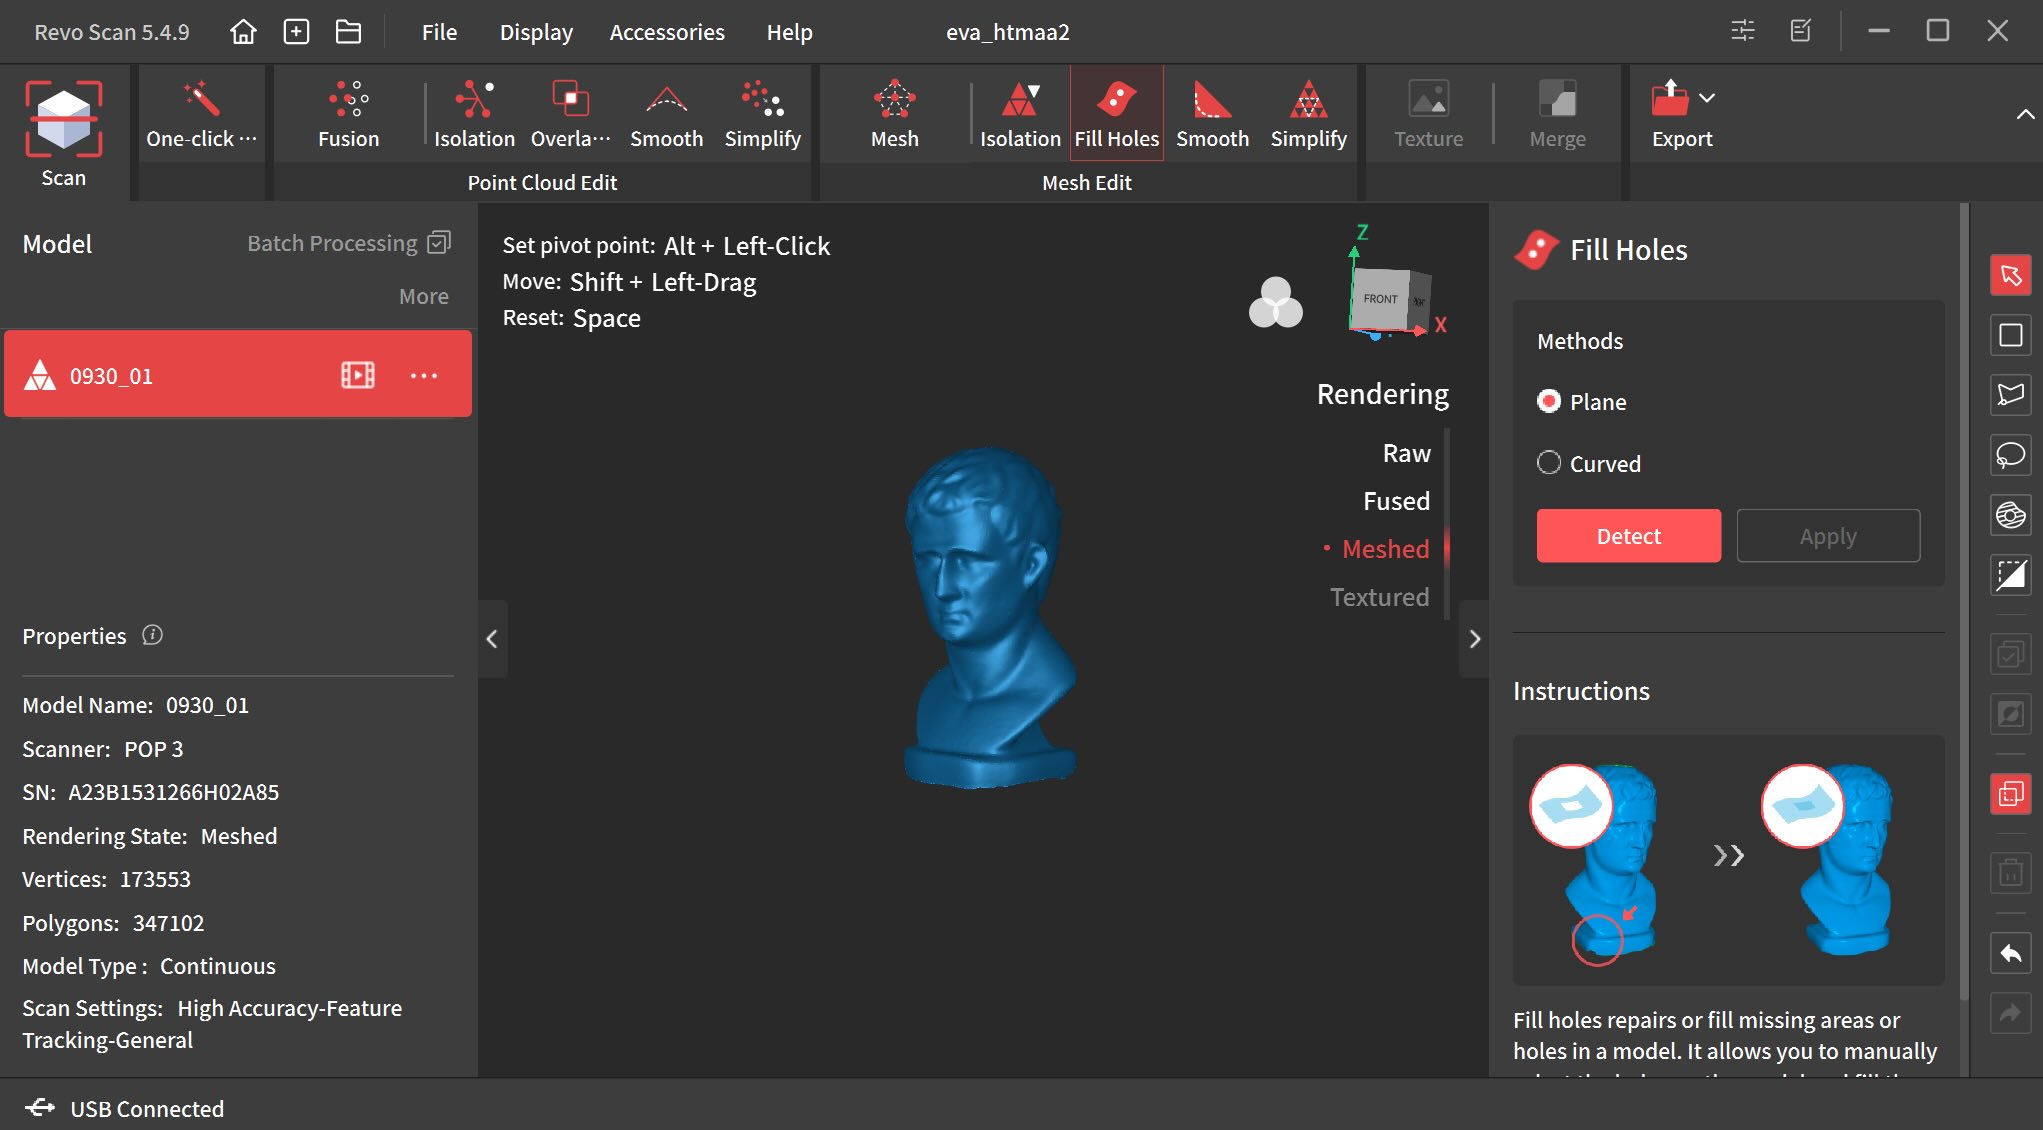
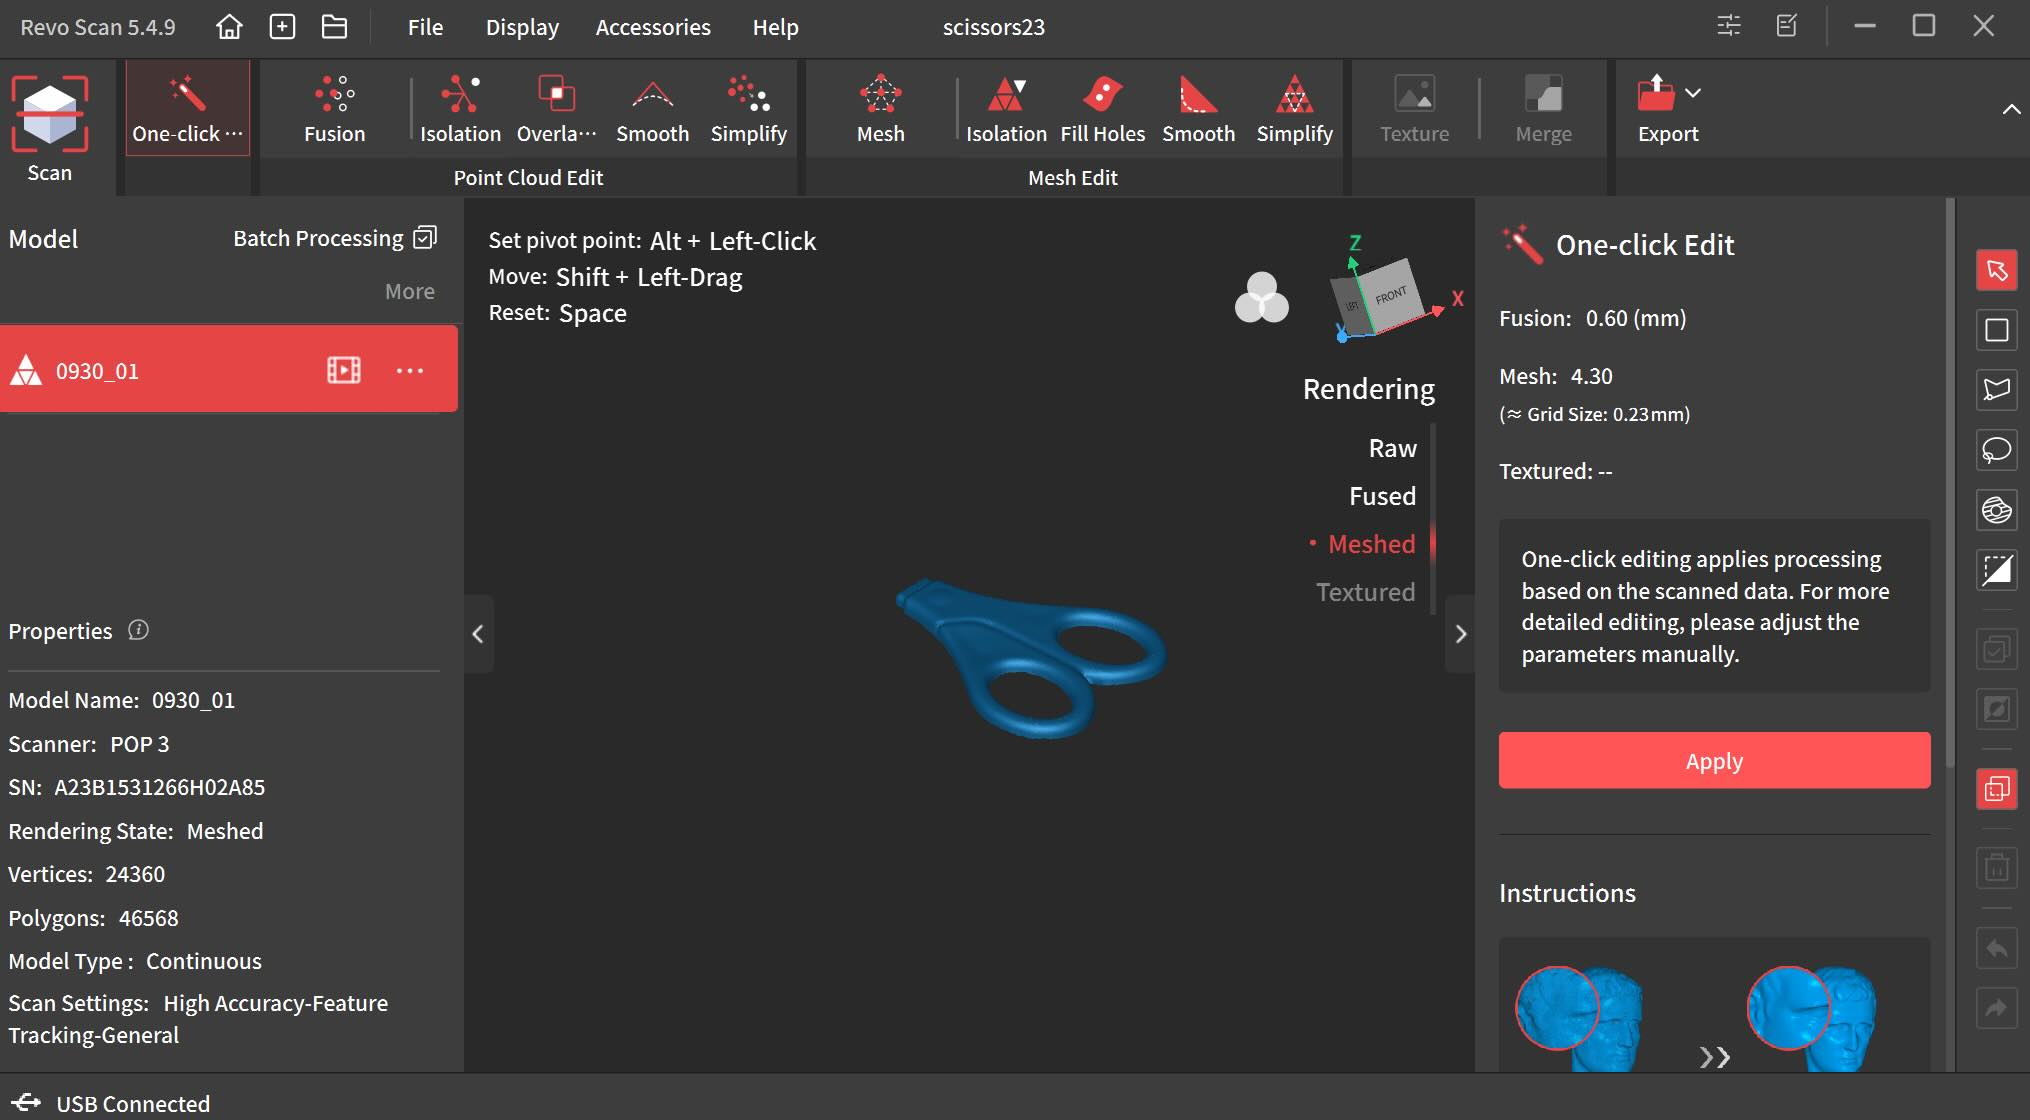
Finally, I 3D scanned an object using the Revopoint 3D Scanner and the Revo Scan software. I started off by scanning a test object, and then also scanned a pair of scissors. The scanner was only able to capture the matte part of the scissors, since it has trouble with reflective surfaces. I did find that changing the setting to detect a 'dark' object actually helped detect the reflective surface, but caused the rest of the scan to be worse. The correct way to scan a reflective object would be to use a spray on powder (someone mentioned baby powder + isopropyl alchol as an option). The scans weren't perfect at first and had some holes in the surface. I used the software to patch those holes and generally clean up the scans, and they turned out pretty well!
