Part 1: 3D Printing
Materials/Components
- PLA 3D printing Filaments
Machines/Tools
- Prusa MK4 3D Printer
- Bambu Lab X1C 3D printer
- Hot air gun
Software Platforms
- CAD: Blender & Autodesk Fusion 360
- Blender add-ons: FaceBuilder, Hairify
Design Files
- With hair: blend download
- Without hair: blend download, stl download (with base)
- Glasses: f3d download
Inspiration
I had used 3D printing to print some basic objects before, so I wanted to look for something different to do this week. The first exciting idea that popped up to my mind was the hairy lion that I previously saw other people do (click on images to go to source):


After printing all the hair filaments and removing the cylindrical support, the final lion hair style is created by using a hair dryer to heat up the filaments and petting the hair back.
This approach drastically intrigued me, and I wanted to do something hairy too. I went to see what other people have done for hairy 3D printing, and came across the hairy Einstein (click on images to go to source):
Maybe I can print some people with similar hairstyle too? Who can be my model?
I didn't come up with a clear idea until I went to the class, sitting there and watching our beloved professor giving his lecture. Aha, there he is!
Modeling
Head model creation
First, I needed to create a model for his head.
I tried to use a free AI tool, Meshy, to generate a 3D model from a 2D image, but after several tries the best model I got looked like this:

This was far from enough, so I tried another approach using Photogrammetry. I uploaded 20 images of Neil that I downloaded from google, hoping that Photogrammetry could generate a 3D model from the "2D scans". However, the tool couldn't create an output. This wasn't too surprising because the images I found were from different lightning conditions, have various background, and only covered some part of his face. Therefore, I had to look for other approaches.
Luckily, there was a blender add-on called FaceBuilder that let us customize a 3D face model using 2D images. (And importantly there's a free trial of 15 days, which was enough for me to play around.)
I imported several headshots, aligned the mesh wireframe with the photos:


The resulting model looks like this if I cheat a little by impose the texture from some of the images to the model:
I did't really know how well this model would turn out to be because we recognize Neil partially by his facial hair and glasses. I tried to use the sculpting tool in Blender to add some more details like wrinkles (signs of wisdom) to the face, but it was way harder than I thought for a total beginner on Blender like me, so I decided to move on.
Adding hairs
I first tried to use Fusion 360 to add the hairs because I was more familiar with its environment, but it took a lot of efforts and the features were hard to modify.

Then I was happy to learn that people have already developed a Blender add-on (Hairify) to add hairs to a model, so I decided to create the hairs in Blender instead.
I selected the regions to add hairs as below:


I planned to use the Prusa printer with a 0.4 mm nozzle size and a 0.2 mm layer height, so I designed the beard and eyebrows fibers to have a width of 0.4 mm and a height of 0.2 mm for the slicer to recognize them as one pass, and the hair fibers to have a width of 0.8 mm (and a height of 0.2 mm) for the slicer to recognize as two passes. I also set the hair density to 15 for both cases, and set the outer cylindrical support height to close to 0. I didn't want the hairs to have bridging because I wanted to create a more curly effect.
The resulting model is shown as below:
Modeling glasses
To get the right shape of Neil's glasses, I imported one photo of him into Fusion 360 and sketched the frame of the glasses on top of it:

3D Printing
Since the glasses frames were thin, I decided to print the three pieces separately and glue them together. I imported the stl files for the head and glasses frames (3 pieces) into the slicer for Prusa, and scaled the glasses frames to fit the size of the head.

The resulting print is shown below:

After adding styling the hair with a hot air gun using the lowest temperature and power settings and sticking the glasses frames on using super glue, the final product was ready!
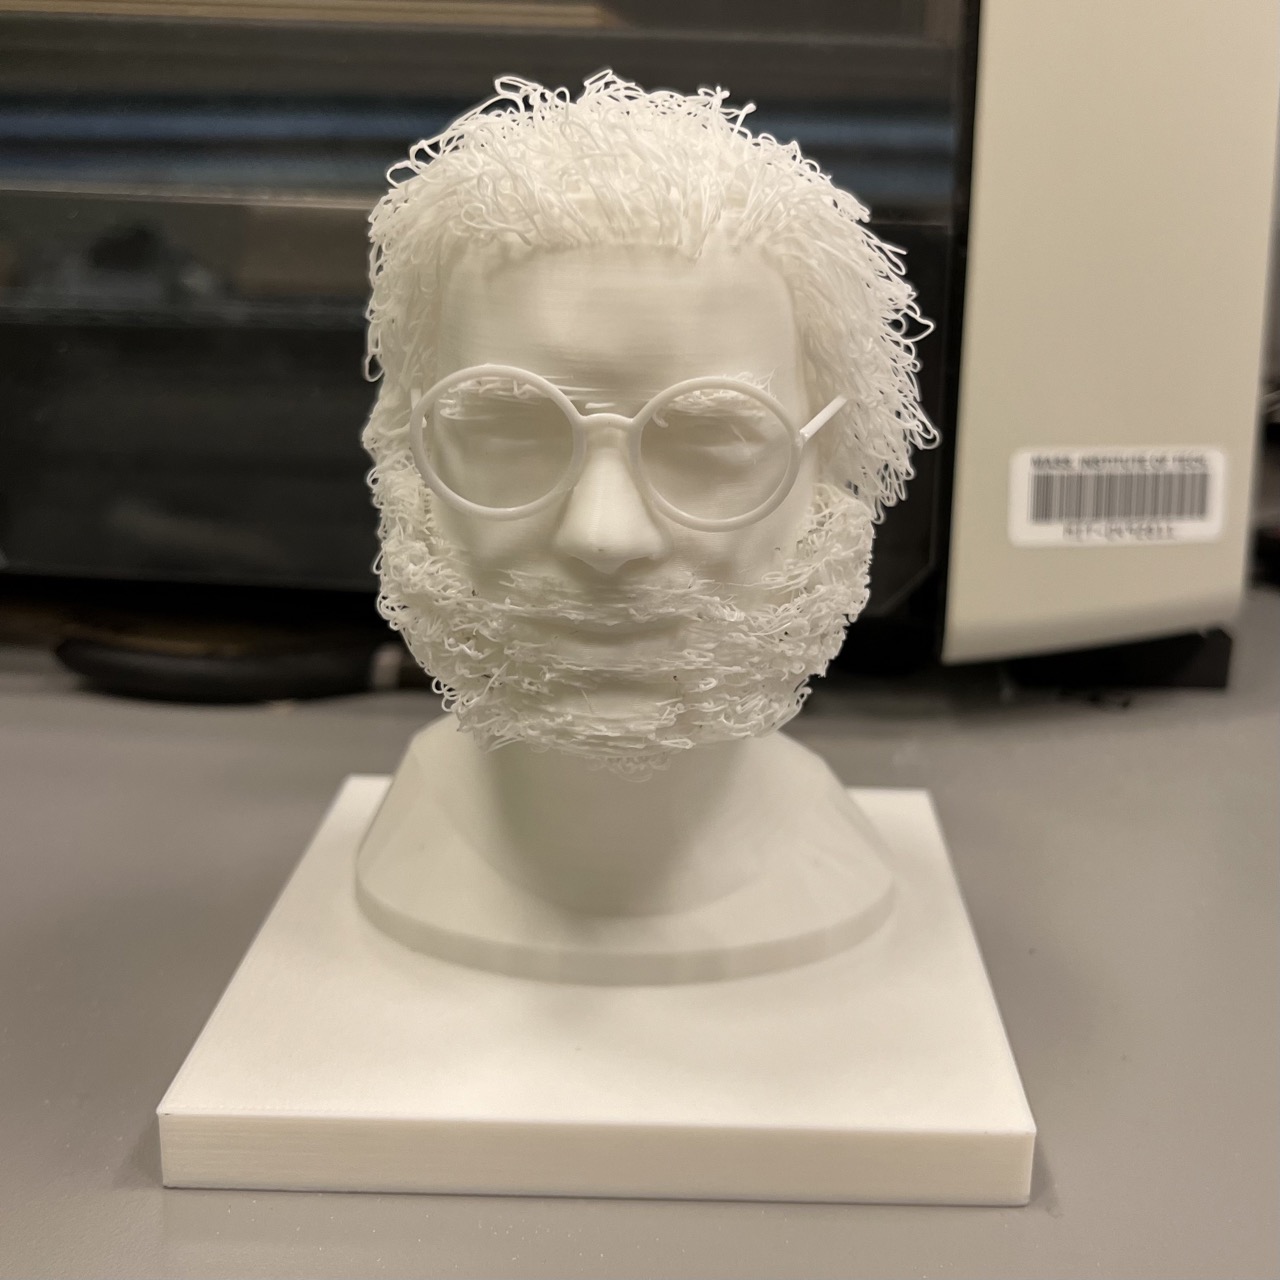
Can you spot the difference?
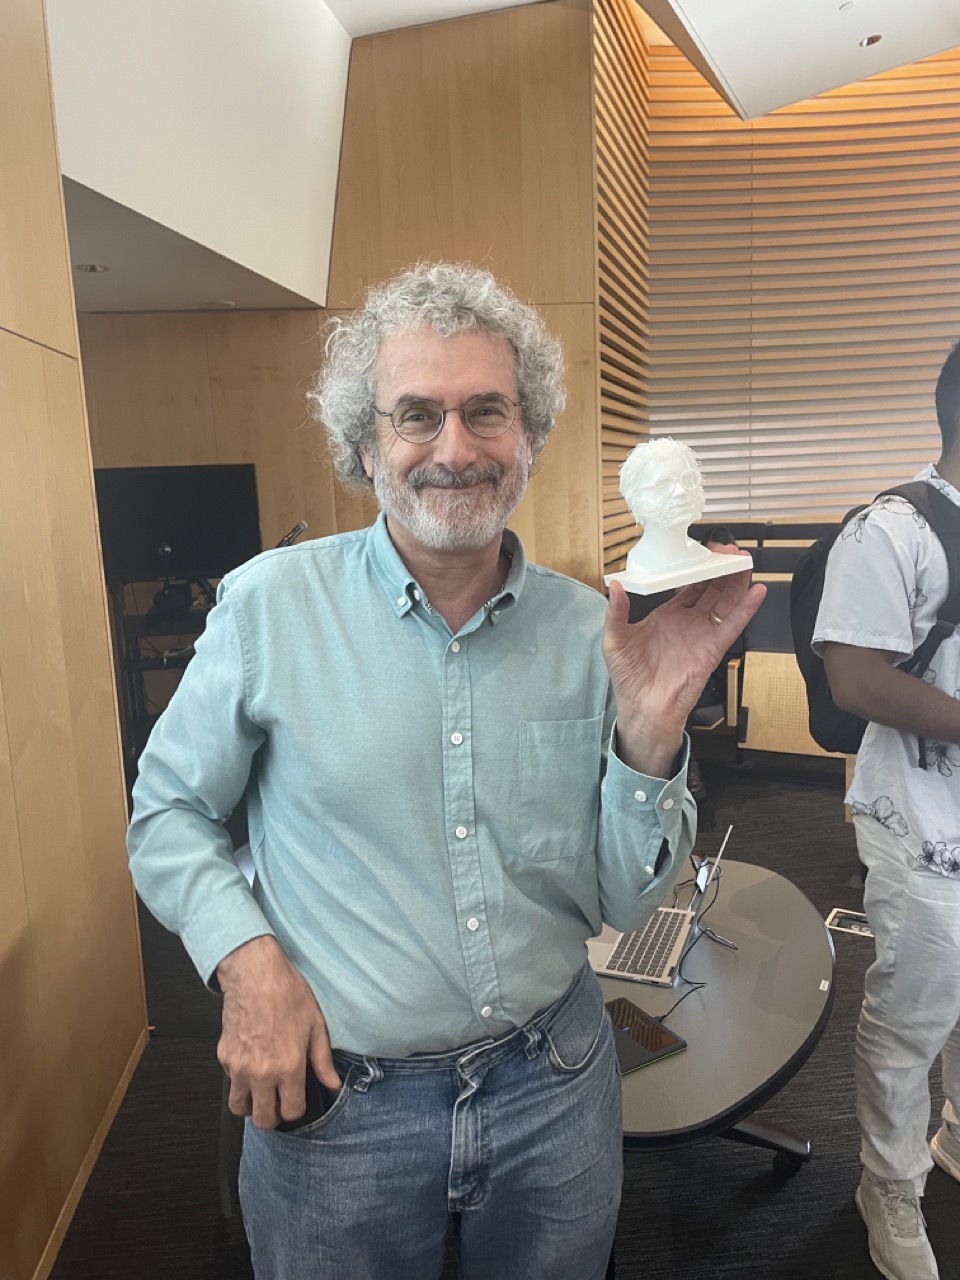
In fact, with the help of Yuval, I scaled down the model in the slicer for the Bambu printer, and assigned colors to the face and hair as below:

Initially, as the downscaled model's hairs were too thin, the slicer wouldn't recognize most of them. After we turned on the "Detect thin wall" function, more hairs showed up. This model takes >15 hrs to print because the printer needs to switch between different materials. It would be nice to print in the future when the printer is more available.
Update from Later Weeks
Another Variation
Anthony and I printed a young Neil with black hair using the original scale and the Bambu printer:

It took a very long time (~ 28 hrs) to print because there were a lot of swaps between the black and white filaments. In the end, the scene at the back of the machine was impressive:
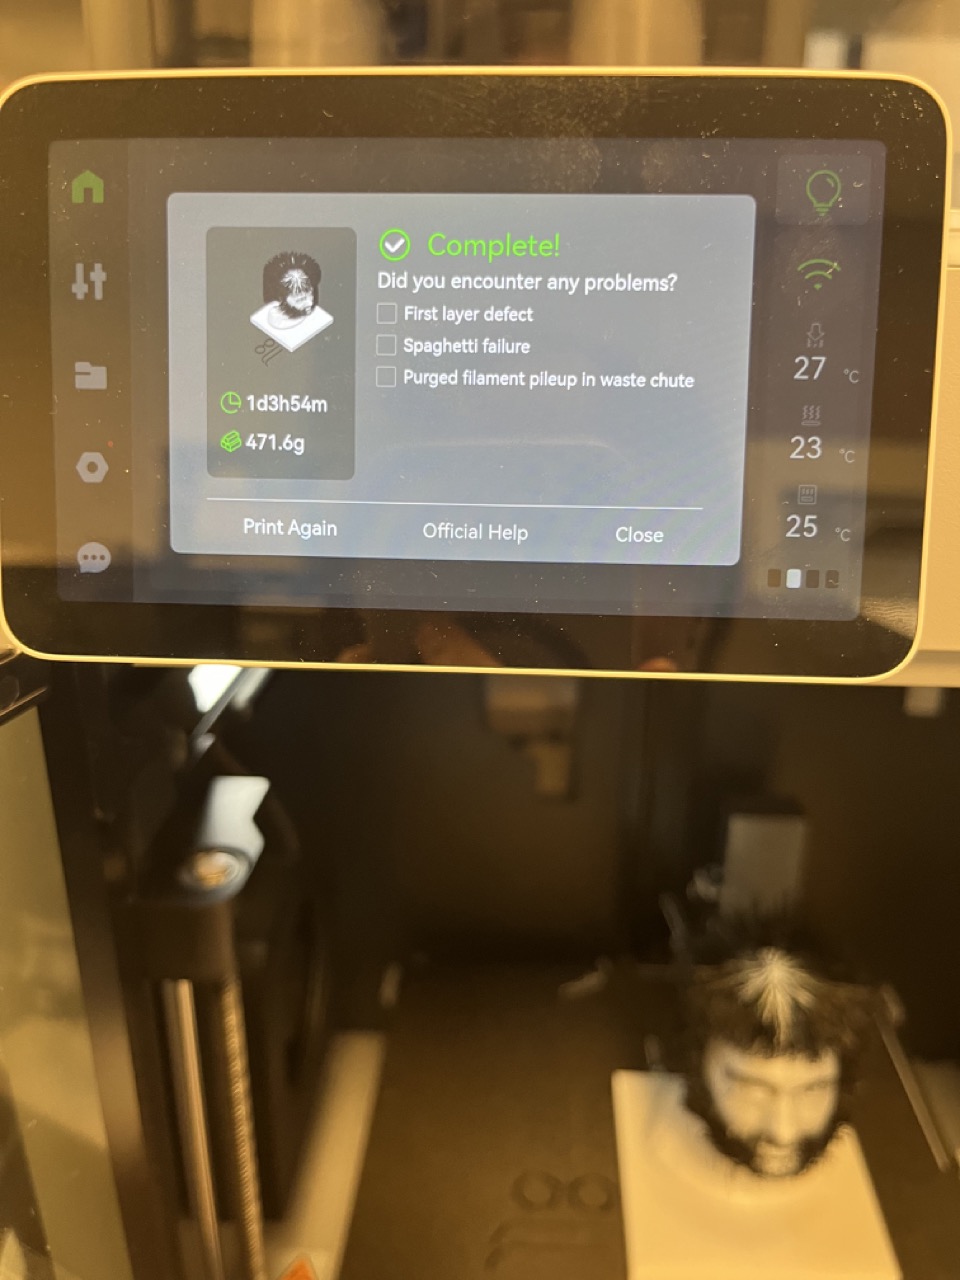
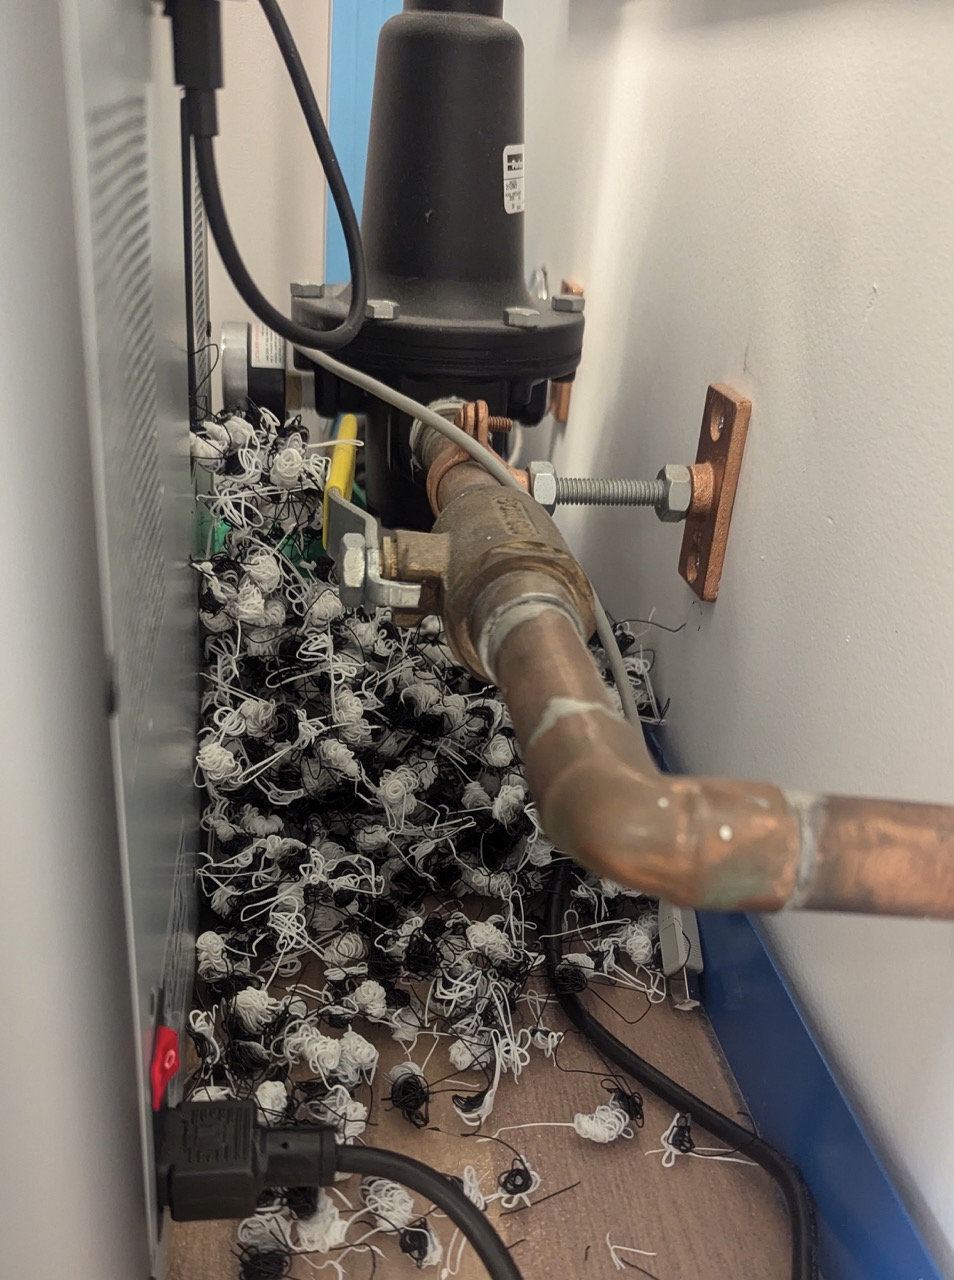
This print is sitting in EDS waiting to be hot air treated!
Model Sharing
The 3D model of Neil's head (without hairs) was used by JD in his molding and casting week assignment. Don't forget to check that out!
If you are a future student seeking to do something fun with Neil's 3D head model, feel free to download it from the "Design Files" section above!
Part 2: 3D Scanning
Materials/Components
- Object to scan: rabbit ornament
Machines/Tools
- 3D scanner: Revopoint POP 2
Software Platforms
- Scanner Software: Revo Scan 5
I have a cute rabbit ornament that I would like to scan:

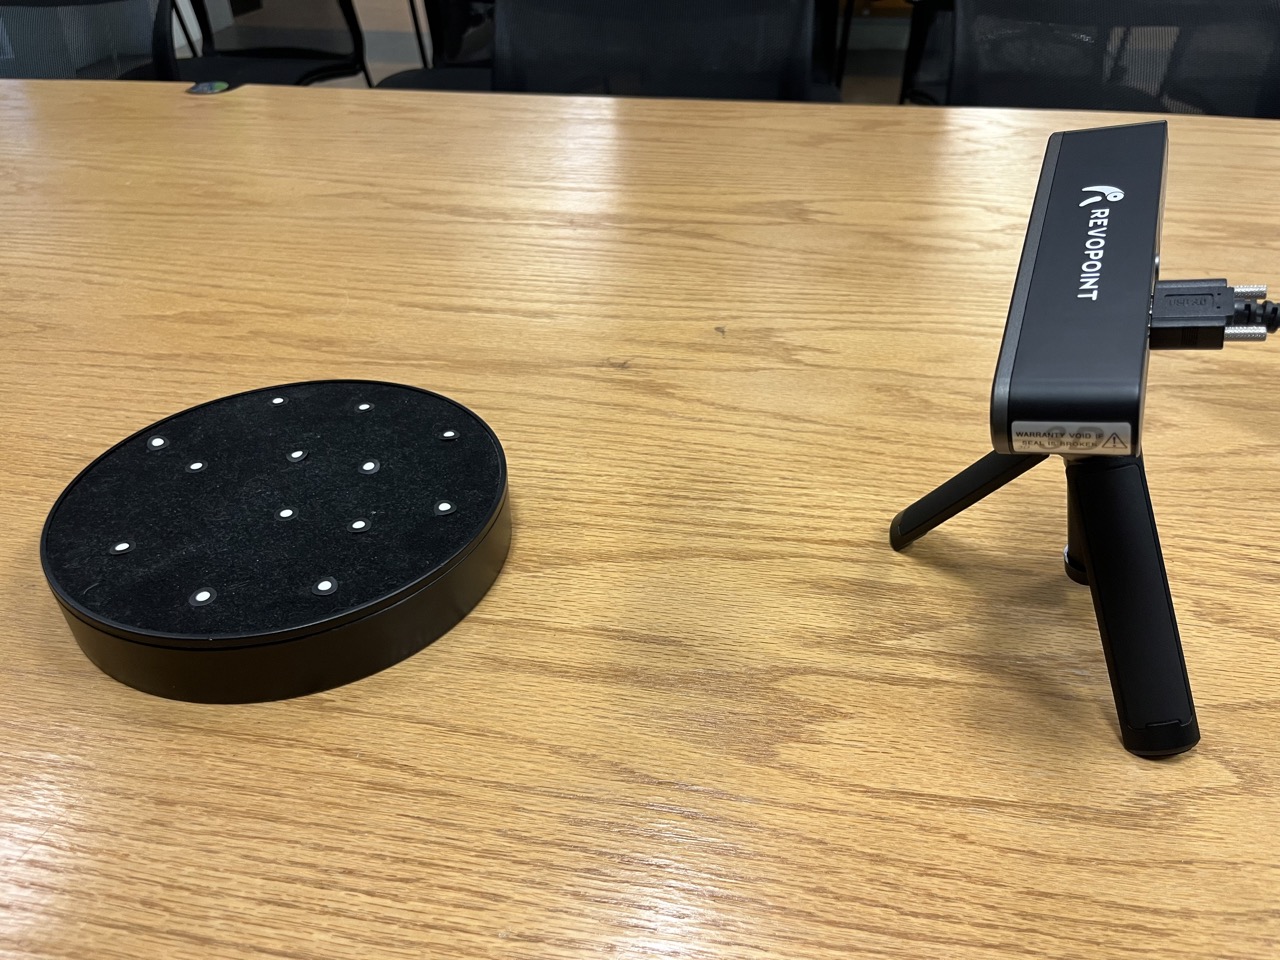
I used the Revopoint POP2 3D scanner in the EDS workshop to scan the object. The scanner setup is shown below. The circular stage would rotate while the camera scanned the object.
At first, the result wasn't great. At some point during the scan the point cloud would fail to align, and the resulting point cloud would contain faces at multiple places.
After Anthony helped me connect the scanner to the new version of the software, I was able to get the result below using the "general" scan setting.
Acknowledgements
I would like to than Anthony for providing the trainings, discussing ideas with me, and helping me with scanning and 3D-printing post processing; Yuval, for assisting me with the Bambu printer slicer; and Alec, for helping with starting the printing!

