This week, we learned molding and casting along with machining. To produce a rigid part, we learned how to create a rigid positive mold, cast with a flexible material to create a negative mold, and finally cast in that flexible mold to create a positive rigid part. I created the first rigid mold by machining a wax box, the second mold by casting silicone, and the final part by casting with drystone, urethane resin, and PDMS polymer (this is actually flexible).
Materials/Components
- Rigid positive mold material: 7''x3''x1.5'' wax block
- Flexible negative mold material: Mold Star™ 30 silicone
- Final product materials:
- USG Ultimate Drystone™ Casting Media
- Smooth-Cast™ ONYX™ Slow urethane
- Polydimethylsiloxane (PDMS) (failed due to adhesion to silicone mold)
Machines/Tools
- CNC Shark Pro Plus Router
- 1/4'' flat end mill
- 1/8'' flat end mill
- Bench dogs
- Hot glue gun and hot glue
Software Platforms
- CAD & CAM: Autodesk Fusion 360
Design Files
- Original ghost model: source
- CAD & CAM: view/download with Fusion online viewer
Wax Mold Milling
Model selection and Computer-Aided Design (CAD)
As Halloween is coming up, I chose to work with this happy ghost model. I thought the model looked better without the mouth and eyes, so I only used the body's model.
Initially, I imported the stl file directly into Fusion 360 to create the mold. However, Fusion 360 was running very slowly because of the big stl file. Therefore, I used this online stl simplifier to decrease the file size to 20%, and re-imported the file. This time, the speed was much better.
I converted the mesh to body, scaled the body, splitted the body in halves, created the wax box with two pockets, and aligned the bodies with the center of the pockets. After that, I created the alignment pins (registrations) and the hole for pouring material. The resulted model looked like this:

Computer-Aided Manufacturing (CAM)
Since we will be setting the z=0 plane on the bed of the machine, the origin of the coordinate was chosen to be on the bottom side of the wax box. With the help of Anthony, I did CAM in Fusion 360 using two tools: a 1/4'' flat end mill for bulk material removal and a 1/8'' ball end mill for detailed work.
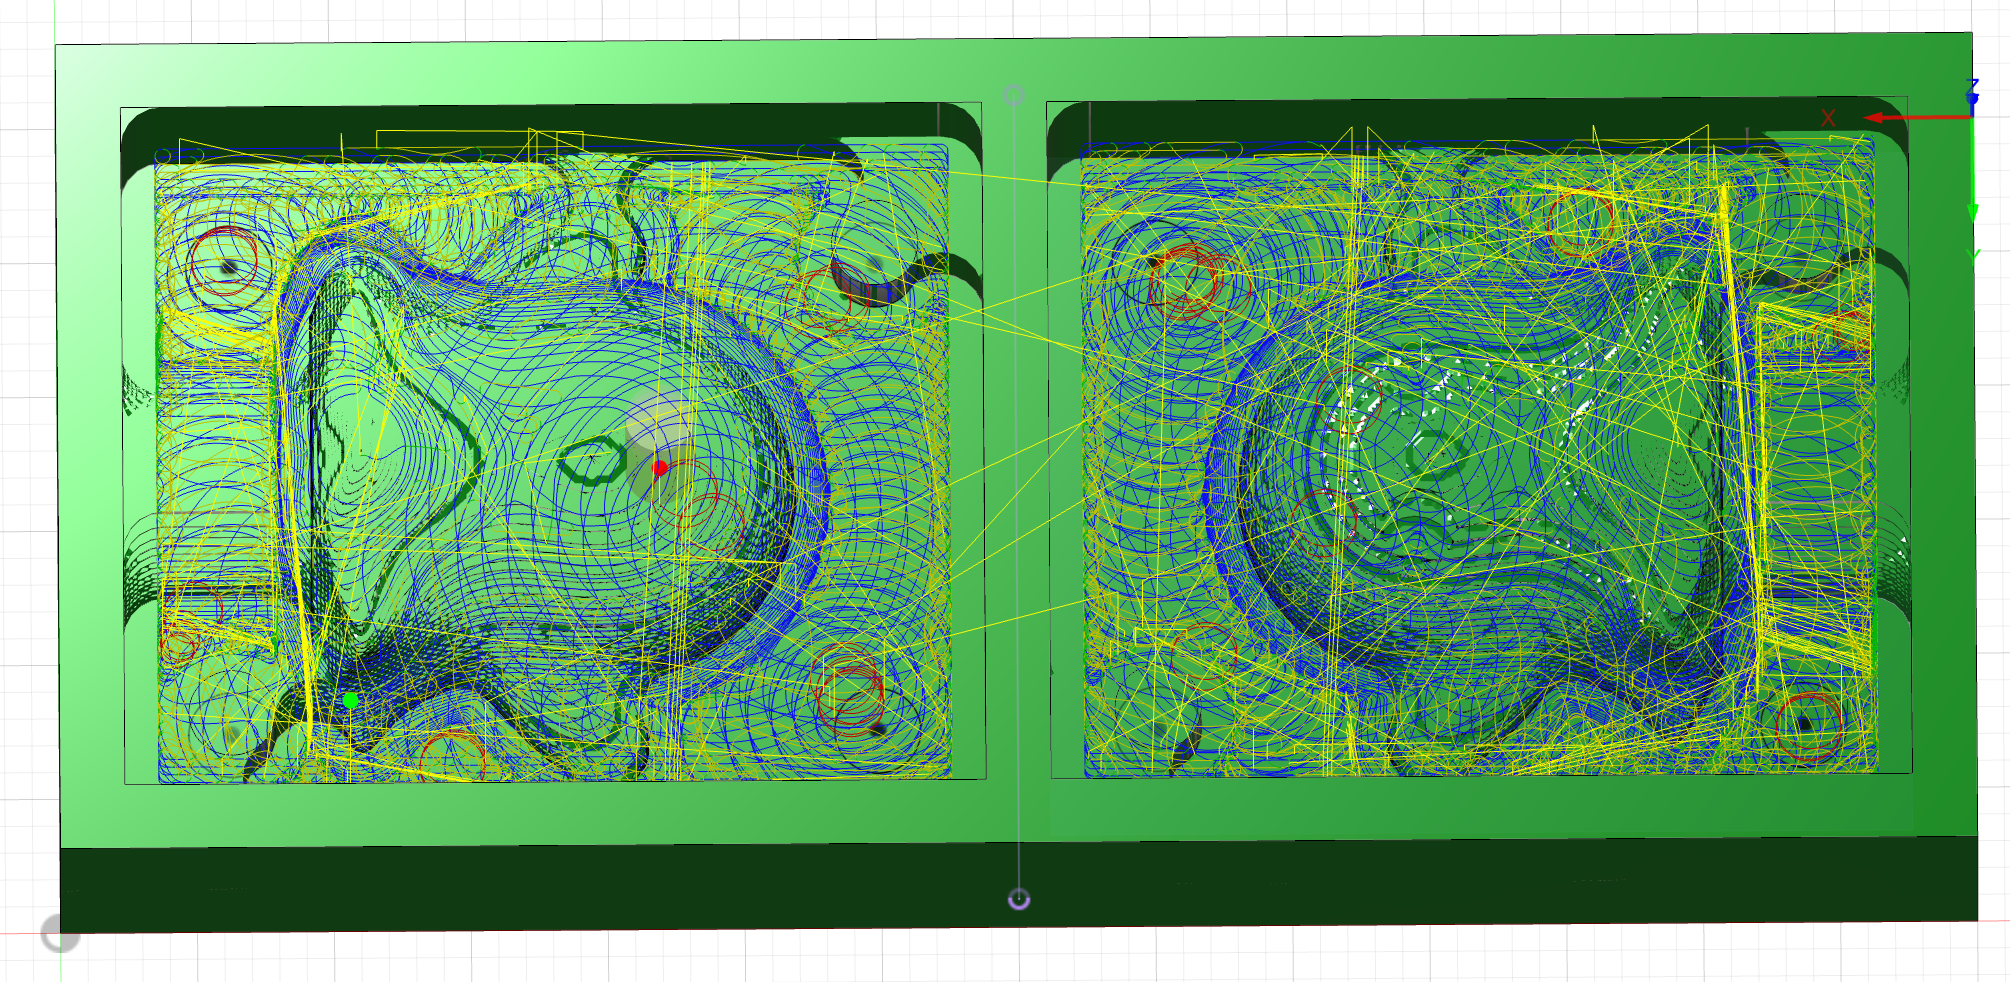
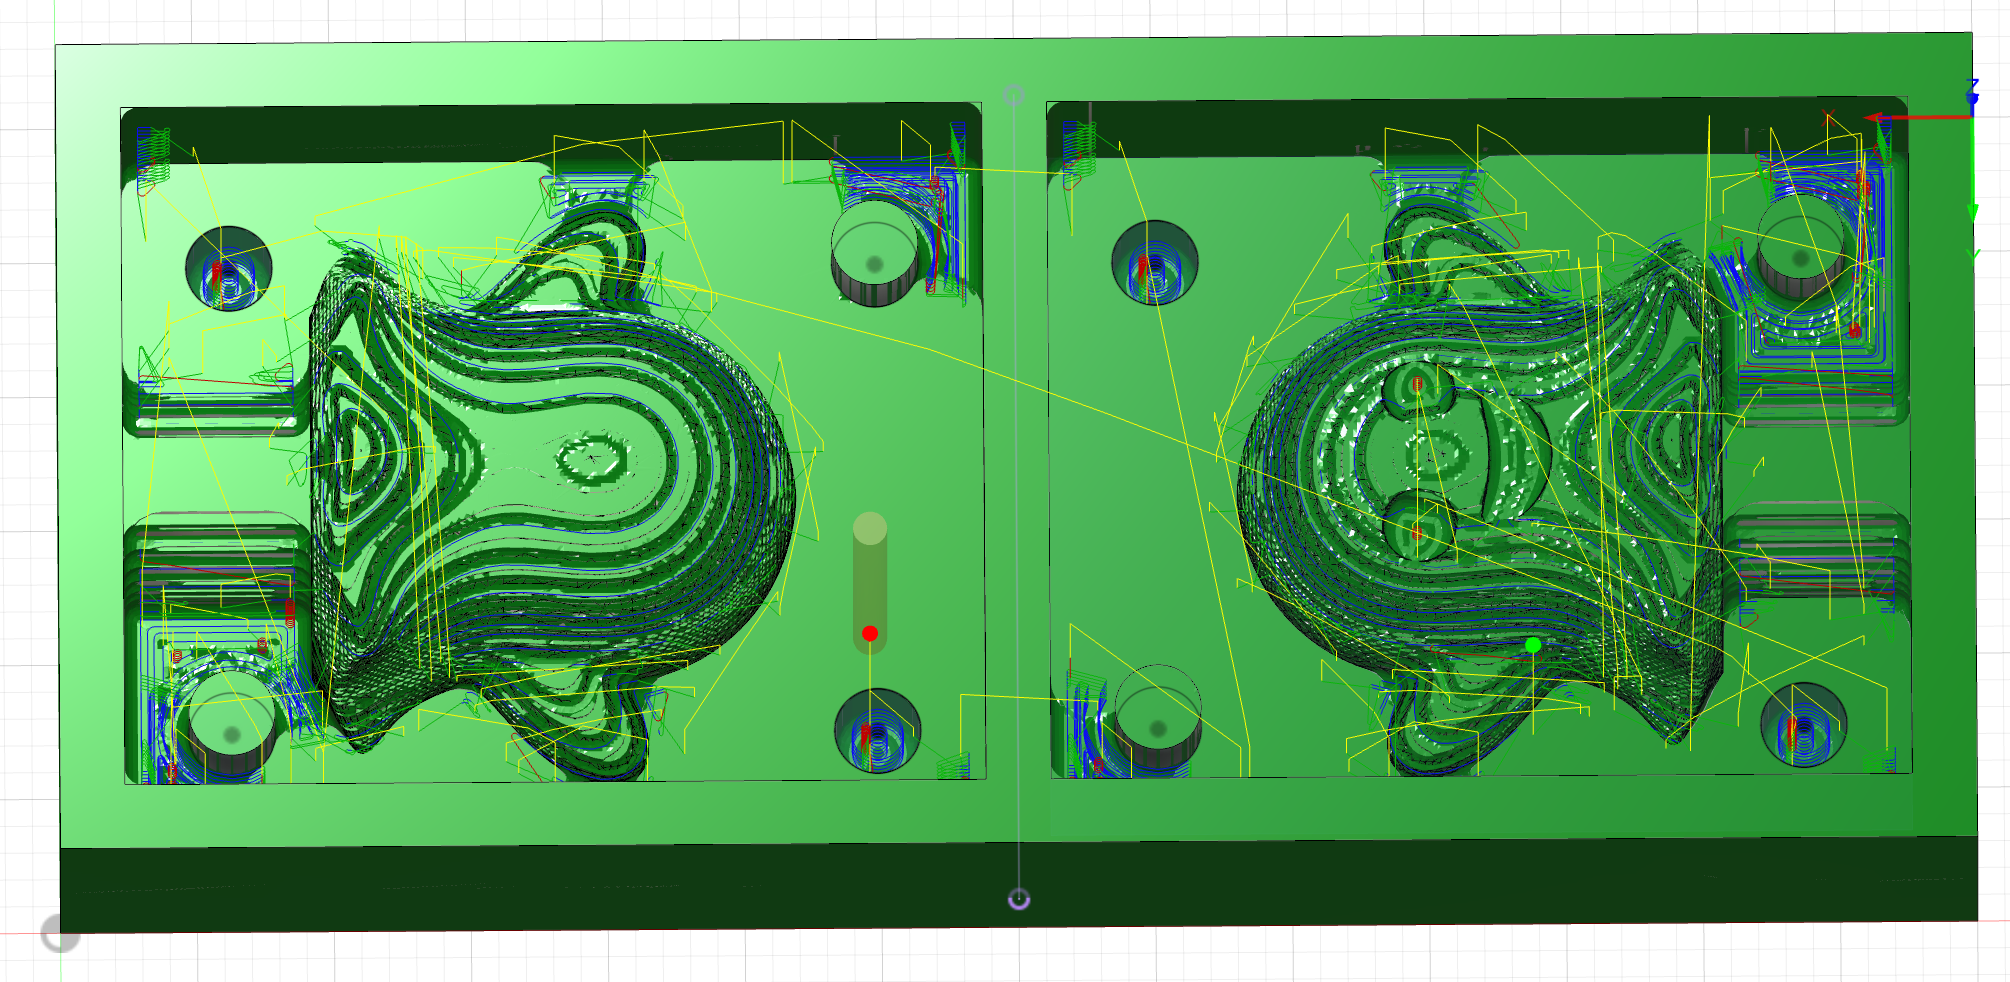
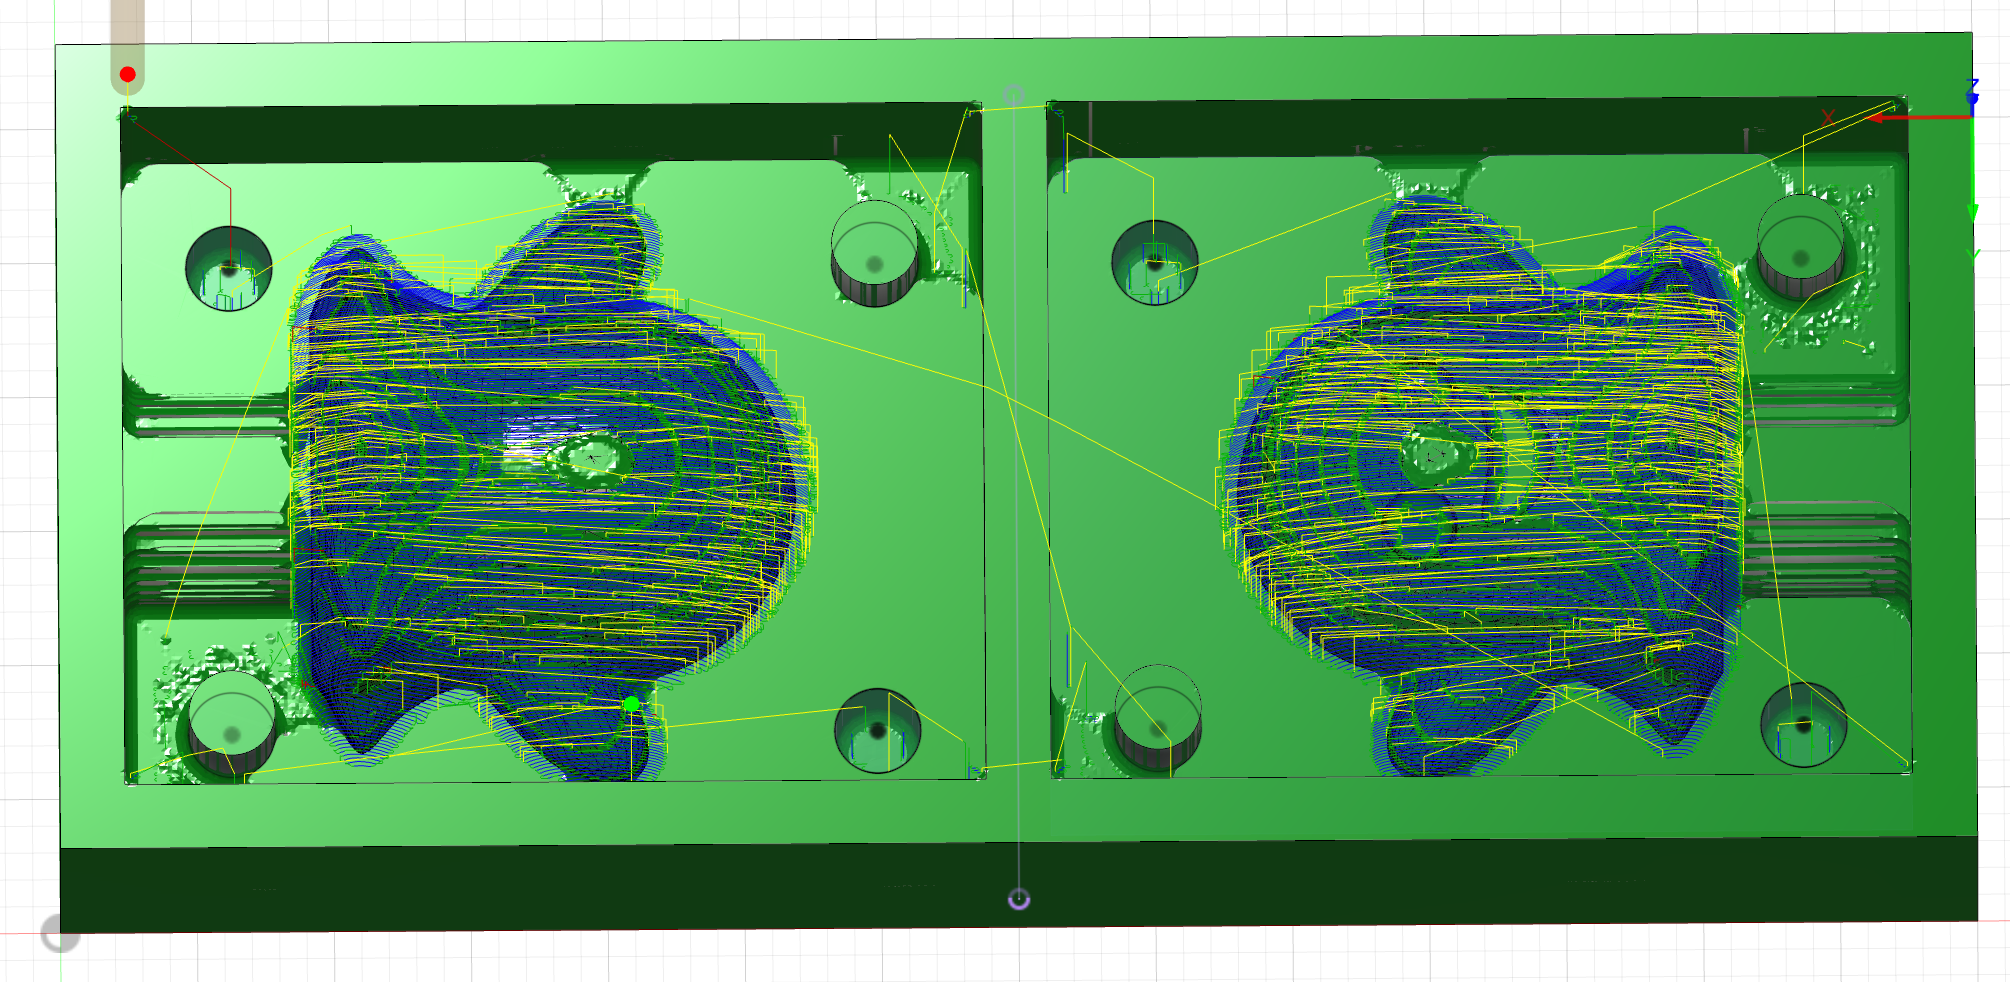
The first tool was used in adaptive clearing to remove bulk materials fast, and the second tool was used in pocket clearing to remove the areas that adaptive clearing didn't get to and parallel for surface finishing. There were tradeoffs between machining time and surface finishing. The parameters we ended up using were shown below:


The resulting toolpaths for the three processes were shown in the images below:


Machining
The milling process was automated and went smoothly despite the machine being loud. I liked that Anthony uses bench dogs to set the x and y positions of our wax box, and encoded the x=0, y=0 position as the manual tool change position, so that we can easily set the origin on our parts. The total machining time was around 40 min. Below is a video showing the machine doing the parallel process:
The milled wax mold is shown here:

Silicone Mold Casting
I used Smooth-On's Mold Star™ 30 silicone to fill the first mold. The two parts required a volume ratio of 1:1, and it turned out that simply eyeballing the volume can create the mixture good enough for curing properly:
Final Part Casting
I mixed the drystone powder with a slight amount of water and casted the part as shown below. The rubber bands really helped the two silicone molds to stay together and bridged the gap between the surfaces.
Here is the casting result:

I also made two other castings with the materials available in our lab: Smooth-Cast™ ONYX™ Slow and PDMS.


The onyx slow worked great. However, the PDMS stuck to the mold and I couldn't get it out. I realized that PDMS is also a silicone polymer, which explains why it adhered to silicone.
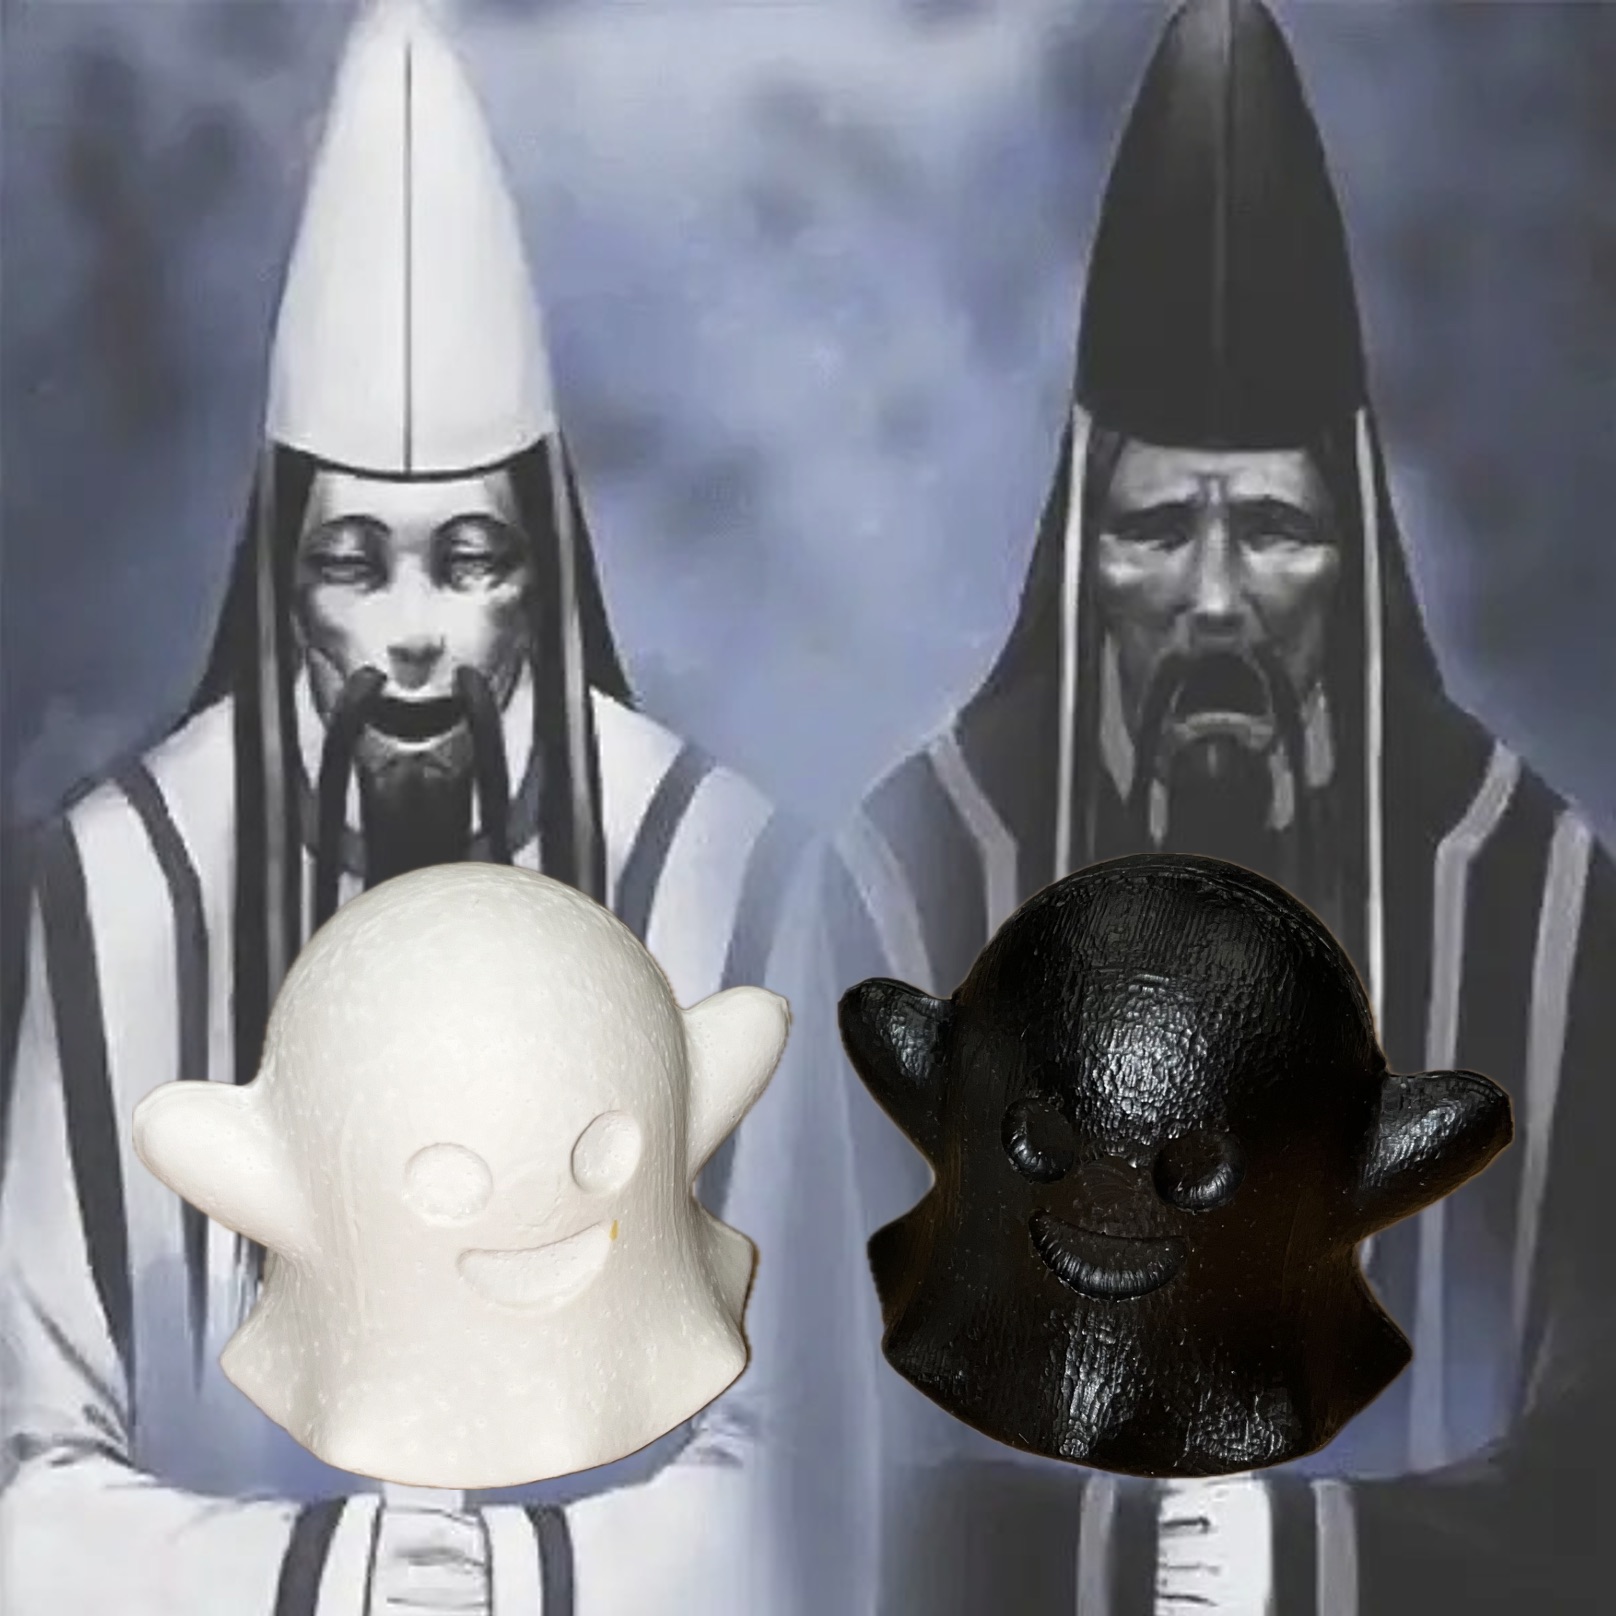
The black and white ghosts made me think of Heibai Wuchang in Chinese mythology, so I place them together:

Heibai Wuchang image source
Acknowledgements
I would like to thank Anthony for allocating an additional training time for me because my schedule didn't fit with the regular training time, and also for the great training session and the rewarding idea discussions as always!