Programs Used
- Fusion 360
- ShopBot
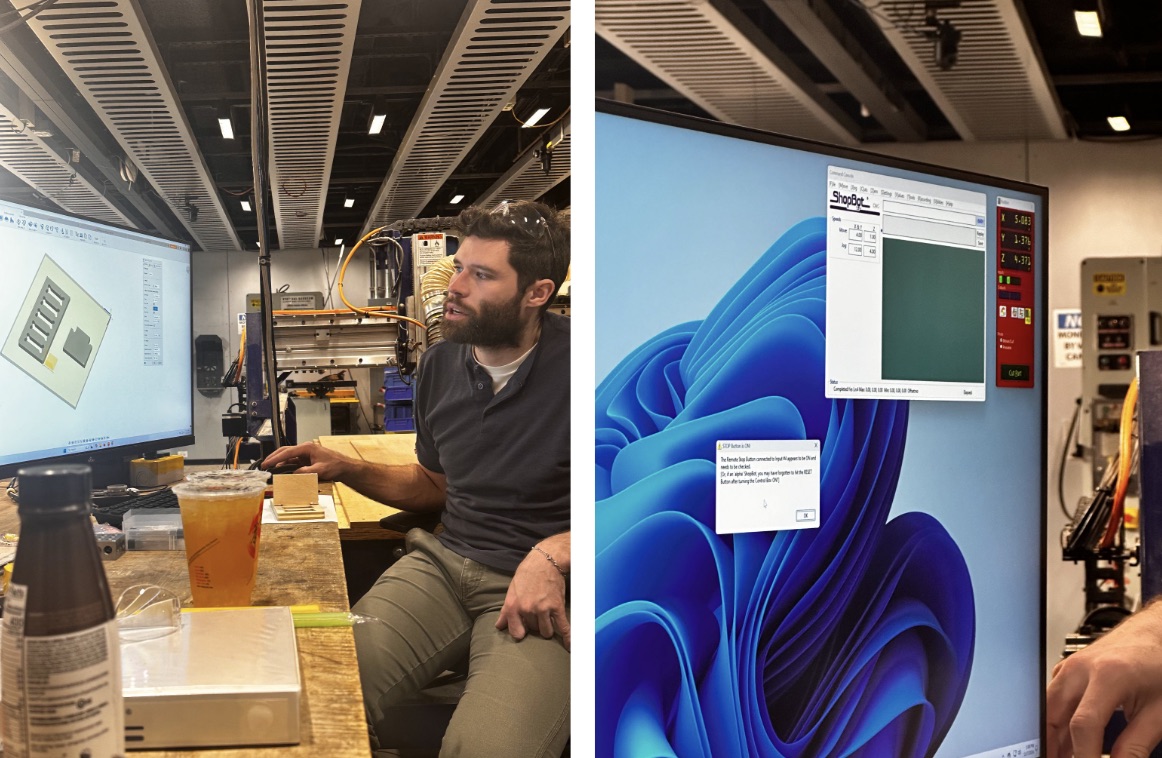
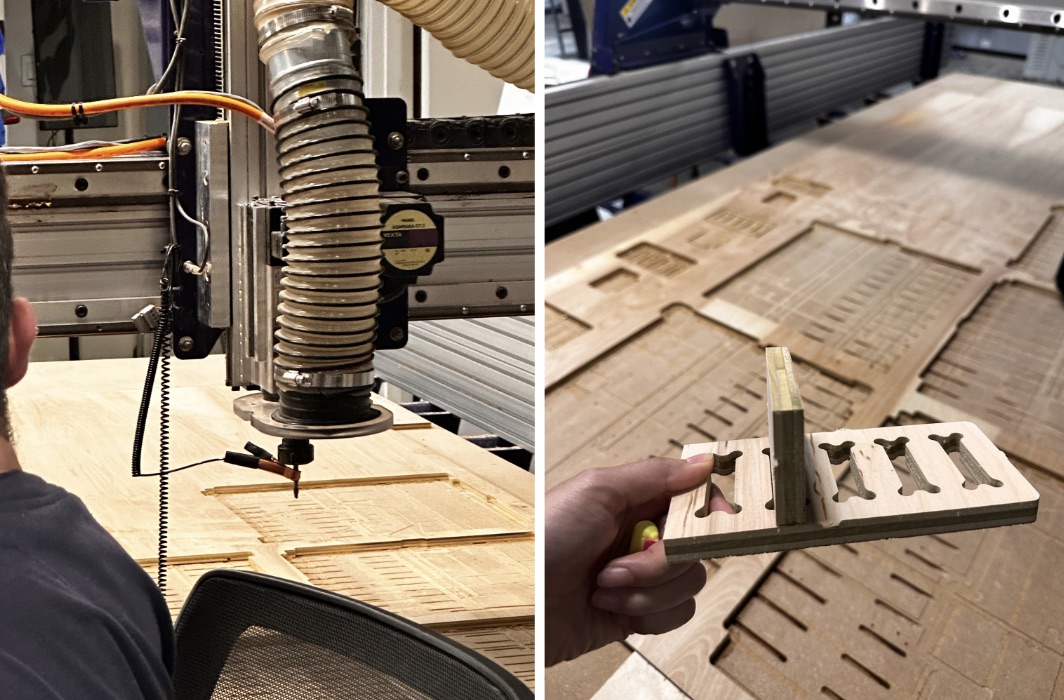
During this week’s group training session, we learned how to use the ShopBot to fabricate a meter-scale piece of furniture. First, we learned to distinguish between down-mill and up-mill bits by rotating the mill clockwise. Then, using Fusion 360, we created two files—one for the down-mill and another for the up-mill—and exported the G-code to ShopBot.
The ShopBot was somewhat finicky, with frequent freezing and pauses. We started by turning on the milling machine, then powered on the drill and vacuum to run the G-code. To achieve a smooth surface, we used the down-mill first. Once the first pass was complete, we switched to the up-mill to cut the remaining material with tabs.
The thickness of the plywood was 0.48 inches. We set the joint thickness to approximately 0.5mm, with some radius on each corner.
I initially wanted to design modular furniture but found an interesting piece that was intertwined with thick, squishy threads.
While I was eager to try creating this, sourcing the appropriate thread seemed challenging, so I decided to pursue a simpler design for now.
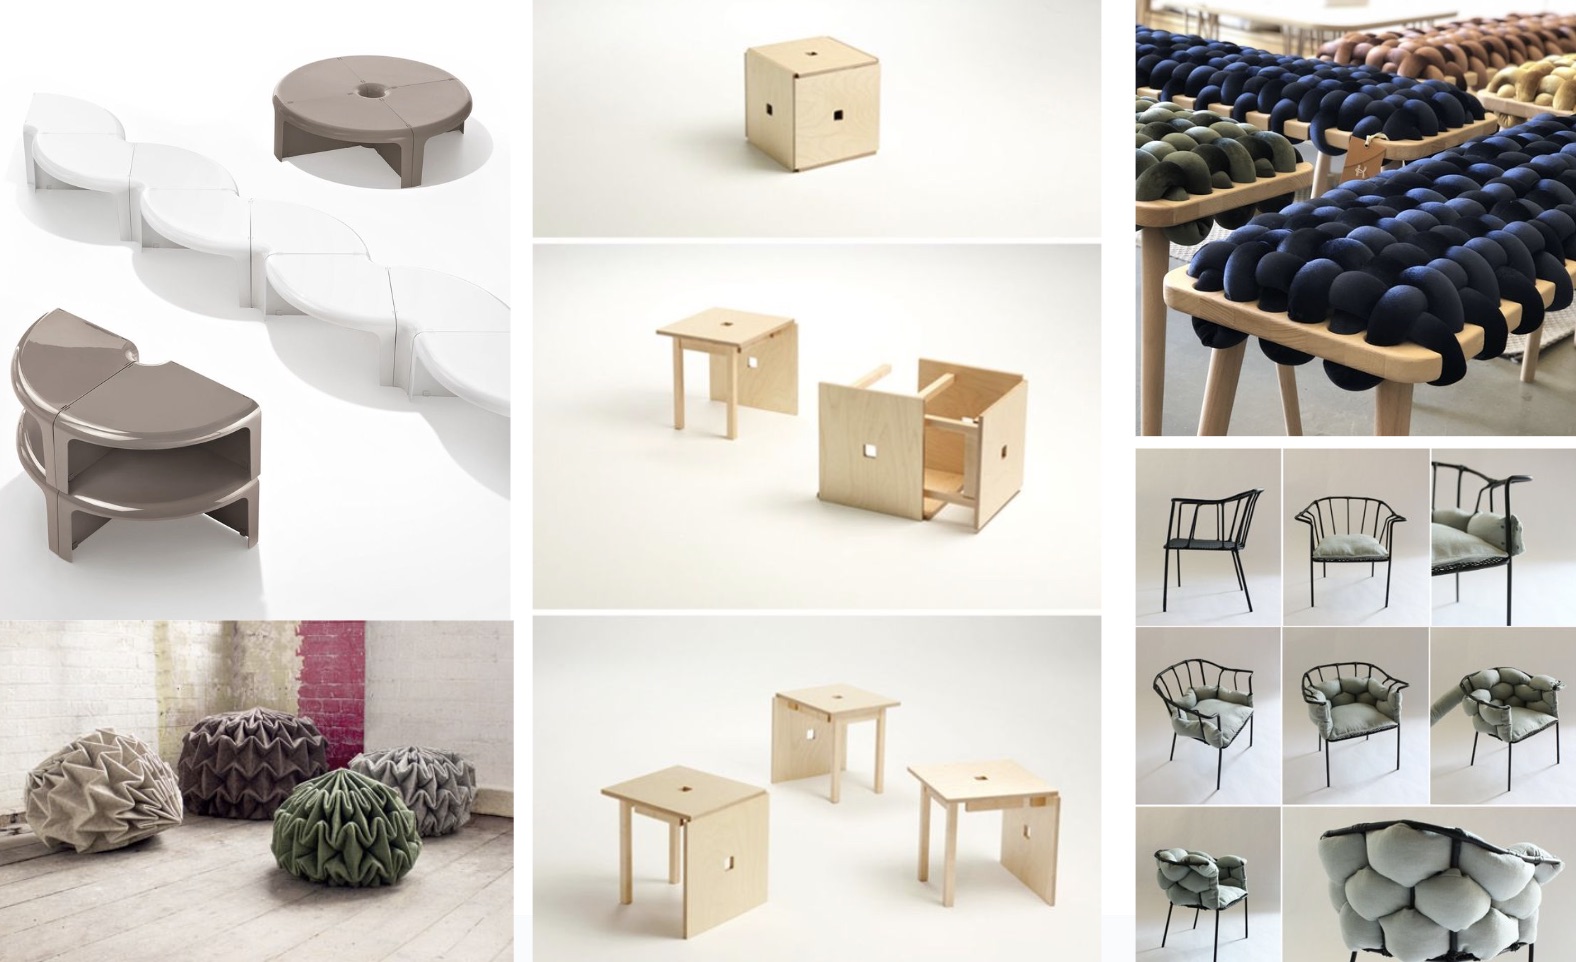
Later, I came across a Bauhaus-style design featuring rudimentary geometric shapes to form a table or chair. I found the simplicity and elegance very appealing. My main concern was getting the angle of the joints right so each piece could be inserted in the desired direction. It seemed like the joints might not be parallel and could be slanted.

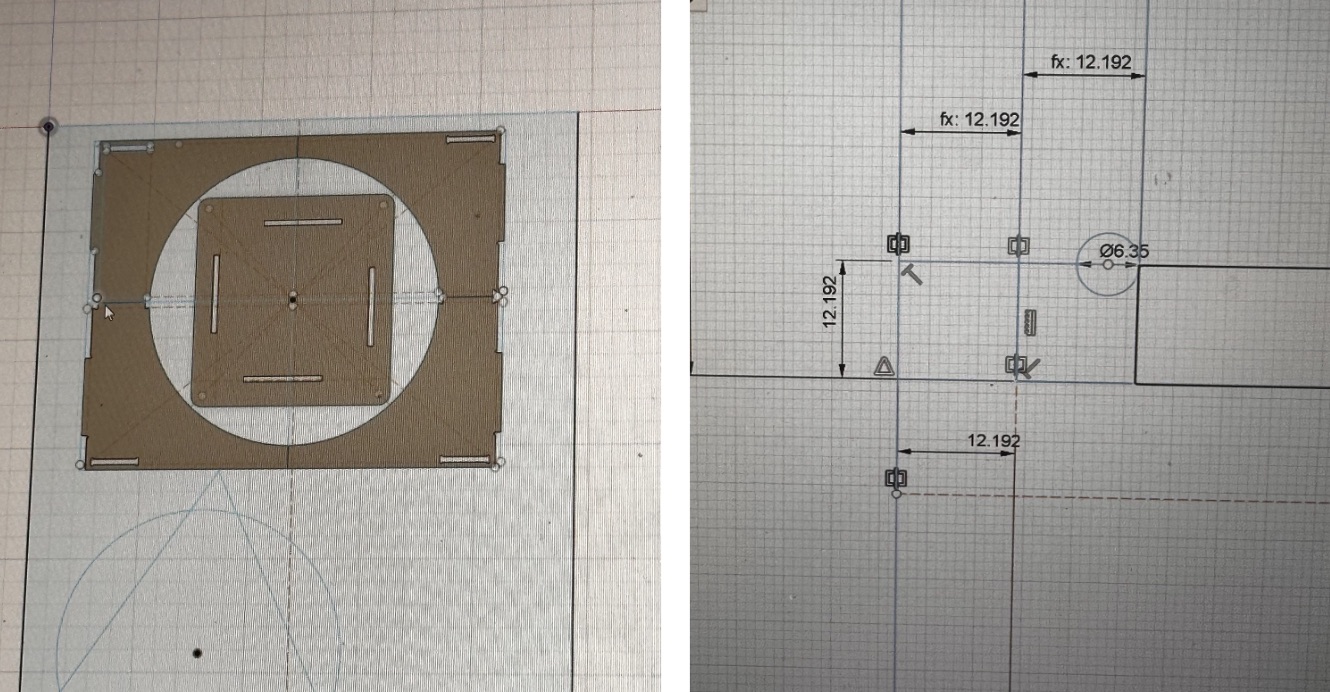
I adjusted the joint thickness to around 0.48 inches to avoid looseness and minimize material waste. Using Fusion 360, I designed a rectangular box of 400 x 500 mm, divided into four legs. In the center of the rectangle, I added a circular cutout and a square shape.
After the design was finalized, I moved to the "Manufacture" page and set up the G-code for the down-mill and up-mill. Note that milling should start from the inside, then proceed to the outside to prevent the wood from shifting, which could damage the drill.
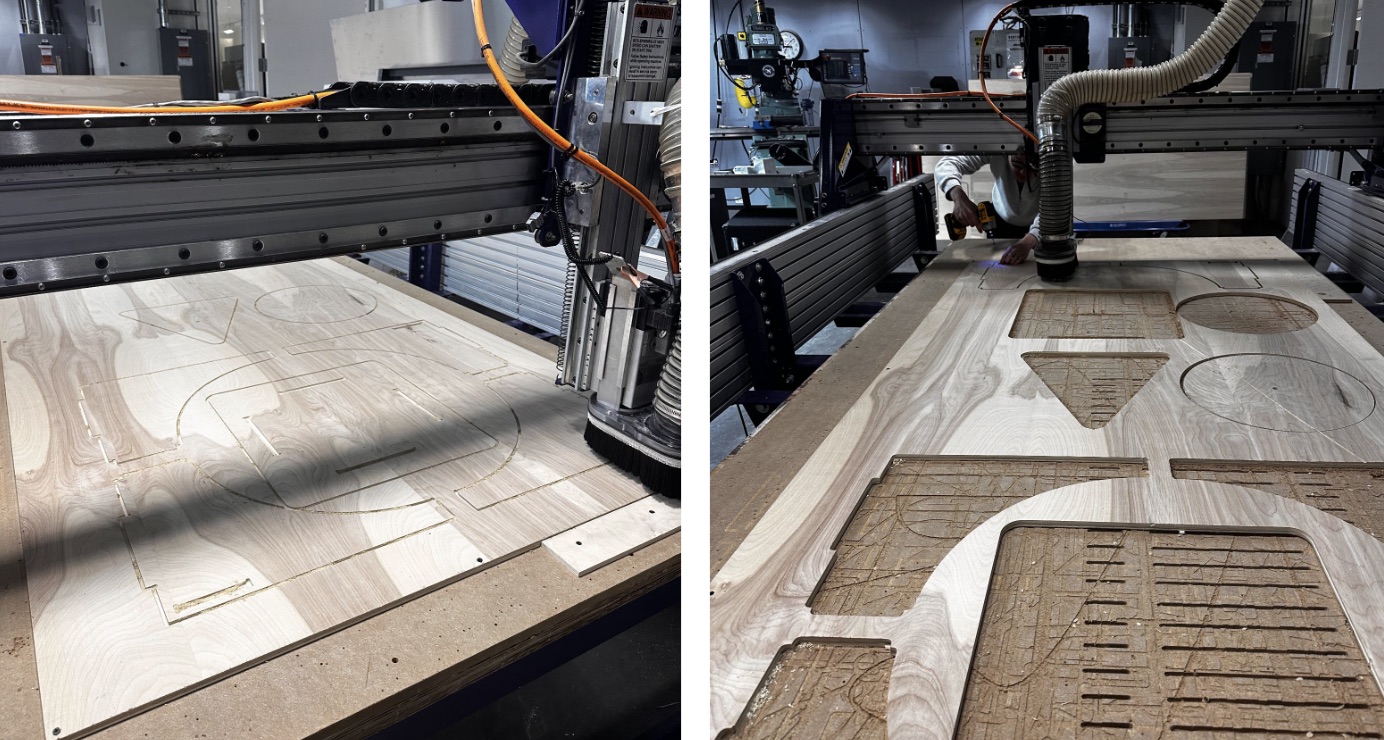
This was the most challenging part. First, each corner of the plywood needed to be drilled, and I had to attach the down-mill bit.
Next, I set up the X and Y axes and saved them as default. For the Z-axis, I used a tool to measure it and pressed "C2" to start the measurement process.
When everything was ready, I pressed the start button, turned on the vacuum, and wore earplugs before starting the drill. It rarely goes as smoothly as you imagine.
I encountered multiple failures, spending around five hours in the fabrication space, troubleshooting and restarting the ShopBot program each time it crashed.
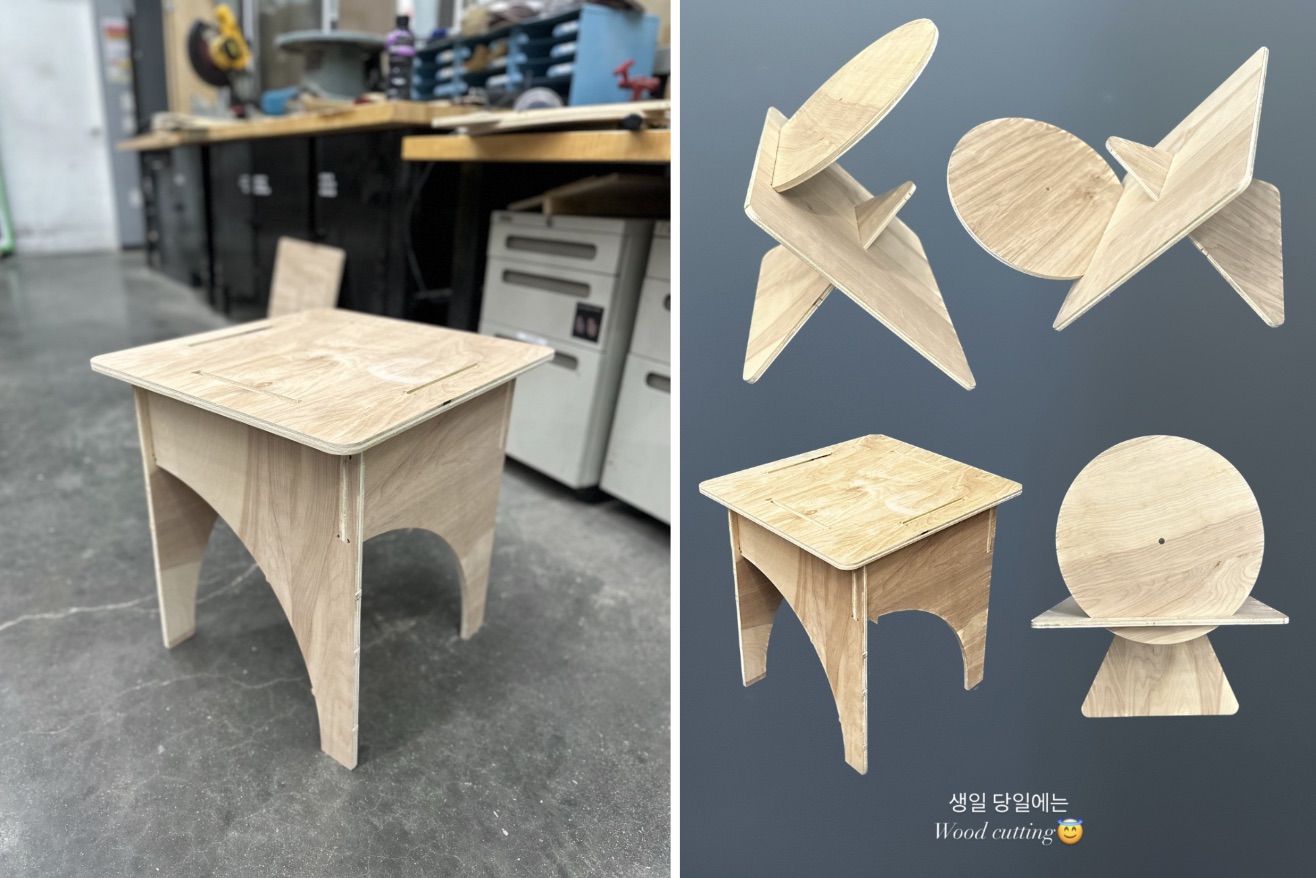
Now that I have all the pieces, it's time to assemble them! No glue was needed because my joints were very tight. In fact, I had to use a hammer to fit the pieces together.
I assembled the four legs of the coffee table, which looked great. However, the top part didn’t fit properly, so I needed to remake it.
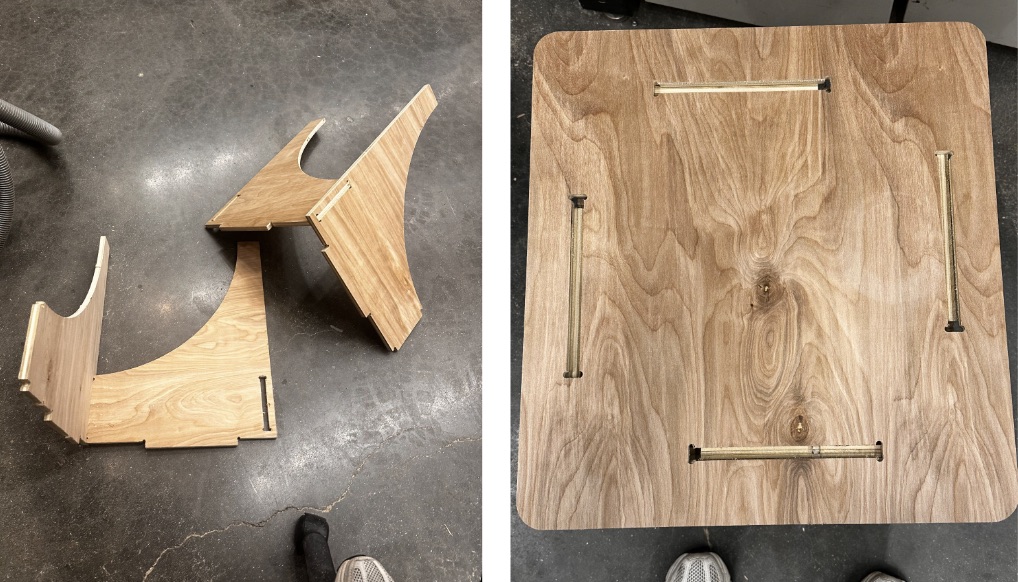
For the Bauhaus design, the idea was to make it easily assembled and disassembled so that when the chair is not in use, I could dismantle it and hang the geometry on the wall.
As expected, the joint angles weren’t perfectly accurate, and each part didn’t fit as precisely as I wanted. It’s no longer a chair, but I think it works well as an abstract shelf.
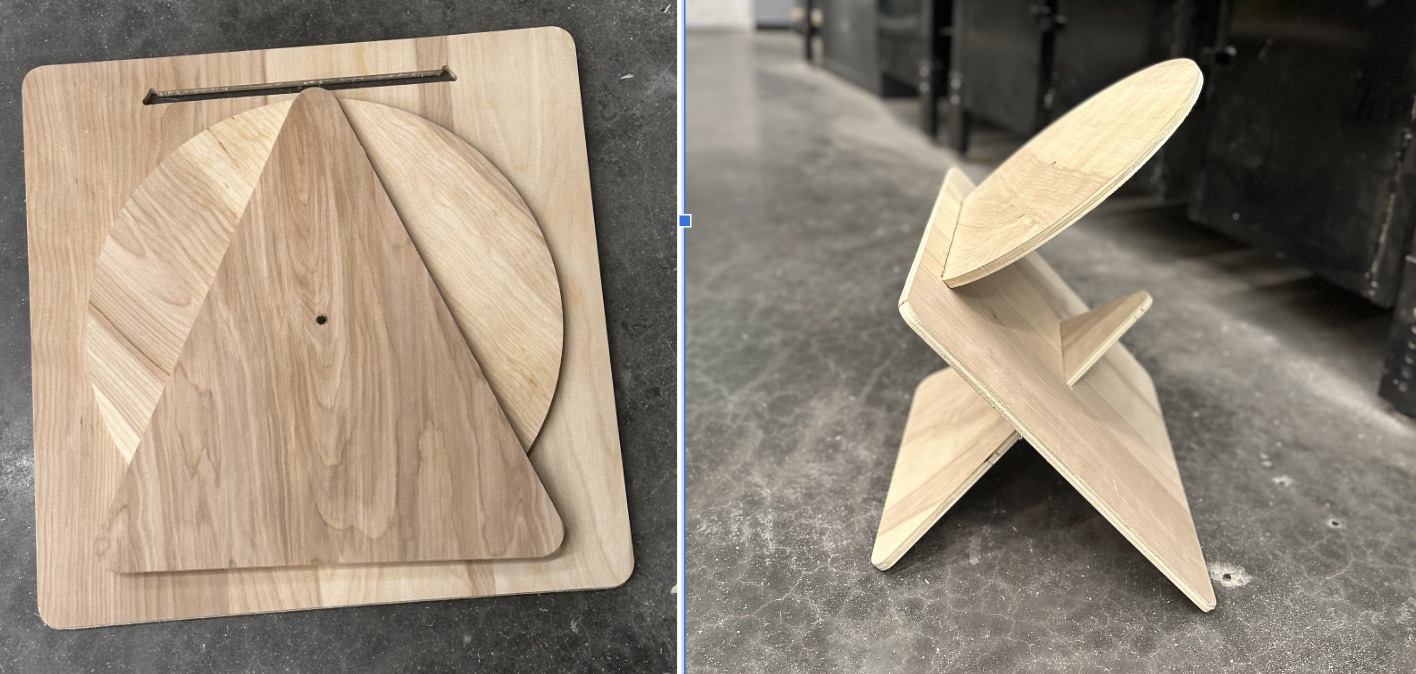

Here’s a photoshoot of the final results. They turned out better than I expected! Coincidentally, this week was my birthday, and I spent most of it working on fabrication.