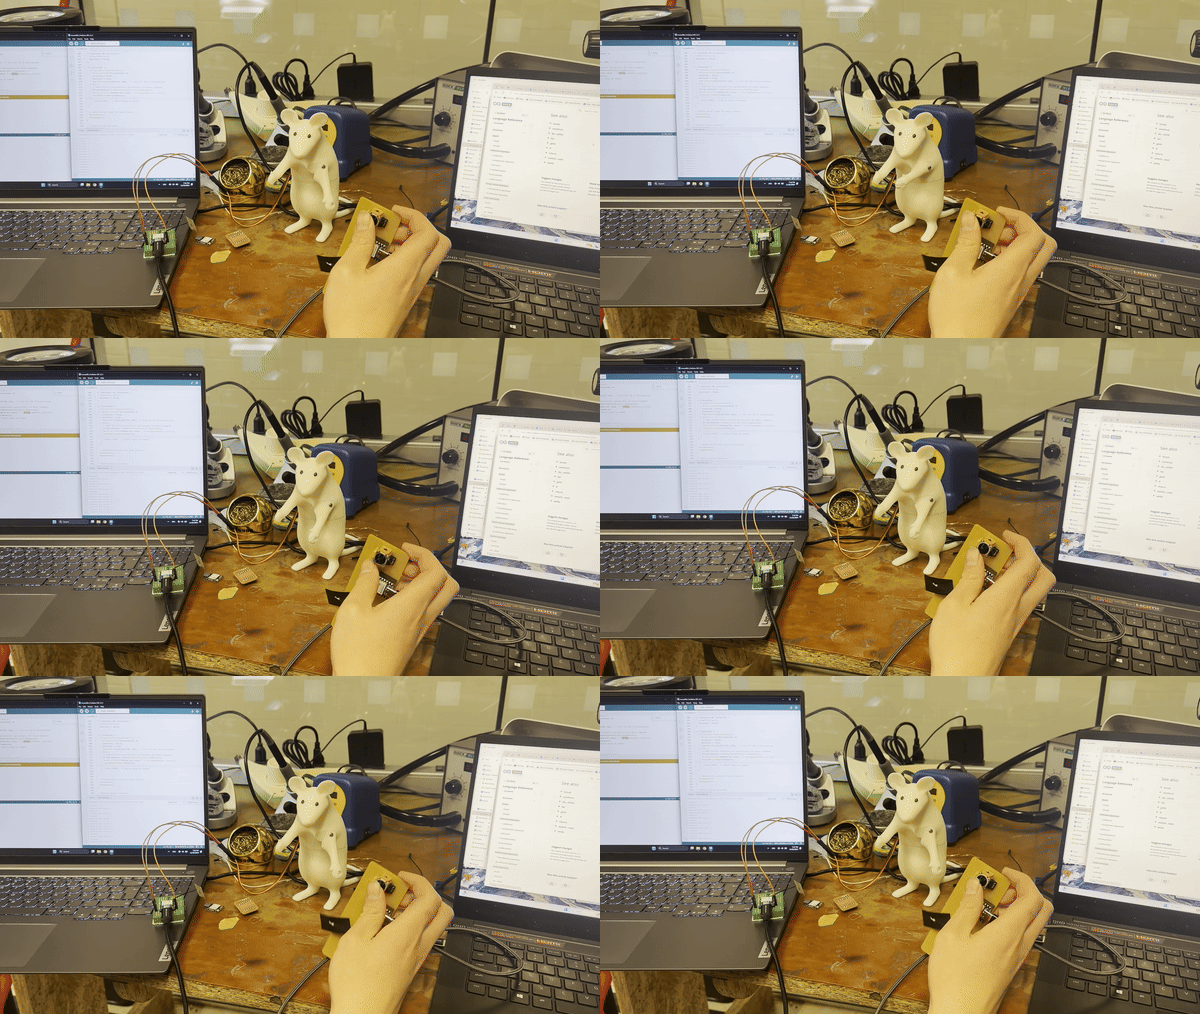
This week, we worked on sending a message between two projects. We attempted to make my mouse control the music generator, but it didn’t work as expected.

For my independent project, I used a controller to operate a servo motor. First, we attached an antenna to the Xiao ESP C6. I encountered difficulties converting the Arduino RP2040 to the ESP C6 as it required a different library file. With the assistance of ChatGPT, I searched for "servo control with PWM" to resolve the issue.
Servo Control with PWM
const int servoPin = 35; // GPIO pin for the servo signal
    const int servoMin = 500;   // Minimum pulse width (0 degrees) in microseconds
    const int servoMax = 2500;  // Maximum pulse width (180 degrees) in microseconds
    const int refreshRate = 20000; // Servo PWM signal period in microseconds (50 Hz)

    void setup() {
      pinMode(servoPin, OUTPUT); // Set the servo pin as output
      Serial.begin(115200);      // Start Serial communication
      Serial.println("Enter a value between 0 and 60:");
    }

    void loop() {
      // Check if data is available from the Serial Monitor
      if (Serial.available() > 0) {
        String inputString = Serial.readStringUntil('\n'); // Read input until newline
        int inputValue = inputString.toInt();             // Convert input to integer

        // Validate the input
        if (inputValue >= 0 && inputValue <= 60) {
          // Map the input value (0-60) to pulse width (500-2500 microseconds)
          int pulseWidth = map(inputValue, 0, 60, servoMin, servoMax);

          // Generate the PWM signal for the servo
          for (int i = 0; i < 50; i++) { // Loop to maintain the 50 Hz signal for 1 second
            digitalWrite(servoPin, HIGH);       // Set the pin high
            delayMicroseconds(pulseWidth);      // Wait for the pulse duration
            digitalWrite(servoPin, LOW);        // Set the pin low
            delayMicroseconds(refreshRate - pulseWidth); // Wait for the remainder of the period
          }

          Serial.print("Input: ");
          Serial.print(inputValue);
          Serial.print(" -> Pulse Width: ");
          Serial.print(pulseWidth);
          Serial.println(" us");
        } else {
          Serial.println("Invalid input. Enter a value between 0 and 60.");
        }
      }

      delay(50); // Small delay for stability
    }
Controller Code
import RPi.GPIO as GPIO
import time

# Pin configuration
servo_pin = 11  # Replace with the actual pin connected to the servo motor

# Setup GPIO
GPIO.setmode(GPIO.BOARD)  # Use physical pin numbering
GPIO.setup(servo_pin, GPIO.OUT)

# Setup PWM
frequency = 50  # Typical servo motors use a 50 Hz frequency
pwm = GPIO.PWM(servo_pin, frequency)
pwm.start(0)  # Start PWM with 0% duty cycle

# Helper function to set angle
def set_servo_angle(angle):
    """
    Sets the servo to the specified angle.
    :param angle: The desired angle (0 to 180 degrees)
    """
    duty_cycle = 2 + (angle / 18)  # Map 0-180 degrees to 2-12% duty cycle
    pwm.ChangeDutyCycle(duty_cycle)
    time.sleep(0.5)  # Allow the servo to reach the position
    pwm.ChangeDutyCycle(0)  # Stop sending signal to prevent jittering

try:
    while True:
        # Move servo to 0 degrees
        print("Moving to 0 degrees")
        set_servo_angle(0)

        # Move servo to 90 degrees
        print("Moving to 90 degrees")
        set_servo_angle(90)

        # Move servo to 180 degrees
        print("Moving to 180 degrees")
        set_servo_angle(180)

except KeyboardInterrupt:
    print("Stopping program")

finally:
    pwm.stop()  # Stop PWM
    GPIO.cleanup()  # Clean up GPIO
Motor Code
const int servoPin = A1; // Pin A1 connected to the servo signal wire

// Function to write an angle to the servo motor
void writeServoAngle(int angle) {
  // Convert angle (0-180) to microseconds (1000-2000)
  int pulseWidth = map(angle, 0, 180, 1000, 2000);
  // Send the PWM signal
  digitalWrite(servoPin, HIGH);
  delayMicroseconds(pulseWidth); // HIGH pulse duration
  digitalWrite(servoPin, LOW);
  delay(20 - (pulseWidth / 1000)); // Rest of the 20ms period
}

void setup() {
  pinMode(servoPin, OUTPUT);
}

void loop() {
  // Sweep the servo from 0 to 180 degrees
  for (int angle = 0; angle <= 180; angle += 10) {
    writeServoAngle(angle);
    delay(500); // Wait for servo to reach position
  }

  // Sweep the servo from 180 to 0 degrees
  for (int angle = 180; angle >= 0; angle -= 10) {
    writeServoAngle(angle);
    delay(500); // Wait for servo to reach position
  }
}