Individual Assignment:
Design and 3D print an object (small, a few cm³, limited by printer time) that could not be made subtractively.
Design and 3D print an object (small, a few cm³, limited by printer time) that could not be made subtractively.
I created three variations of 3D-printed textile fabrics.
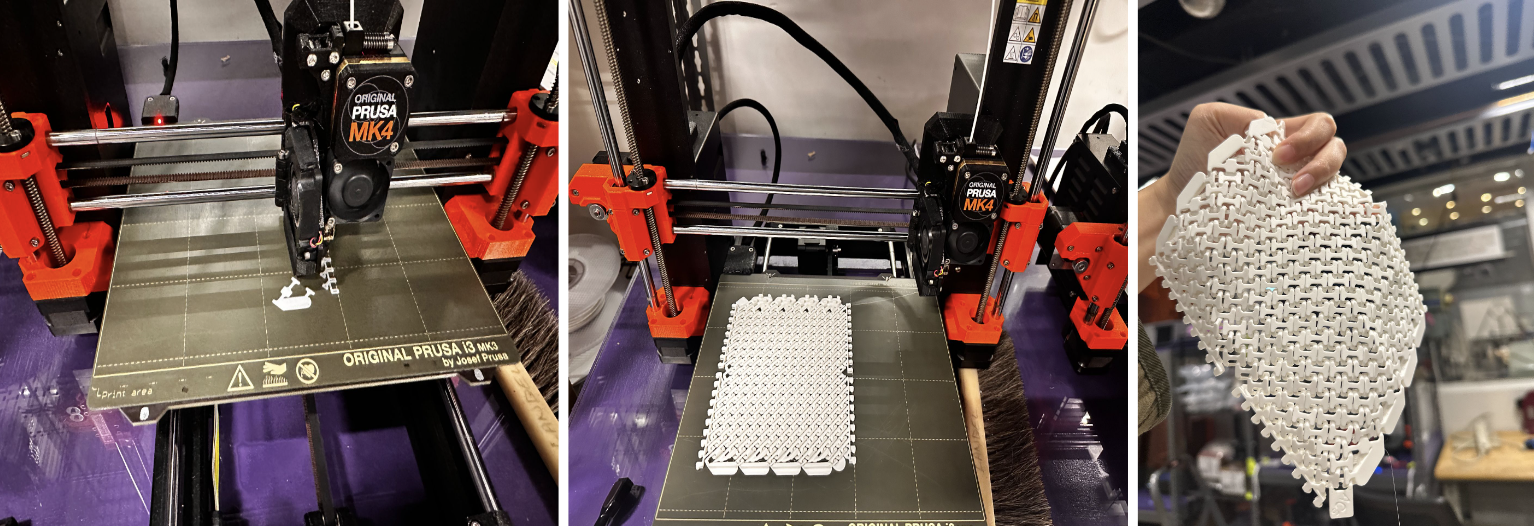
I designed a textile chain wallet with zip-lock features to secure the three corners. The wallet was printed flat using PLA filament and took about 3 hours. After printing, I folded it in half to form a small pocket. The chain was designed in Rhino using an "H"-shaped link that interlocked to create a fabric-like structure. My primary concern was the circular curvature of each chain link, which typically requires support during 3D printing. However, since the chain links were small and interlocked, they acted as their own supports. The print was successful, requiring no additional supports or cleanup!
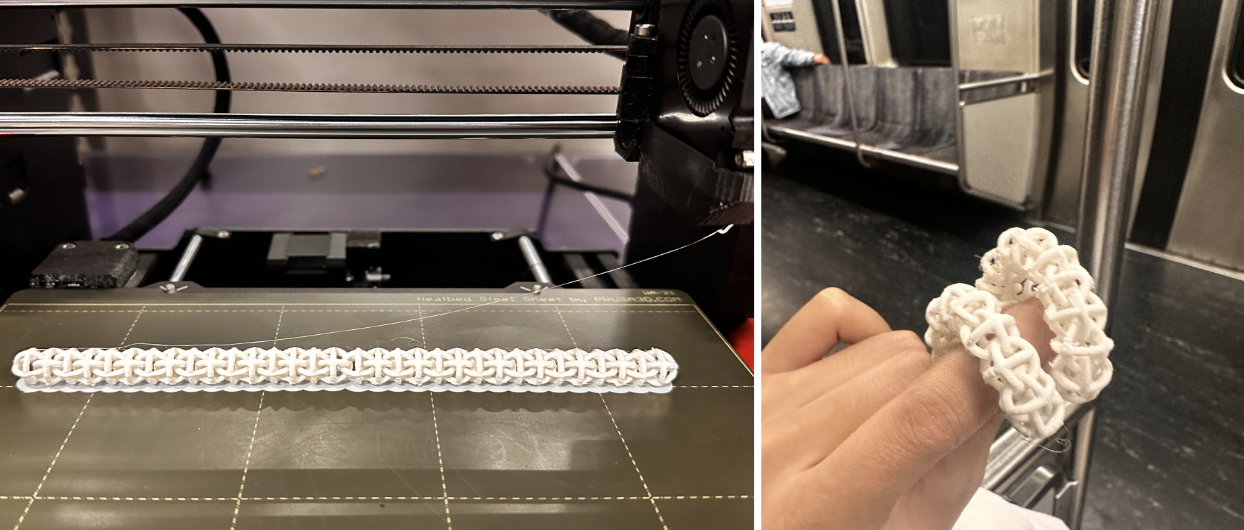
I created a chain consisting of three interlocking circular shapes, inspired by the jamming principle used in robotic grippers. The gripper transitions between soft and rigid states by tightly packing particles, and I believed the chain would behave similarly.
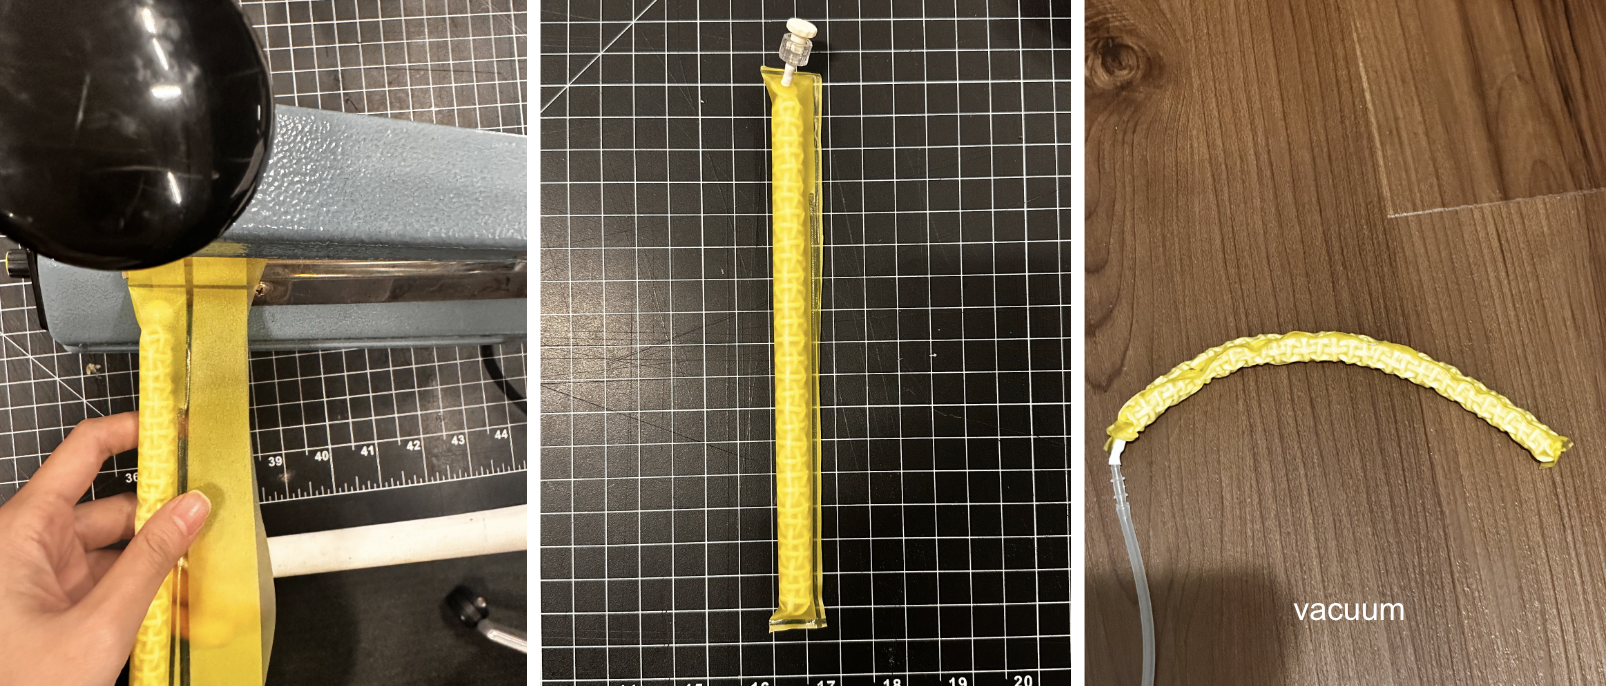
The print worked, but to achieve the desired shape-shifting effect, the chain needed to be inserted into heat-sealable fabric and vacuum-sealed. Unfortunately, the fabric I used (0.15mm thick) was too stiff, limiting the transformation. I plan to experiment with thinner, more flexible fabrics in future iterations.
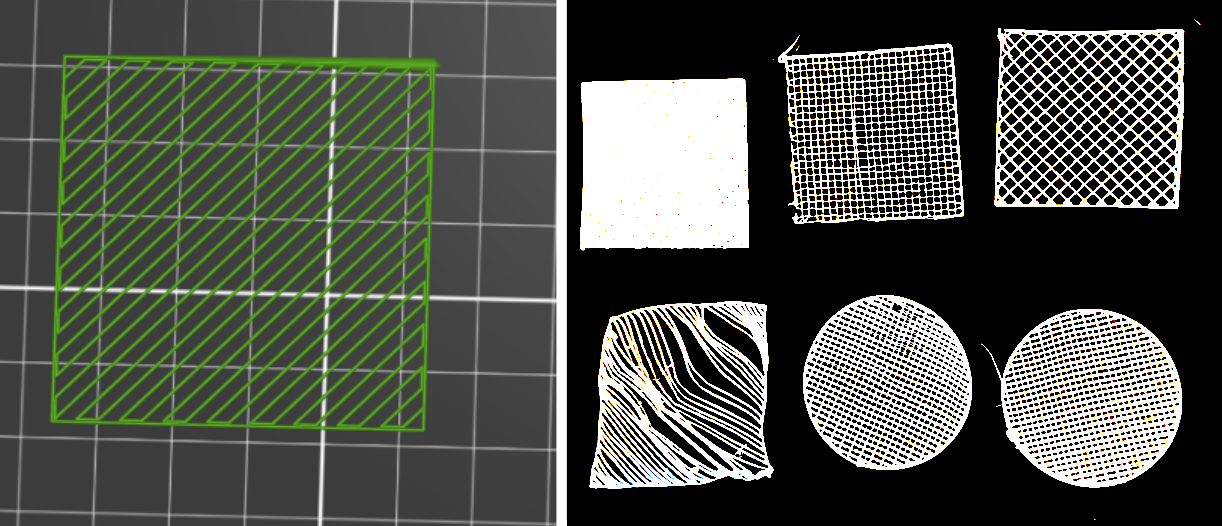
I experimented with 3D printing a thin layer of textile, inspired by Jack Forman’s Defextile and various YouTube tutorials. This was my first attempt at printing such a thin fabric. Key factors for success included: 1) modeling a shape with 2-3mm thickness, 2) removing the top and bottom layers to reveal the inner infill, and 3) adjusting the infill pattern and density. I tested honeycomb, rectilinear, and matrix patterns on a 50x50x2mm sample. The rectilinear and matrix designs stretched better, especially in directions other than the print orientation. However, the fabric tended to break easily, likely due to the rigidity of the PLA filament compared to TPU.
I 3D scanned my shoes and, with the assistance of a friend, also scanned my face.
One thing I noticed was that the scanner couldn't capture reflective materials, such as metal parts of my shoes or the reflection on my hair. I used the CrealitySlicer program and connected the 3D scanner via wire. The last time I used a 3D scanner was five years ago, and the experience was not great, with low-resolution results. This time, I was pleasantly surprised by how affordable the device was and how high the resolution and texture quality turned out.
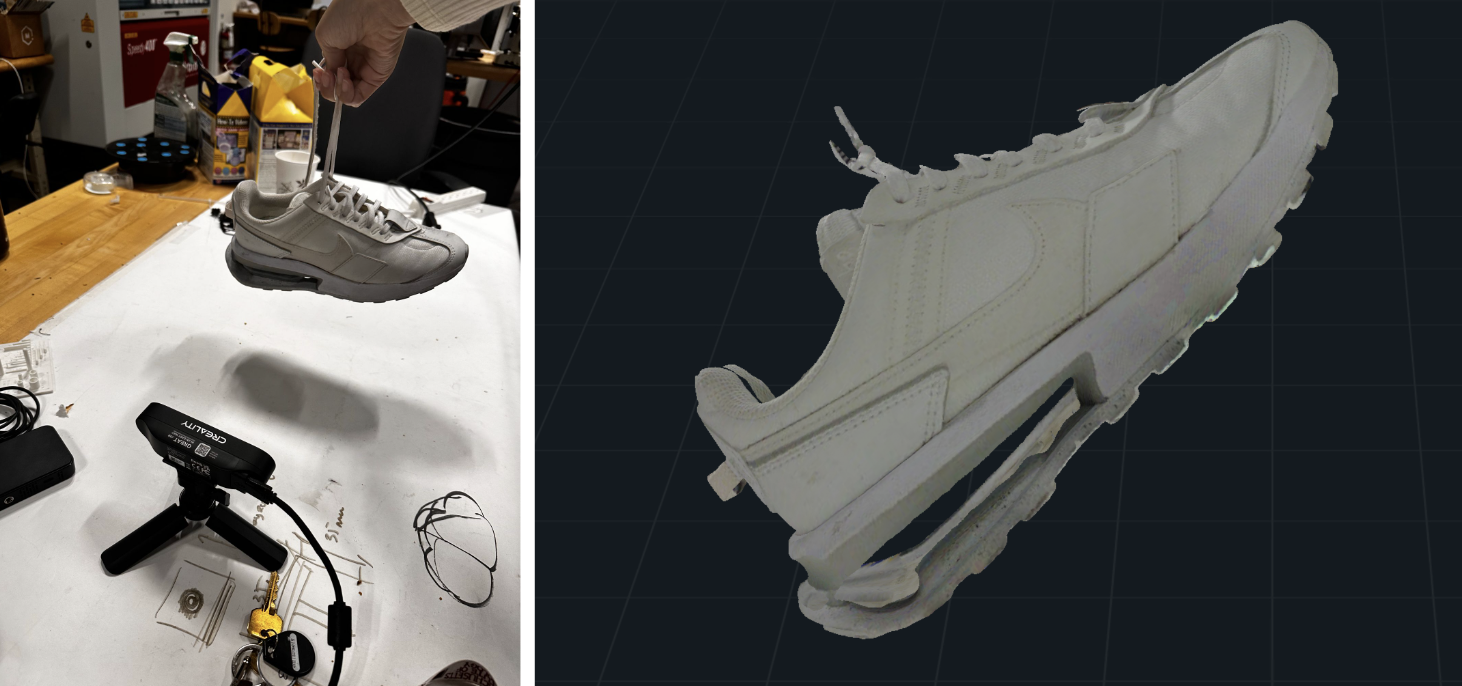
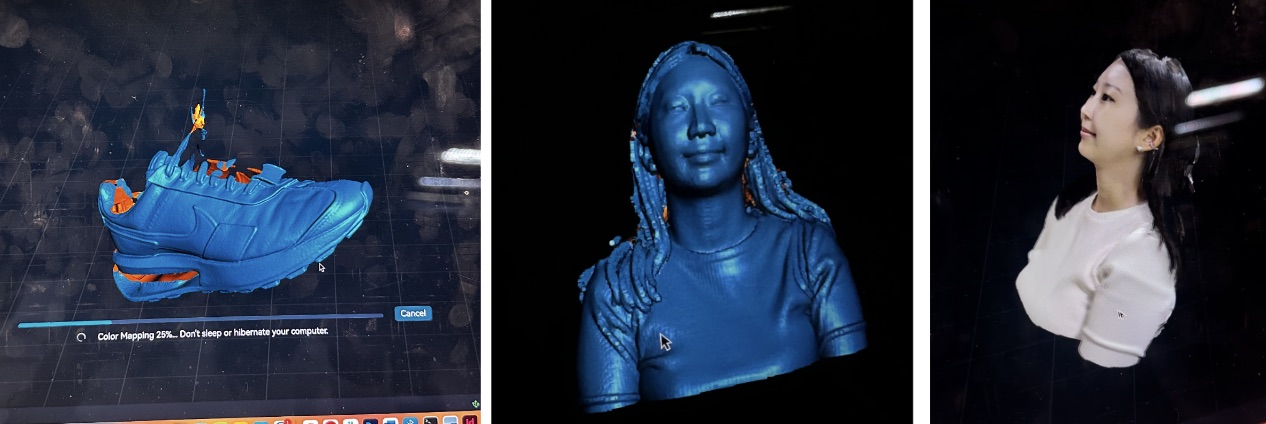
3D scan of a shoe and my face
During a recitation led by Jack Forman, we reviewed a 3D model that demonstrated the design rules for 3D printing.
We did the famous overhand and 3d printer test that evaluated different parts of the 3D printer calibration. As you can see, it started to really shirt from 40 degrees and also 55 degrees, so it might have been something wrong with the x axis belt.
 Download Full Mouse STL File