Group Assignment
Review the safety data sheets for each molding and casting material, then make and compare test casts with each, examining mold-making processes.
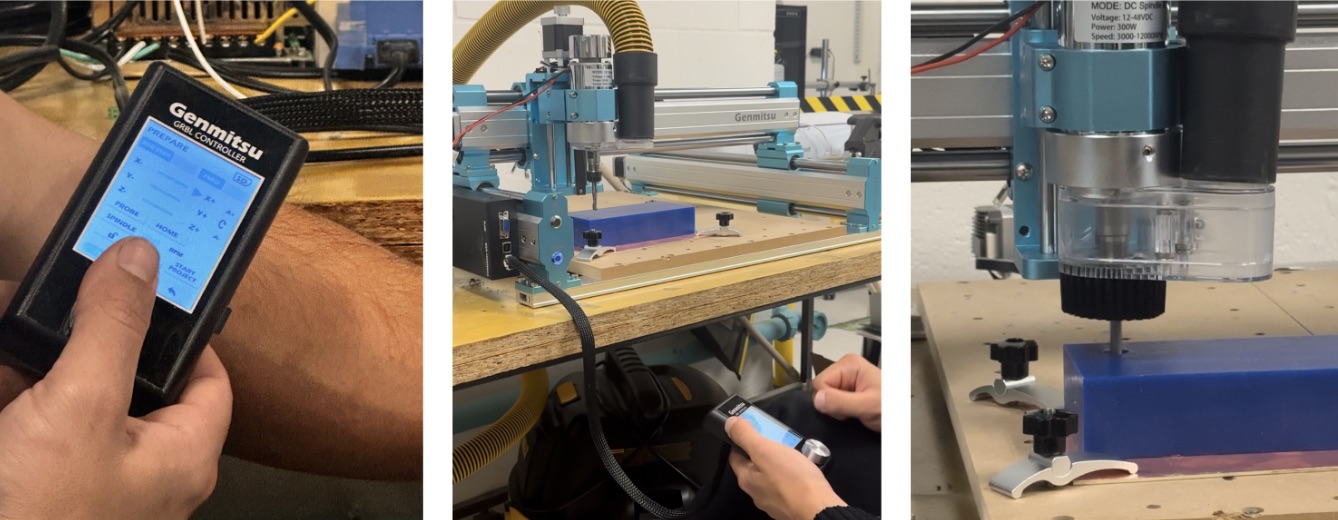
During the group assignment, we learned CNC milling using the Genmitsu machine, which costs only $600. It was very easy to use compared to other CNC milling machines. We learned how to use the controller, adjust the X, Y, and Z axes. We used a larger, thicker tool for the roughing operation on the wax, and for higher resolution and finishing, we switched to a ball-end tool. The finishing operation was performed using a parallel technique.
Alfonso took the lead in teaching us how to use the Genimitsu, an affordable CNC machine considering its capabilities. We successfully created some impressive GCODE toolpaths for it.
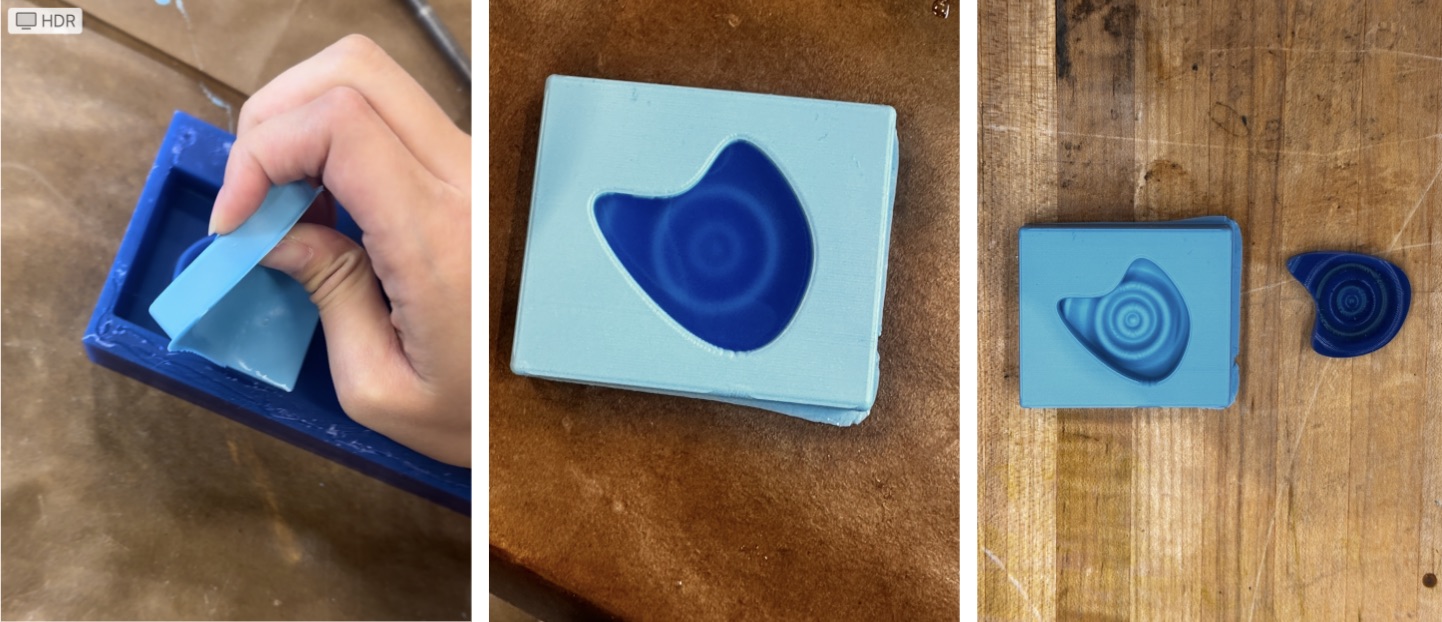
For casting, we used Smooth-On silicone to create a soft mold by pouring it over the curved wax. After it cured for an hour, we poured resin into the mold and removed air bubbles using a lighter held close to the surface. We waited another 30 minutes until it hardened.
Individual Assignment
Design and 3D print an object (small, a few cm³, limited by printer time) that could not be made subtractively.
Materials
- Wax
- Genmitsu CNC milling
- Resin
- "Smooth-On" Silicone
Procedure
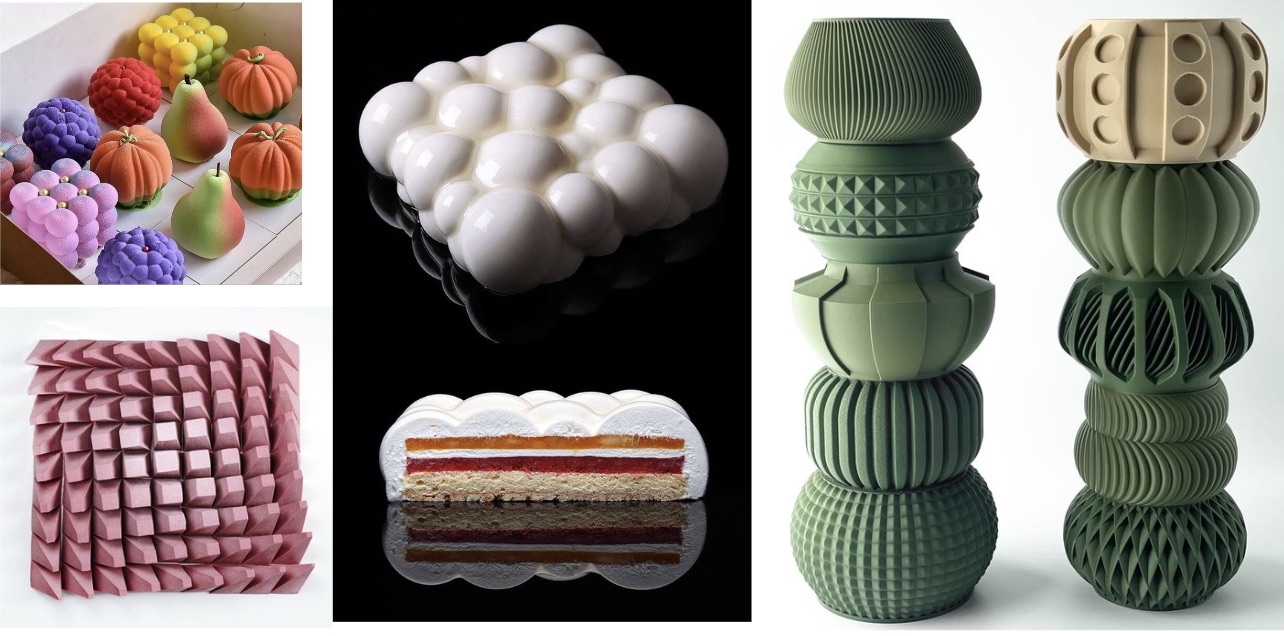
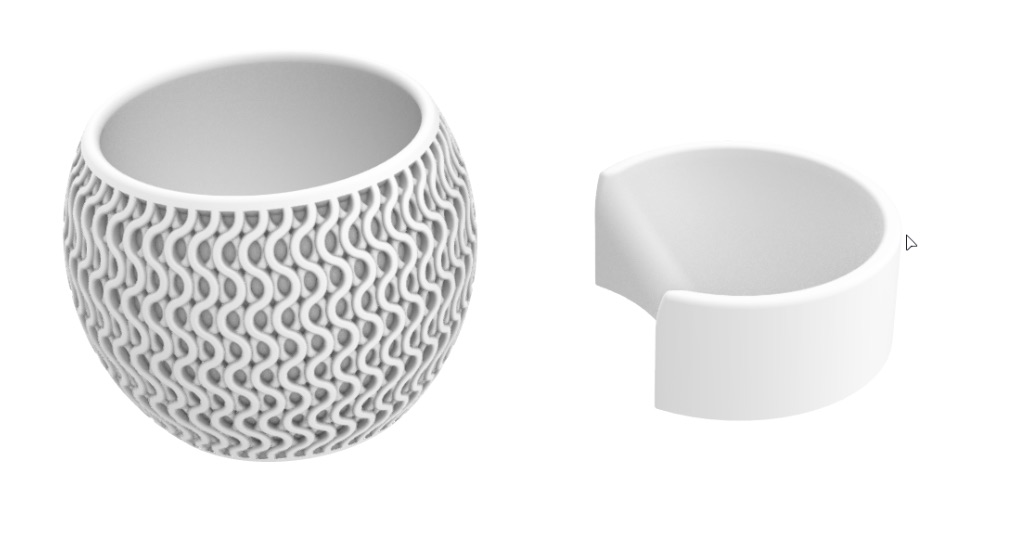
Initially, I wanted to make a parametric design-based dessert for this assignment, and I had gathered some inspirational images. To achieve this, I needed to order non-toxic silicone from the SORTA-Clear™ Series, but it didn’t arrive on time. So, I moved on to create a simple parametric design-based cup. I designed the model in Rhino as an STL file and tried to export it to Fusion 360.
With help from Alfonso, I learned Fusion 360 has difficulty importing STL files. I struggled to convert the mesh model into a "body" in Fusion. Alfonso suggested saving the file as a STEP format and noted additional steps would be needed. After some frustration, I moved on to a simpler design created directly in Fusion 360—a heart shape with a water droplet on its surface.
After completing the model, I proceeded with manufacturing setup, performing the roughing operation using Adaptive Clearing and then finishing with the Parallel toolpath.

I placed the wax bar, secured it to the metal sheet with hot glue, turned on the vacuum and spindle, and adjusted the X, Y, and Z axes. The entire procedure took about an hour.
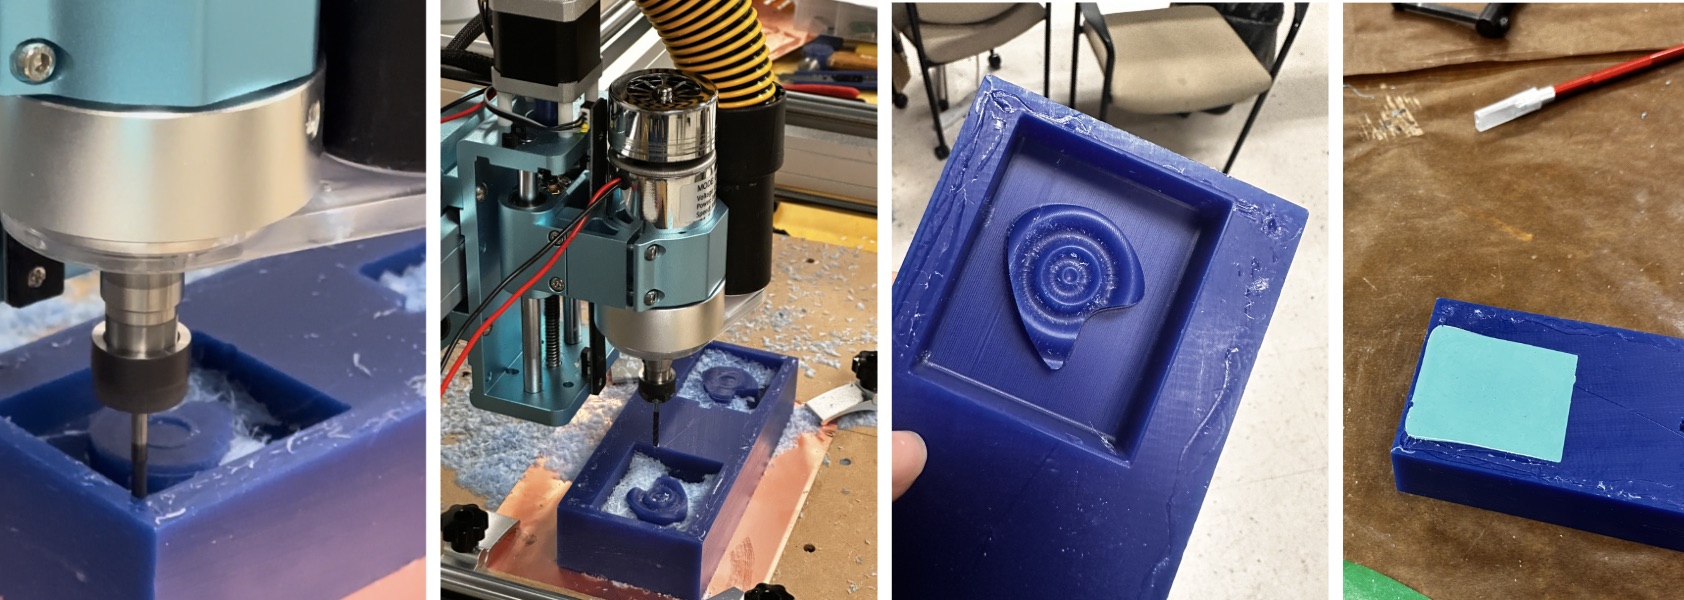
After milling, I poured 60ml of silicone, aiming to avoid air bubbles. After an hour, I removed the silicone mold and poured resin, waiting 30 minutes. I used a 1:1 resin ratio, but the result was softer than expected.
Resin Printing

I also experimented with resin 3D printing using a Formlabs printer to create a silicone-based soft robotics mold. The resin print took 7 hours, with another hour for resin removal and drying. I haven't poured ecoflex-00-30 due to time constraints, but it should work well!


