Group Assignment
- Measure the power consumption of an output device
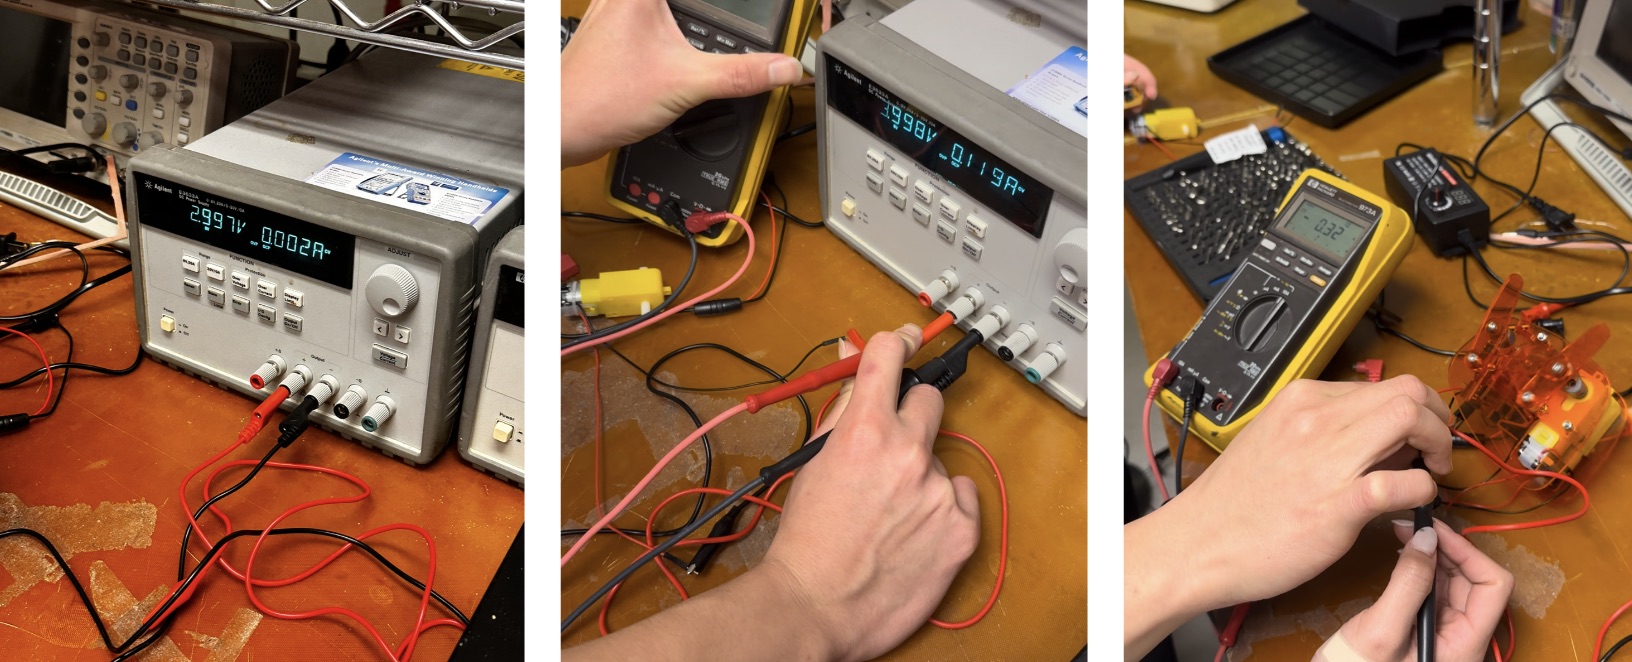
For the group project, I had a one-on-one session with Marchello. He kindly explained how to measure power. In the picture, the voltage is 4.0V and the current is 0.11A. The total power is calculated by multiplying voltage by current, so the power is 0.44W.
Marcello gave an analogy: voltage is like Niagara Falls (the height), and current is how fast the water flows.
We examined Marcello's robots and noticed that he was using a dual battery pack to power them. This allowed us to analyze his power usage. We found that the power consumption fluctuated depending on activity: it was lower when the robot was idle and only one motor was powered, and higher when both motors were active.
PCB Board Design
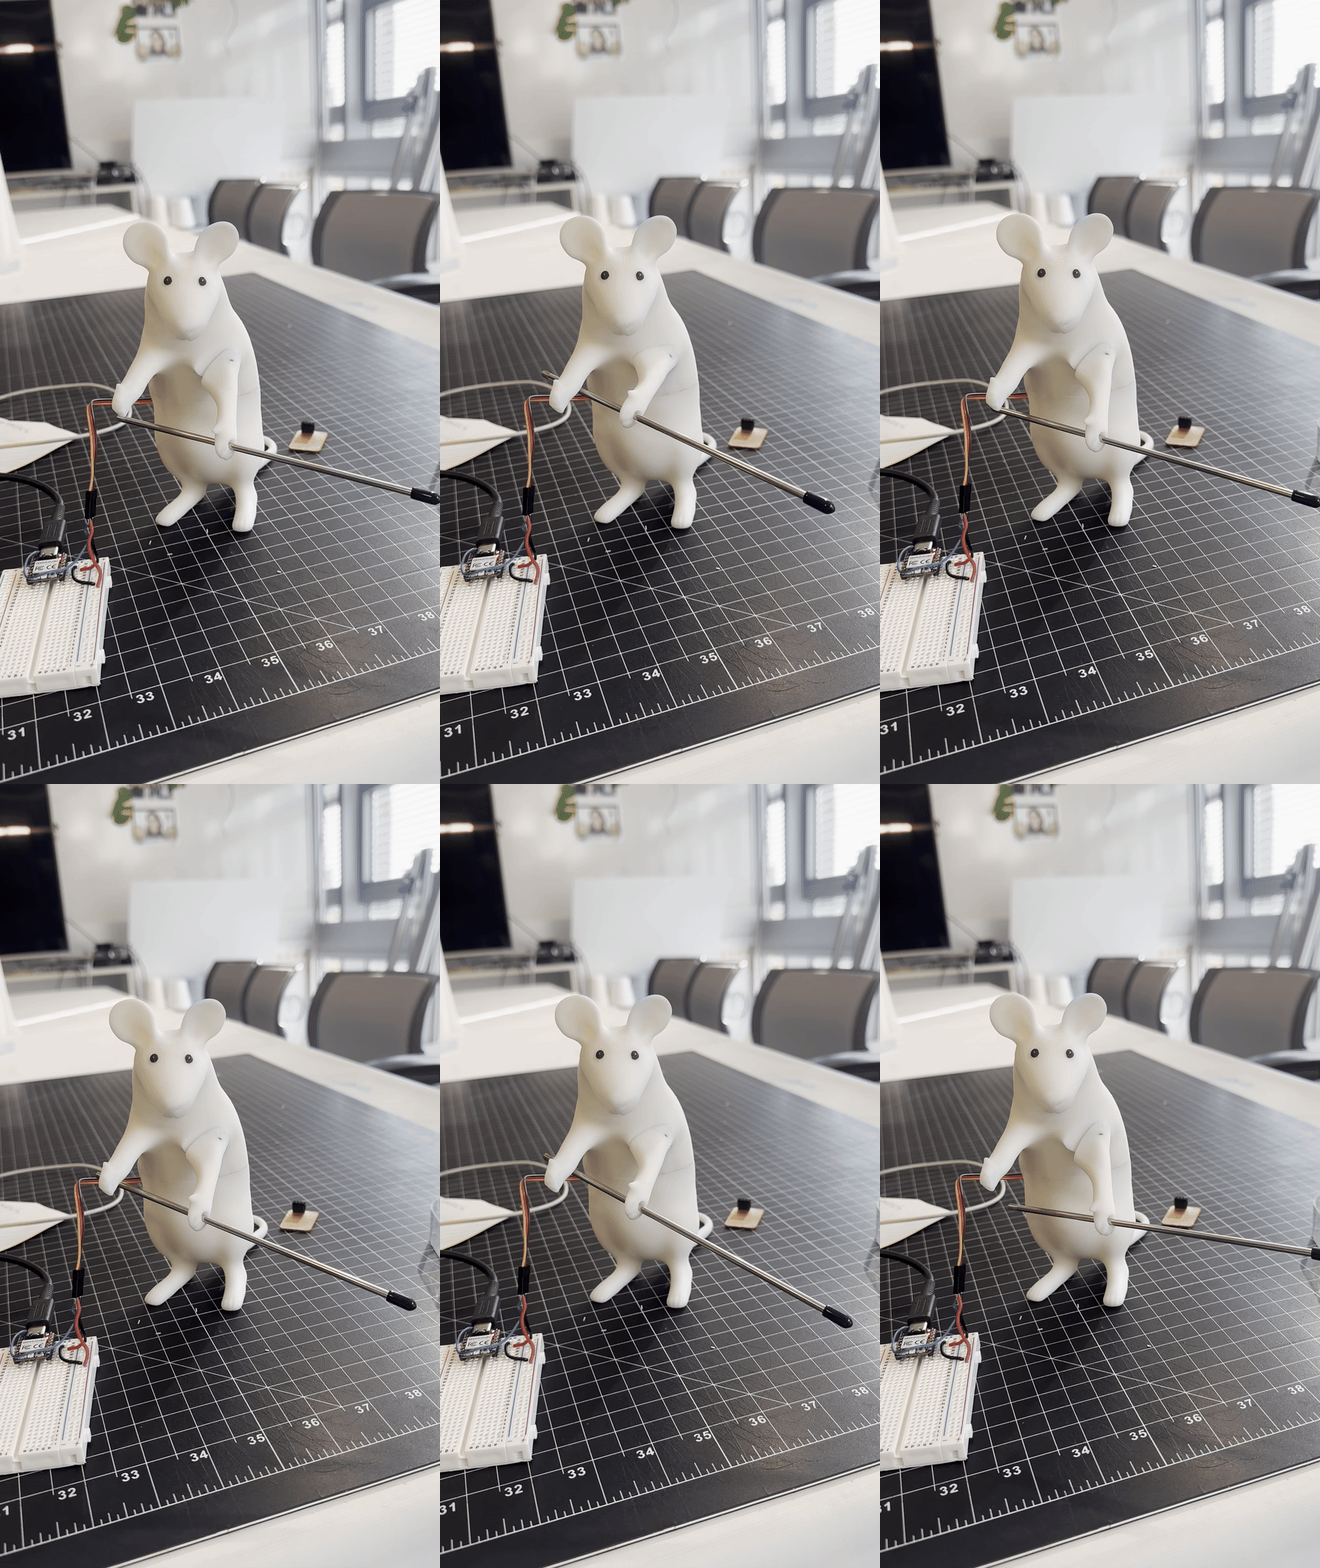
I used a servo motor to animate a mouse hand. Inspired by social media reels, I imagined a playful concept where a mouse would sit on top of a head, grabbing hair.
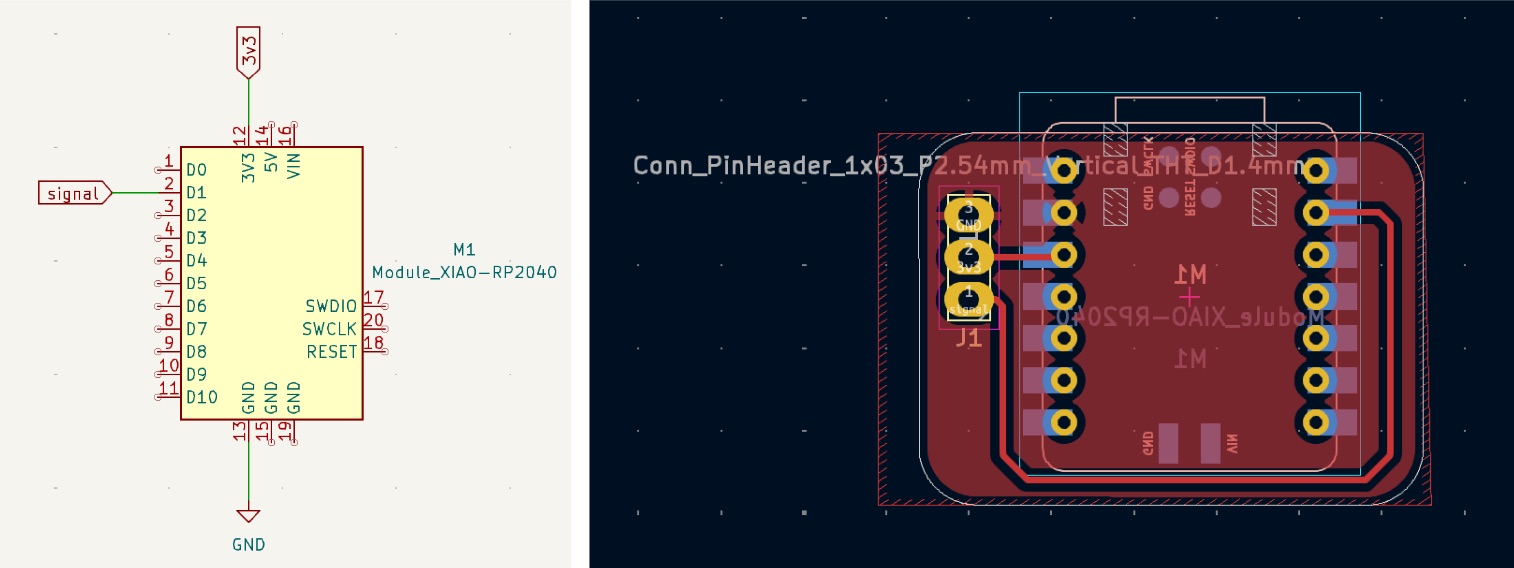
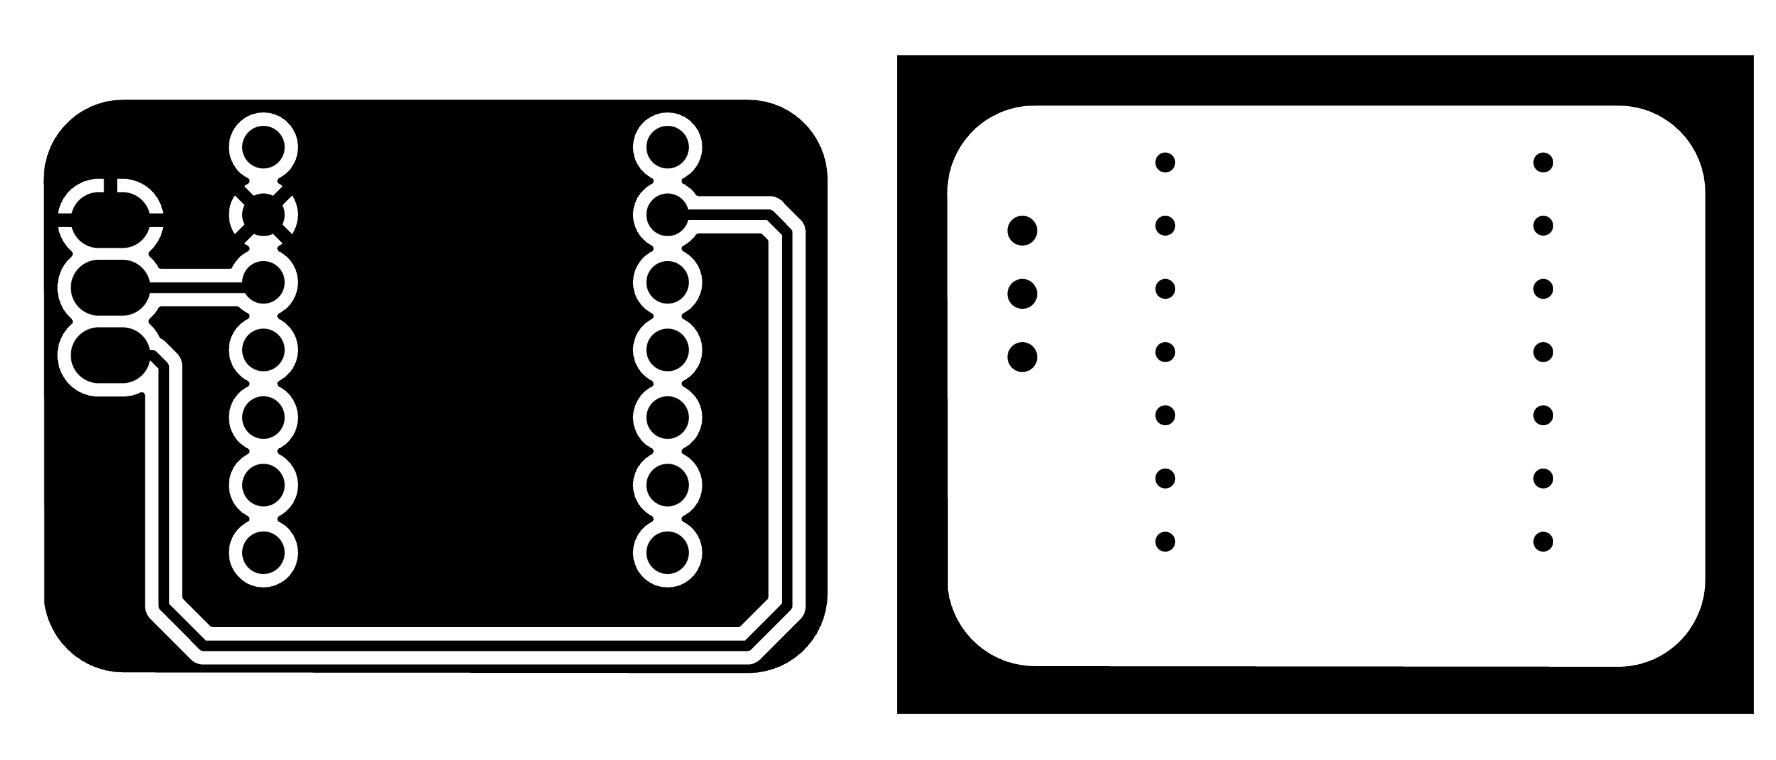
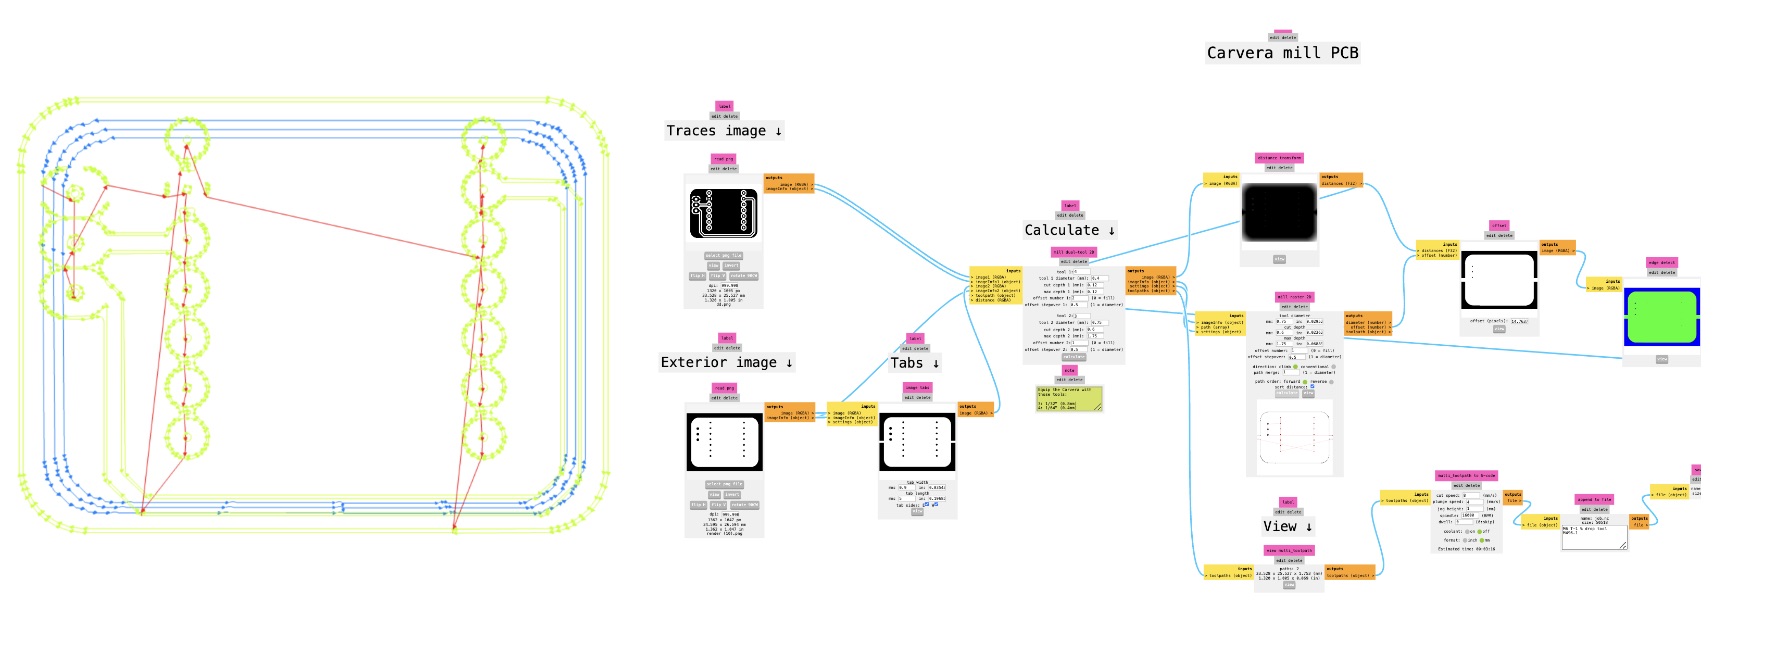
The PCB board was designed using KiCad, and I used the Xiao RP2040 microcontroller. The servo motor requires PWM, 3-5 volts, and ground.
Script
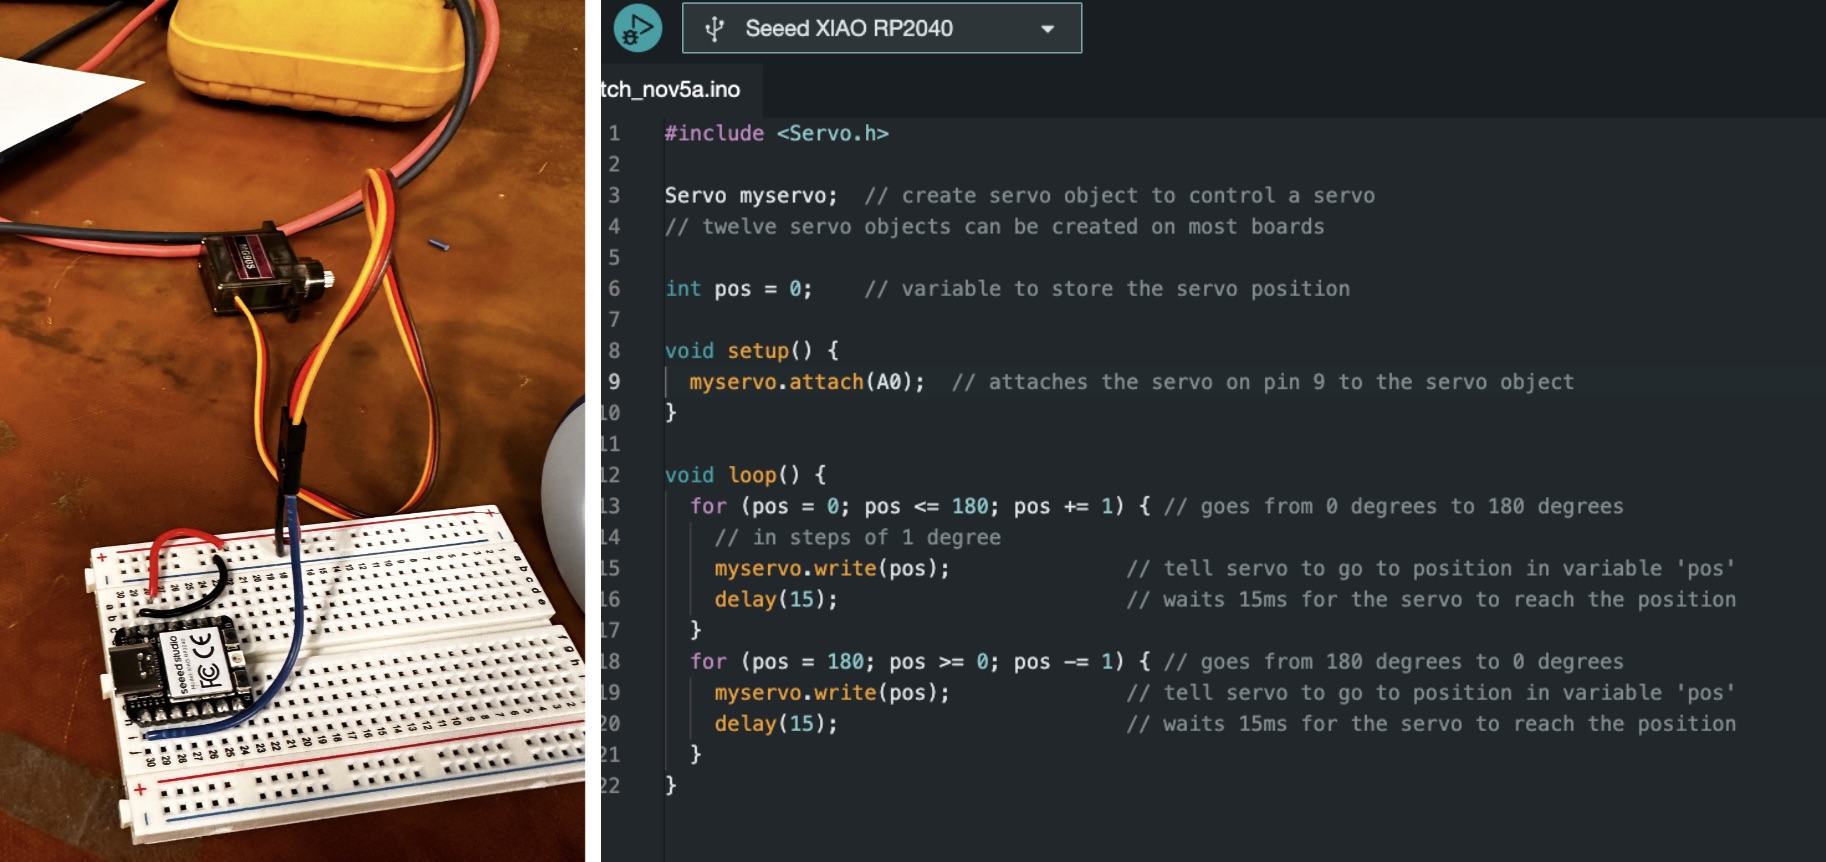
I connected the signal to A1, but when I connected it to 5 volts, my computer disconnected the Xiao, so I had to switch to 3 volts. The motor was supposed to move 180 degrees, but it only seems to rotate up to 90 degrees. Since I only needed a simple waving movement, I set it to rotate only 90 degrees.
3D Modeling
I 3D-modeled the mouse and, considering system integration, created an empty space in the body to embed the Xiao, PCB board, and a battery. I found the 3D model for the MG90S servo online and, estimating its height, planned to attach it to one hand to create the waving movement.
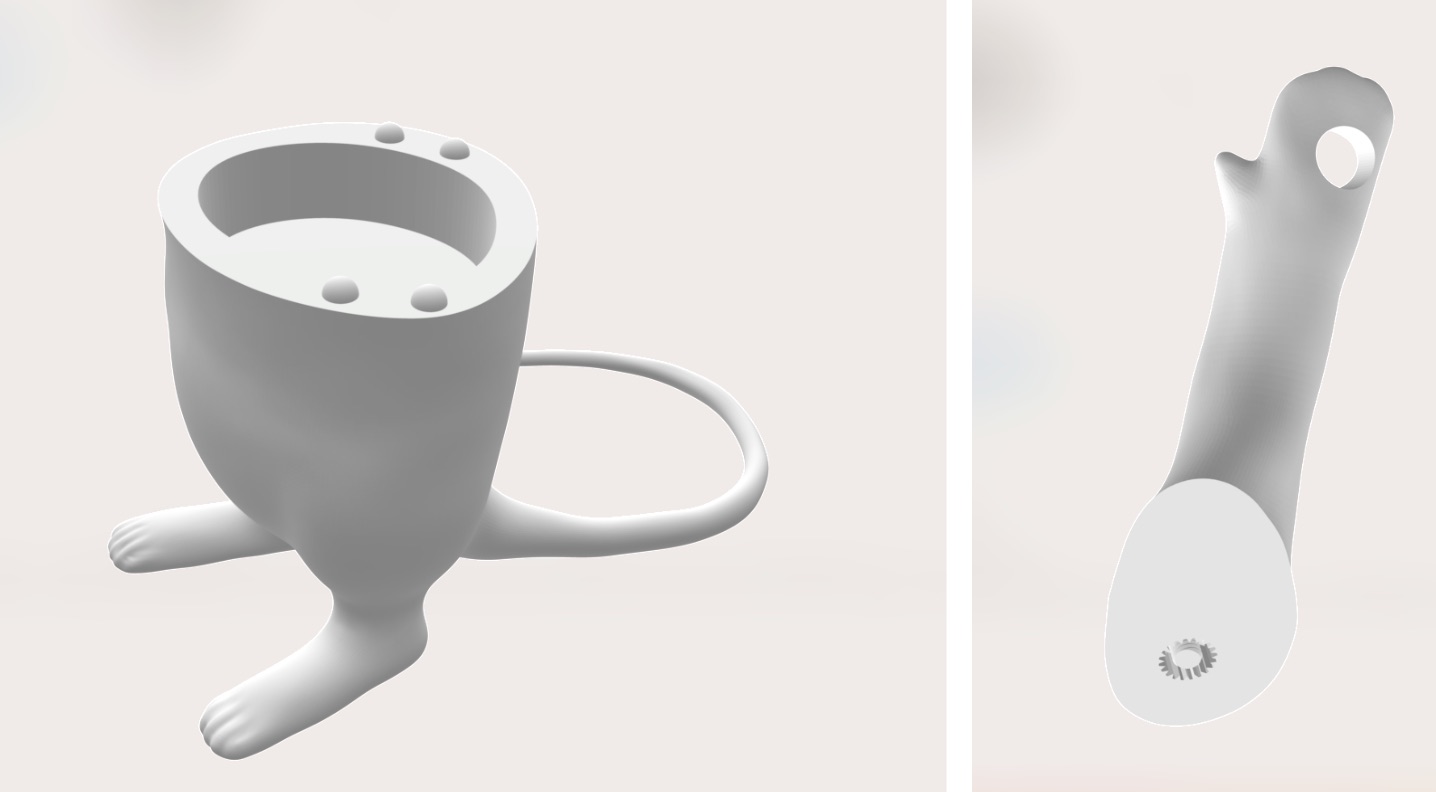
The body was splitted in half to embed the electronics
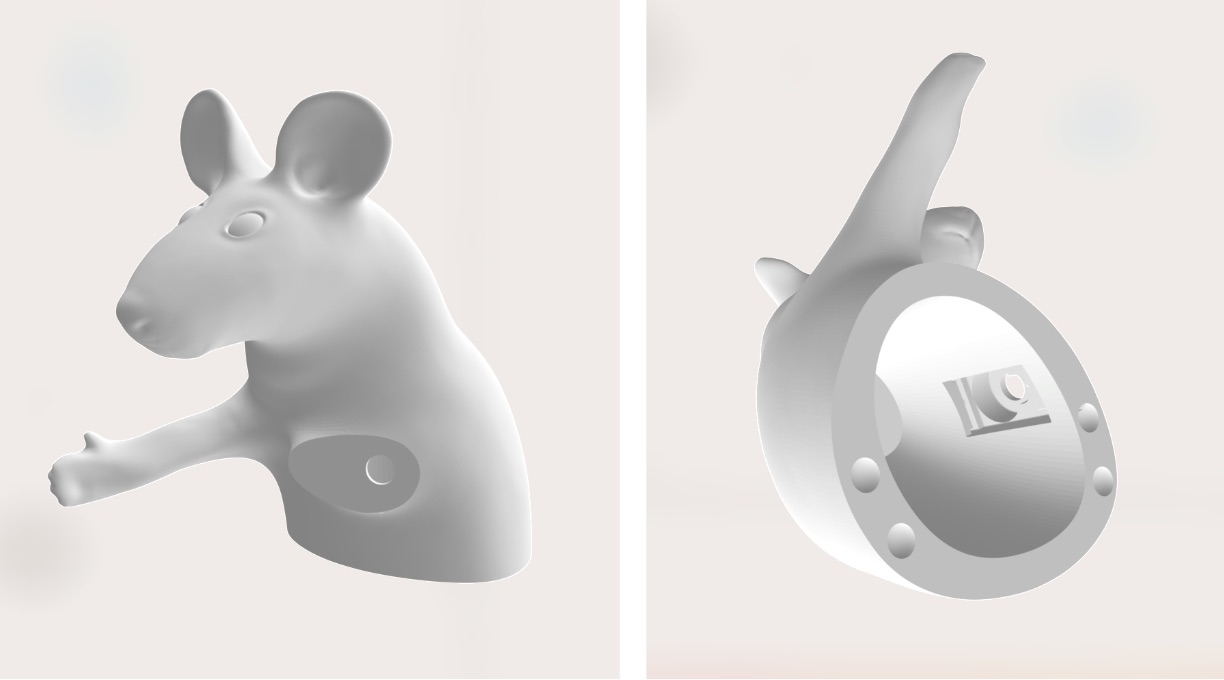
I tried to fit the servo motor to the wall
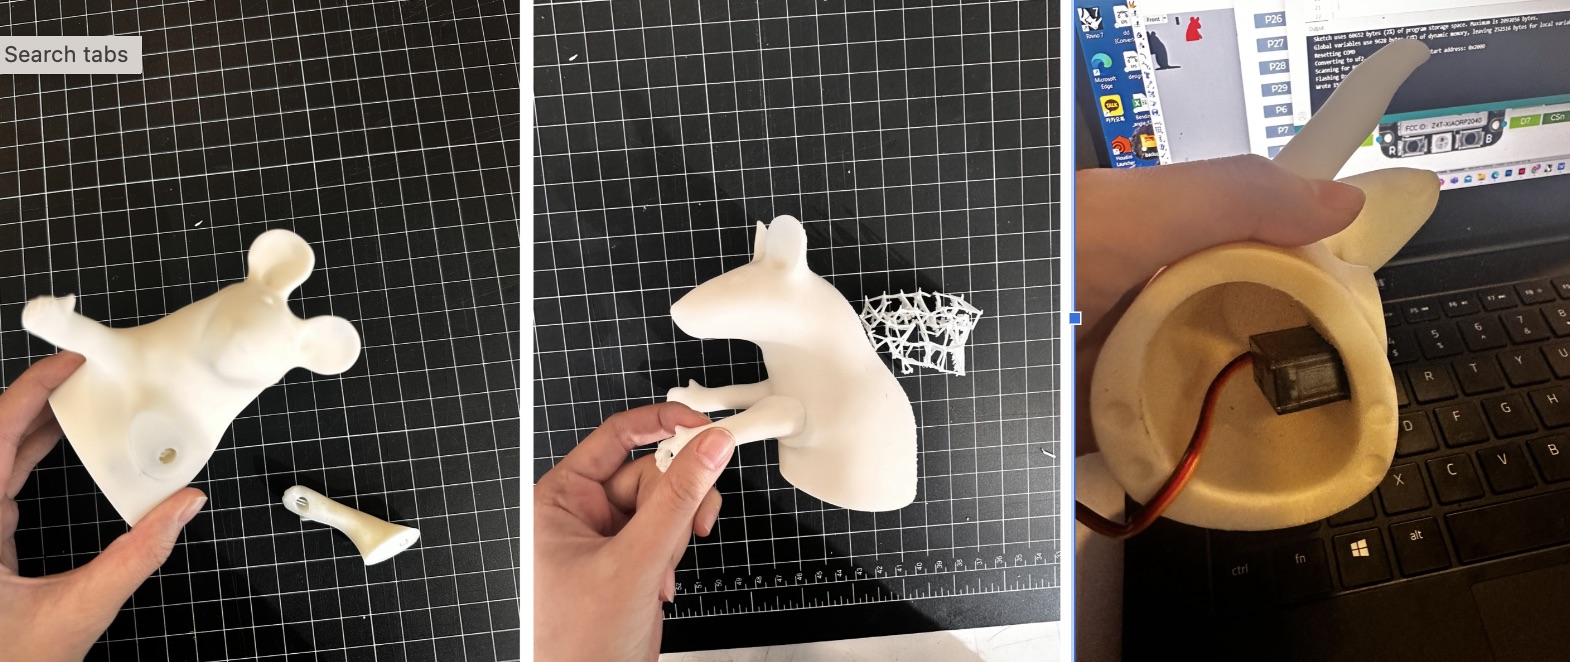
Using Fromlab 3d Printer and white resin, this adorable mouse was printed. It took around 20 hours to print
I also created a hole to on the hand so that we can put hairs, a stick to the hole. lol
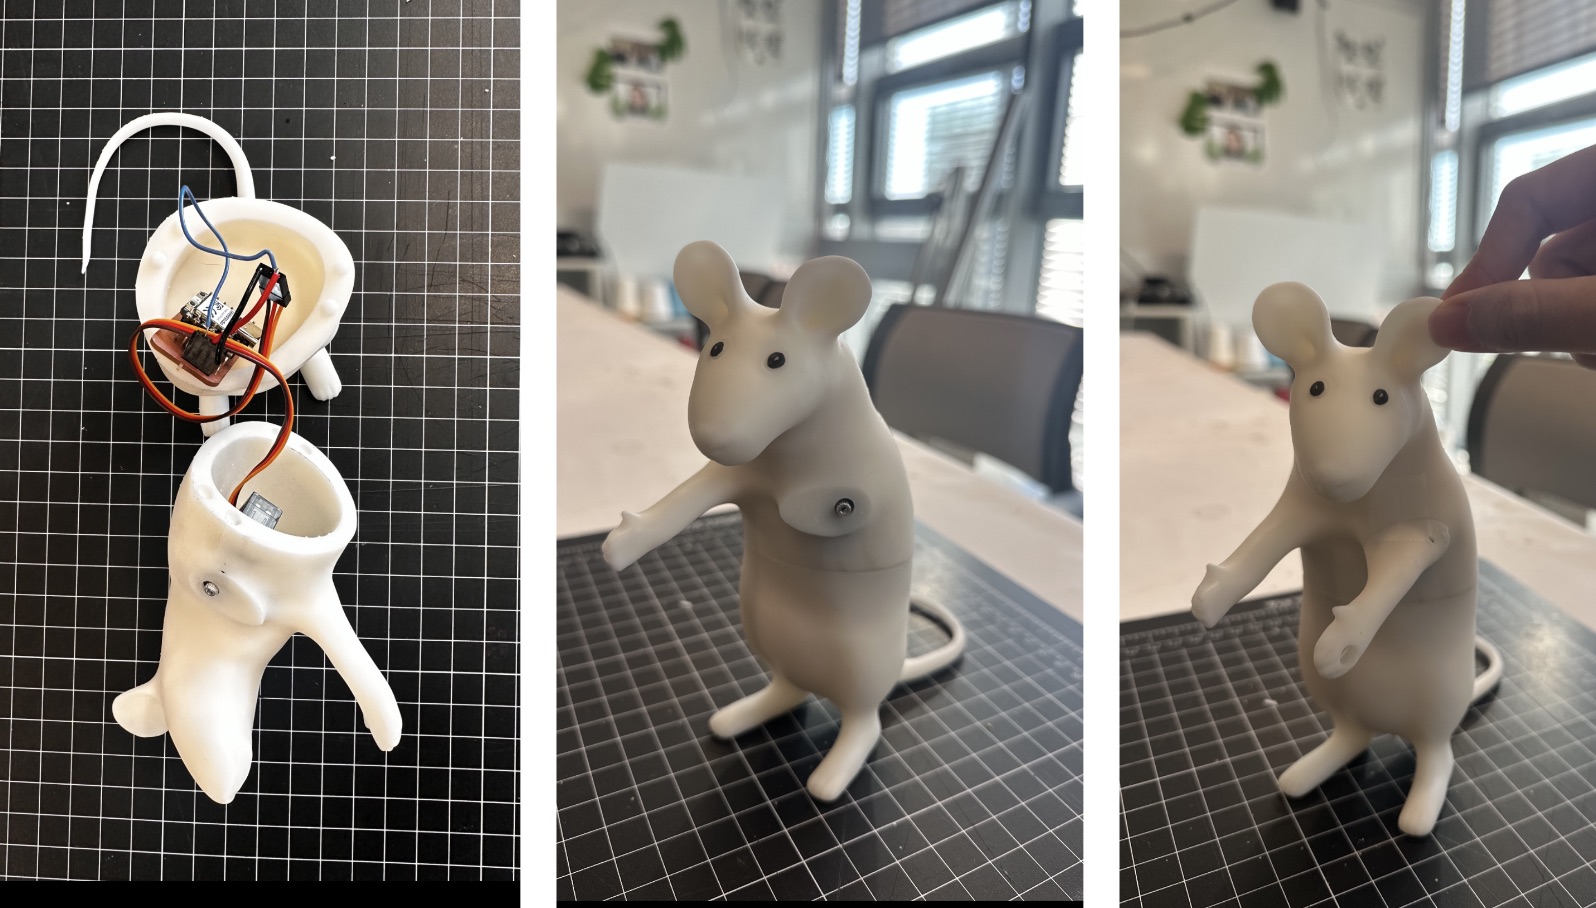
Here's a image of assembling all the parts. PCB board wasnt working well, so Marcello helped me to remake the board
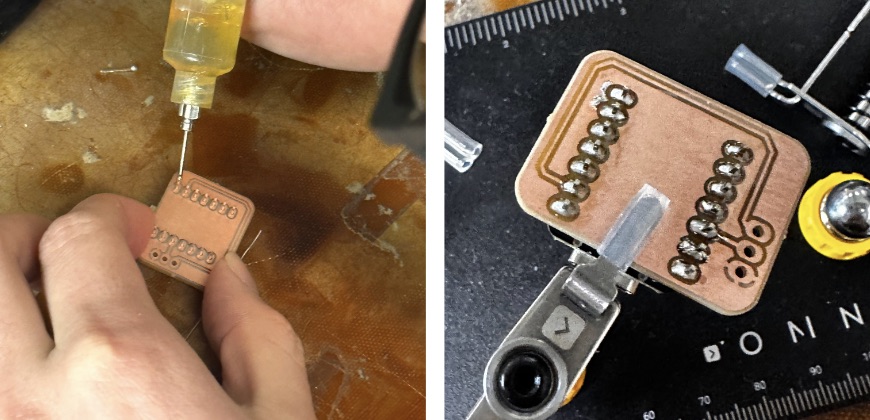
Marcello recommended to use this syringe, which lower the melting tempersture of the iron. Now the pcb board looks beautiful!!


