Week 10: How to play tetris with 800 neopixels - Mon, Nov 11, 2024
This week our assignment was to make something big, and I immediately knew what I wanted to make. For quite a few years, I have wanted to build a large neopixel display, but I never got around to it. This week’s assignment would be the perfect motivation. By the end of lecture I already had a model to cut out.
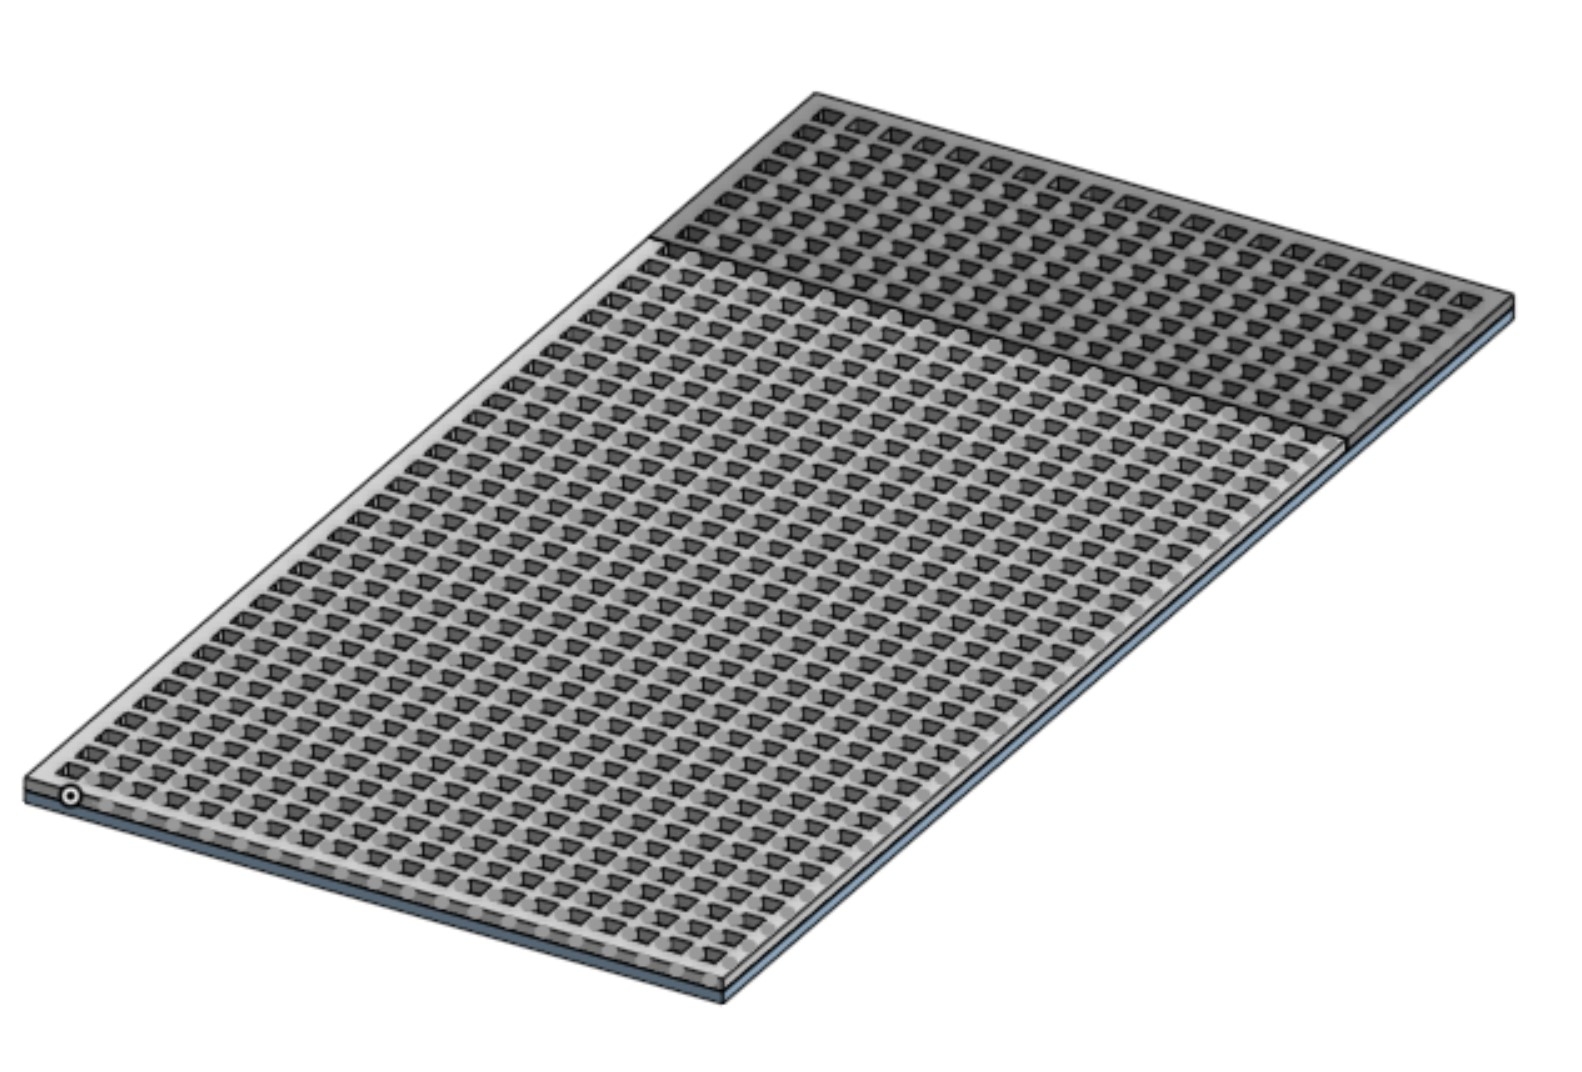
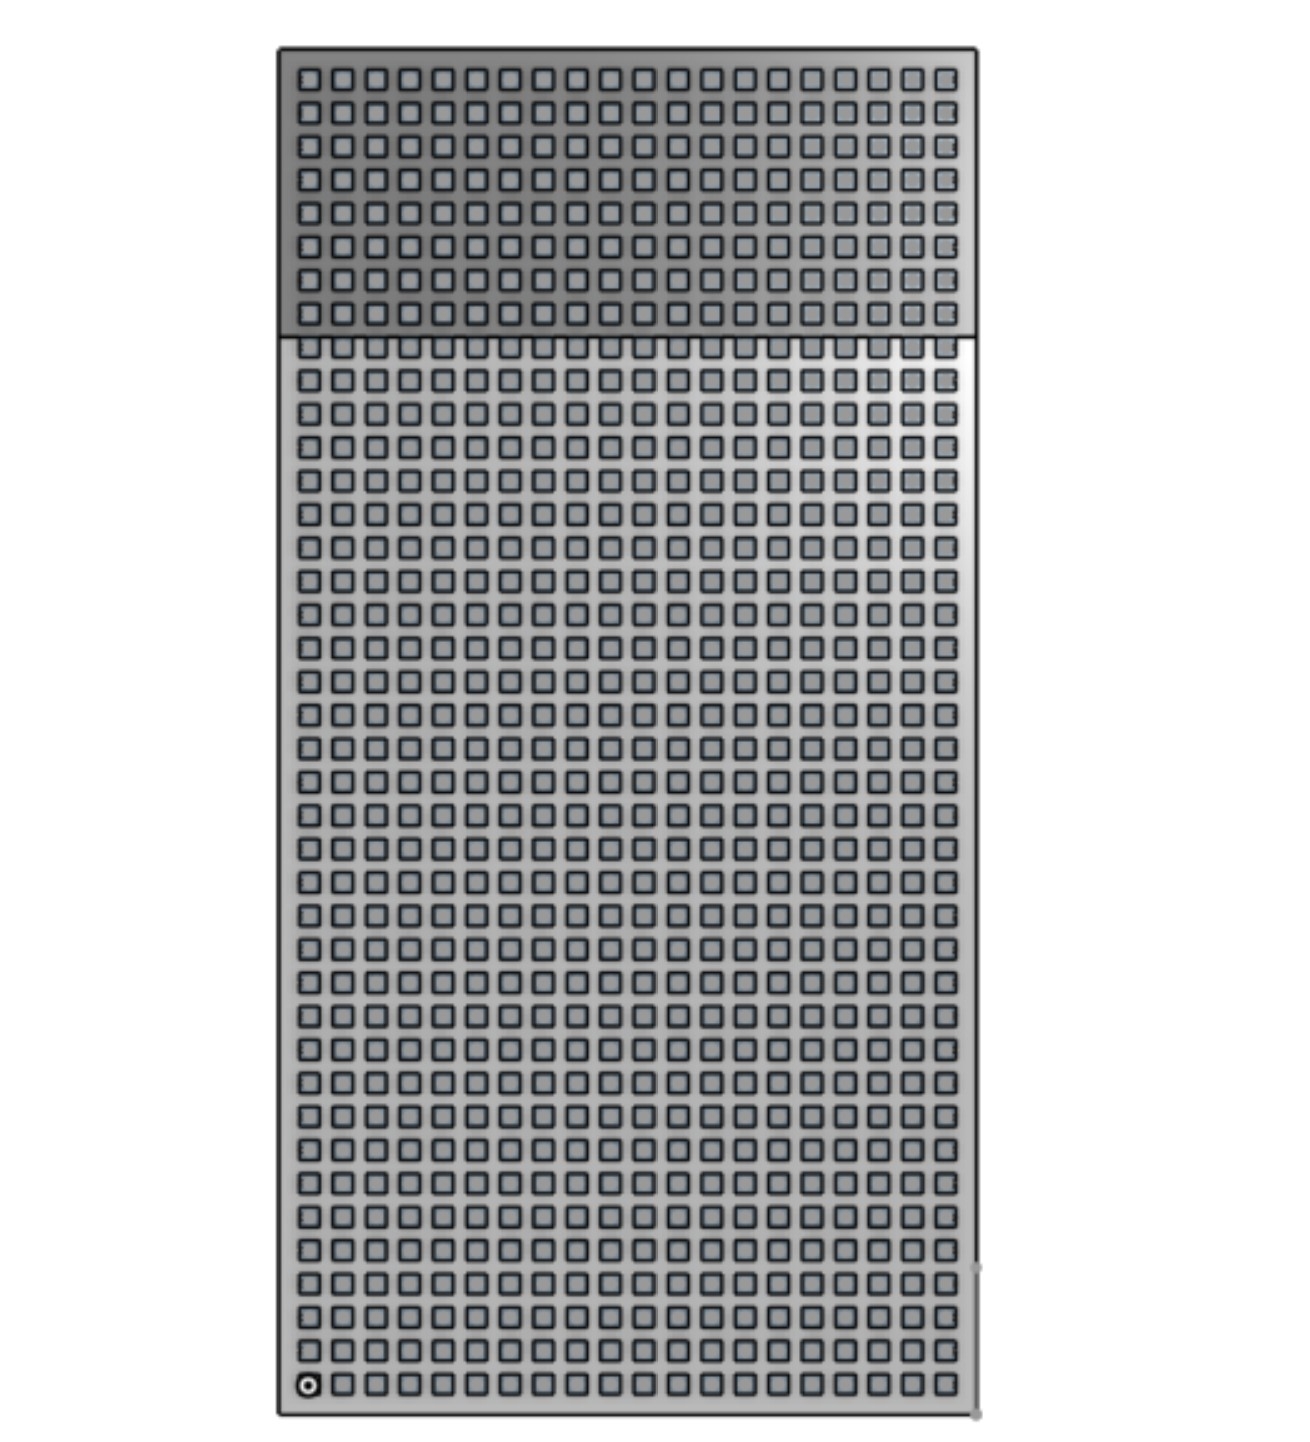
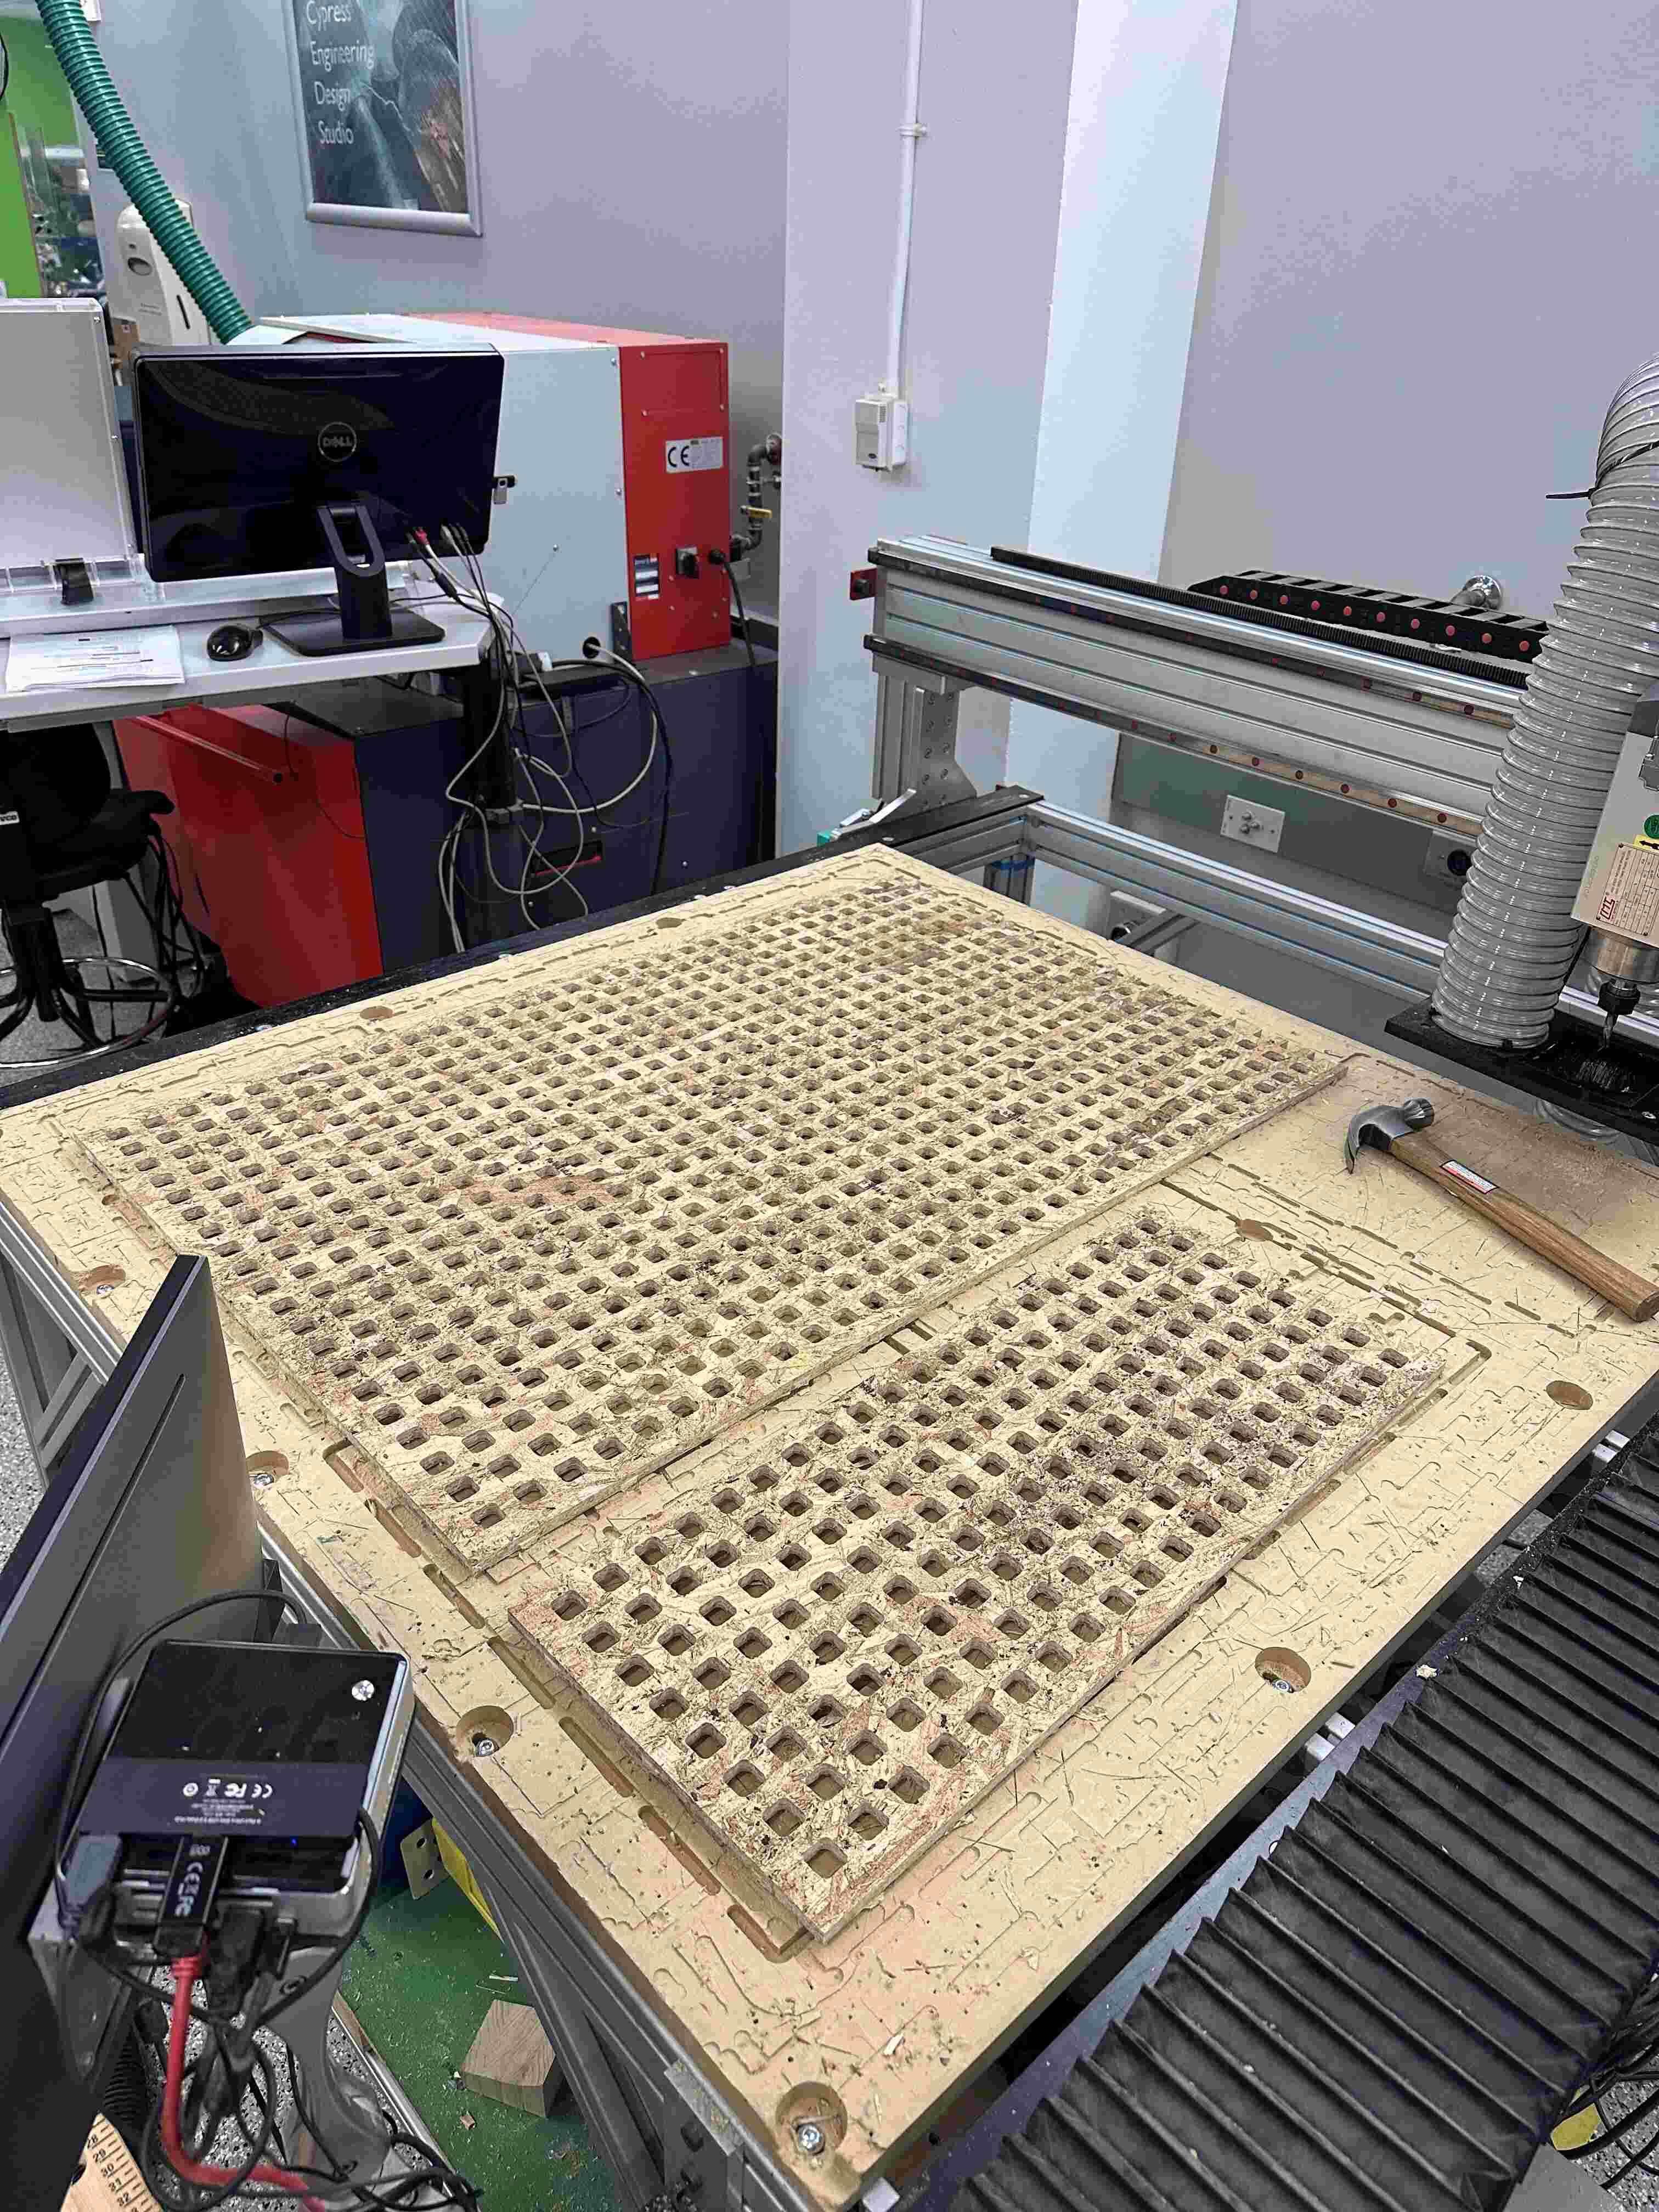
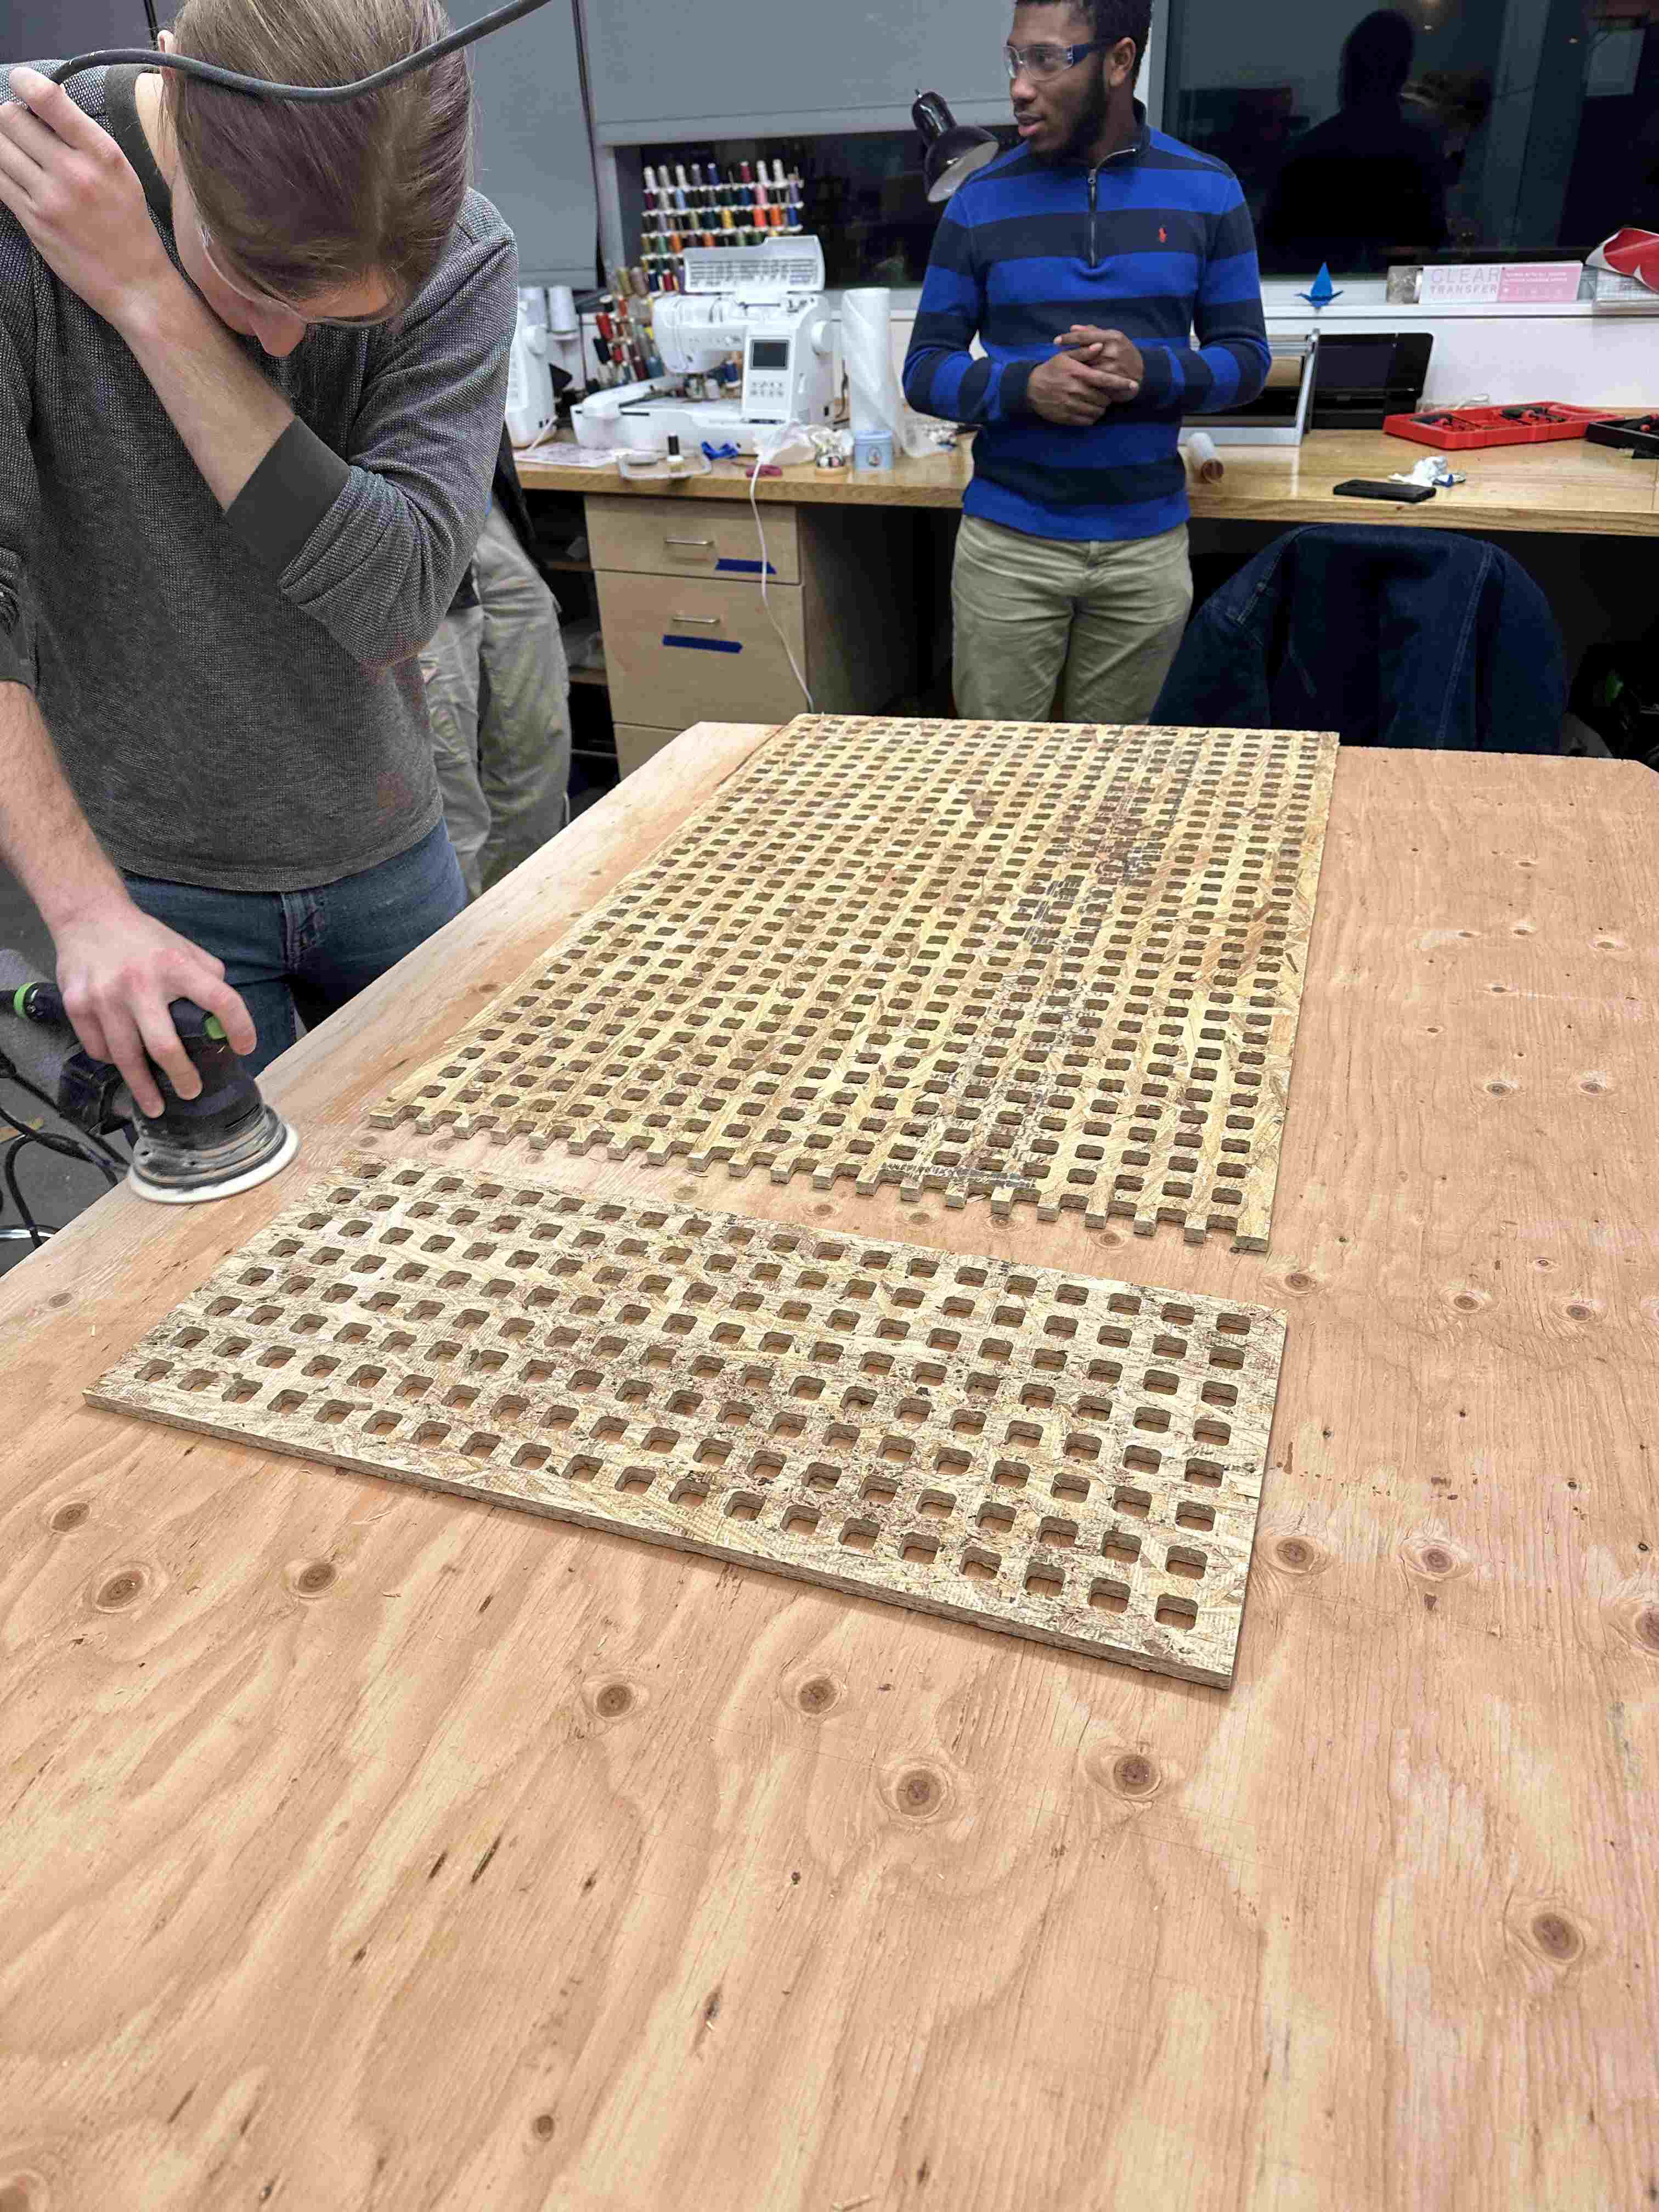
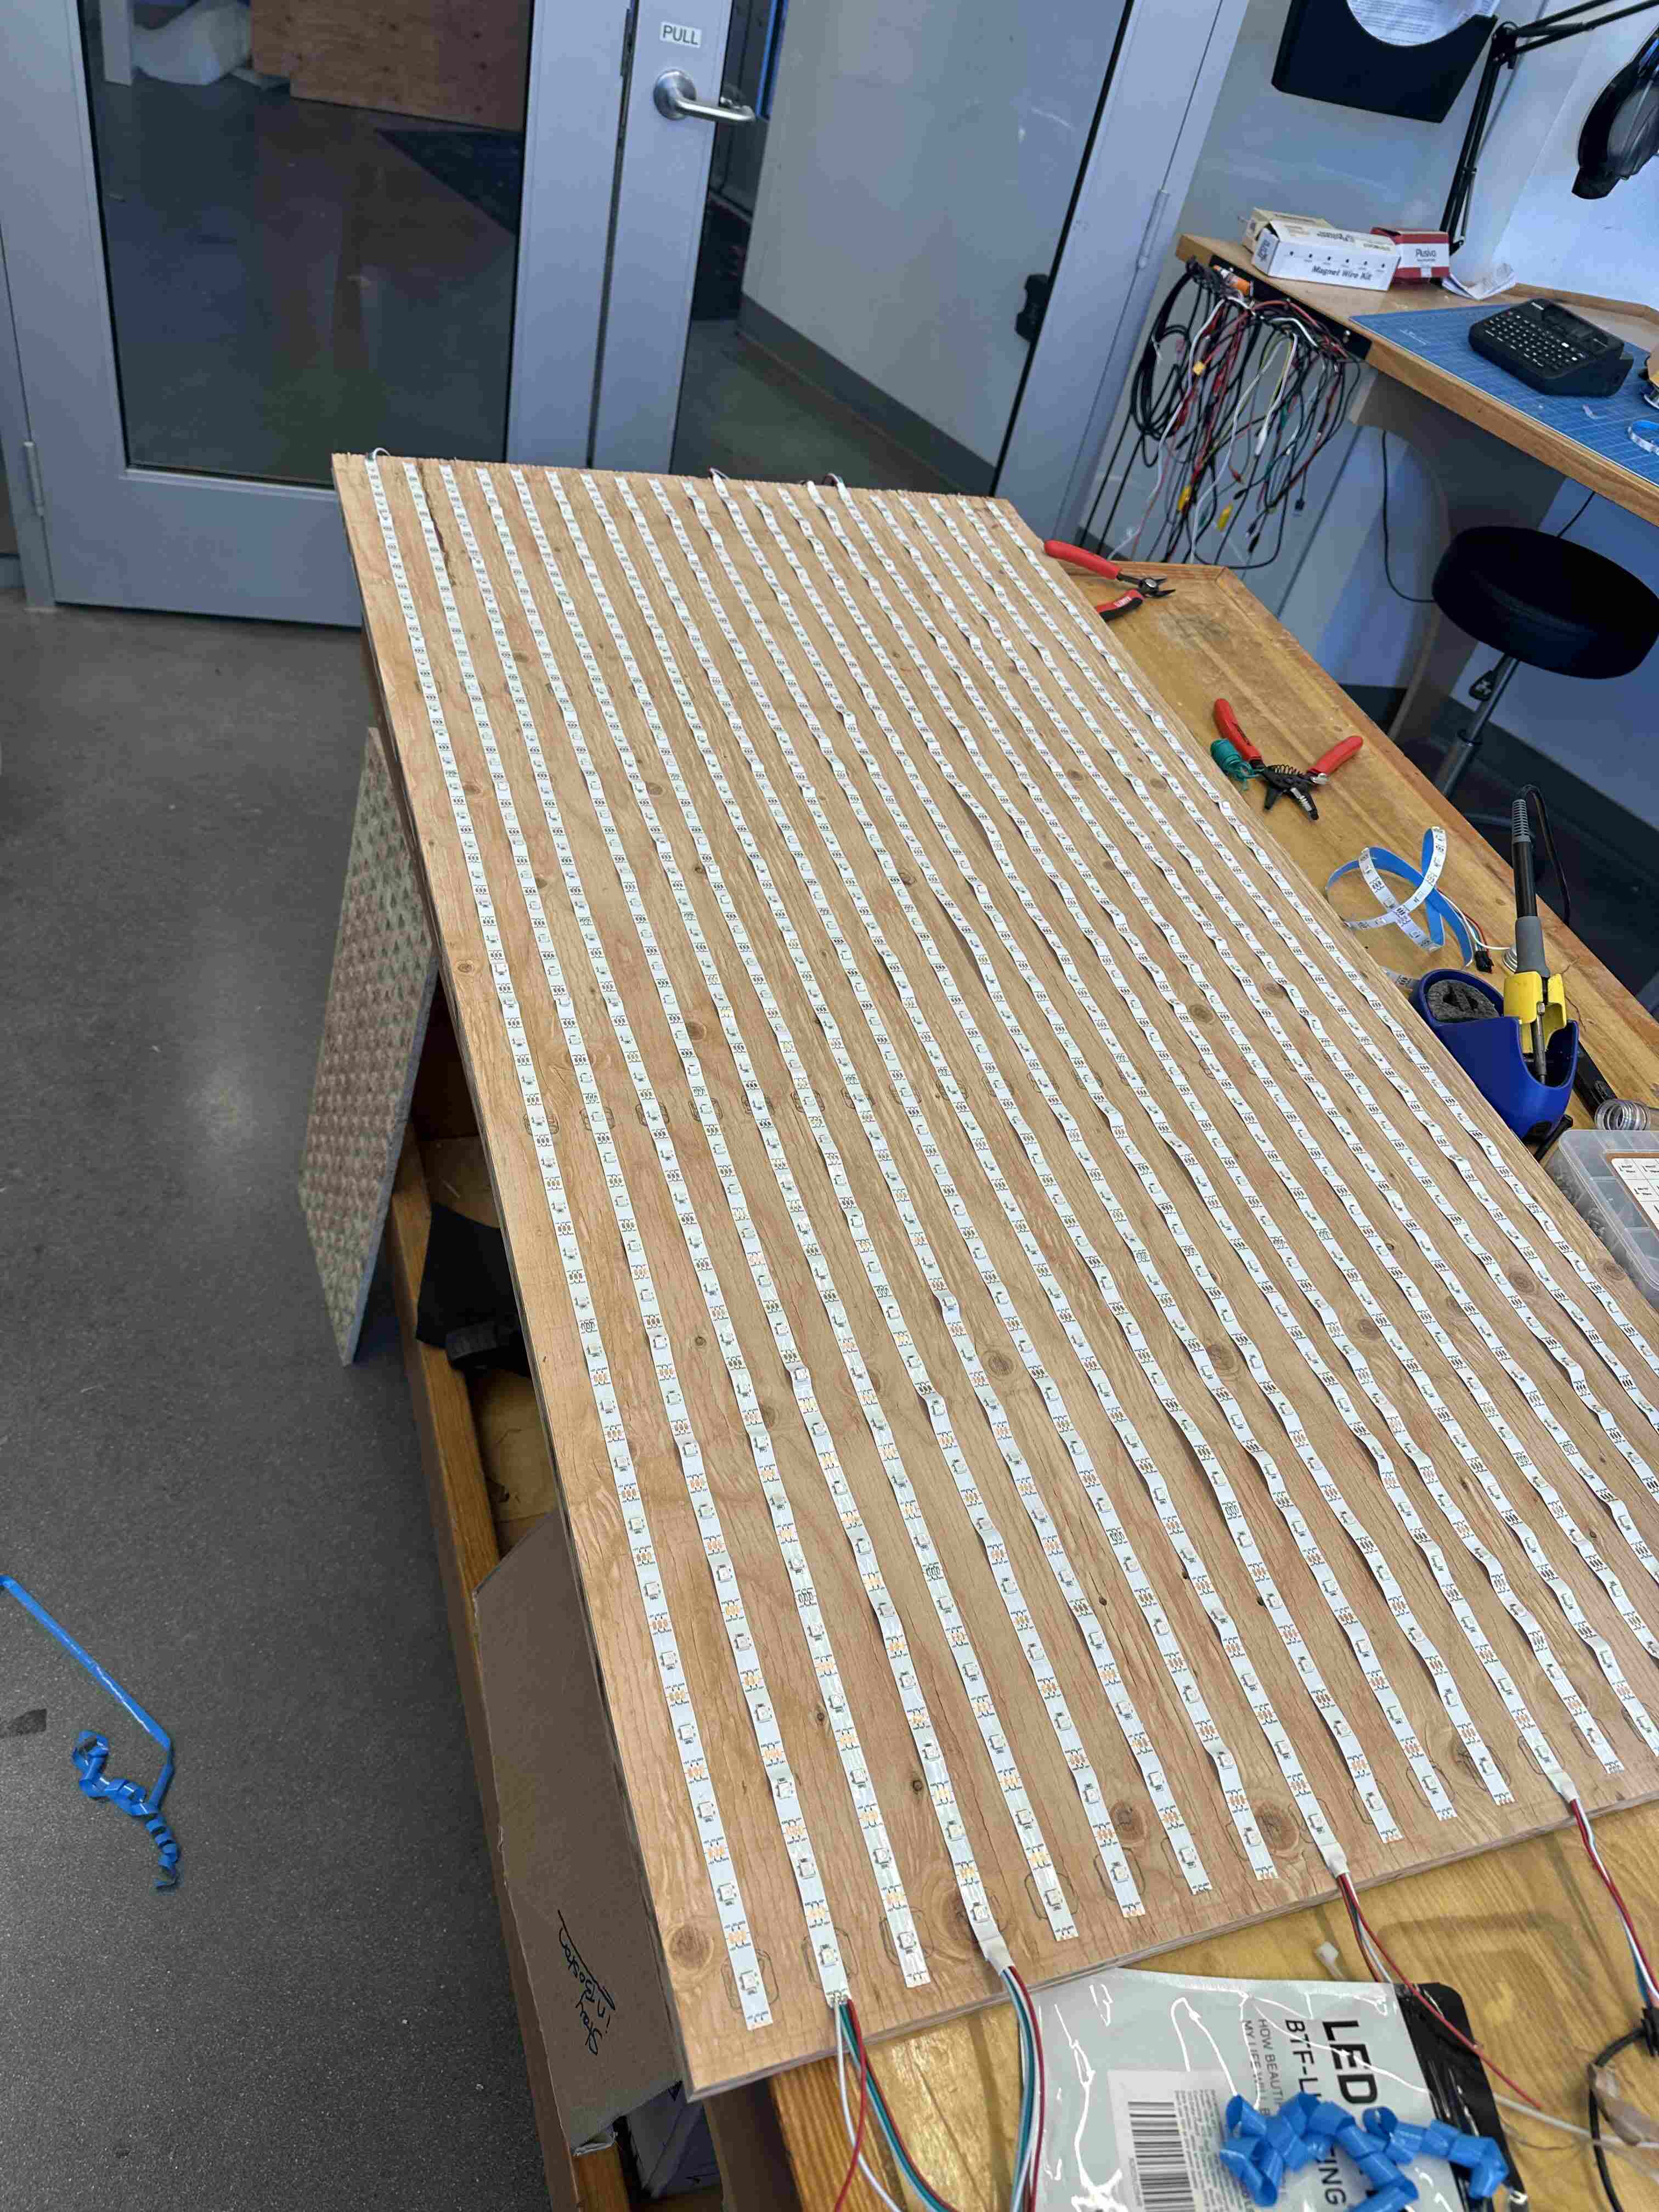
The main idea is that I will lay out 20 40 pixel long neopixel strips and optically isolate each of the pixels with a waffle I cut out on the CNC. I will then put a diffusion cloth over the waffle to make the neopixels into less of a grid of point sources. The display ended up being so tall that I needed to split the waffle into two pieces to fit it on the 4x4ft CNC bed in EDS.
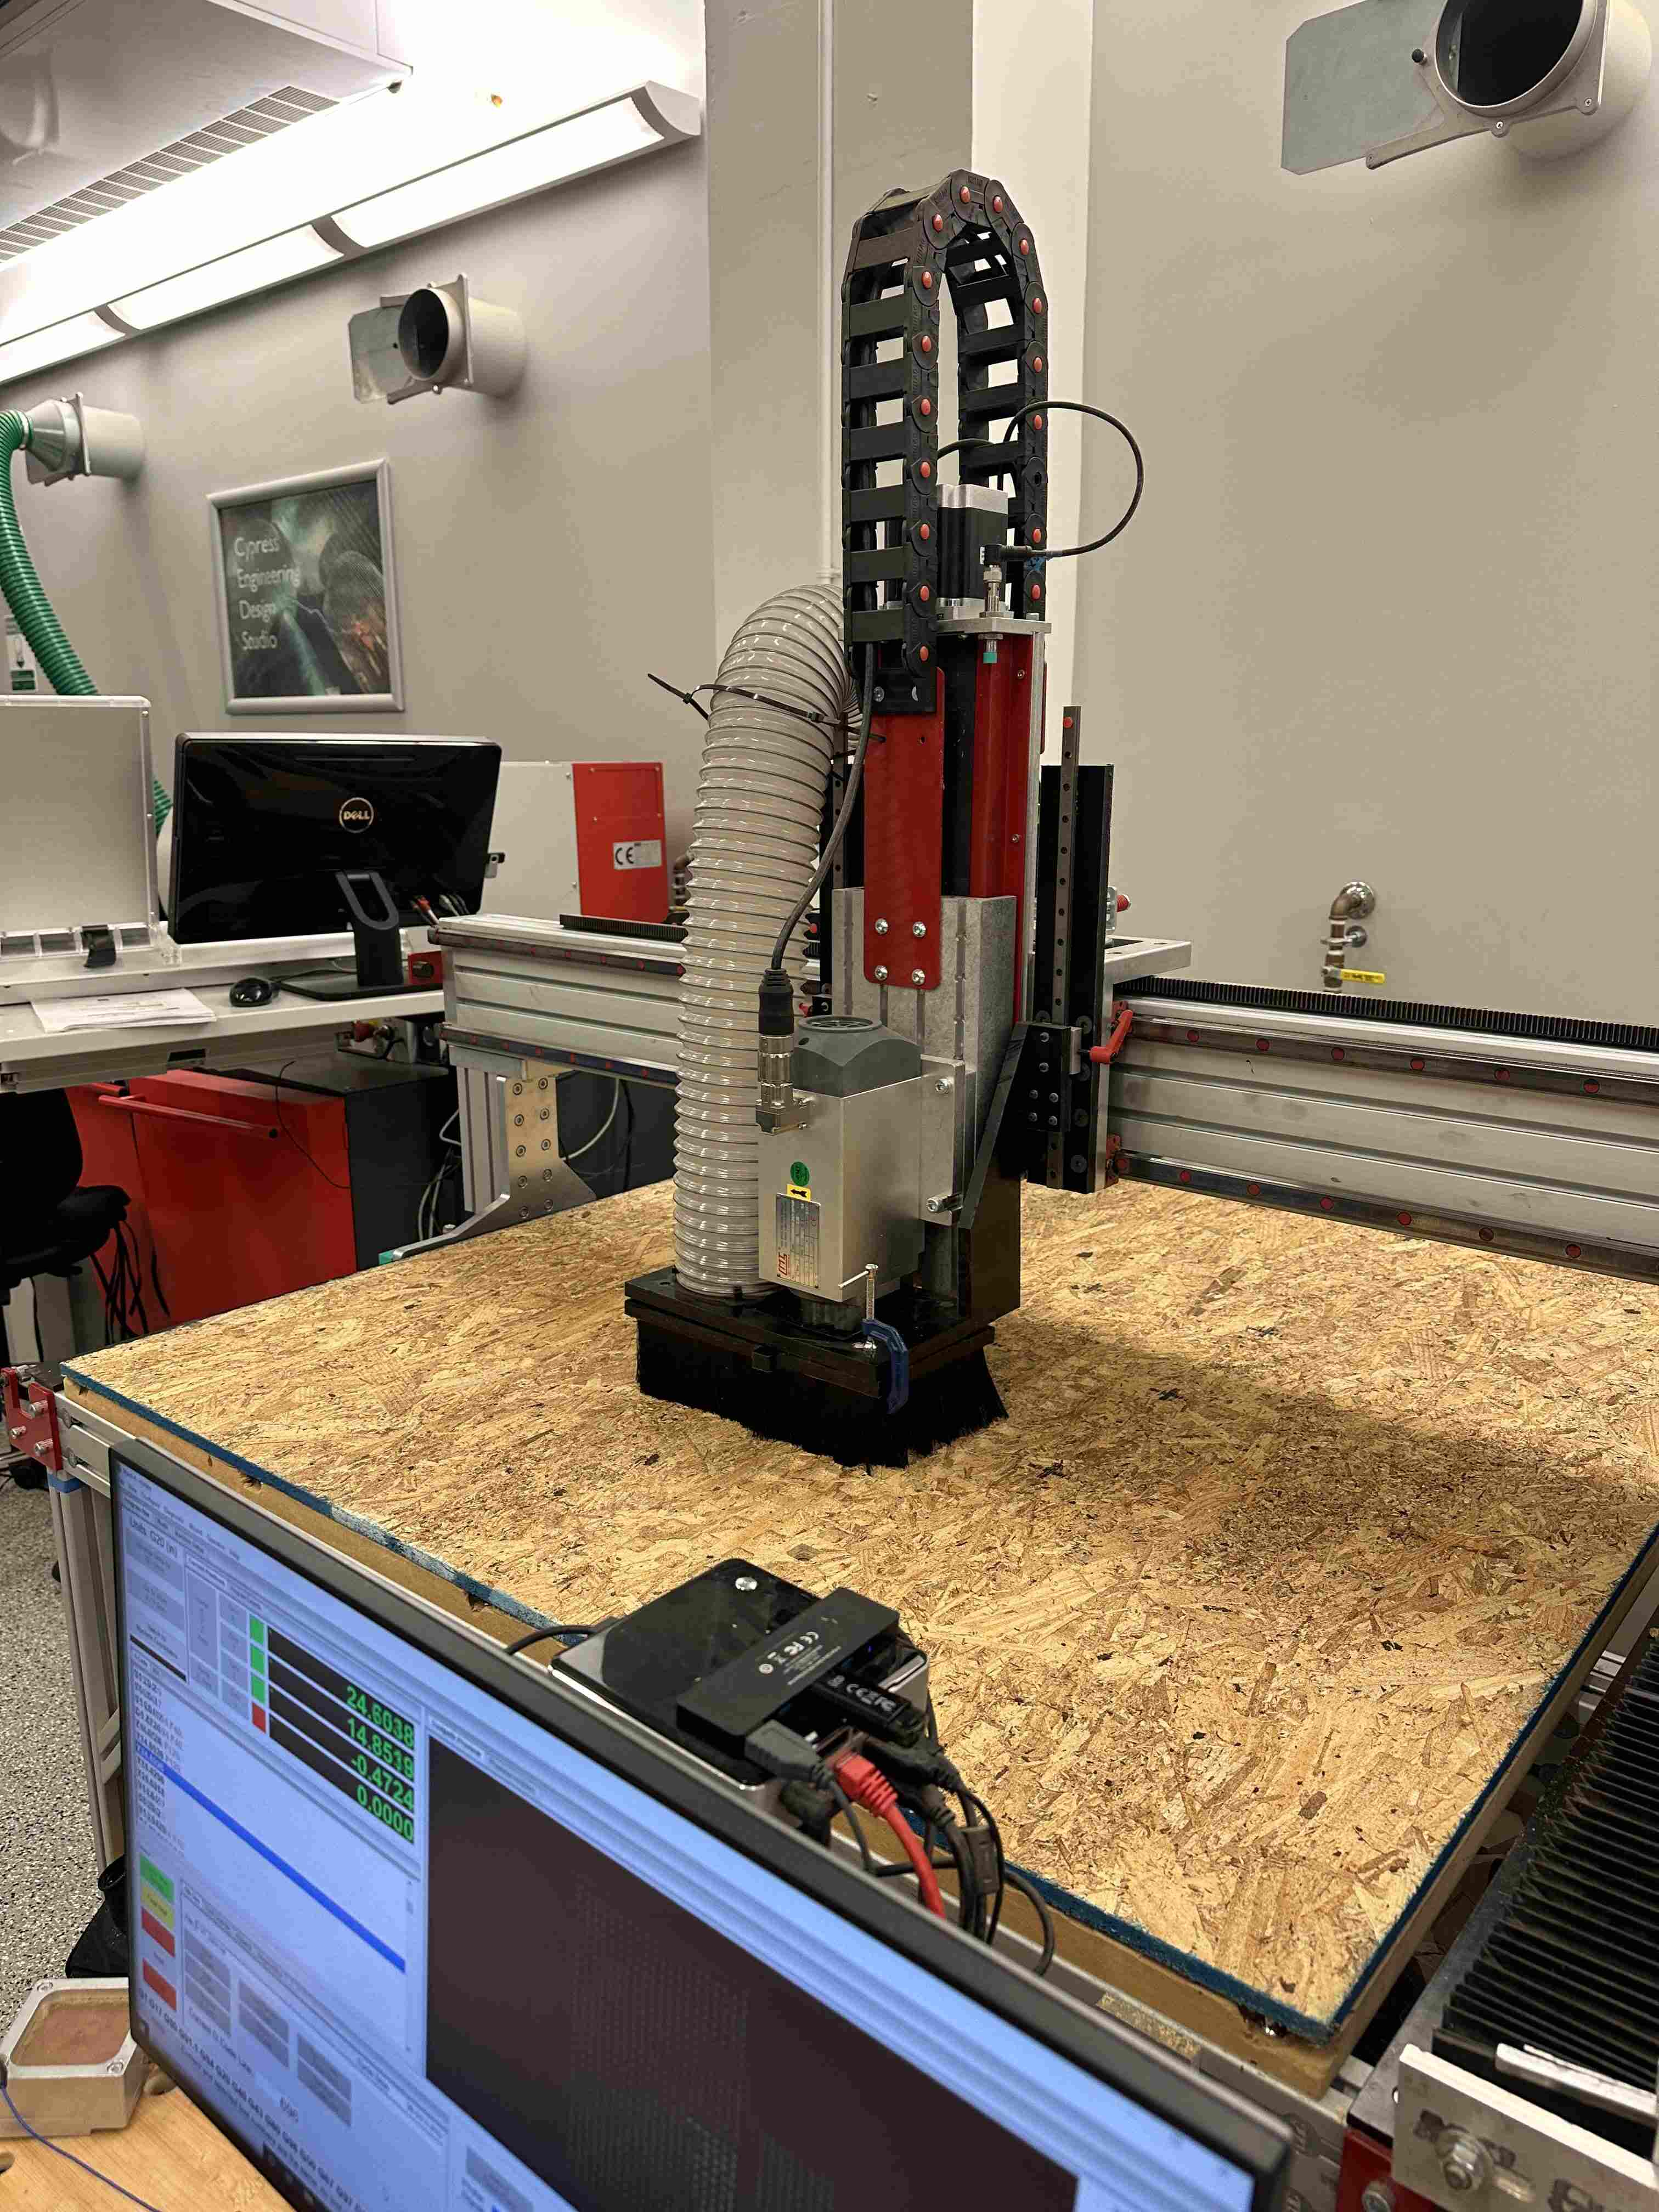
After Anthony helped me with some CAM in fusion, I was ready to mill out the waffle. I cut it out of OSB because that is what was provided to us in the maker space.
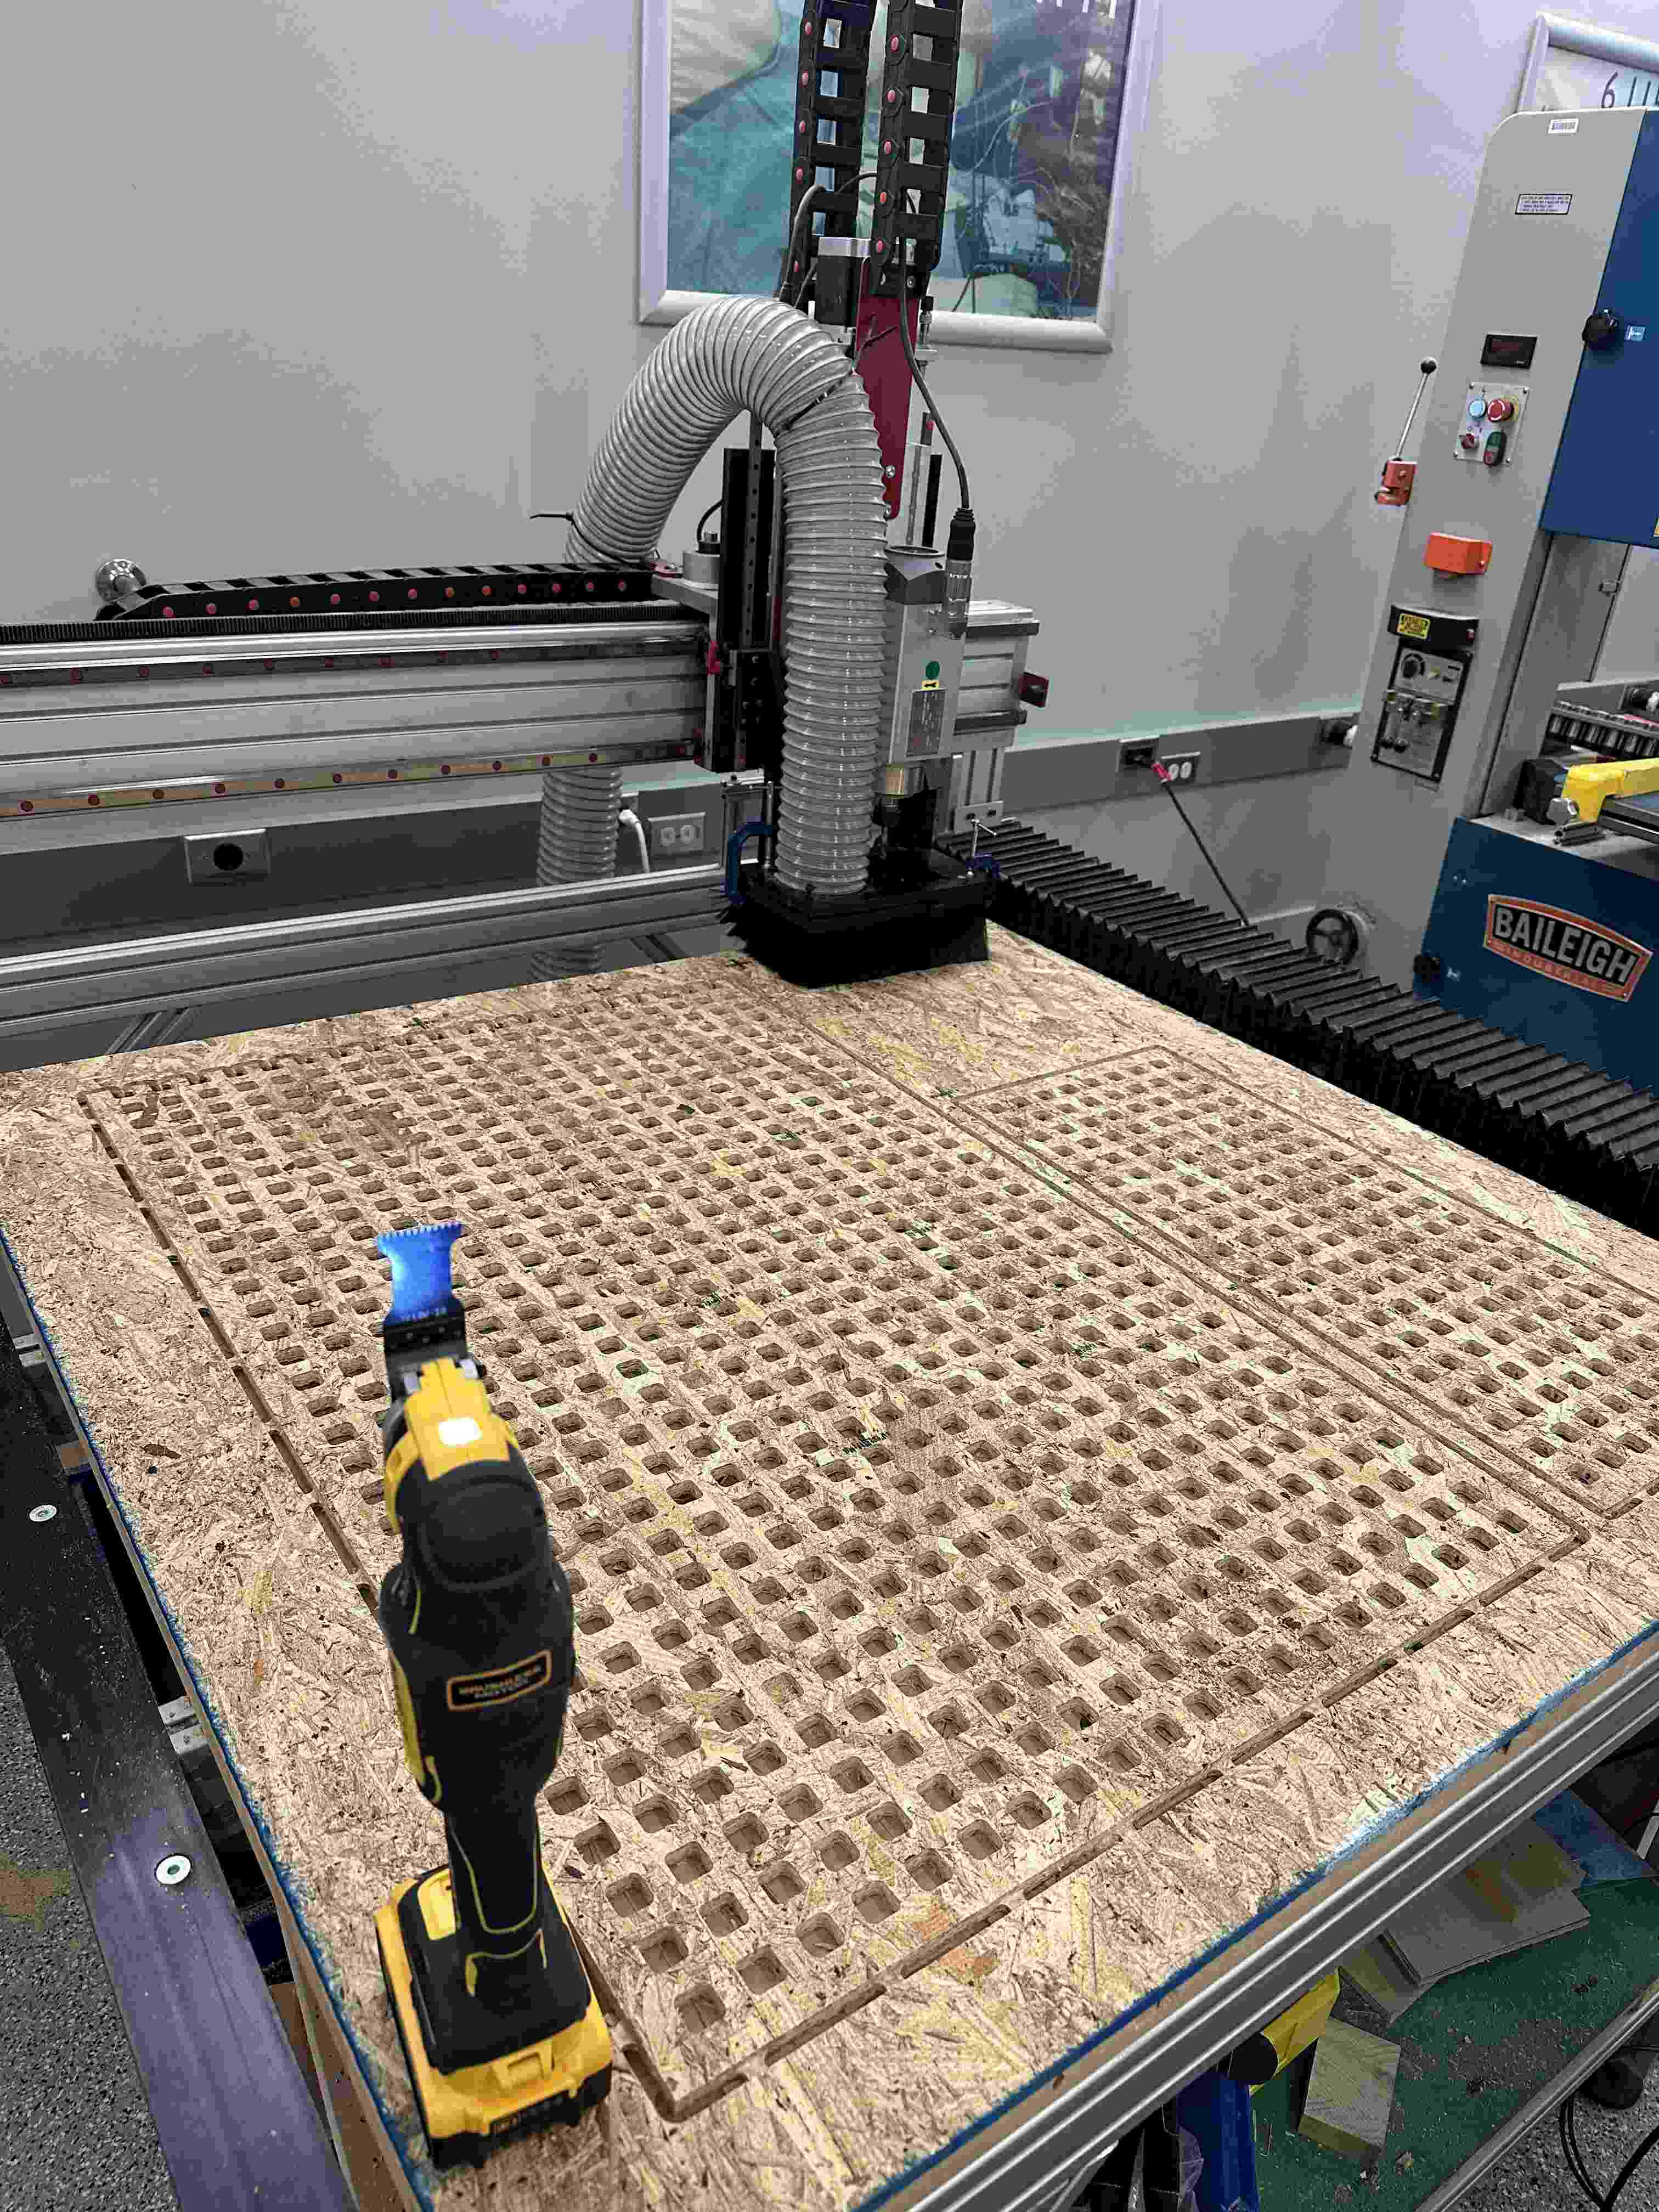 I made quick work of the tabs holding my pieces down with an oscillating saw.
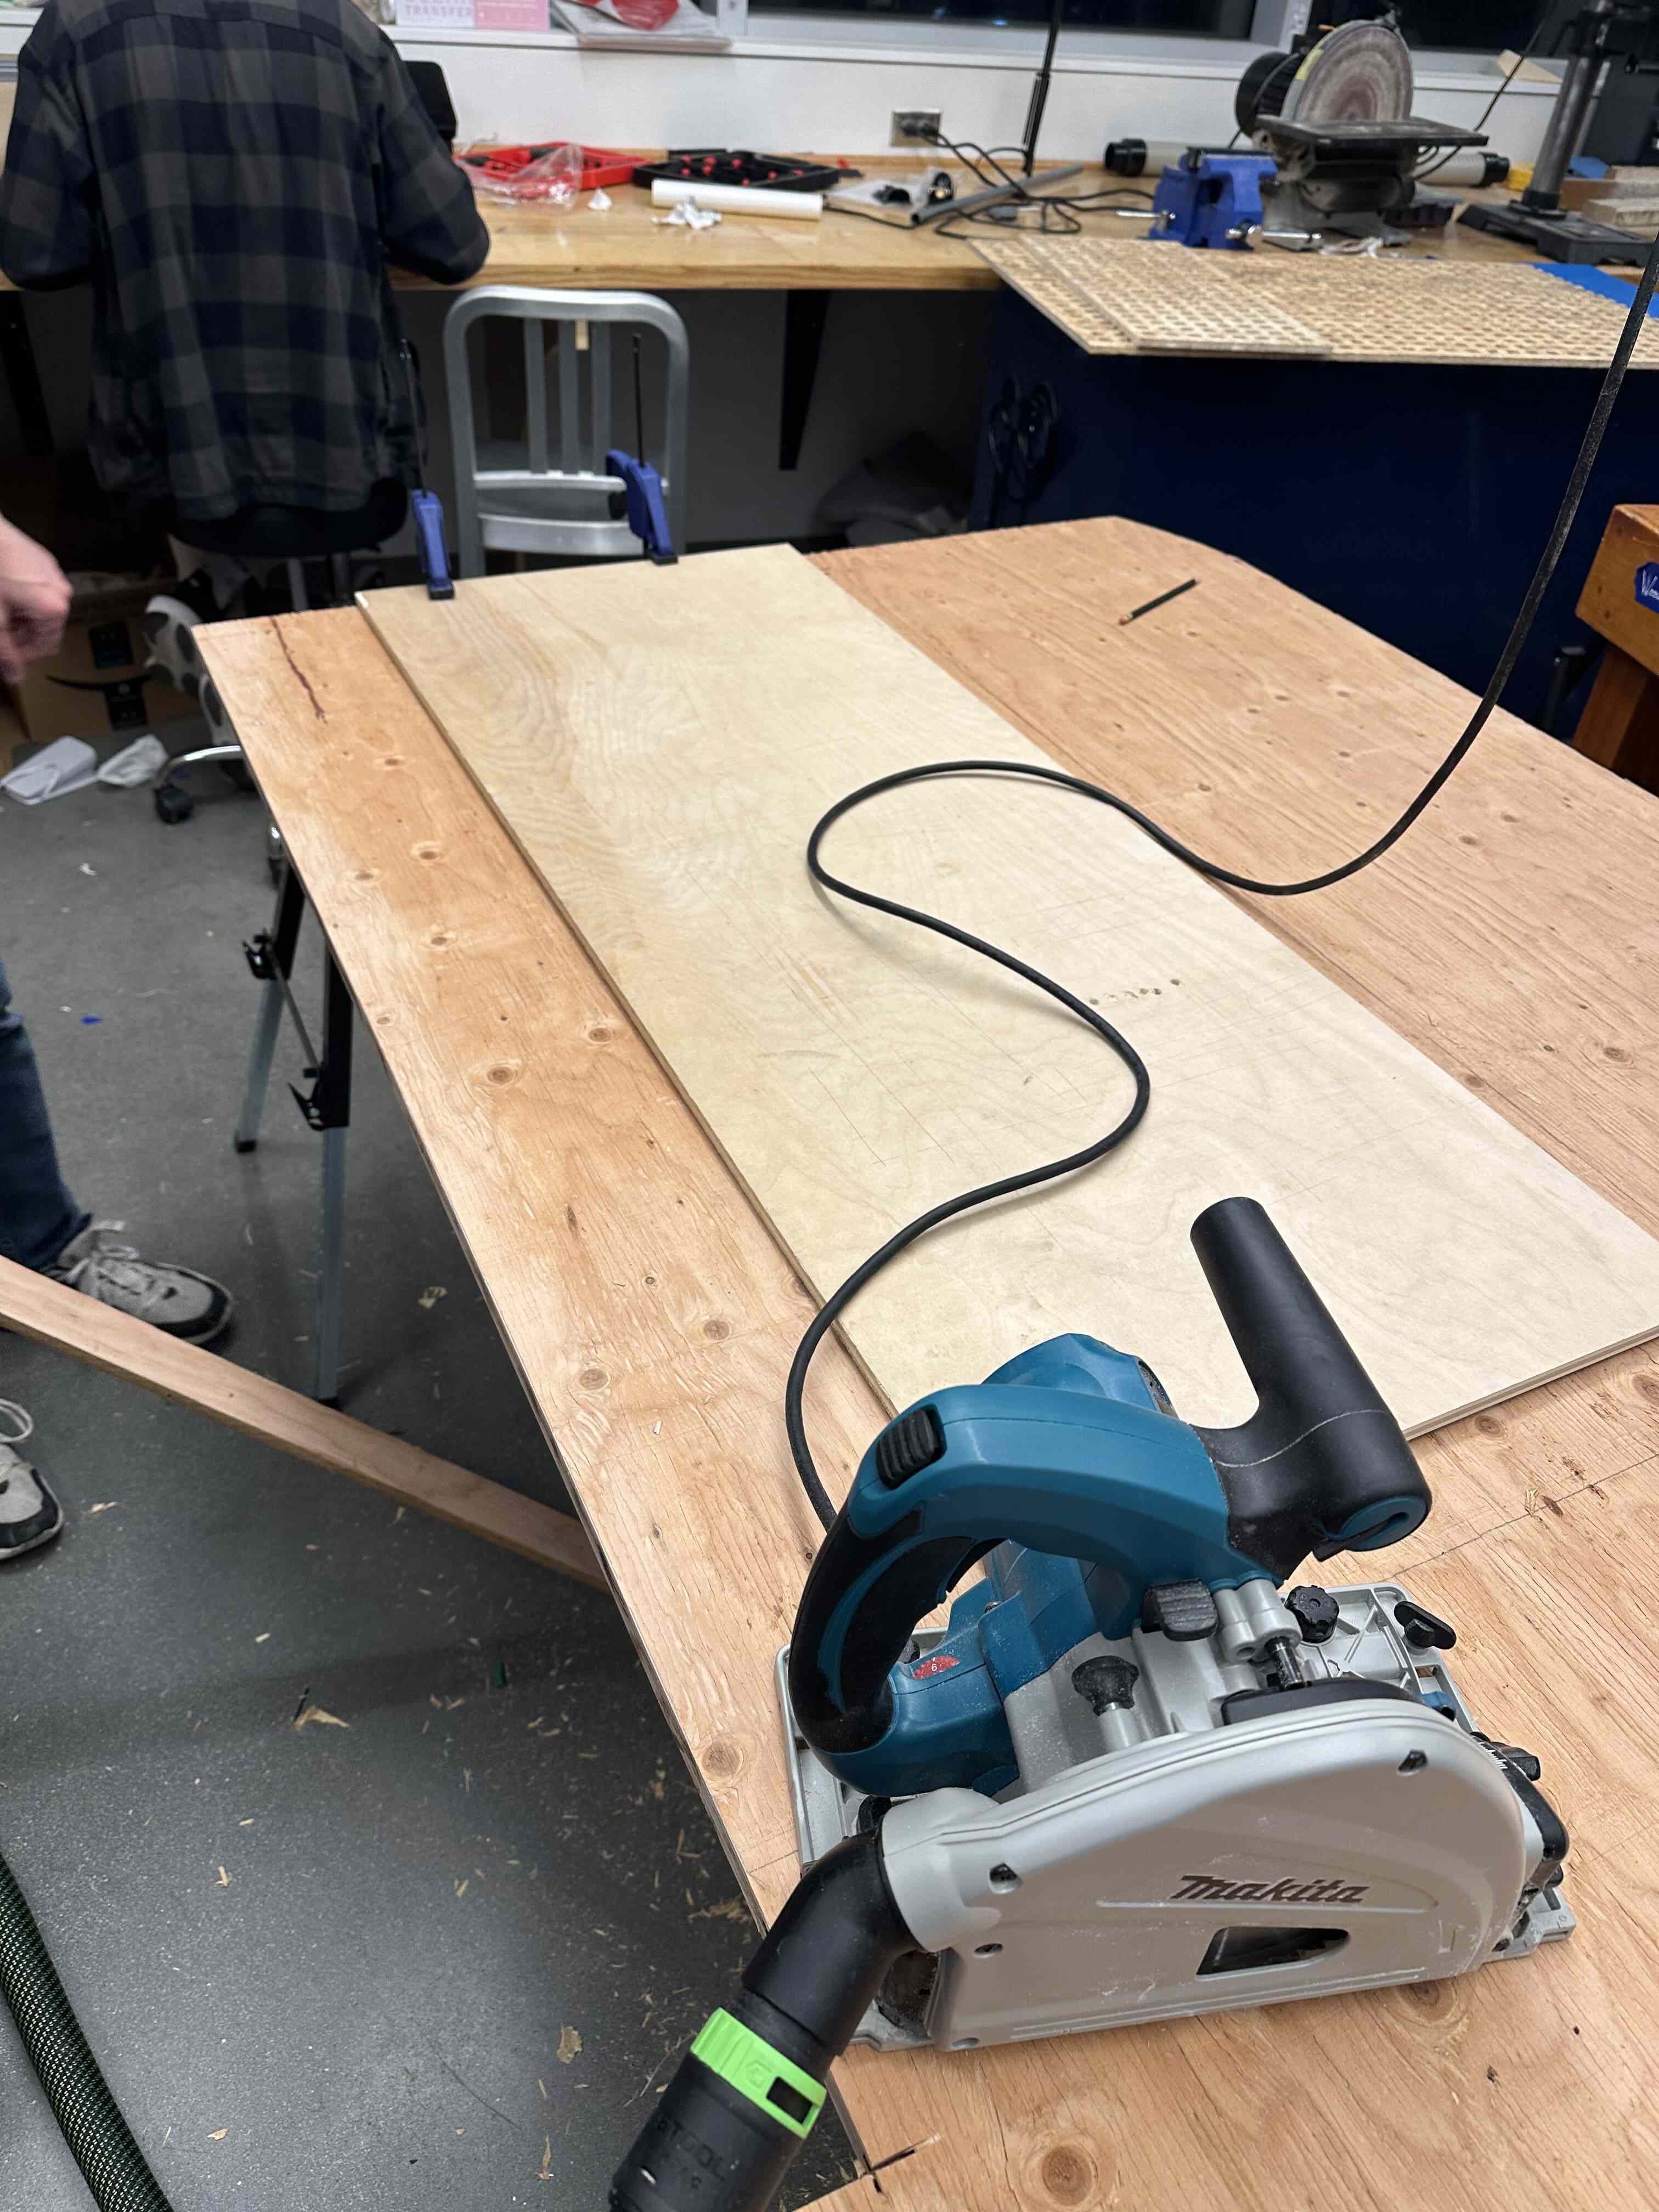
Now it was time to make the back that the neopixels would stick to and the waffle would sit on top of. Because it will be bigger than the bed of the CNC machine, I needed to hand cut it out. I luckily had a large piece of plywood from the EC fort built during REX which my friend sanded and cut to size with a skill saw.
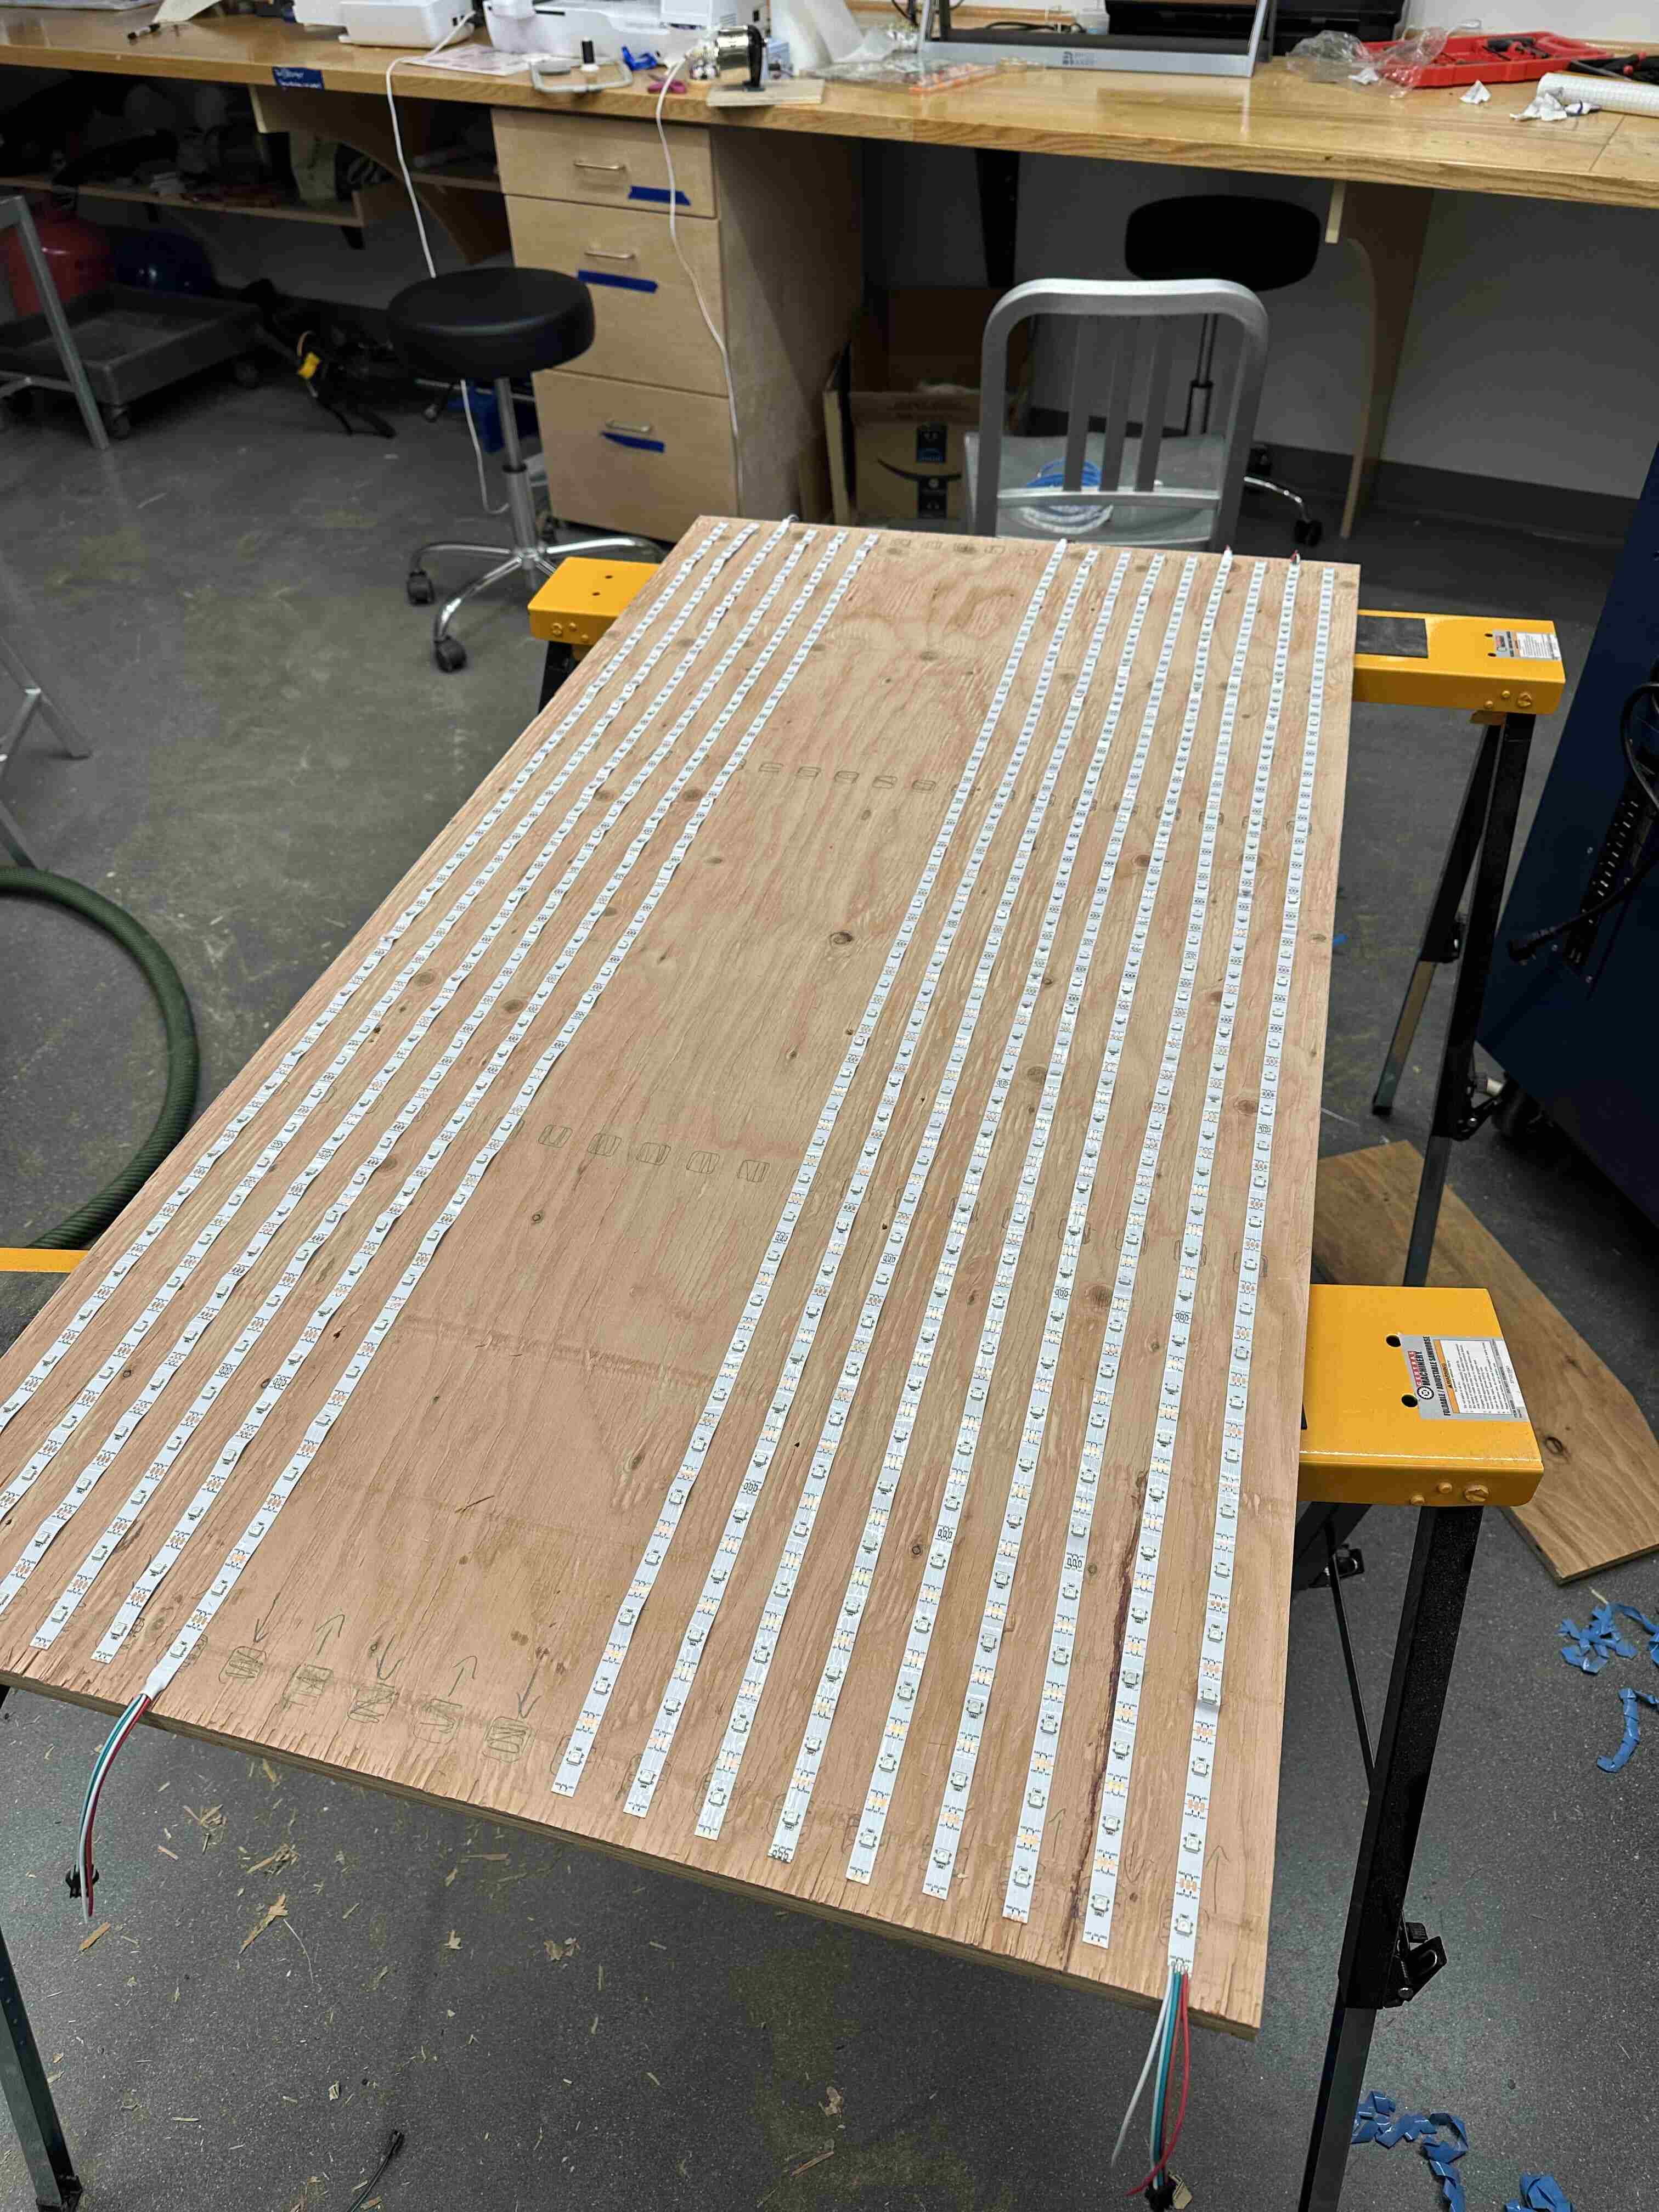
 Next we marked the location of a couple of pixels in the waffle on the plywood back and started laying down the neopixel strips. I spaced each pixel 35mm apart as per the spacing of each neopixel, but apparently the strips I bought were not manufactured to tight tolerances, so I had to make the strips a little wavy to keep the neopixels in line with the waffle.
 After everything was wired up it was time for my first test. I originally tried to run the board from an arduino, but ran out of RAM to control 800 pixels. I ended up using a raspberry pi pico which could run the display without sweat. I had to be careful about how bright I set the pixels or I could end up drawing over 40 amps at 5V! My poor little power supply could not handle this at the time so I had the brightness pretty low.
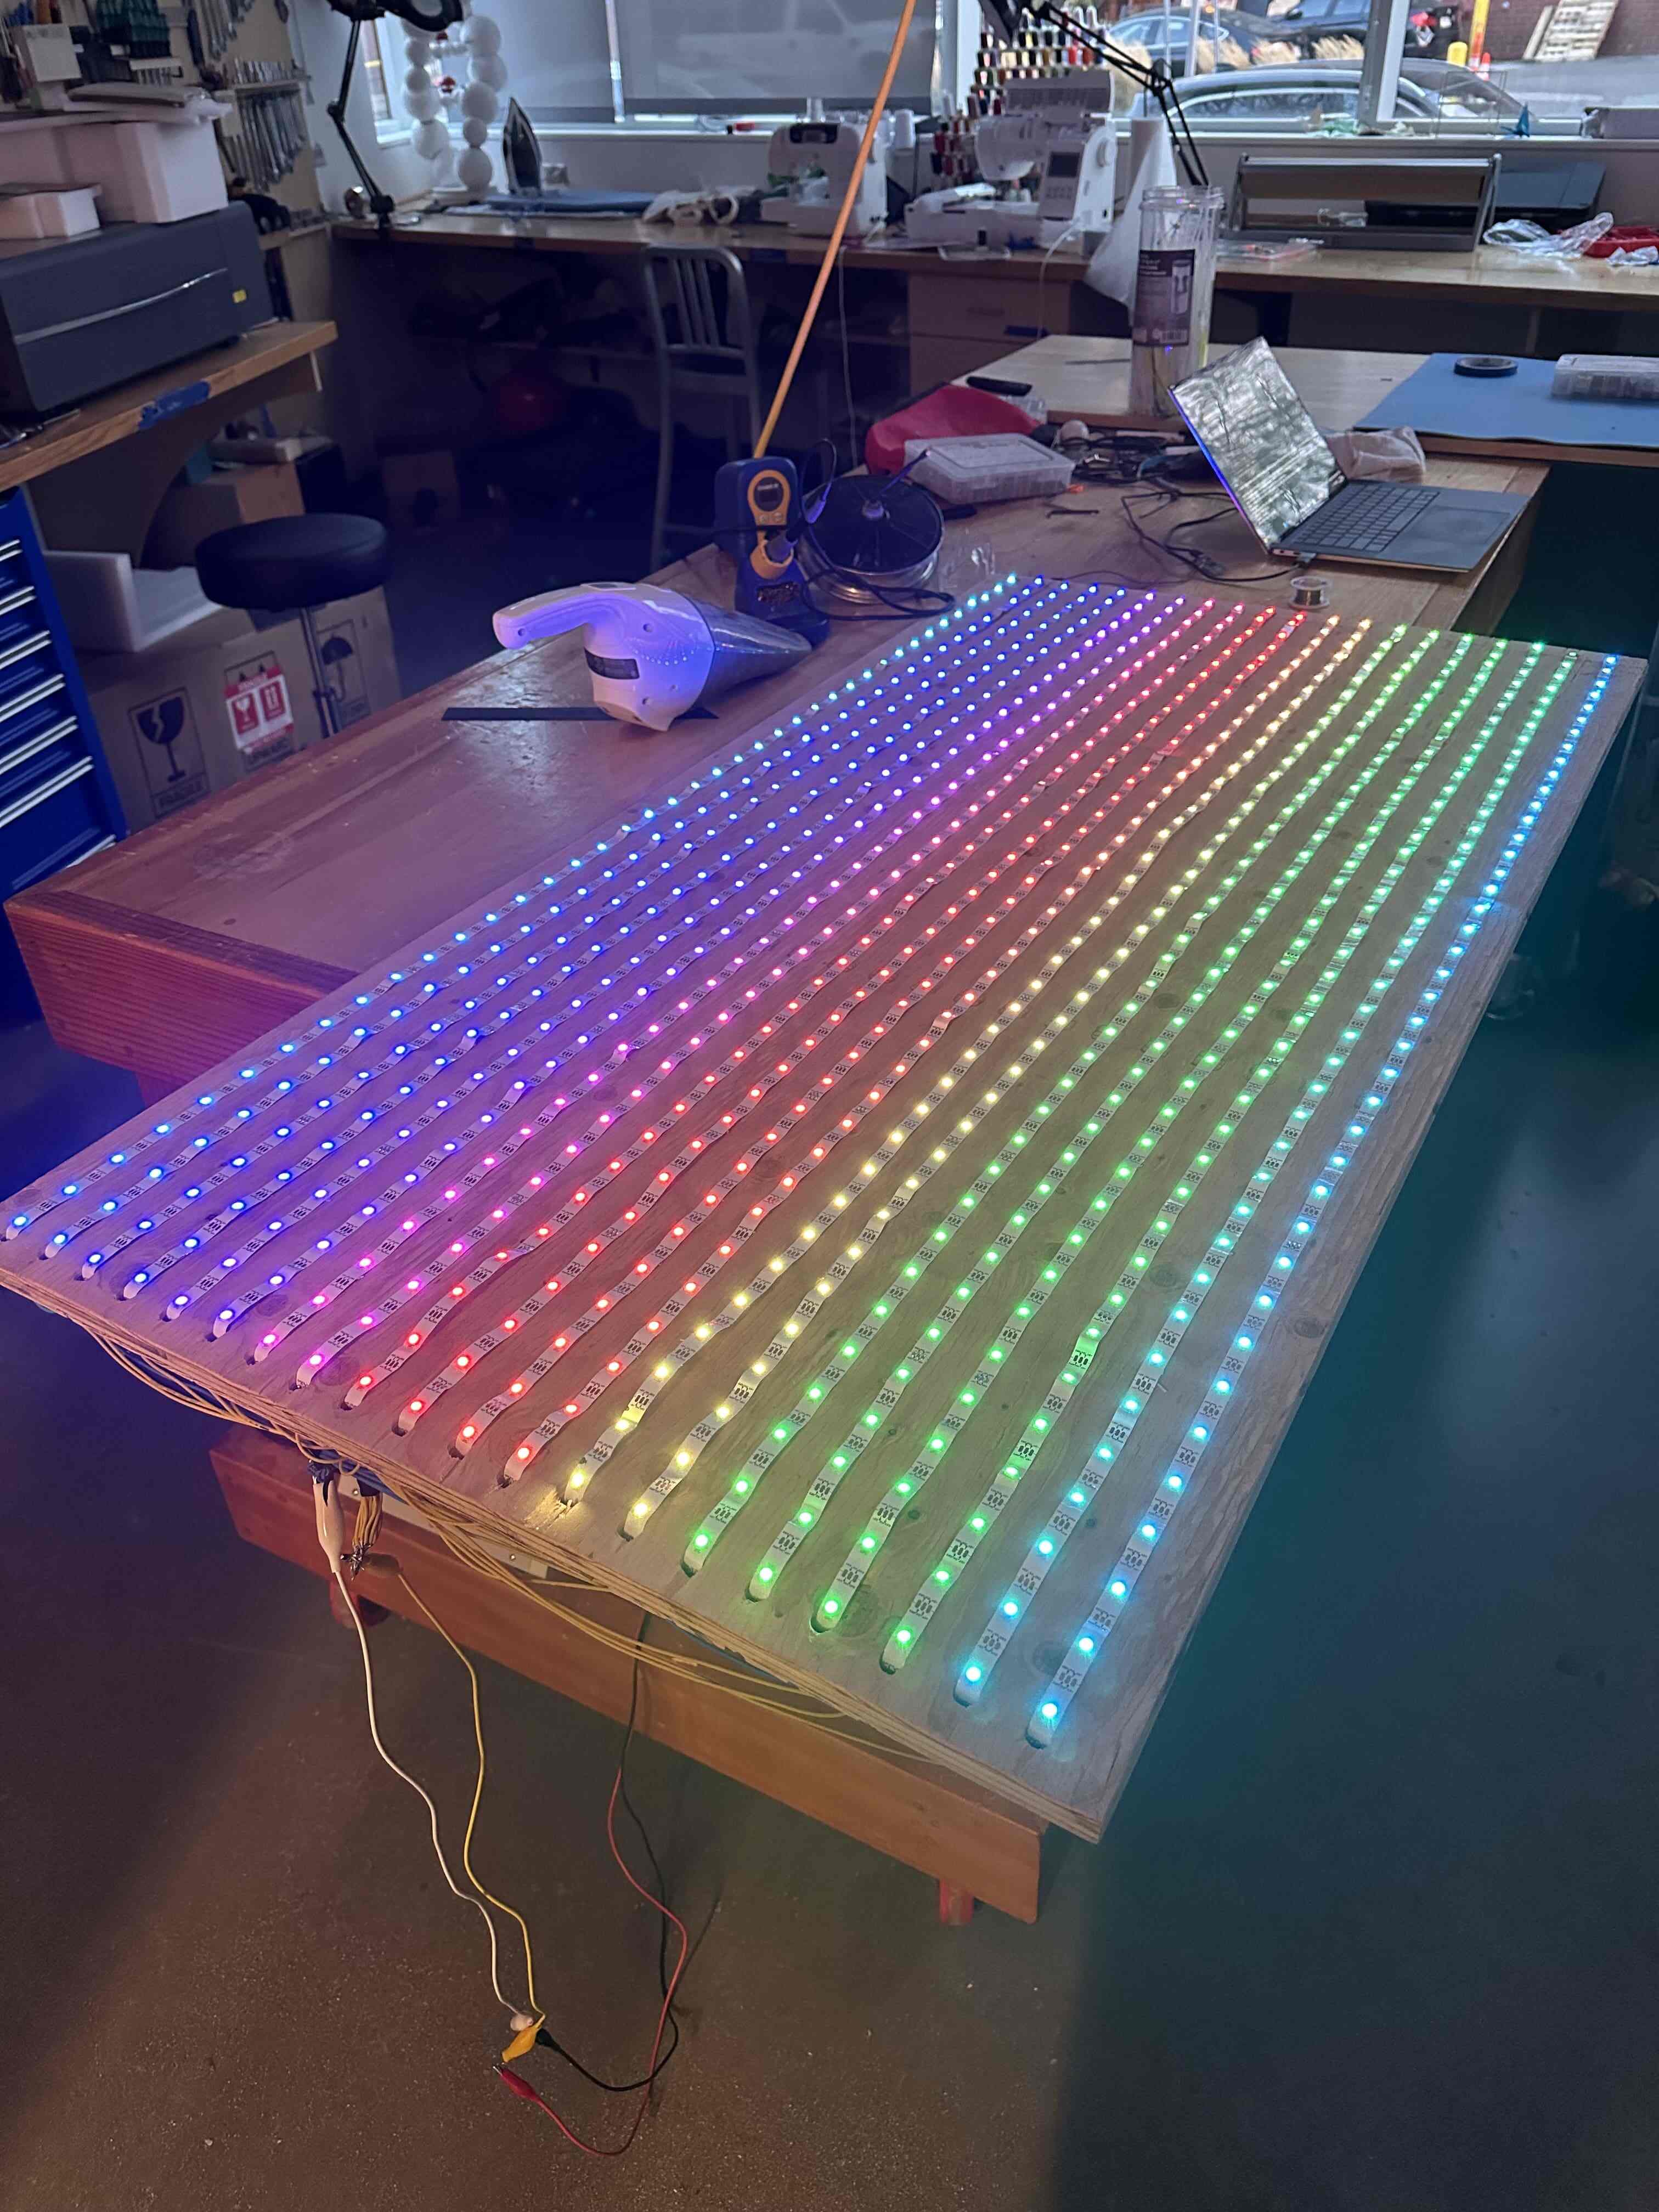 I then put the waffle down (which I painted black to hide the ugly texture) and got very excited.
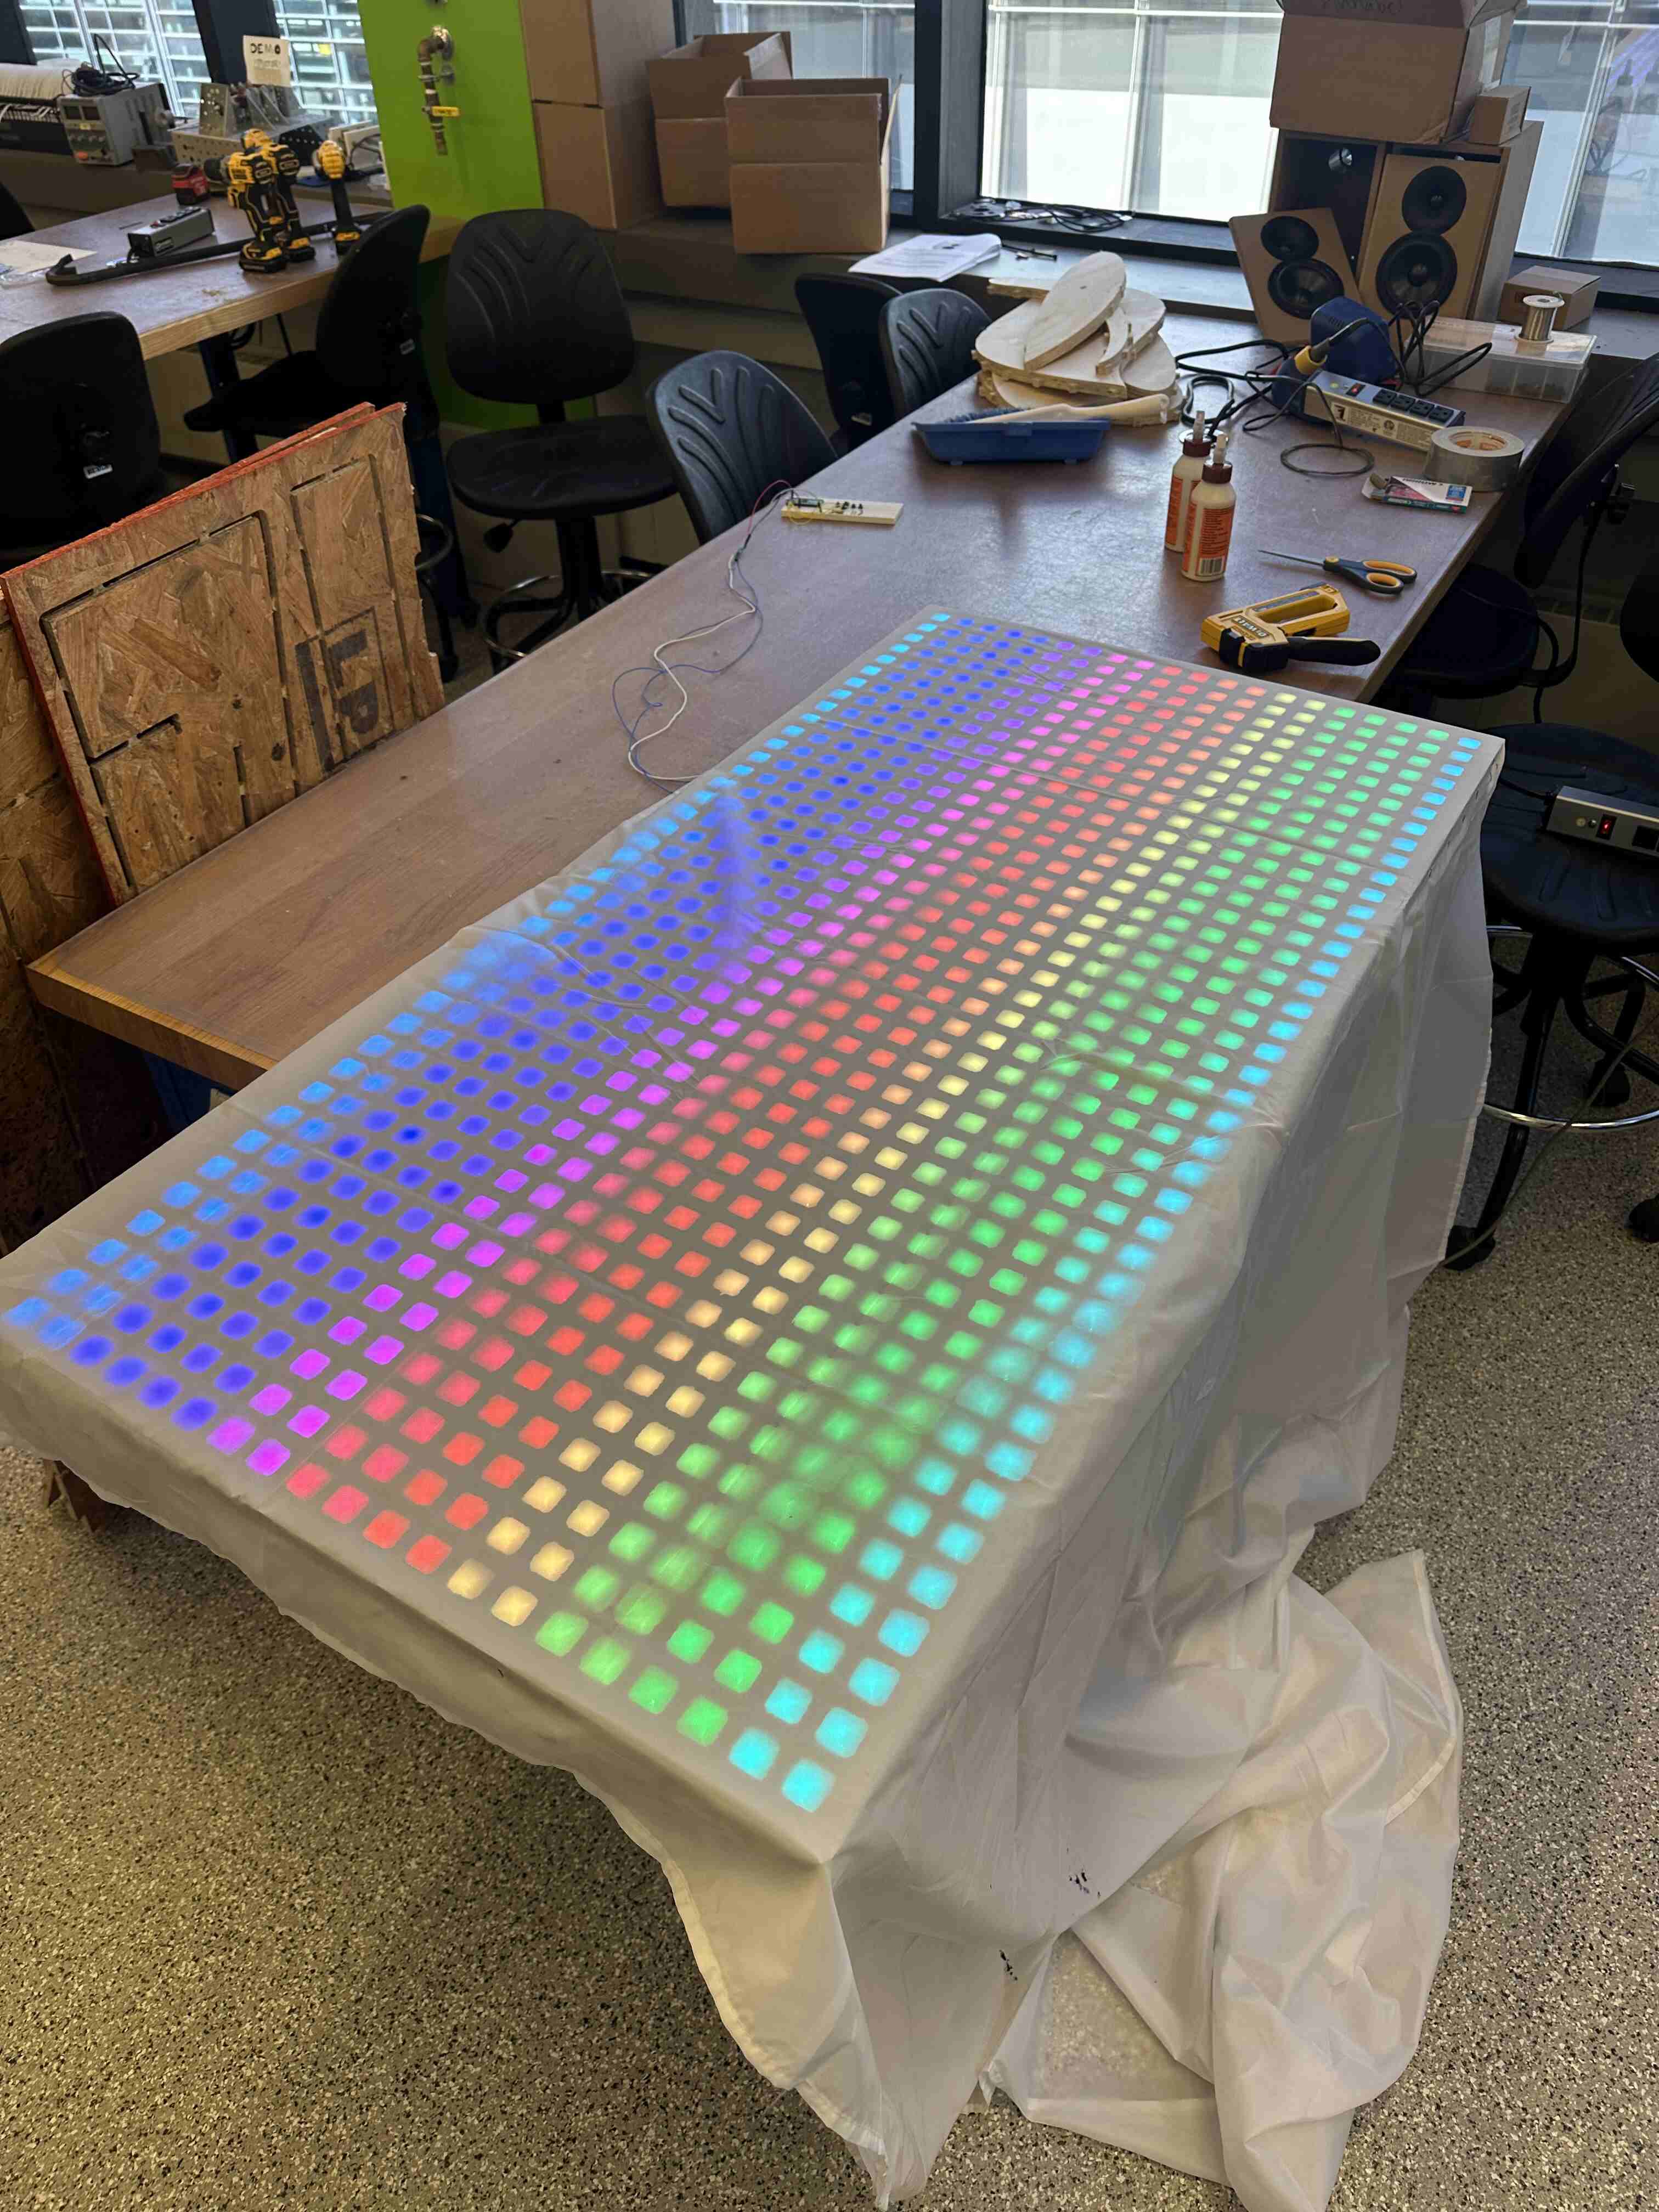
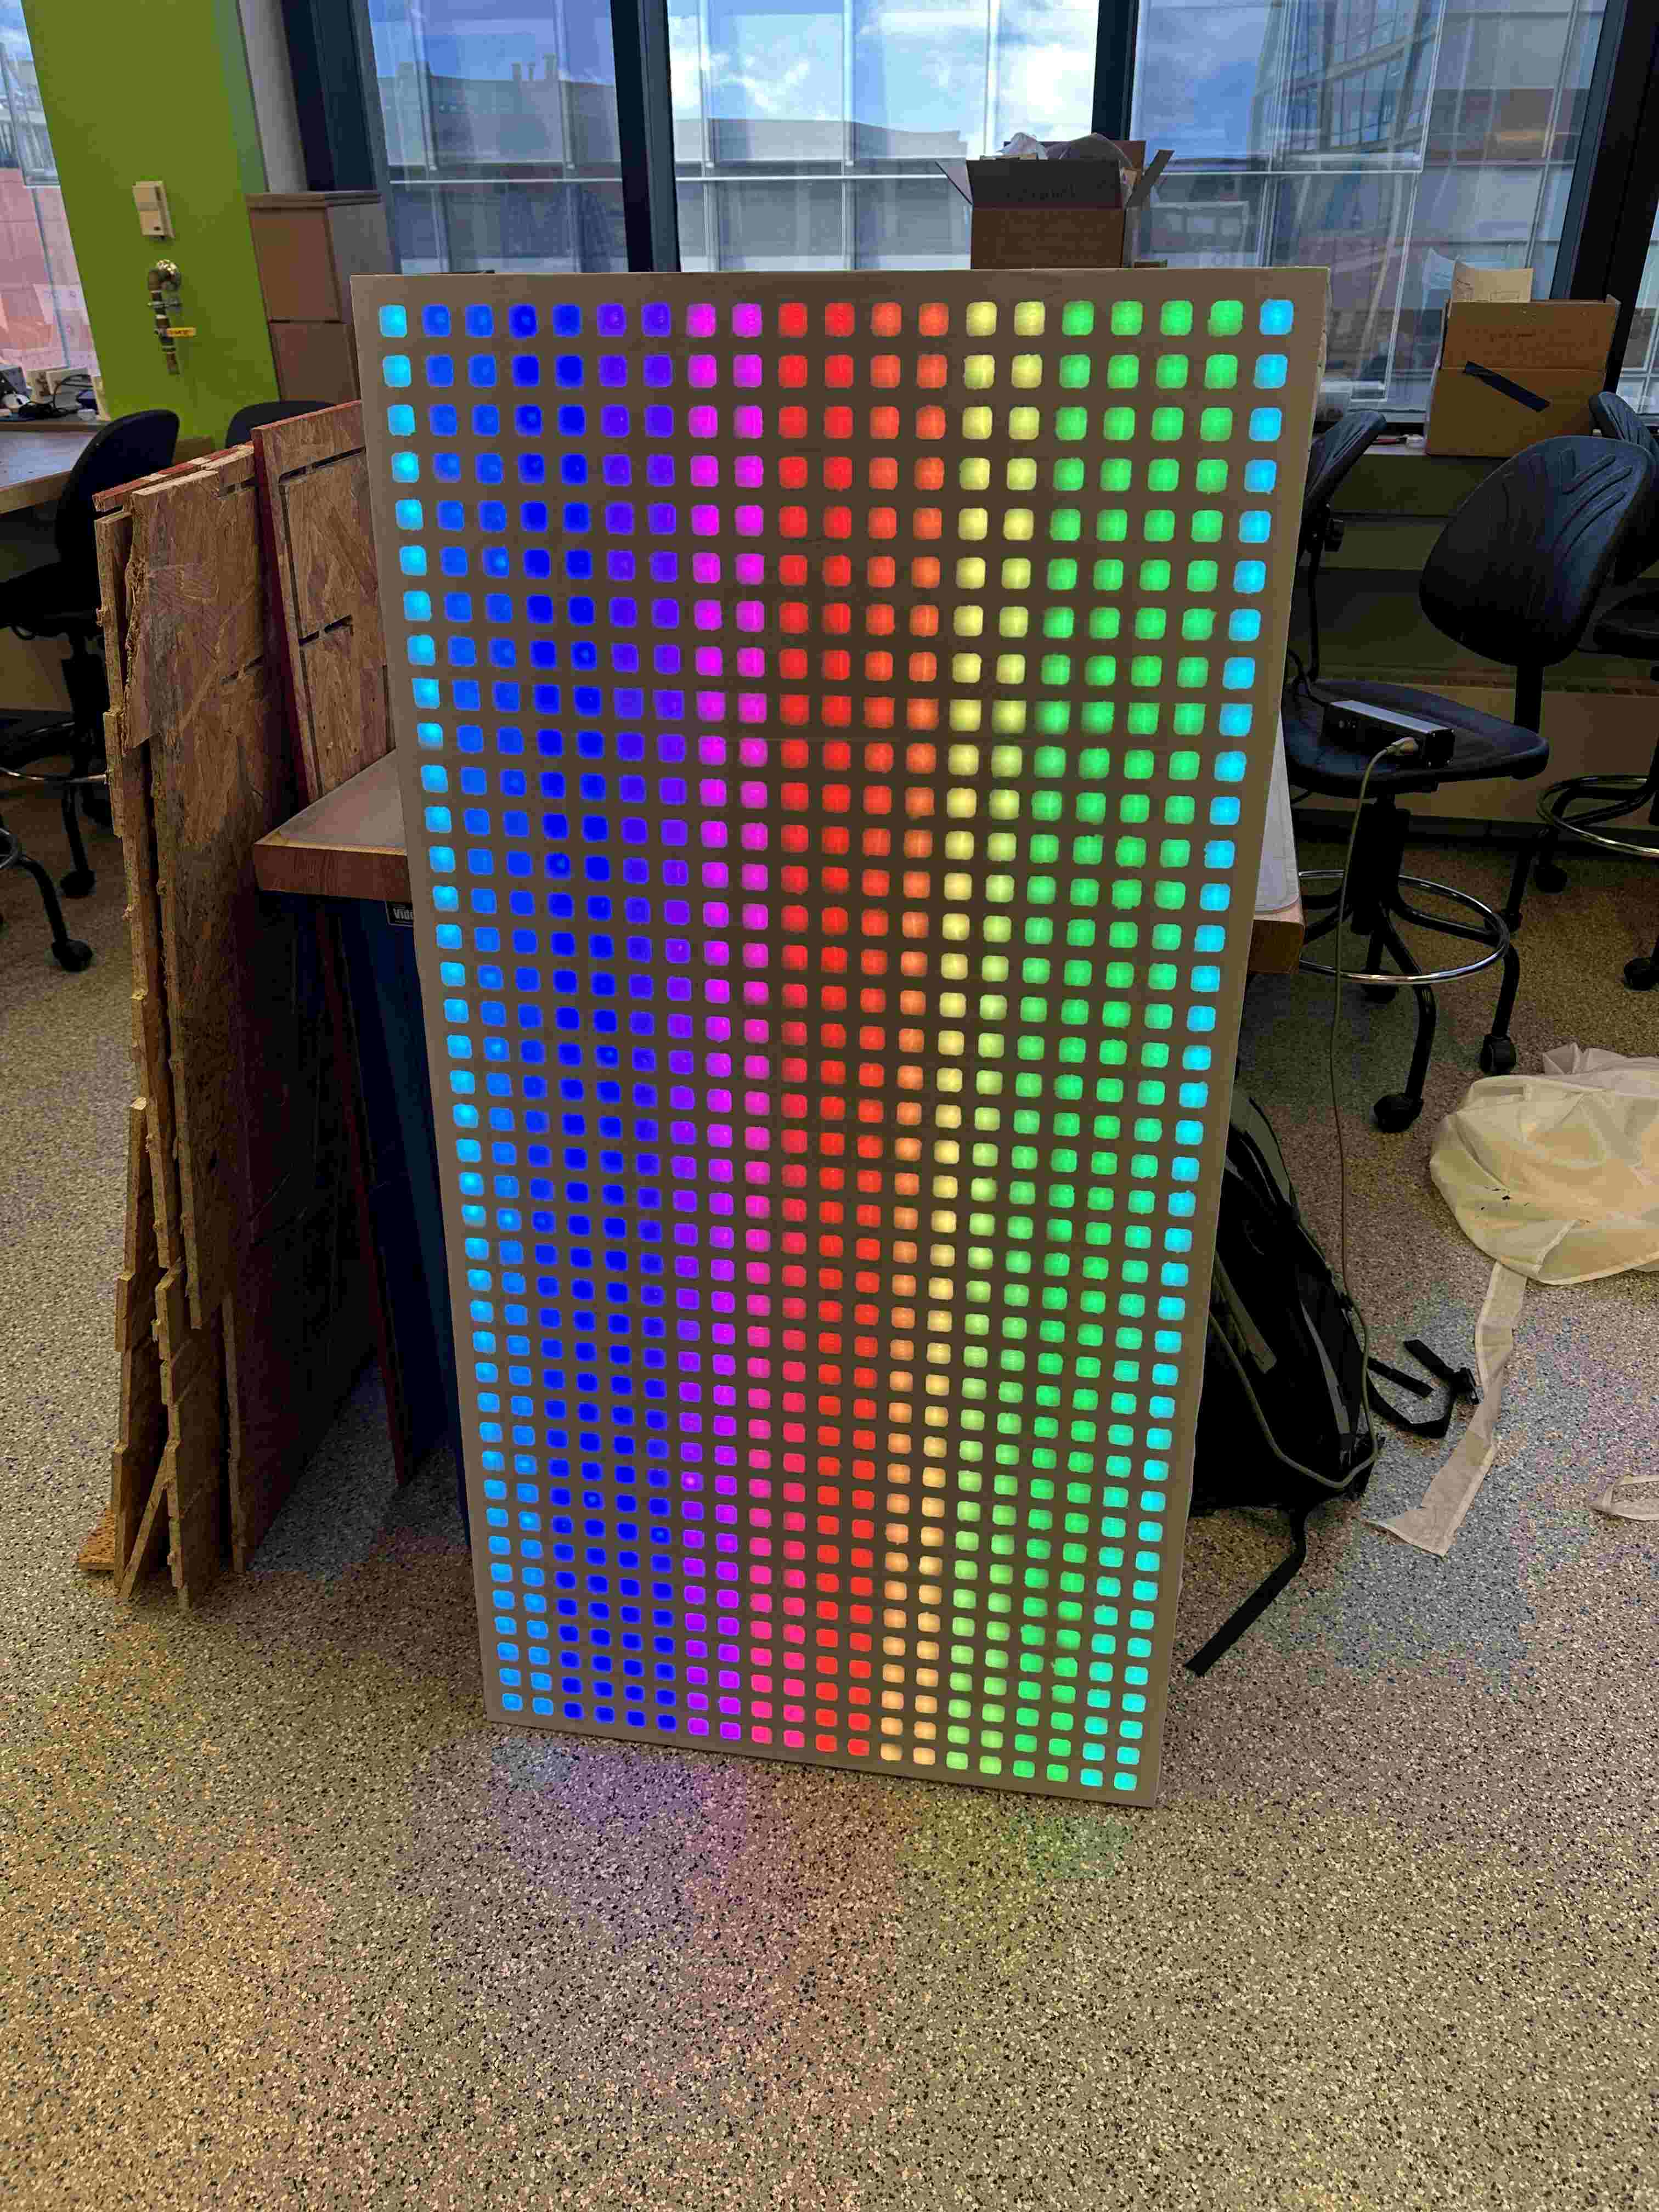
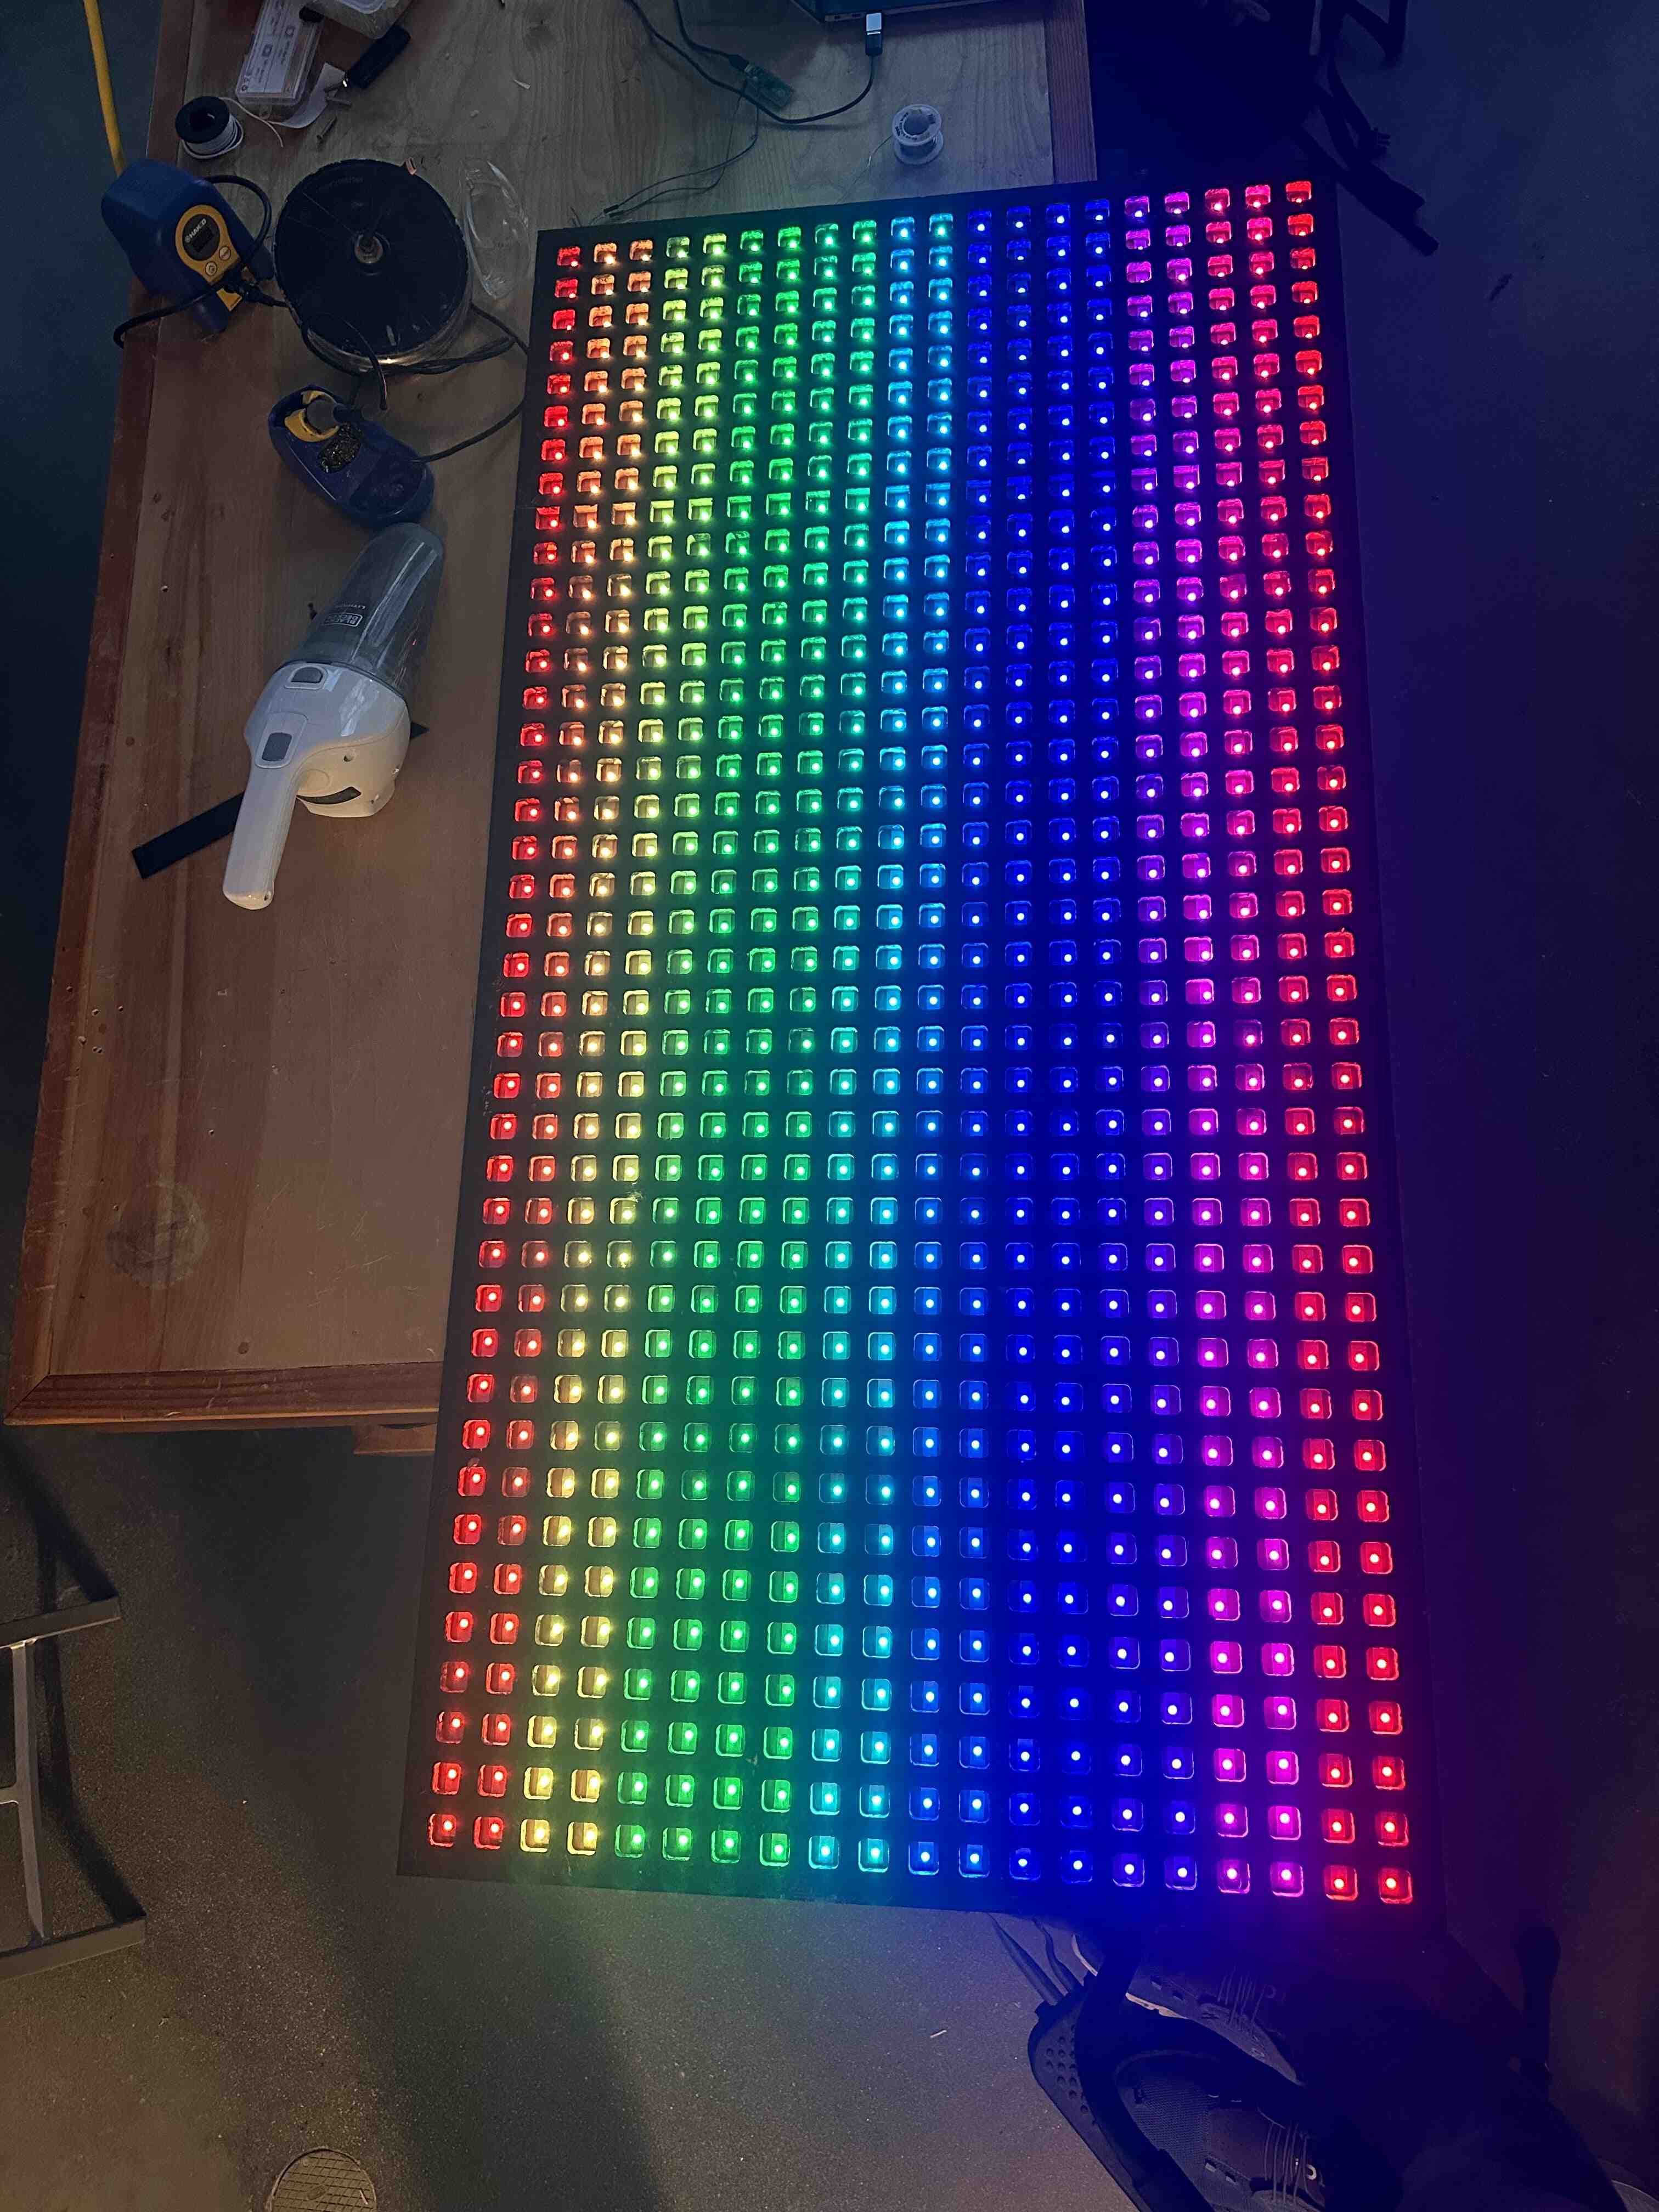 It looked exactly like what I envisioned. I secured the waffle down with finisher nails, and the photography diffuser sheet that I ordered off amazon made it even better.
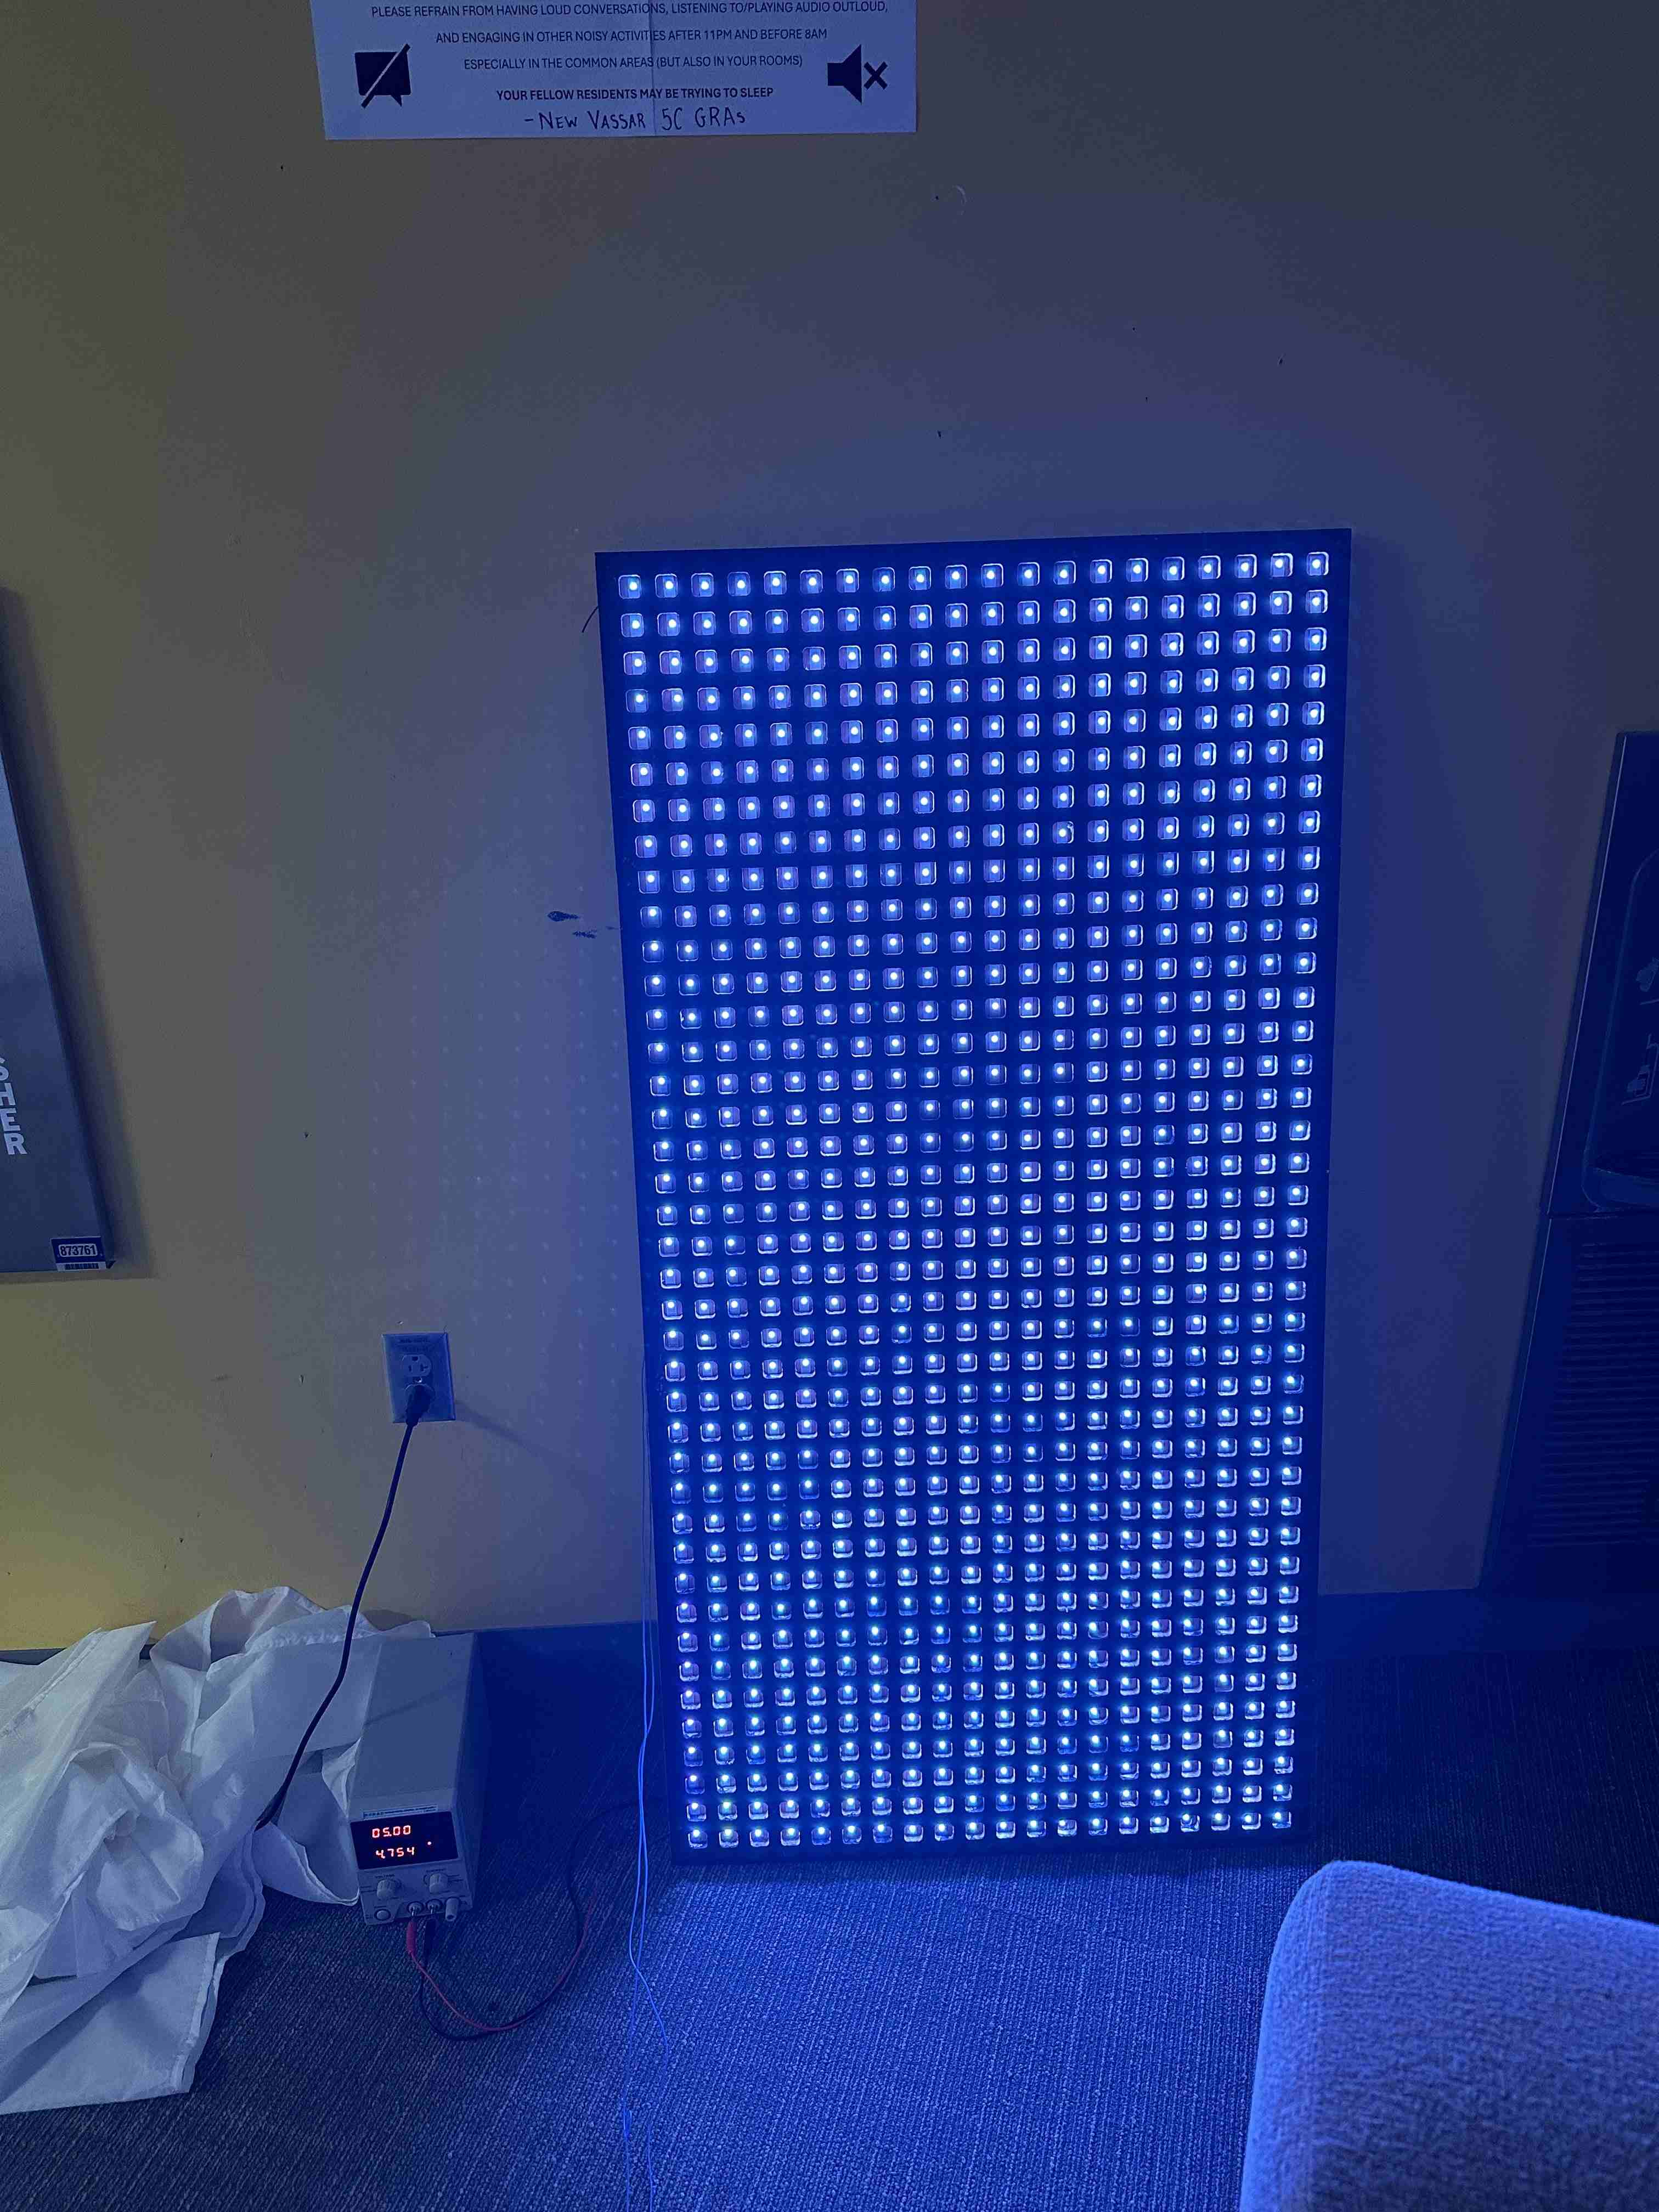
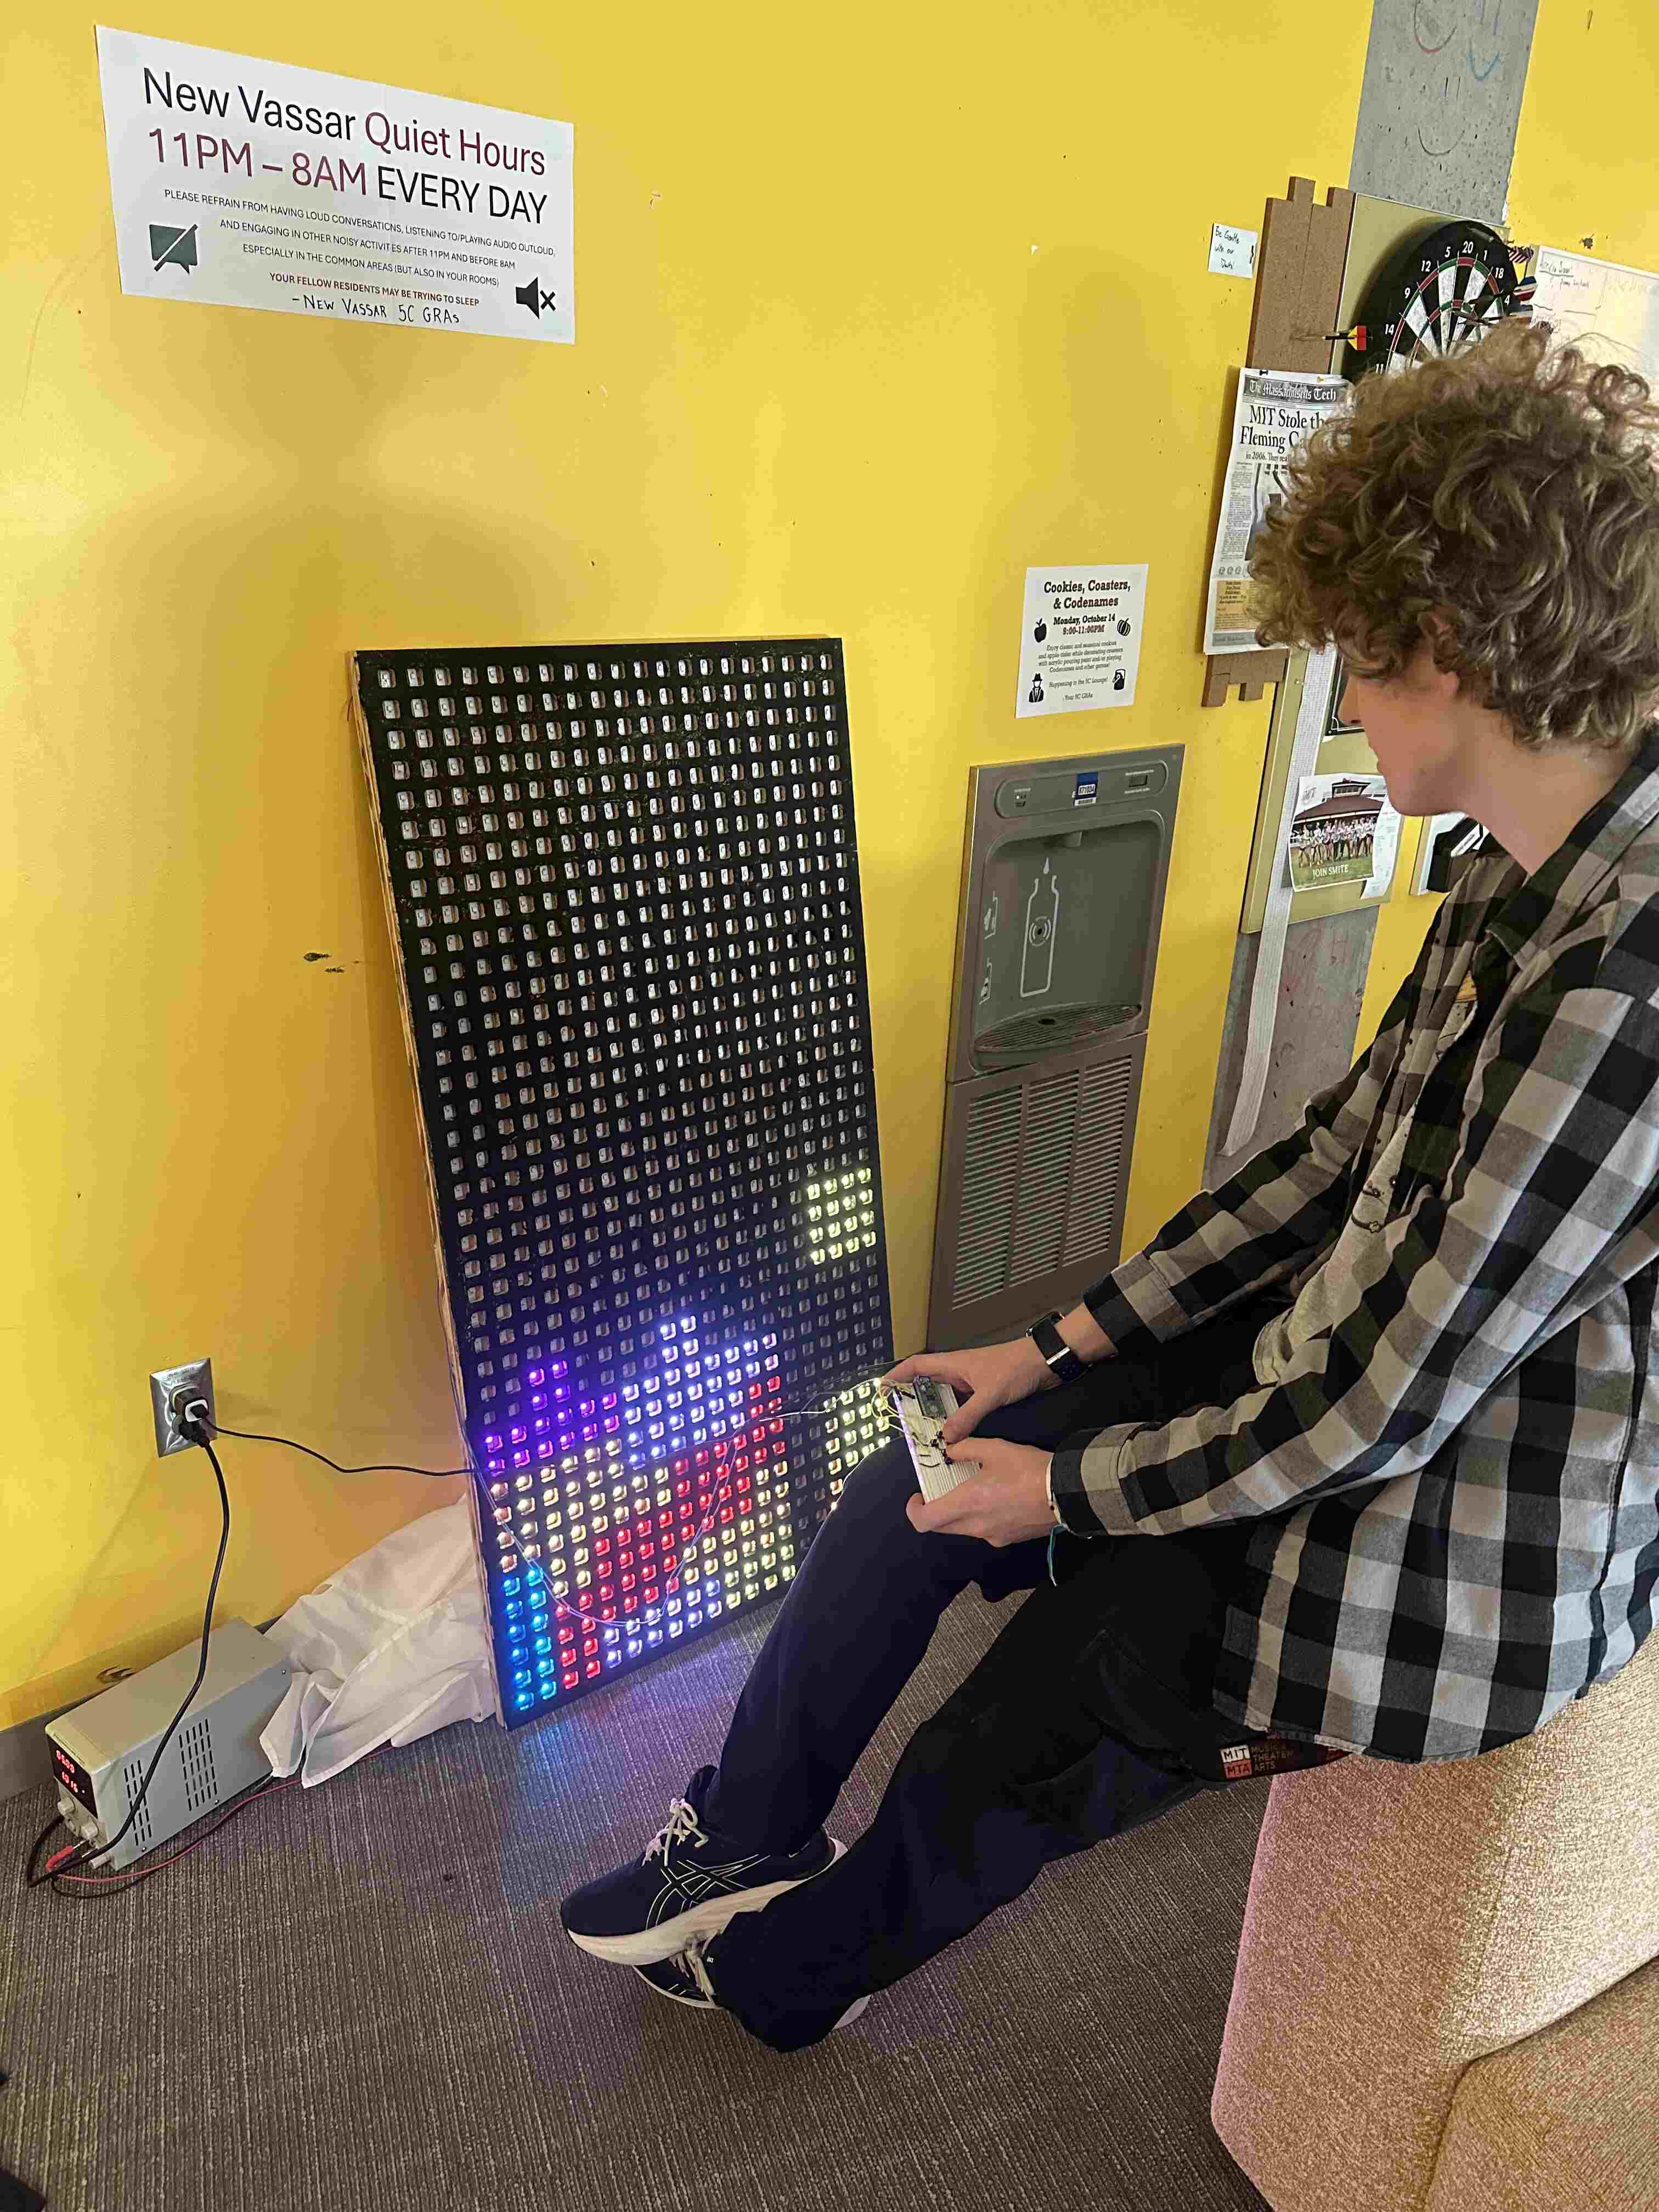
 I then brought the display back to my dorm lounge to continue testing. Even with the brightness turned down, it was BRIGHT and left me seeing spots after staring at it for too long.
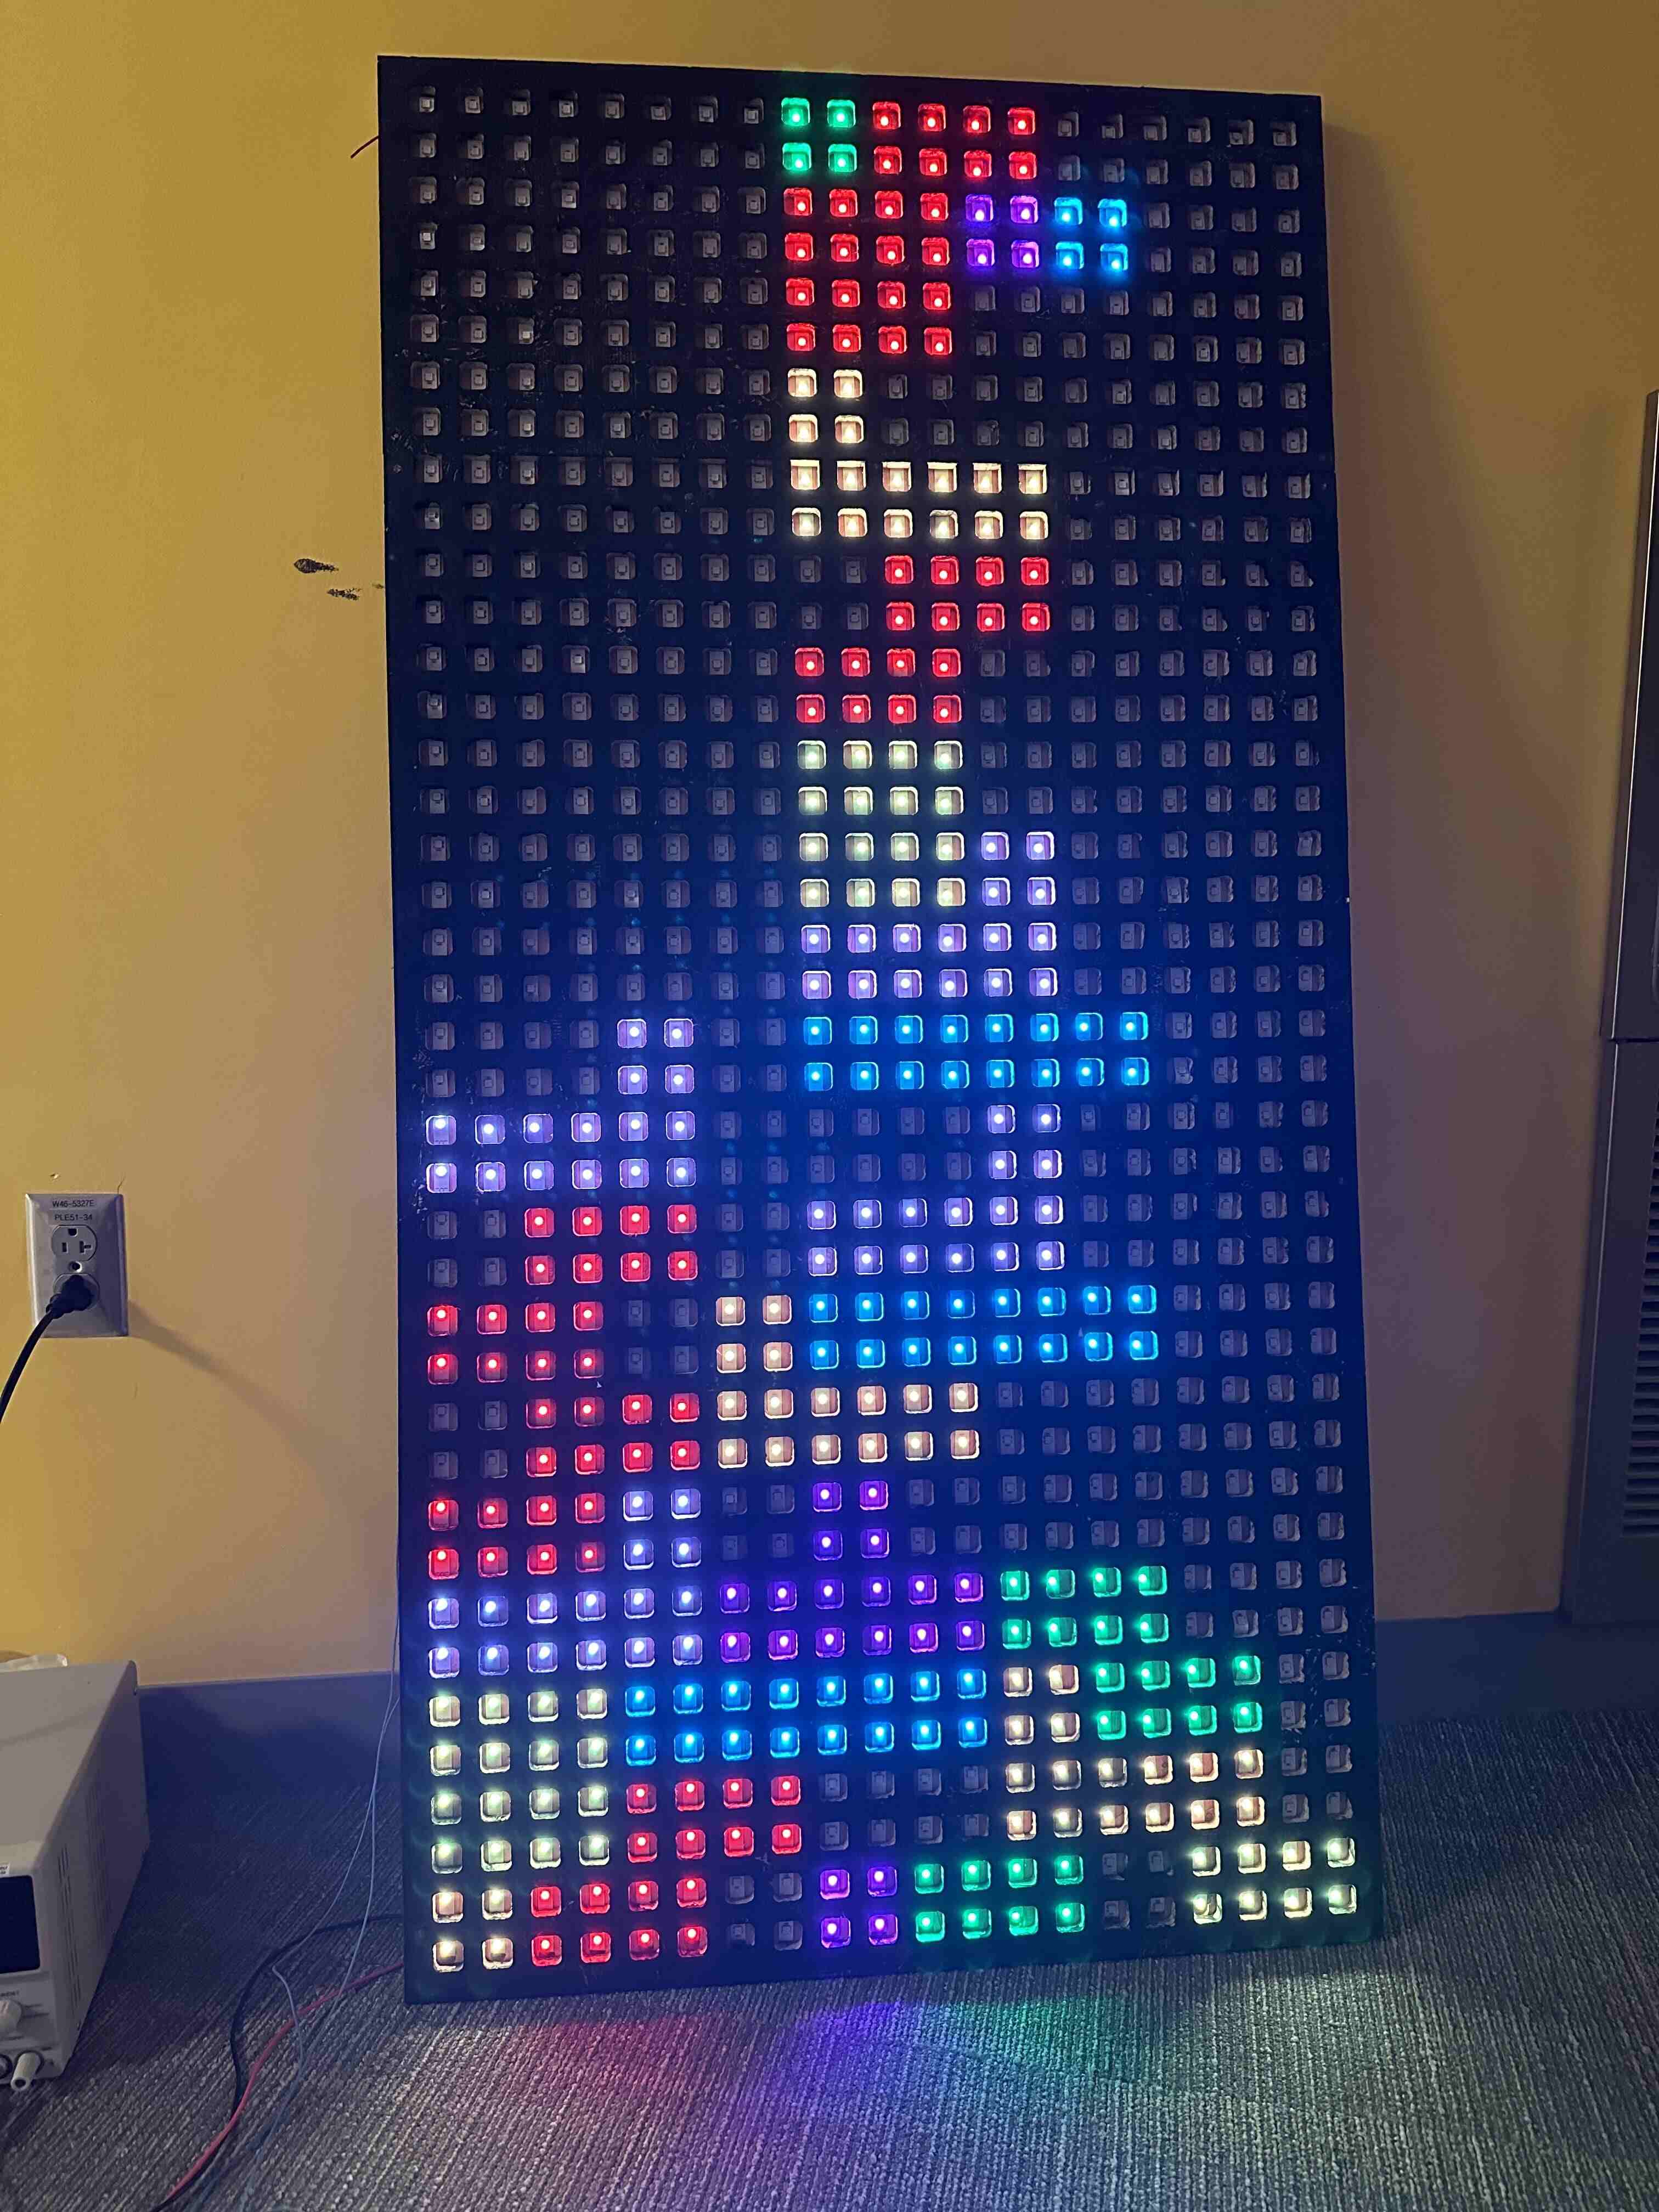
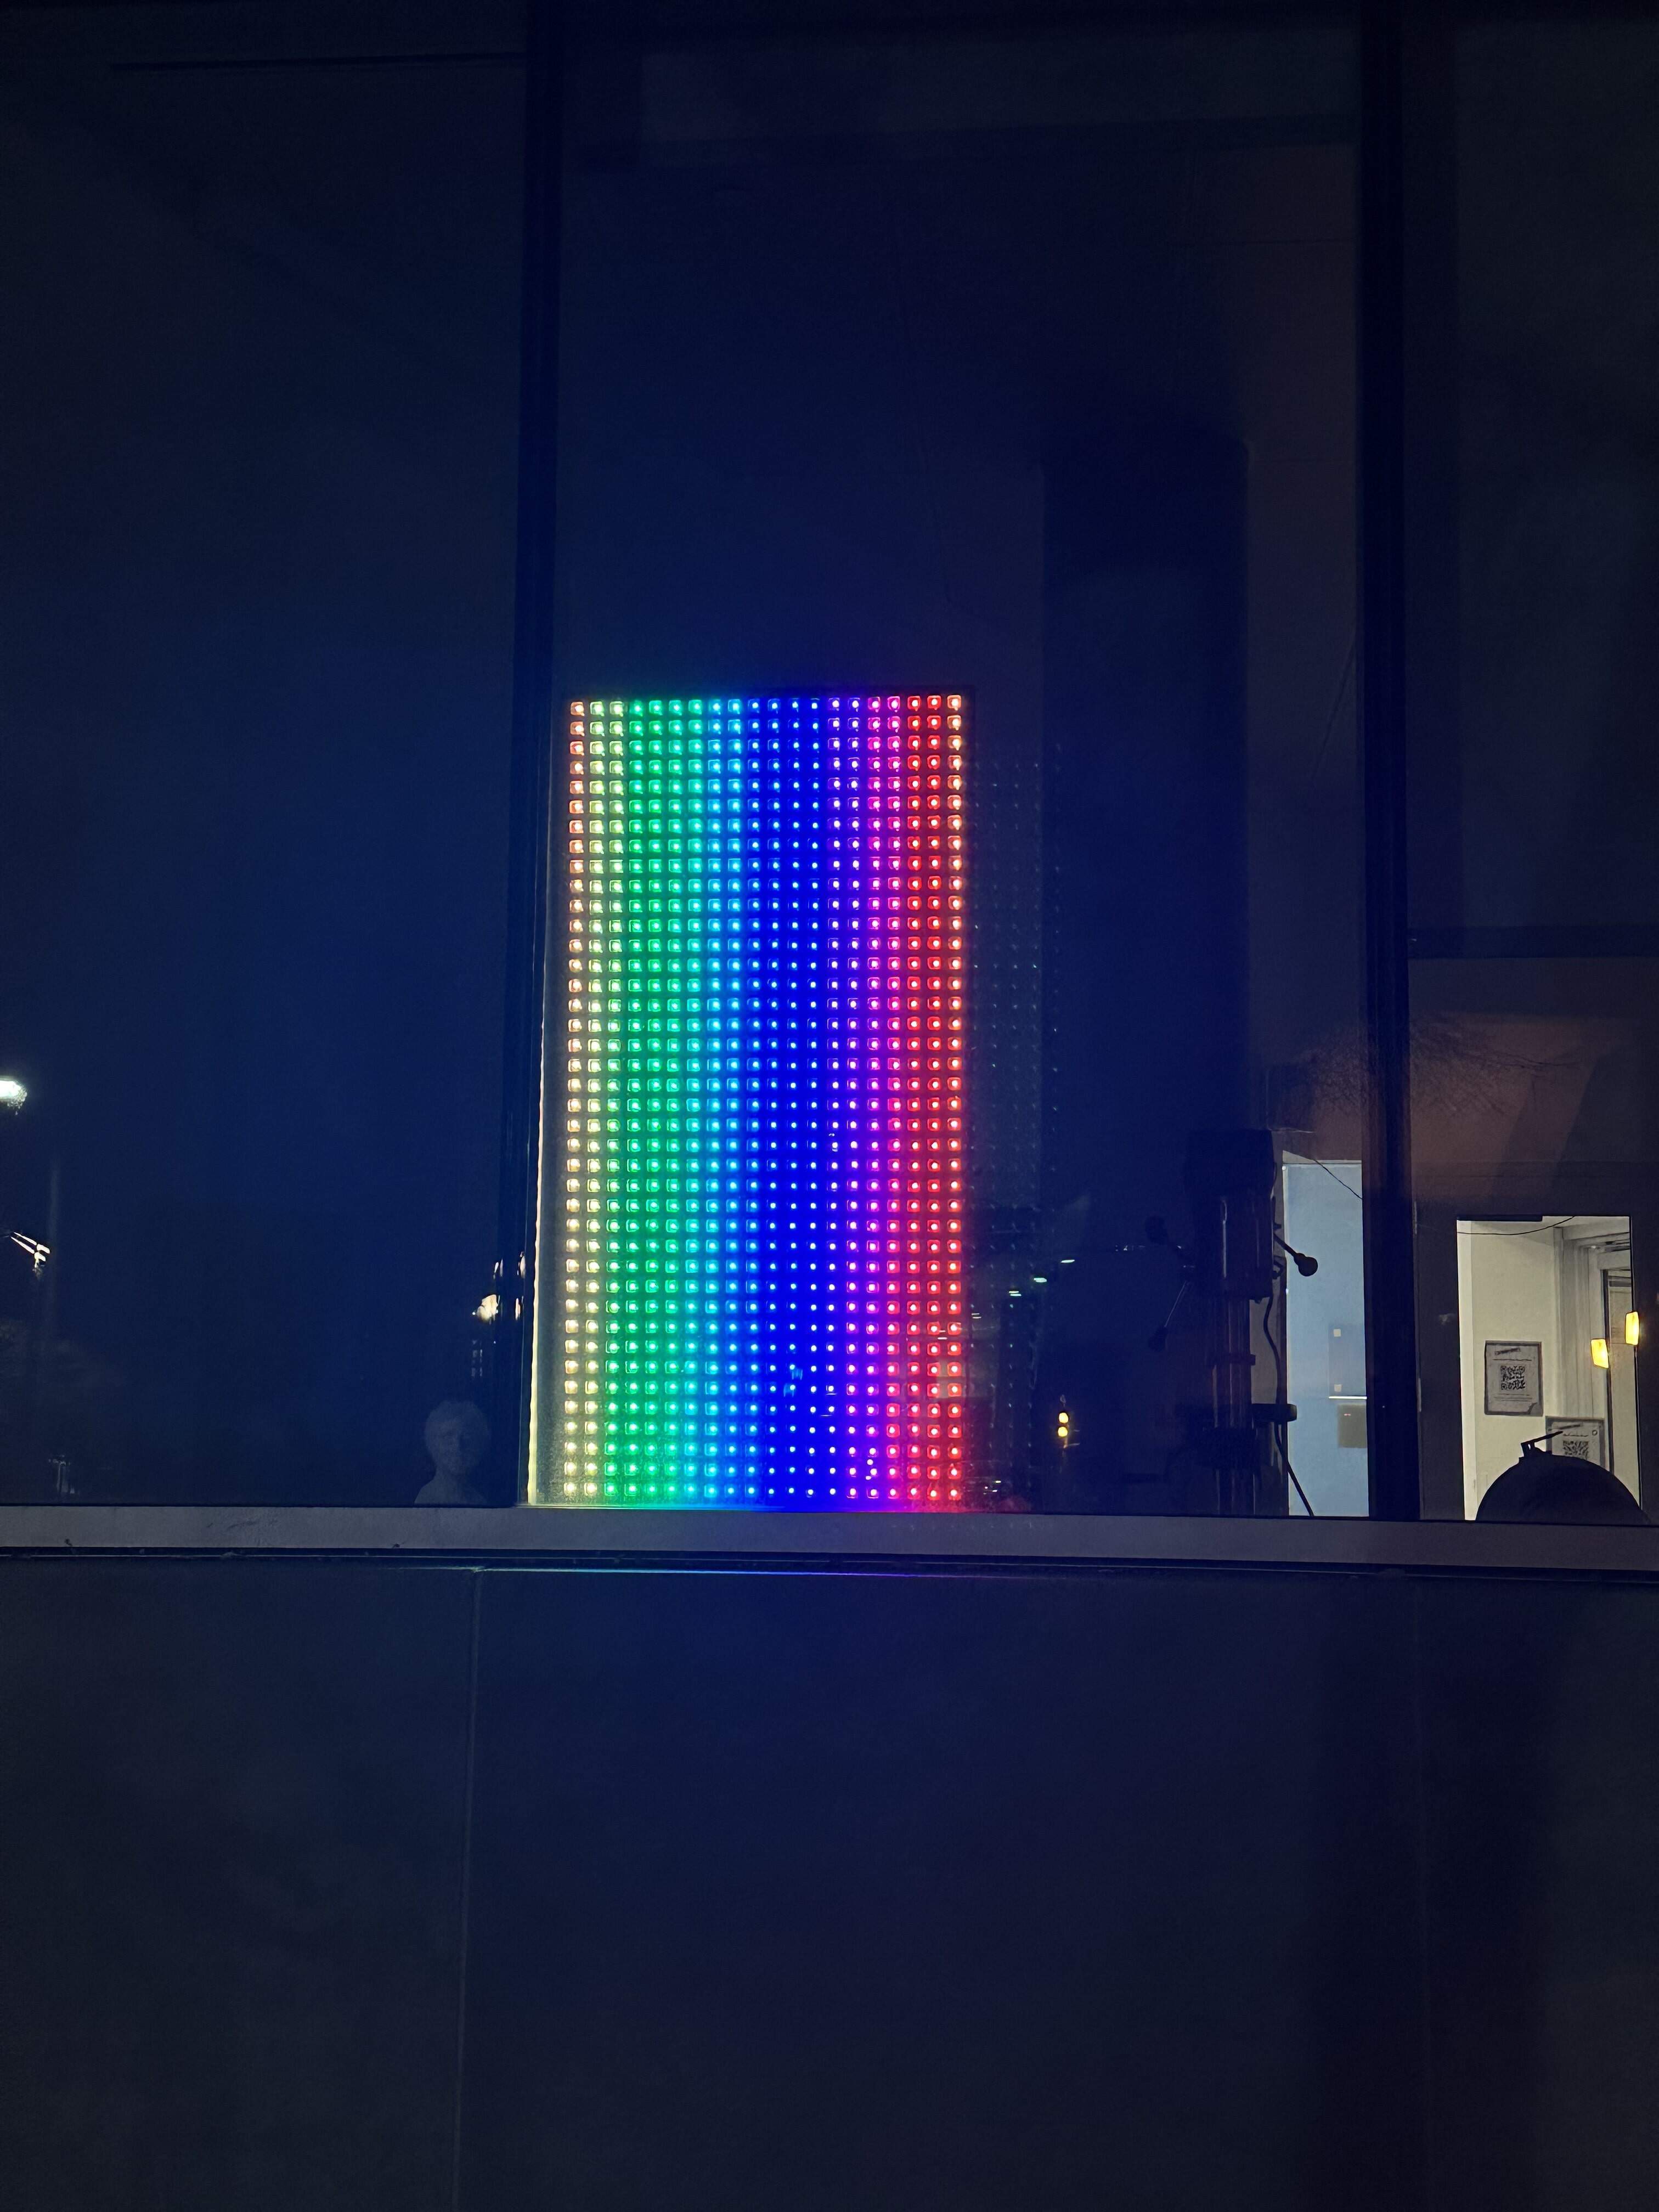
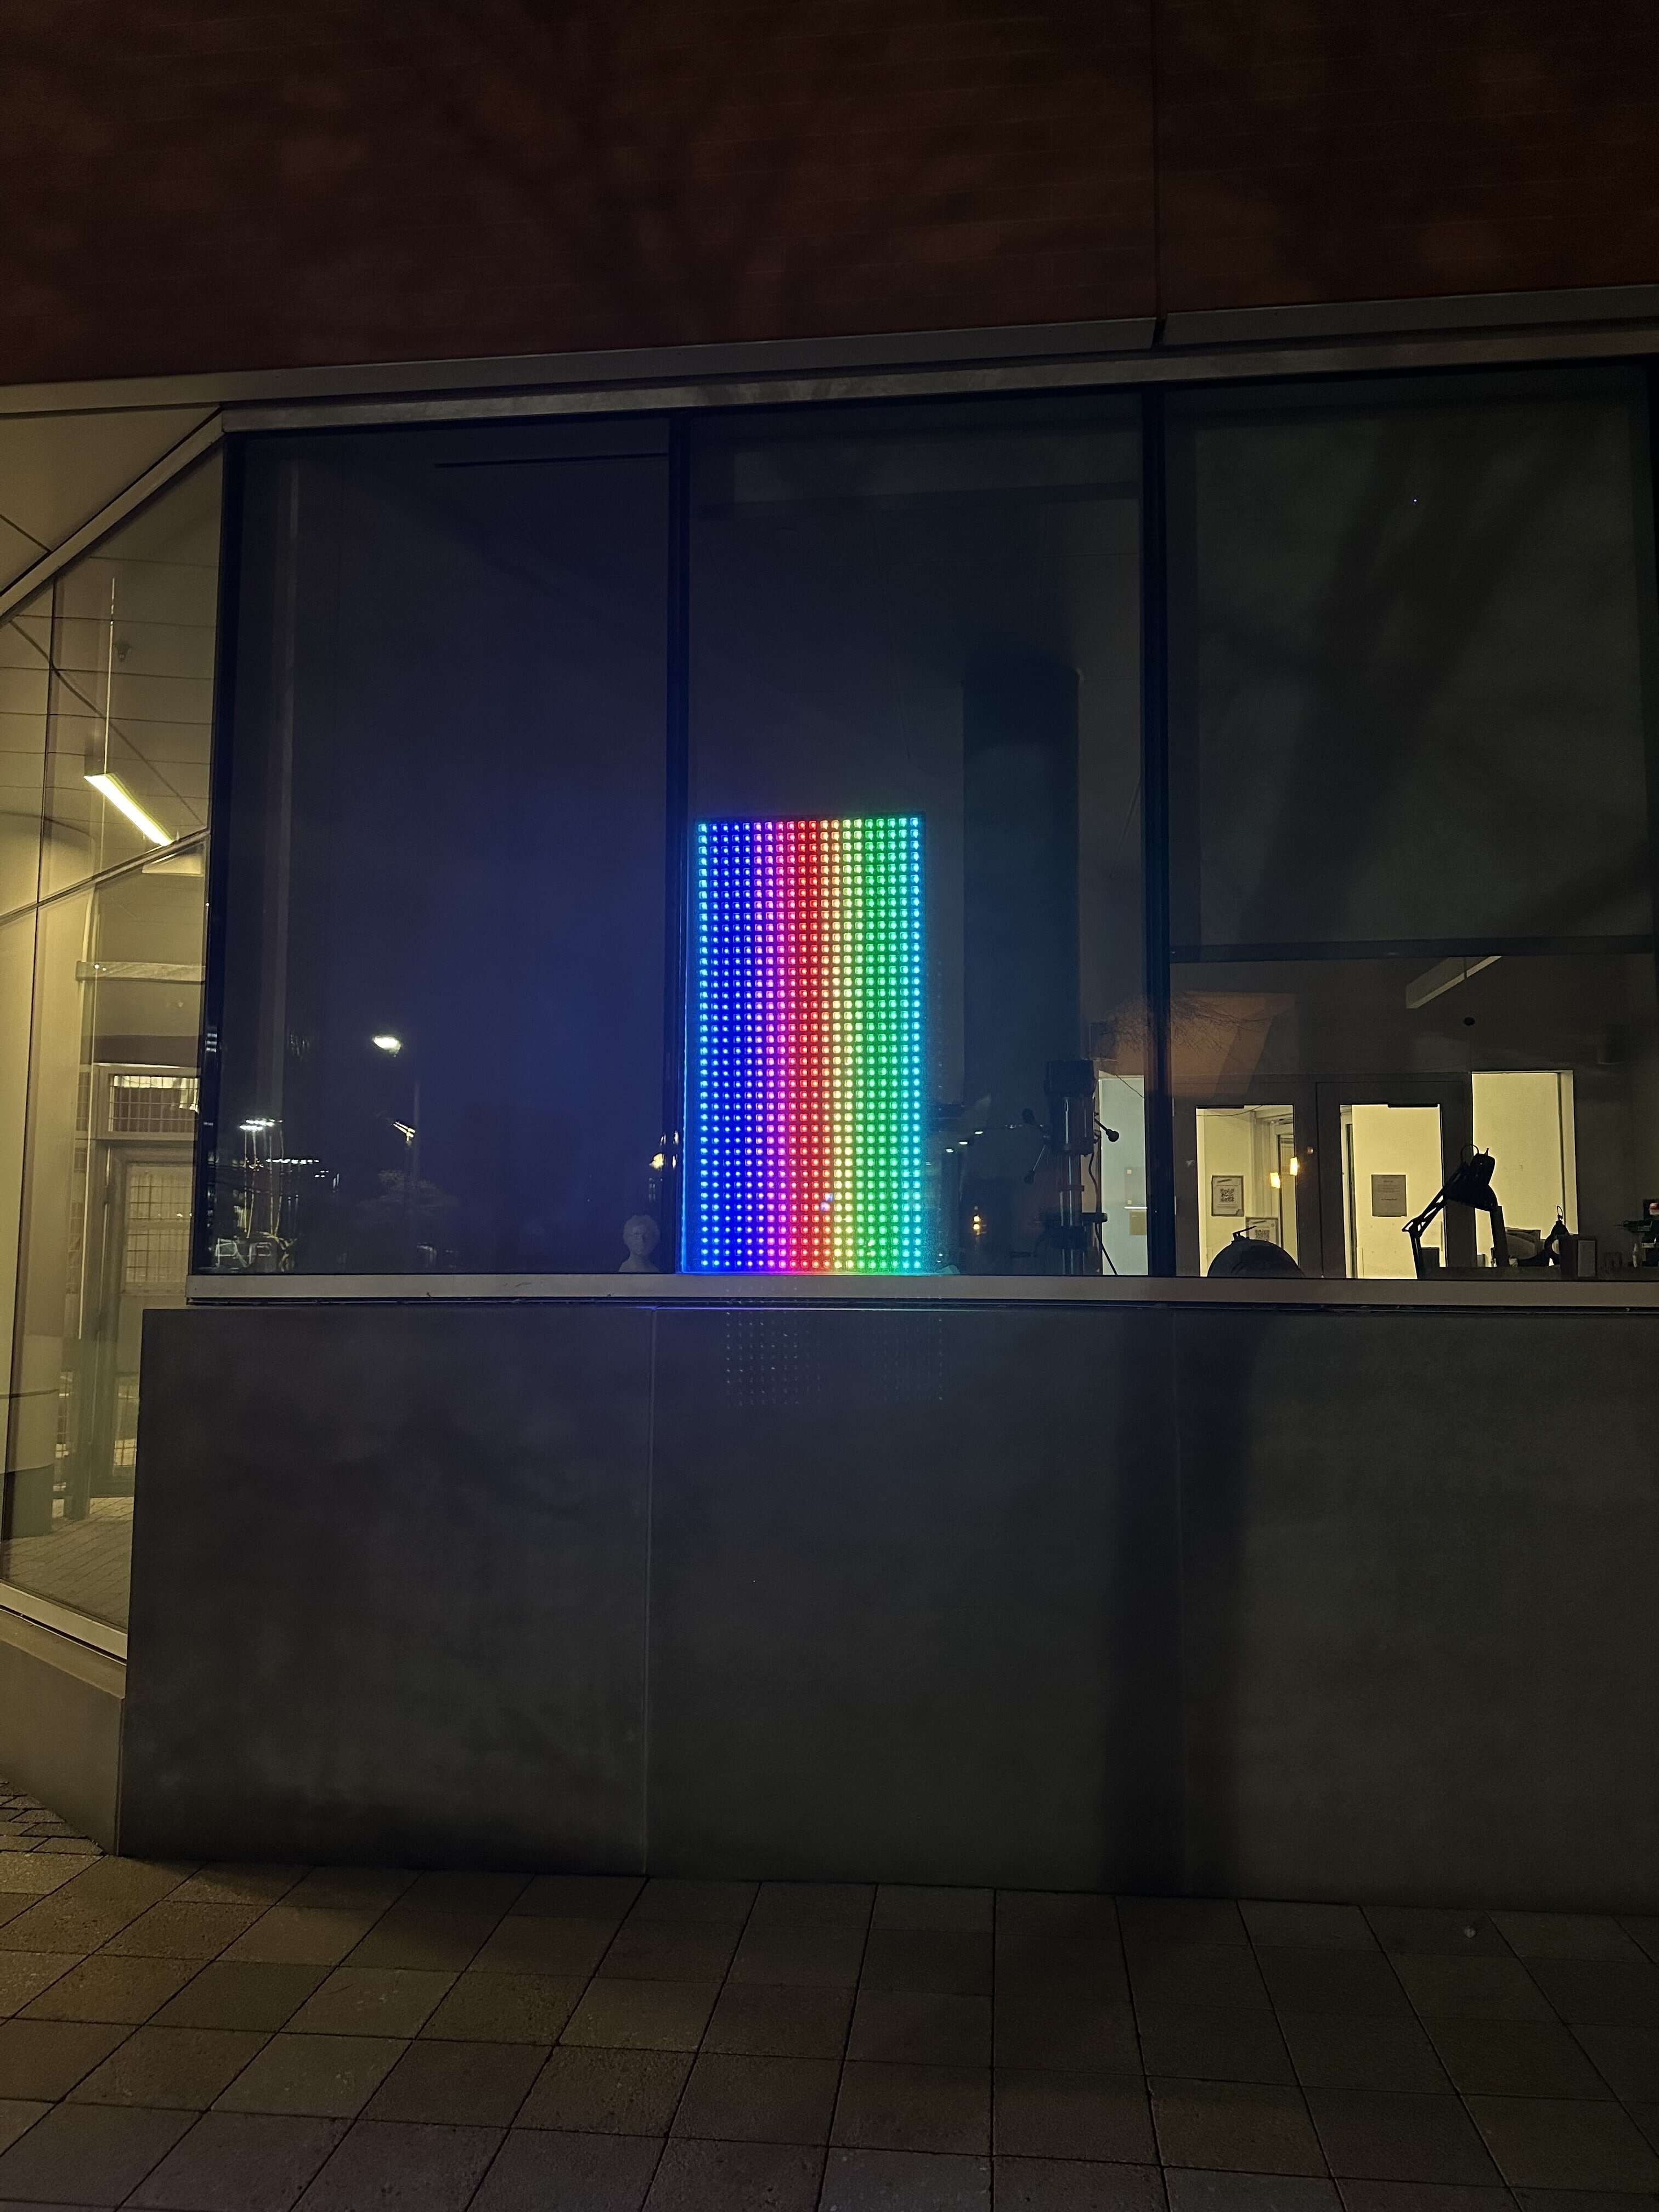
 I also took this cool picture that will likely be my profile picture for the next 5 years.
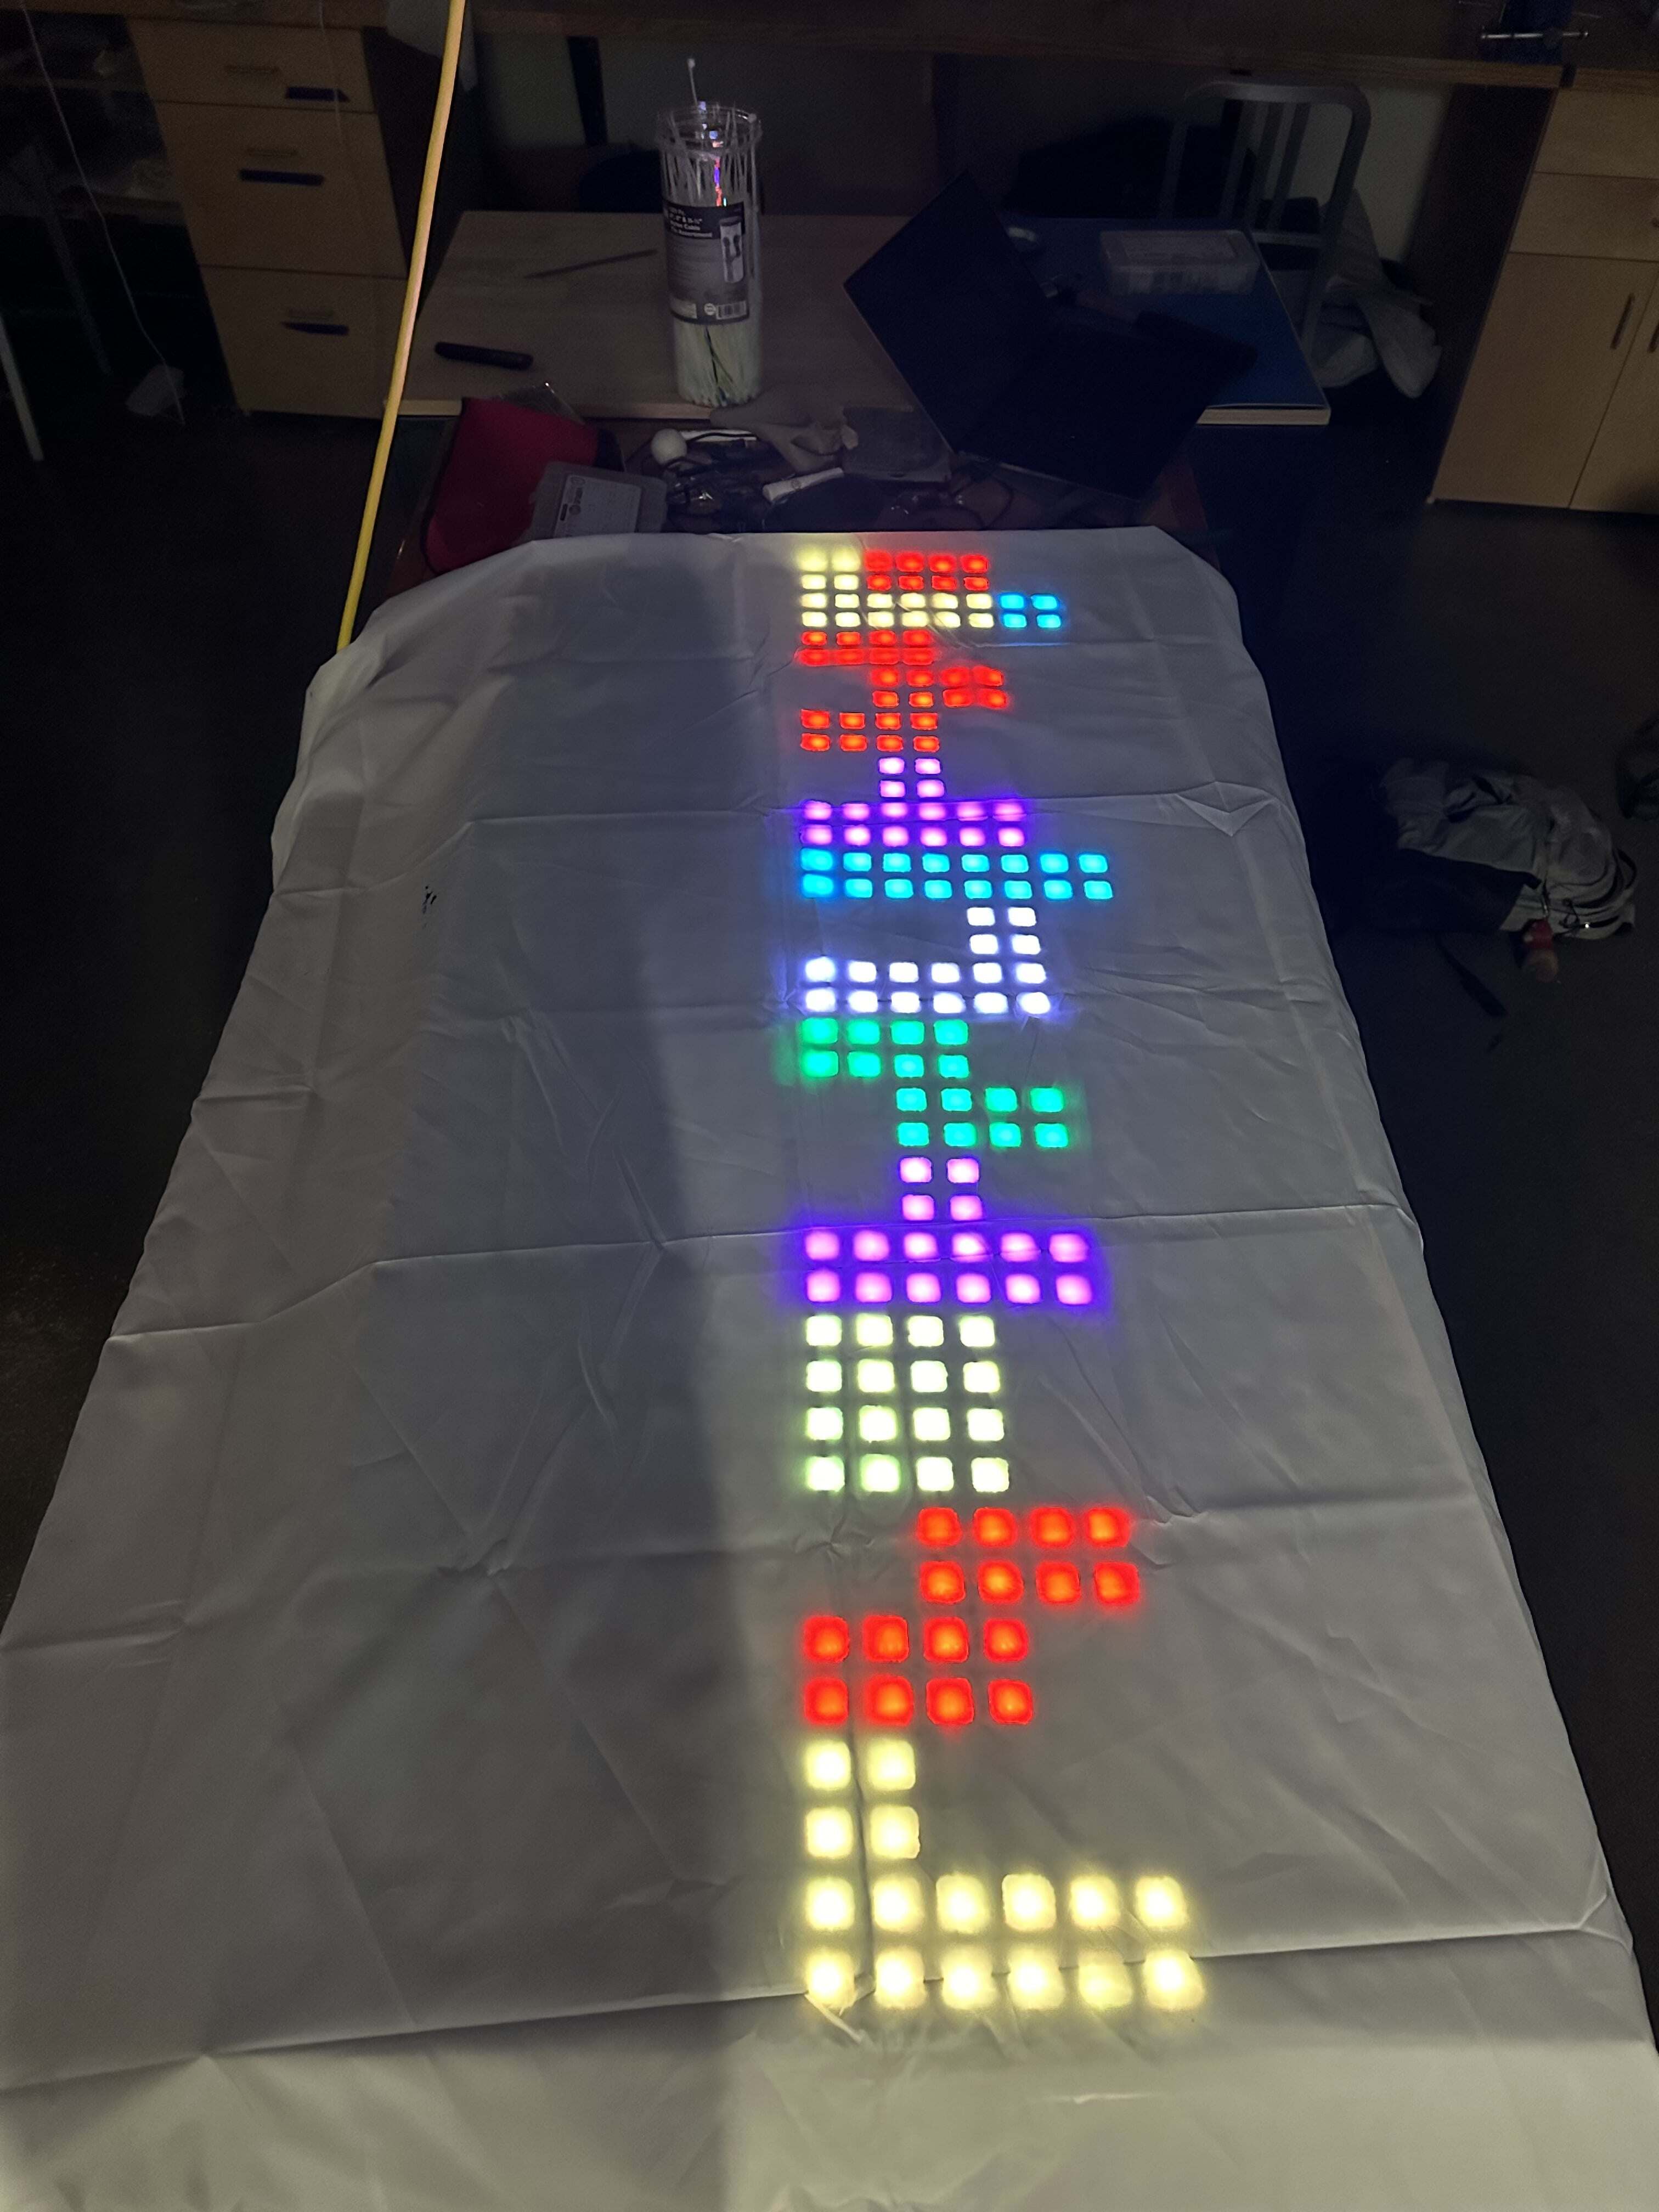
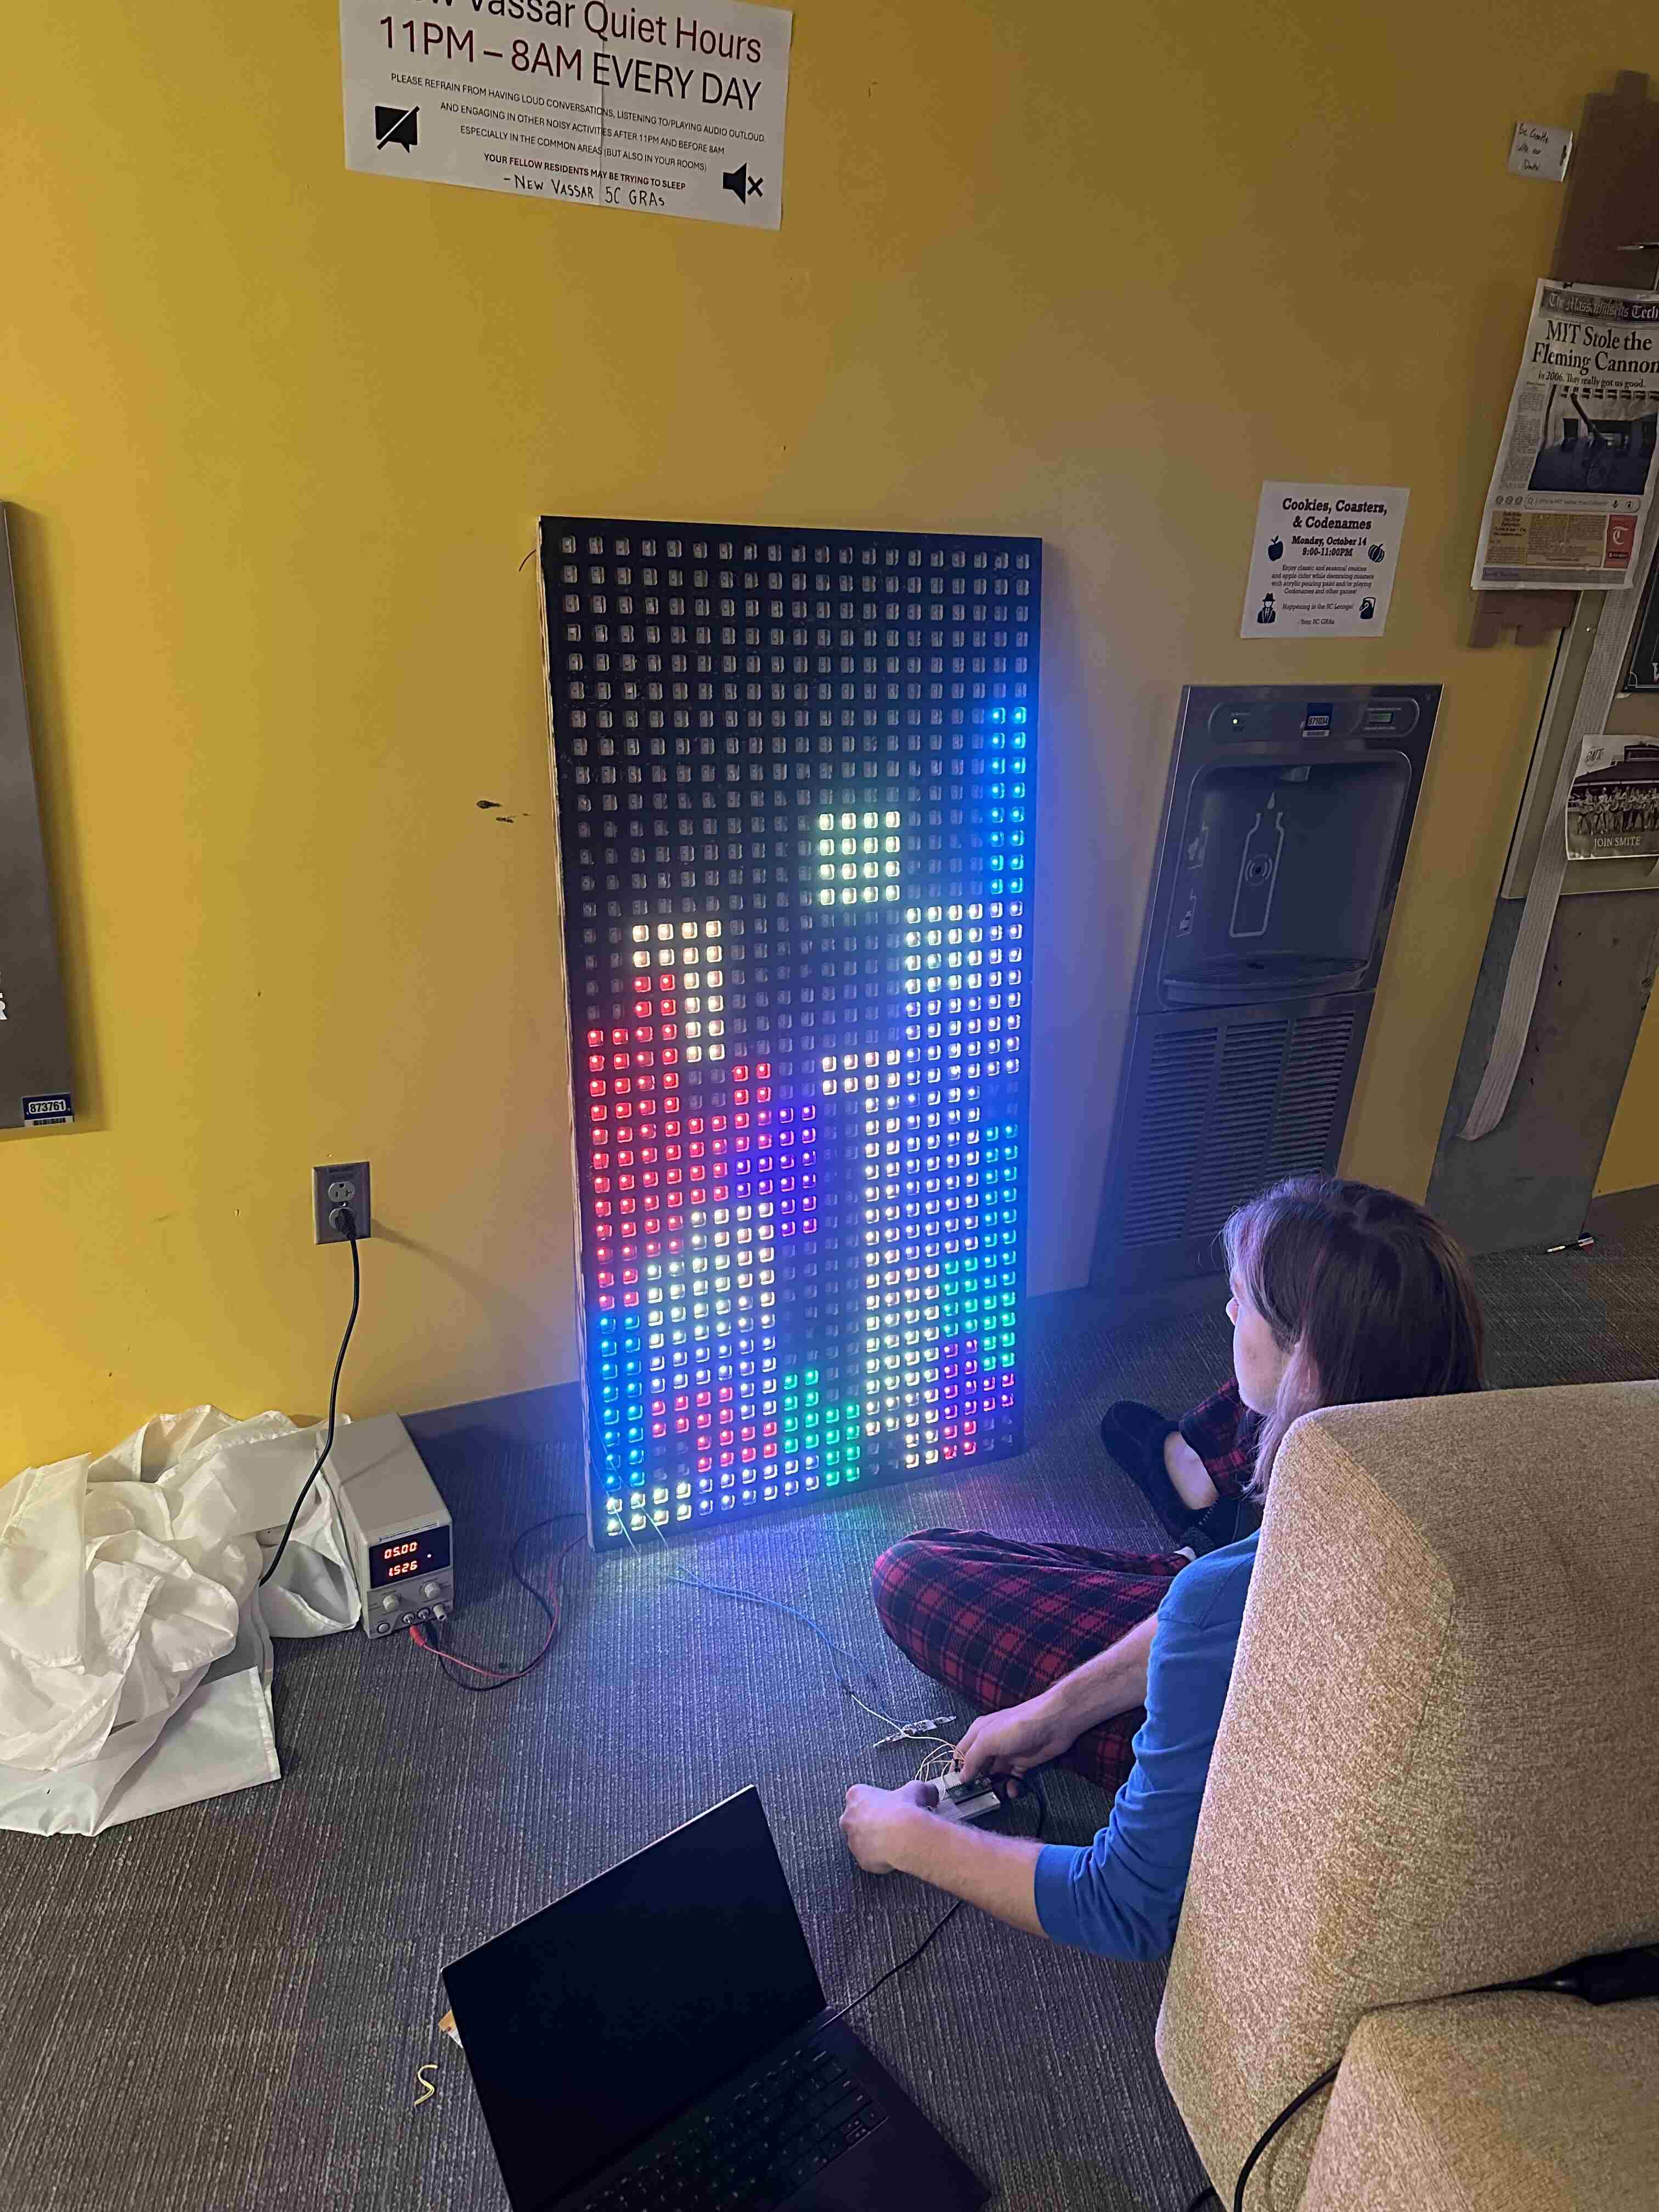
 I continued to work on the tetris game using a breadboard as a game controller.
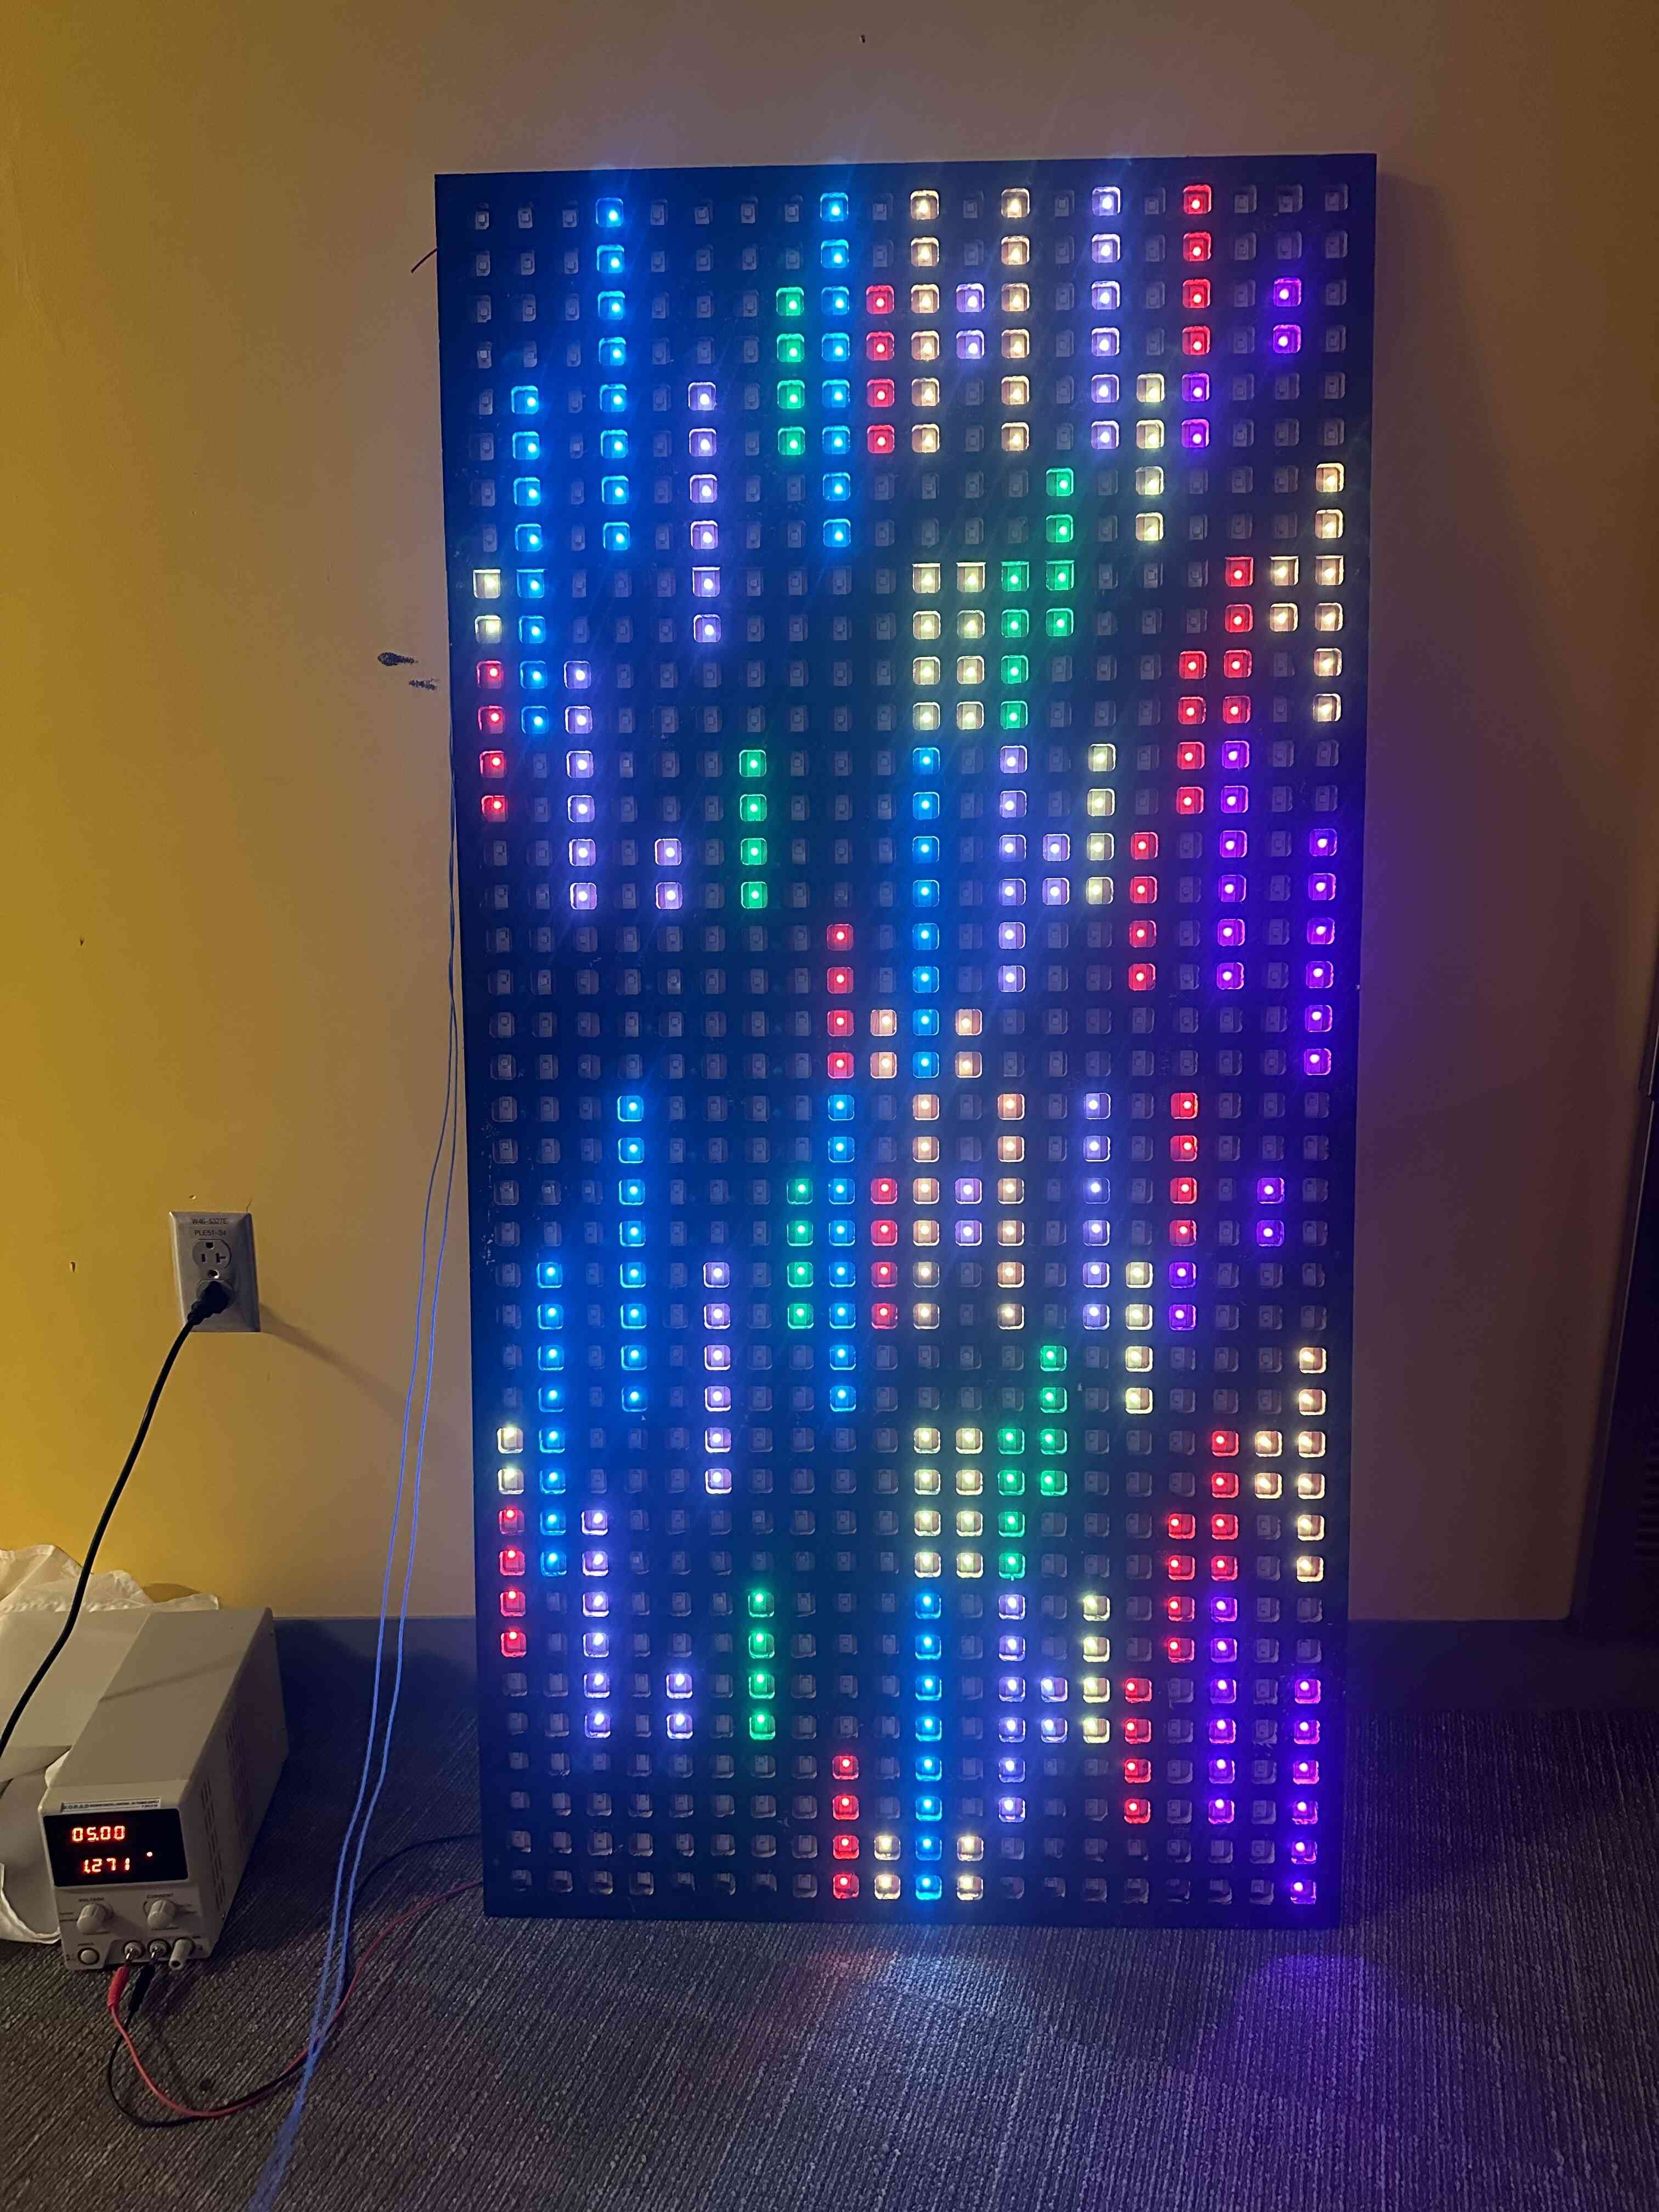


I am very excited for all the things I will be able to display with this outside of rainbow pixels and tetris. Now my main goal is to make a fully functional tetris game for the New Vassar Shop window that you control with your phone after scanning a QR code.