Week 12: How to (try to) give any project a web UI - Mon, Nov 25, 2024
This week in HTMAA our assignment was to build a project with wired or wireless nodes with a network. I opted to experiment wirelessly communicating with an esp32 xiao serving a webpage on its own local network that can communicate over I2C with other microcontrollers. This will not only help me with my final project to make two Game of 15 puzzles that communicate with each other, but it will also be implemented in the Barduino as a more elegant user interface. Given that the xiao will communicate over I2C, this will also allow me to easily implement a wireless user interface on any project I like in the future.
I began by designing a board in SVG PCB. It is really large because I was going to make this the final board for my final project with other circuitry on it, but I ran out of time and needed to get it milled. The important connections are bewteen the raspberry pi pico and xiao. I connected the SDA and SCL lines together with a 5K ohm pullup resistor on both.
 After populating the board with a raspberry pi pico, a rp2040 xiao, and the pullup resistors, it was time to start testing.
I ran into some issues using the Wire library on SDA1 and SCL1 on the raspberry pi pico, so I opted to program it in Thony using micropython. I started with a simple program that would send a message once every second from the pico to the xiao.
from machine import Pin, SoftI2C
import time


# Define SDA and SCL pins
sda_pin = Pin(26)
scl_pin = Pin(27)


led = Pin(25, Pin.OUT)
led.value(1)


# Initialize software I2C
i2c = SoftI2C(sda=sda_pin, scl=scl_pin, freq=100000)  # Frequency: 100kHz


# I2C slave address of the ESP32
slave_address = 5


while True:
    # Data to send
    message = "Hello from Pico via I2C!"
    data = bytearray(message, 'utf-8')  # Convert string to bytes

    # Send data to the ESP32
    try:
        i2c.writeto(slave_address, data)
        print("Message sent to slave:", message)
    except Exception as e:
        print("Failed to send data:", e)


    time.sleep(1)  # Delay before sending the next message
#include <Wire.h>
#include <Adafruit_NeoPixel.h>
#define SLAVE_ADDRESS 5 // Set this to match the master's address
#define BUFFER_SIZE 32 // Buffer size for incoming data
#define NEOPIXEL_PIN 7
#define NUMPIXELS 1
#define POWER_PIN 11
Adafruit_NeoPixel strip(NUMPIXELS, NEOPIXEL_PIN, NEO_GRB + NEO_KHZ800);
char buffer[BUFFER_SIZE]; // Buffer to store received data
volatile int bufferIndex = 0;
void receiveEvent(int howMany) {
bufferIndex = 0;
strip.setPixelColor(0, strip.Color(255, 255, 255));
strip.show();
while (Wire.available()) {
if (bufferIndex < BUFFER_SIZE - 1) {
buffer[bufferIndex++] = Wire.read(); // Read incoming data
} else {
Wire.read(); // Discard any excess bytes
}
}
buffer[bufferIndex] = '\0'; // Null-terminate the string
Serial.print("Received: ");
Serial.println(buffer);
delay(200);
strip.clear();
strip.show();
}
void setup() {
Wire.begin(SLAVE_ADDRESS); // Initialize I2C as slave
Wire.onReceive(receiveEvent); // Register receive event callback
Serial.begin(115200);
Serial.println("ESP32 I2C Slave initialized!");
pinMode(POWER_PIN, OUTPUT);
digitalWrite(POWER_PIN, HIGH);
strip.begin();
strip.clear(); //turn the onboard neopixel off
strip.show();
}
void loop() {
// Perform any additional tasks in the main loop if needed
delay(10);
}After powering everything up, I was happy to see a blinking LED as the data was transferred from the pi pico to the xiao.
After this success I wanted to have the xiao relay information to the pi pico. I started by relaying the time from the millis function. I found that I needed to pad the data to a consistent length or else I would get timeout errors. After some debugging and conversations with chat gpt, I was successful with these scripts on the pi and xiao.
from machine import I2C, Pin
import time


# Initialize I2C on pins 26 (SDA) and 27 (SCL) using I2C1
i2c = I2C(1, scl=Pin(27), sda=Pin(26), freq=400000)


# Address of the ESP32 I2C slave
ESP32_I2C_ADDR = 0x08


print("Starting I2C Master...")
while True:
    try:
        # Request data from ESP32
        data = i2c.readfrom(ESP32_I2C_ADDR, 32)  # Read up to 32 bytes
        message = data.decode('utf-8').strip('\x00')  # Decode and remove null bytes
        print("Received:", message)


    except OSError as e:
        print("I2C Communication Error:", e)


    except UnicodeDecodeError as e:
        print("Data Decode Error:", e)


    # Wait before the next request
    time.sleep(1)
#include <Wire.h>
#define I2C_SLAVE_ADDR 0x08 // I2C address of ESP32
void setup() {
Wire.begin(I2C_SLAVE_ADDR); // Initialize as I2C slave
Wire.onRequest(onRequest); // Register request handler
Serial.begin(115200);
Serial.println("I2C Slave Initialized...");
}
void loop() {
delay(1);
}
// Function to handle master request
void onRequest() {
unsigned long currentMillis = millis();
String message = "Millis: " + String(currentMillis);
String paddedMessage = message;
while (paddedMessage.length() < 32) { // Pad the message to 32 characters
paddedMessage += " "; // Add spaces
}
Wire.write((const uint8_t*)paddedMessage.c_str(), paddedMessage.length()); // Send message to master
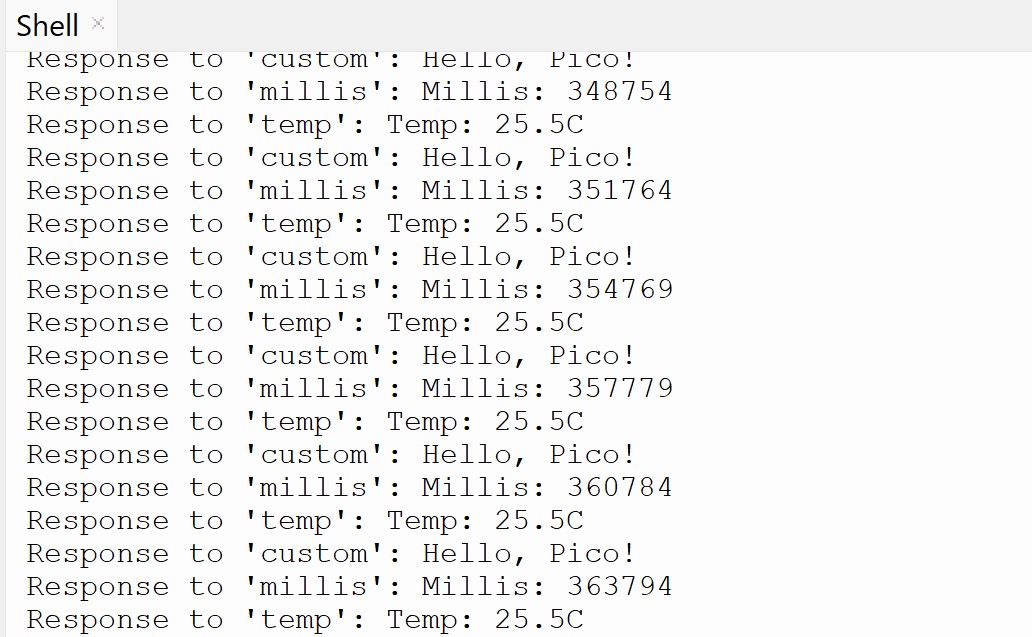
}After confirming that this worked, I then made it such that the pico can request specific data from the xiao in a call and response.
from machine import I2C, Pin
import time


# Initialize I2C
i2c = I2C(1, scl=Pin(27), sda=Pin(26), freq=400000)
ESP32_I2C_ADDR = 0x08  # ESP32 I2C address


def request_data(command):
    try:
        i2c.writeto(ESP32_I2C_ADDR, command)  # Send command
        data = i2c.readfrom(ESP32_I2C_ADDR, 16)  # Read response
        response = data.decode('utf-8').strip()
        print(f"Response to '{command}': {response}")
    except OSError as e:
        print(f"I2C Communication Error: {e}")


# Main loop
while True:
    request_data("millis")  # Request the millis time
    time.sleep(1)  # Wait for 1 second
    request_data("temp")  # Request the temperature
    time.sleep(1)  # Wait for 1 second
    request_data("custom")  # Request a custom message
    time.sleep(1)  # Wait for 1 second
#include <Wire.h>
#define I2C_SLAVE_ADDR 0x08
String millisMessage;
String customMessage = "Hello, Pico!";
String temperatureMessage = "Temp: 25.5C";
void setup() {
Wire.begin(I2C_SLAVE_ADDR); // Initialize as I2C slave
Wire.onRequest(onRequest);
Wire.onReceive(onReceive);
Serial.begin(115200);
Serial.println("Starting...");
}
void loop() {
millisMessage = "Millis: " + String(millis()); // Update millis message
delay(100); // Simulate periodic updates
}
String command = "";
void onReceive(int numBytes) {
Serial.println("Message!!");
command = ""; // Clear previous command
while (Wire.available()) {
char c = Wire.read(); // Read incoming request
command += c;
}
Serial.println("Received Command: " + command);
}
void onRequest() {
String paddedMessage;
if (command == "millis") {
paddedMessage = millisMessage;
} else if (command == "temp") {
paddedMessage = temperatureMessage;
} else if (command == "custom") {
paddedMessage = customMessage;
} else {
paddedMessage = "unknown cmd";
}
while (paddedMessage.length() < 16) { // Pad the message to 16 characters
paddedMessage += " "; // Add spaces
}
Wire.write((const uint8_t*)paddedMessage.c_str(), paddedMessage.length()); // Send message to master
Serial.print("I Said: "); Serial.println(paddedMessage);
}
With this testing out of the way, I now wanted to make the I2C webpage. I started by programming the pi pico to constantly ask the xiao if its onboard led should be on or off. This would give me a visual indication if my circuit was working.
from machine import I2C, Pin
import time


#Create LED pin
led = Pin(25, Pin.OUT)
led.on()


# Initialize I2C
i2c = I2C(1, scl=Pin(27), sda=Pin(26), freq=400000)
ESP32_I2C_ADDR = 0x08  # ESP32 I2C address


def request_data(command):
    try:
        i2c.writeto(ESP32_I2C_ADDR, command)  # Send command
        data = i2c.readfrom(ESP32_I2C_ADDR, 16)  # Read response
        response = data.decode('utf-8').strip()
        print(f"Response to '{command}': {response}")
        return response
    except OSError as e:
        print(f"I2C Communication Error: {e}")


# Main loop
while True:
    data = request_data("led")
    if data and "on" in data:
        led.on()
    if data and "off" in data:
        led.off()
    time.sleep(0.1)d
To test this I made it such that the xiao blinked the LED.
#include <Wire.h>


// I2C Address for Raspberry Pi Pico
#define I2C_SLAVE_ADDR 0x08


bool ledState = true;


void setup() {
  Wire.begin(I2C_SLAVE_ADDR);  // Initialize as I2C slave
  Wire.onRequest(onRequest);
  Wire.onReceive(onReceive);
  Serial.begin(115200);


  Serial.println("Starting");
}


void loop() {
  ledState = !ledState;
  delay(300);
}


String command = "";


void onReceive(int numBytes) {
  Serial.println("Message!!");
  command = "";  // Clear previous command
  while (Wire.available()) {
    char c = Wire.read();  // Read incoming request
    command += c;
  }
  Serial.println("Received Command: " + command);
}


void onRequest() {
  String paddedMessage;
  if (command == "led") {
    if(ledState) {
      paddedMessage = "led on";
    } else {
      paddedMessage = "led off";
    }
  } else {
    paddedMessage = "unknown cmd";
  }
  while (paddedMessage.length() < 16) {  // Pad the message to 16 characters
    paddedMessage += " ";                // Add spaces
  }
  Wire.write((const uint8_t*)paddedMessage.c_str(), paddedMessage.length());  // Send message to master
  Serial.print("I Said: "); Serial.println(paddedMessage);
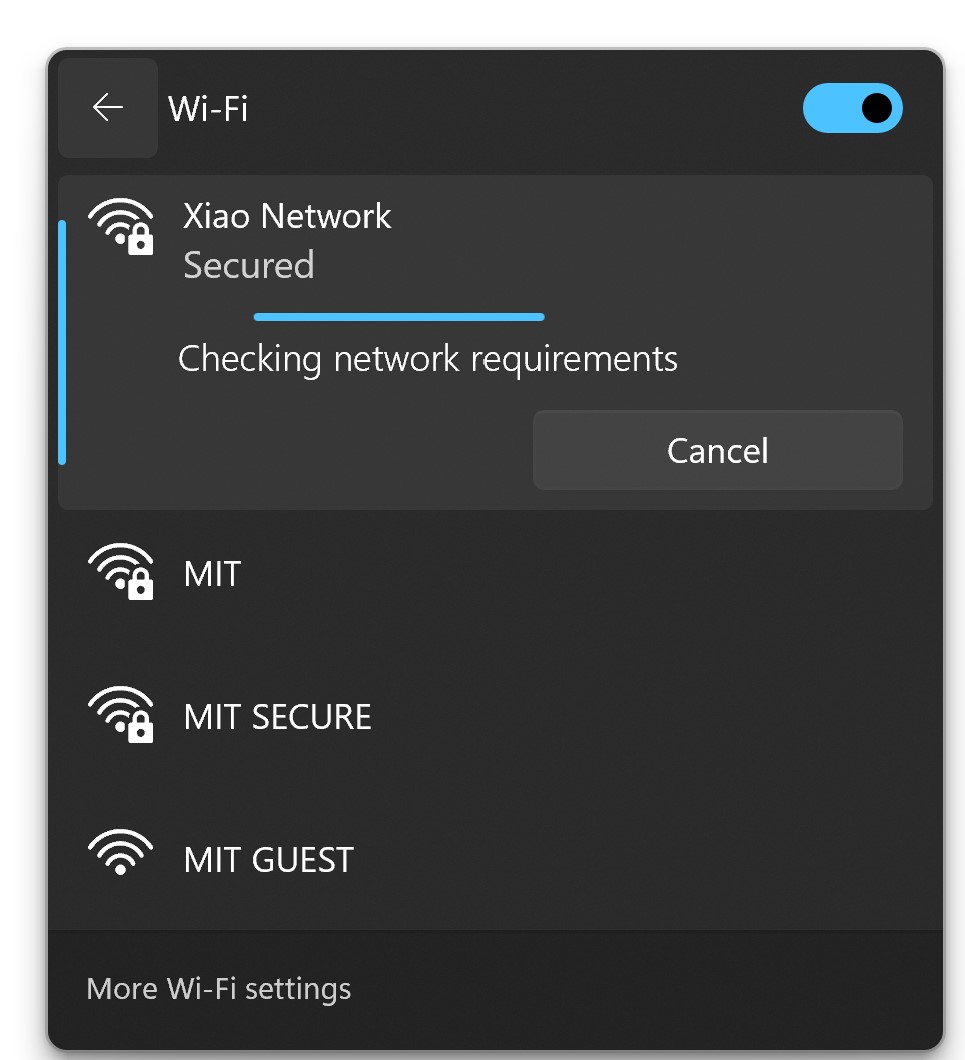
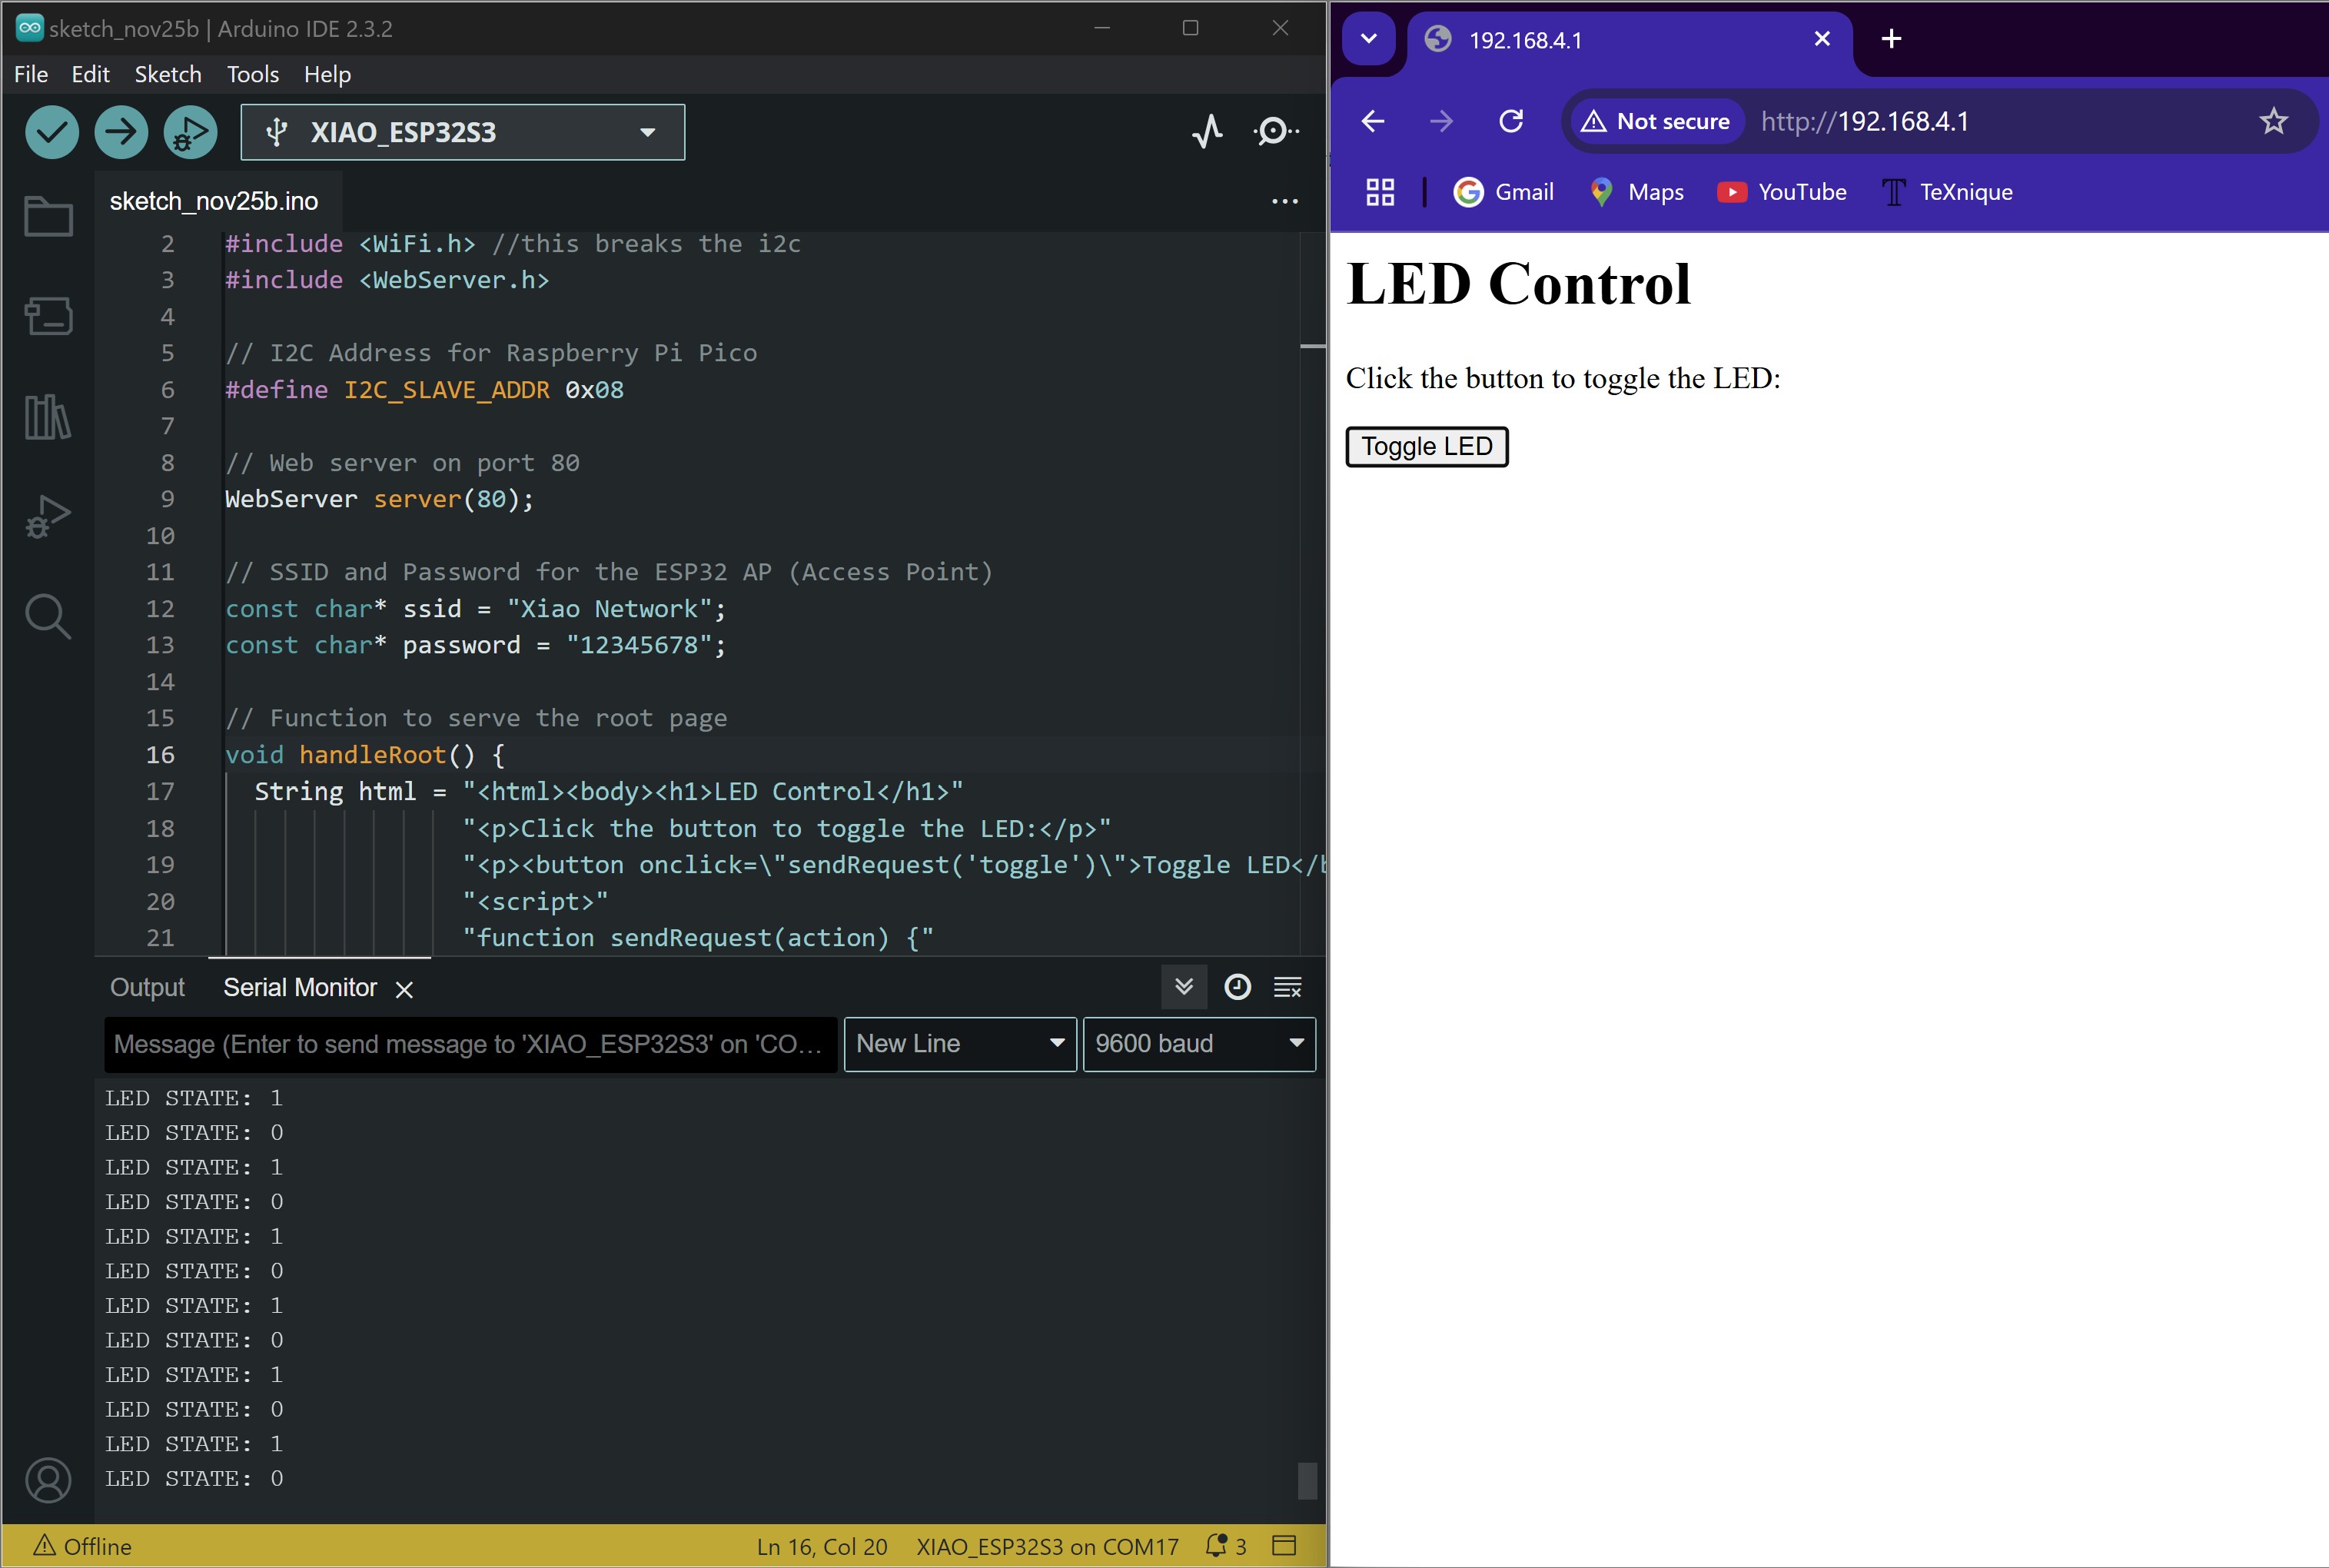
}Next me and chat gpt cooked up a simple website served by the xiao. The xiao created its own wifi network that I could connect to and go to a webpage with a simple LED UI.
#include <Wire.h>
#include <WiFi.h> //this breaks the i2c
#include <WebServer.h>


// I2C Address for Raspberry Pi Pico
#define I2C_SLAVE_ADDR 0x08


// Web server on port 80
WebServer server(80);


// SSID and Password for the ESP32 AP (Access Point)
const char* ssid = "Xiao Network";
const char* password = "12345678";


// Function to serve the root page
void handleRoot() {
  String html = "<html><body><h1>LED Control</h1>"
                "<p>Click the button to toggle the LED:</p>"
                "<p><button onclick=\"sendRequest('toggle')\">Toggle LED</button></p>"
                "<script>"
                "function sendRequest(action) {"
                "  var xhttp = new XMLHttpRequest();"
                "  xhttp.open('GET', '/' + action, true);"
                "  xhttp.send();"
                "} "
                "</script></body></html>";
  server.send(200, "text/html", html);
}


// Function to handle LED toggle requests
bool ledState = true;
void handleToggle() {
  ledState = !ledState; // Toggle the LED state
  server.send(200, "text/plain", ledState ? "LED is ON" : "LED is OFF");
  Serial.print("LED STATE: "); Serial.println(ledState);
}


void setup() {
  Wire.begin(I2C_SLAVE_ADDR);  // Initialize as I2C slave
  Wire.onRequest(onRequest);
  Wire.onReceive(onReceive);
  Serial.begin(115200);


  // Start Wi-Fi in Access Point mode
  WiFi.softAP(ssid, password);
  Serial.println("Access Point started");
  Serial.print("IP address: ");
  Serial.println(WiFi.softAPIP());


  // Set up server routes
  server.on("/", handleRoot);
  server.on("/toggle", handleToggle);


  // Start the server
  server.begin();
  Serial.println("HTTP server started");
}


void loop() {
  // Handle client requests
  server.handleClient();
}


String command = "";


void onReceive(int numBytes) {
  Serial.println("Message!!");
  command = "";  // Clear previous command
  while (Wire.available()) {
    char c = Wire.read();  // Read incoming request
    command += c;
  }
  Serial.println("Received Command: " + command);
}


void onRequest() {
  String paddedMessage;
  if (command == "led") {
    if(ledState) {
      paddedMessage = "led on";
    } else {
      paddedMessage = "led off";
    }
  } else {
    paddedMessage = "unknown cmd";
  }
  while (paddedMessage.length() < 16) {  // Pad the message to 16 characters
    paddedMessage += " ";                // Add spaces
  }
  Wire.write((const uint8_t*)paddedMessage.c_str(), paddedMessage.length());  // Send message to master
  Serial.print("I Said: "); Serial.println(paddedMessage);
}
 However, this is where the problems started. For some reason whenever the xiao hosted the webpage, the I2C stopped working! The interrupt was no longer triggered whenever the pi pico would try to communicate over I2C. I suspect that the xiao uses the same interrupt that I2C uses to handle client requests, and this blocks any I2C communication! I tried many different work-arounds and quick fixes for this, but nothing seemed to work! I unfortunately ran out of time to figure out how to both host a webpage and communicate as a slave over I2C at the same time. :'(