Week 4: How to have the coolest clothes at a party - Tue, Oct 1, 2024
This week our assignment was to design and 3D print an object that could not be made subtractively. Phsst, how hard could that be? I’ve been designing and 3D printing models for years now. It was this exact hubris that made my week a lot harder than it should have been, and inspired me to push the boundaries of what 3D printers are normally used for.
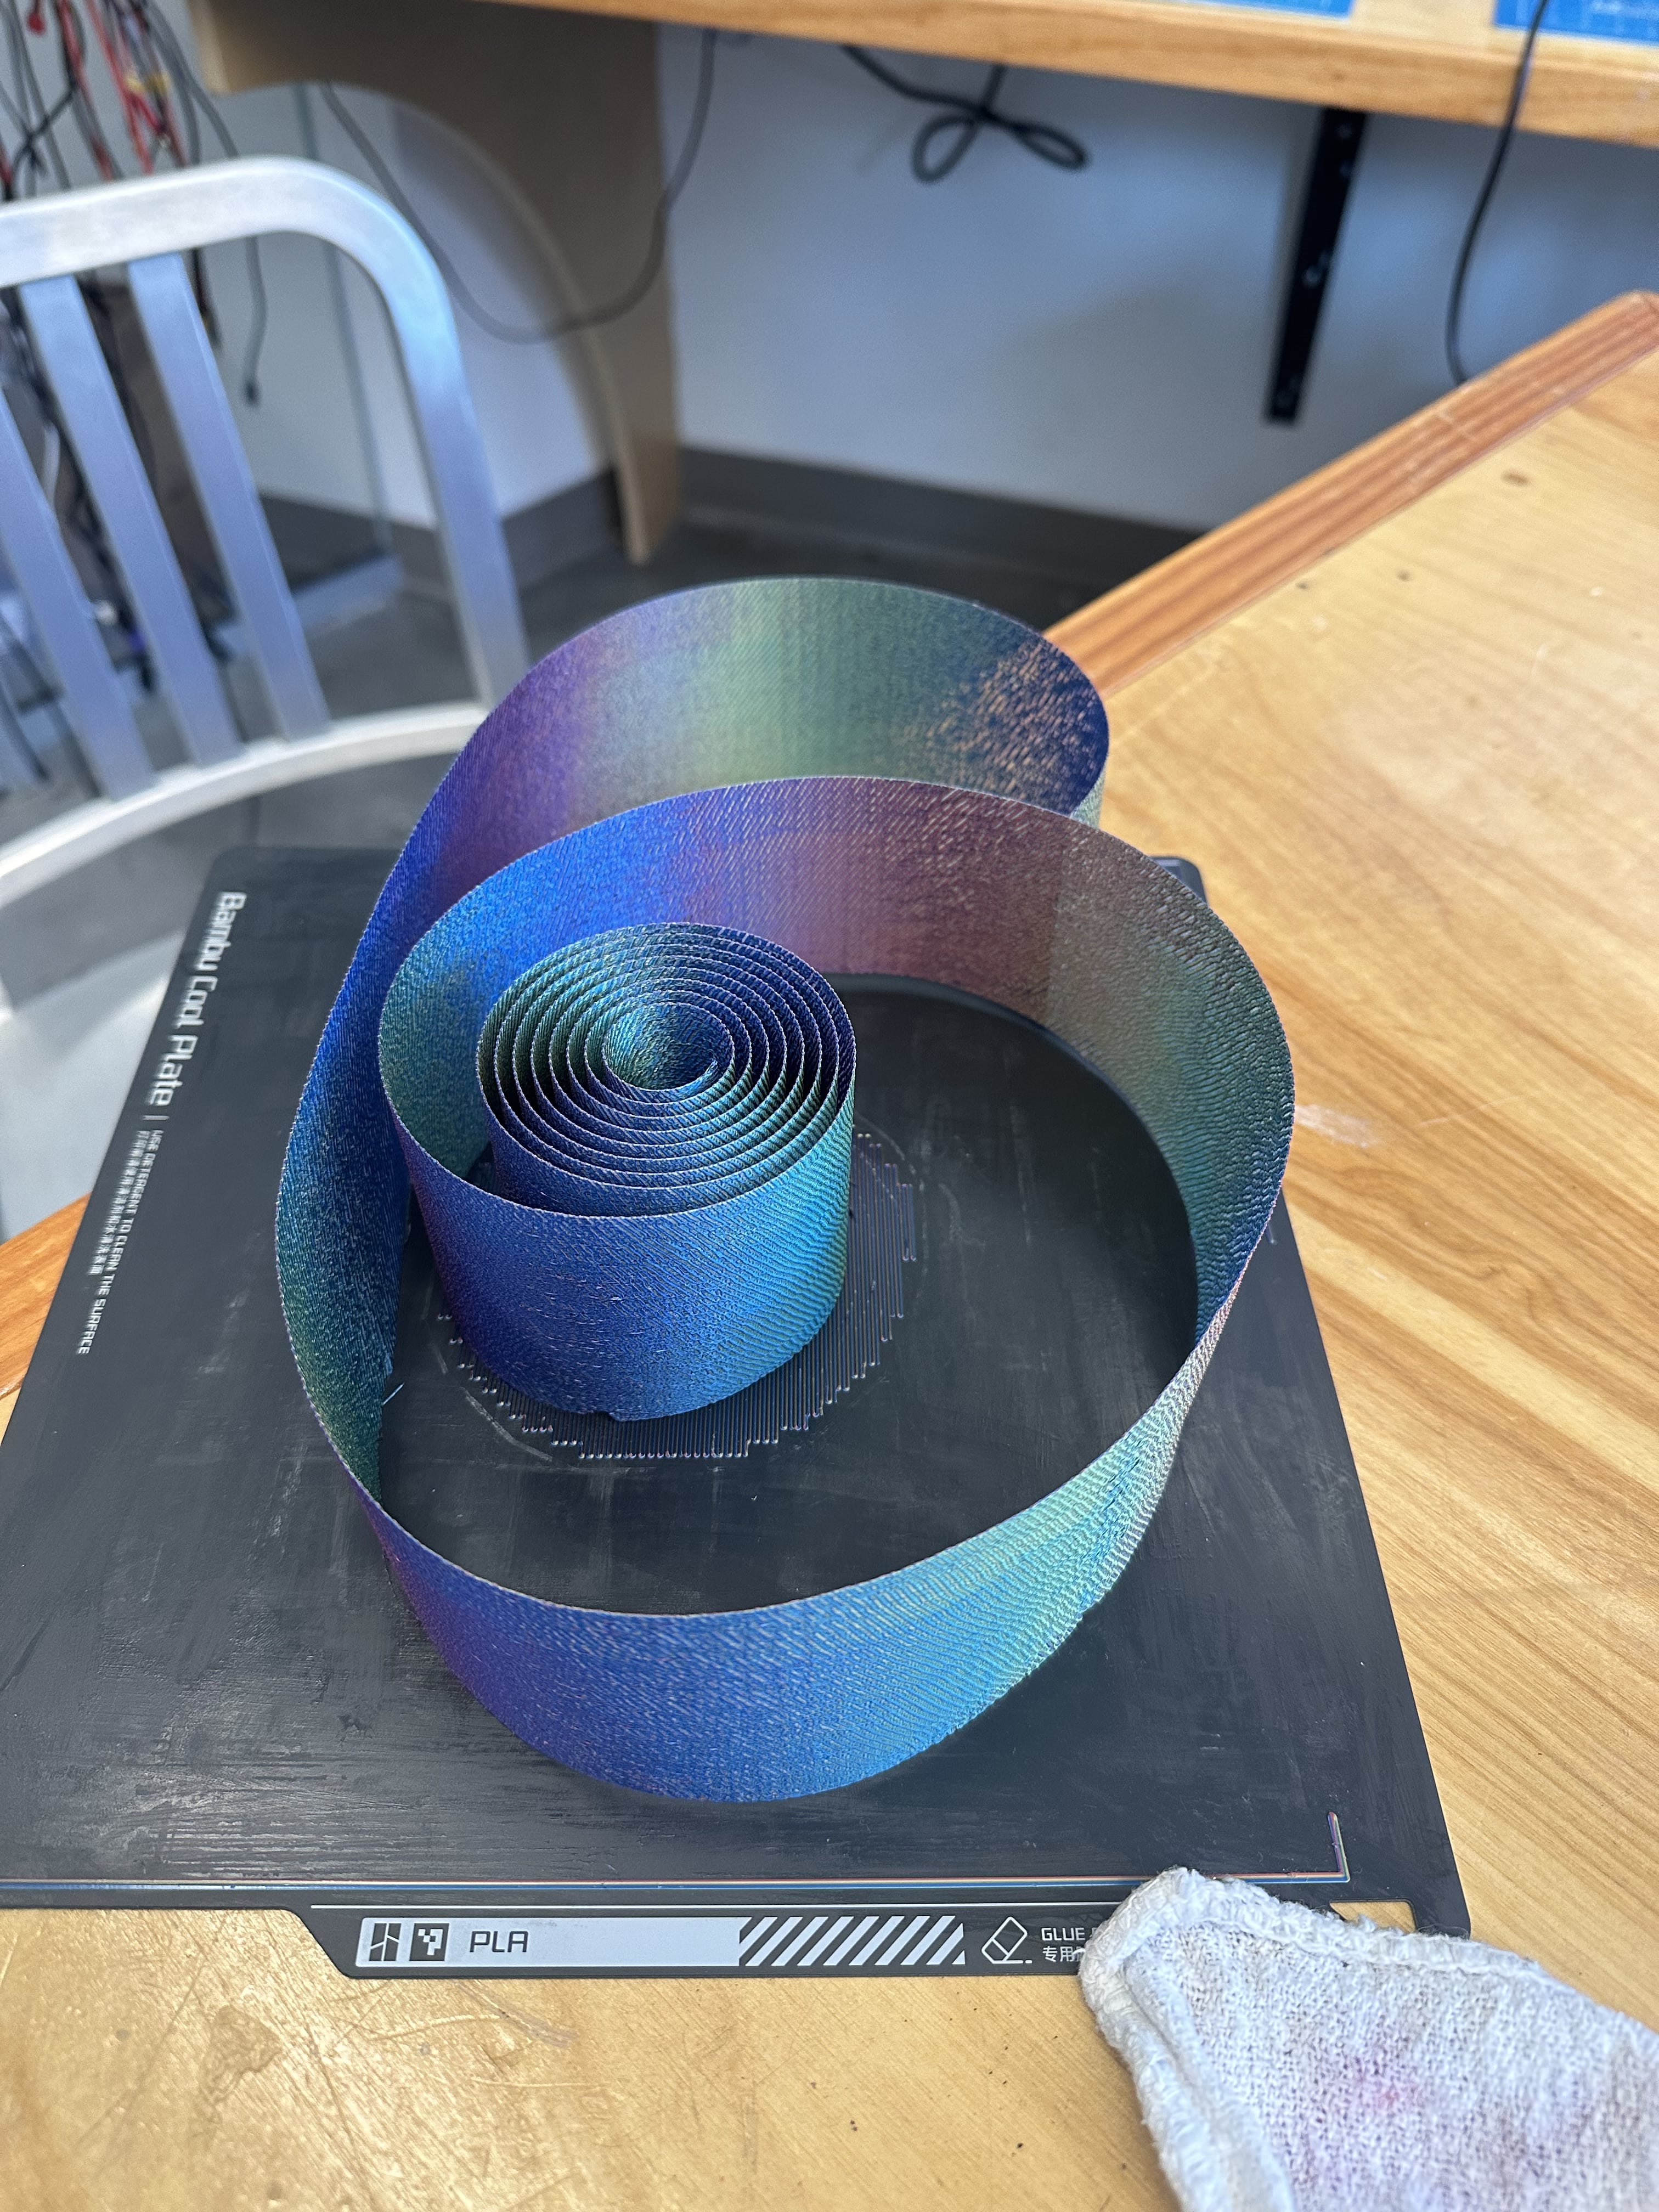
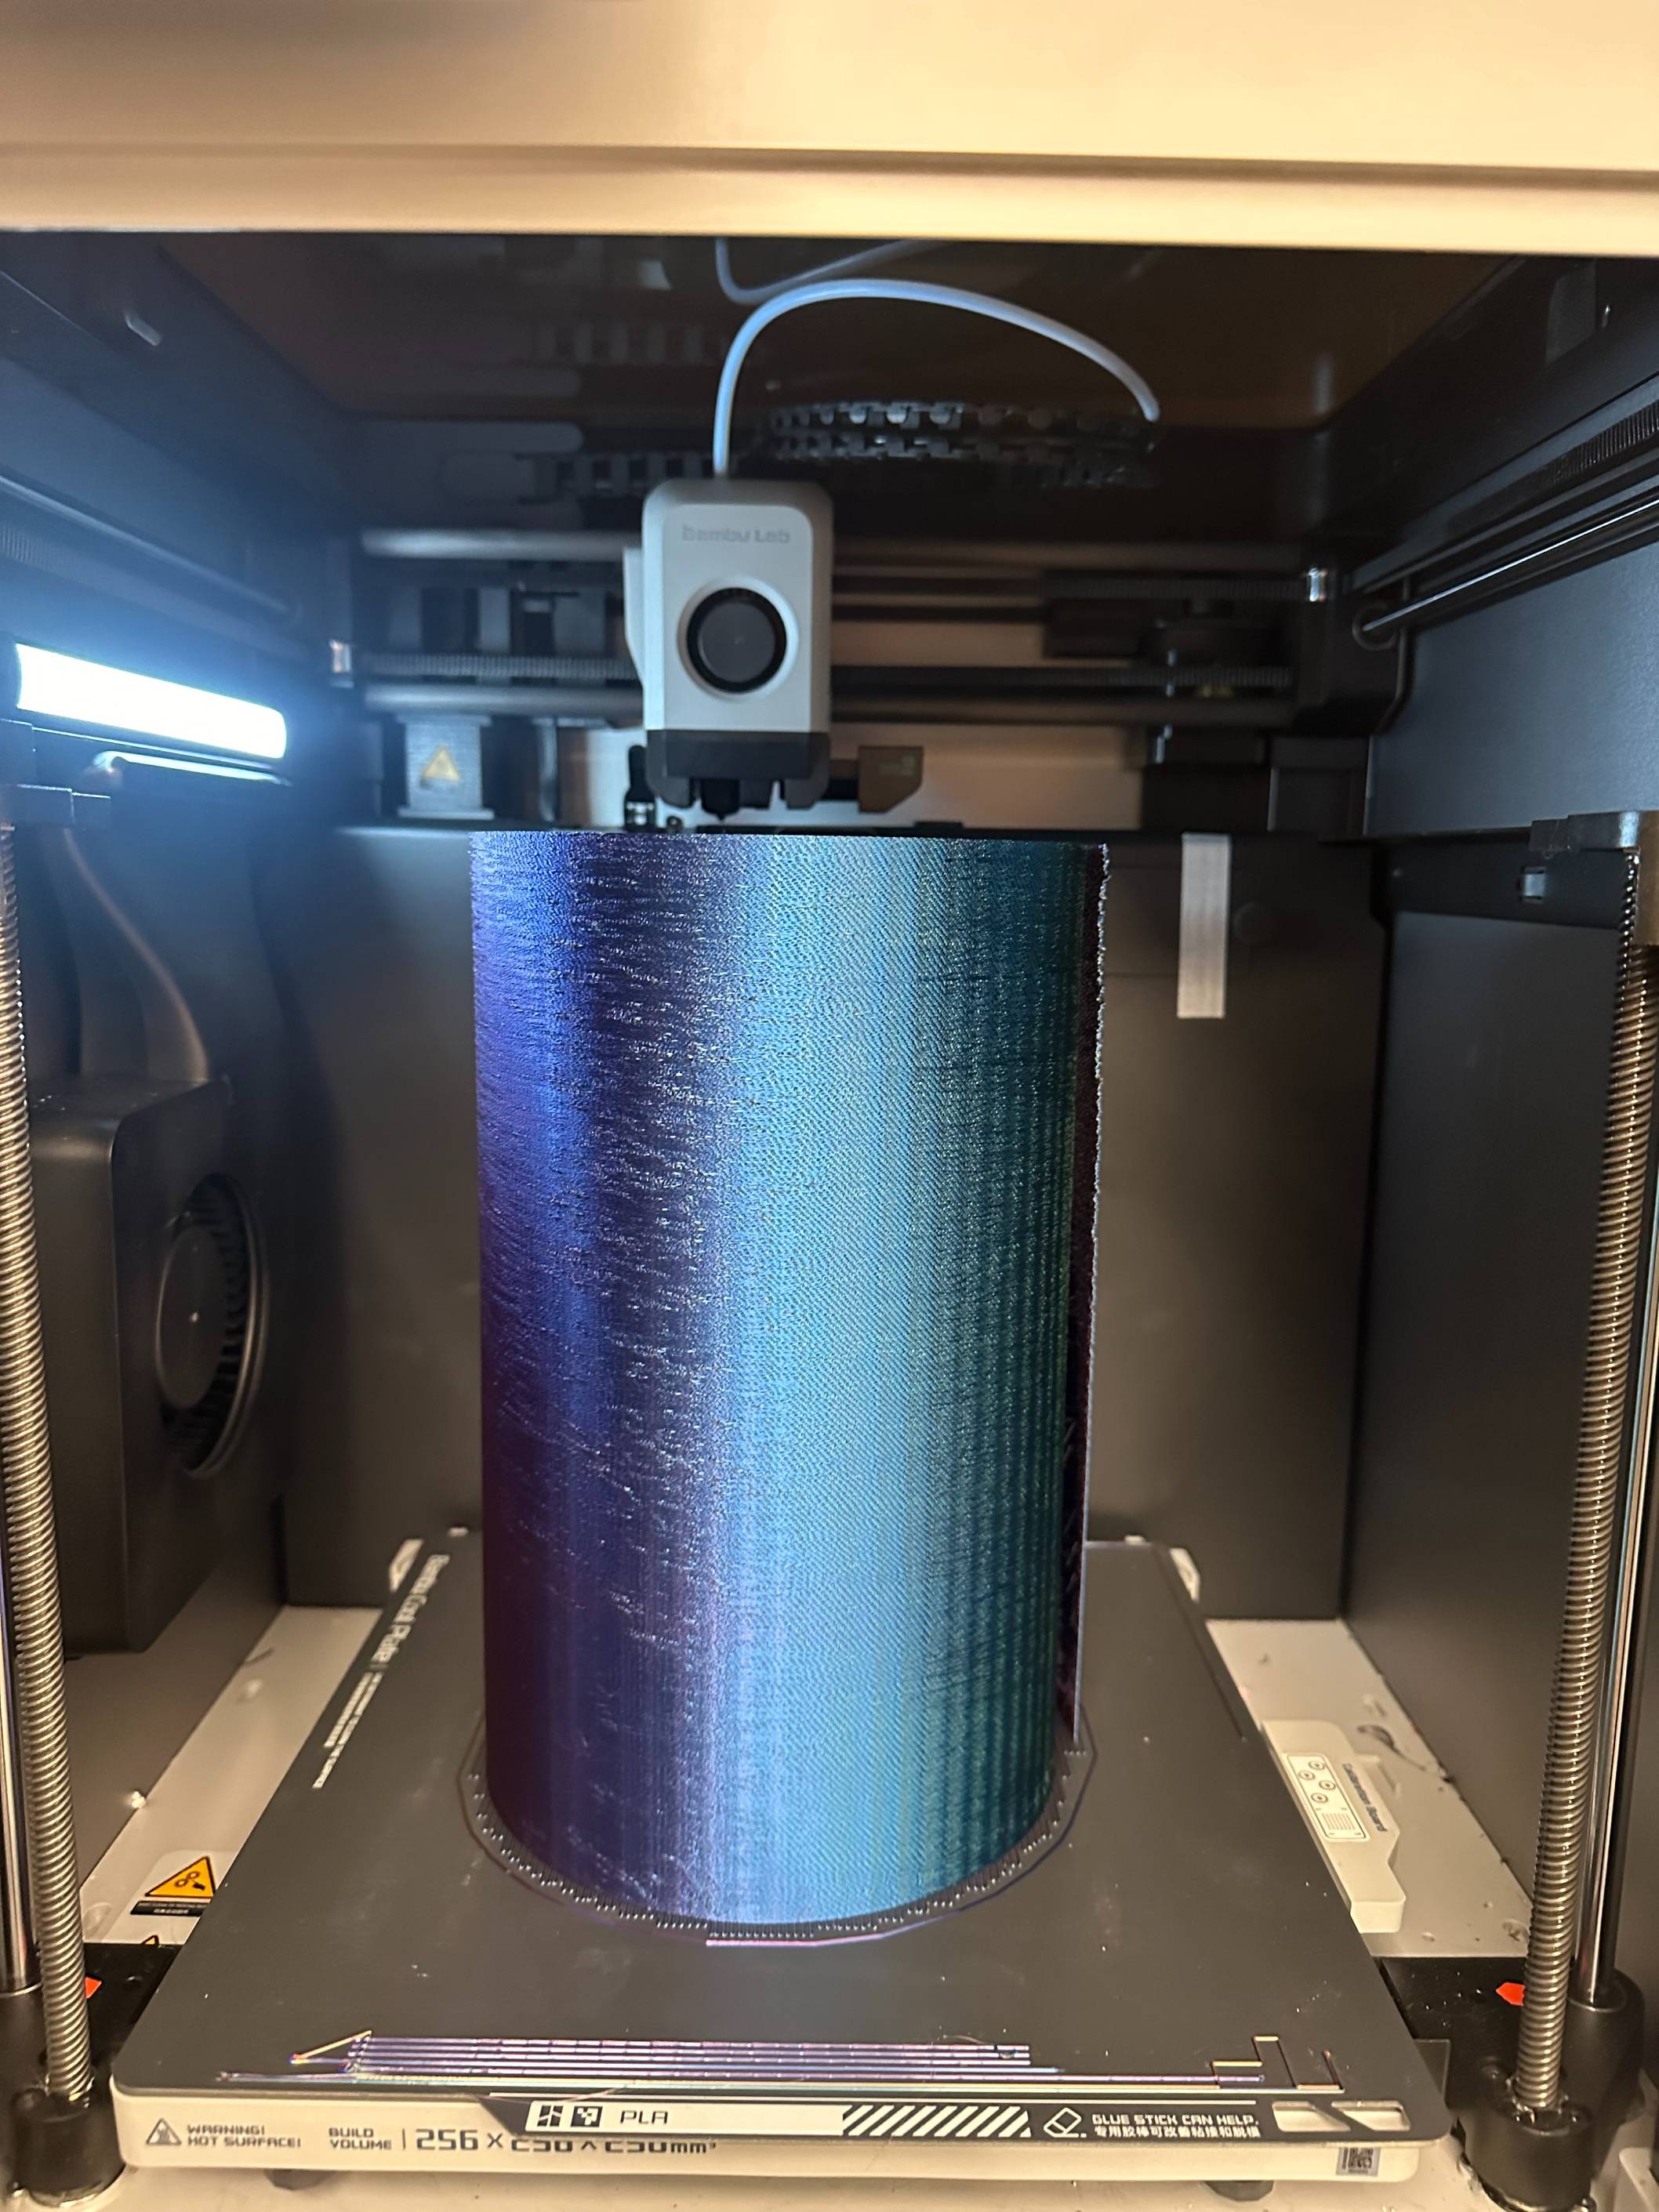
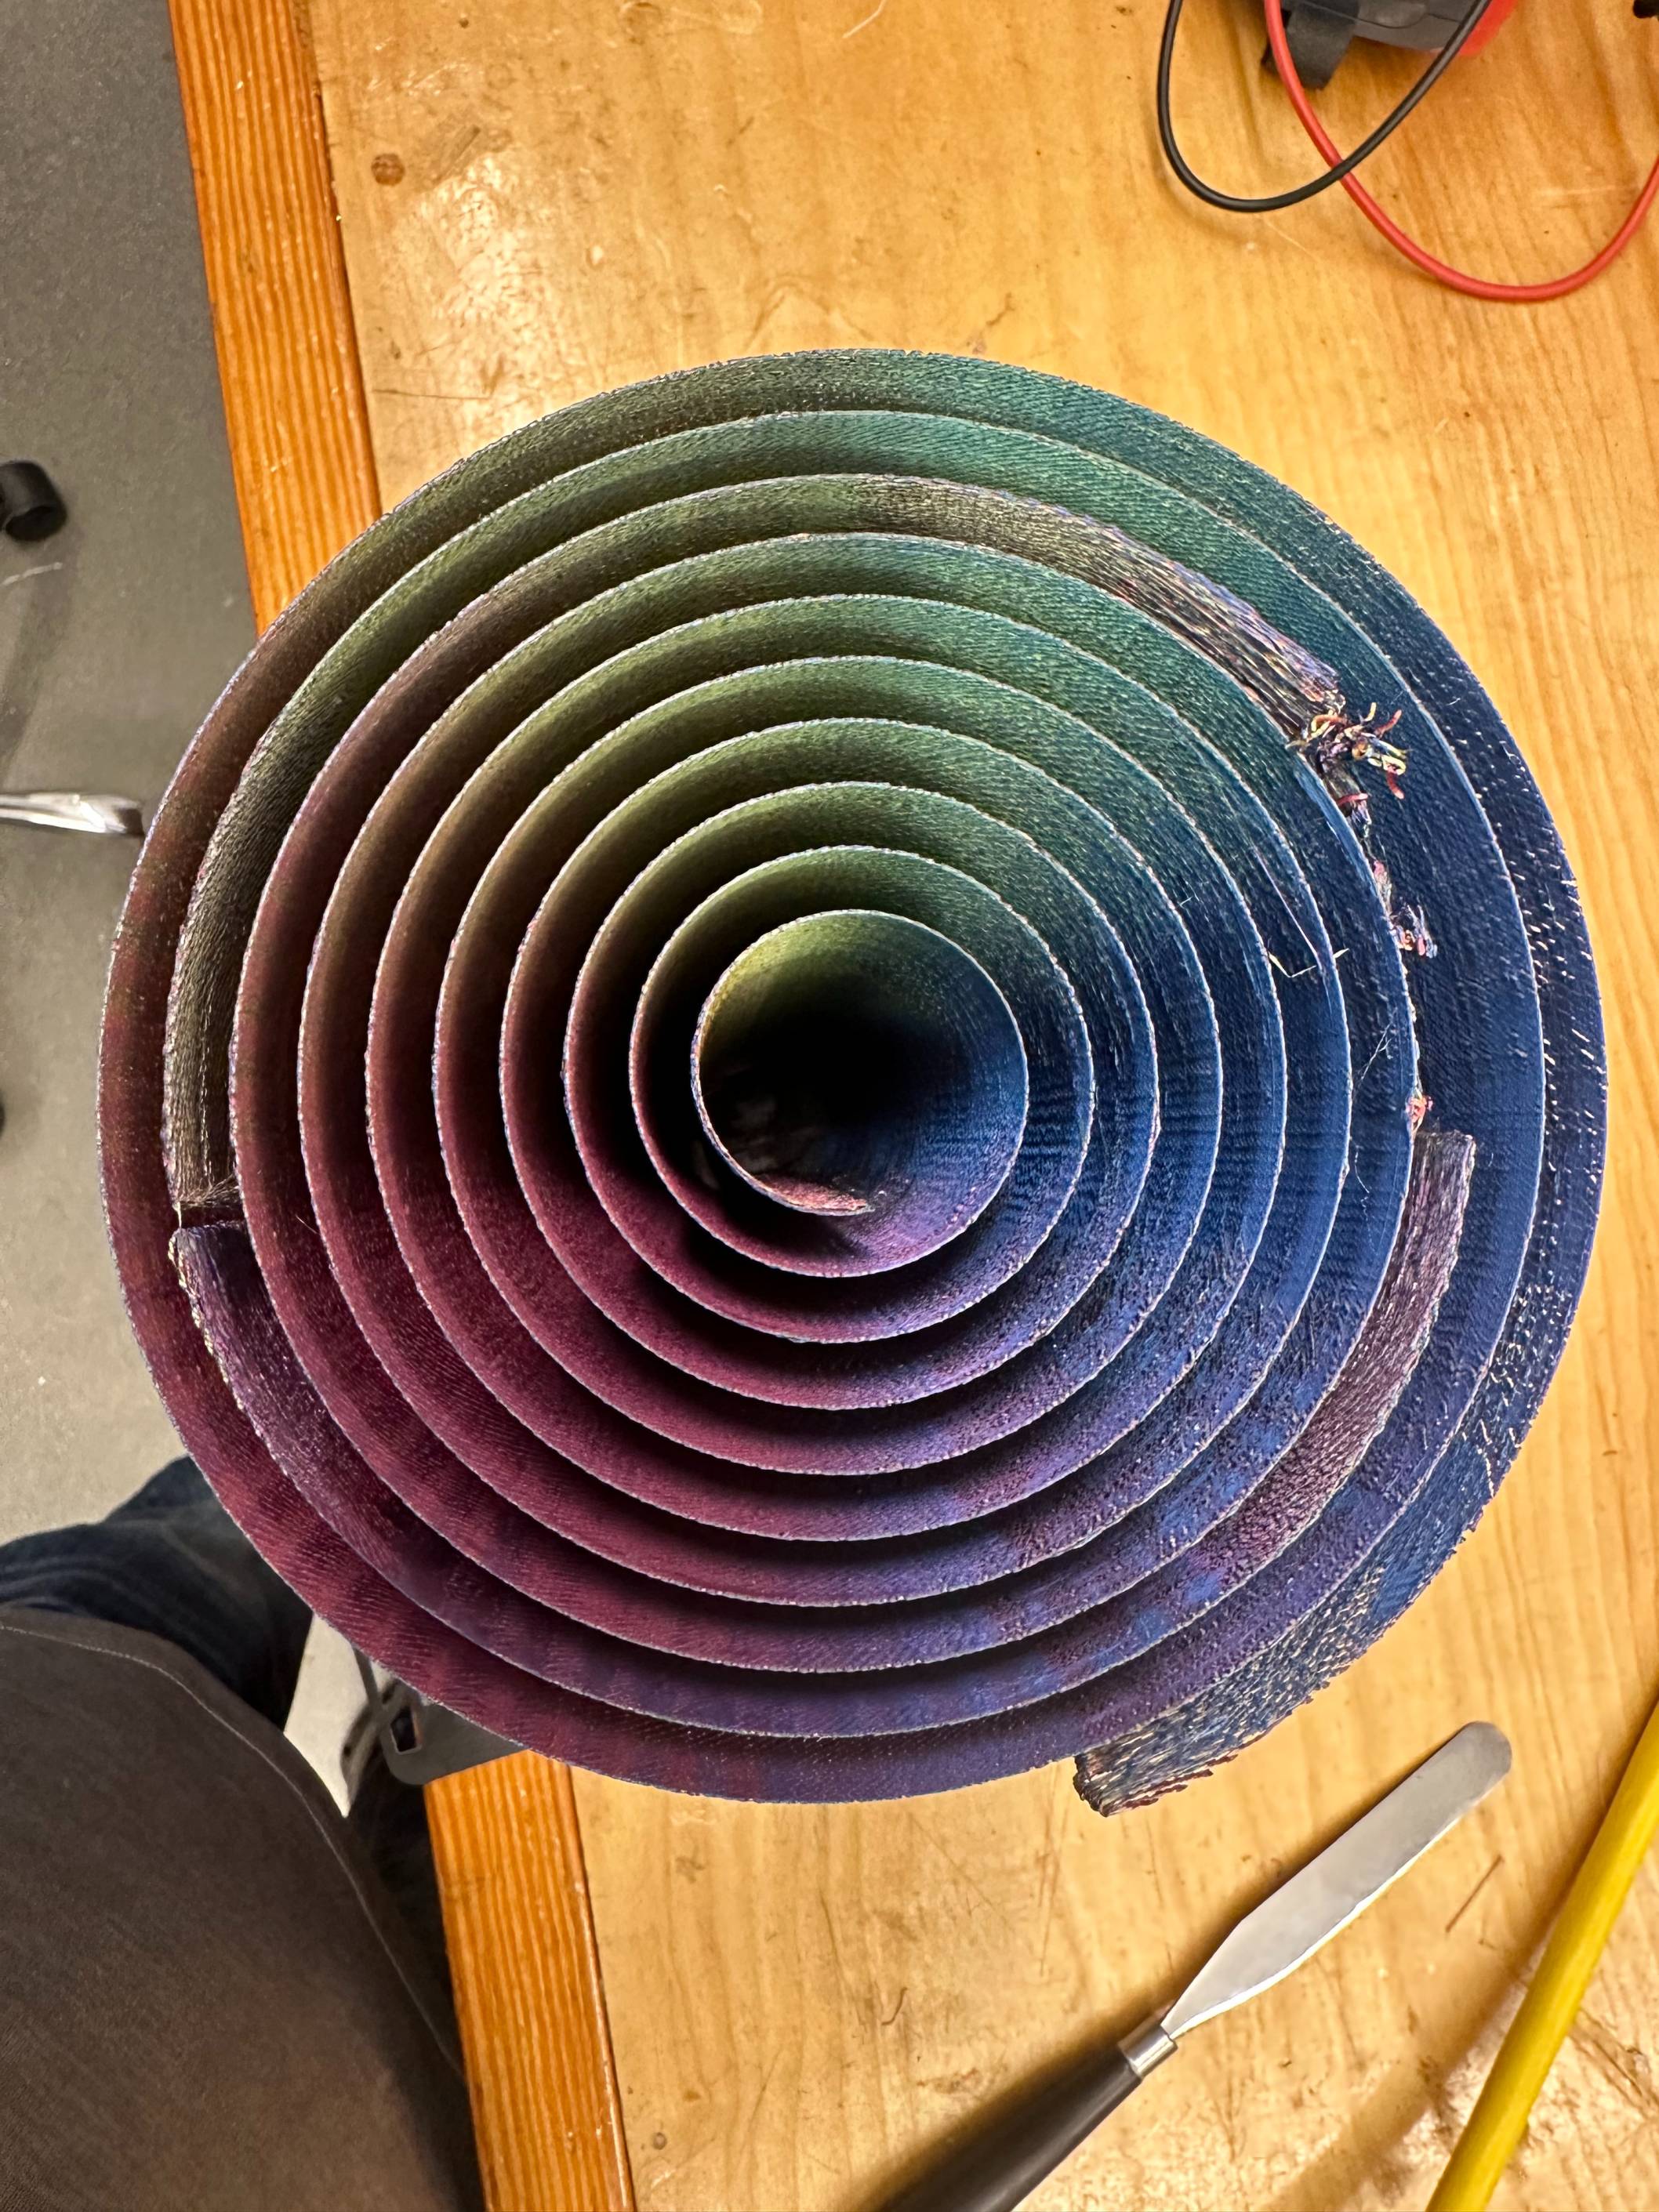
During the lecture for this week Neil highlighted the work of former HTMAE student Jack Forman. He found a way to print textile like materials by under extruding filament to create what he called defeXtiles. By under extruding the filament and building up a wall 1 layer wide, it is possible to make a flexible sheet of plastic. As soon as I saw this unique technique, I knew exactly what I wanted to do this week: I wanted to print clothes. These clothes would also double as my attire to the annual B-3rd ABC party where you have to wear something creative that you made.
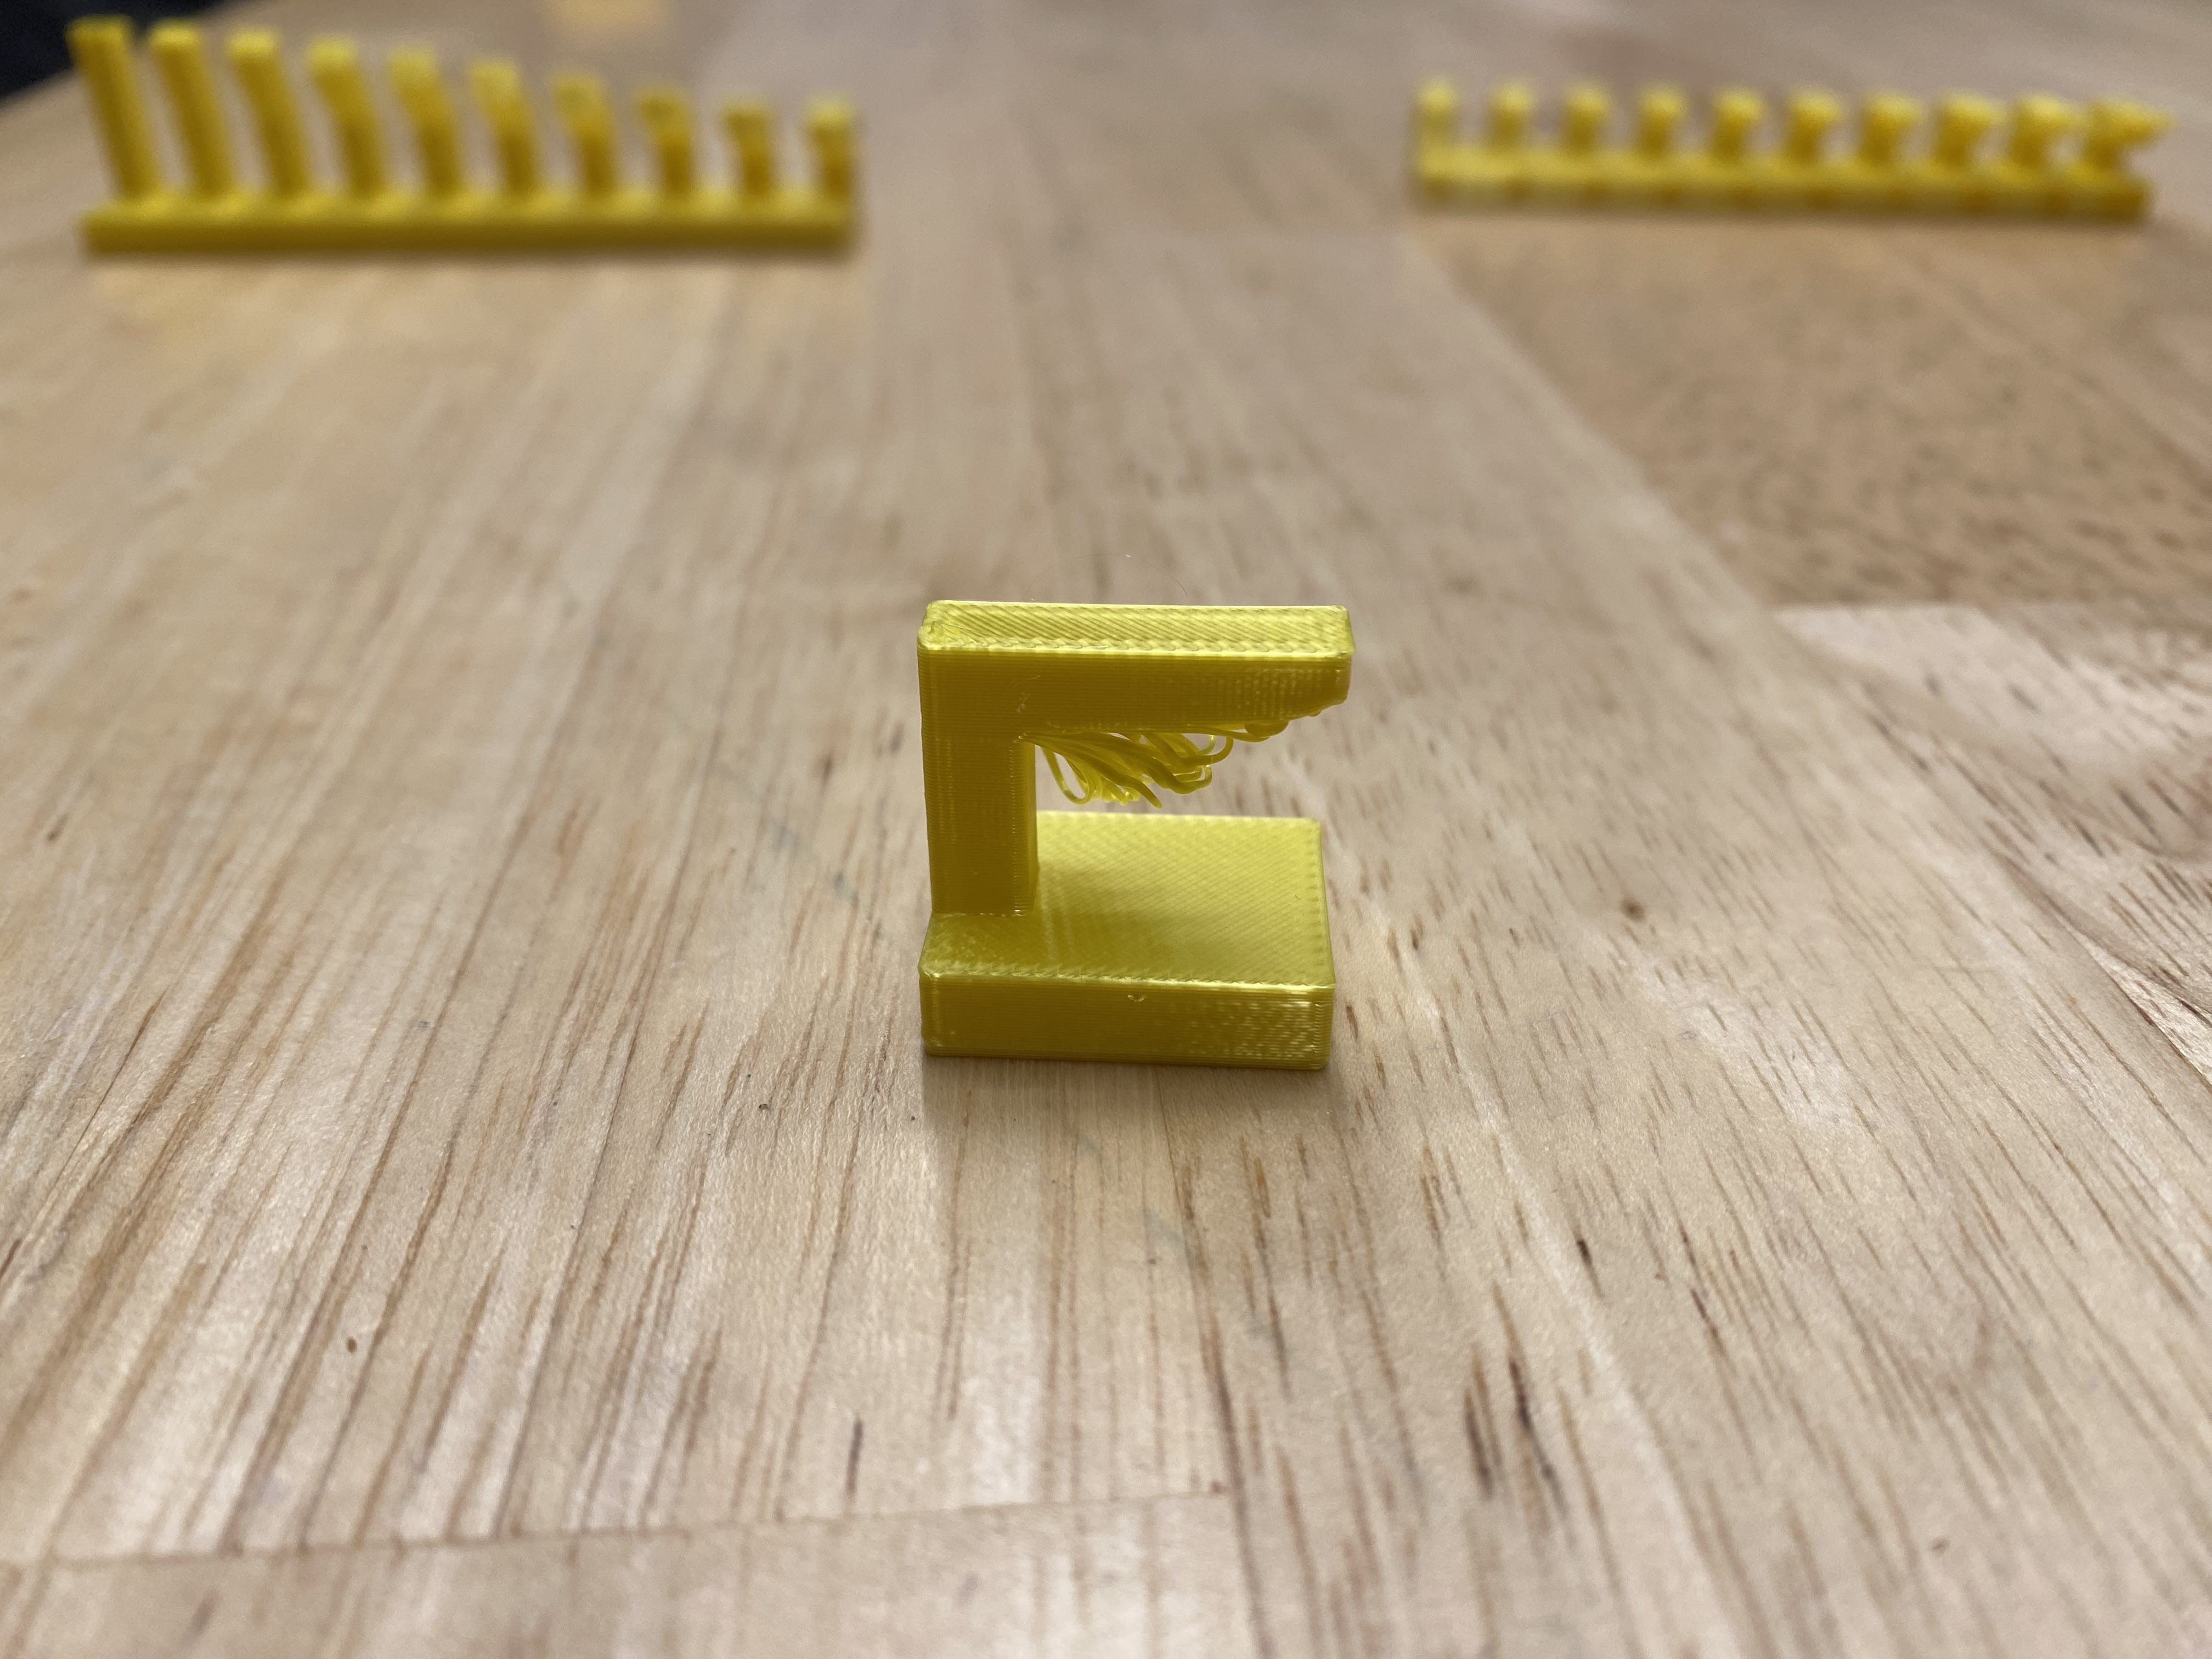

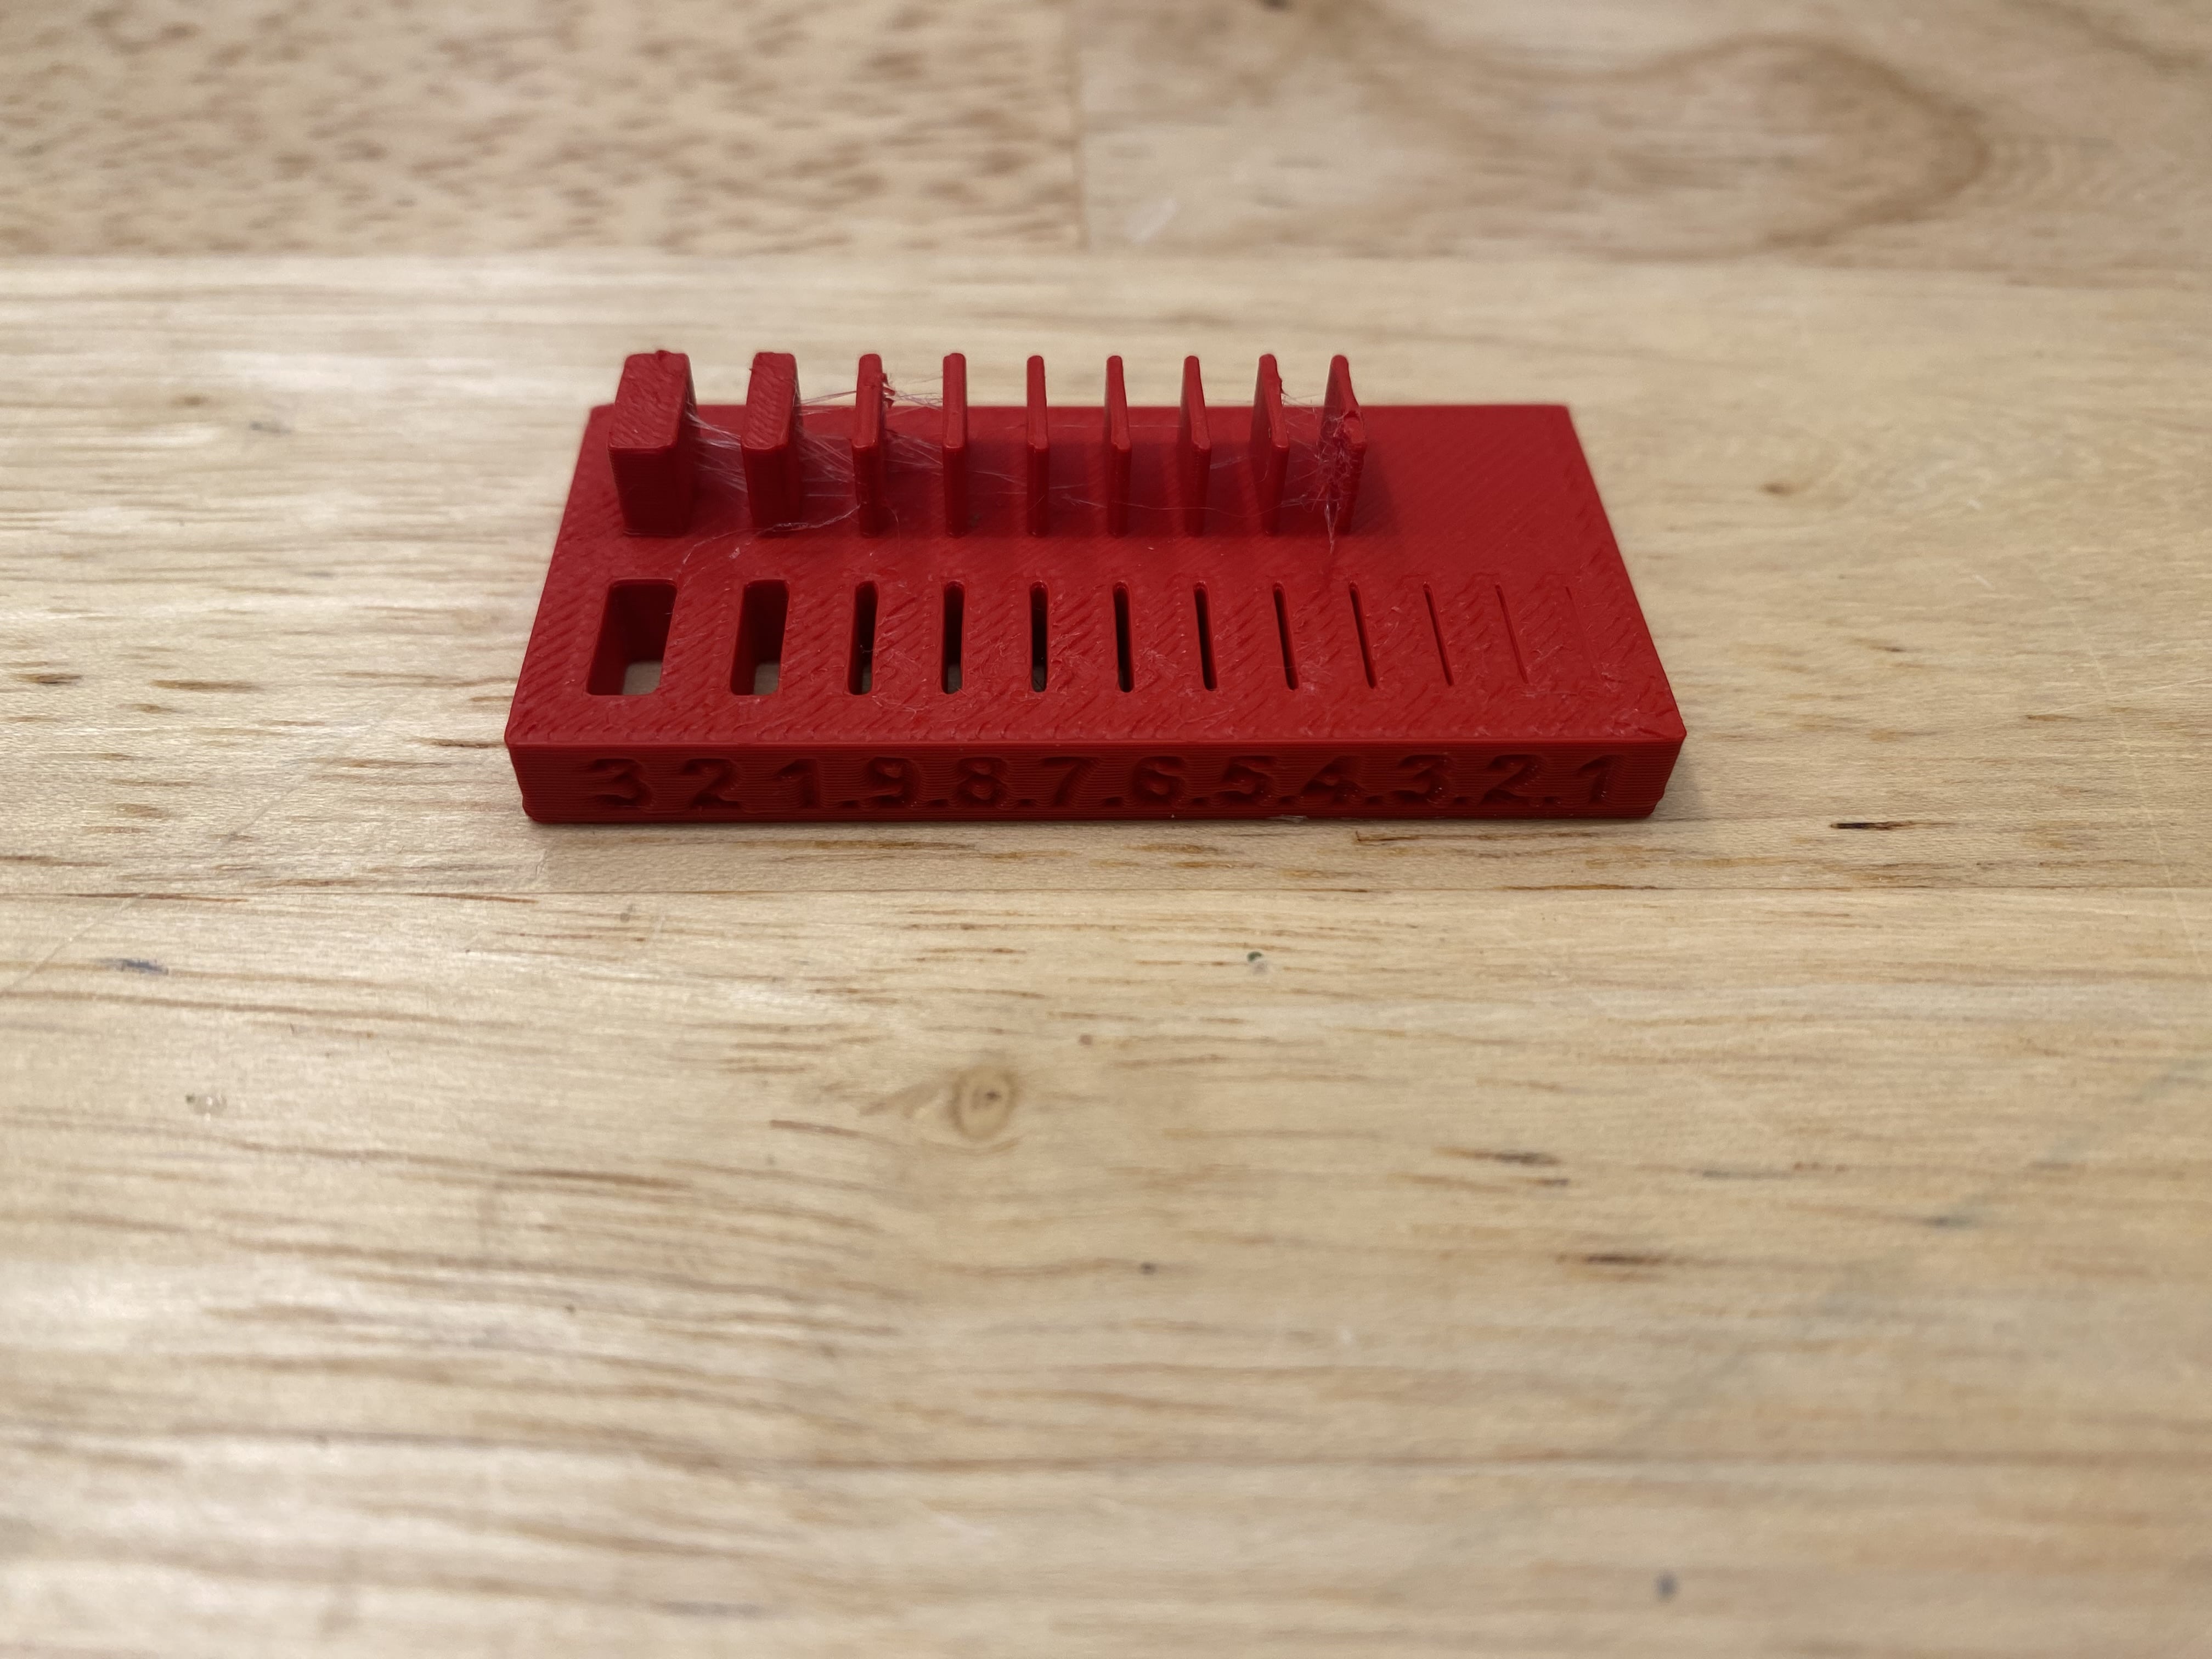
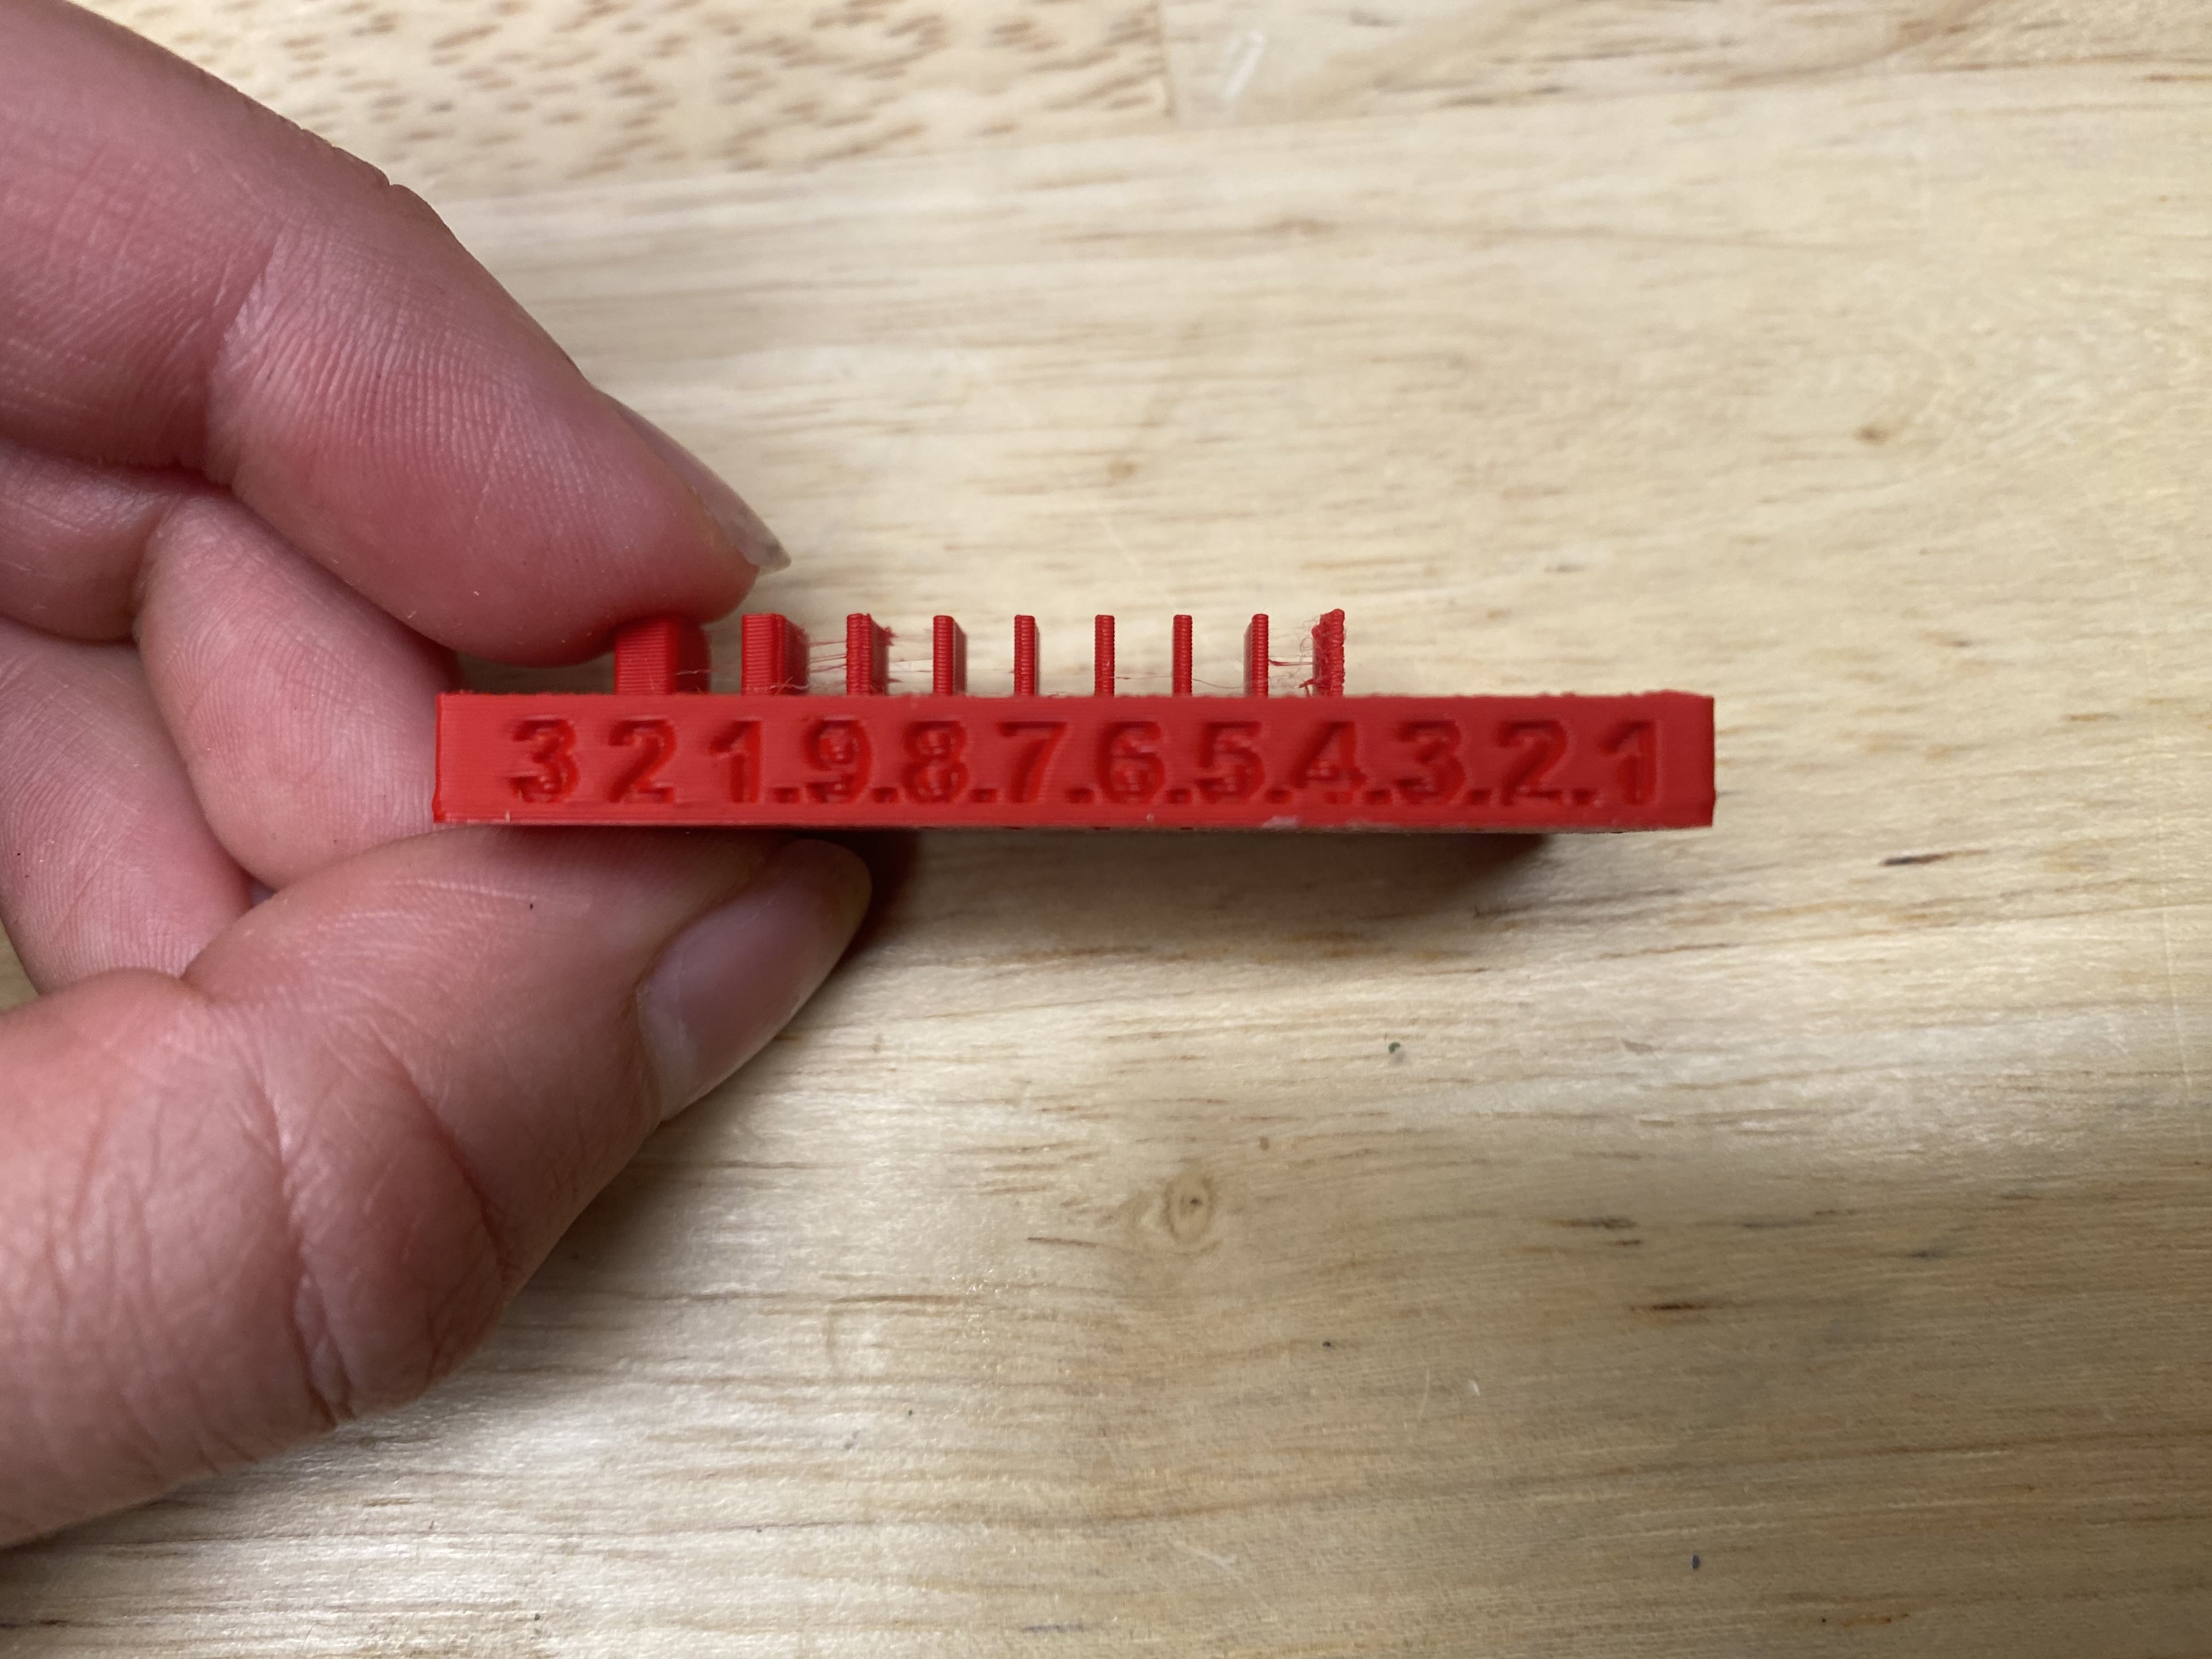

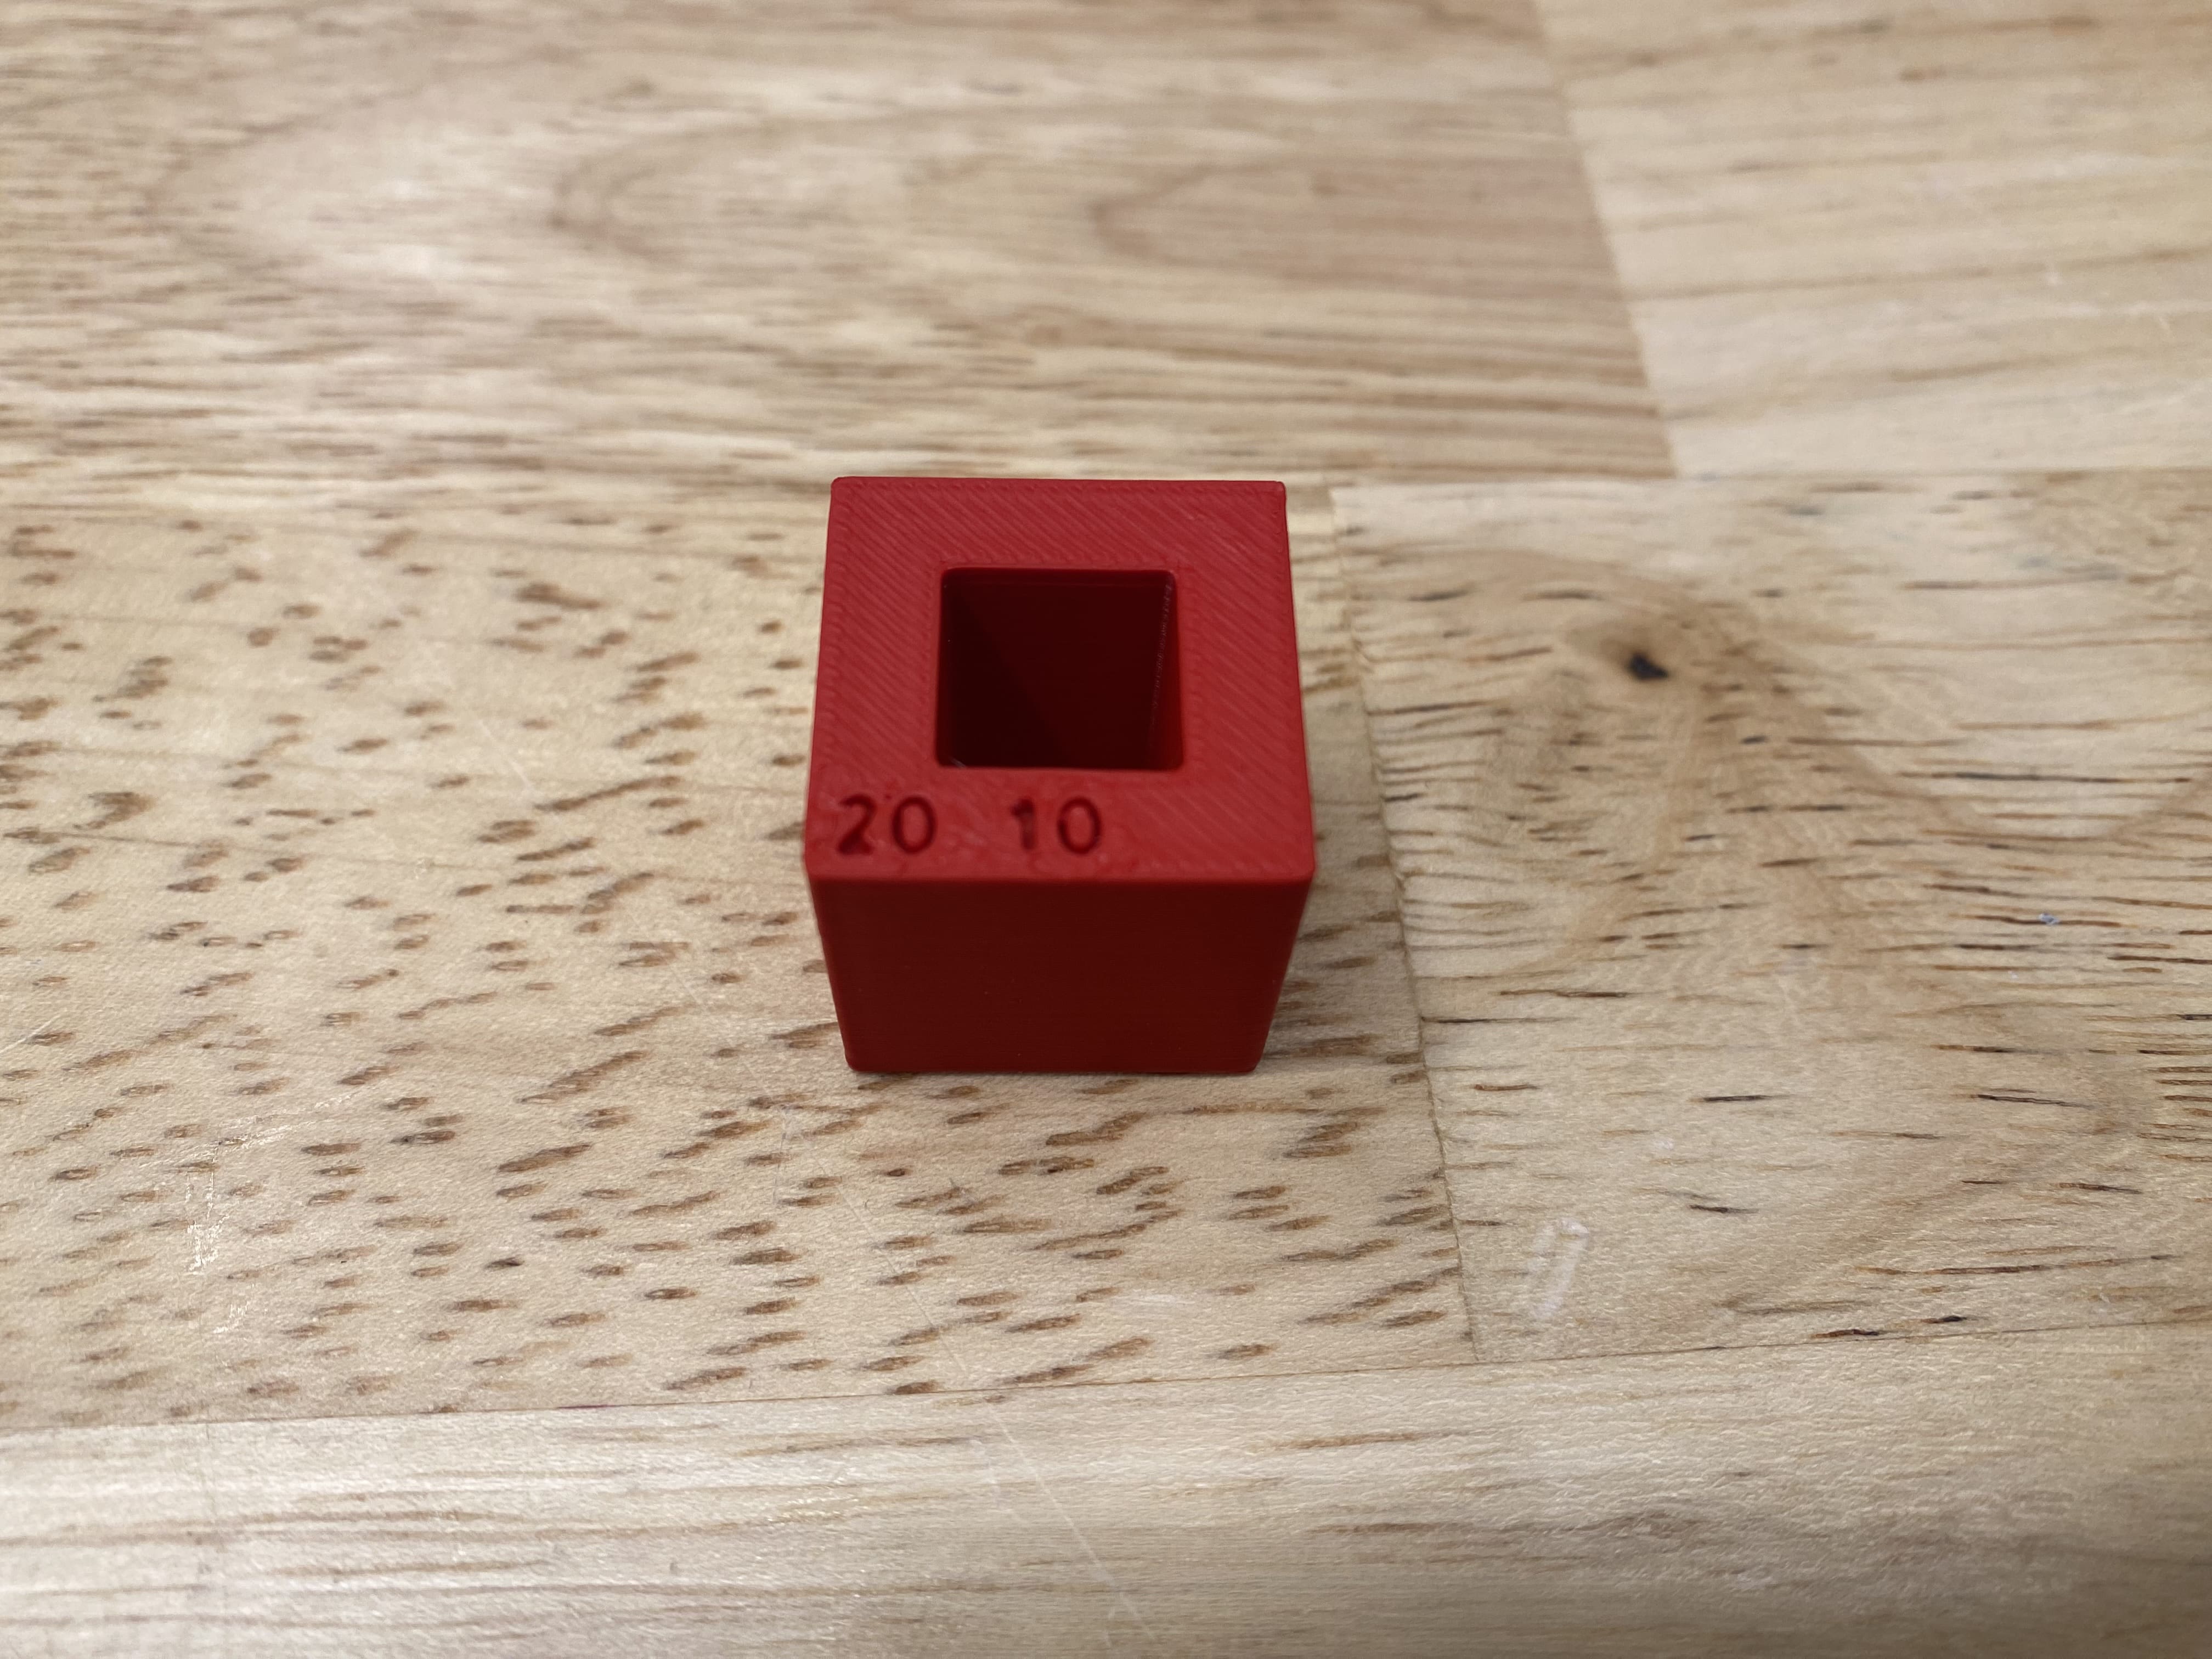
I began the week by printing out the test pieces to characterize my 3D printer. I am the Maker Space Chair for New Vassar, so I had the privilege of working in the New Vassar Maker Space with 2 Bambu X1 Carbons and an A1 Mini. While people seem to hate on bambu for being closed source, you cannot deny that their printers are easy to use and give good results for their price. I was most impressed with the overhang test. Even at an overhang of 2cm I saw minimum sagging!
It was now time to start some test prints! I first needed to figure out what extruder multiplier to use. The paper gave a wide range from 0.7-0.4, but I only started seeing results when I set the extruder multiplier to around 0.4. Maybe this is a quirk of the bambu slicer trying its best to avoid defects in prints, but I never had enough time to fully troubleshoot. I tried extrusion multipliers from as low as 0.2 to as high as 0.45. This was a trade off between flexibility and strength. However with strength also came the tendency to split along layer lines
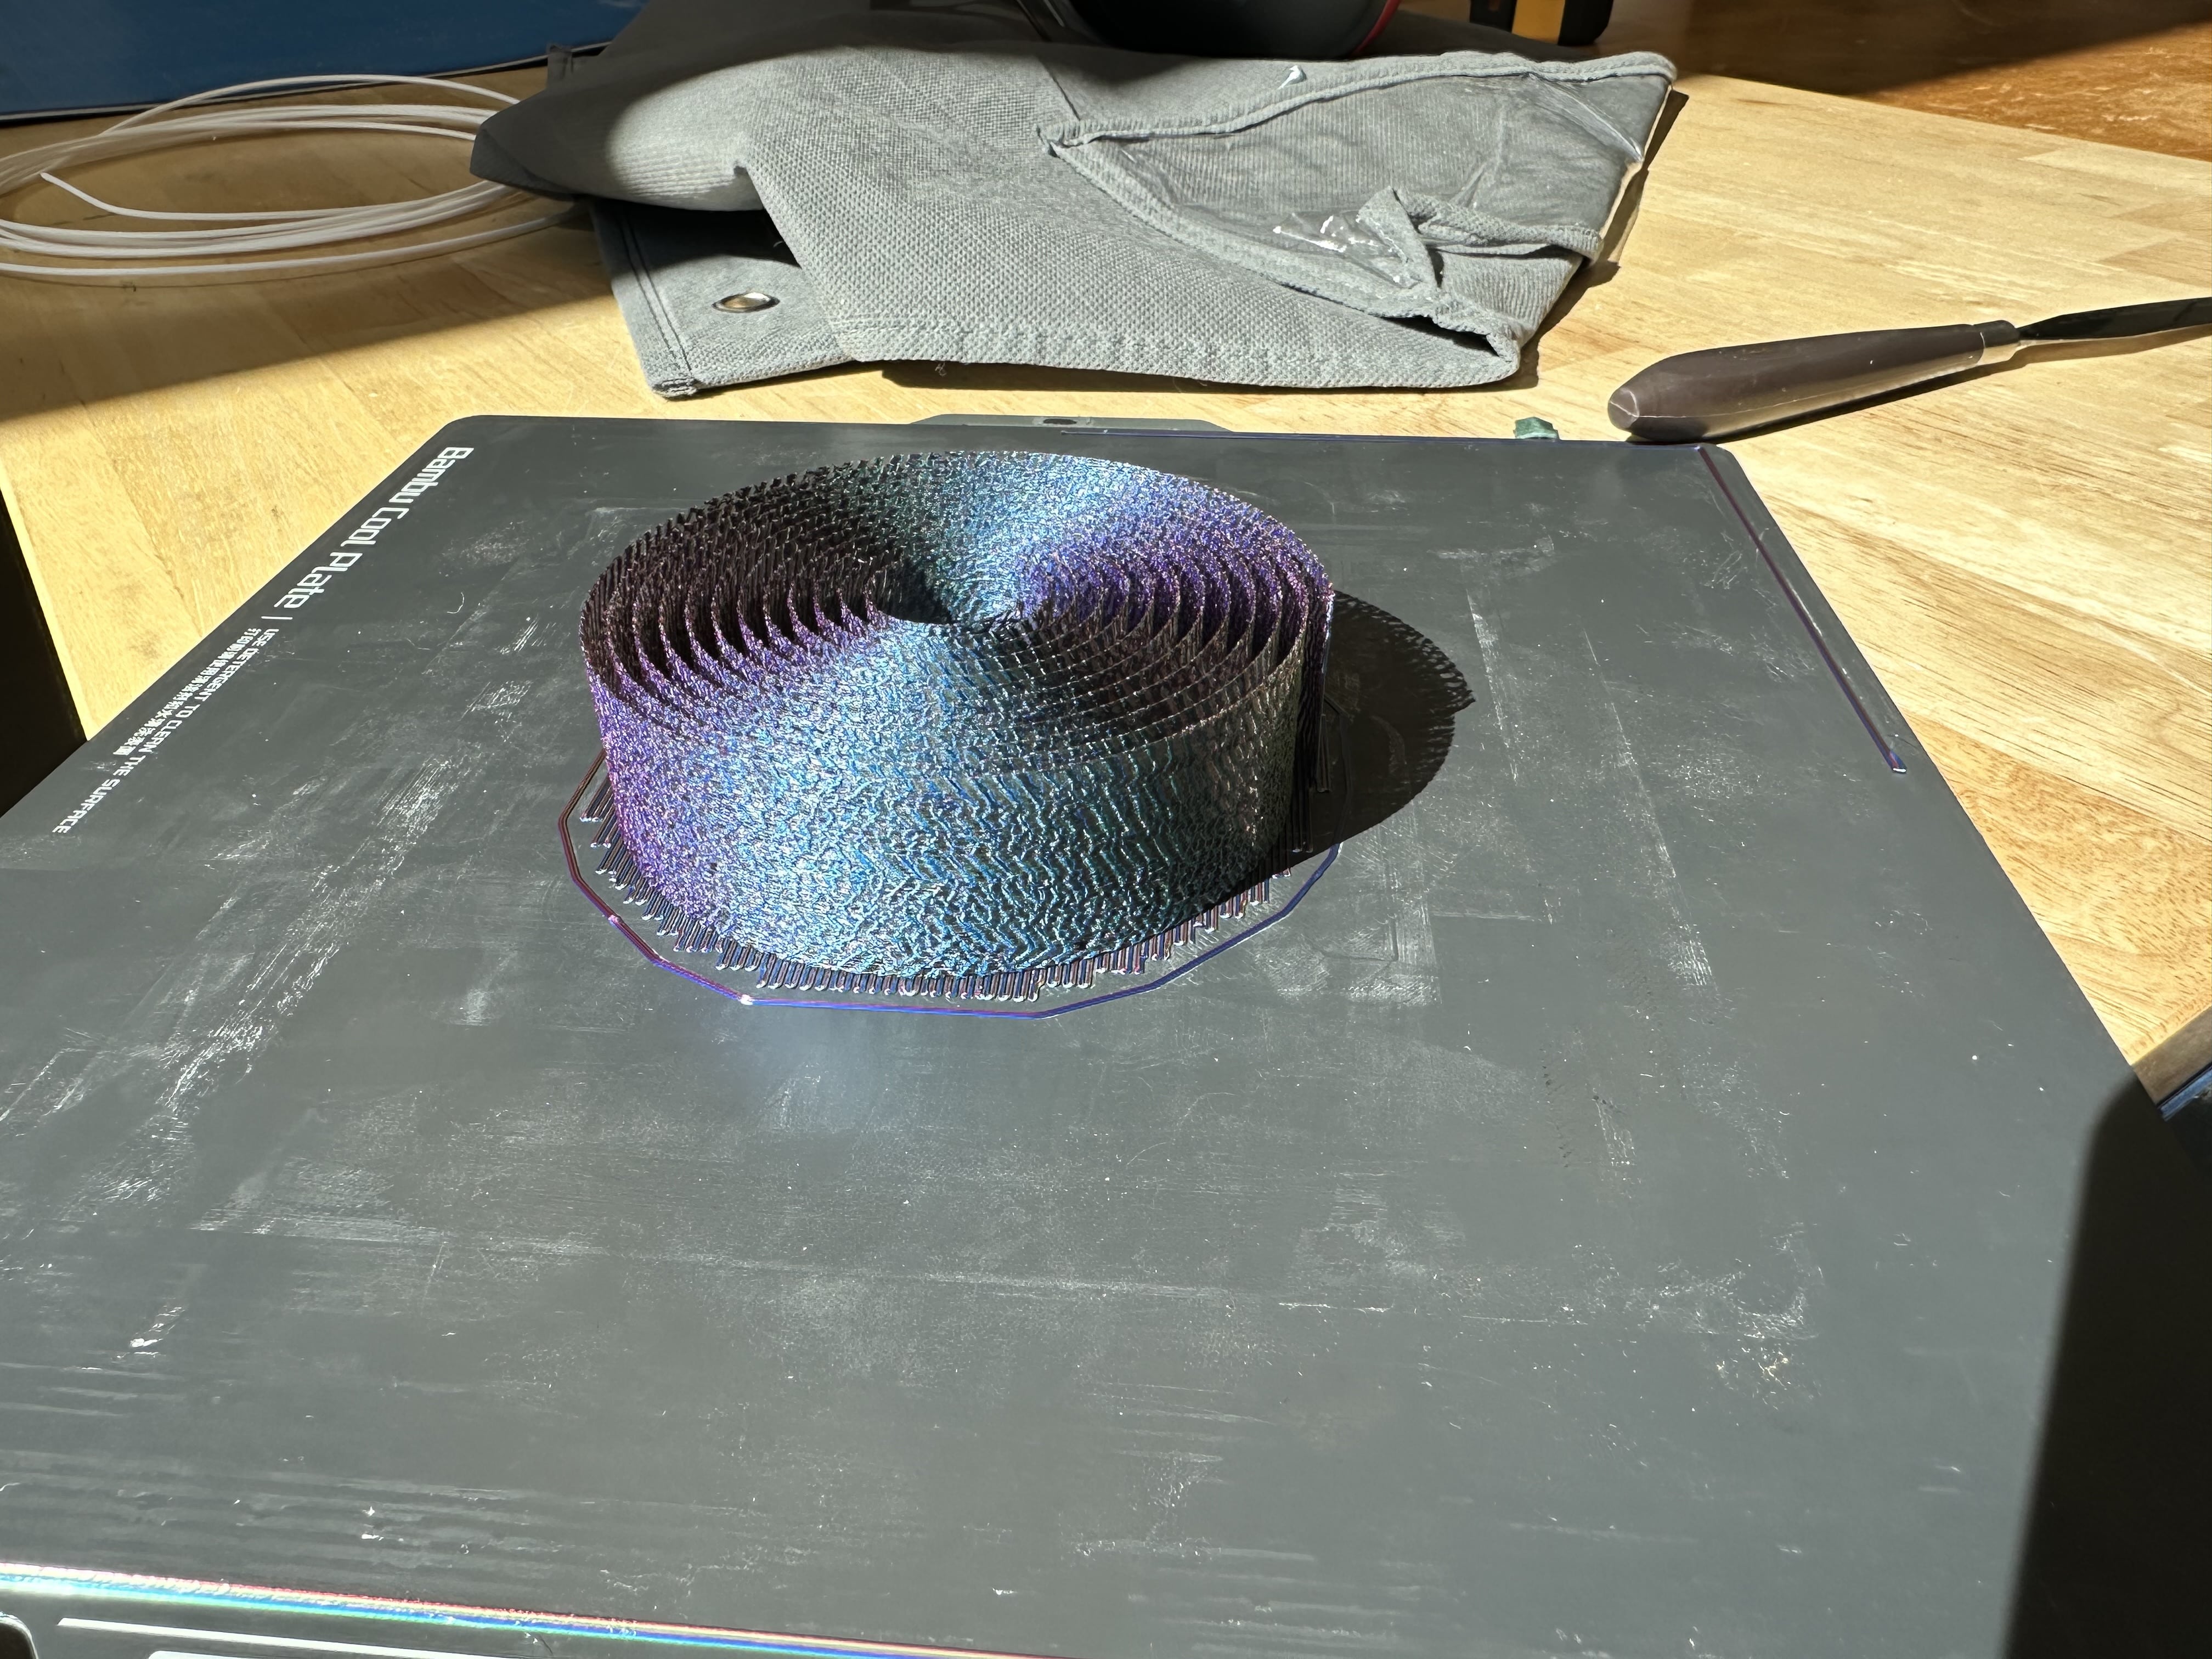
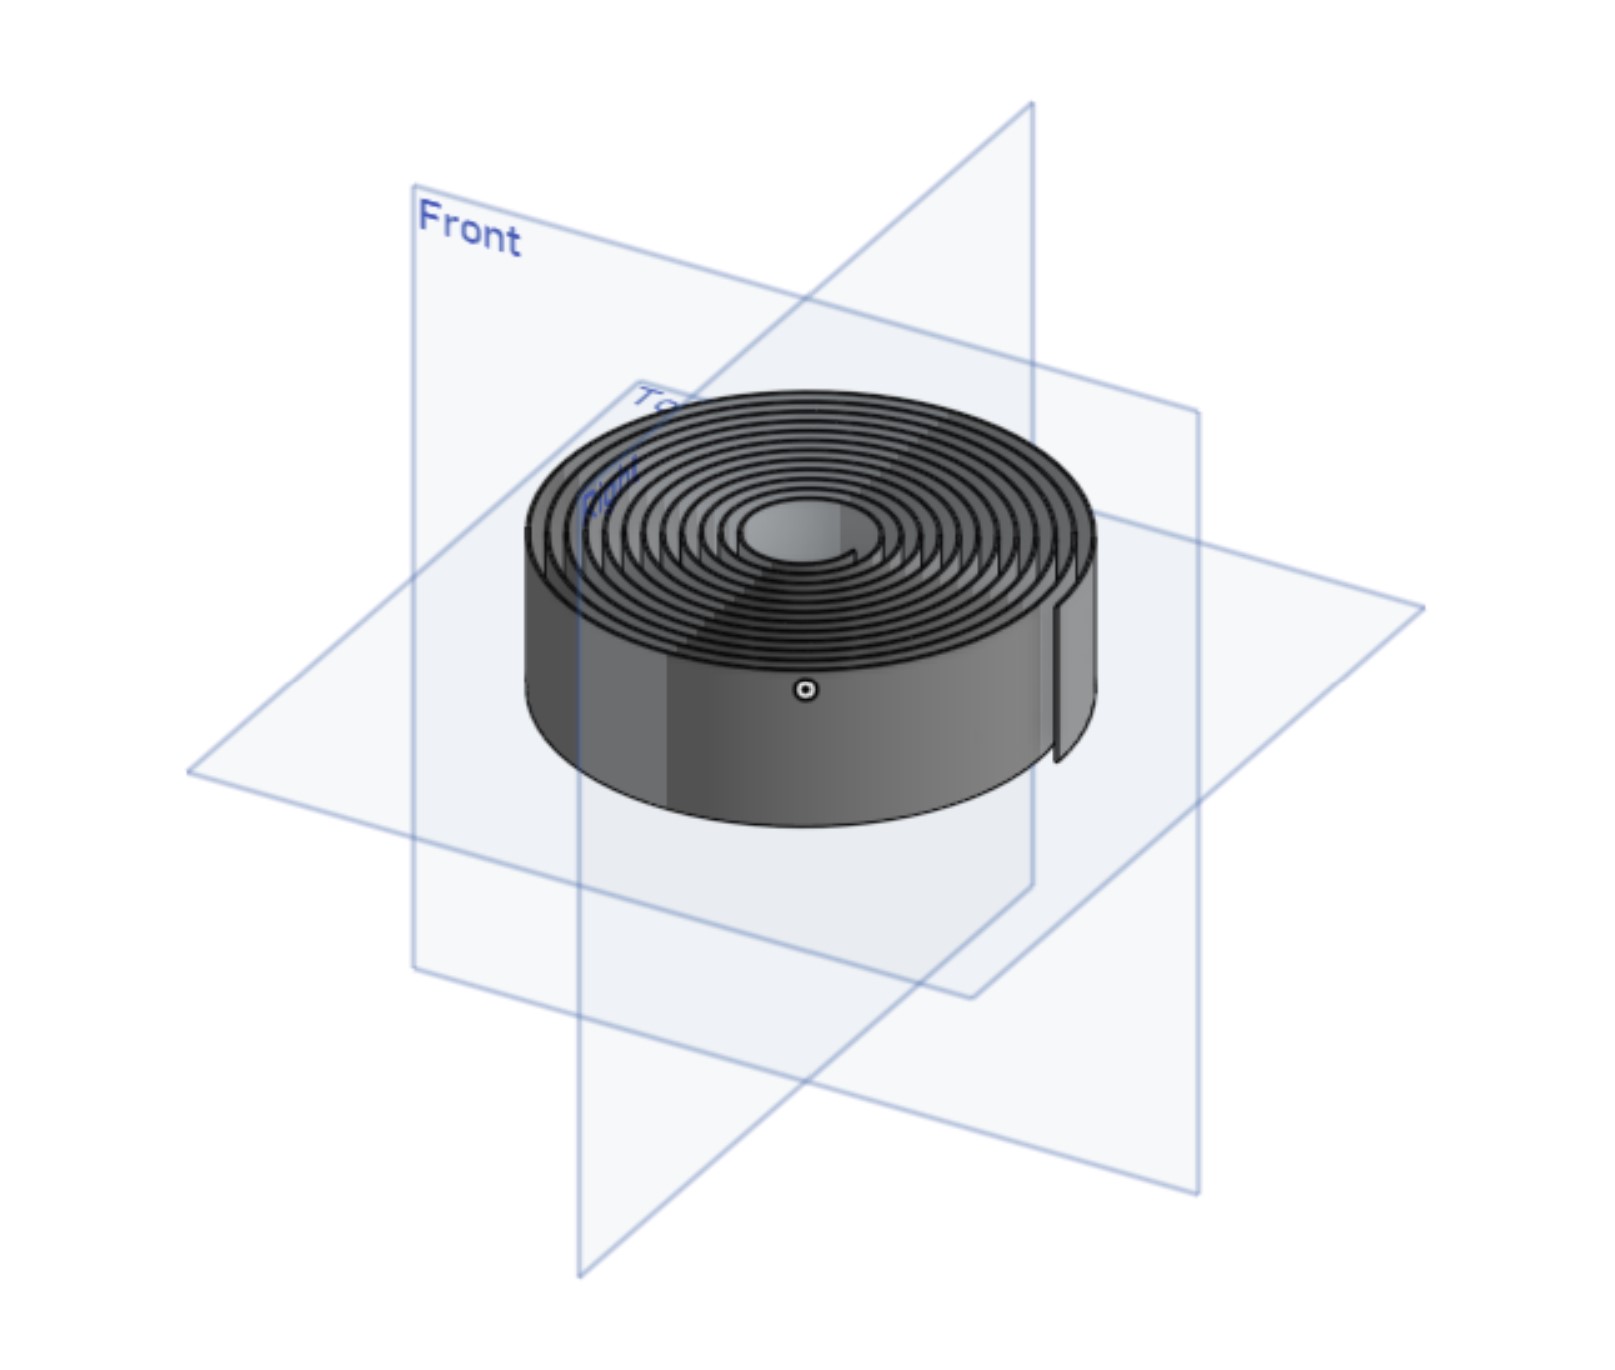
Now it was time to scale up production.
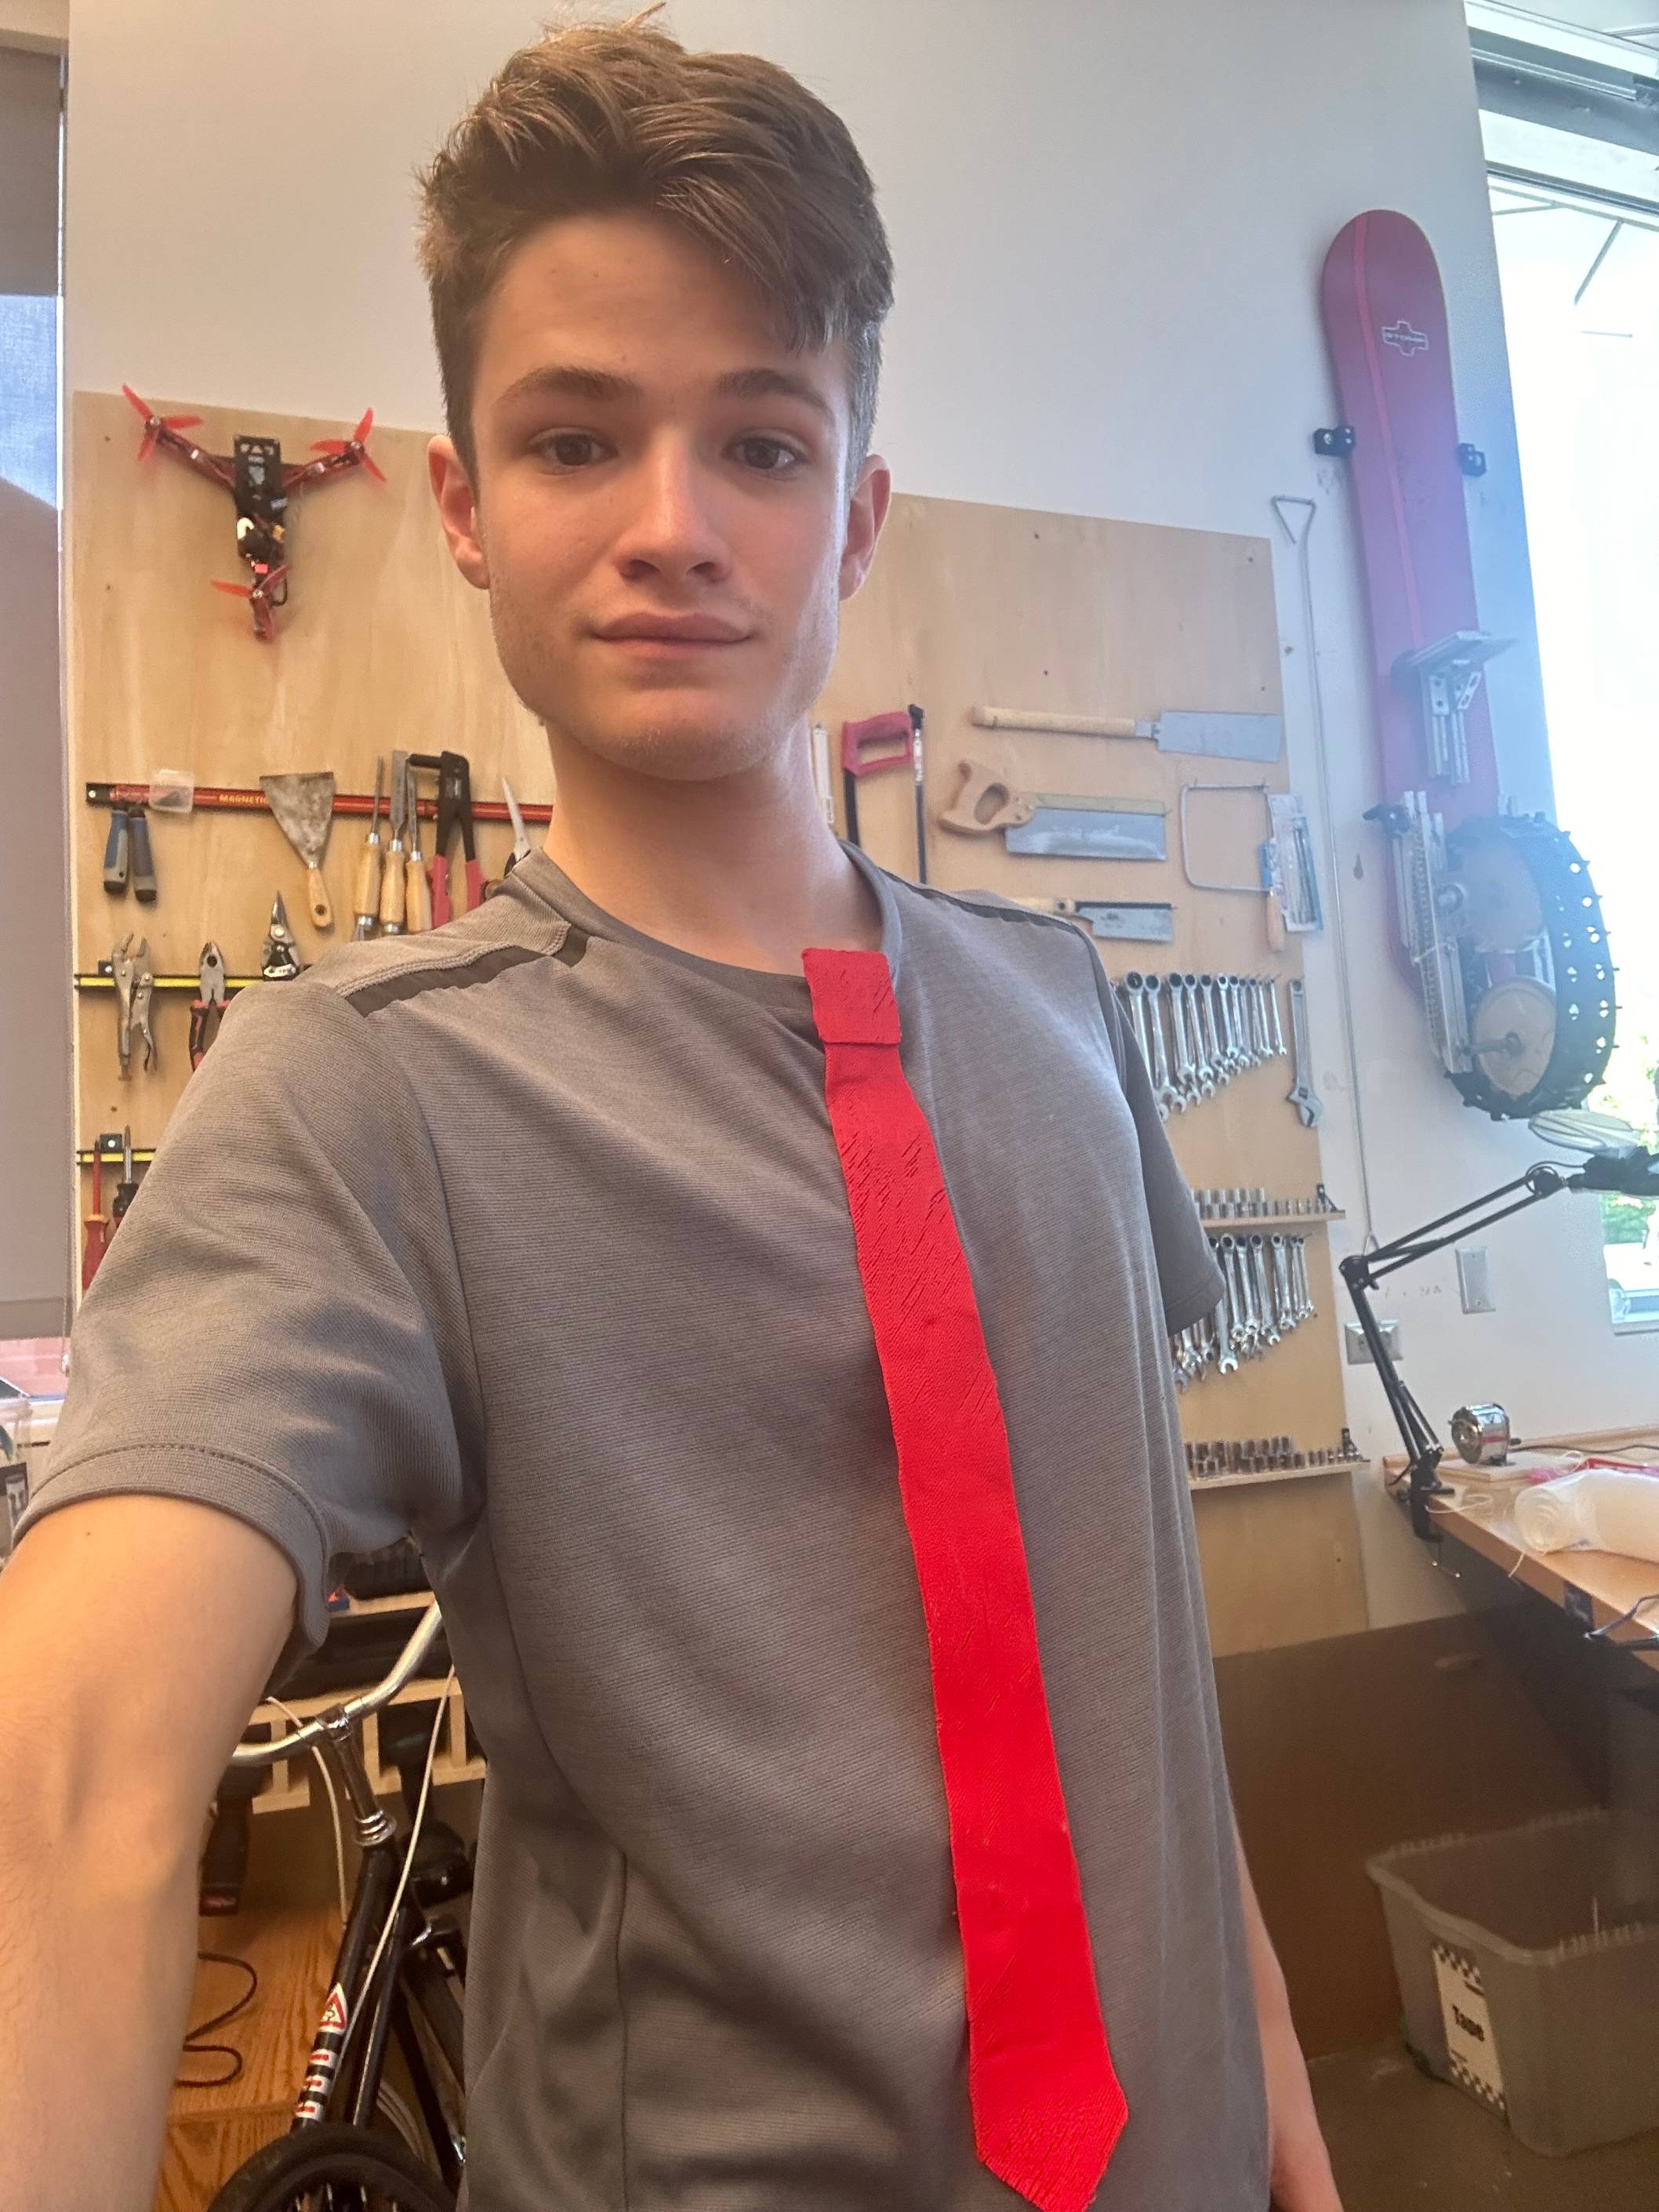
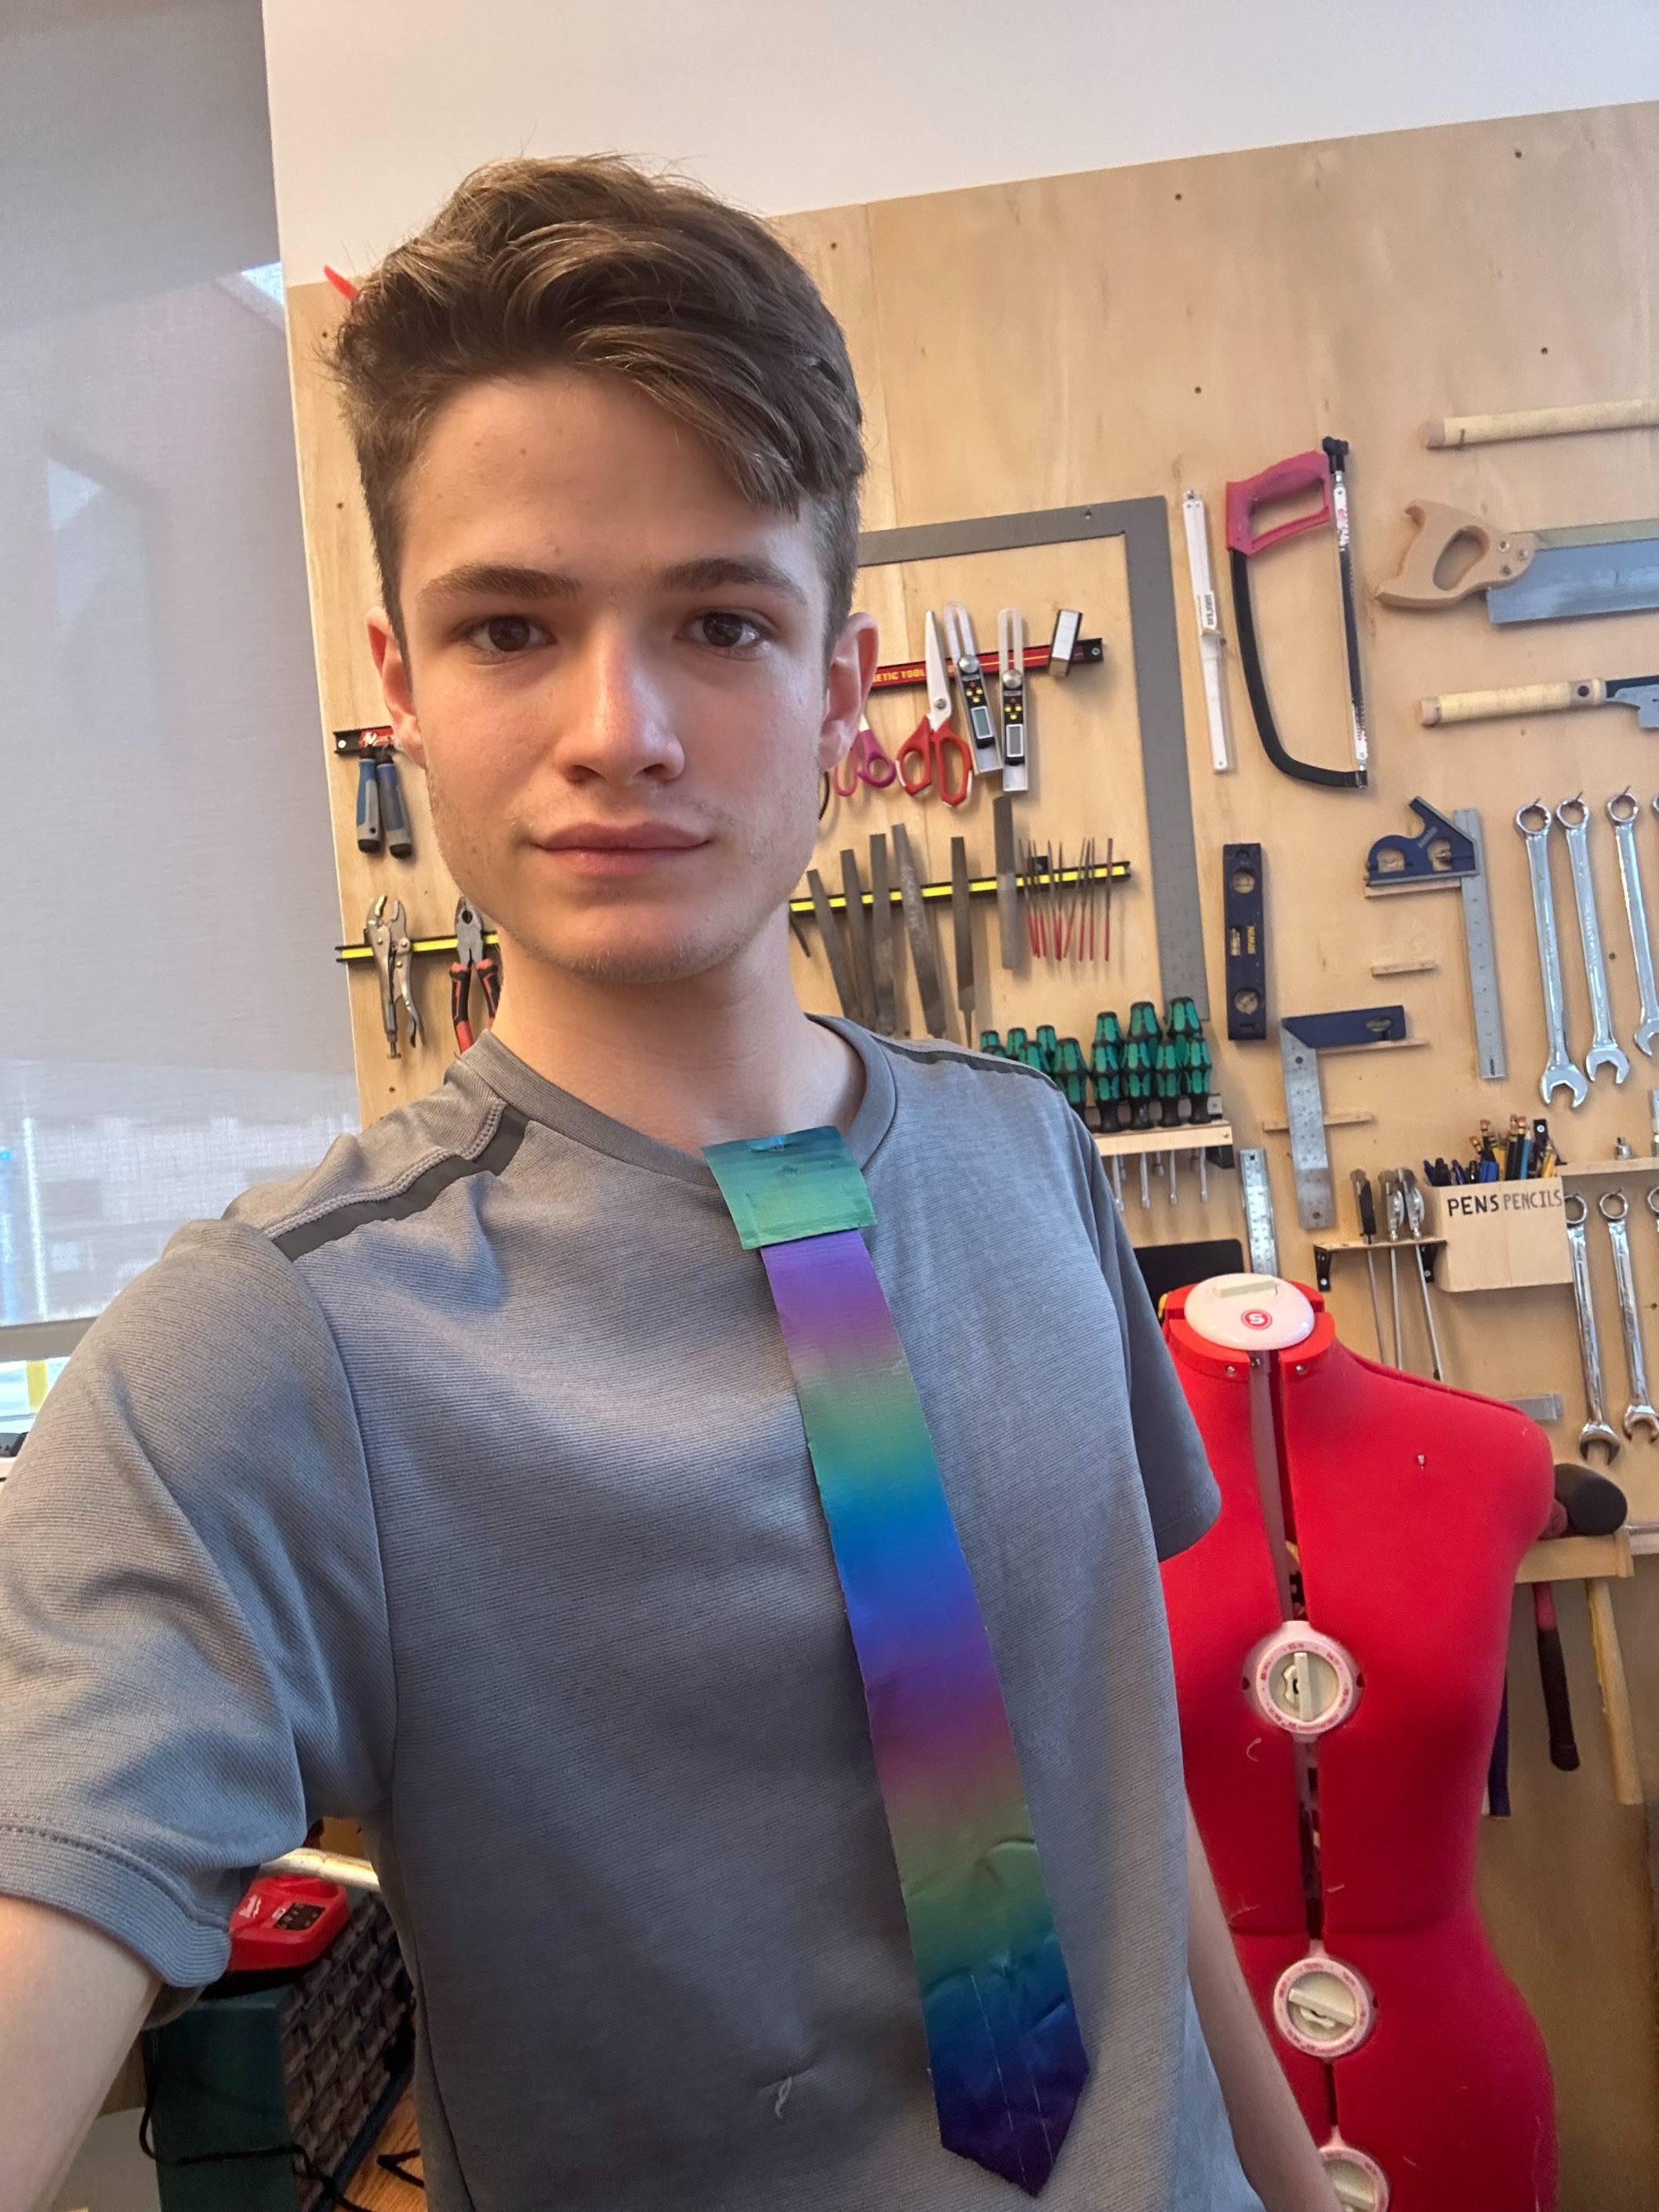
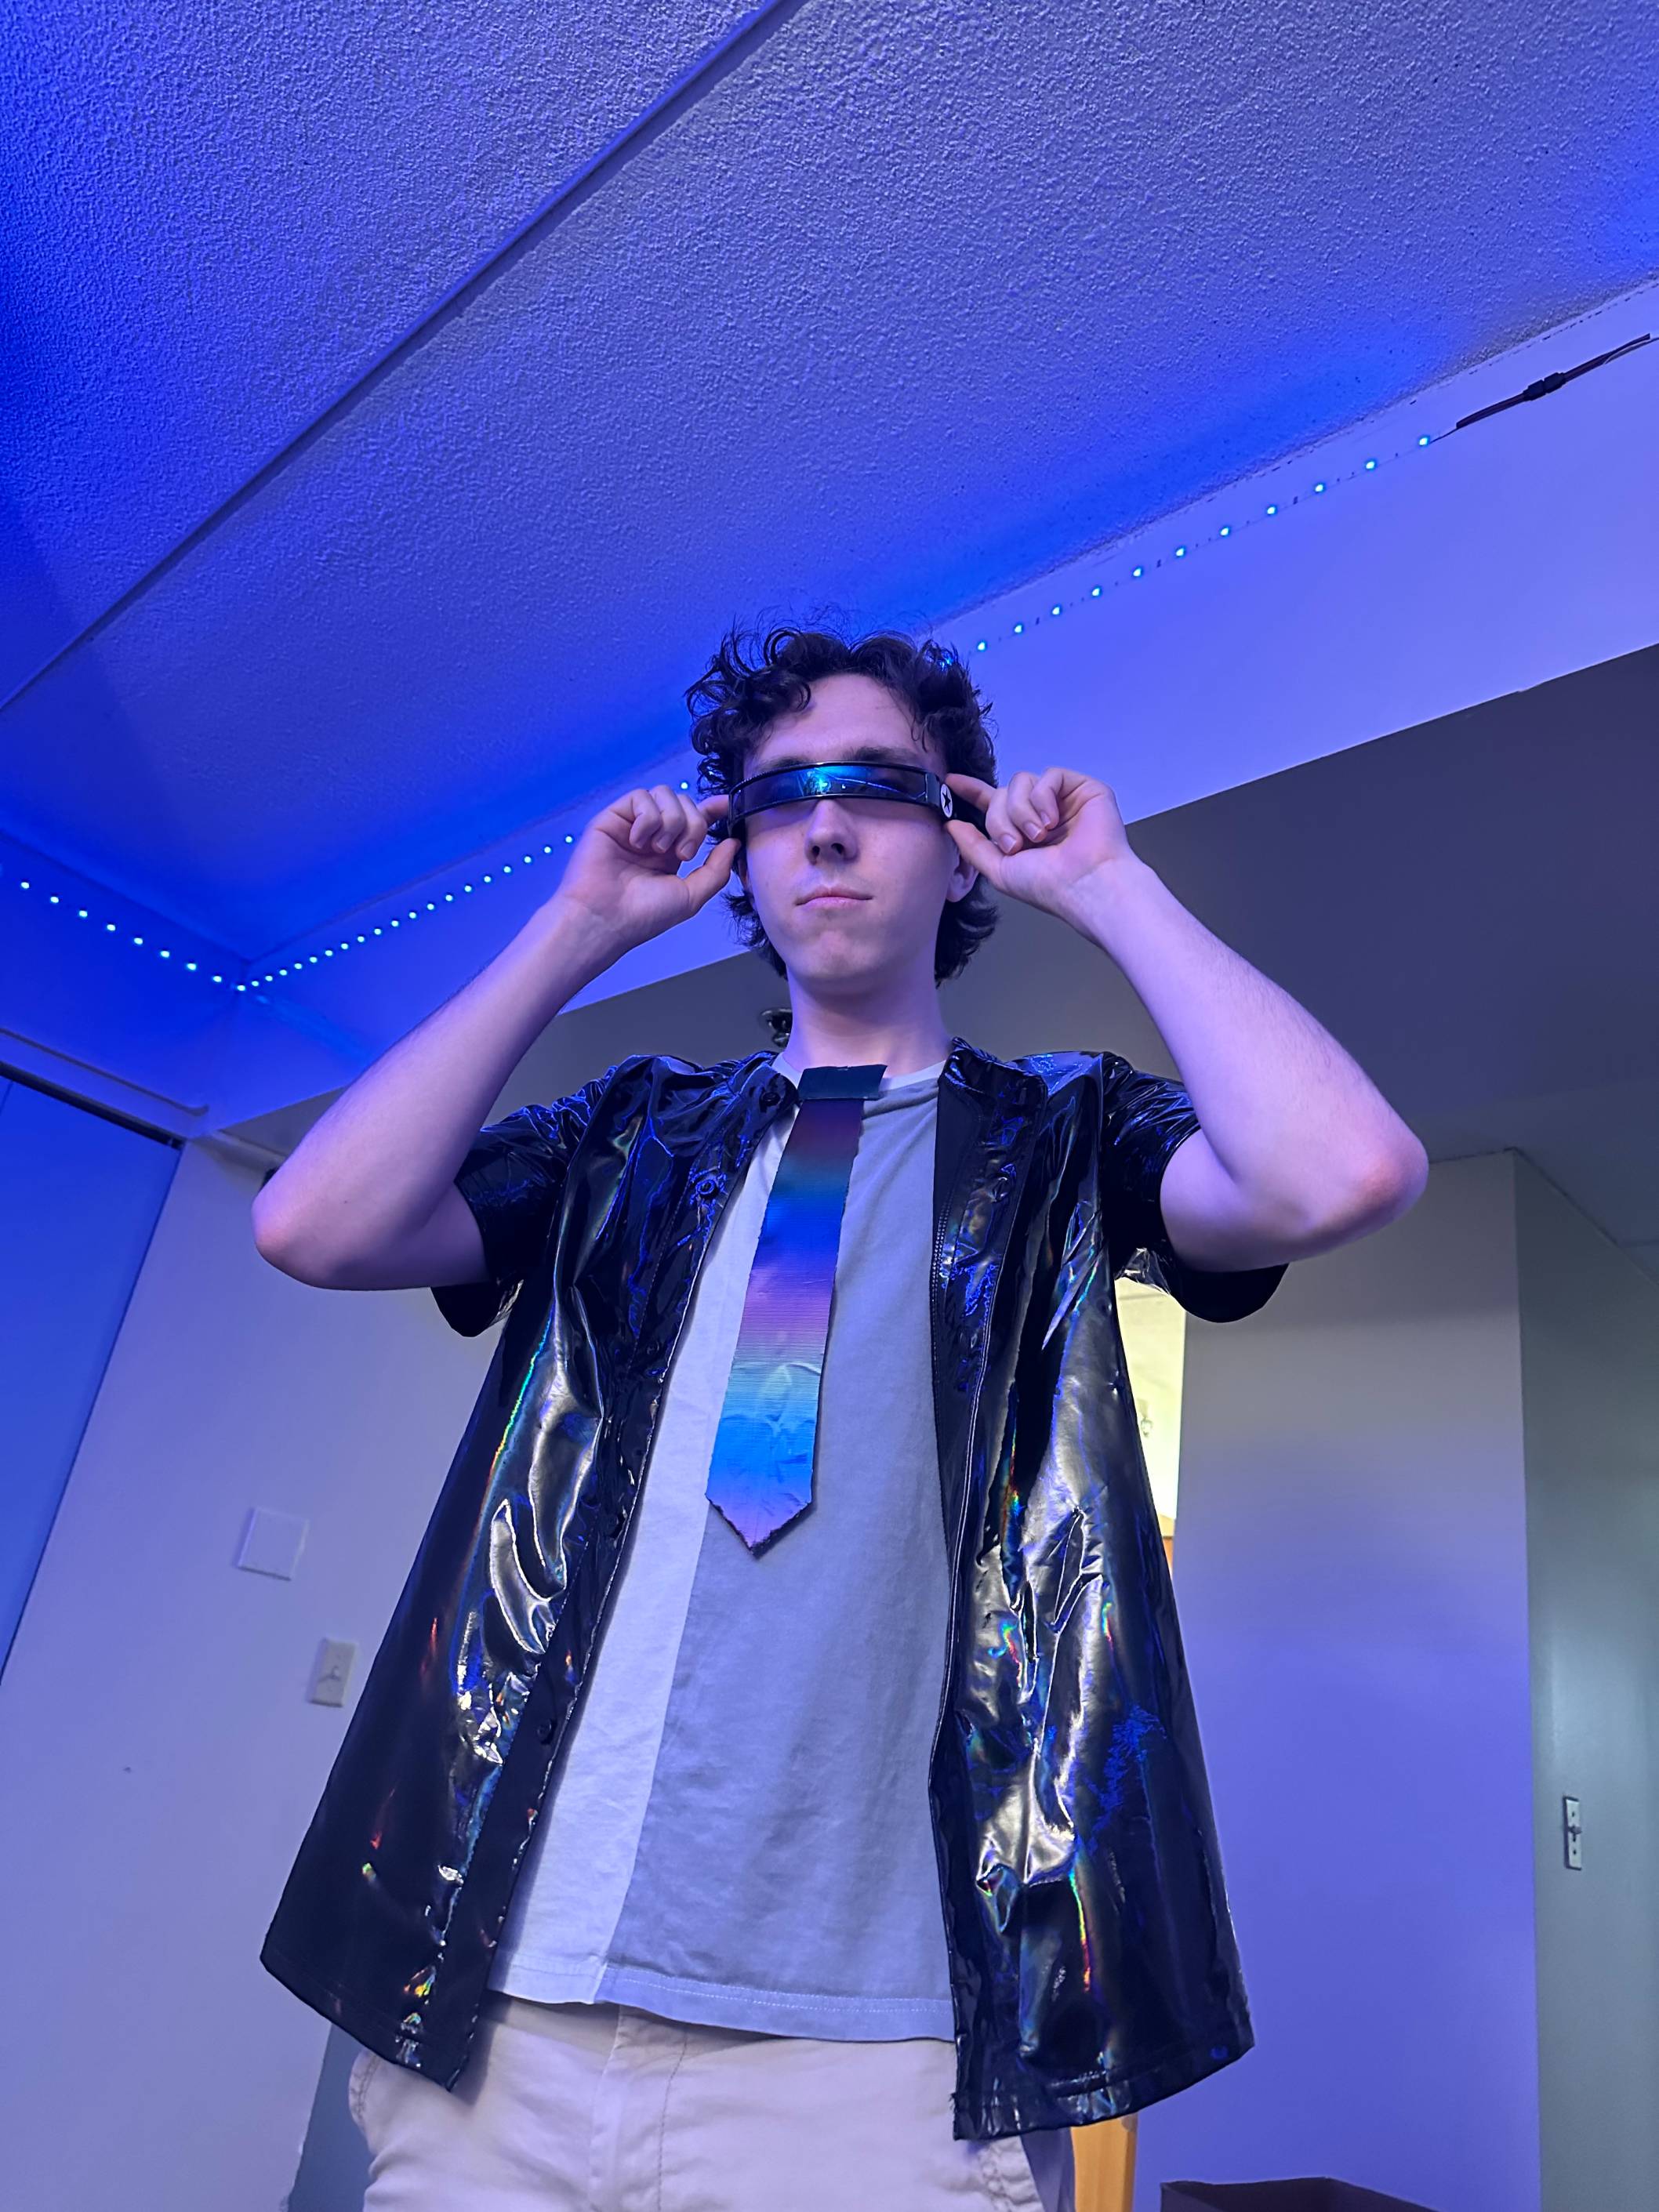
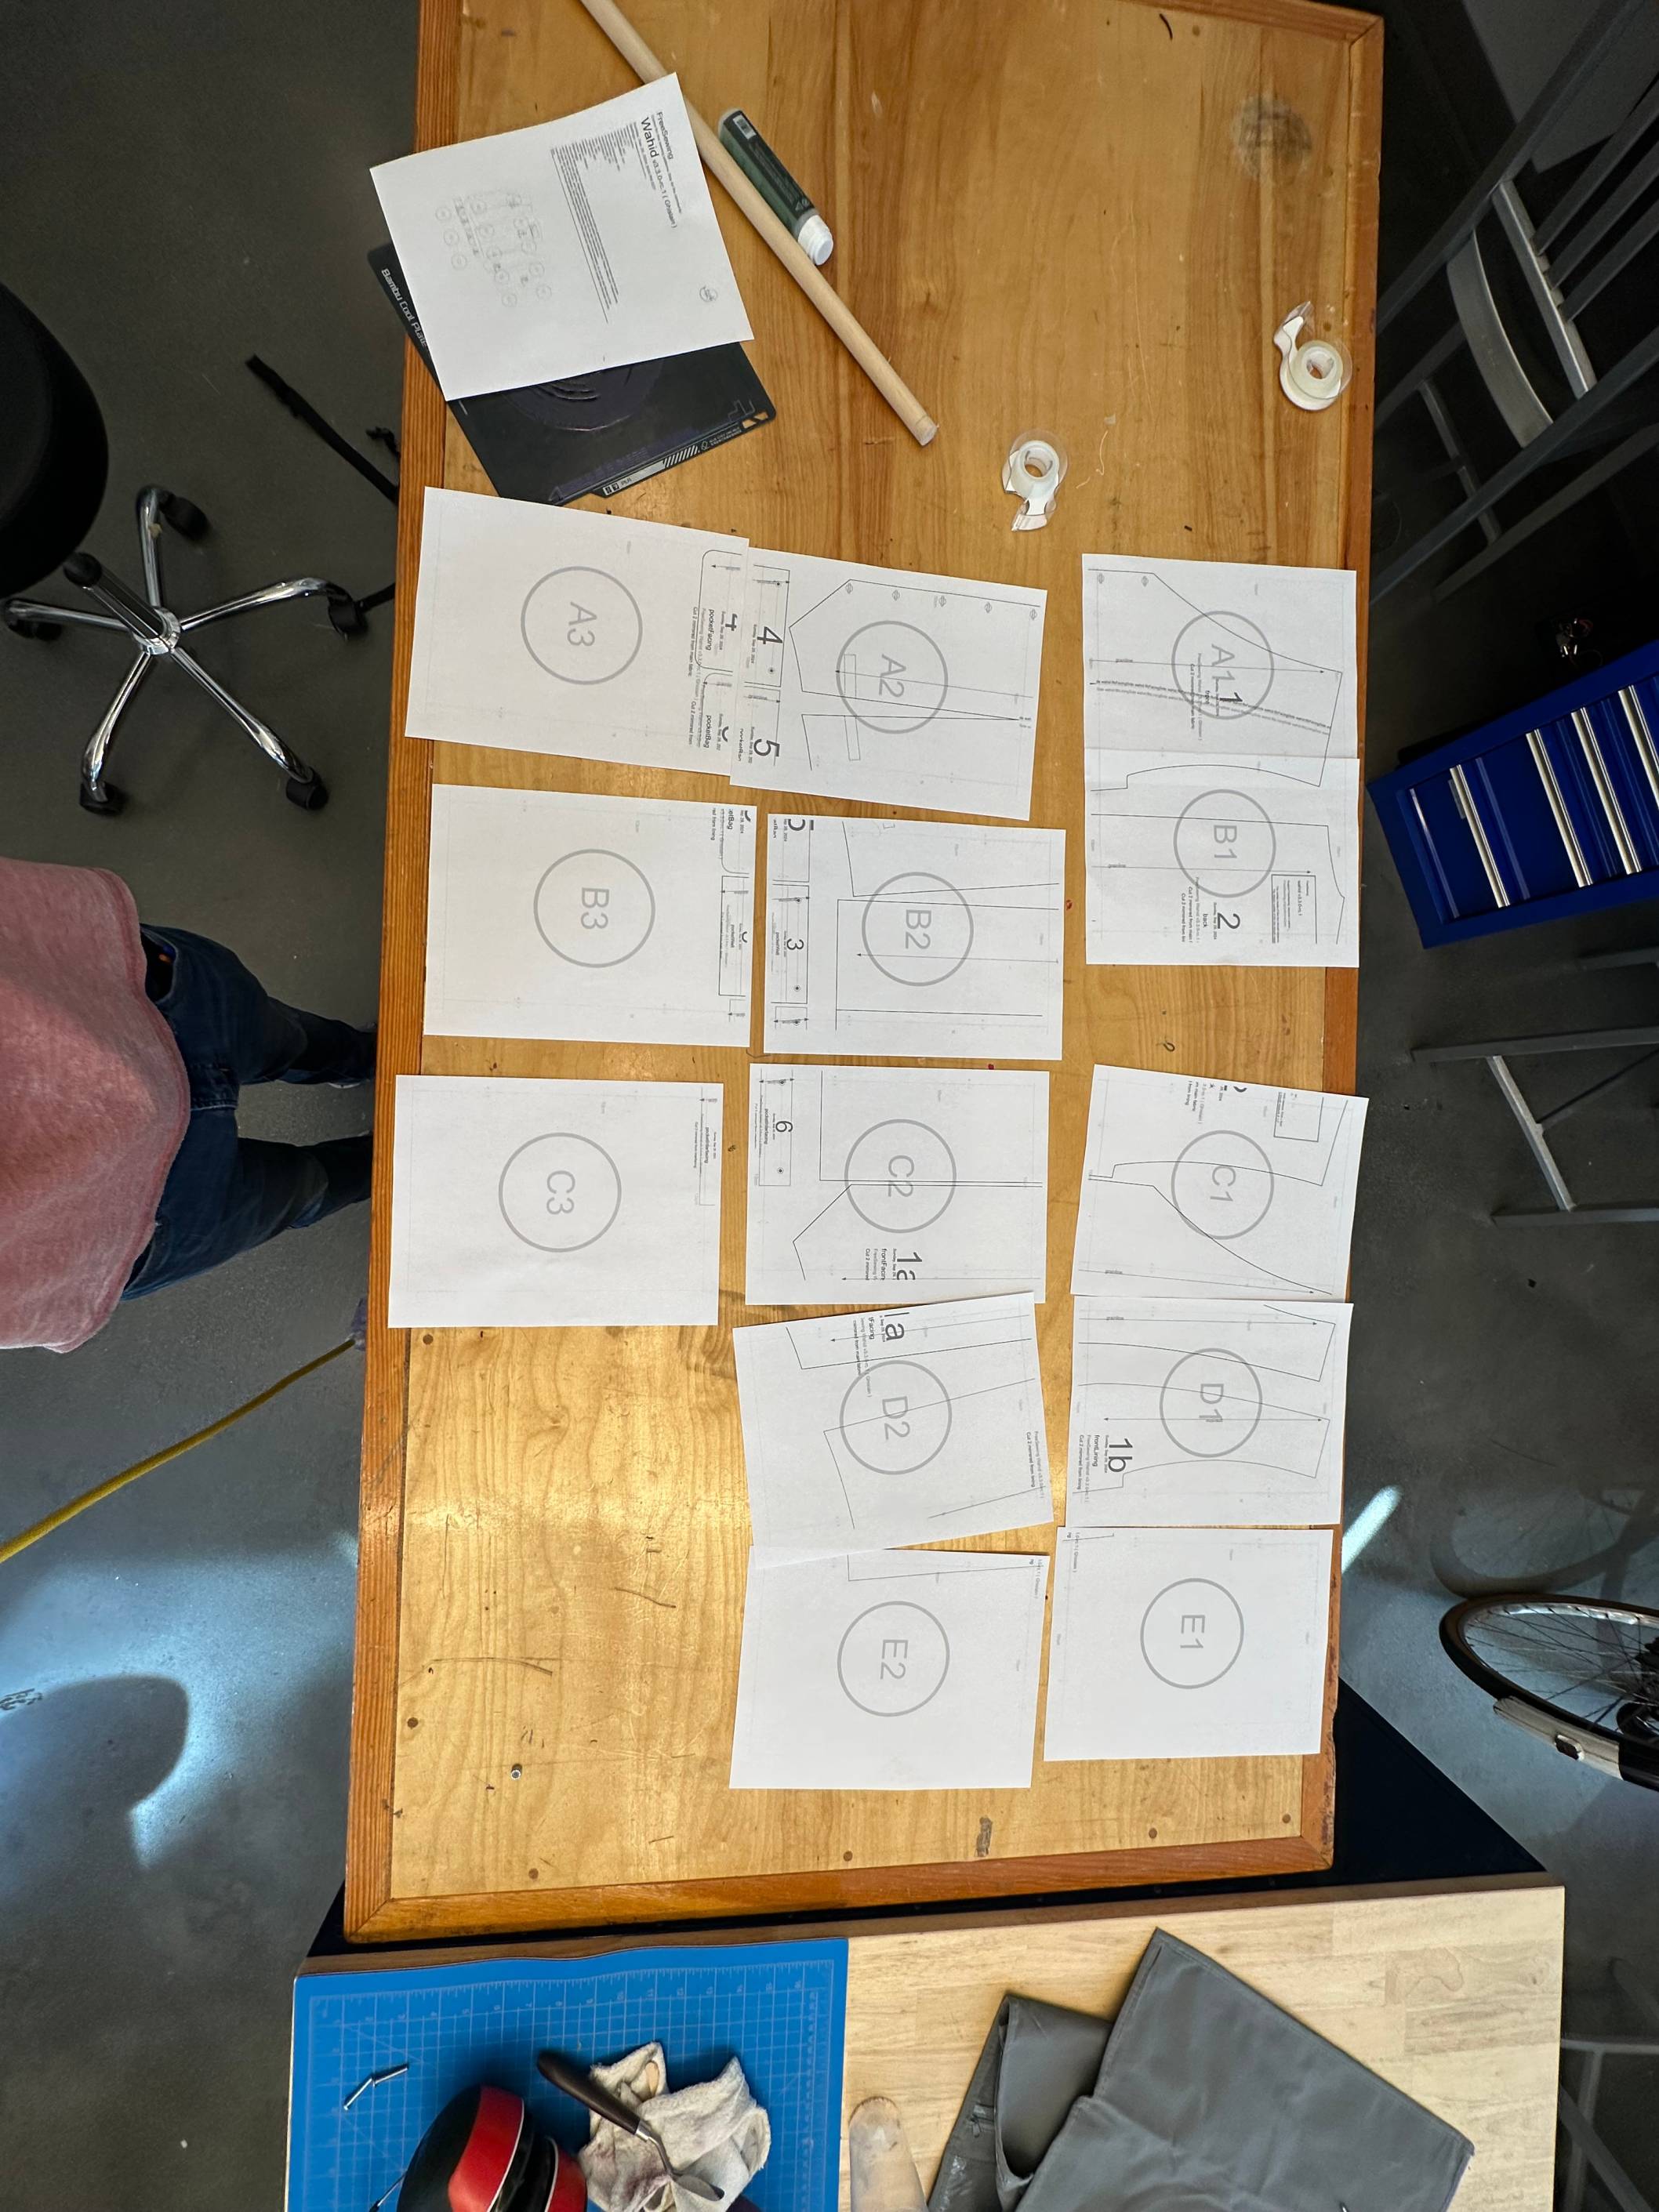
I again used an iron to flatten out the roll of PLA to a sheet that I could cut. I downloaded a sewing pattern for a waistcoat from freesewing.org and printed it out on some sheets of paper.
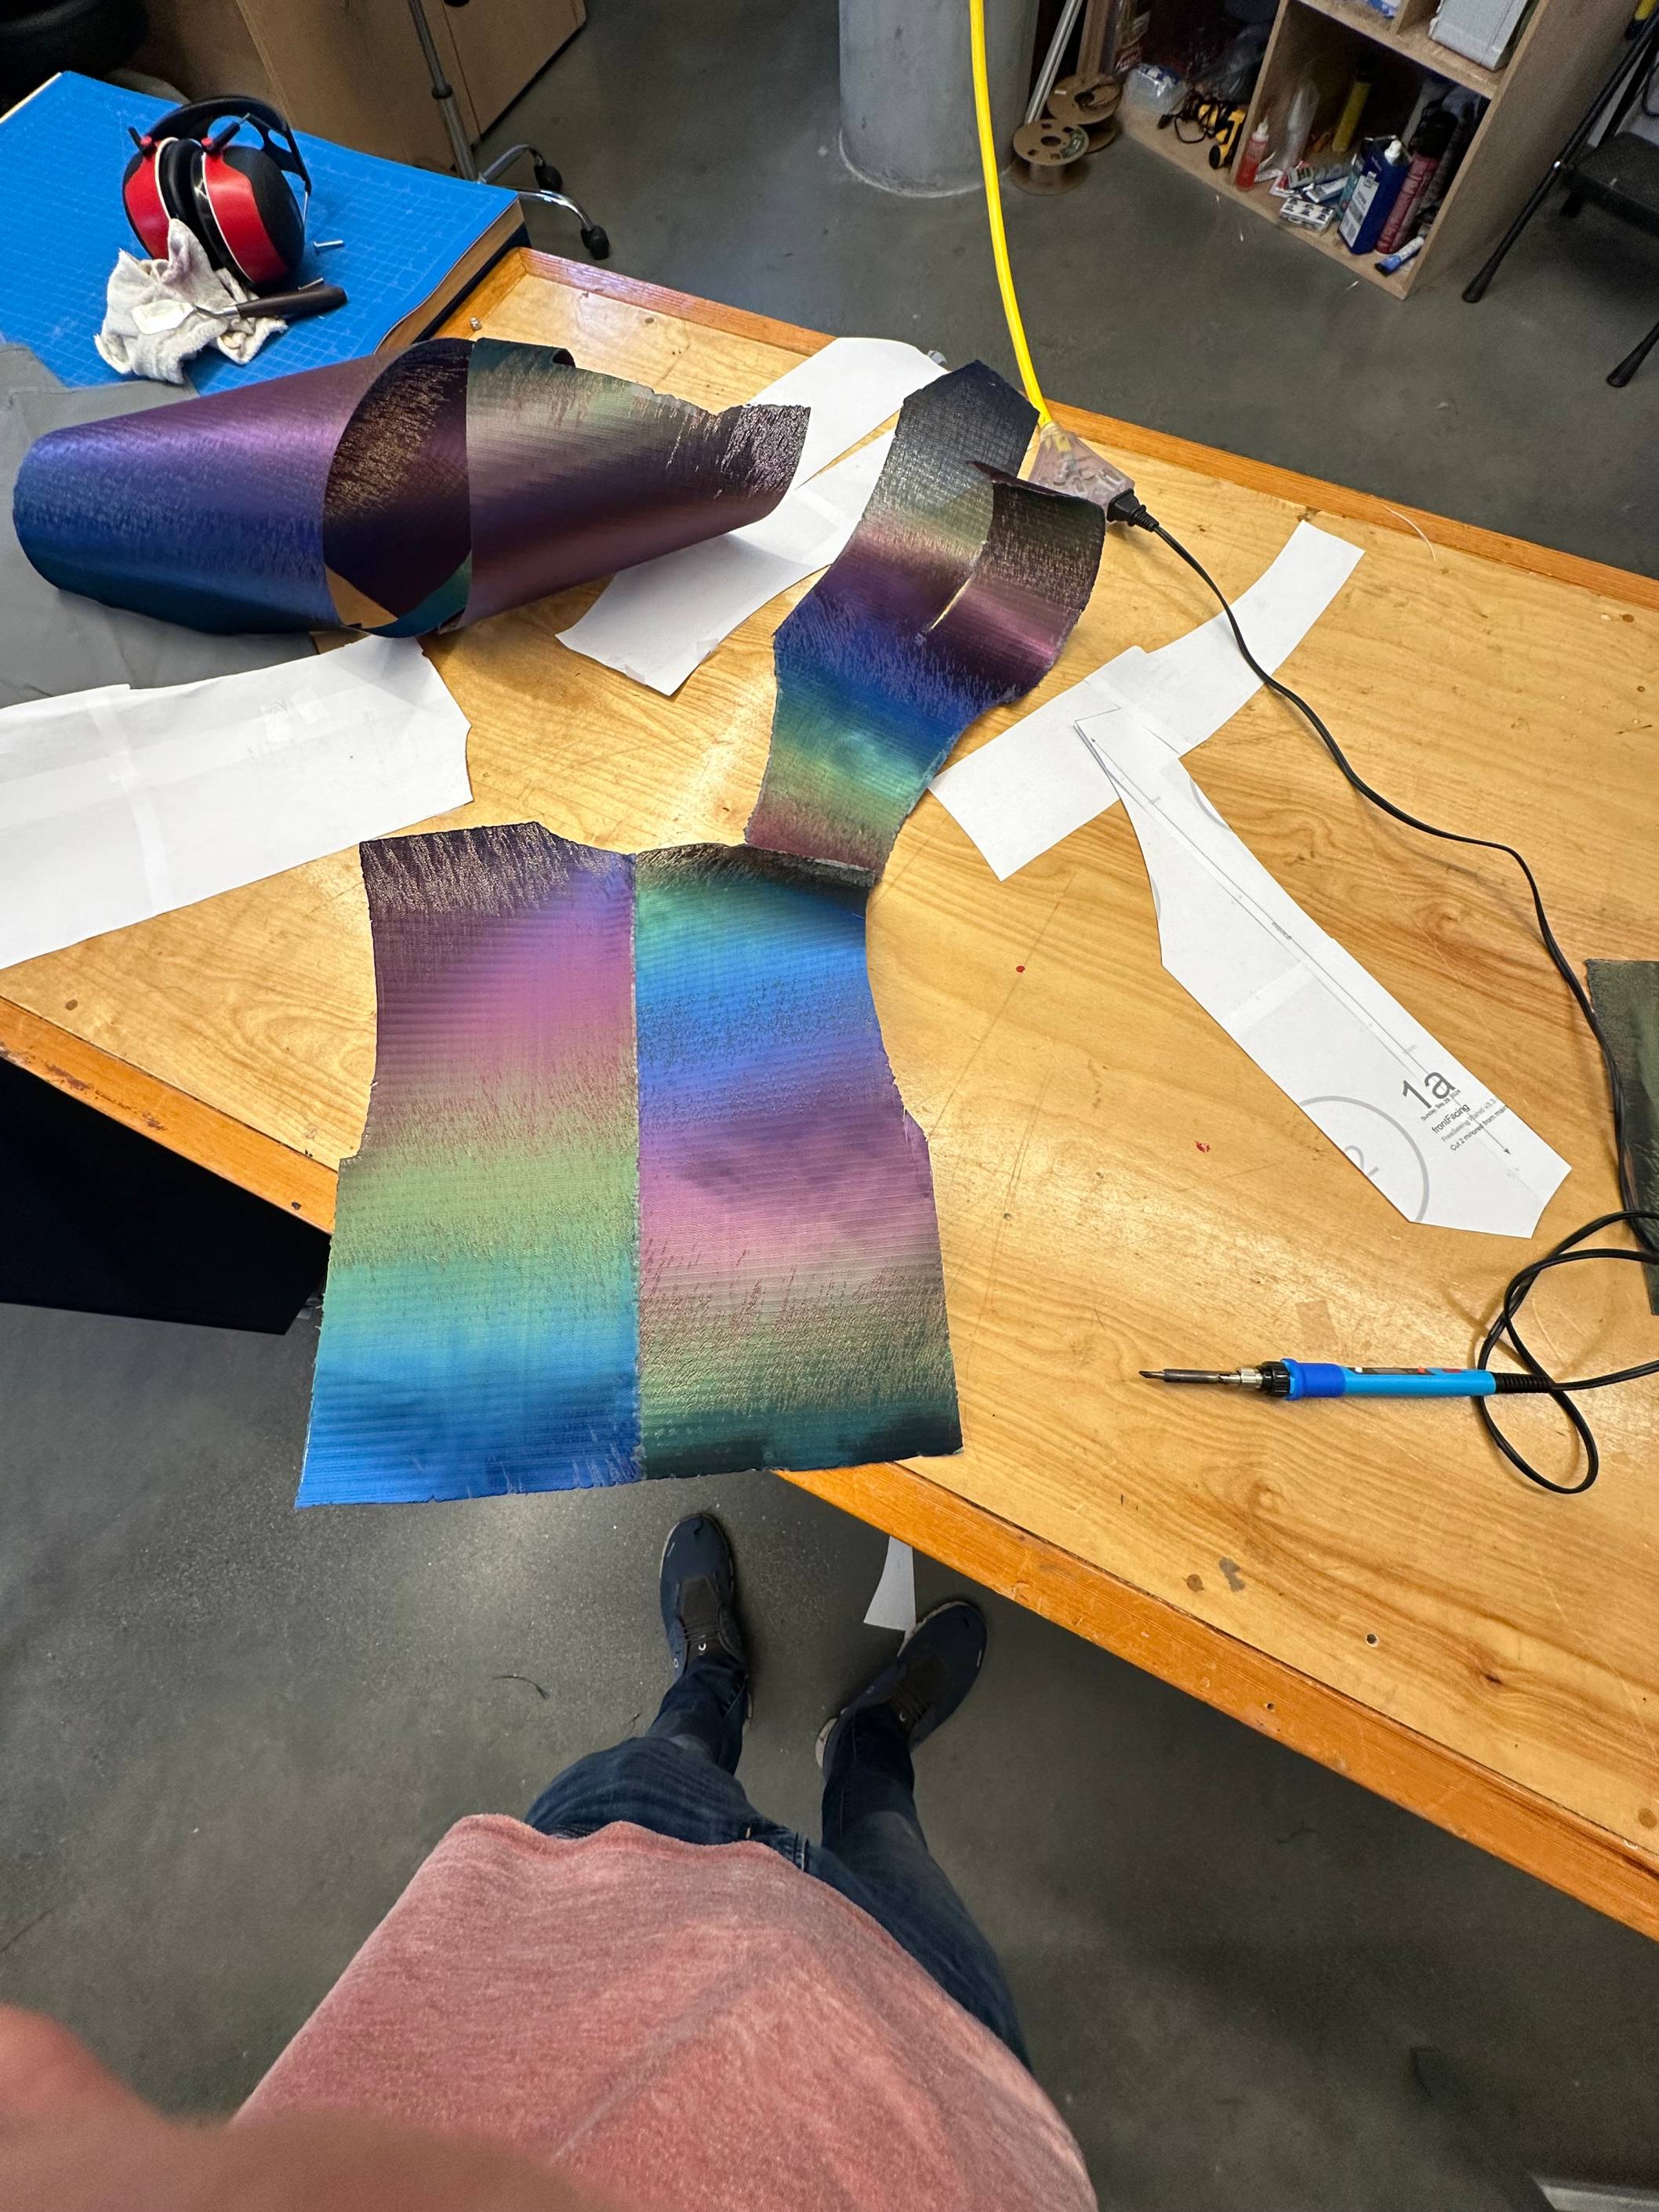

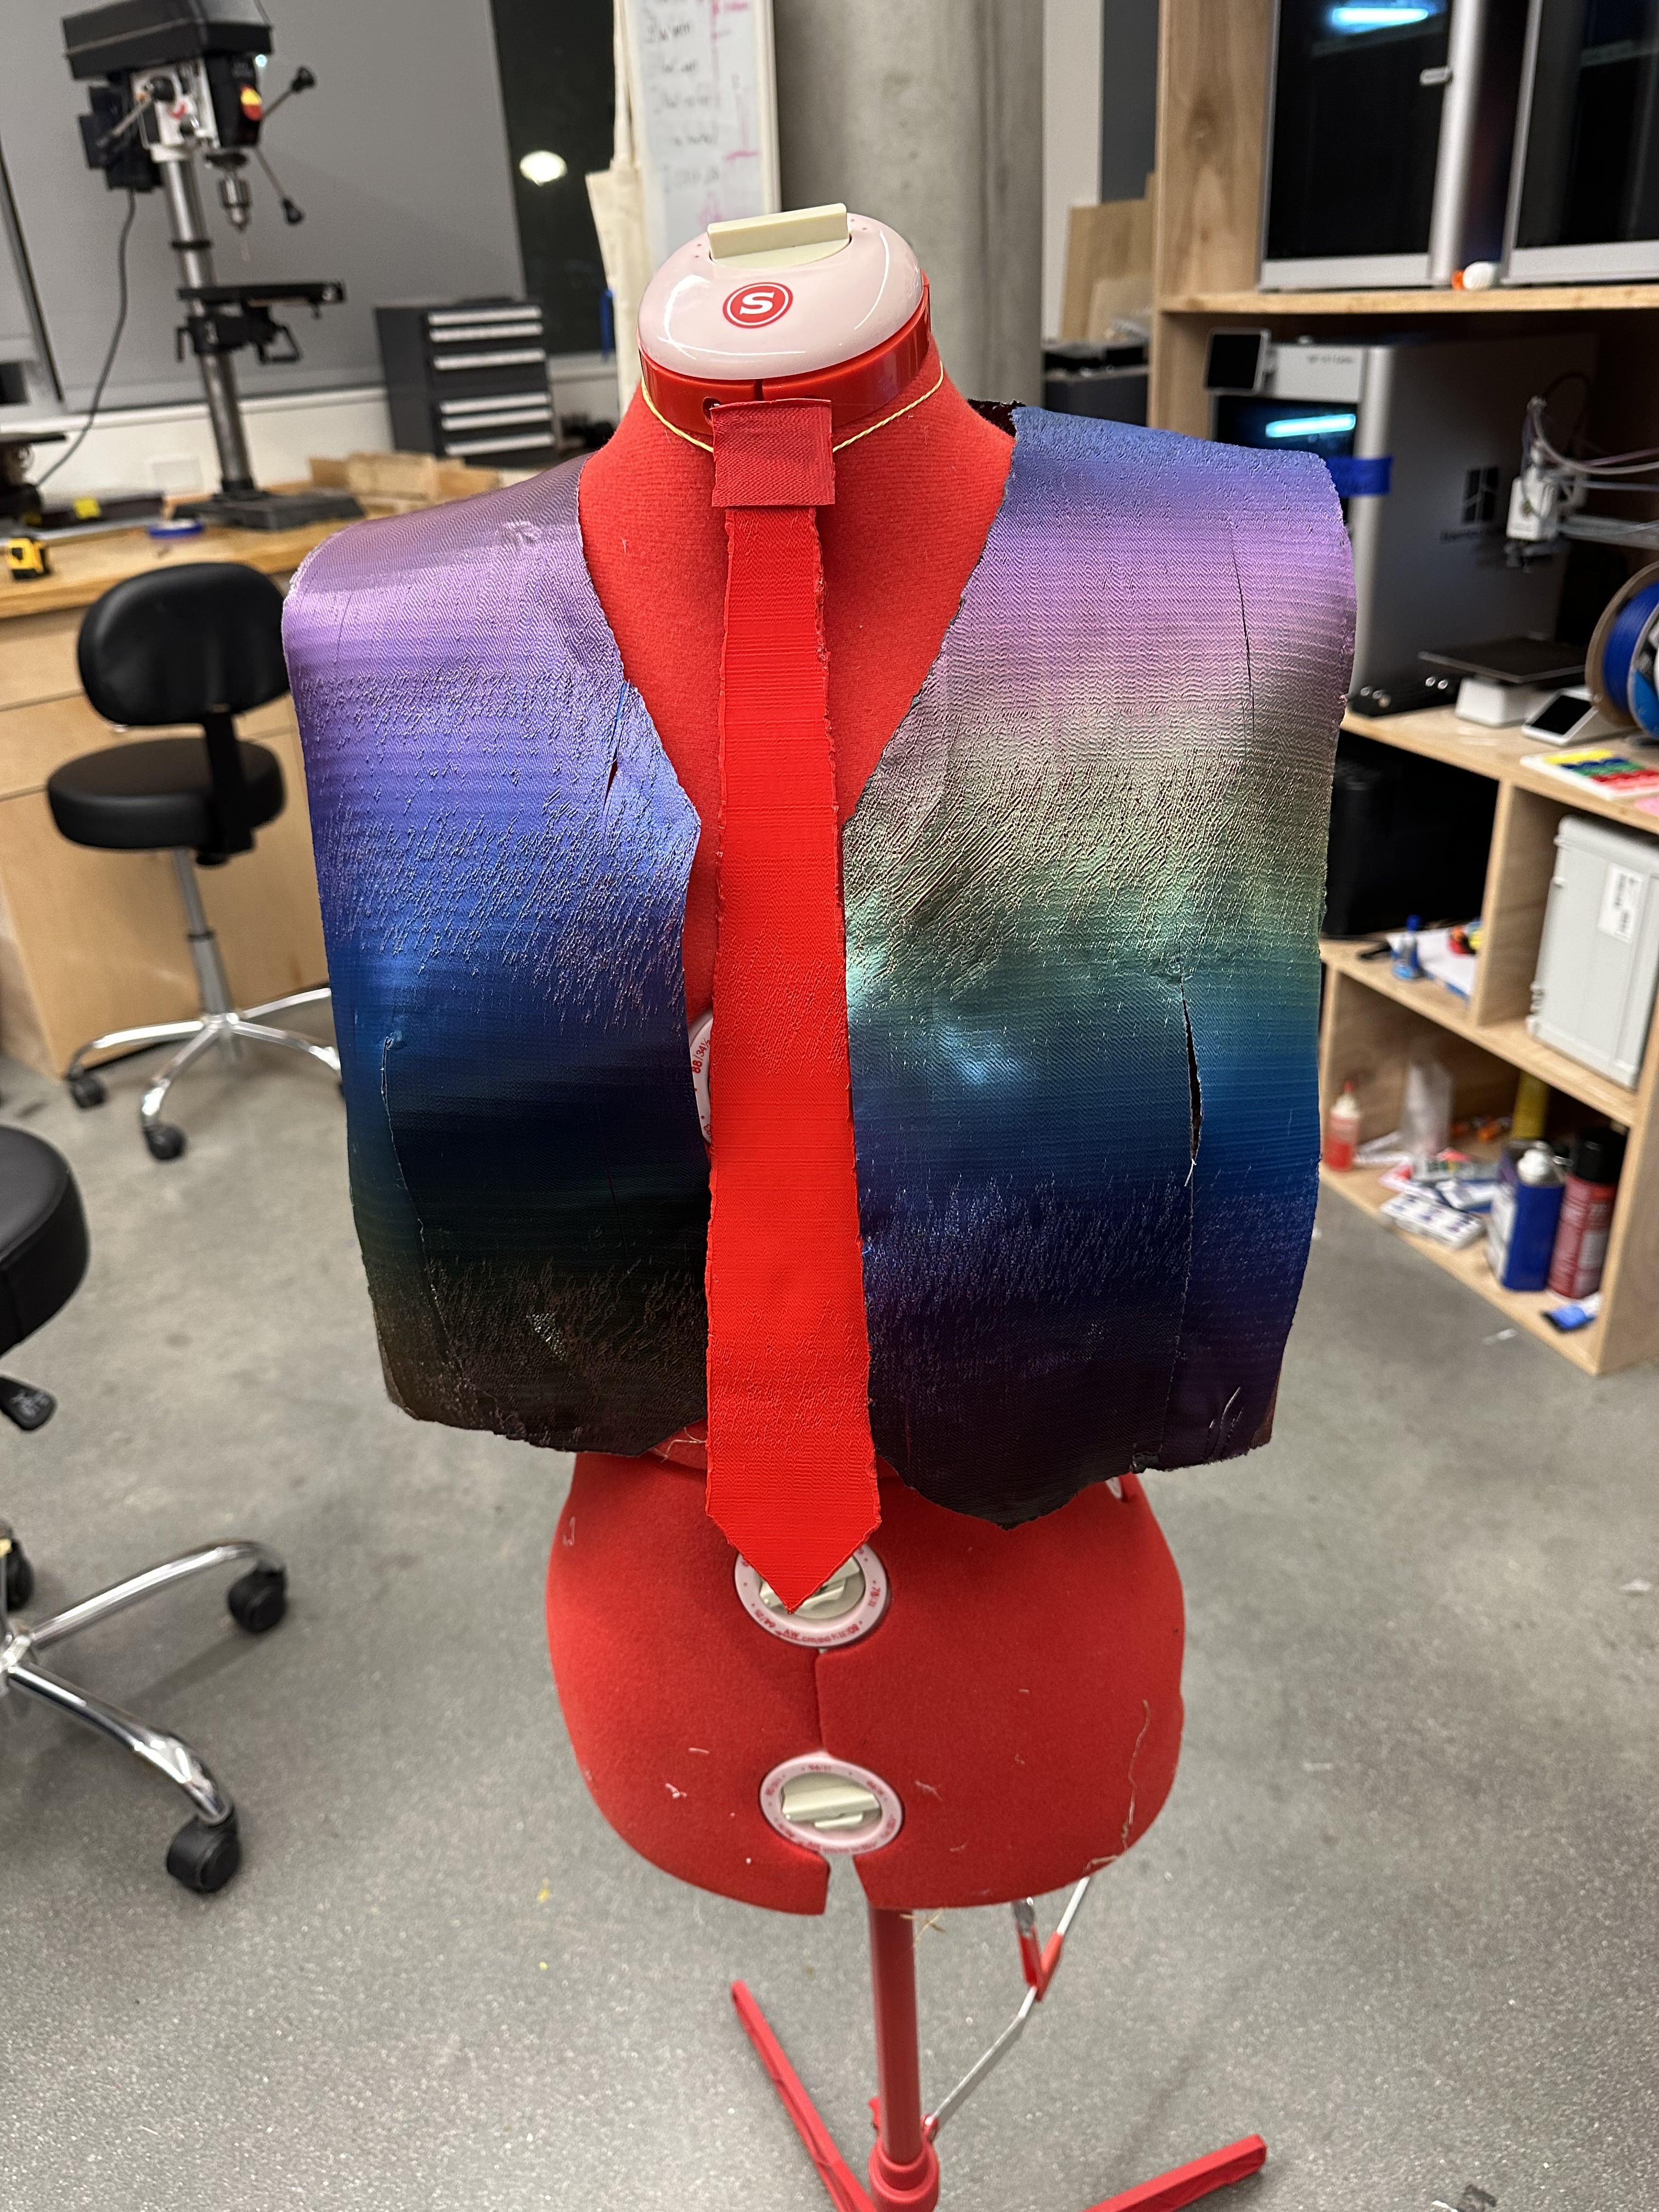
Throughout the construction I kept running into layer separation. I solved this by placing another pla sheet behind each sheet with layer lines rotated 90 degrees. Overall I do not recommend printing clothes out of PLA. If I could do it again I would have printed everything with TPU which would have been a lot more flexible and forgiving. Now I just need to print out some pants, and I will be ready for the party.
3D SCANNING
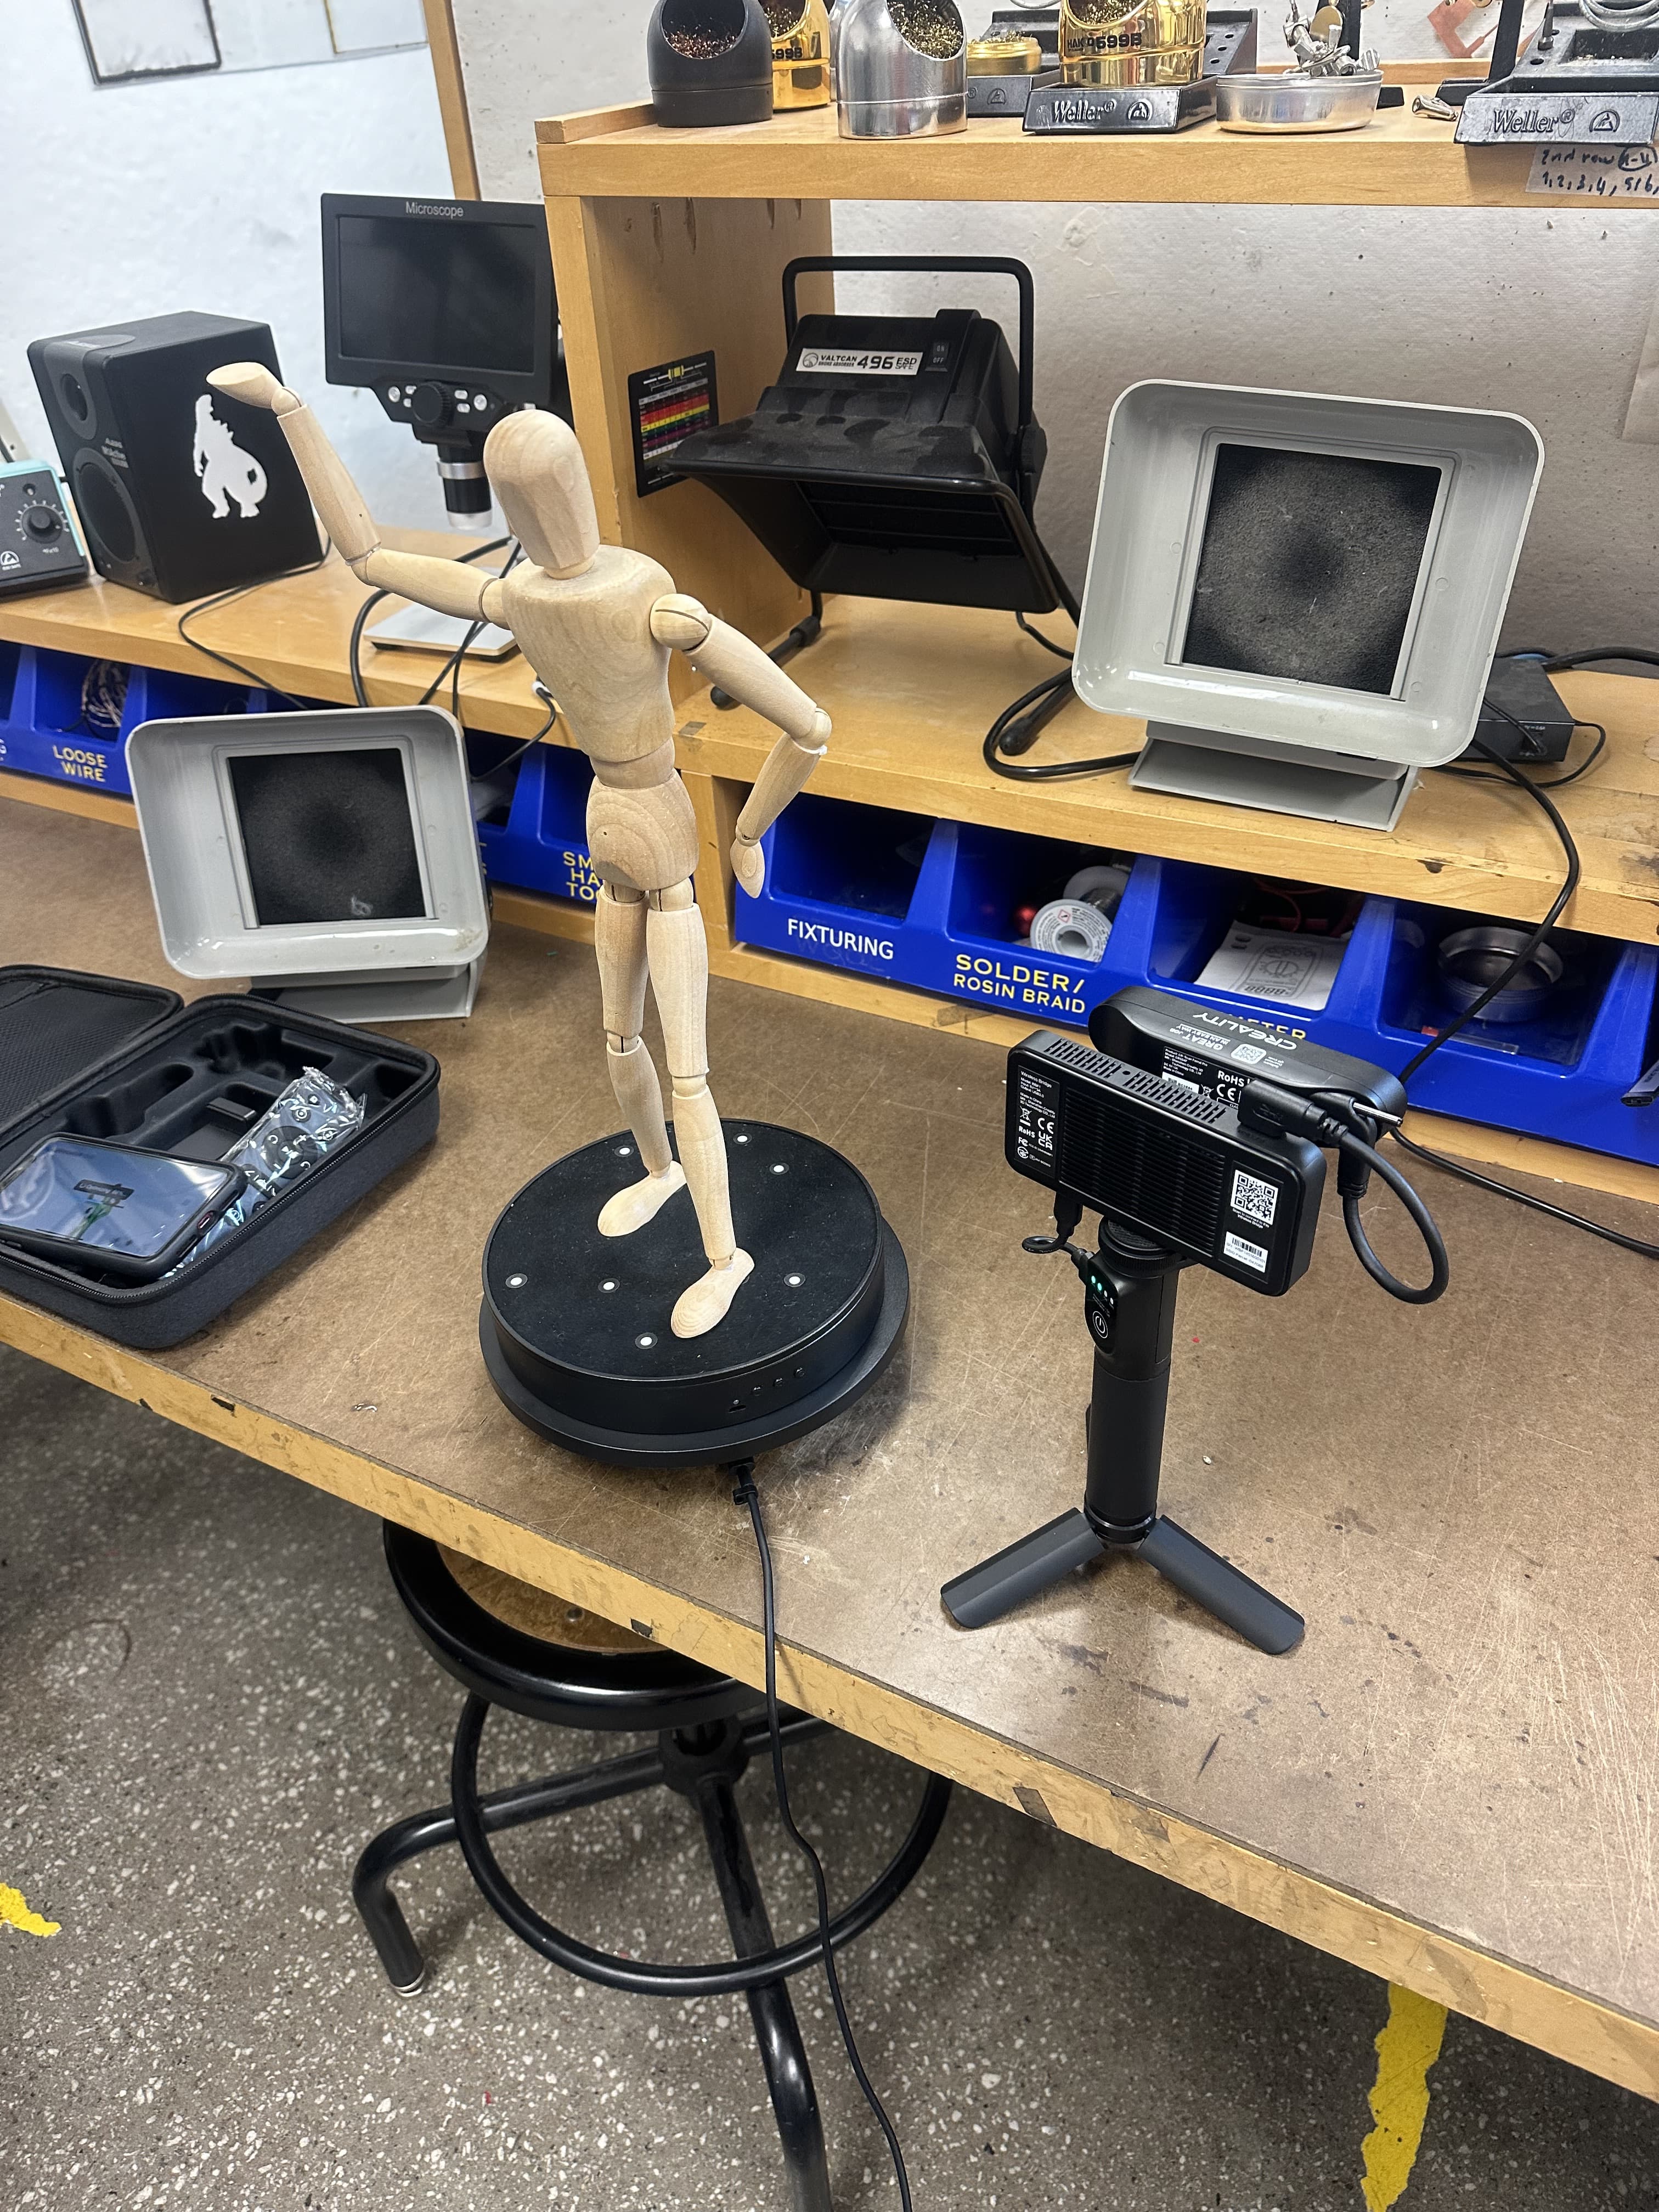
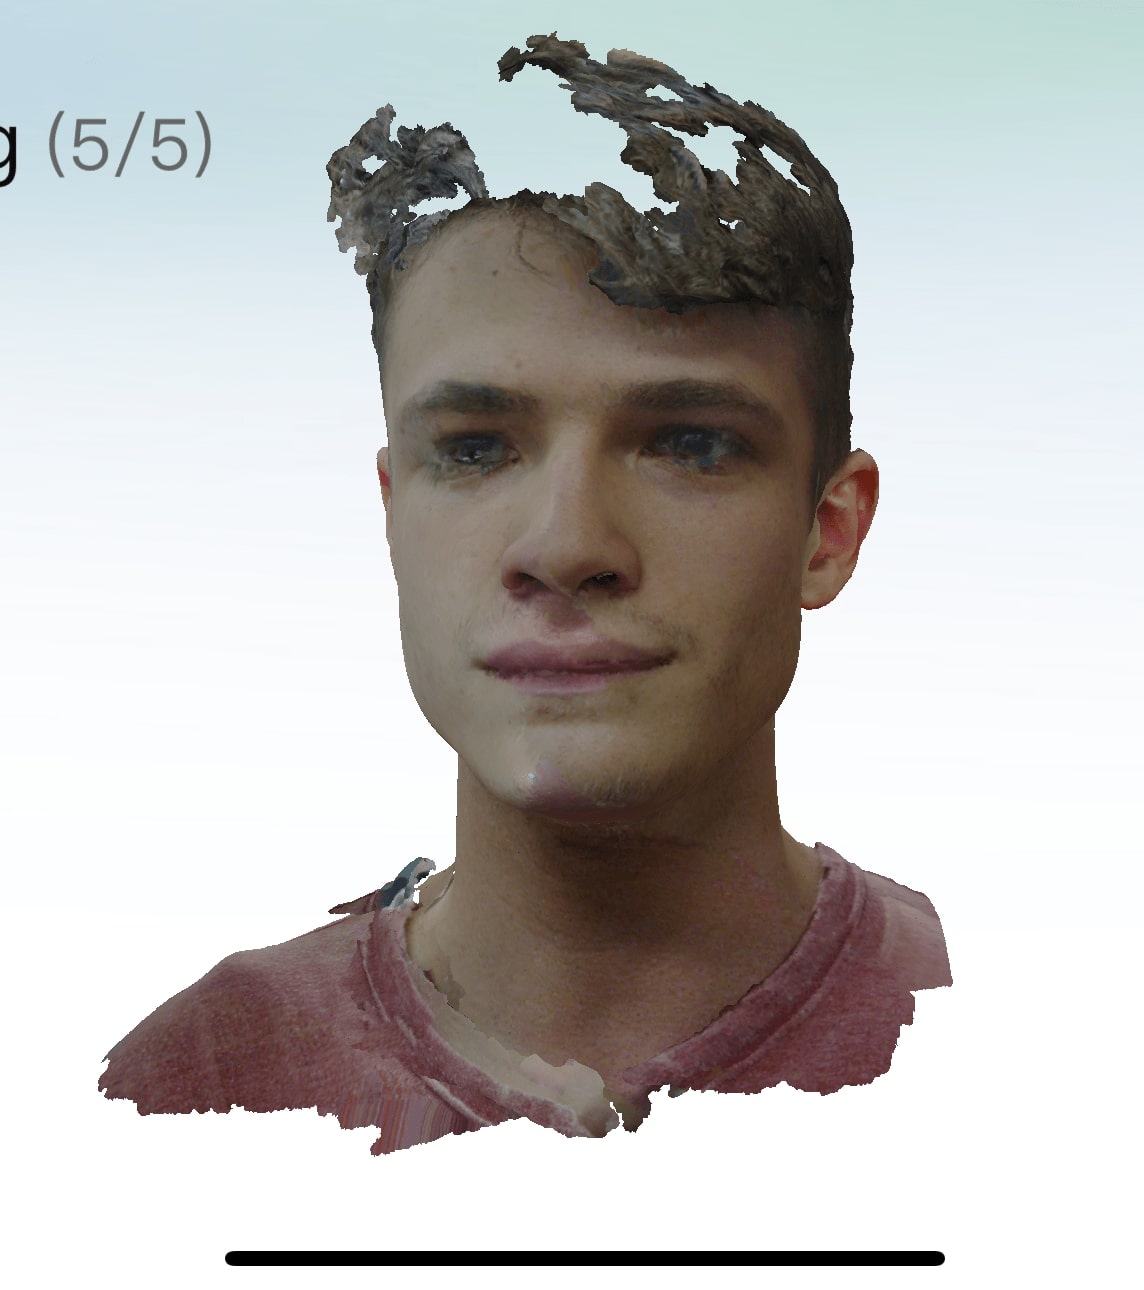
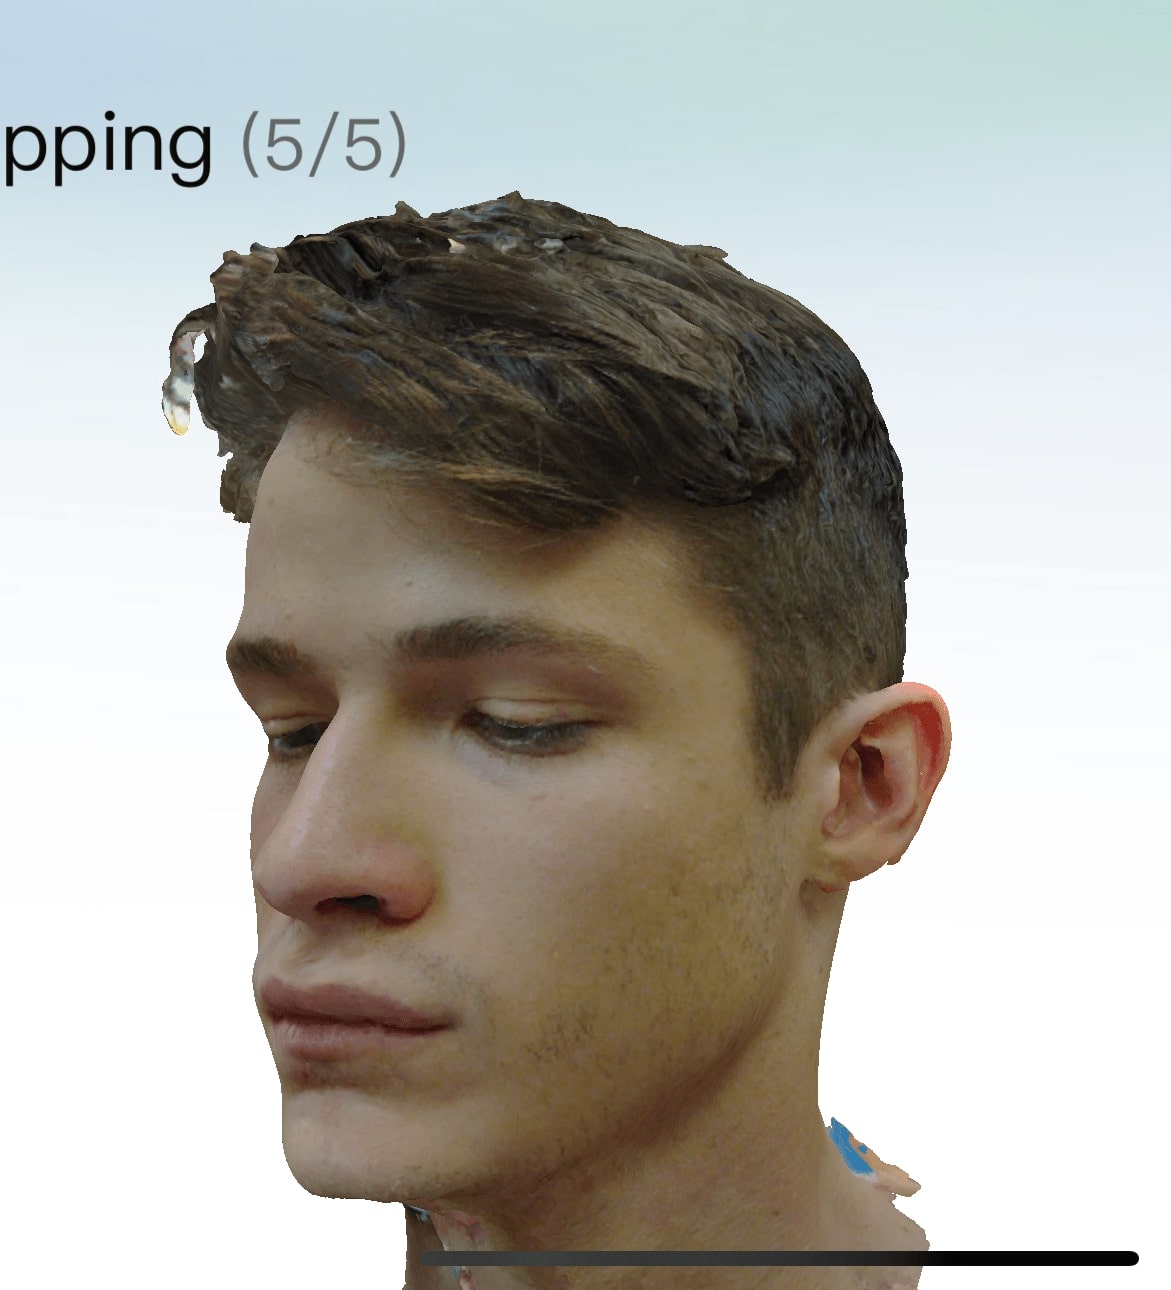
This week we also had to scan an object. I opted to scan my face. As Maker Space Chair in New Vassar I constantly feel like a shop janitor reminding people to put tools back where they got them from and clean up after they are done with their project. I want a 3D scan of my face to print it out, put red LEDs in the eyes, and put a sign at the bottom saying “Don’t forget to clean up…or else.”
I used a creality scanner and got good results for my face, but the rest of my head was challenging. Scanner seem not to do do not do well with the fuzzy geometry of hair, and If I were do do this again I would wear a beanie. The scans are useful as I could import them into blender and reconstruct the rest of my head. However, I do not have time for vertex modeling this week, so this will have to be a project for another time.