In this week, we create our own requirements for the assignment, but do something that isn’t covered by another week.
I opted to go for the Zund and to “design and make something in metal.”
Designing 🔗
The Zund is a 2.5 dimensions (2D + fixed z-heights.) The aluminum was 1.6mm thick, and the type was… (todo, something that starts with a 5xxx), which Alfonso got for its foldability. He talked about folding (removing material out of the way so it can fold. scoring it realllyyy small, which is enough to encourage the fold to happen exactly in the middle.) But ah, I have two final projects due shortly, so I aimed for something I wouldn’t need to experiment much either that or the .5 dimensions.
I got a 24inchx24inch piece of aluminum to work with. The smallest mill is 2mm. I made a safe guess for how far from the edge to put holes.
So I took my favorite crystal design from inputs week and made it into an alluminum lamp shade. I put a pattern on it based on Euclidian rythms (a way to evenly space things out), and adjusted its parameters depending on which ‘row’ it was drawing. I also went through and added evenly spaced holes to connect the edges.
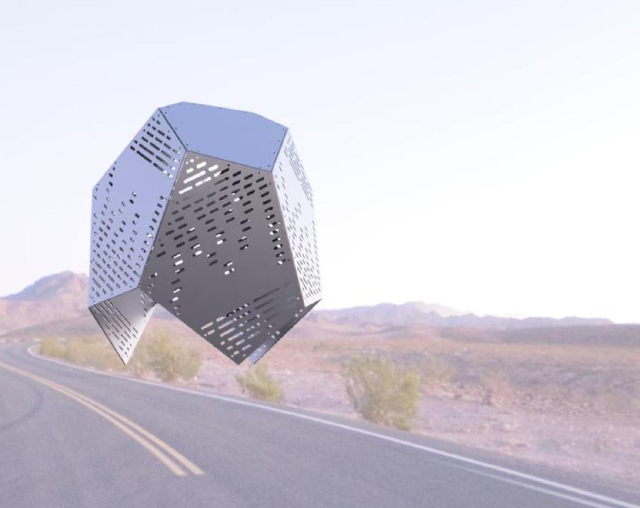
I tried out rendering in Fusion 360, because I hadn’t used it before. I put a sphere and applied the LED appearance. I plaied with different lightings, and figured out how to change the background. Here’s the lamp in the middle of a desert road. I guess it’s a UFO here.

I decided to start with the 6 panels on the side. I wanted to see how big I could make the lamp shade, and I wanted to use acrylic for the bottom anyway.
Before cutting the alluminum, I also cut out the pieces on the cricut. This helped me remember how annoying this pattern is to match up: there are multiple edges that are nearly the same length that don’t actually go together. (I probably could have given myself a hint, like changing the number of connectors on one of the edges. ah well.) It also made me realize that I could just cut one panel 6 times (or flip them arbitrarily to get them to fit), because 3 are a mirror of the other 3. But I wasn’t sure if the aluminum would have look different on either side, so I stuck with 3 facing one way, and 3 mirrored.
Bonus 🔗
I don’t get to cut metal very often, so I threw in a few generative designs I have.
Cutting 🔗
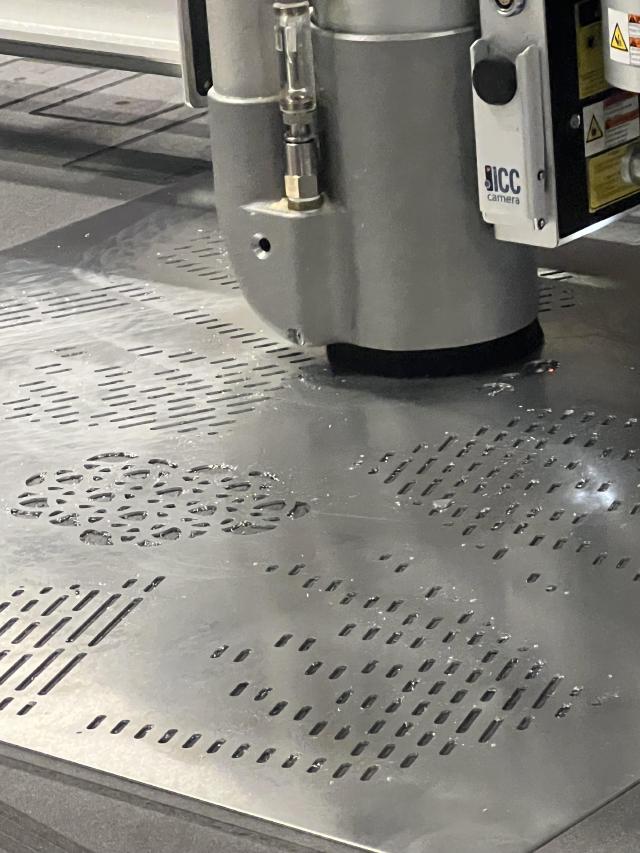
Monday was the day! Alfonso checked my files. He had advised to put everything interesting on different layers, which turned out because you can choose whether to cut “outside” or “inside”, or drill, or change tools. We ended up using all of these: 0.2mm endmill to route the inside of all designs, 0.2mm endmill to drill the connecting holes, 0.2mm endmill to route the outside of the “bonus” designs, because the outside was more intricate, and then the 0.6mm to route the outside of the shapes. The bigger tool meant we could do it in just 2 passes instead of 4-5, since it disappates heat better. We also set the lubricant to as much as possible, and adjusted the speeds based on Alfonso’s recent tests.

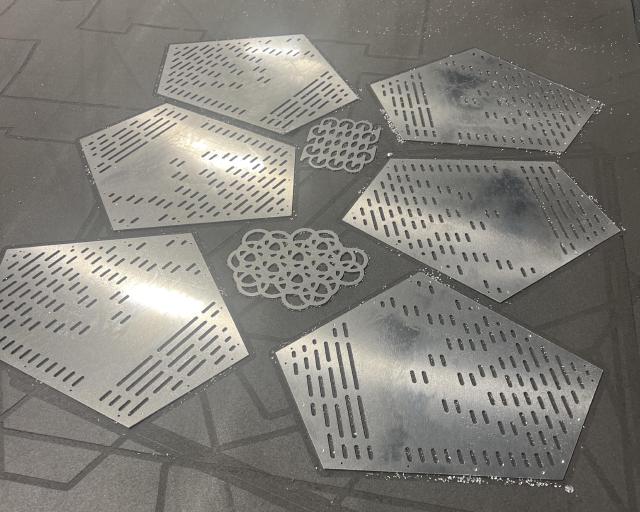
And after removing the scrap piece, here’s the result.

Putting it together. 🔗
Alfonso showed me rivets and how the gun made them thicker, and said if I went back and drilled the holes a little larger, I’d be able to use them. I’d need to figure out what to connect it to though, and I hadn’t designed the corners in aluminum… so I opted to 3d print something so I could experiment a bit.
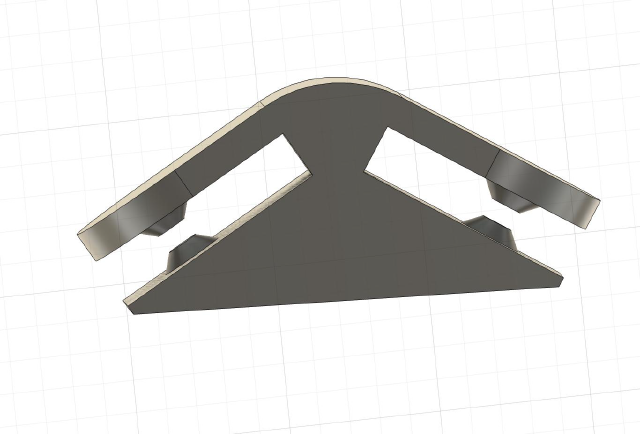
I tried two designs, the first one, the idea would be to thread a wire or thread through holes in the connector and the holes in the metal. The second one had little bumps that ideally would snap into the holes. The snapping one was promising and a lot less work, so I thickened the faces.

This one turned out to have an unfortunate weak point so that the wings bent the wrong way a lot when assembling. I could put one side of the connector on pretty easily by twisting the connector to spread apart the wings. But connecting it to the second side was harder because I couldn’t twist it anymore. I had to push pretty hard, but only at certain angles. I also tried using a tool (twisting a nailclipper file to push apart the wings a bit) that sometimes worked. Oh dear, I.. ended up with a lot of shallow cuts on the pads of my fingers that I hadn’t even noticed myself getting. I should have used gloves.
I did get the pieces assembled. I’m not sure if it’ll survive the walk to the media lab, and I still need to work out how to connect the light to it. But metal is pretty cool looking.