Week 7 was about molding and casting, and our first bit of computer-aided machining.
The steps were: create a model to mill from a wax block (or 3d print something), create the mold out of silicon, and cast in the mold using hydrostone or drystone.
After some brainstorming, I decided to create tiles based on a tiling pattern, which I’ve used before for pen plotting. There are three tiles, a trapezoid, a left rhombus, and a right rhombus. I usually use them to create patterns like this:

The idea is that you apply set patterns to each of the three tiles (I sometimes treat upside-down trapezoids as a fourth tile) and when you rearrange them, you can create different patterns. What’s fun personally is that while I’ve mostly done pen plots based on this, I noticed the pattern for the first time on flat tiles, so creating patterned physical tiles is a nice full circle.
I started with an idea for a two-part mold that would create a two-sided tile. This would take care of the left and right rhombus which are reflections of each other. As a bonus, I could include two versions of the trapezoid.

After thinking the model was too flat (I could more-or-less make it with acrylic), I wanted to try experimenting with forms instead. To constrain things a bit, I made tiles so they would all be at the “flat” level on their edges. I redid a similar design as the drawing, but with slanted semi-circles being lofted down to the flat level. For the rhombus, I tried a few things (a pipe, some cusp thing), and ended up with two copies of the trapezoid design and two flat triangles. I liked that this added some recursion to it, which I had spent a lot of time coding into my digital version of this.
I tried tiling it and rendering it to see how it would look.
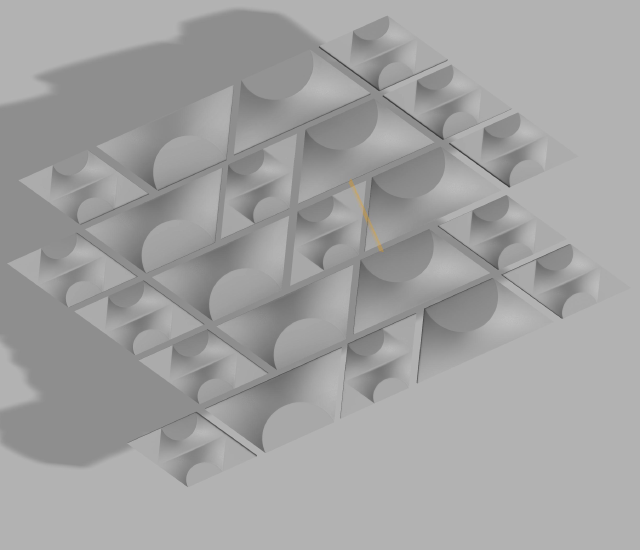
A little gray, but I think it’ll be cool in person.
Creating the G-Code 🔗
We need to create our own G-Code for this assignment. I followed a combination of the recitation and the machine document and used Fusion 360’s Manufacturing mode. We create two passes: an adaptive machining using the quarter-inch flat endmill to get rid of most of the material, and then a parallel step with the eighth-inch endmill to smooth things out. I chose the rest machining so it wouldn’t waste time milling things already gone (something deep and poetic there; or it is getting late).
I simulated it, and it said it would take 30 minutes, and this sounded good to me. I could do a perpendicular pass, but that would take around 45 minutes in total, and we had 18 people using the same machine, so I opted for the first one. I ran the simulation, and it looked fine (no Kool-Aid man endmill bashing through walls.) I ran the gbrl post-processor like the instructions said, and ended up with two .nc files.
Milling 🔗
Then it was time to mill on the CBA electric shop’s Genmitsu. I met up with Toni, and we hot-glued our wax blocks to copper plates. I bolted mine down to the machine and put in the 1/4" flat end-mill, loaded up the two .nc files.
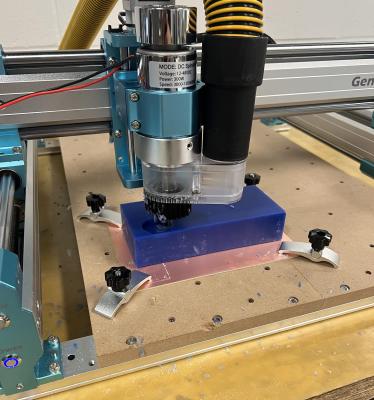
The adaptive milling went okay, though I had made one of the walls too thin and hadn’t aligned the block well enough, so it got dangerously close to cutting through.
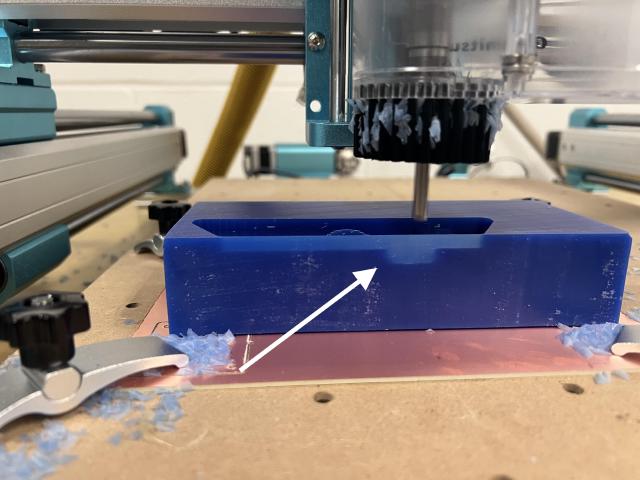
Then it was time to run the parallel. I switched the end-mills to the ball 1/8", and started the job, it moved into position, anddd immediately “alarm”. Huh! We had that a few times at training when our calibrations accidentally told it to go beyond the bounds of the machine. This is unfortunate because it loses all of the calibration, which means your second step won’t with eh first alignment. I thought I’d try it anyway since I might just get a slightly wonky mold that would be fun to share.
My best guess is that I might have forgotten to set the clearance to 0 in the parallel step. So I went back into Fusion 360… and my model had changed, so I had to recreate both the Setups. I crossed my fingers they were the same (note to self to create separate files when they start diverging, though I think Fusion makes this a little less intuitive than I’d like). I made sure the parallel had a 0 clearance this time, reexported the step, and started milling. It cleared the spot where it had “alarm”’ed before.
Then Toni and I watched as the 1/8-inch endmill started dragging the entire block off to the left. I hit the emergency stop and turned off the drill, and the vacuum. The clamps on the copper plate weren’t as tight as they could be. Scary, and could have been worse.
I debated giving up at this point, but we decided to try the model one more time. I rotated the block 180 degrees and we clamped down the copper as tight as either of us could. I nudged the y-axis up a little so my wall would be thicker (which turned out to be a mistake, since this time it turned out plenty thick and the top wall was too thin.)
After the adaptive, I made yet another mistake this time, and it was adjusting the z-axis between switching the mills. I didn’t realize until the model was nearly done and it still hadn’t carved much of the block. In a perfect world with infinite time, I could have just fixed the z-axis and reran the second job again, but I needed to attend the molding lesson. I also had been planning on using a 3D-printed mold route anyway.
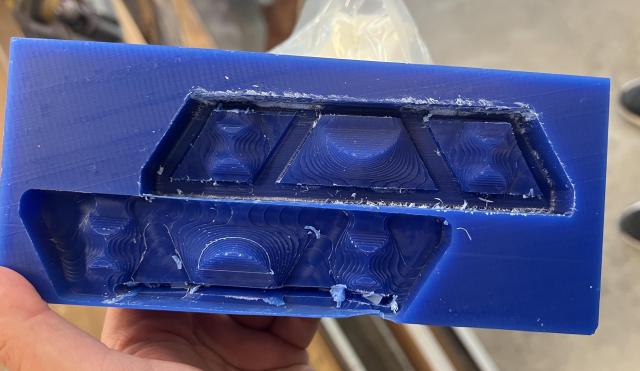
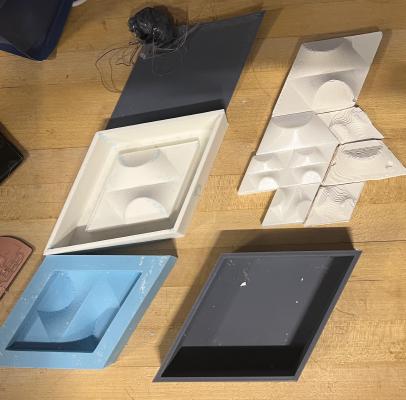
The bottom mold has the curved cut of the 1/8in endmill trying to carry the mold away. Neither got their parallel passes.
Molding 🔗
I’d been thinking of using 3d printed mold anyway. At this point, I decided I’d just make the rhombus in a larger size. We mixed equal parts of the OOMOO silicon A and B, stirred for a few minutes in a way that wouldn’t introduce too many bubbles (though OOMOO seems pretty forgiving about bubbles). I then poured the material into the 3d printed mold. After 75 minutes, I had a cured mold.
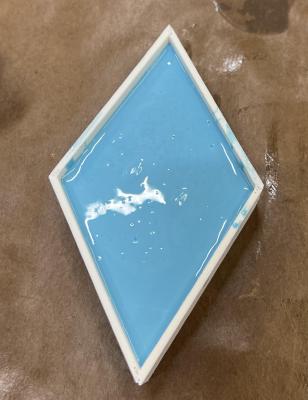
I used the compressed air and some nudging to extract the mold like we were shown at training.
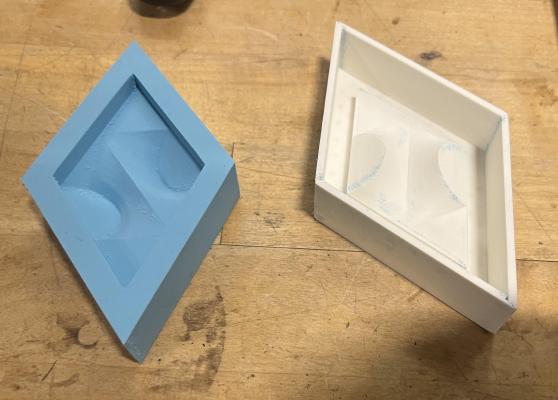
I added 20g of hydrostone to 50g of water, came back in 5 minutes to stir… and realized I had the proportions flipped. I suppressed the urge to pour the watery plaster down the sink, but also the garbage bin had no bag in it either, so I just mixed in a bunch of hydrostone since it is cheap and let it cure before throwing it out.
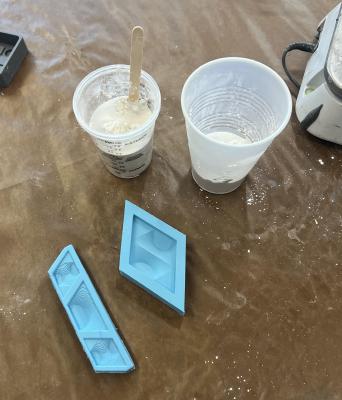
I mixed the right proportions of 100g hydrostone with 40g water (turned out I didn’t need that much, but I preferred too much to too little.) I also used the weird failed mold for fun cuz what else was I going to do with it?
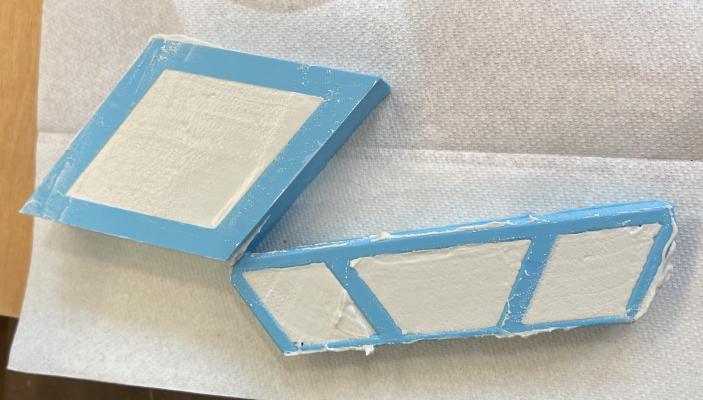
Andd half an hour later, the tile was done!
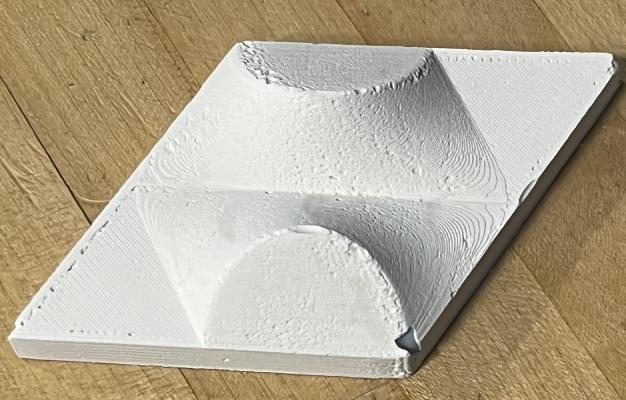
So the assignment was to get a smooth finish. Anthony talked about adding beeswax into the lines. I was thinking I’d use hydrostone in more arts and crafts style.
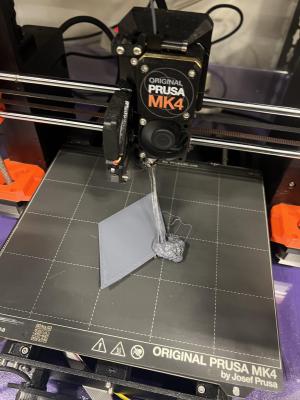
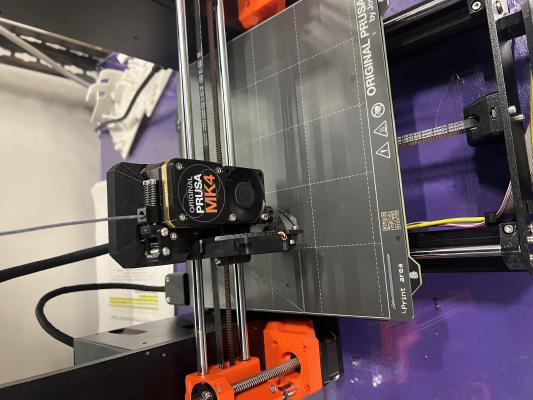
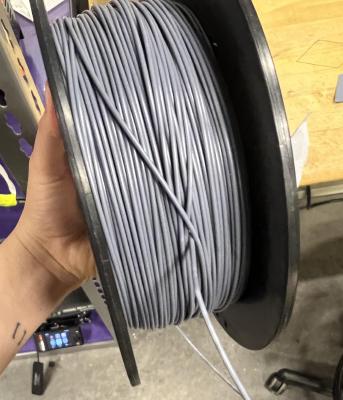
While I was making the hydrostone, I went to cut a box to stick the finished version in, but the laser cutter was taken, so I 3d printed a little box, waited for the first few layers to finish, left, and came back to find a blob. Blargh. I started on another machine, and it started printing way off to the left. Gah. It turned out the filament was knotted. I tried to take off the filament and rewrapped it again (though the knot kept going…), and crossed my fingers. I re-calibrated the machine so it would use the actual x-axis. The second box turned out fine.
Well, at this point, I didn’t trust this cursed project to try the next “real quick sequence of steps” (smooth the drystone on, let it cure, re-cast a smoother mold, and make a few nicer tiles.)
Well, I (almost) casted a bunch of tiles.
Safety sheets 🔗
OOMOO® 🔗
This looks pretty chill. Don’t swallow it, if it catches on fire, put it out with water. In general, don’t burn in steel drums after you’re done using the material in it.
Hydrostone 🔗
Has Quartz in it, which is cancerous if you keep inhaling it. Wash your hands. Don’t eat it. It gets really hot while curing, so don’t use it on your body.
Drystone 🔗
Just wanted to compare it to hydrostone, but this one doesn’t have quartz so it doesn’t have the same carcinogenic warnings.
Smooth plastic 🔗
This was the other one we used at the training, and was dangerous and the safety sheet shows a much longer list of risks here (though still some things like NFPA aren’t too different than hydrostone).
It can burn your skin, cause cancer, harmful to aquatic life fish.
If it’s spilled, use NIOSH approved breathing tools, but if it’s well ventilated with exhaust ventilation. Wash with soap and water if on skin, and remove clothing that it gets on.
 group assignment:
 review the safety data sheets for each of your molding and casting materials,
 then make and compare test casts with each of them
 compare mold making processes
 individual assignment:
 design a mold around the process you'll be using,
 produce it with a smooth surface finish that
 does not show the production process toolpath,
 and use it to cast parts
 extra credit: use more then two mold parts