LATTICE PAVILION
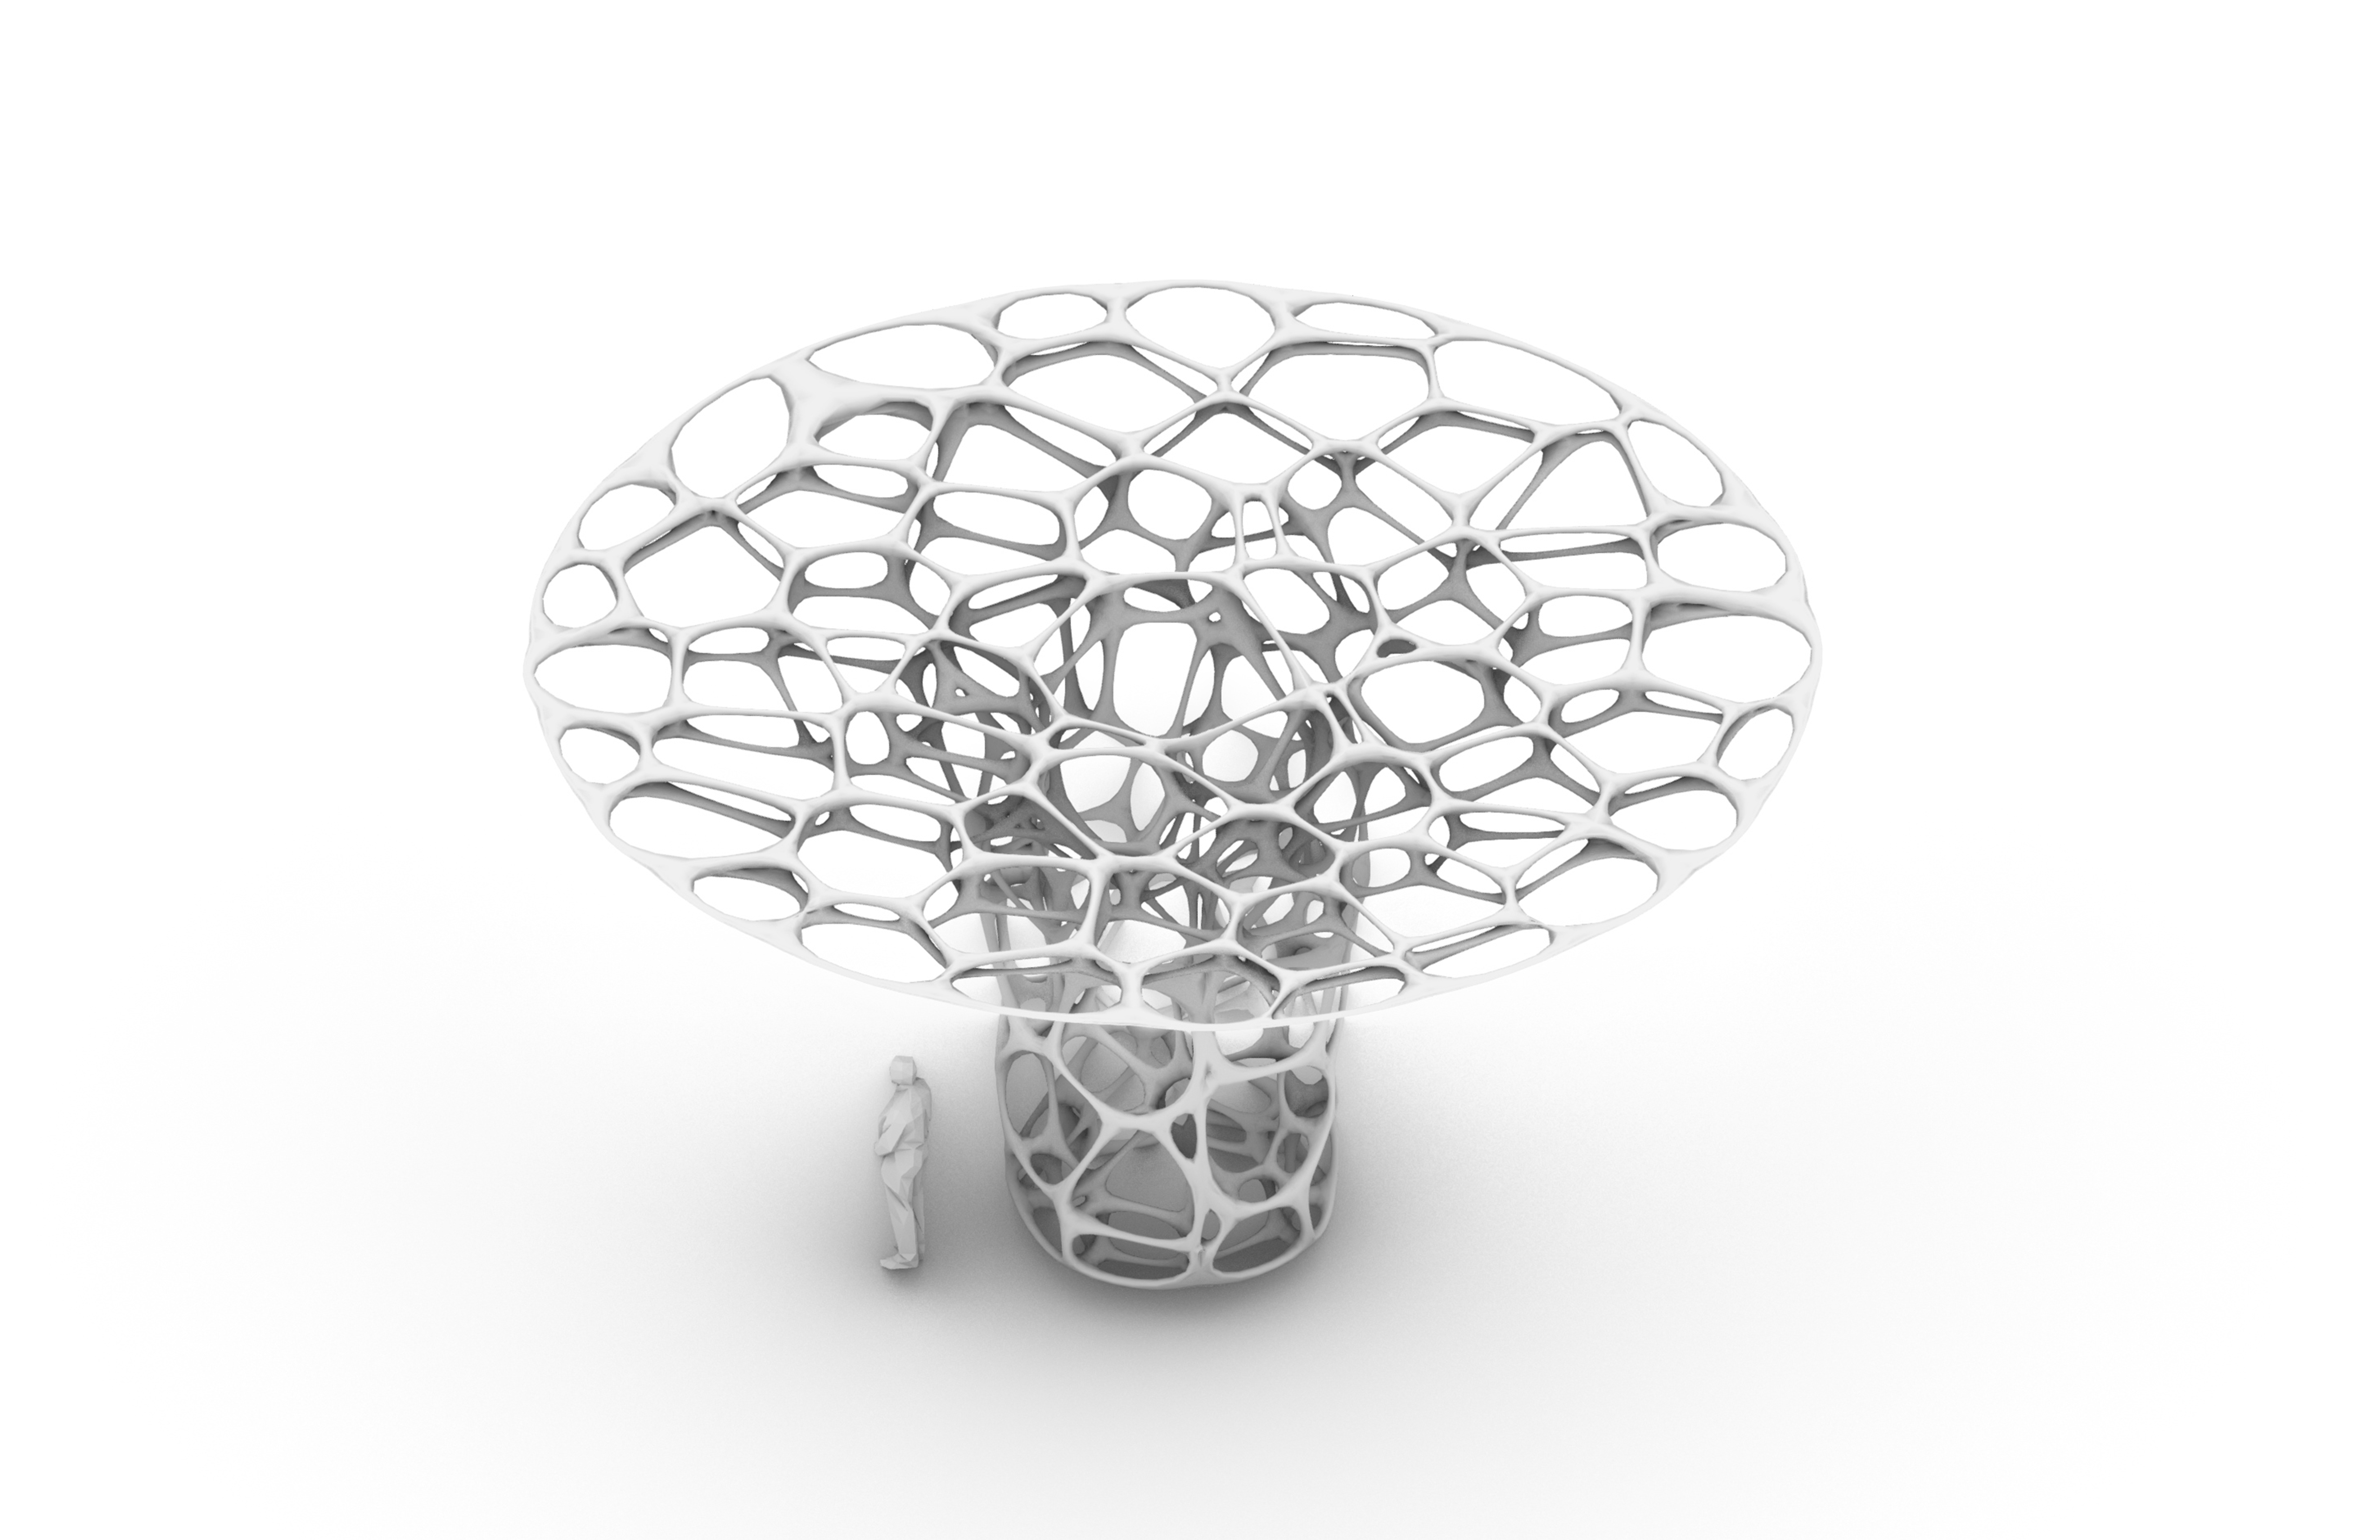
To 'print something that couldn't be made subtractively', I thought of making a double-layer lattice, in this case using a voronoi pattern.
The webbing that exists between the layers at the resolution of a printed model would be too difficult to make subtractively, but is achievable with an additive proccess.
Lets go to Grasshopper!
STEP 1: PARAMETRIC MODELING

The first thing, naturally, is to define the base geometry. I was thinking of this as a canopy structure. Building the entirety of your workflow in grasshopper gives you more control down the line to adjust all parameters how you want.
I'm not showing the details of the GH script for this because your base form could be anything, and thats not the topic of this discussion. We want Voronoi!
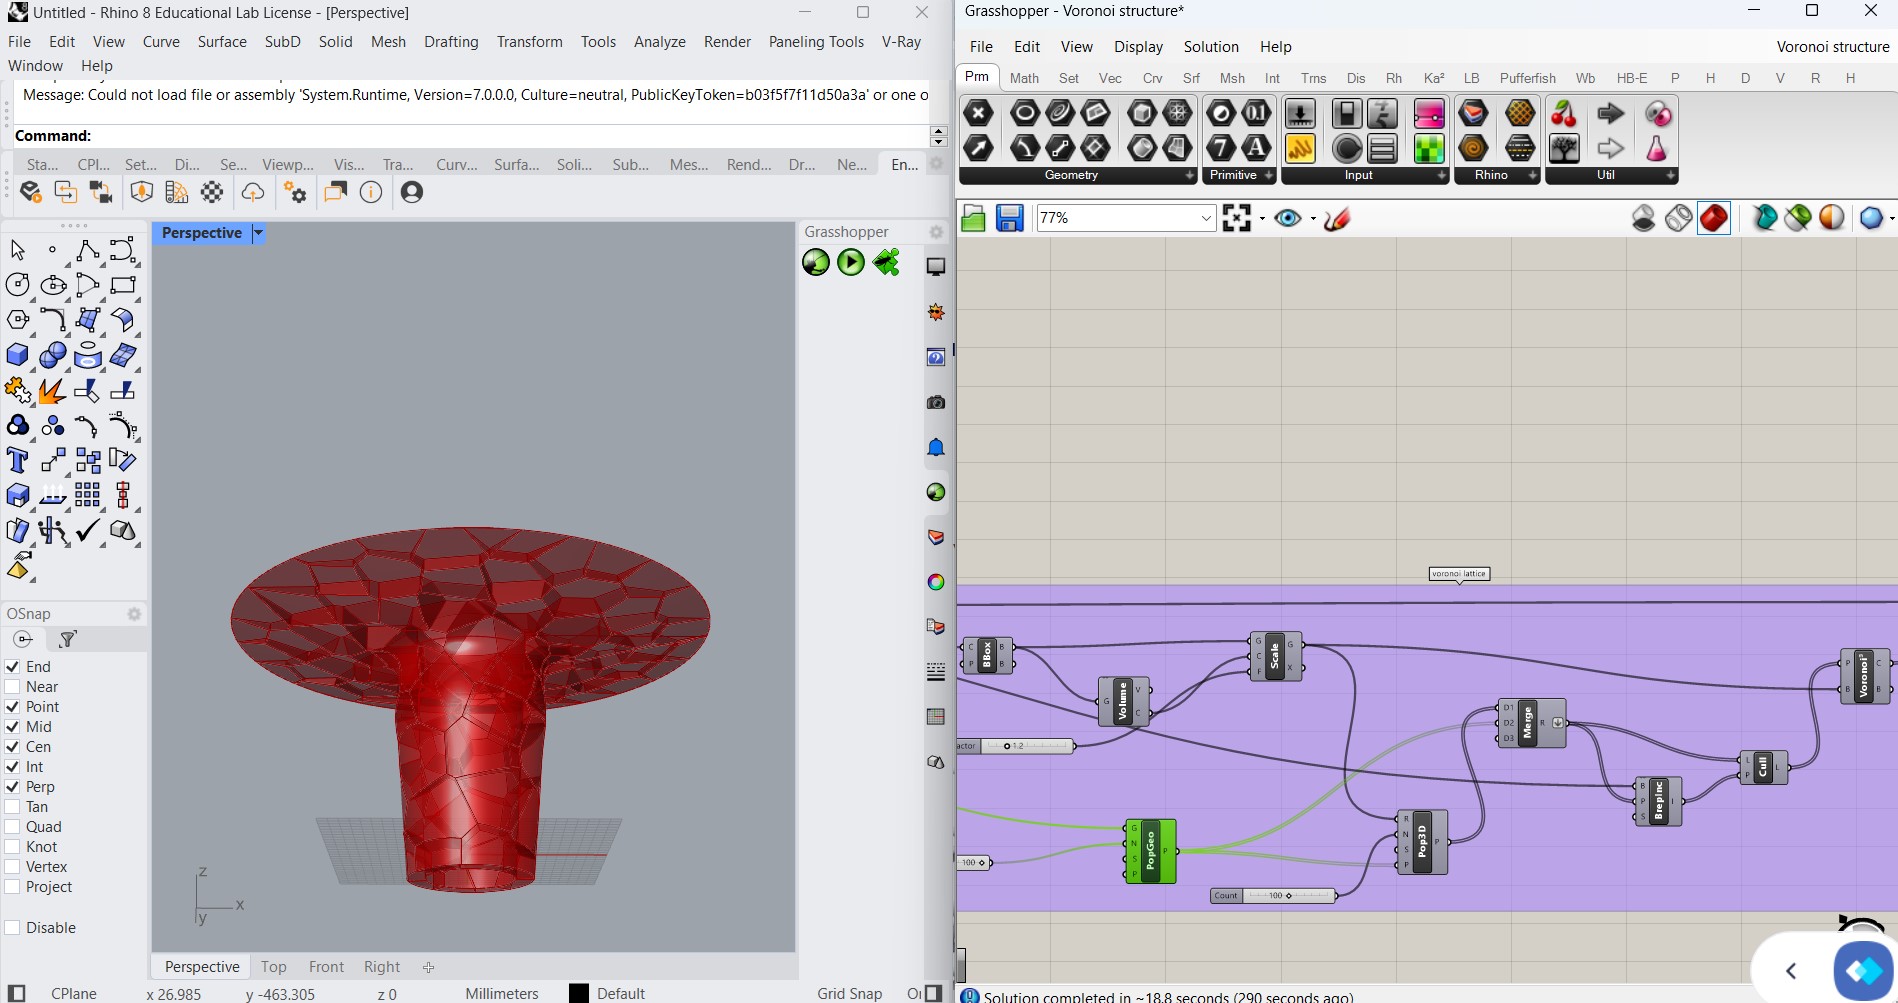
This part of the code takes your base geometry and populates it with a series of points from which it will determine the lattice structure.
Grasshopper has a built in Voronoi component that applies the algorithm to map your points together.
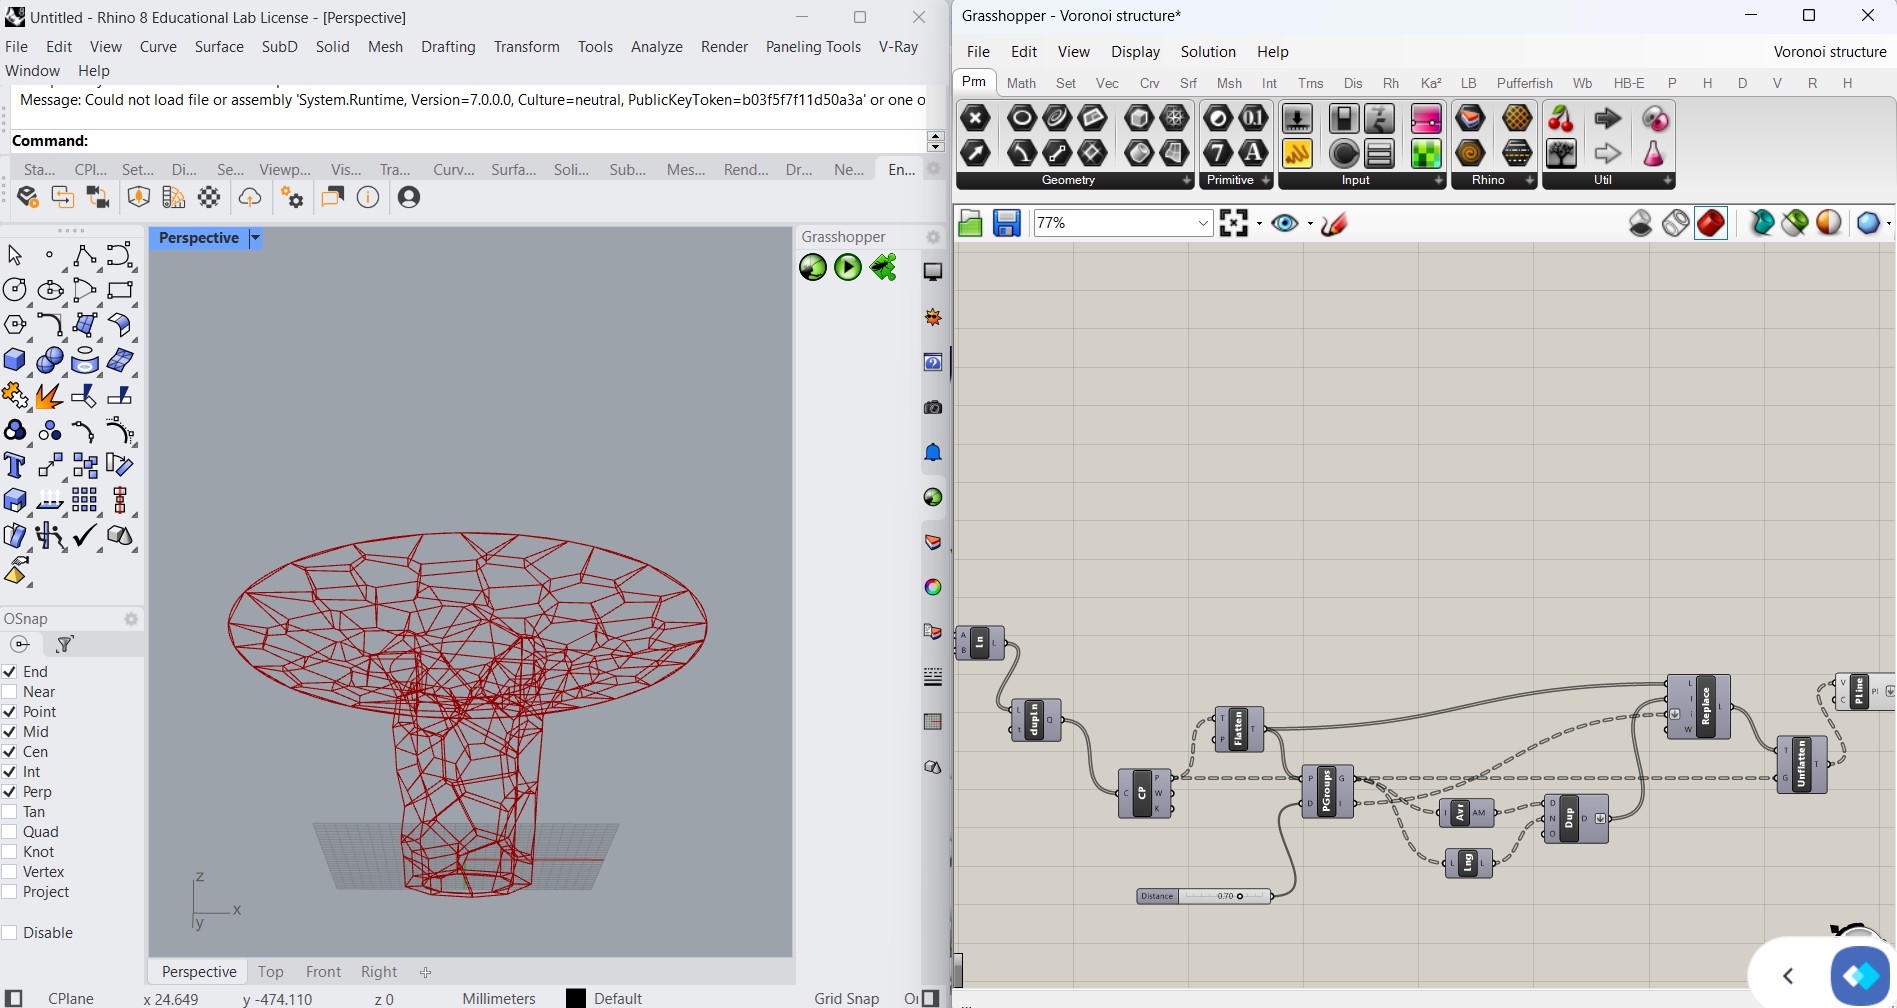
Next we need to extract the edges of that 3D Pattern in order to build our lattice. It's important to cull certain lines here based on a size parameter because some of the edges might be too small for a legible print.
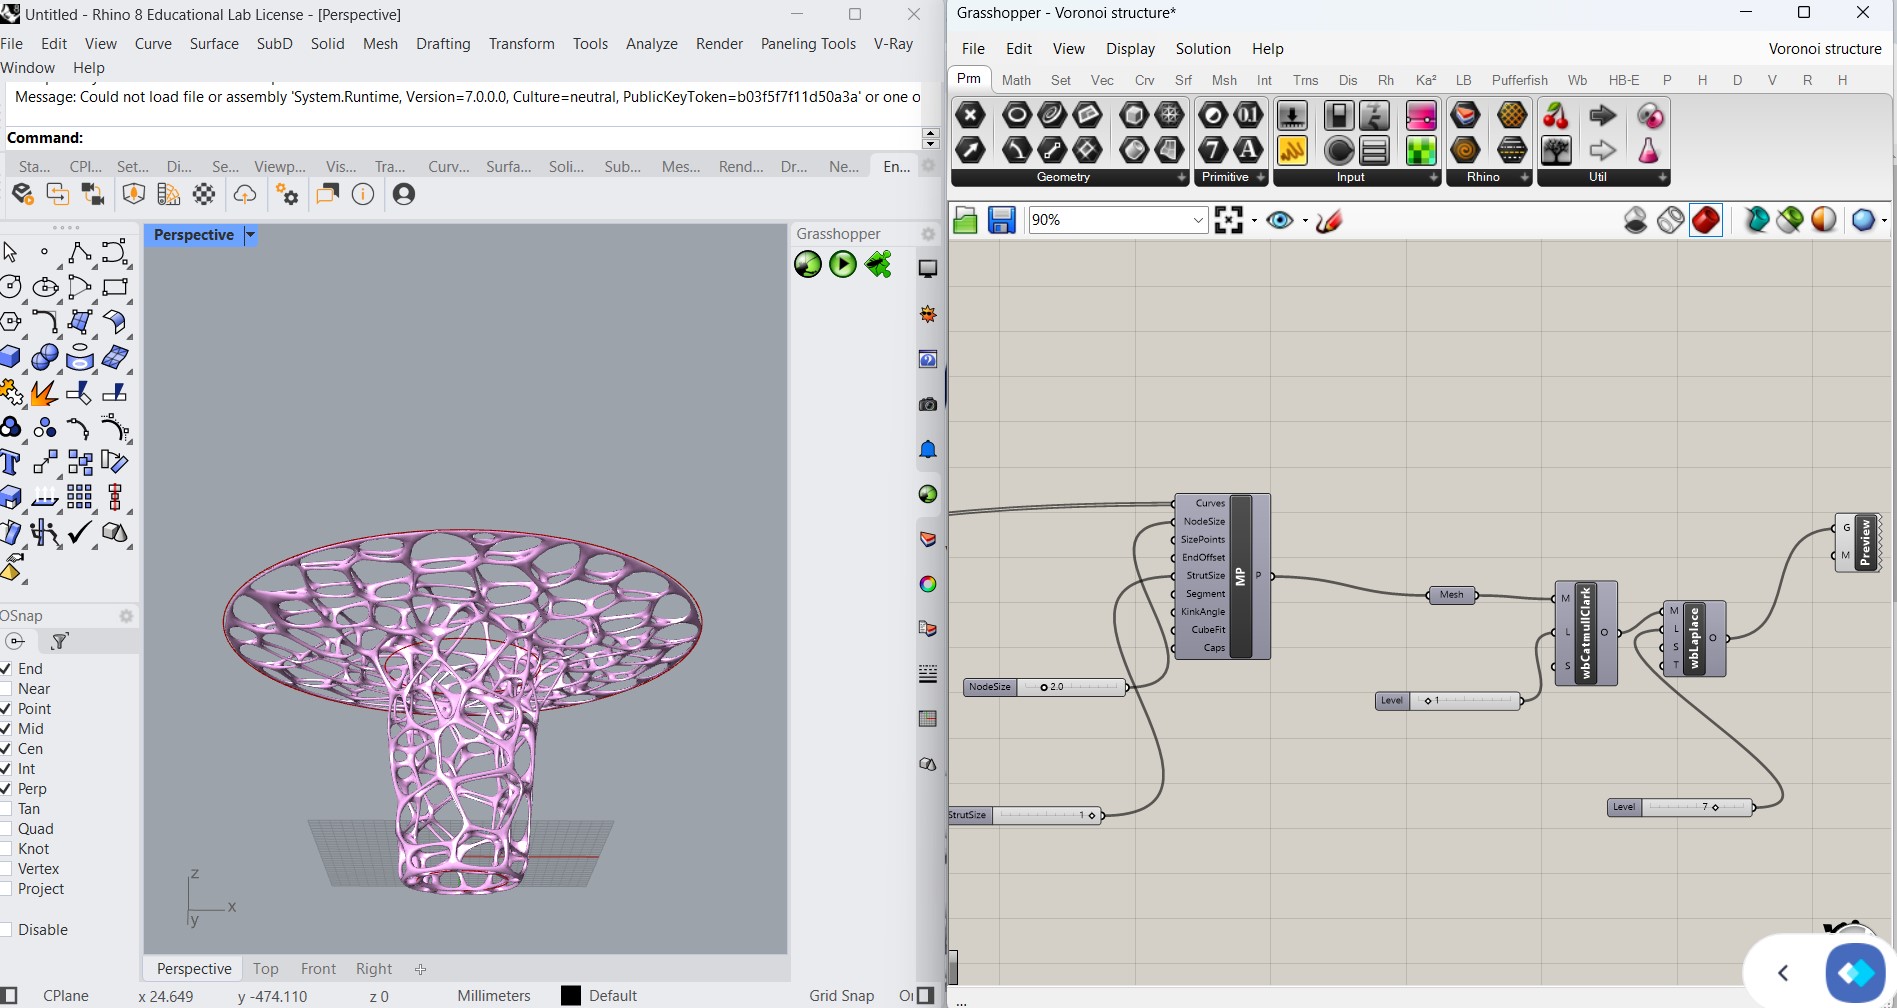
Finally, we multi-pipe the lines and, using the Plug-in called 'Weaverbird', apply smoothing parameters to the Mesh that help the resolution. Time to Print!
STEP 2: PRINT
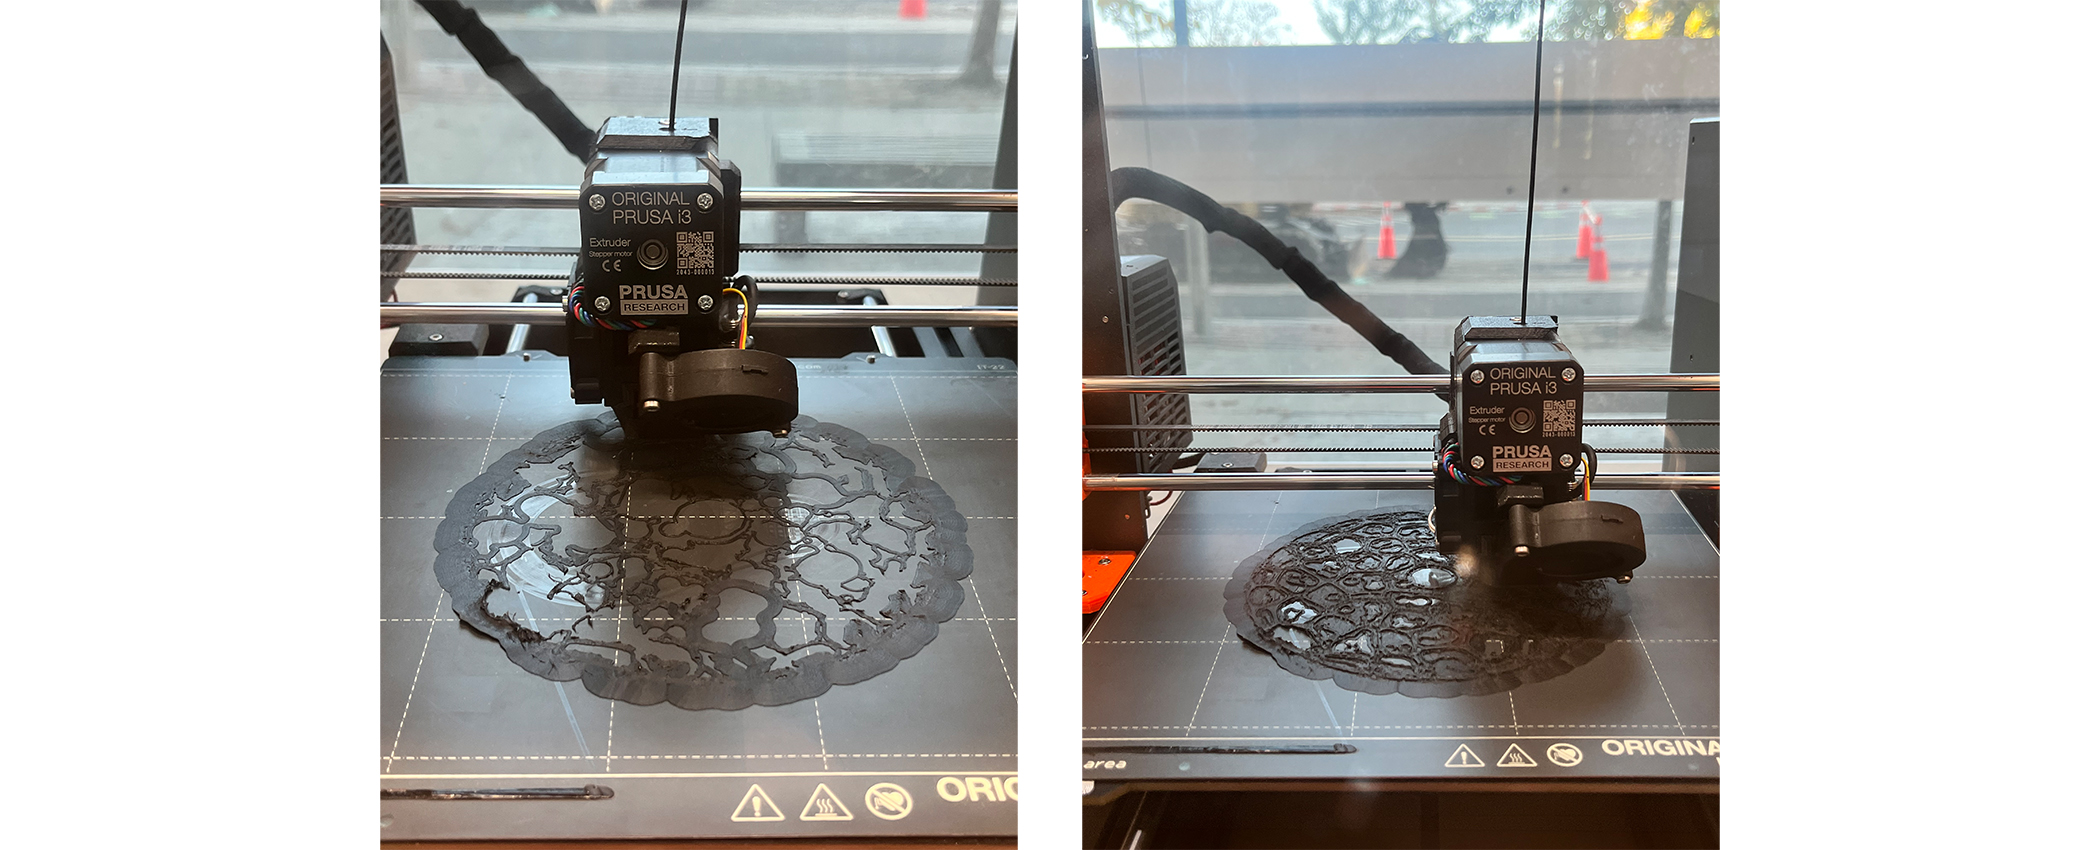
Unfortunately, i forgot to document the PRUSA Slicer steps, but to generate the G-Code for the print, i tested both the Cura and the Prusa Slicers.
I wasn't overly confident that the lattice overhangs would be stable enough to print, so I ended up generating supports for the print. Interesting results ahead! (as seen in this brainy base)
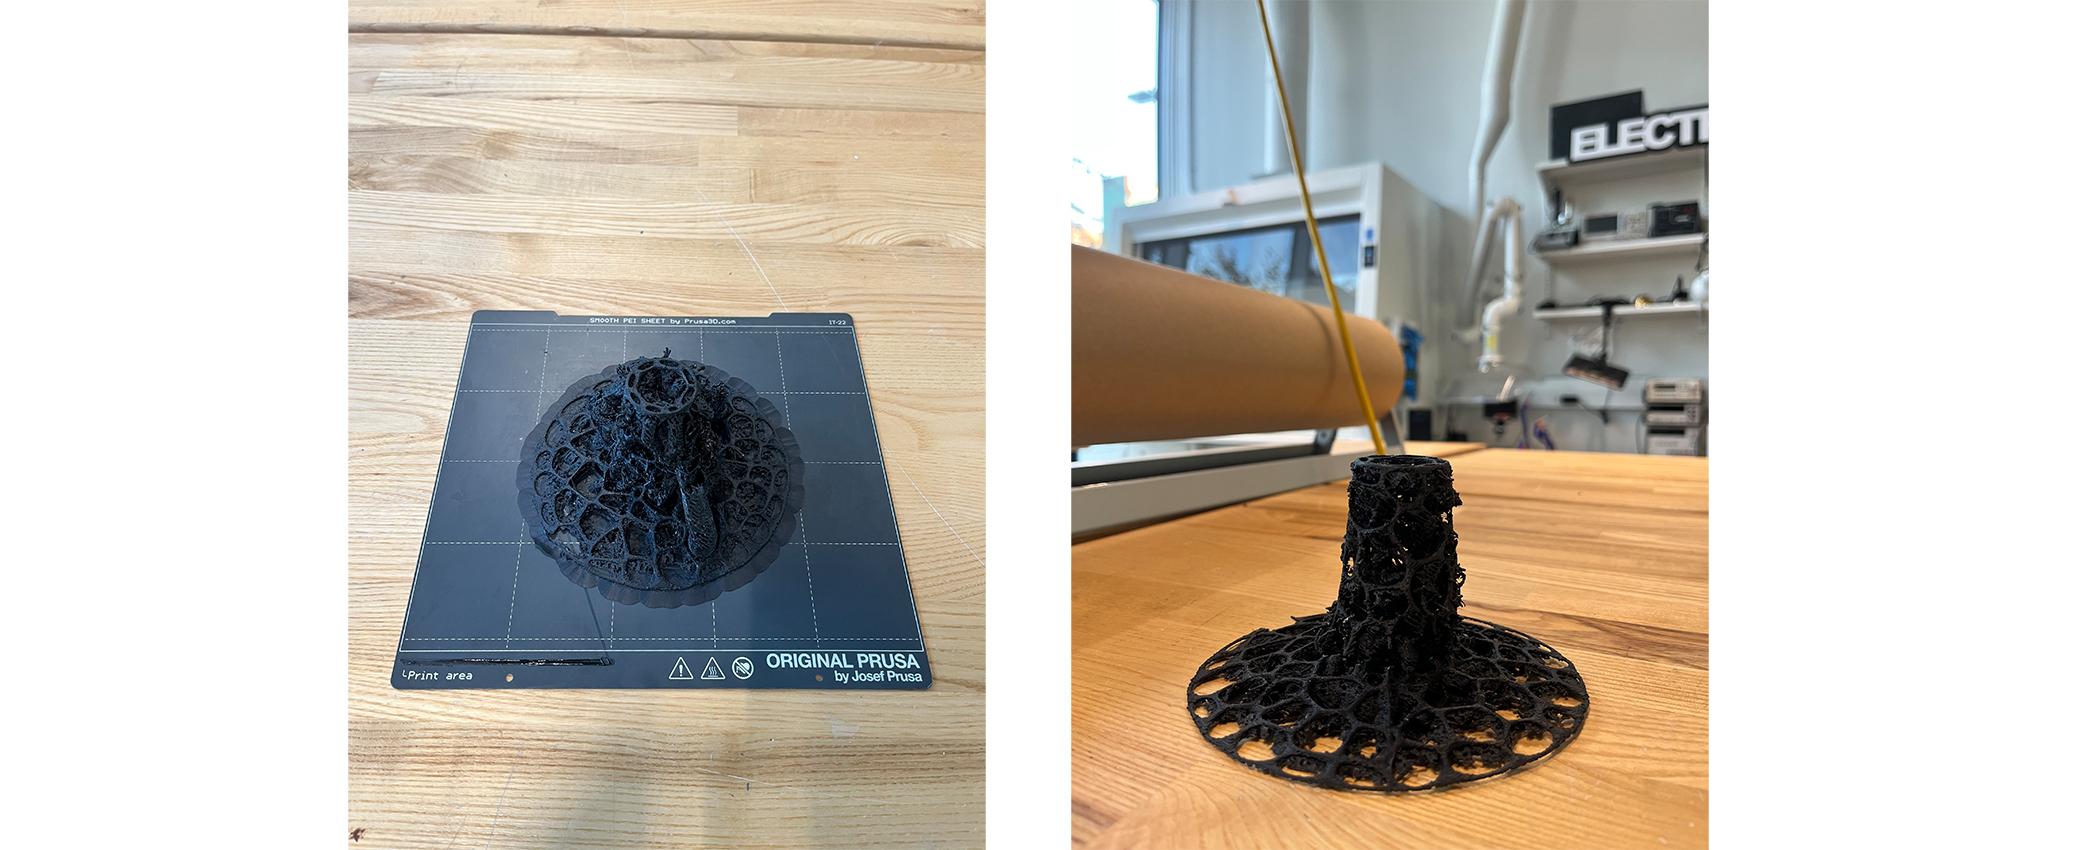
Allowing the Slicer algorithm's to generate supports for the lattice is equivalent to letting vines grow onto a lattice or mesh. I was quite enamored by the surface texture (definitely cant be made subtractively)
and ended up leaving them. This first print (using) the Cura slicer did break, but i reprinted using the Prusa and the resolution differences are interesting.
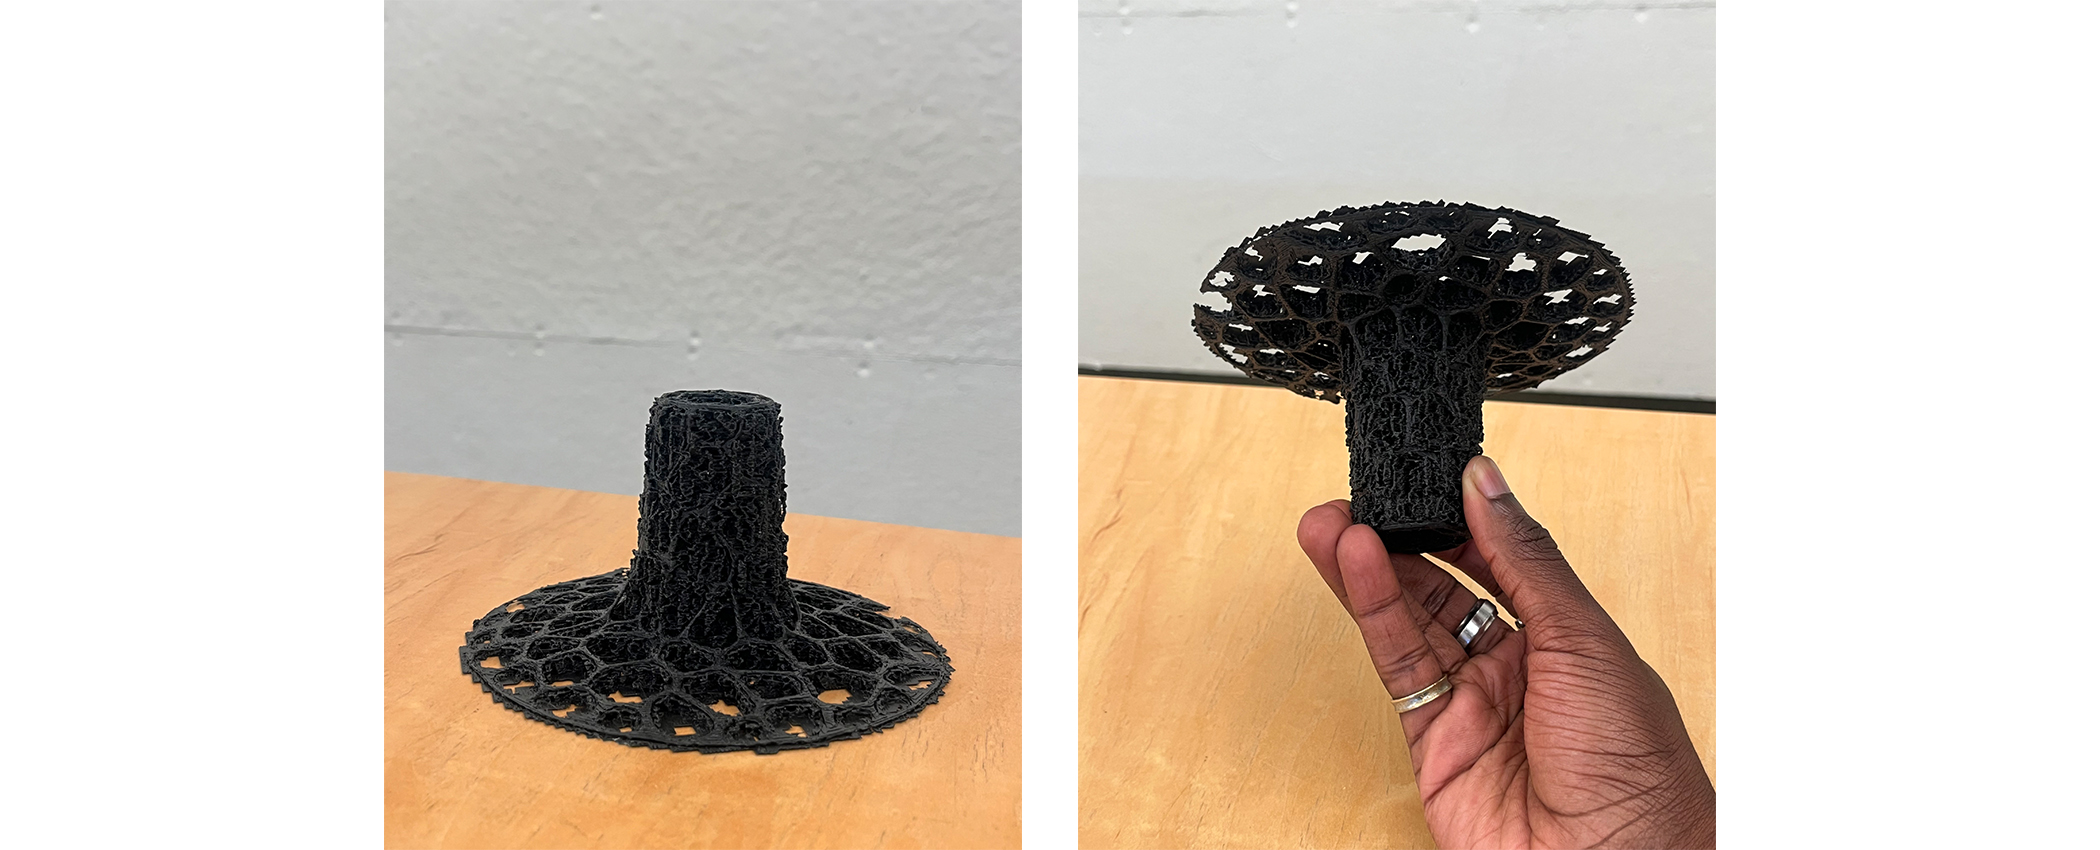
I would say the Prusa does a better job of blending the supports into the lattice with the marching squares algorithm, but it definitely flattens the resolution of the lattice itself. The struts were more voluminous
with the Cura print. I still think the result is beautiful
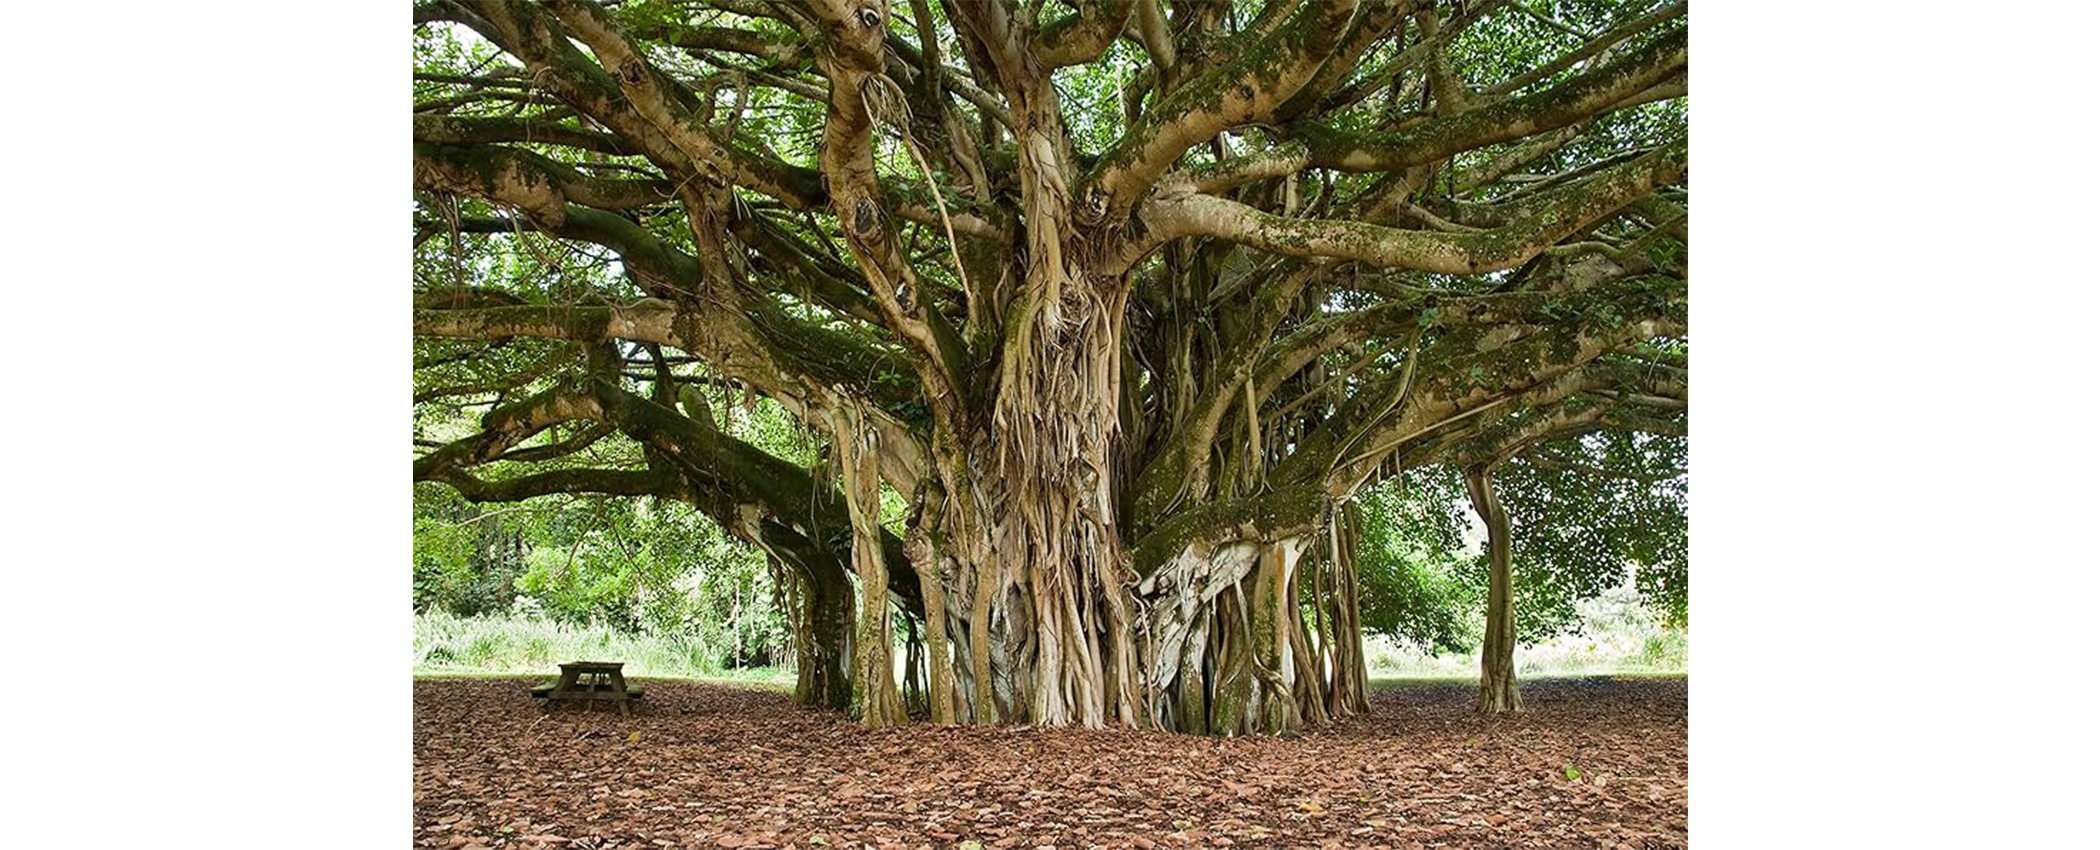
I think this exercise is a good way to create organic surface texture on a print by leveraging pre-existing slicer algorithms. Just feed them your lattice structures and let them grow!
3D MOUSE SCAN
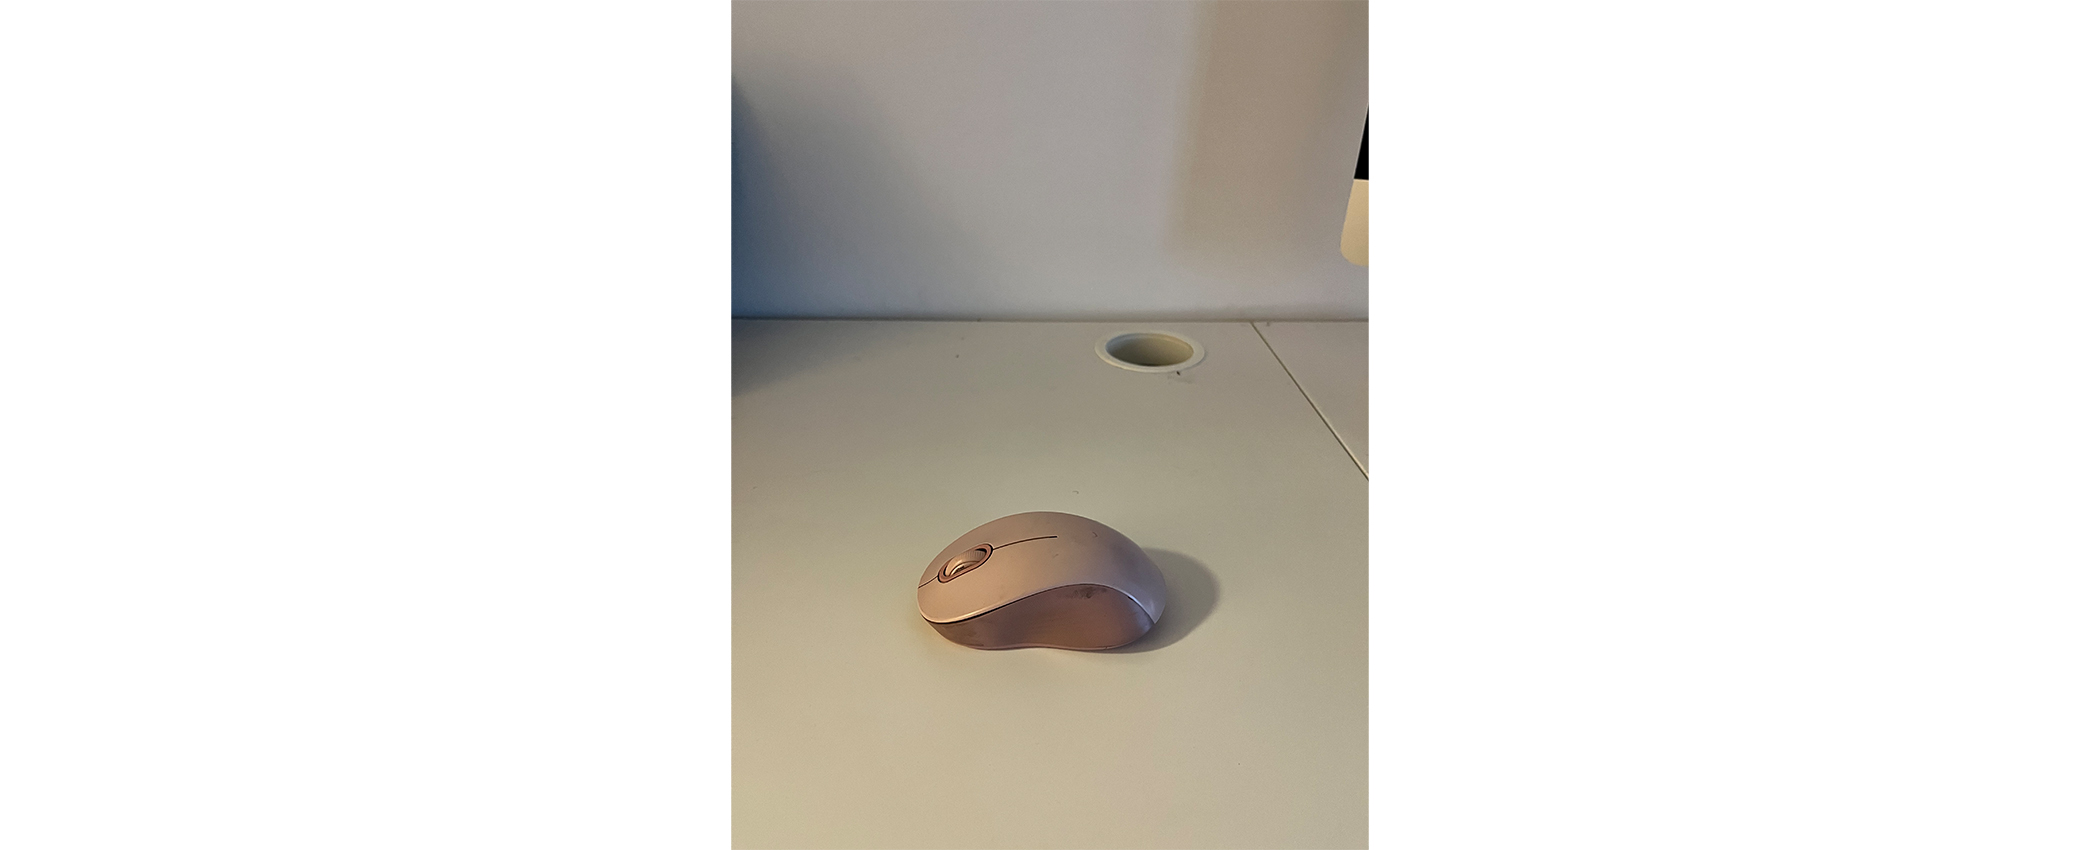
I didn't have alot of time for this part of the week so I made a simple scan of my mouse with an app on my phone called Scaniverse. I find the exploded effect when panning to the bottom of the mouse very satisfying. I assume this is because the scan doesn't have enough information in that area and so it makes several approximations. Very dramatic.
REFERENCE
