TO BAKE A SPIRAL

Do not let these pretty images and animations deceive you. This was a week of failure.
In any case, here is how i survived it.
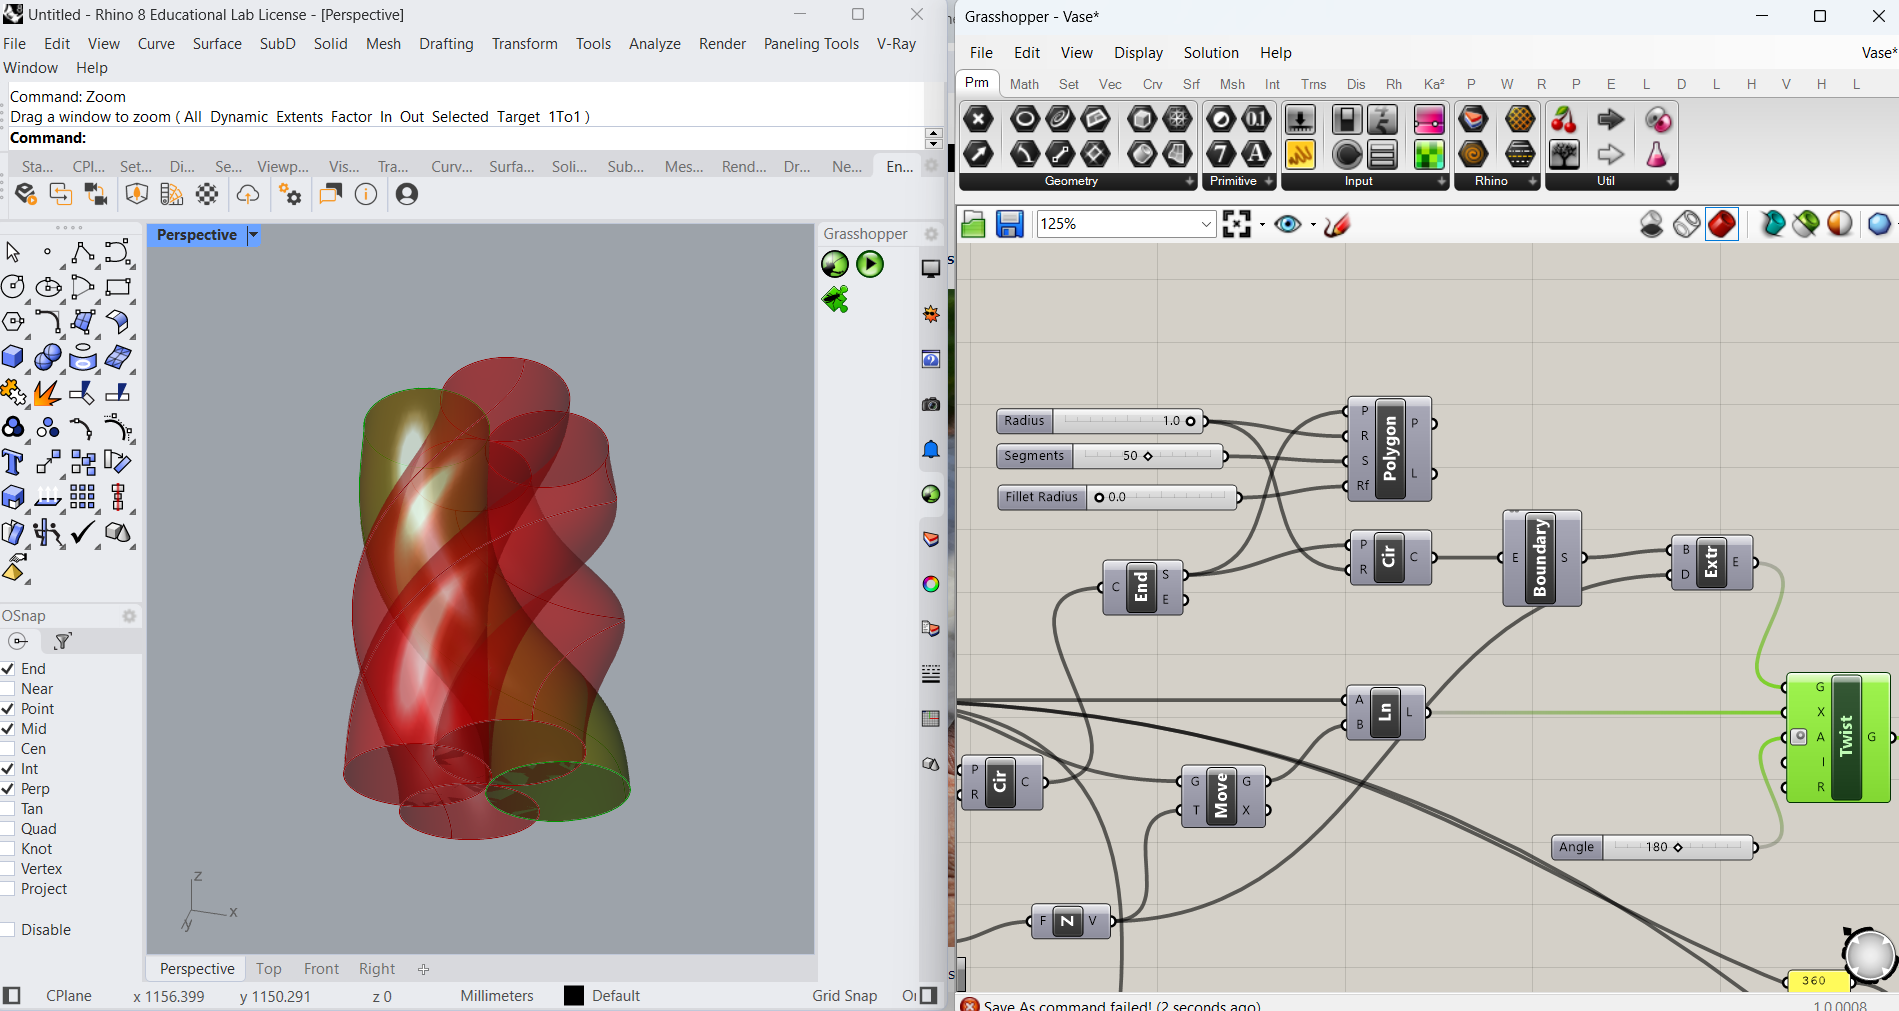
STEP 1: PARAMETRIC MODELING

As part of my desire to use this class as an excuse to do more Grasshopper stuff, I modeled the geometry that i wanted to cast
parametrically. I thought it'd be interesting to cast something that felt "frozen in time" so I went with a form that had some motion to it.
I modeled a spiral with a 180 degree twist that repeated four times. I made it a symmetrical geometry because i intended to do a 2-part mold,
and the geometry of an asymmetrical twist would create overhangs when split halfway. This is fine if you're making your mold by 3D Printing, but
if you choose to mill your mold then the end mill cant reach points with overhangs. Initially I was going to mill, but I ran into collision issues and opted
to print instead.
In my misguided attempt to short circuit the process because of time, I decided to 3d Print the negative of my mold that i could cast right into. This is ill-advised as you'll see in a moment.
I mixed equal parts for the Urethene Cast. It was fairly straight forward, but the reaction is fairly rapid so be conscious of time. I used a syringe to inject the the Urethene into my mold, and
it hardened mid-injection! RIP to that syringe.
After trying to PRY the mold open (because PLA is rigid) There were two big issues. The first was that obviously I couldnt pour enough urethene into the mold before the mixture had hardened,
so I only had a third of the cast. The second was, because I used the rigid PLA mold, the Urthene bound to the plastic and became nearly impossible to remove. To this day, that cast is still bound
to the plastic. I had to start over, no shortcuts this time.
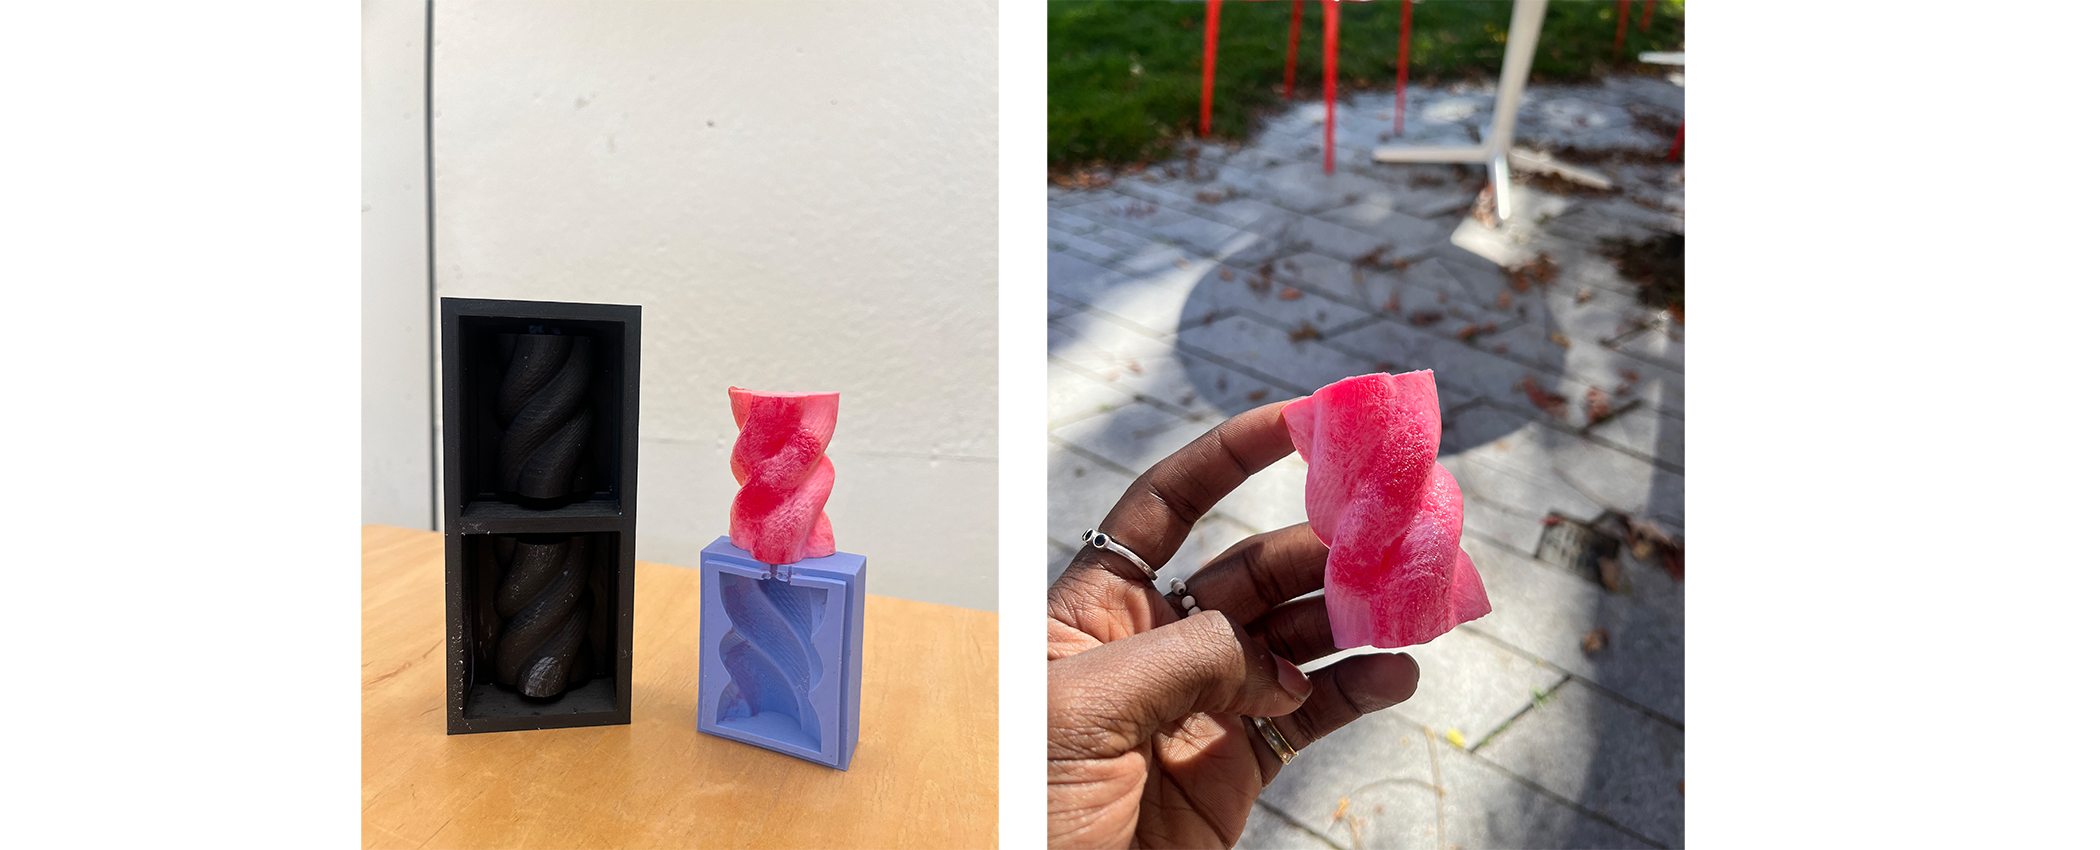
On the second pass i printed the positive mold, which i then used to cast the flexible negative OOMOO, which is what i'll use to cast the final Urethene piece. A problem here was I was too subtle with the mixture
volume, and ran out after one pour, so i had to make a different mixture for the second pour. You can see the different colors on the left image that show two different
consistencies. This caused half a failure (mainly because of my impatience at some point) but i ended up with a 1-Part mold. Stay tuned.
I added some coloring to the Urethene this time round, and poured it straight into the good part of the mold. On the right you can see how the failed OOMOO half came out.
We accept everyone's differences. I waited overnight for this to cure because although Urethene has a pot life of 20 minutes (how long it'll take to harden), it'll keep offgasing
some pretty toxic fumes for another 6 hours, so i left it in the fume hood till the next morning.
Finally this is what came out. It's really satisfying to see these two vibrant colors coming from liquid processes. I might have poured the Urethene mix too quickly into the mold due to the PTSD from that
syringe, and i think that's what causes the discoloration on the surface, but this will get us through the day for now. Onwards.