MAKE/BIG/MAKE/BIG/MAKE/BIG/MAKE/BIG/MAKE/BIG/MAKE/BIG/MAKE/BIG/MAKE/BIG/MAKE/BIG/MAKE/BIG/MAKE/BIG/MAKE/BIG/MAKE/BIG/MAKE/BIG/MAKE/BIG/MAKE/BIG/MAKE/BIG/MAKE/BIG/MAKE/BIG/MAKE/BIG/MAKE/BIG/MAKE/BIG/MAKE/BIG/MAKE/BIG/

SPHERICAL DISPLAY


This week I made a big display for my weekly projects. I had the idea for this after looking at Final presentations from previous years and noticing most people just had their weekly projects scattered out on a table. No bueno. Following the magical theme of my final levitating sphere, I decided the display should be a big sphere. We were given 4x4 OSB stock, which dictated the final 2' diameter. To the drawing board!


STEP 1: FRIENDLY NEIGHBORHOOD RHINO


  • I modeled the sphere to scale, bespoke to my weekly projects. This felt like a crossover episode seeing all the little models come together. I wanted to be reasonably efficient with my yield from the stock, so tried to lay the pieces out strategically. Notice the dogbones that are added to the notches - those are to allow the endmill to cut all the way through to the end of the notch. Turns out there are other was to resolve this depending on your joint strategy - will speak more on this shortly.


  • The CNC at REEF is the Shapeoko which runs on Carbide Create. I loaded the 2d Vector files into Carbide in order to generate the toolpath for the mill. When you bring your vecotrs in, it's important to place tabs in to avoid your material moving or flying away due to the force when being cut. I set up a 1/4" mill and adjusted settings for the 5/8" stock and the estimated time came out to 83mins. Now to Cut!


  • STEP 2: MILL THE BOARD


  • Once we configured the toolpath, we sent it to the machine and started cutting. It was a 95% success


  • The 5% error came towards the end of the job when an inner disc started to move because it wasnt properly tabbed. This caused all sorts of problems and could potentially have gotten worse if i wasn't attentive. I paused the job and turned off the spindle. Luckily there was little left to mill, so we isolated the failed disc, finished the job and returned to mill the failed disc on a scrap sheet of OSB. Smooth save.


  • Once all the pieces were done, I sanded each one till i could get as smooth a texture as possible, because the texture of untreated OSB is heinous. Sanding is a balm to the soul of an obsessive creature. Time to assemble!


    STEP 3: ASSEMBLE


  • When we were calibrating the CNC to the stock, Joe had mentioned that my stock was a little thinner than the nominal 5/8". I had a feeling this would be a problem for the press fit joints i had designed and i was right. The notches were now too big. I measured the gaps and modeled some fitouts that i printed. Hilariously, the time to print these little guys was about 5-6 times that of the CNC job. 8 hours! I could have cut 6 more big spheres in that time, but I stuck with them because i thought they'd make a really nice joint detail.
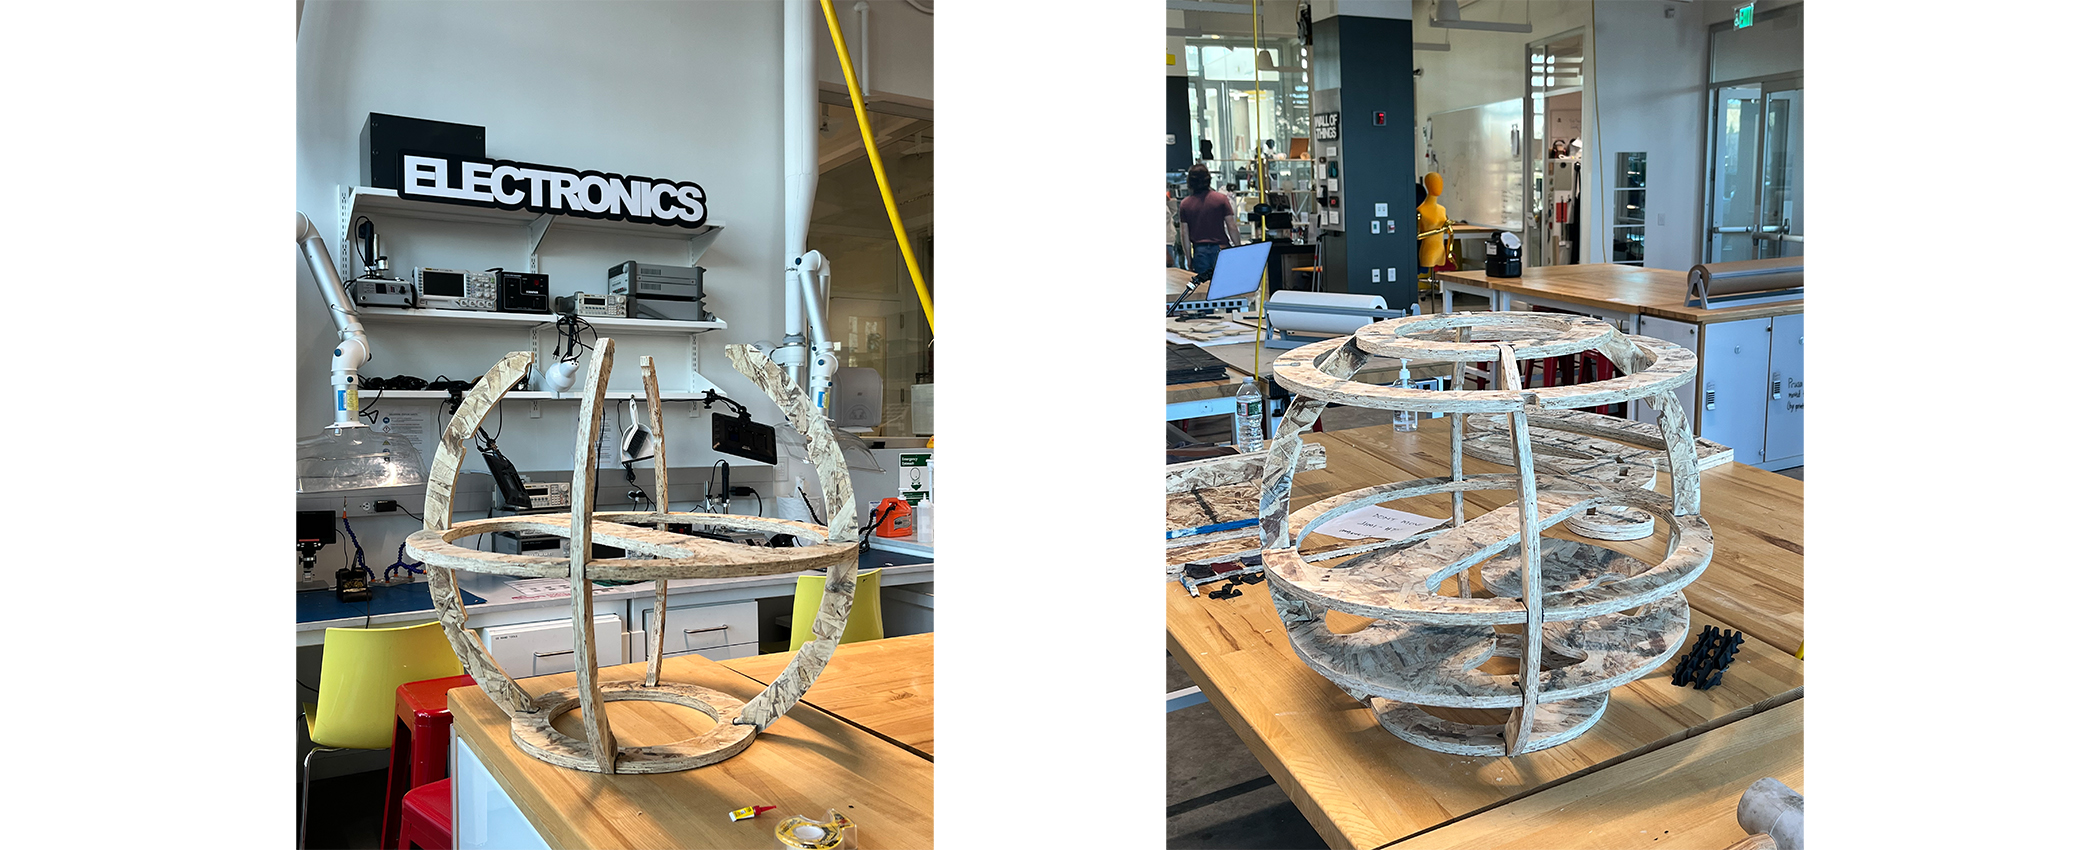


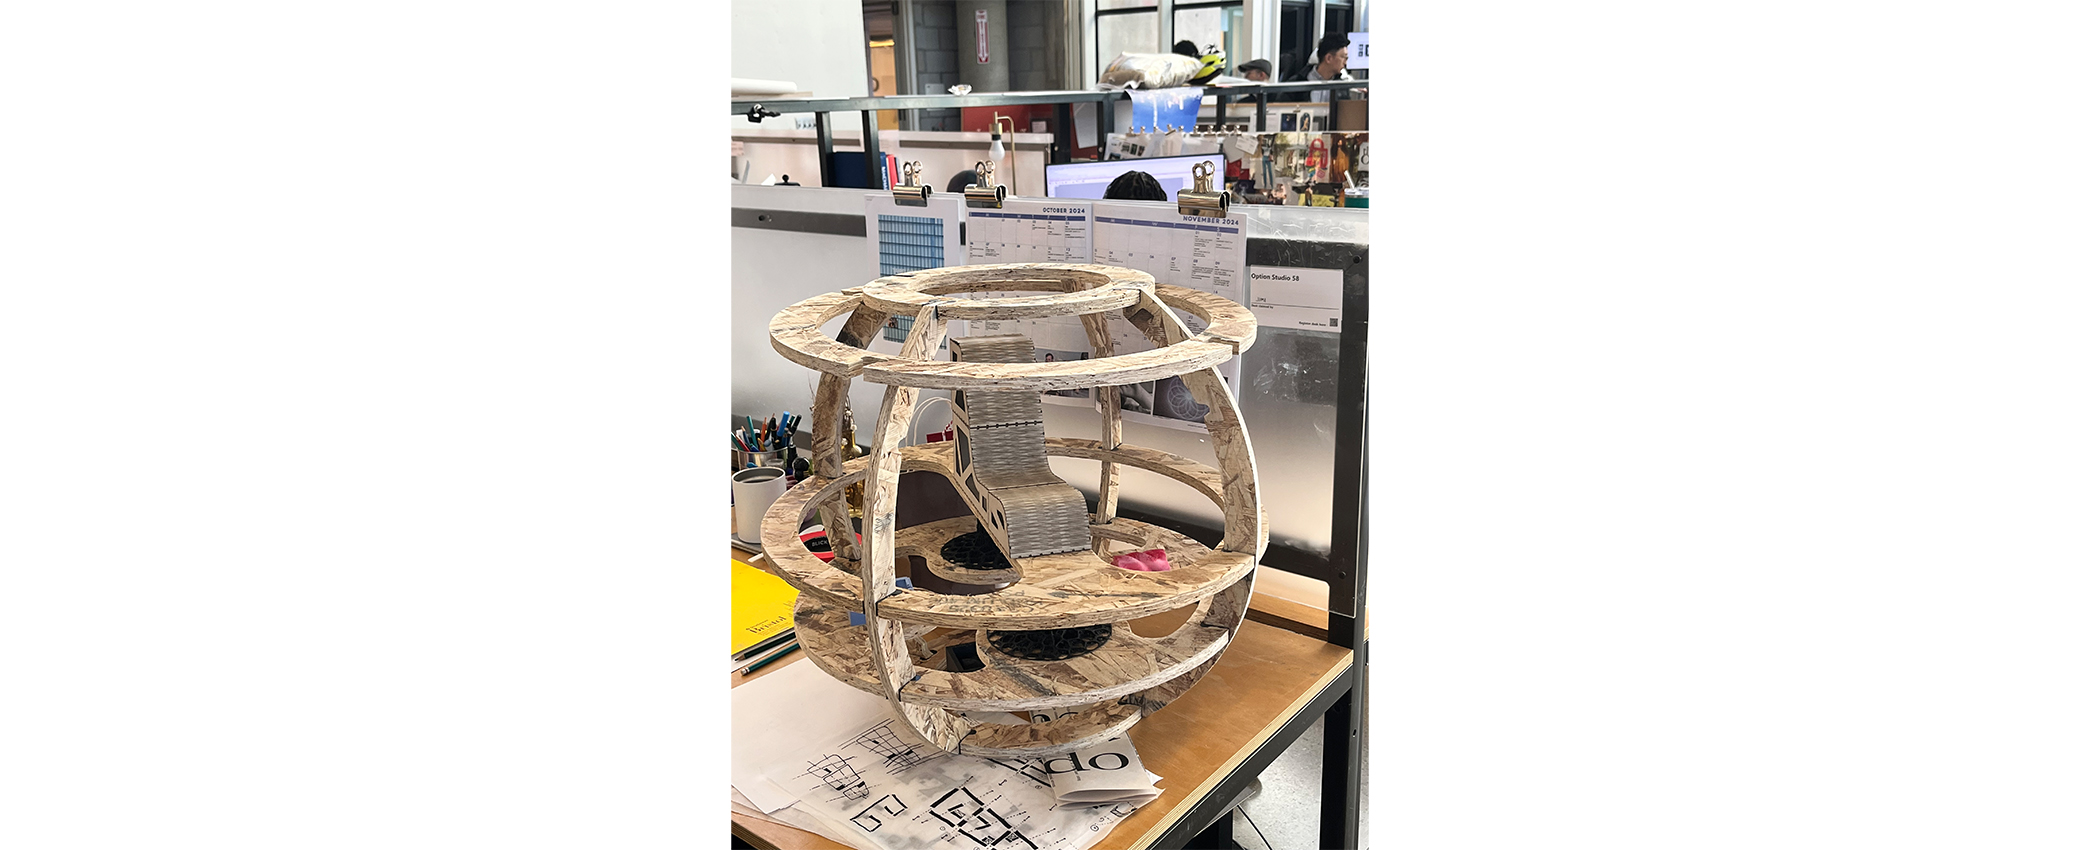
  • The pieces came together by simply cranking each vertical in between the PLA fitouts. Friction does the rest. No glue or screws needed. The order you assmble the disks is important here, so i started with the largest center disk and assembled towards the outer smaller ones. If i had done vice versa, i would have made it impossible to fit the larger discs as the sphere becomes defined. While assembling, i decided to omit one of the disks where my modular chair would be, since it would prevent you from reaching in and toying with the model. I keep it on top like a halo.



  • Big Sphere is alive and well! And the crossover episode is complete!


  • MAKE/BIG/MAKE/BIG/MAKE/BIG/MAKE/BIG/MAKE/BIG/MAKE/BIG/MAKE/BIG/MAKE/BIG/MAKE/BIG/MAKE/BIG/MAKE/BIG/MAKE/BIG/MAKE/BIG/MAKE/BIG/MAKE/BIG/MAKE/BIG/MAKE/BIG/MAKE/BIG/MAKE/BIG/MAKE/BIG/MAKE/BIG/MAKE/BIG/MAKE/BIG/MAKE/BIG/